
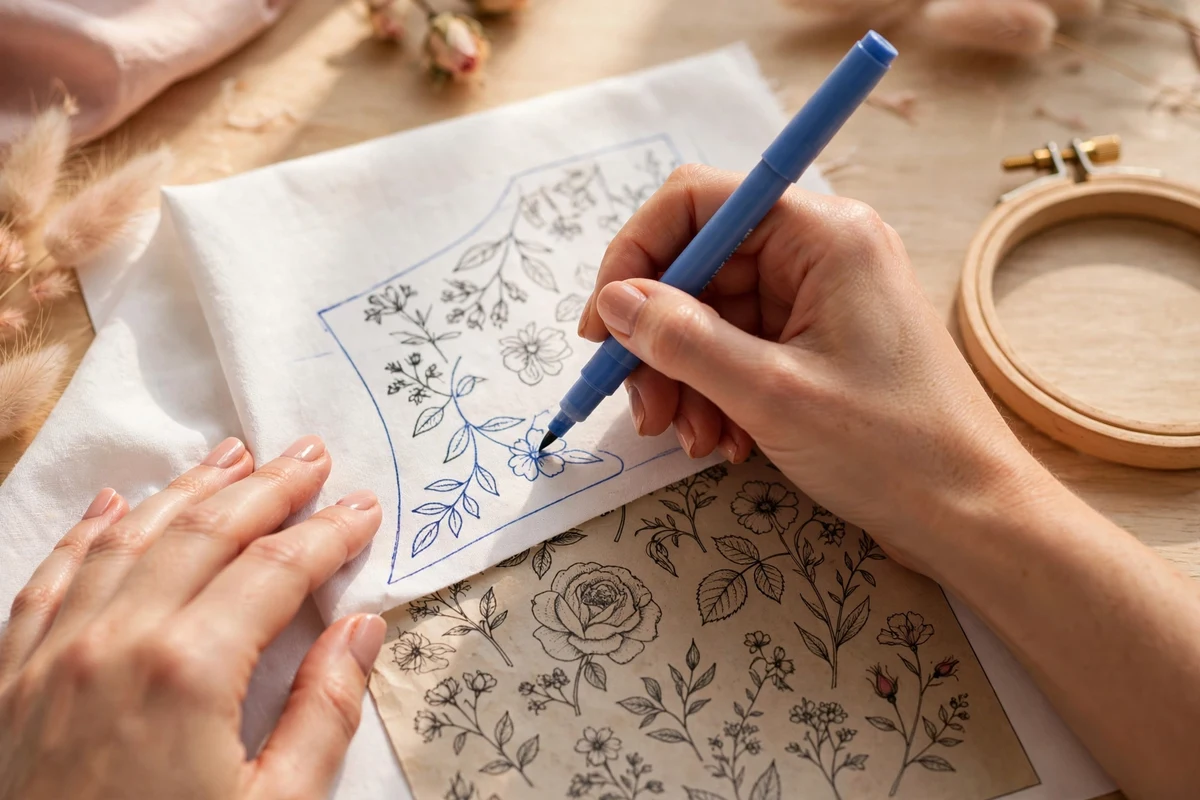
Learning how to transfer embroidery pattern to fabric is the first step to beautiful stitching. You have found the perfect pattern , now let’s get it onto your fabric with 5 easy methods.
Good news: there is no single right way. There are five tried-and-true methods, and each one shines on different fabrics and for different kinds of projects. I use all five depending on what I am stitching. Below you will find each method with clear steps, honest pros and cons, and which fabrics it loves best, so you can pick your favorite with confidence.
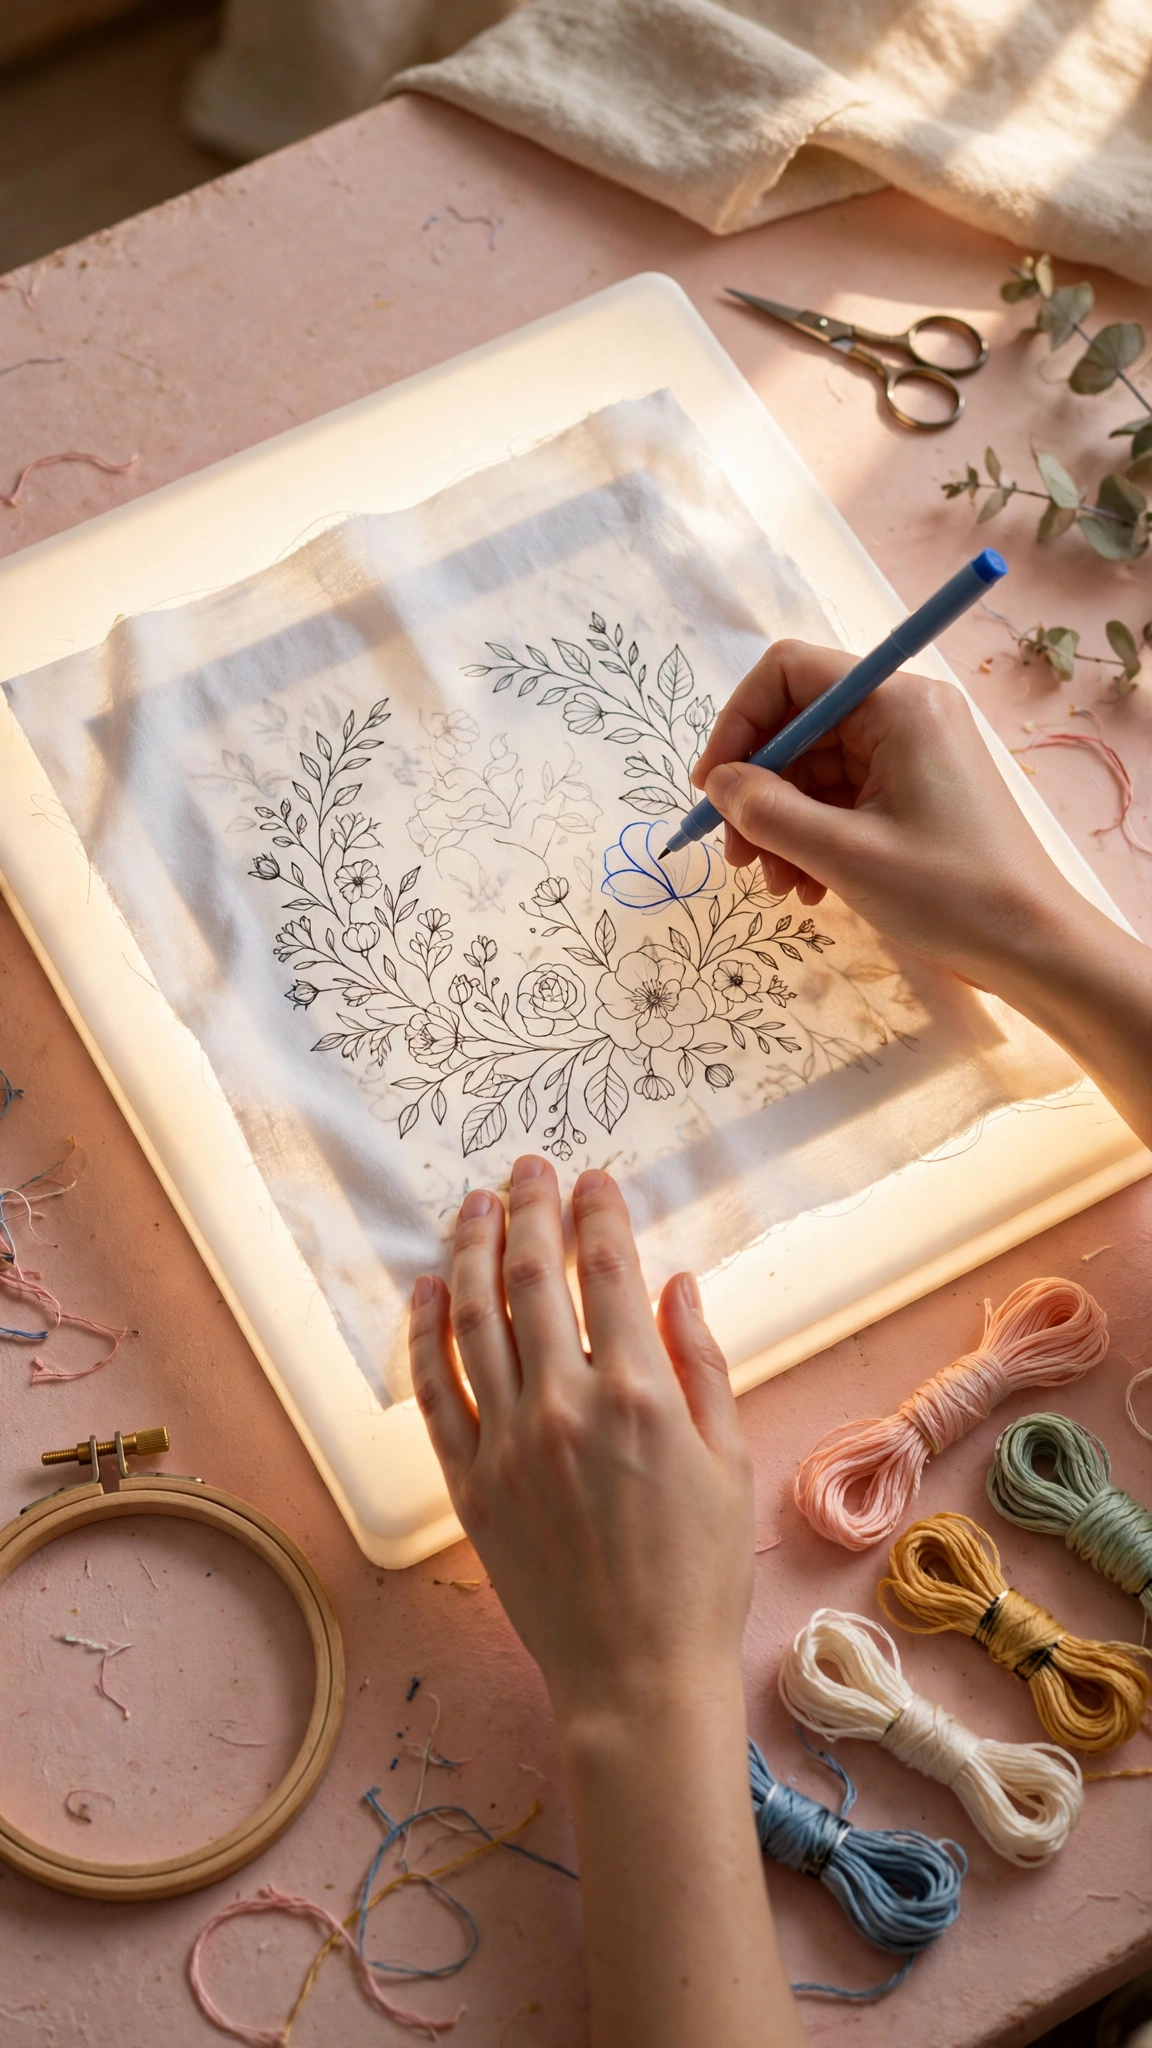
Before You Transfer: Choose Your Marking Tool
Almost every method below needs something to mark with, so let us settle this first. Your three best friends are:
- Water-soluble pens: glide on smoothly, rinse out with water. Best for light fabrics and projects you plan to wash.
- Heat-erasable pens: fine tips for detail, vanish with an iron. Wonderful, but always test on a scrap first, since marks can reappear in cold temperatures on some fabrics.
- A sharp pencil: the humble 0.5mm mechanical pencil gives the thinnest, most precise lines of all. Not erasable, but thin lines hide under stitches easily.
Whatever you choose, test it on a scrap of your actual project fabric before marking the real thing. This thirty-second habit will save you from ghost lines and heartbreak.
Method 1: Trace Against a Light Source (Window or Tablet)
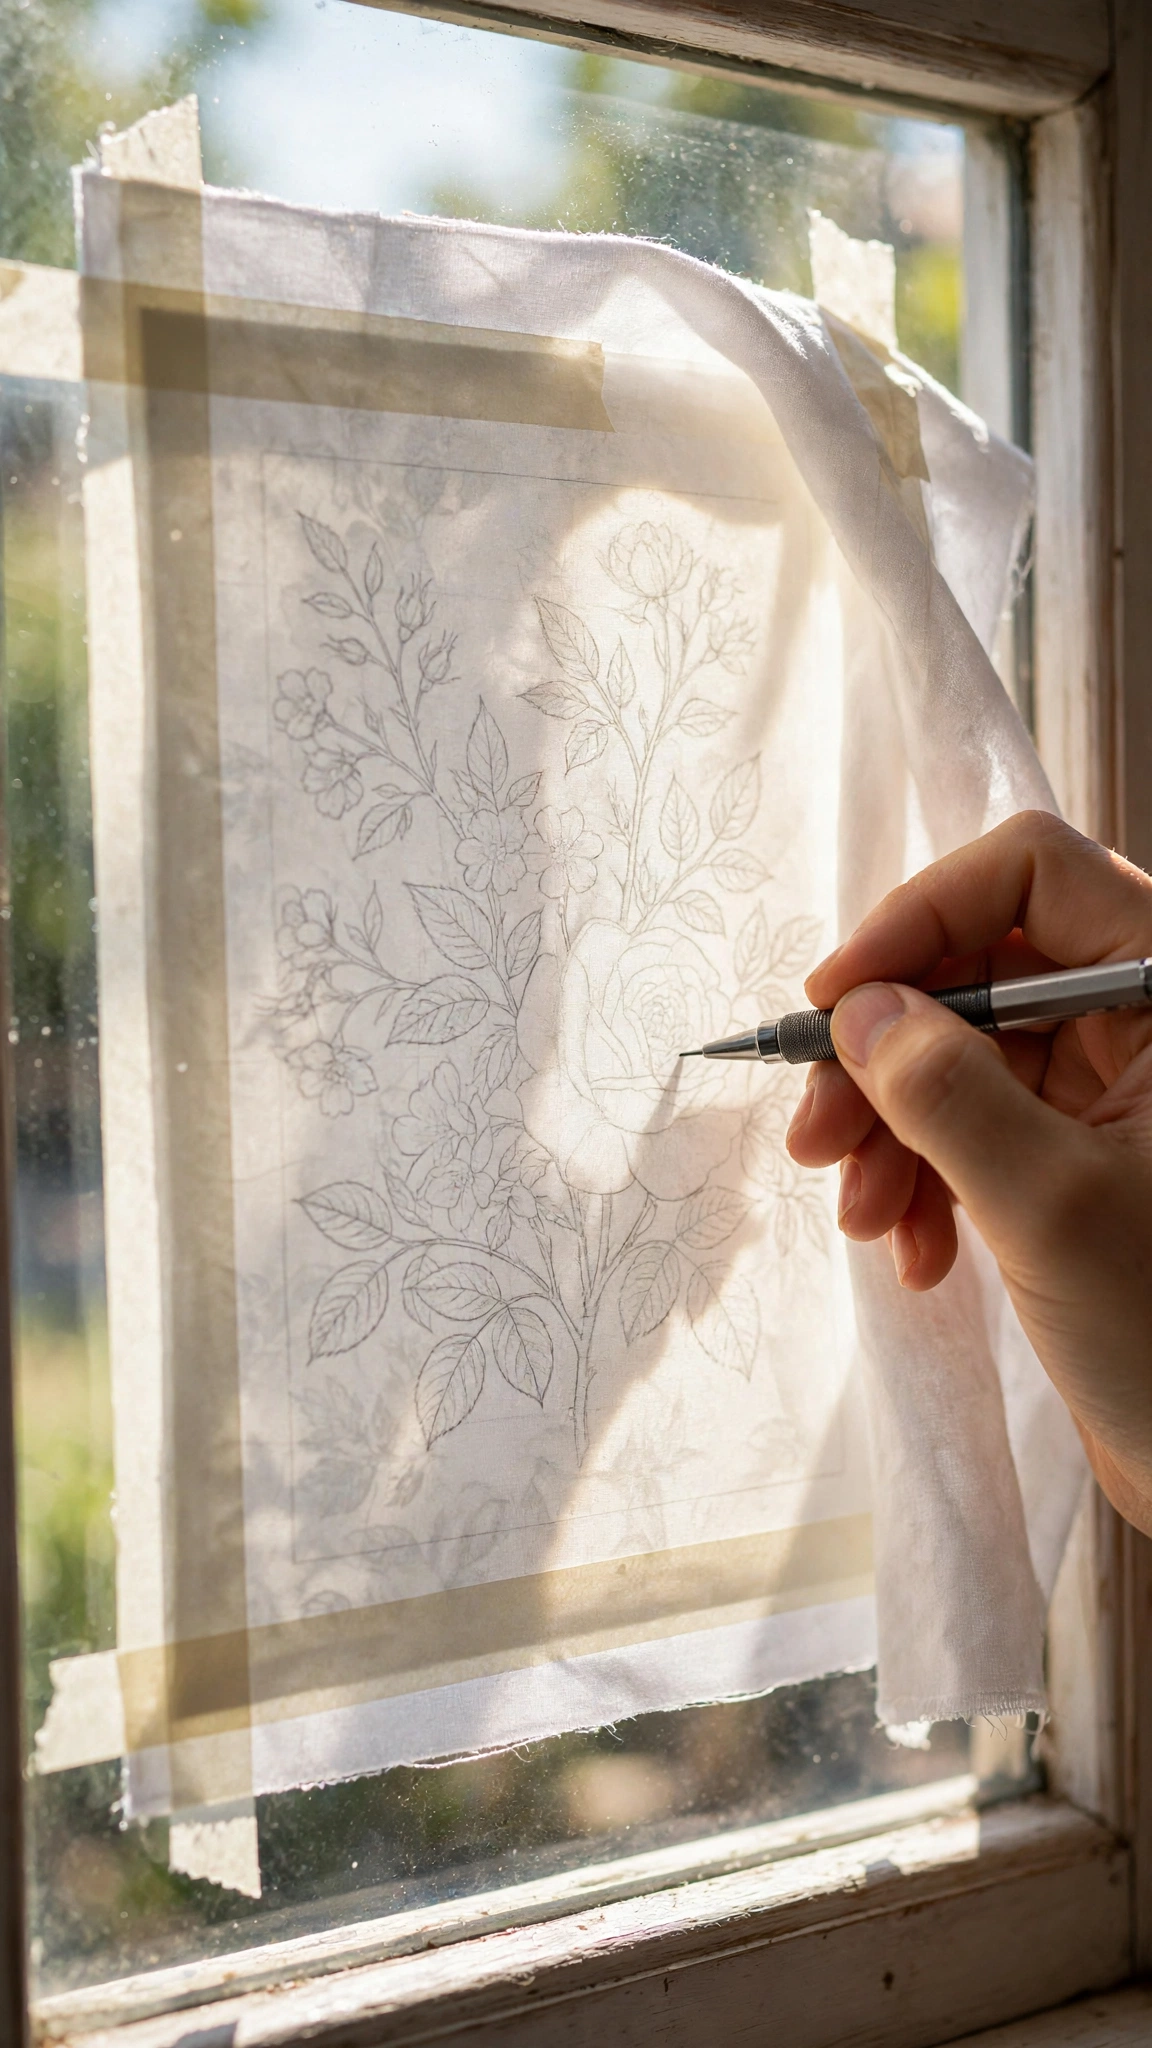
This is where most of us start, and honestly, many of us never leave. You need nothing but a sunny window (or a tablet screen) and a marking pen. Hold your fabric up to the light: if you can faintly see through it, this method will work beautifully.
Steps
- Print your pattern at the size you want to stitch. Darken thin lines with a pen if needed so they show through the fabric.
- Tape the printed pattern to a bright window with masking or washi tape. (On a tablet, open the image, turn brightness all the way up, and turn on guided access or screen lock so it does not rotate.)
- Center your fabric over the pattern and tape the edges down so nothing shifts.
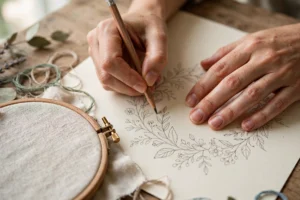
- Trace the design onto the fabric with your marking tool, following the lines you can see through the cloth.
- Peel everything off the window. Your pattern is transferred and ready to hoop.
Pros and cons
Pros: completely free, no special supplies, precise lines, easy to reposition before you commit. Cons: only works on light-colored, light to medium-weight fabrics; detailed patterns can be hard to see through thicker cloth; you need daylight or a charged tablet.
Best fabrics
White and pale quilting cotton, lightweight linen, muslin, and other fabrics you can partially see through. Skip this method for dark or heavy fabrics.
Method 2: Use a Light Box
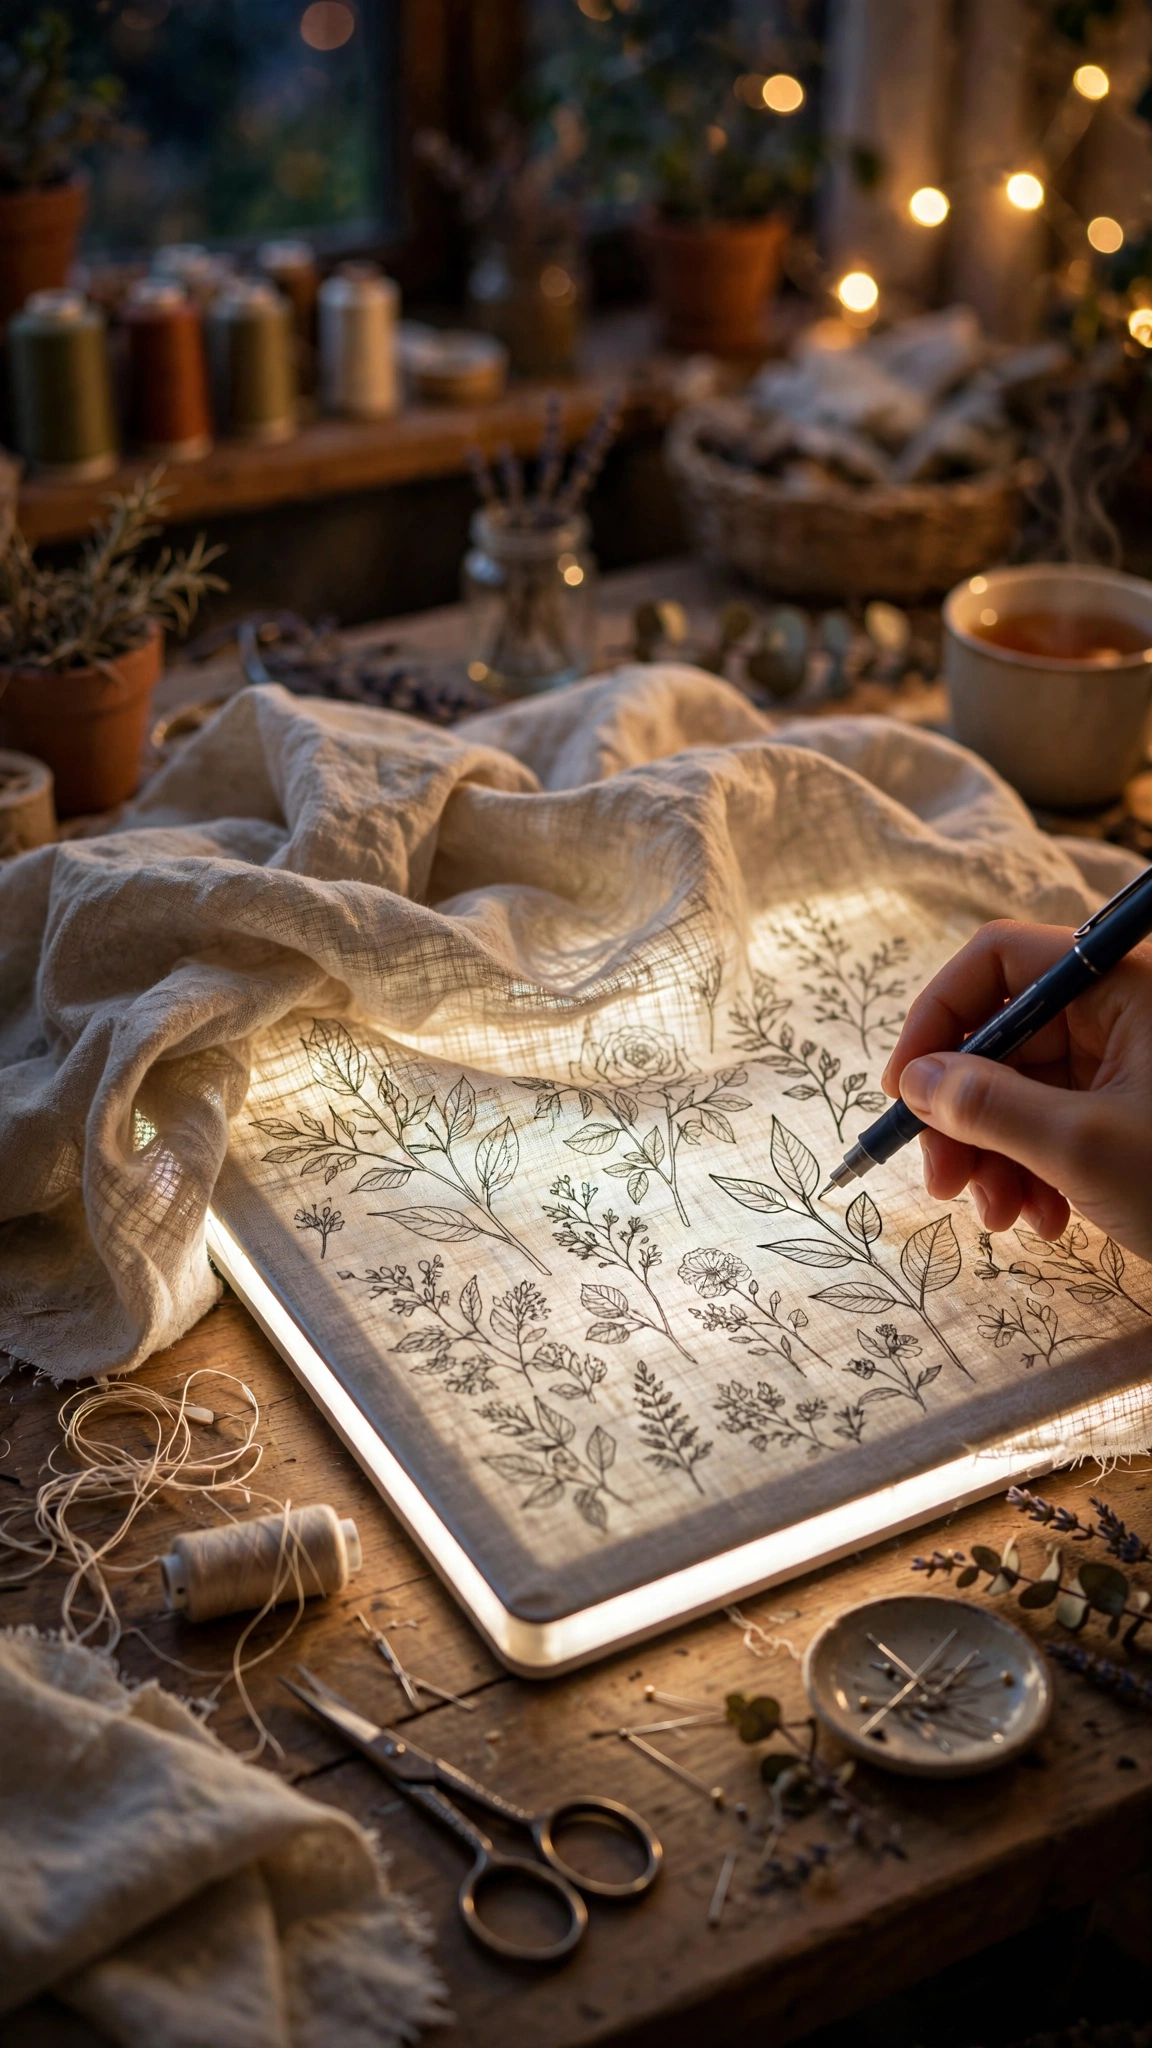
A light box is Method 1 with a promotion: a slim, evenly lit panel you lay flat on your table. It does exactly what the window does, but you can use it at midnight, in winter, and with the fabric lying comfortably flat instead of taped to glass.
Steps
- Place your printed pattern on the light box and switch it on.
- Lay your fabric over the pattern. For easier handling, put the fabric in your hoop first so it stays taut and still.
- Trace the visible lines with your marking pen, working in good light so you can see what you are doing.
- Lift the fabric and check for missed sections before you switch the box off.
Pros and cons
Pros: works any time of day, comfortable flat working position, brighter and more even than most windows, great for larger or detailed patterns. Cons: you need to buy the light box (though basic LED ones are inexpensive); same fabric limitations as window tracing.
Best fabrics
Same as Method 1: light-colored cottons, linens, and other semi-translucent fabrics. If you trace patterns often, this upgrade pays for itself in the first month.
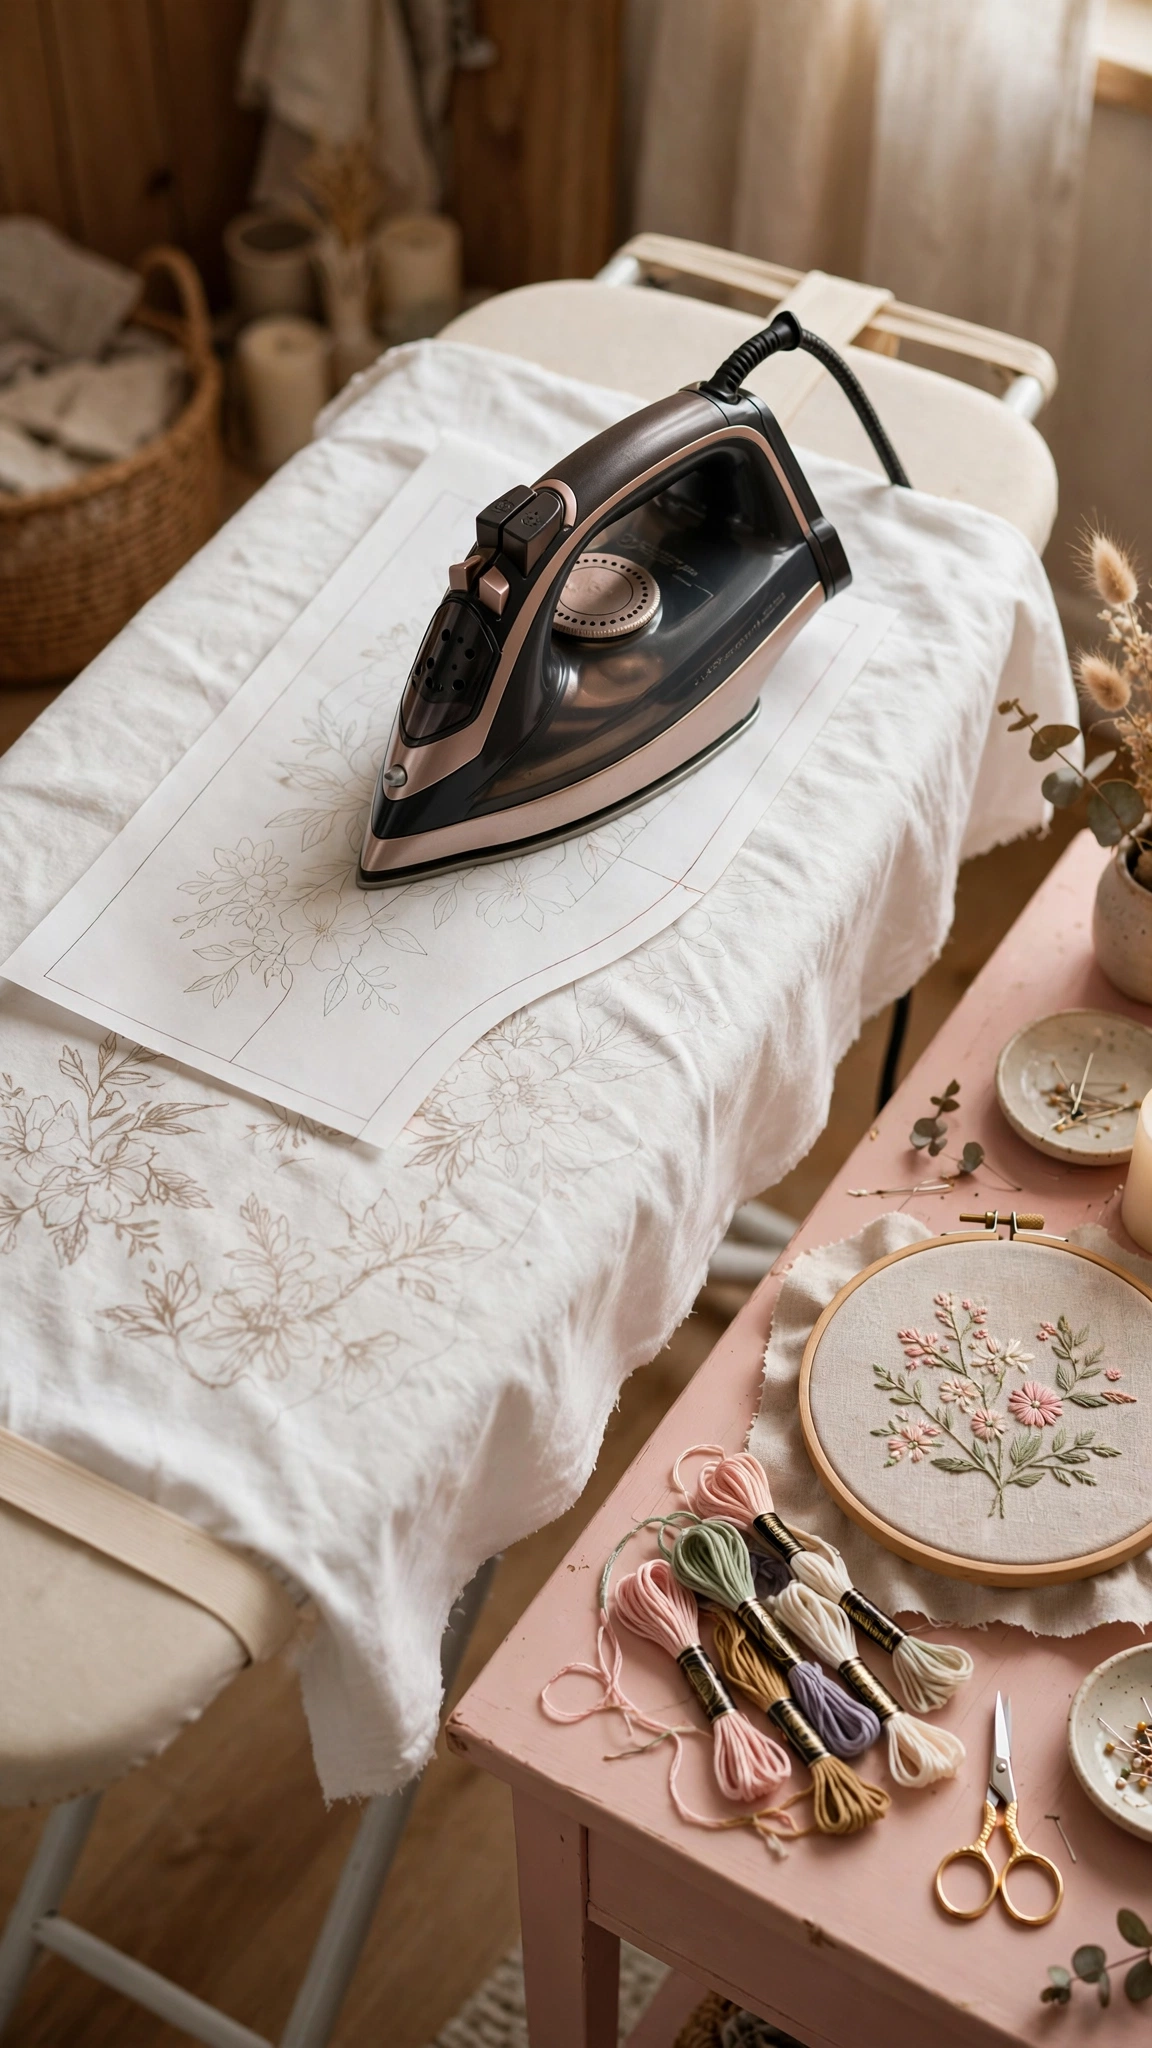
Method 3: Iron-On Transfer Pen or Pencil
Iron-on transfer pens contain a special ink that moves from paper to fabric with heat. You trace the design onto ordinary paper with the pen, flip it face-down on your fabric, and press with a hot iron. It feels a little like magic the first time.
Steps
- Using the iron-on pen or pencil, trace over your printed pattern on plain paper. Press firmly; faint lines transfer faintly.
- Remember the image will reverse, so flip any text or directional designs when you trace. (Write text backwards, or trace the mirror image.)
- Place the traced paper face-down on your fabric and press with a dry iron on high heat. Hold each section for several seconds without sliding the iron.
- Peel back a corner to check the transfer before lifting the whole sheet.
- Let the fabric cool completely before hooping it up.
Pros and cons
Pros: works on medium-weight and some textured fabrics where tracing fails, transfers are crisp and complete, one traced sheet can often be reused a few times. Cons: the image reverses, so text needs mirroring; marks are permanent, so there is no erasing a crooked line; not suitable for heat-sensitive fabrics like silk, wool, or synthetics; lines can be thick and dark.
Best fabrics
Natural-fiber fabrics with a flat surface: quilting cotton, linen, canvas, and denim in light to medium colors. Avoid dark fabrics (the transfer will not show) and anything that cannot take high iron heat.
Method 4: Water-Soluble Stabilizer (Stick and Stitch)
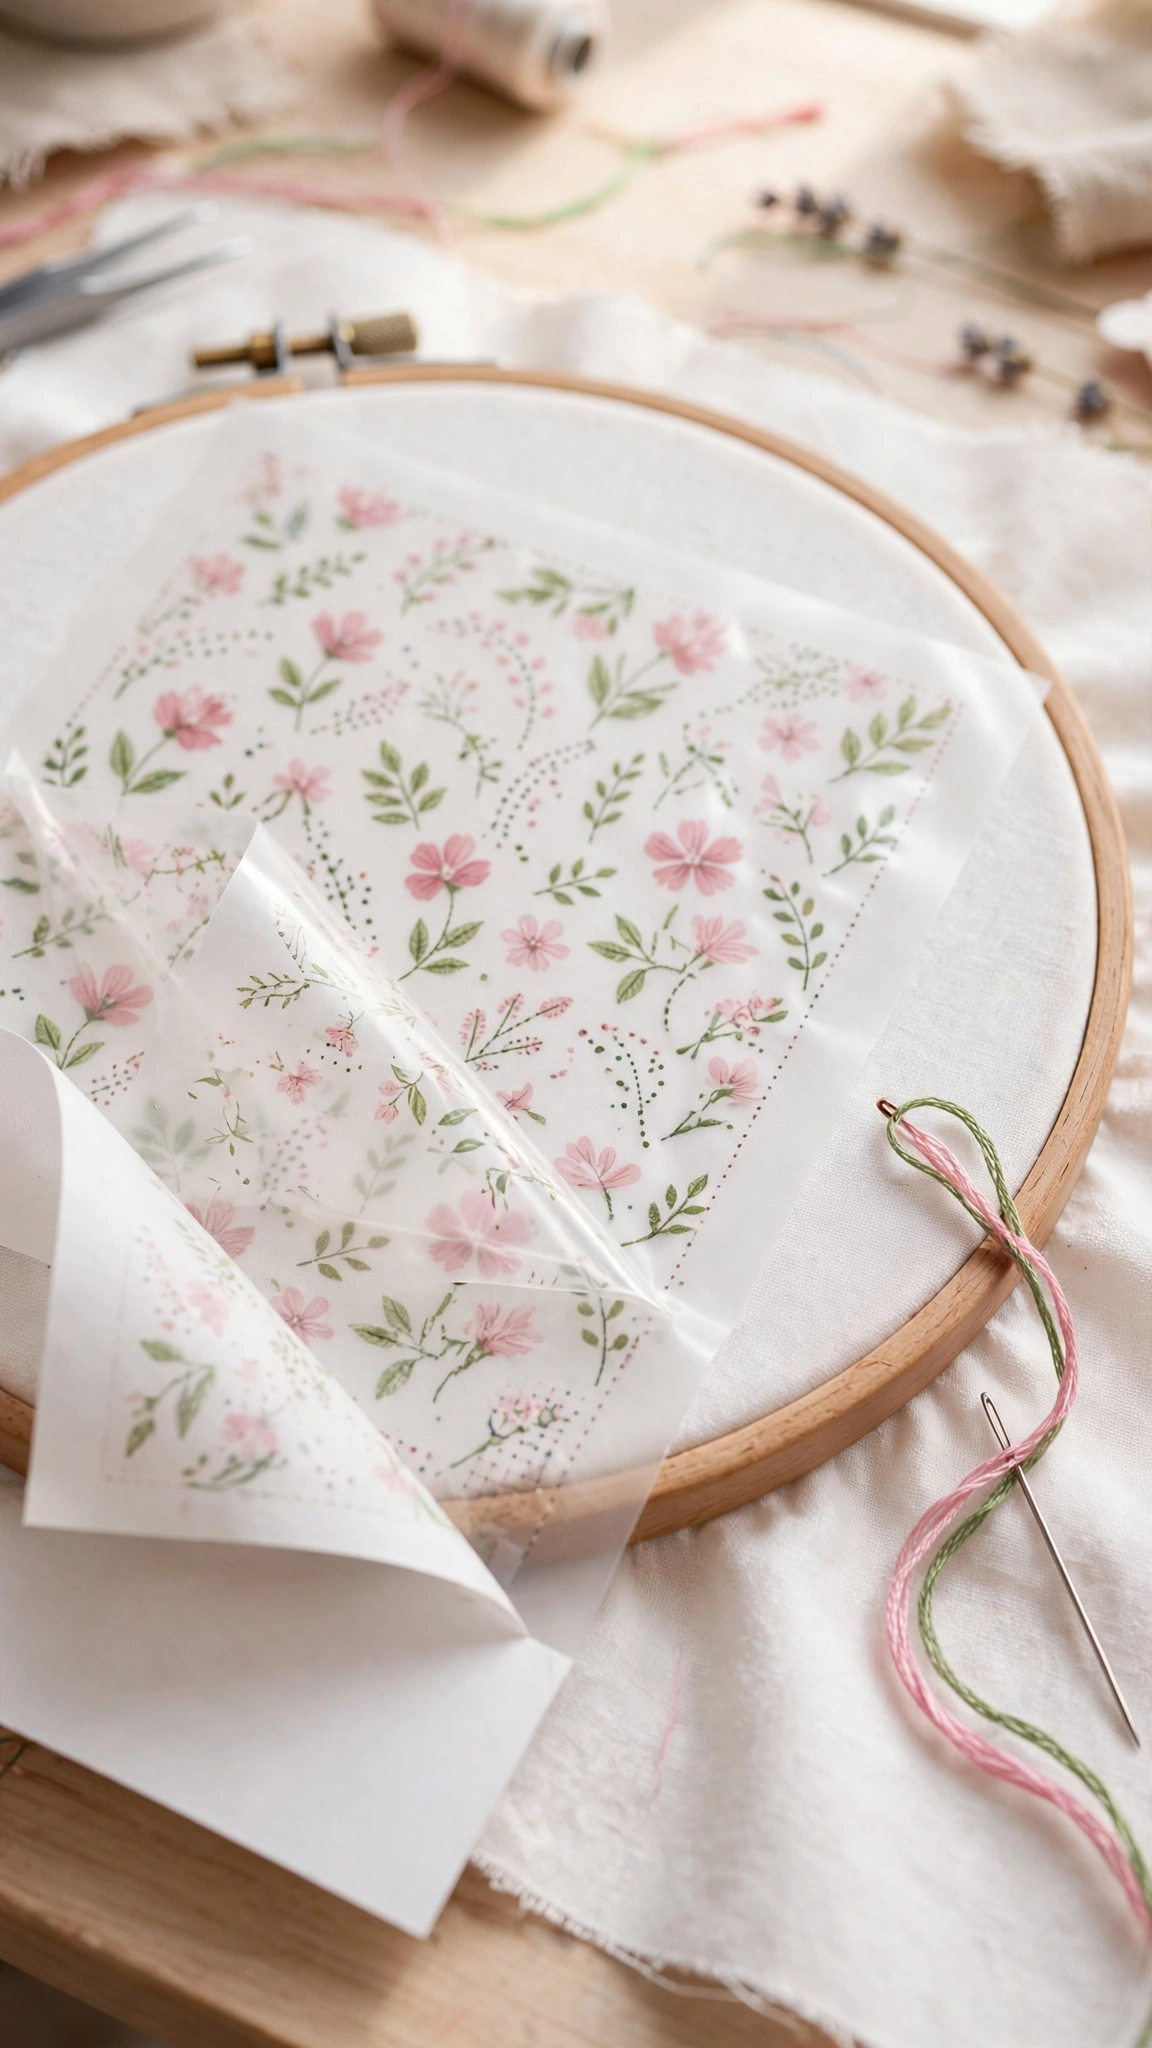
This is my favorite method for dark fabrics and tricky materials, and it is the one I recommend most to beginners who feel nervous about marking. You print or draw your design directly onto a special stabilizer film, stick it to your fabric like a sticker, stitch right through it, and then rinse it away in water. The pattern literally dissolves, leaving only your stitches.
Steps
- Print your design onto the water-soluble stabilizer sheet following the product instructions (print in draft or light mode to keep ink from bleeding).
- Cut out the design, peel off the backing, and stick it firmly onto your fabric, smoothing out bubbles.
- Hoop the fabric with the stabilizer in place and stitch directly through both layers, following the printed lines.
- When the stitching is done, soak the piece in lukewarm water and swish gently until the film dissolves completely. Let it soak a little longer rather than scrubbing.
- Rinse, reshape, and lay flat to dry.
Pros and cons
Pros: works on almost any fabric, including dark colors, denim, felt, and stretchy knits; no marking directly on fabric, so zero ghost lines; wonderfully forgiving for beginners. Cons: you must buy the stabilizer sheets; the finished piece needs washing, so it is not ideal for items that cannot be washed; heavy handling before washing can loosen the sticker.
Best fabrics
The problem solvers: dark fabrics, denim, felt, t-shirts and other knits, velvet, and anything too thick or textured to trace. If you want to embroider on a t-shirt, this is the method I reach for first.
Method 5: Dressmaker’s Carbon Paper
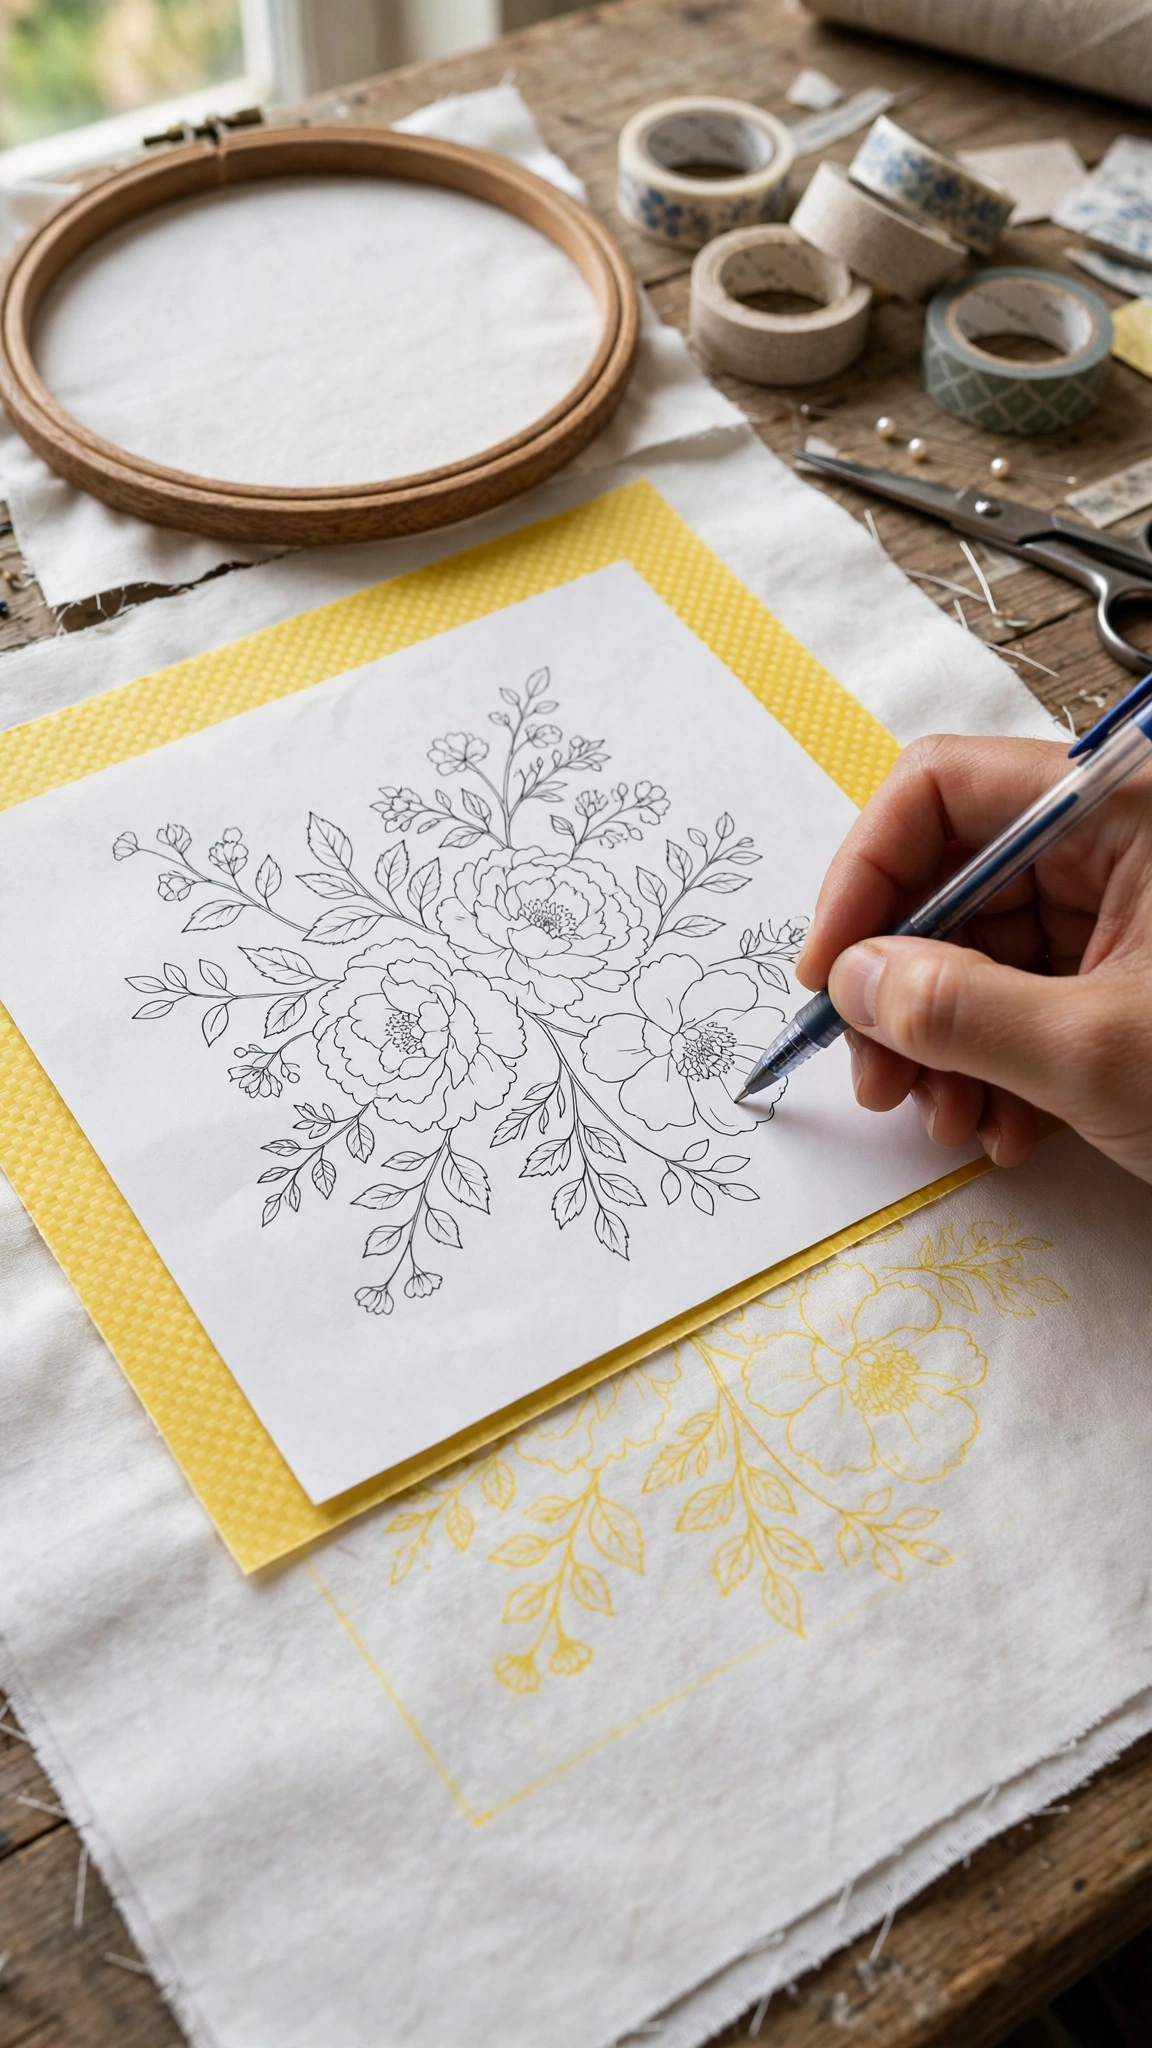
Before light boxes and printable stabilizers, there was carbon paper, and it still works brilliantly. You sandwich a sheet of dressmaker’s carbon (colored side down) between your pattern and your fabric, trace over the pattern with a ballpoint pen, and the pressure copies the design onto the cloth. No light, no heat, no water needed.
Steps
- Place your fabric right-side up on a hard, flat surface.
- Lay the carbon paper on top, colored side facing down toward the fabric.
- Place your pattern face-up on the carbon paper and tape the whole sandwich so nothing slides.
- Trace firmly over every line of the pattern with a ballpoint pen or stylus. Press harder than feels natural; light pressure gives broken lines.
- Lift a corner to check the transfer, then remove the layers. Your design is copied onto the fabric.
Pros and cons
Pros: no electricity, heat, or water required; works on medium and dark fabrics (use white or yellow carbon); precise and repeatable. Cons: marks can be difficult to remove, so lines must be covered by stitches; not great on very textured or napped fabrics like velvet; pressing too hard can dent delicate fabric.
Best fabrics
Medium-weight cottons, linen, denim, and dark fabrics when paired with light-colored carbon. A reliable choice when you need a transfer that will survive a lot of handling during stitching.
Which Transfer Method Should You Choose?
Here is my quick decision guide for when you are standing in your craft room wondering where to start:
- Light cotton or linen, simple pattern: trace on a window or light box (Methods 1 and 2). Fast, free, precise.
- Dark fabric or t-shirt: water-soluble stabilizer (Method 4). Nothing else is this forgiving on darks.
- Denim, canvas, or a tote bag: iron-on transfer pen (Method 3) or carbon paper (Method 5).
- Detailed pattern you will stitch over many sessions: heat-erasable pen tracing (Methods 1 and
- 2), since the marks will not fade with handling.
- A gift or heirloom piece: water-soluble stabilizer (Method 4) or careful pencil tracing (Methods 1 and 2), because no permanent marks remain.
Transfer Mistakes to Avoid
- Skipping the scrap test. Every marking tool behaves differently on different fabrics. Thirty seconds of testing beats a ruined project.
- Forgetting the mirror image. Iron-on transfers reverse your design. Text, monograms, and directional motifs must be flipped before transferring.
- Pressing too lightly with carbon paper. Timid tracing gives broken, patchy lines that are hard to follow. Commit to firm pressure.
- Using a permanent marker “just for the outline.” It will show. It always shows. Use a proper fabric marker.
- Transferring before prewashing. If your fabric shrinks in its first wash, it takes your transferred pattern with it. Wash and press first, transfer second.
Your Turn to Transfer
Now that you know how to transfer an embroidery pattern, the fun part begins: actually stitching it. If you are brand new, start with my beginner’s guide to hand embroidery and gather your supplies from the complete tools checklist. Ready for a first project? Try a simple design from my easy embroidery ideas for beginners, or turn your finished piece into decor once it is done.
For more transfer inspiration, the Embroiderers’ Guild of America has a lovely roundup of five easy pattern transfer methods with extra tips worth a read.
Pick one method, transfer one small pattern, and stitch it this weekend. I promise that the moment you see your design appear under your needle, you will understand why the transfer step is secretly my favorite part of every project. Happy stitching!

4 thoughts on “How to Transfer an Embroidery Pattern to Fabric: 5 Methods”