Animals are some of the most loved embroidery subjects in the world, and it is easy to see why. A stitched cat, fox, or bee has instant charm, and animal designs make wonderful gifts because everyone has a favourite creature. If you are a beginner, animals might look intimidating, all that fur, those feathers, those tiny faces. But here is the secret: the cutest animal embroidery is often the simplest. Rounded shapes, a few well-chosen stitches, and a friendly face will carry you a long way.
In this post, you will find ten cute animal embroidery patterns for beginners, each with the key stitches you need and an honest difficulty note. You will also learn how to simplify any animal shape into something stitchable, plus simple tricks for suggesting fur and feathers without advanced techniques. By the end, you will have a whole menagerie of ideas to choose from.
How to Simplify Any Animal Into a Stitchable Shape
Before we meet the ten animals, learn this one skill and you can stitch almost anything. Every animal, no matter how complex, can be broken down into basic shapes: circles, ovals, triangles, and teardrops. A cat is a round head plus triangle ears plus an oval body. A fish is an oval plus a triangle tail. A bird is a circle body, a smaller circle head, and a triangle beak.
Start by sketching your animal with these simple shapes on paper. Do not worry about realism. Cute embroidery comes from soft, rounded forms and clear silhouettes, not anatomical accuracy. Once your shape sketch looks right, add just two or three features: eyes, maybe a nose, and one defining trait like whiskers or stripes. That is your pattern. Simple shapes plus minimal features equals adorable.
The 10 Beginner Animal Designs
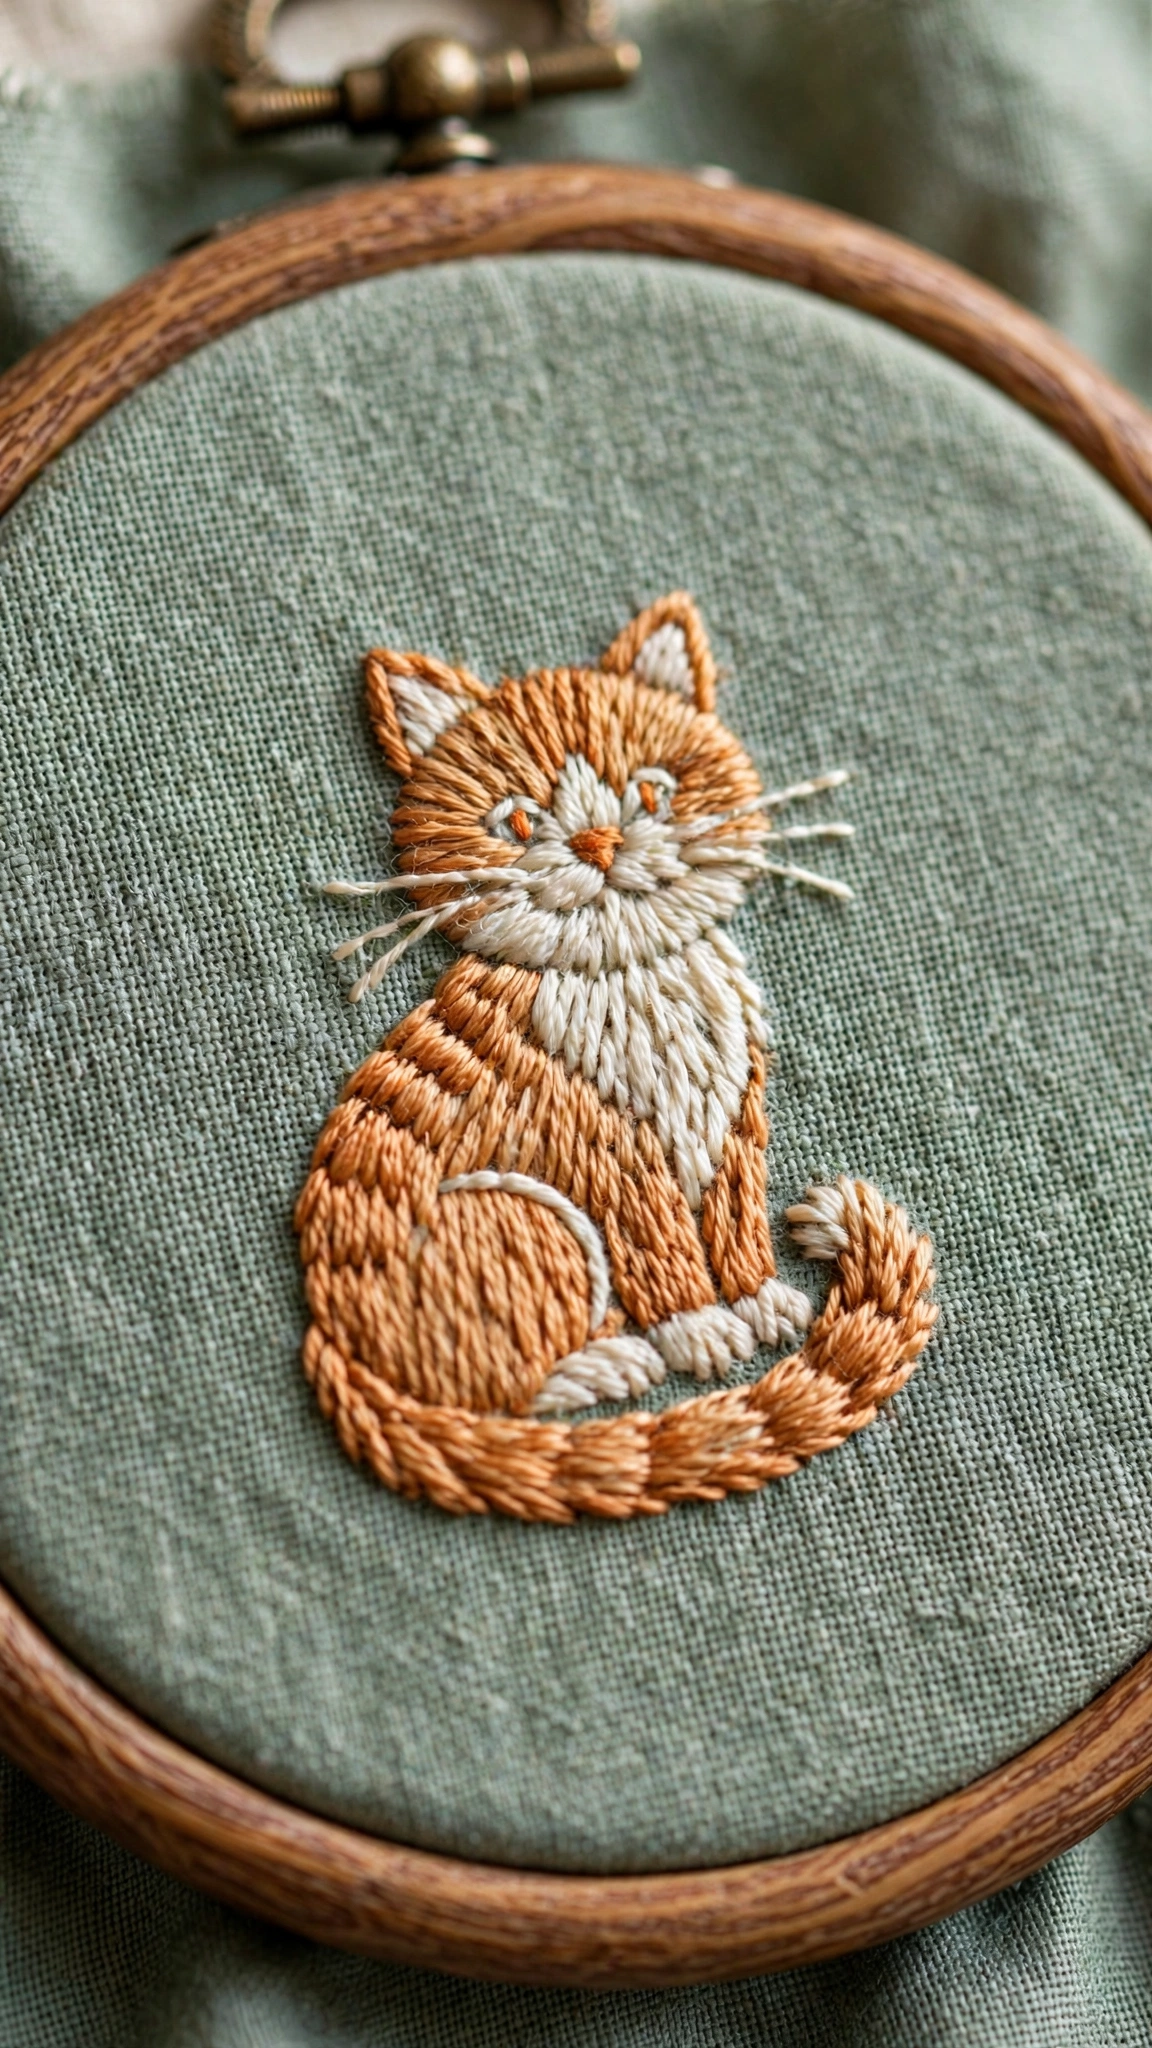
1. Cat
The classic first animal. A round head, triangle ears, and a curved body are all you need. Key stitches: backstitch for the outline, French knots or tiny straight stitches for the eyes, and a few straight stitches for whiskers. Difficulty: very easy. This is the perfect first animal because the silhouette is so forgiving. Tip: stitch the whiskers last, with a single strand, so they stay delicate.
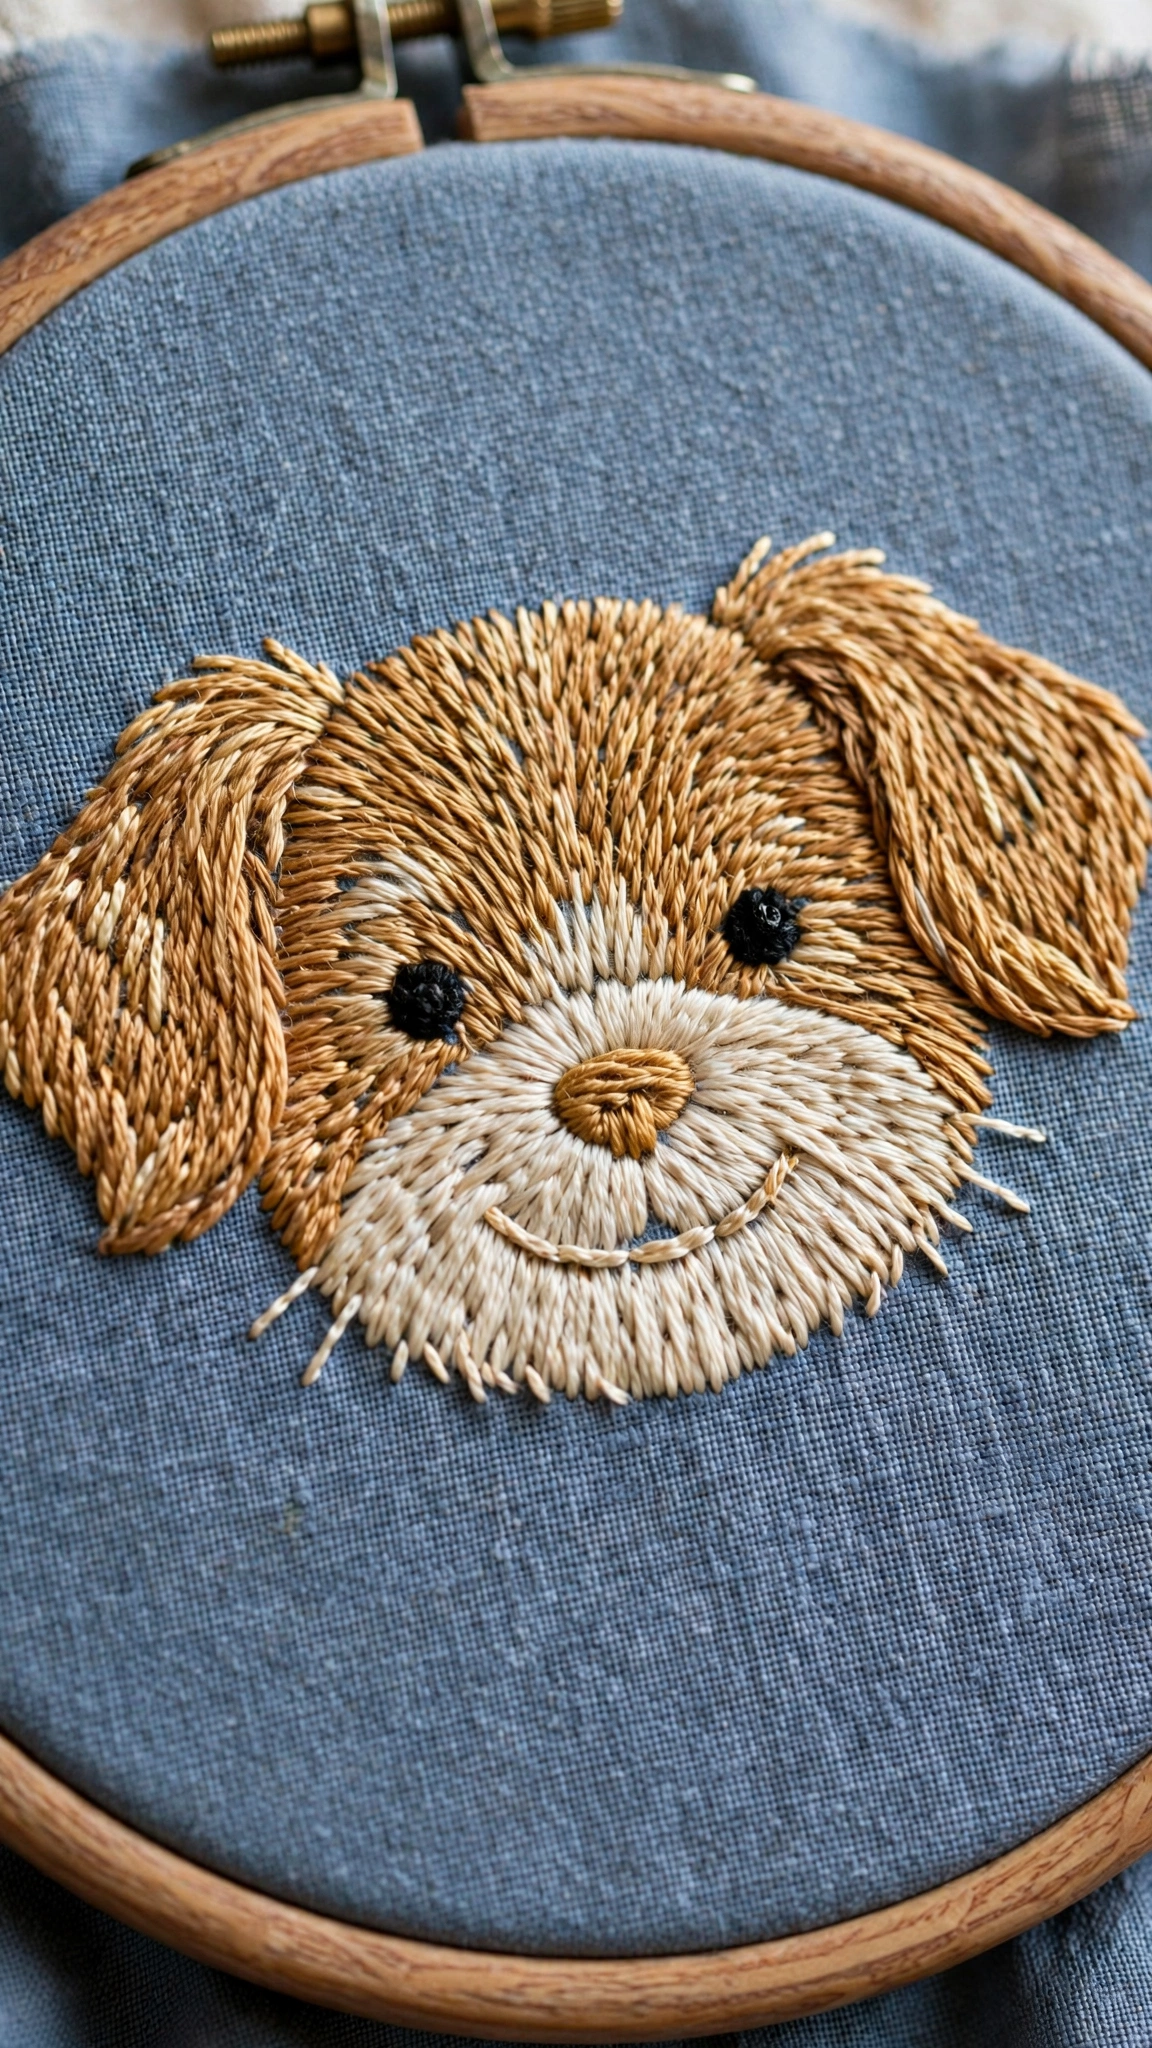
2. Dog
Choose a simple breed shape, like a round-faced pup with floppy ears, and you have a beginner-friendly design. Key stitches: backstitch outline, satin stitch or long and short stitch for the floppy ears, French knot nose. Difficulty: easy. The floppy ears are the defining feature, so give them a slightly darker thread than the face for instant character.
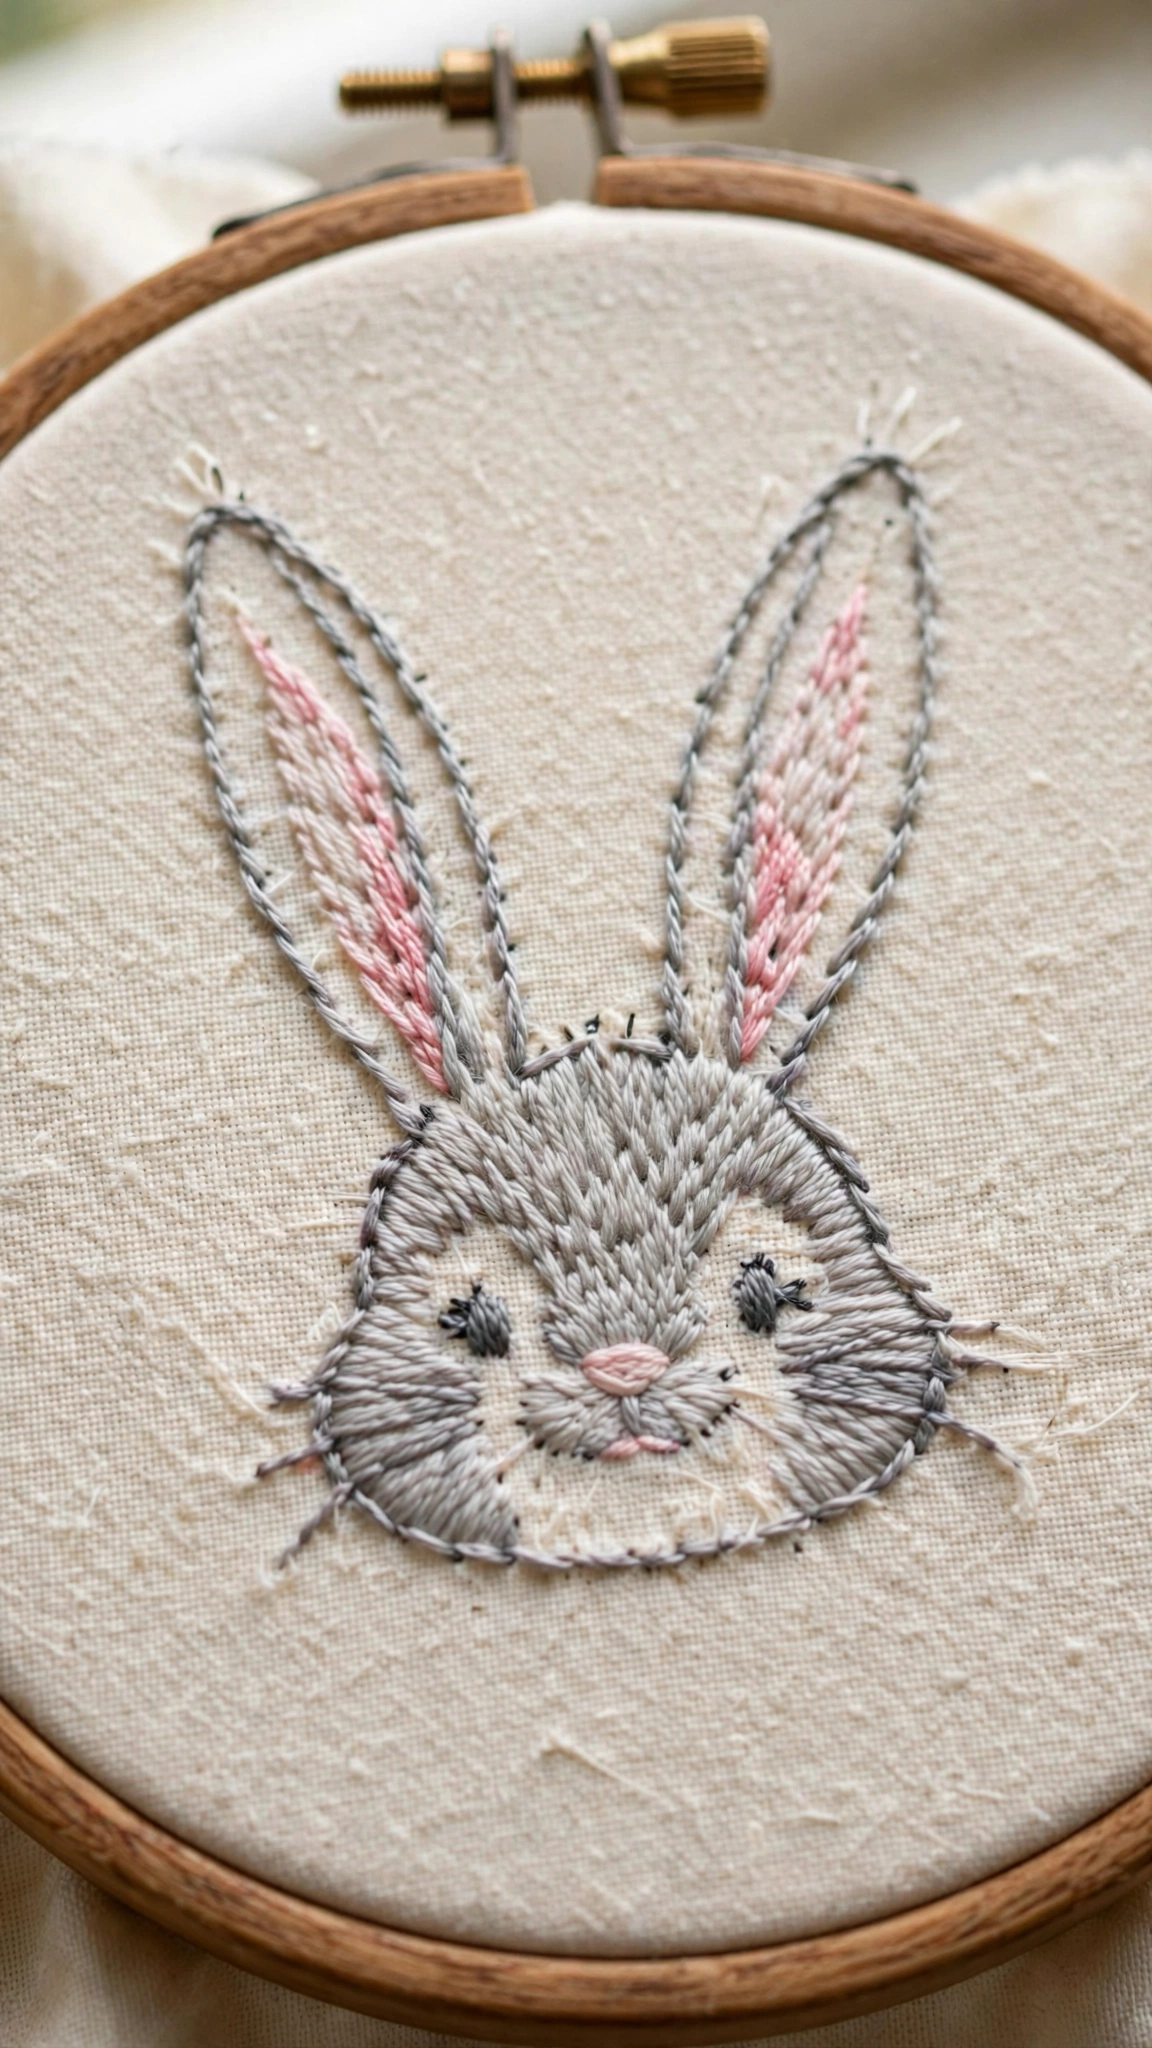
3. Bunny
A bunny is basically two ovals and two long ear shapes, which makes it wonderfully simple. Key stitches: backstitch or stem stitch outline, satin stitch for the inner ear in pink, French knot or satin stitch nose. Difficulty: very easy. Tip: make the ears long and slightly floppy for maximum cuteness, and add a tiny fluffy tail with a cluster of French knots in white.
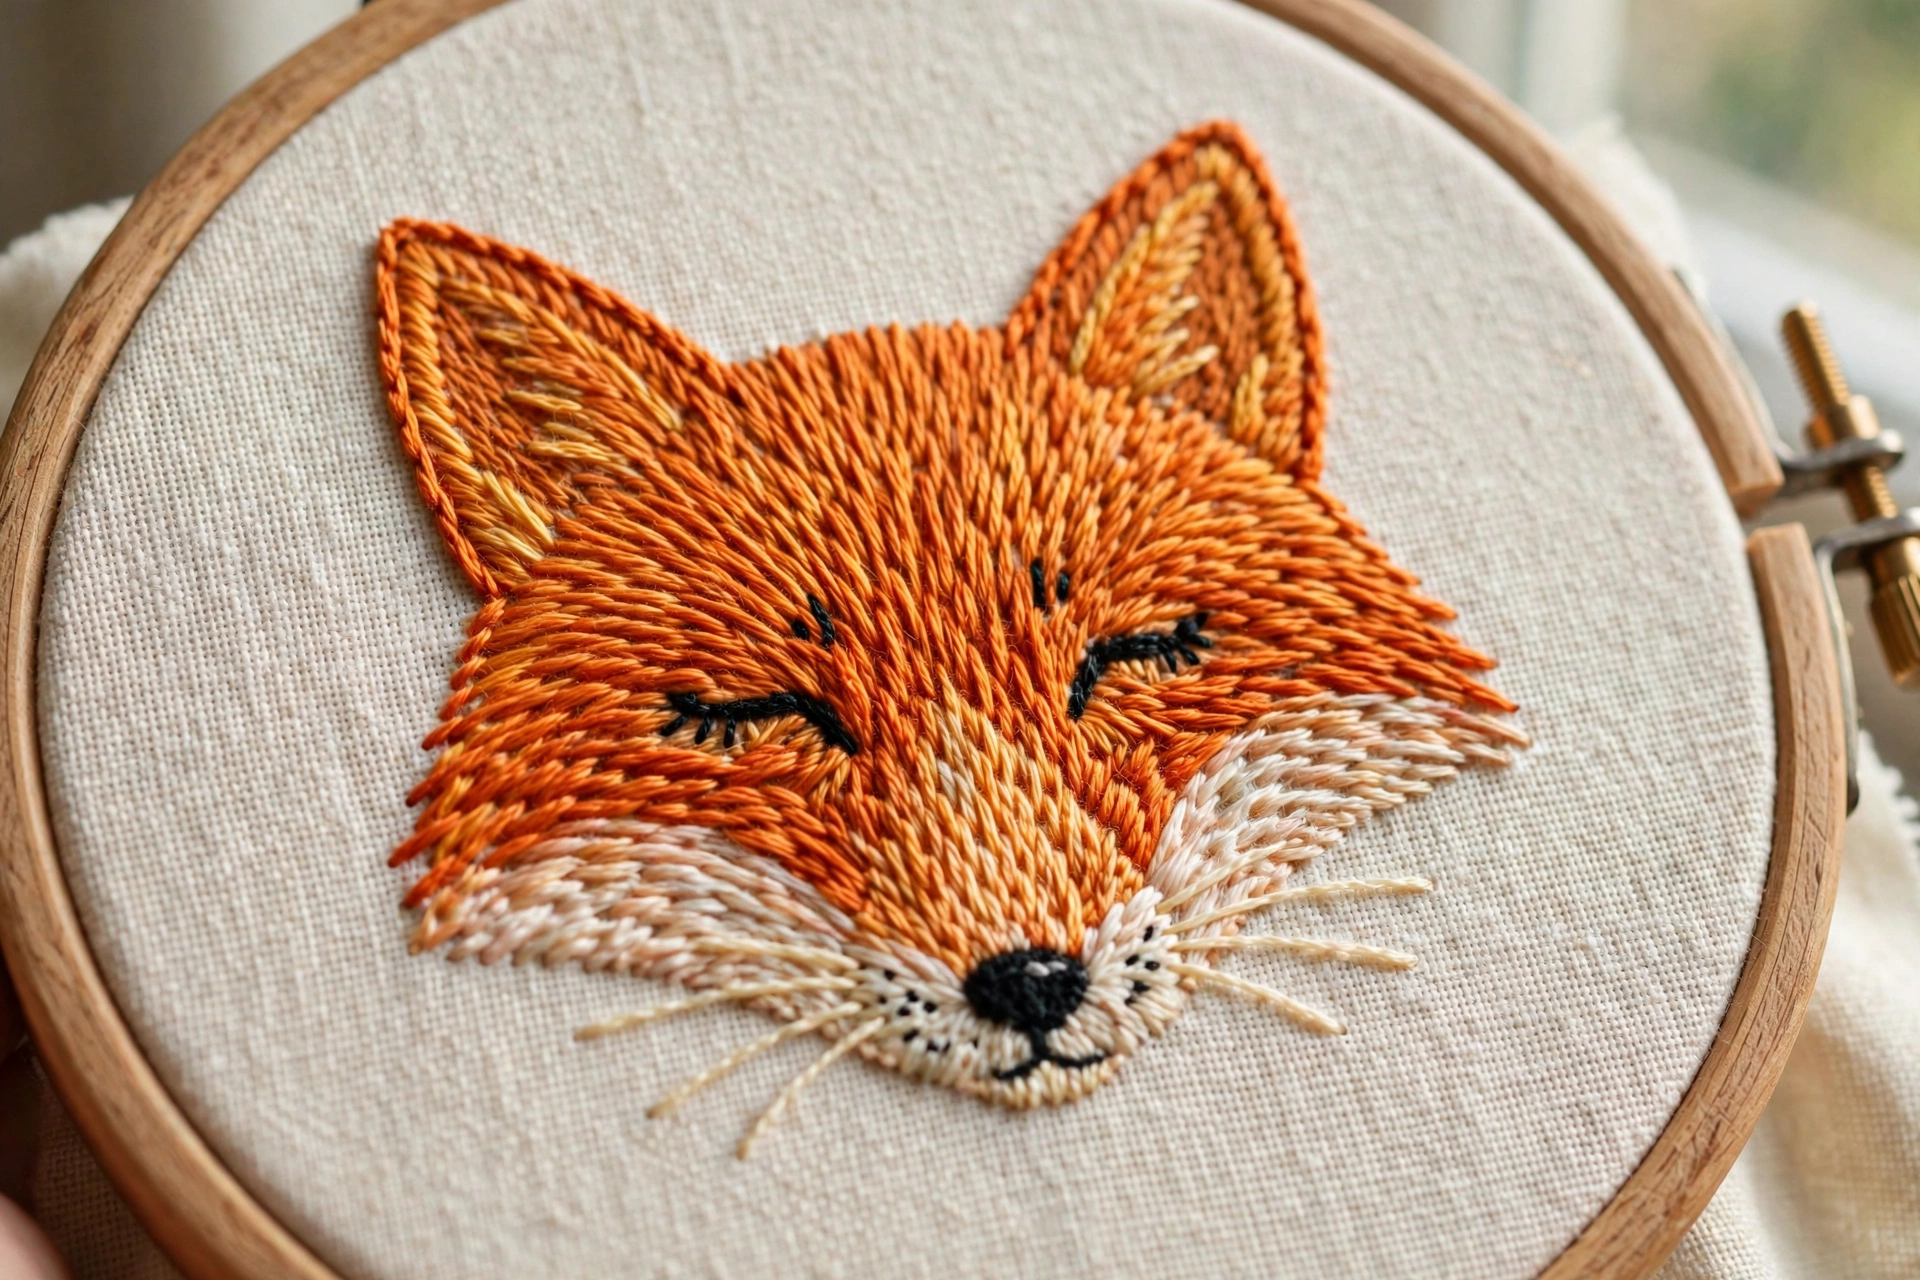
4. Fox
The fox is a favourite for autumn stitching. Its pointed face and big tail are distinctive even in simple form. Key stitches: backstitch outline, satin stitch or long and short stitch to fill the tail in orange, white straight stitches for the tail tip and chest. Difficulty: easy to medium. The tail fill is the biggest area, so take your time keeping the stitches smooth and in the same direction.
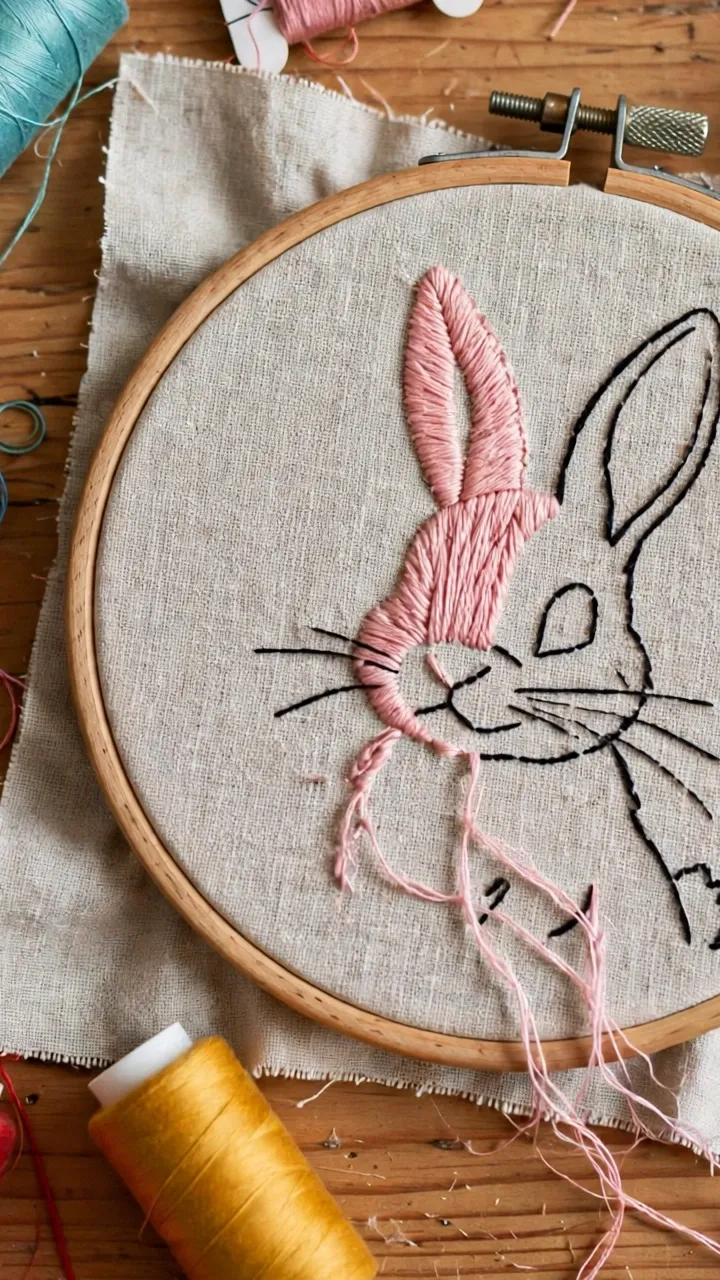
5. Bird
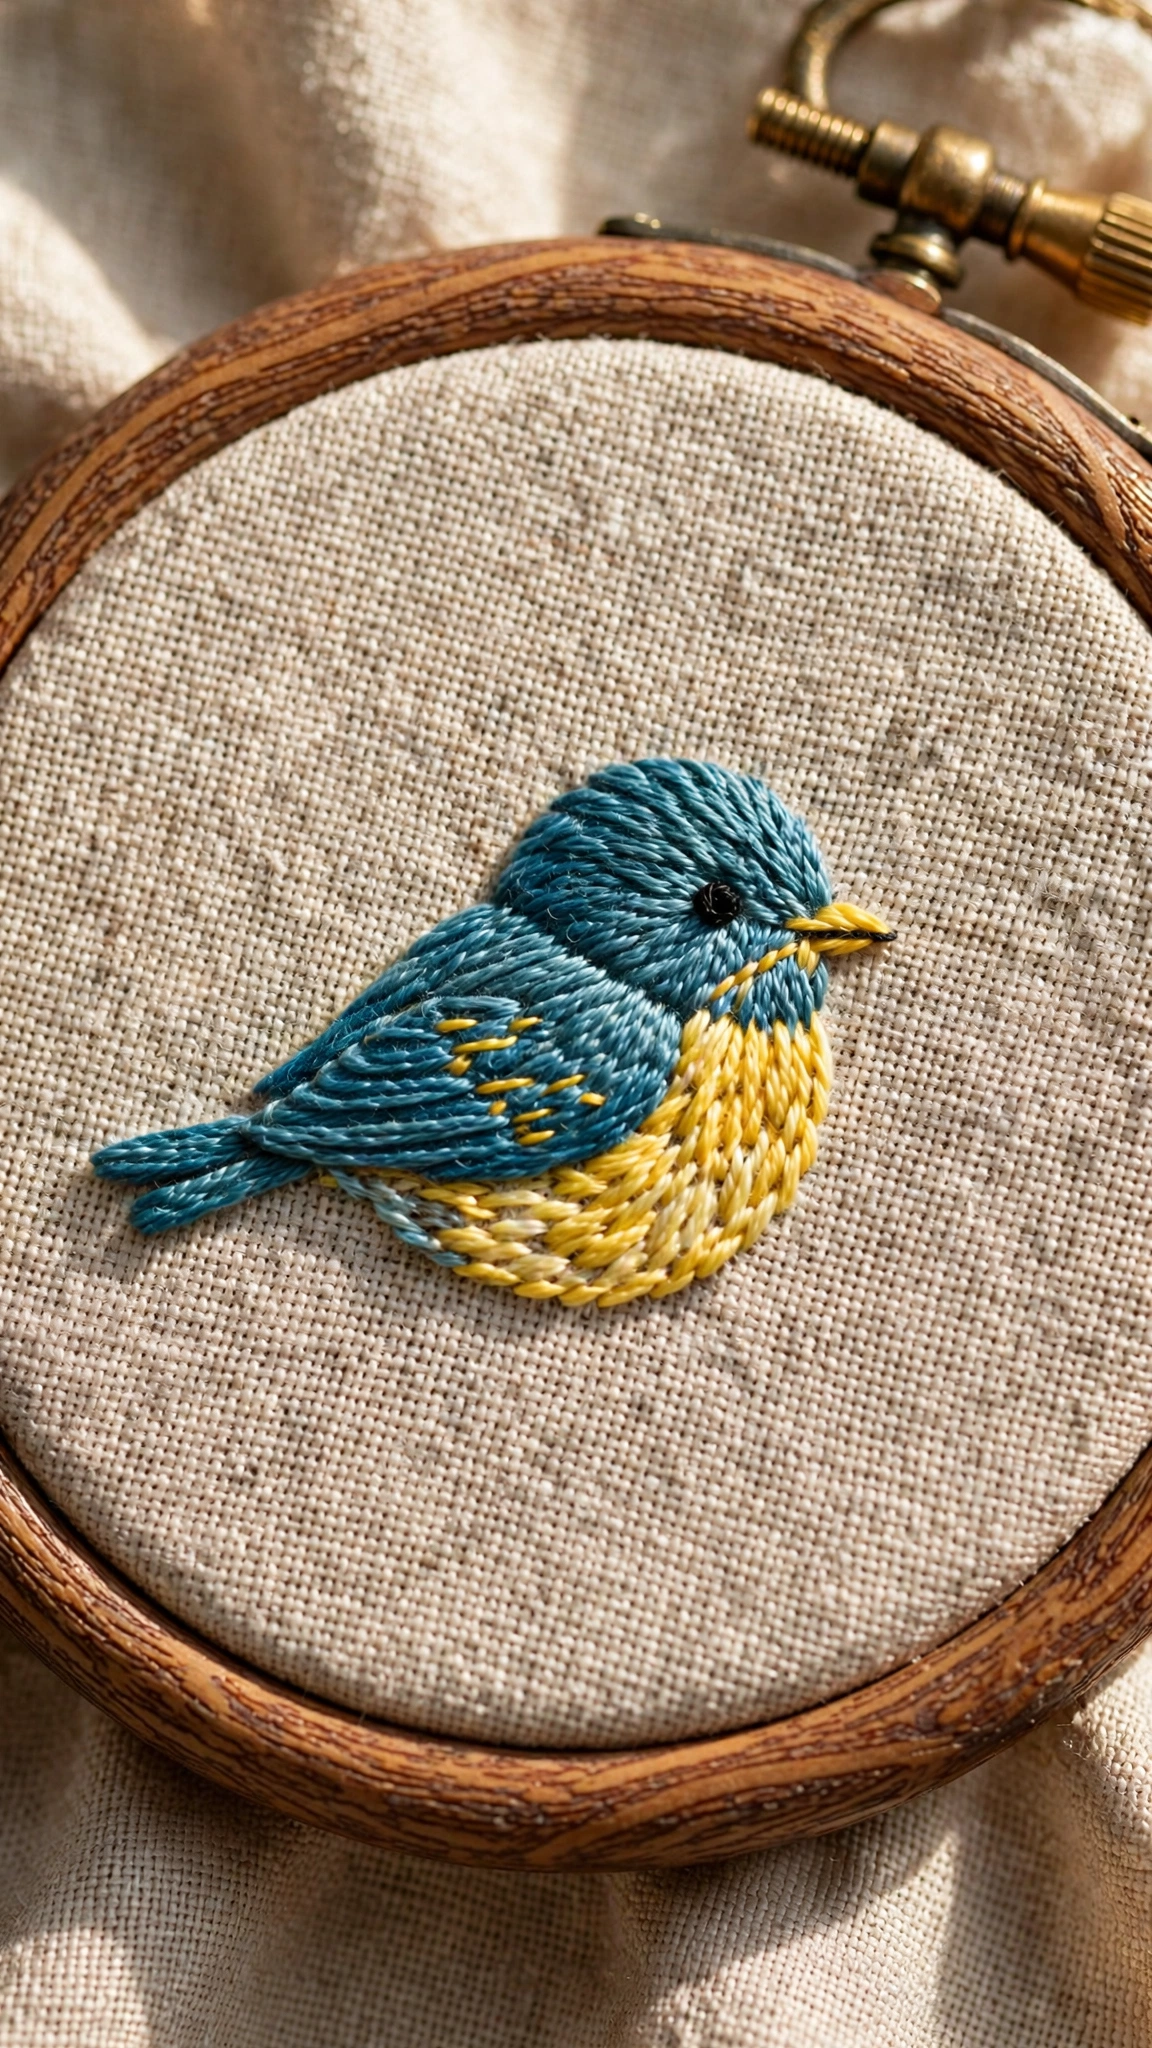
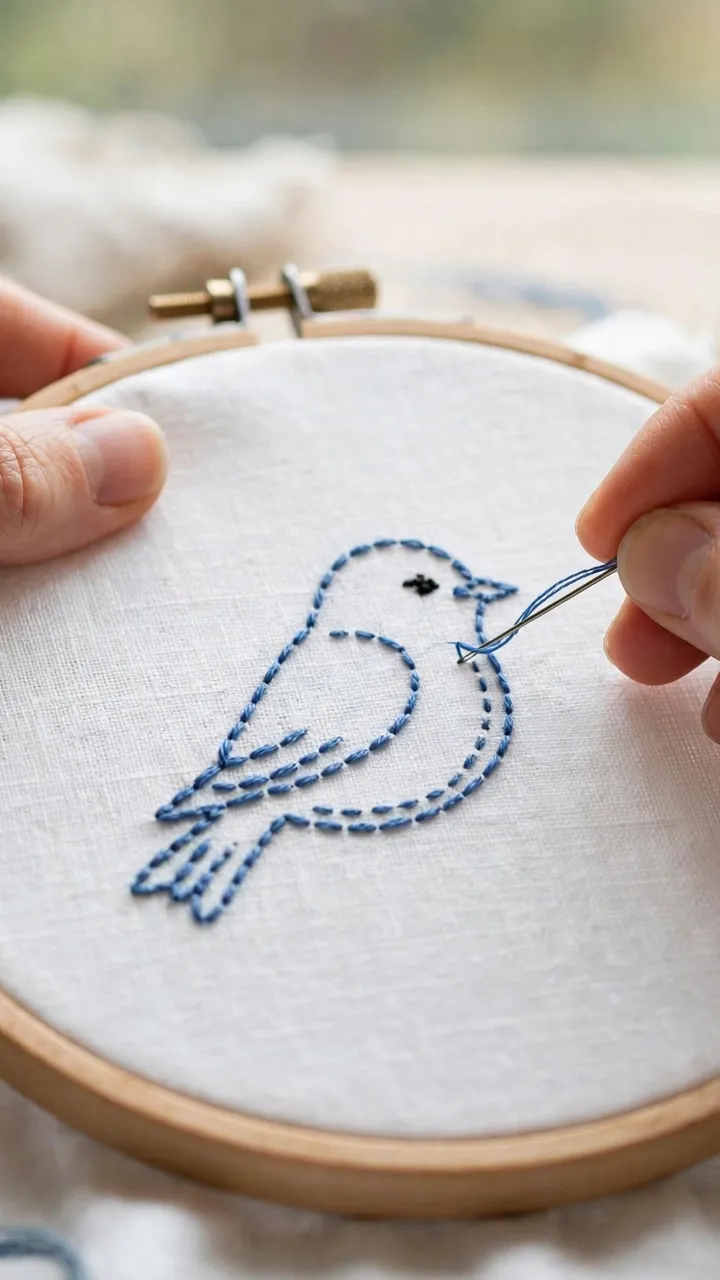
A little round bird is one of the quickest animals to stitch and one of the sweetest. Key stitches: backstitch or split stitch outline, satin stitch for the wing in a contrast colour, French knot eye, straight stitch beak. Difficulty: very easy. Tip: a fat, round body shape reads as cute instantly. Add tiny straight-stitch feet and your bird comes alive.
6. Bee
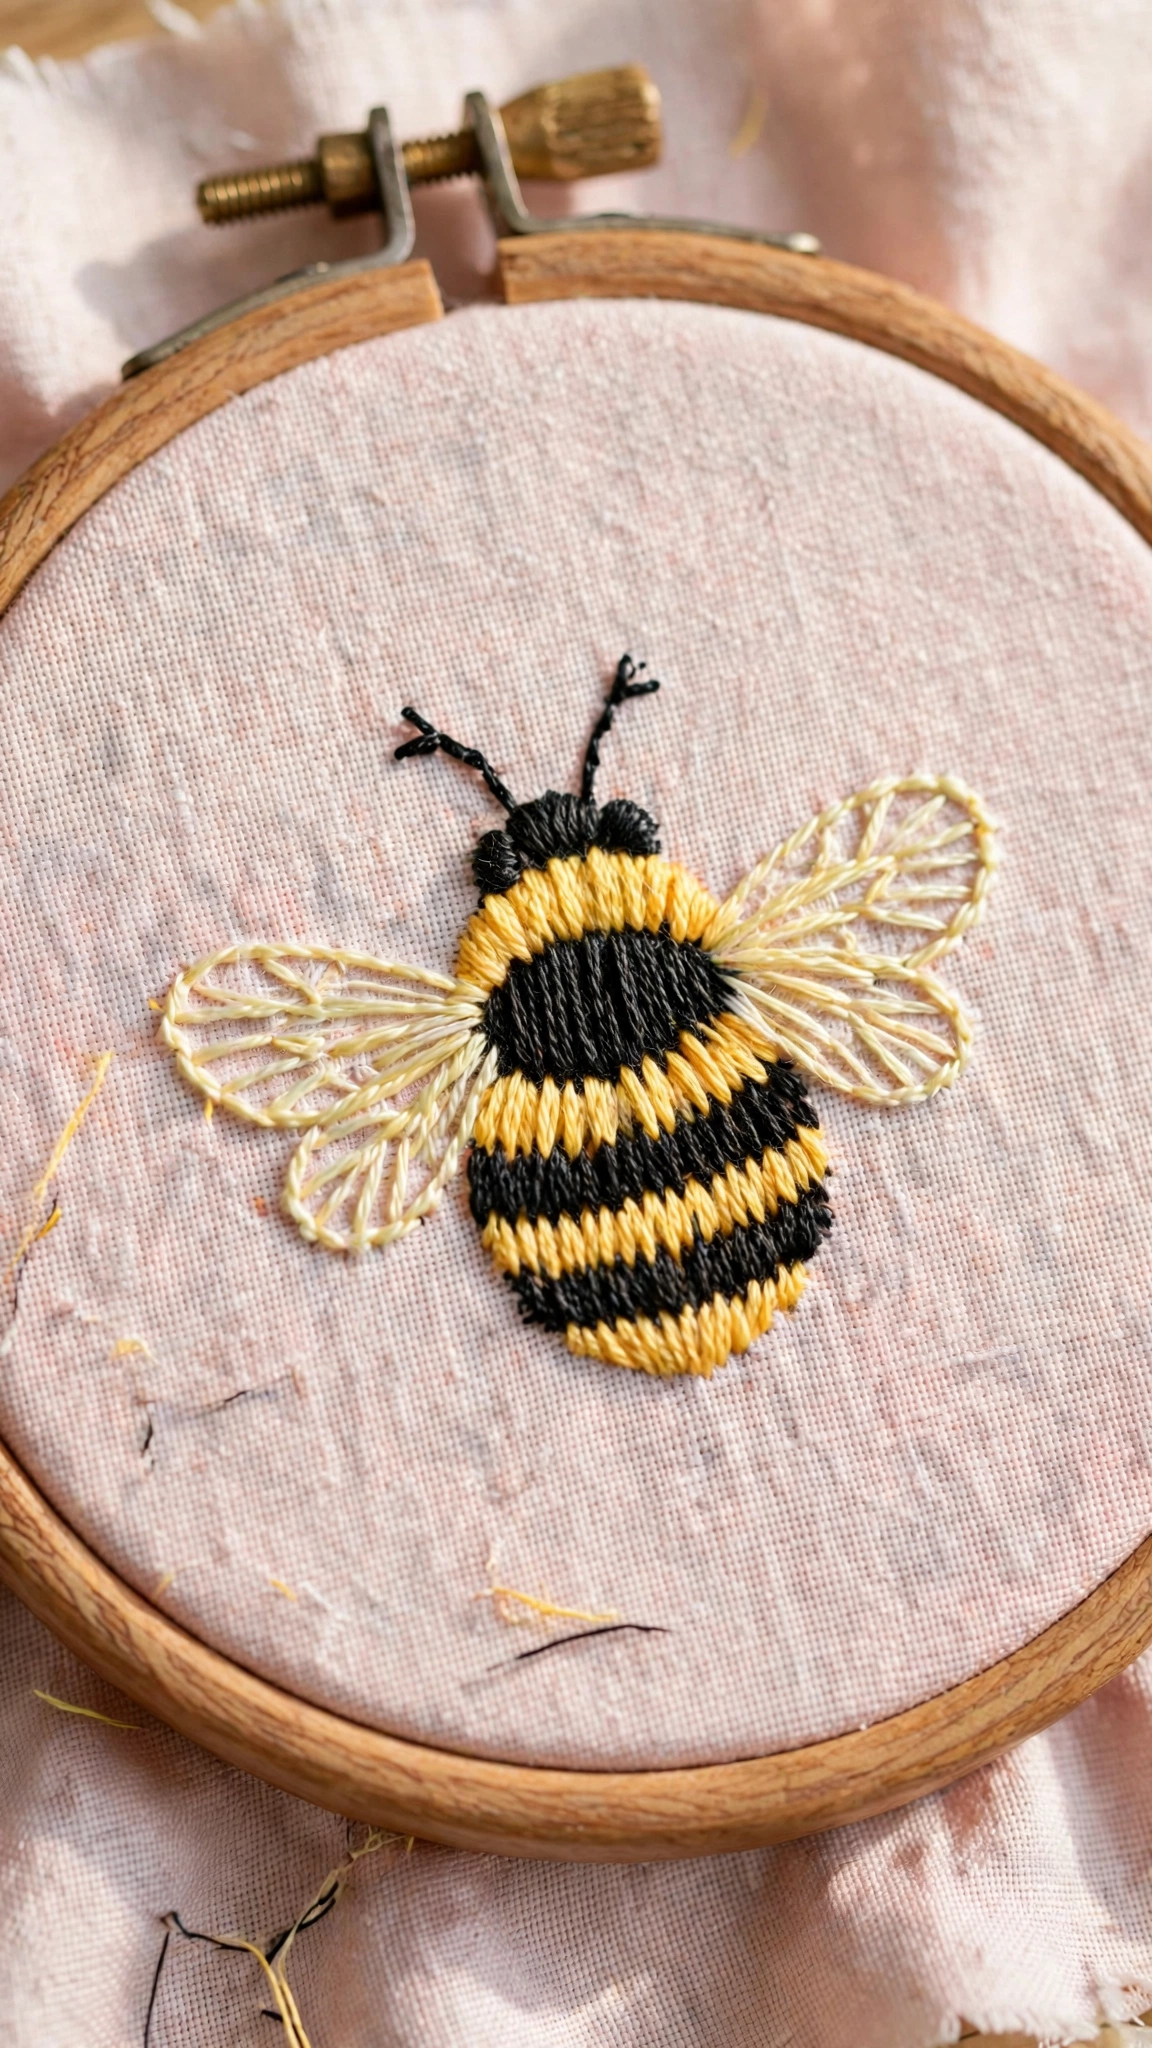
Small, cheerful, and perfect for filling gaps in larger designs. A bee is an oval body with stripes and two wing shapes. Key stitches: backstitch outline, satin stitch stripes in yellow and brown, lazy daisy stitches for the wings in white or pale blue. Difficulty: very easy. Lazy daisy wings give a lovely translucent look with almost no effort.
7. Butterfly
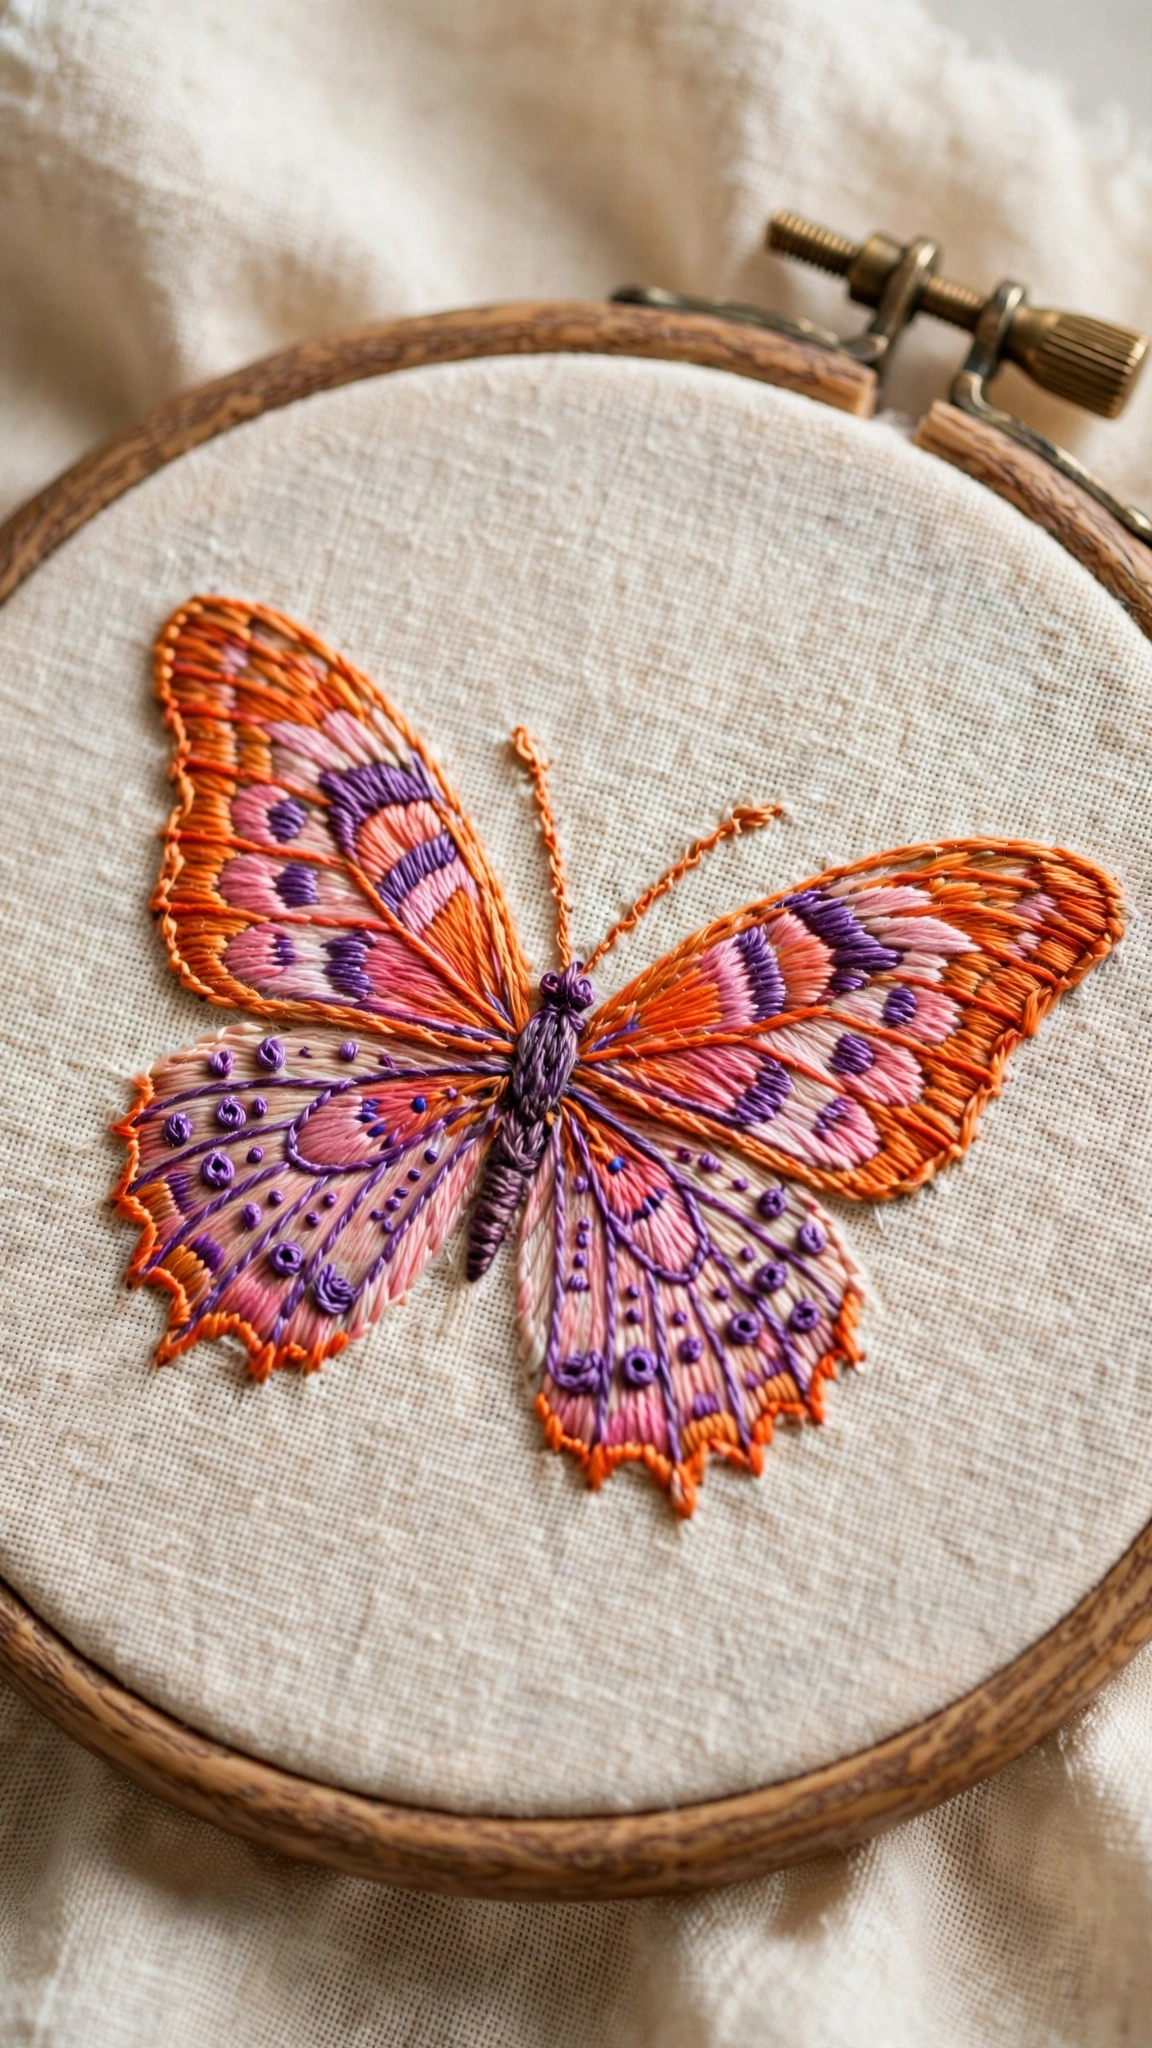
Butterflies let you play with colour and symmetry, which makes them addictive. Key stitches: backstitch outline, satin stitch or long and short stitch for wing fills, French knots for the body and wing dots. Difficulty: easy. Tip: work both wings the same way for pleasing symmetry. Mark the wing divisions lightly first so your colour sections match.
8. Fish
A simple fish shape suits bold outlines and bright colours. Key stitches: backstitch or stem stitch outline, satin stitch for the body in one colour, a contrasting tail, French knot eye, straight stitch scales if you like. Difficulty: very easy. Tip: curve the body slightly and angle the tail for a sense of movement rather than a stiff straight fish.
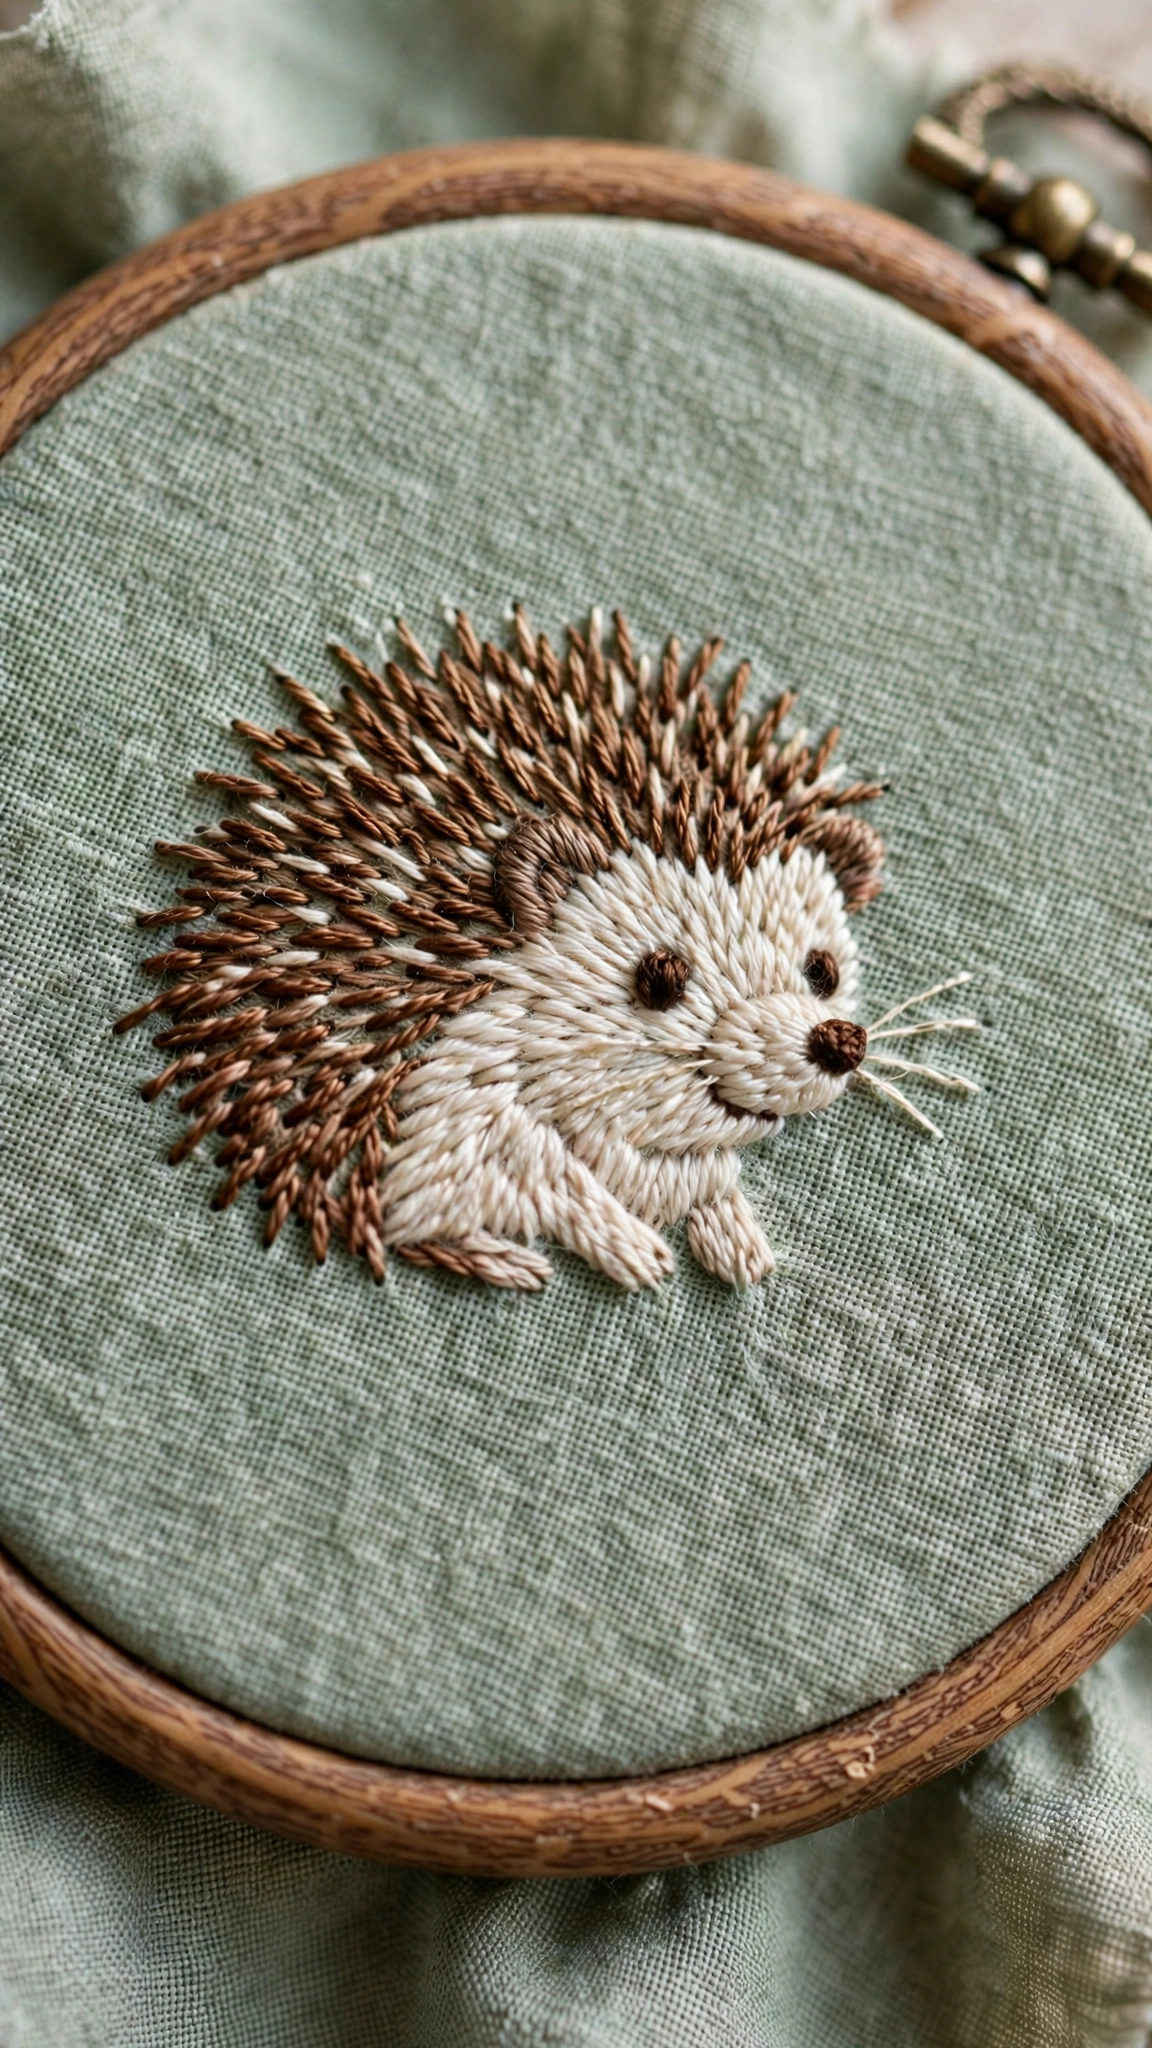
9. Hedgehog
The hedgehog looks complicated because of the spines, but it is secretly one of the easiest textures to stitch. Key stitches: backstitch outline for the face and body, straight stitches in varying lengths for the spines, French knot eye and nose. Difficulty: easy. The spines are just lots of short straight stitches radiating outward, wonderfully forgiving and very effective.
10. Owl
An owl’s big round eyes do all the work, which makes it ideal for beginners. Key stitches: backstitch outline, satin stitch or long and short stitch for the body, large French knots or satin stitch circles for the eyes, straight stitch feet. Difficulty: easy to medium. Tip: make the eyes the largest feature and place them close together. Add small feather texture with short straight stitches on the belly.
Fur and Feather Texture Tips With Simple Stitches
You do not need advanced stitches to suggest fur or feathers. The trick is stitch direction and layering, not complexity.
- Straight stitch fur: Fill the area with short straight stitches that all follow the direction the fur would grow, usually outward from the body centre. Vary the lengths slightly and overlap them. This works beautifully for hedgehogs, cats, and fox tails.
- Layered rows for feathers: Stitch rows of short straight stitches or tiny lazy daisies in overlapping rows, like roof tiles, starting at the bottom of the wing and working upward. Each row overlaps the one below. This gives birds and owls believable feathering with a beginner stitch.
- Two tones for depth: Use two close shades of the same colour, for example a medium and a dark brown. Stitch the darker shade in the shadow areas, like under the chin or at the base of the tail, and the lighter shade where light would hit. This single trick adds more realism than any fancy stitch.
- Leave breathing room: Texture reads best when it is not packed solid. Slightly spaced stitches with fabric peeking through look like soft fur. Dense packing looks stiff, so resist the urge to fill every gap.
Choosing Colours for Cute Animals
Beginners often reach for realistic colours, but cute embroidery rewards playful choices. A pink fox, a teal cat, or a rainbow butterfly will charm everyone. If you do want natural colours, pick three tones of your main colour: a light, a medium, and a dark. The medium covers most of the body, the dark adds shadow and outline, and the light adds highlights on the head and back.
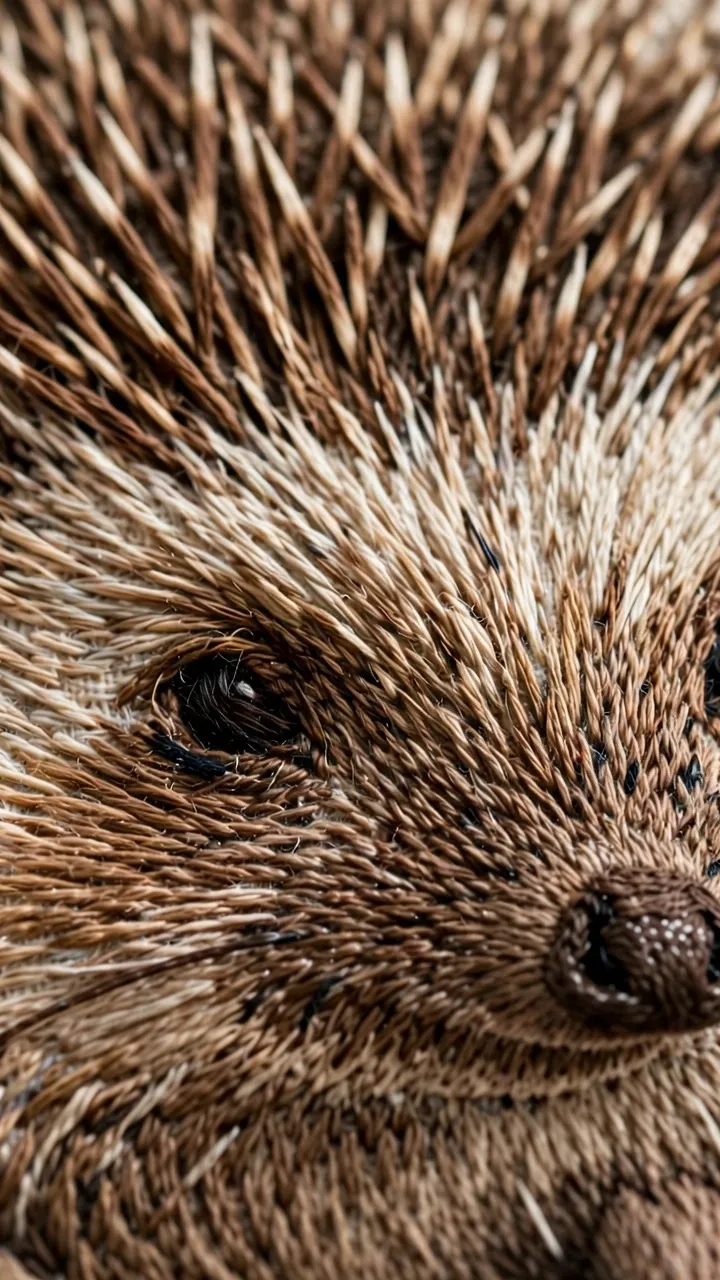
For faces, keep it simple: dark brown or black for eyes and noses reads clearly at any size. Tiny white highlight stitches in the eyes, just one or two straight stitches, give your animals a lively, friendly expression.
Mistakes to Avoid
- Drawing too much detail into the pattern. Beginners often sketch every whisker, claw, and fur line, then struggle to stitch it all. Start with the silhouette and three features. You can always add texture while stitching.
- Making the eyes too small or too far apart. Eyes carry the whole expression. Bigger, closer-set eyes read as cute. Tiny, wide-set eyes read as worried. When in doubt, enlarge the eyes slightly.
- Using too many strands for small animals. A two-inch bunny stitched in six strands looks chunky and loses its delicacy. Use one or two strands for small designs and save thicker thread for larger pieces.
- Outlining everything in black. A dark outline in the animal’s own colour family, like dark brown around a brown dog, looks softer and more professional than harsh black on every edge.
- Stitching fur against the growth direction. Fur stitched in random directions looks messy rather than fluffy. Take a moment to decide which way the fur flows on each body part and keep your stitches consistent.
- Skipping the test face. Faces are the hardest part to get right. Stitch the eyes and nose on a scrap of fabric first to check the size and spacing before committing to your main piece.
Putting It All Together: Your First Animal Project
If you are not sure where to start, begin with the bird or the bee. Both use only two or three stitches, finish quickly, and teach you the core skills of outlining, simple fills, and placing a face. Once you have one small success under your belt, the bunny and cat are natural next steps, and then you can work your way up to the fox and owl with their larger filled areas.
Remember that every expert animal stitcher started with a wobbly first cat. Your early animals do not need to be perfect to be delightful. A slightly lopsided bunny with a cheerful face will make someone smile just as surely as a flawless one. Pick the animal that makes you happiest, thread your needle, and start stitching your own little menagerie.