Some threads refuse to go through a needle. Wool yarn, chunky perle cotton, metallic cord, ribbon: all gorgeous, all needle-proof. Couching is the workaround, and it is embarrassingly simple. You lay the thick thread on the fabric exactly where you want the line, then you tack it down with tiny stitches in a thinner thread, like stapling a rope to a board. The thick thread never passes through the fabric at all. This couching stitch beginners guide exists because I bought a skein of mustard wool yarn on impulse with no plan for it, couched my first line out of desperation, and that line is still the best-looking curve I have ever stitched.
The vocabulary, because patterns assume you know it: the thick thread is the laid thread, and the thin thread doing the tacking is the couching thread. The little tacking stitches are couching stitches. Three terms, and you now speak fluent couching.
What you need
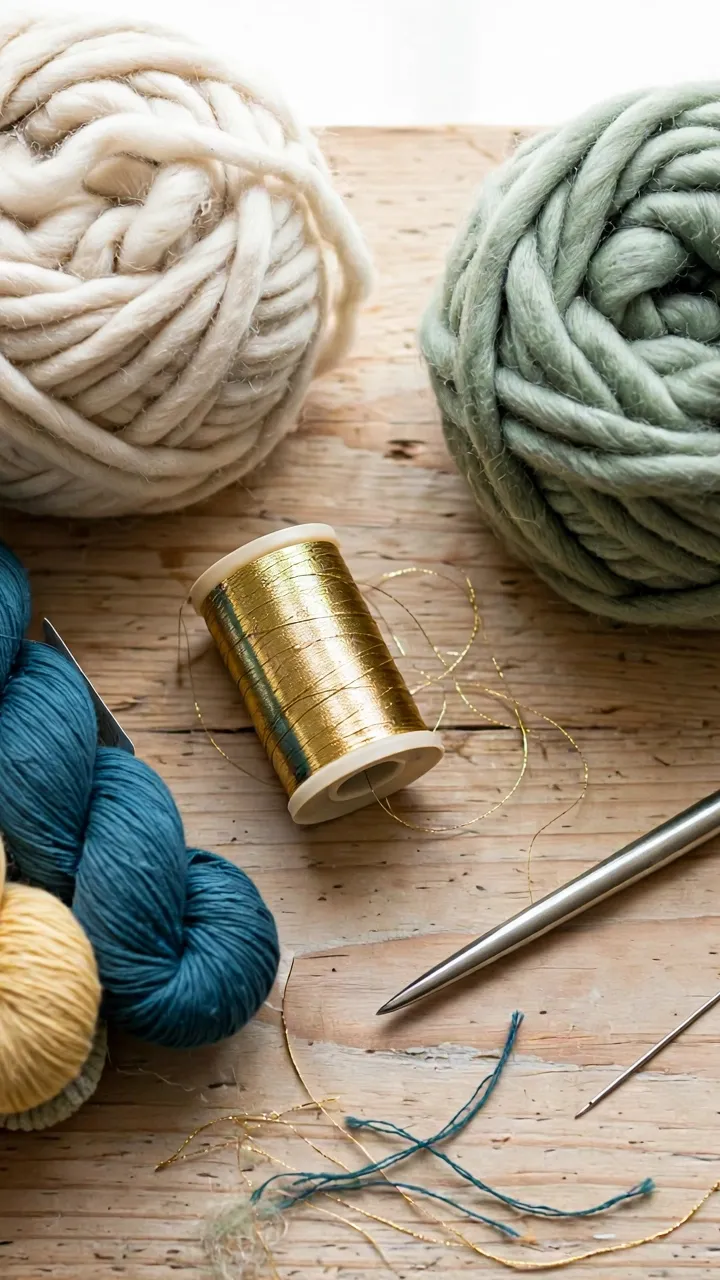
A laid thread: perle cotton size 5, a strand of wool yarn, DMC Diamant metallic, or even thin ribbon. A couching thread: one or two strands of regular DMC floss, matching or contrasting on purpose. A chenille or tapestry needle with a big eye for wrangling the laid thread into position, and your usual embroidery needle, mine is a John James size 7, for the tacking. Fabric hooped drum-tight, because couching on slack fabric makes the laid thread wander like it has somewhere better to be.
The method, in five moves
1. Lay the thread along your line
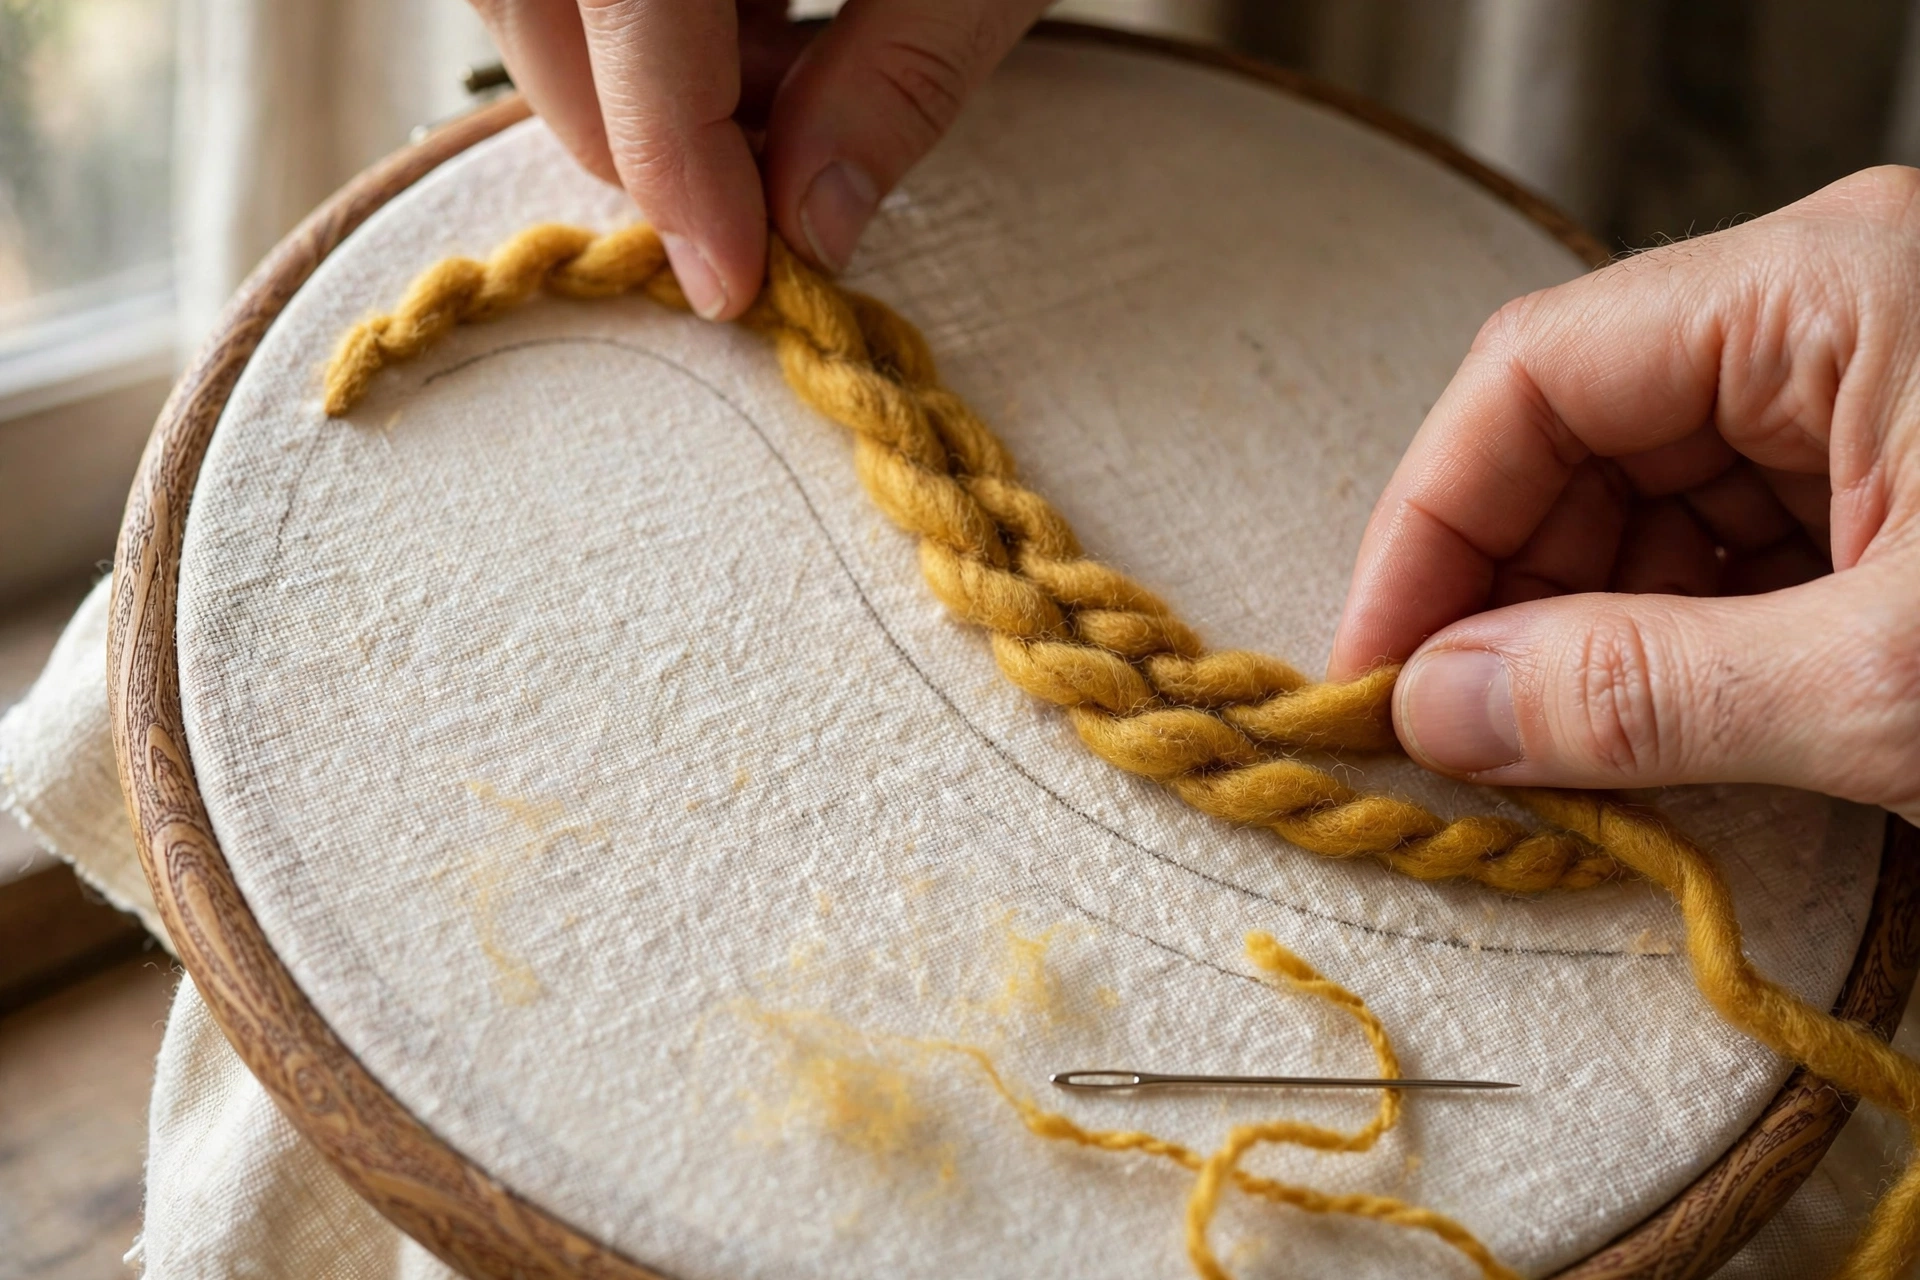
Cut a length of laid thread, about eighteen inches, and position it along your marked line. Leave a one-inch tail at the start. On curves, ease the thread around rather than pulling it straight; a pulled-tight laid thread cuts corners, literally, and your curve becomes a polygon.
2. Anchor the start
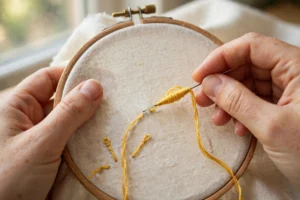
Bring the couching thread up just beside the laid thread, take it over the laid thread, and down on the other side. Two or three of these right at the start lock the tail. Tuck the tail under later or thread it to the back with the big-eye needle.
3. Tack every eighth of an inch
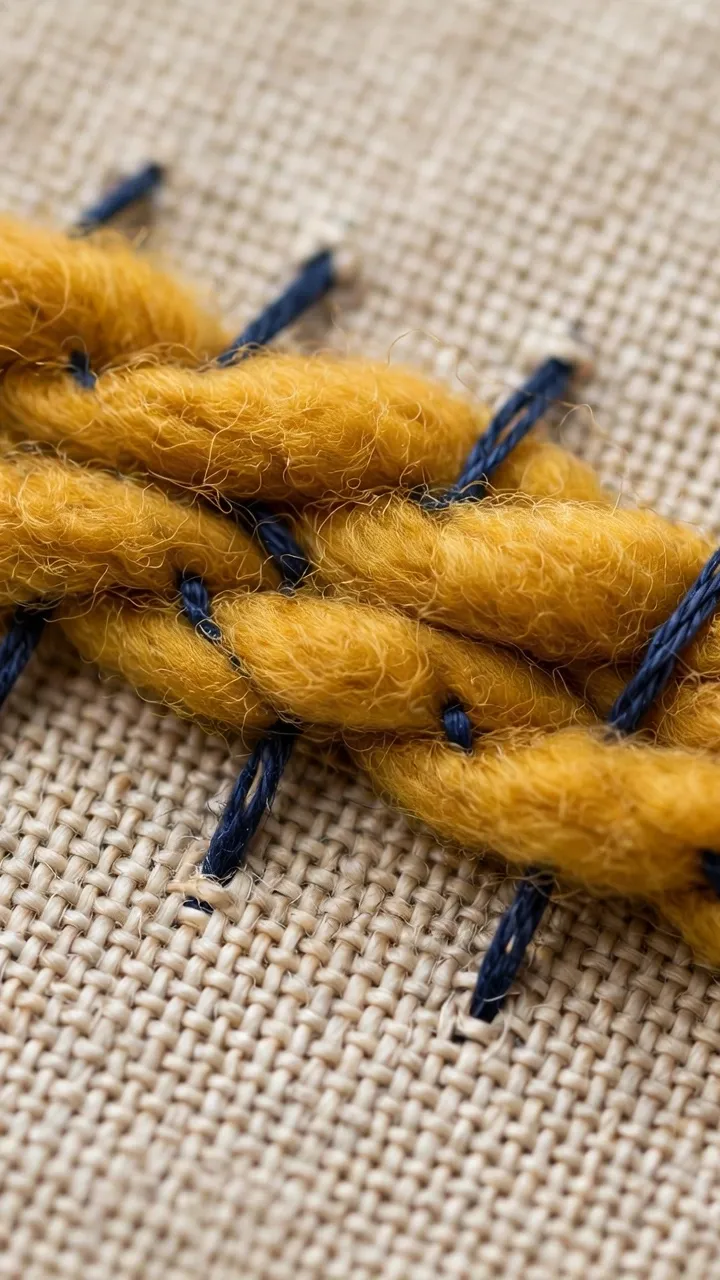
Work along the line, placing small perpendicular stitches over the laid thread every eighth of an inch, closer on tight curves, every sixteenth. Each couching stitch should be just wide enough to straddle the laid thread: no wider, or it looks like railroad ties. Keep them evenly spaced, because spacing is the whole visual rhythm of couching. Uneven spacing is the difference between handmade and homemade.
4. Mind the curves
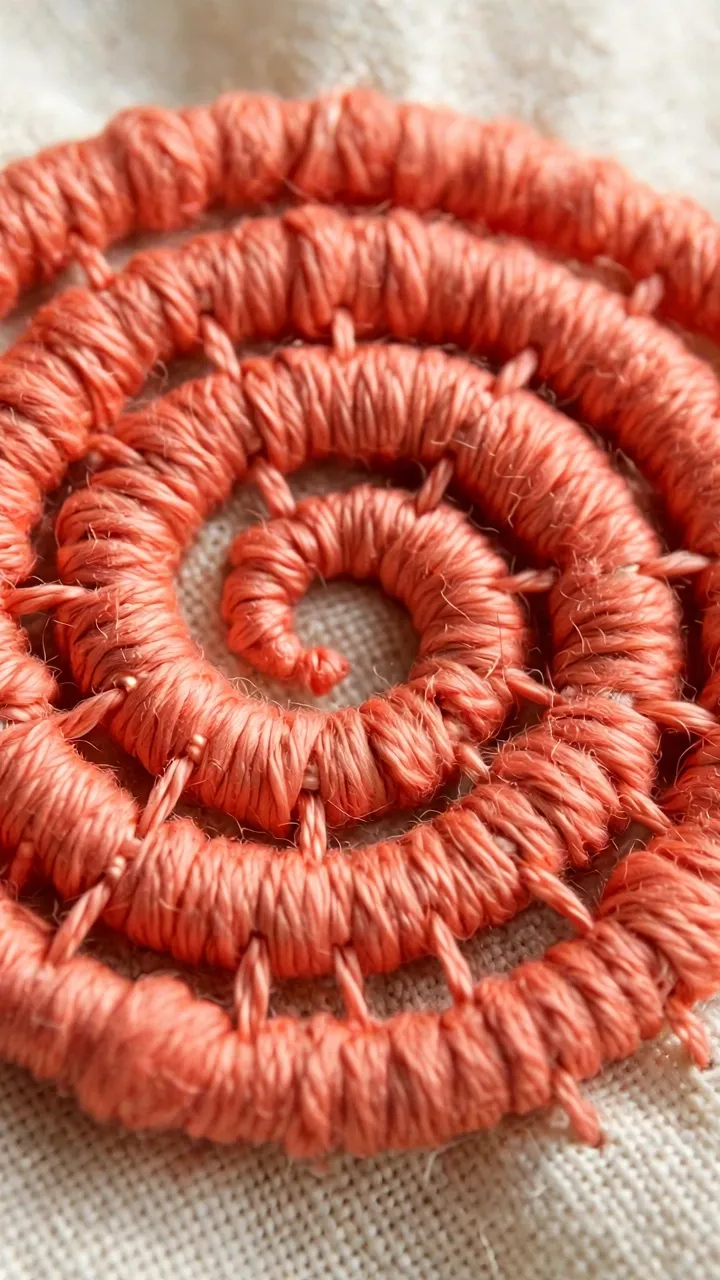
On the inside of a curve, the laid thread wants to buckle. Place your couching stitches closer together there and let the thread relax into the bend. Never stretch the laid thread around a curve. Ease, do not pull.
5. Finish the end like the start
Two or three tight couching stitches at the end, then take the tail to the back with the tapestry needle and weave it under nearby stitches. Trim to an eighth of an inch.
Couching stitch beginners: four things to couch, ranked by fun
Wool yarn outlines. The beginner jackpot. A fat wool line around a simple shape looks like crewel work from 1970 in the best way, and it covers wobbly marking completely.
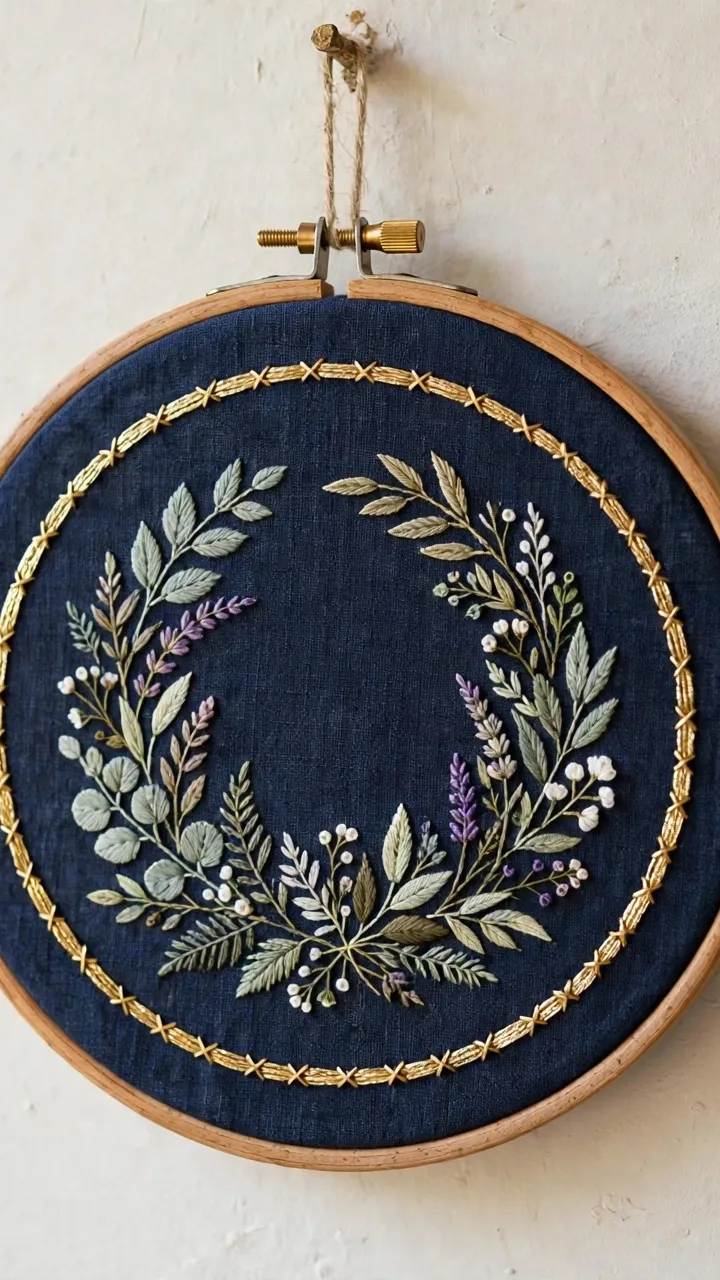
Metallic cord. DMC Diamant costs about four dollars a skein and shreds if you stitch with it normally. Couched, it behaves perfectly and looks like actual goldwork. This is the cheat code for fancy.
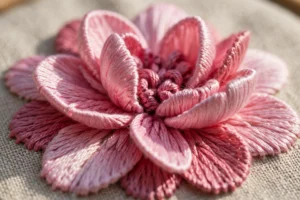
Perle cotton spirals. Size 5 perle couched in a spiral makes a rose that takes six minutes and fools everyone. Contrast the couching thread for a peppermint look, match it for subtlety.
Ribbon lines. Silk ribbon couched flat gives wide satiny stripes for stems and borders. Keep the ribbon untwisted as you lay it or it ropes up on you.
The tacking stitch has opinions
The couching stitch does not have to be invisible. Match it to the laid thread and the line reads as one continuous cord. Contrast it, mustard couching thread on navy yarn, and you get a stitched, textured look with visible rhythm. Slant the couching stitches instead of placing them perpendicular and the line gets a barber-pole energy. Vary the spacing deliberately, pairs of close stitches with gaps between, and it turns decorative. One technique, four personalities, and you have not learned a new stitch for any of them.
What goes wrong
Spacing drift. Couching stitches that start at an eighth of an inch and end at a quarter look accidental. Mark the spacing with a water-soluble pen on long lines. Dots, not guesses.
Couching thread too thick. Three strands of floss over perle cotton looks clunky. One or two strands is the range. The tacking should whisper, not shout.
Pulling the laid thread taut on curves. Said above, saying again, because every beginner does it once. The thread springs back, the curve kinks, and you get to redo it. Ease around bends like you are driving on ice.
The needle splits the laid thread. This happens when your couching needle comes up through the laid thread instead of beside it, usually because you are stitching too fast on the second pass. Slow down and watch where the needle exits the fabric. Come up a full thread width away from the laid line, then lay the needle across it before taking the next stitch down. If the laid thread is a loosely twisted yarn, roll it gently between your fingers first so the plies sit snug. A split laid thread cannot be unseen, so this is worth the extra ten seconds per stitch.
Couching is the stitch for every beautiful thread that will not fit through a needle, which is to say it is the stitch for the entire impulse-buy section of the craft store. Once you have laid and tacked a few lines, compare the line quality against the classics: my backstitch versus stem stitch breakdown shows what each regular outline stitch does best. If you are still building your foundation, the basic stitches guide is the place to start. Now go rescue that yarn from the drawer.