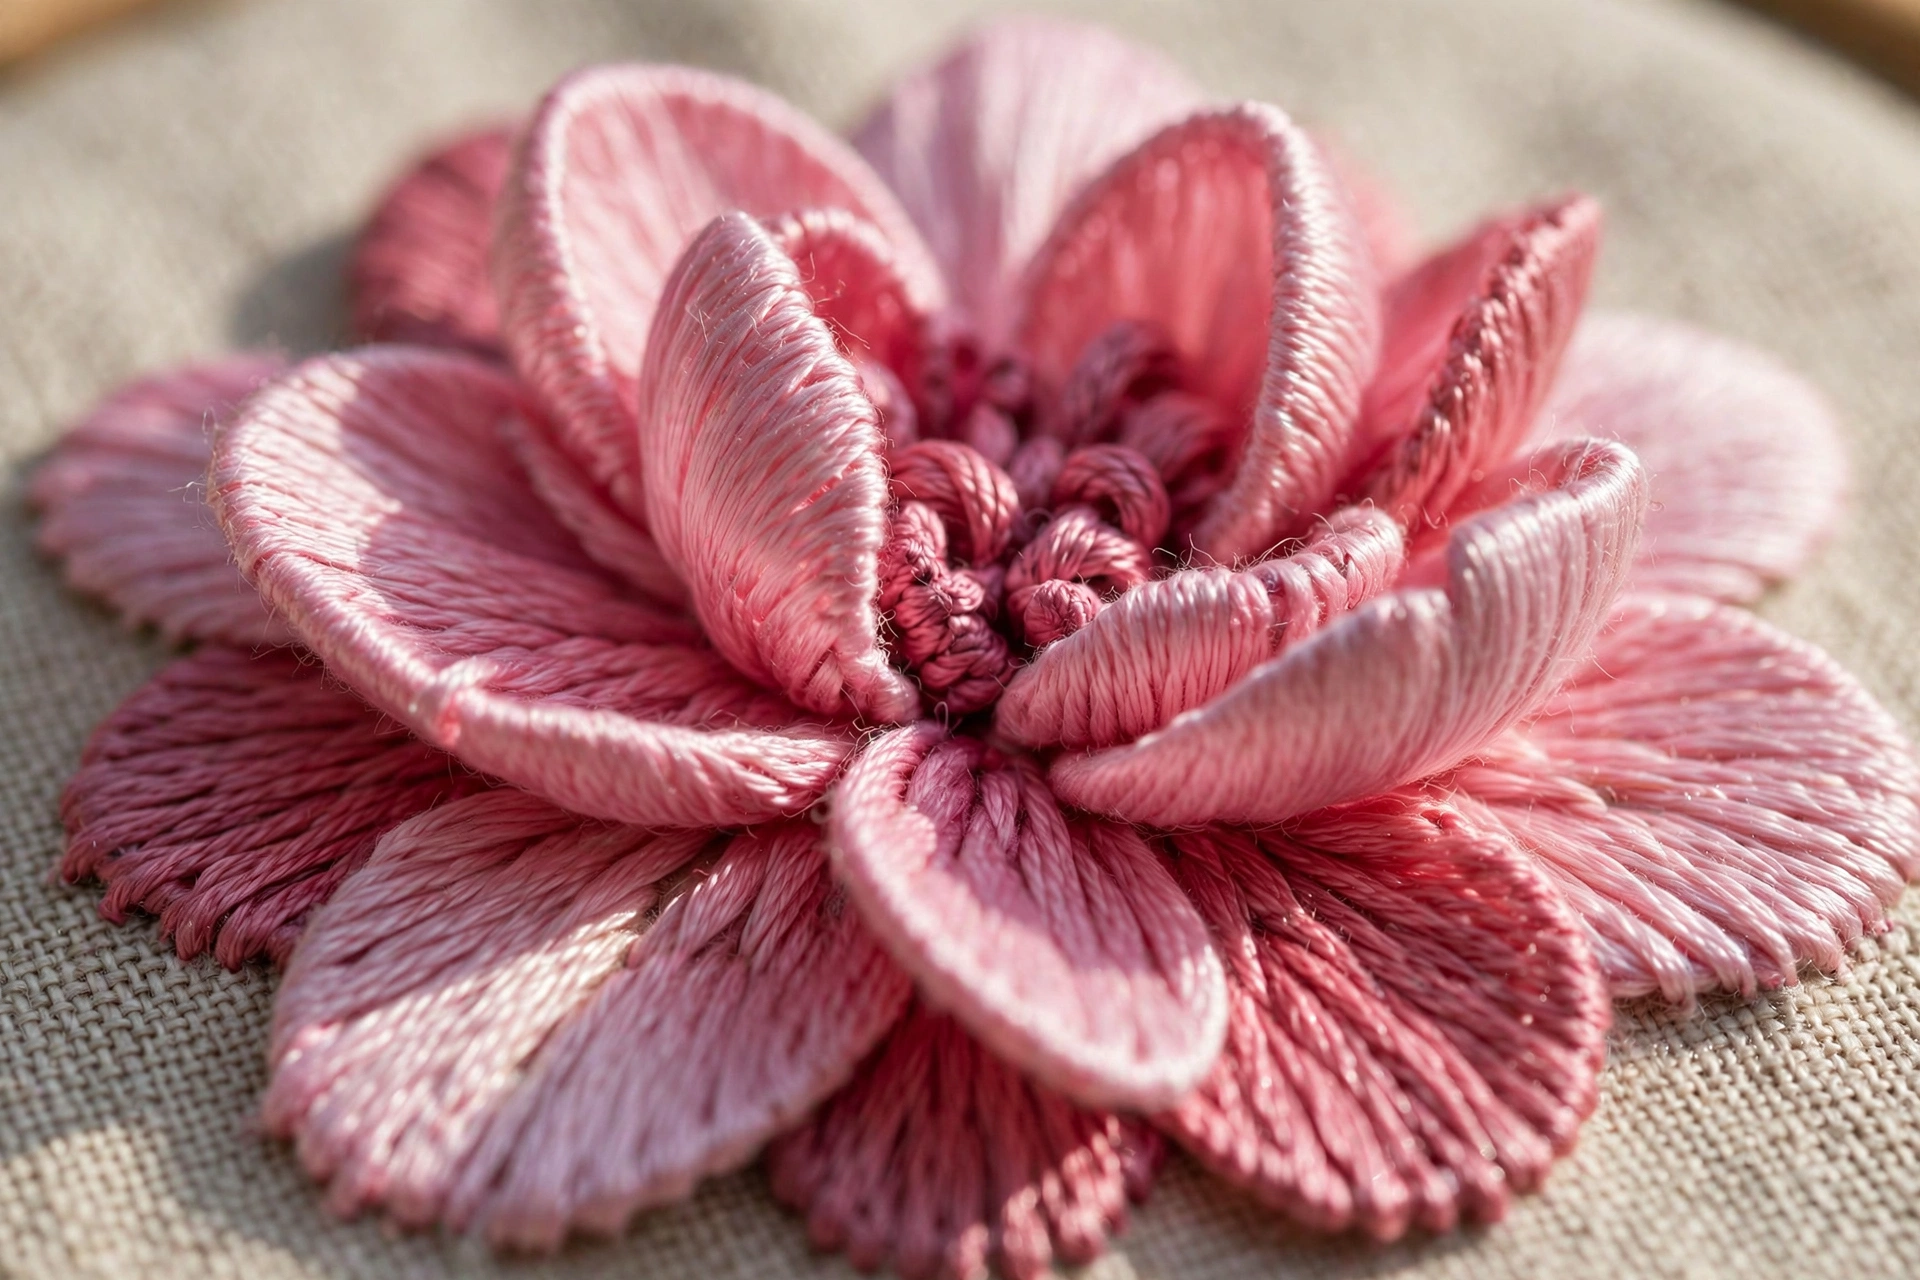
Most “layered” embroidery looks flat because the stitcher piled thread in the wrong order and called it dimension. Real 3D layering is architecture: a foundation, a middle, and a surface, each one doing a different job. When you layer embroidery stitches for 3D effect correctly, petals cast actual shadows on each other, and people touch the piece without asking. I know because I have watched them do it.
Layer embroidery stitches for 3D: the one-sentence rule
Every layer must be visible from at least one angle, or it is not a layer, it is padding. That sentence will save you more thread and more disappointment than any tutorial. If your top layer covers the middle layer completely, you did not layer; you replaced. Plan your layers so each one peeks out: the base extends furthest, the middle sits inside it, the top sits inside that, like shingles or a wedding cake.
Project: one 3D petal in three layers
Grab scrap linen, a 4-inch hoop, and 2 strands each of three values of one color. I use DMC 604, 603, and 602, light to dark pink. Draw a simple petal shape about 2 inches long. This takes about 40 minutes, and it will teach you more than reading about layering for a week.
Layer 1: the foundation. Fill the whole petal with the lightest shade, DMC 604, in straight stitches laid side by side, following the petal’s length. Do not worry about beauty; this layer’s job is height and coverage. Keep the stitches flat and even, edge to edge, with no gaps. This is your padding, and padding is allowed to be boring.
Layer 2: the middle. Switch to DMC 603, the mid value. Stitch a second petal shape inside the first, inset about a quarter inch from the edge all around, in satin stitch. The inset is critical: the light foundation must peek out around the middle layer like a halo. This is where the dimension starts, because the middle layer sits physically higher than the foundation.
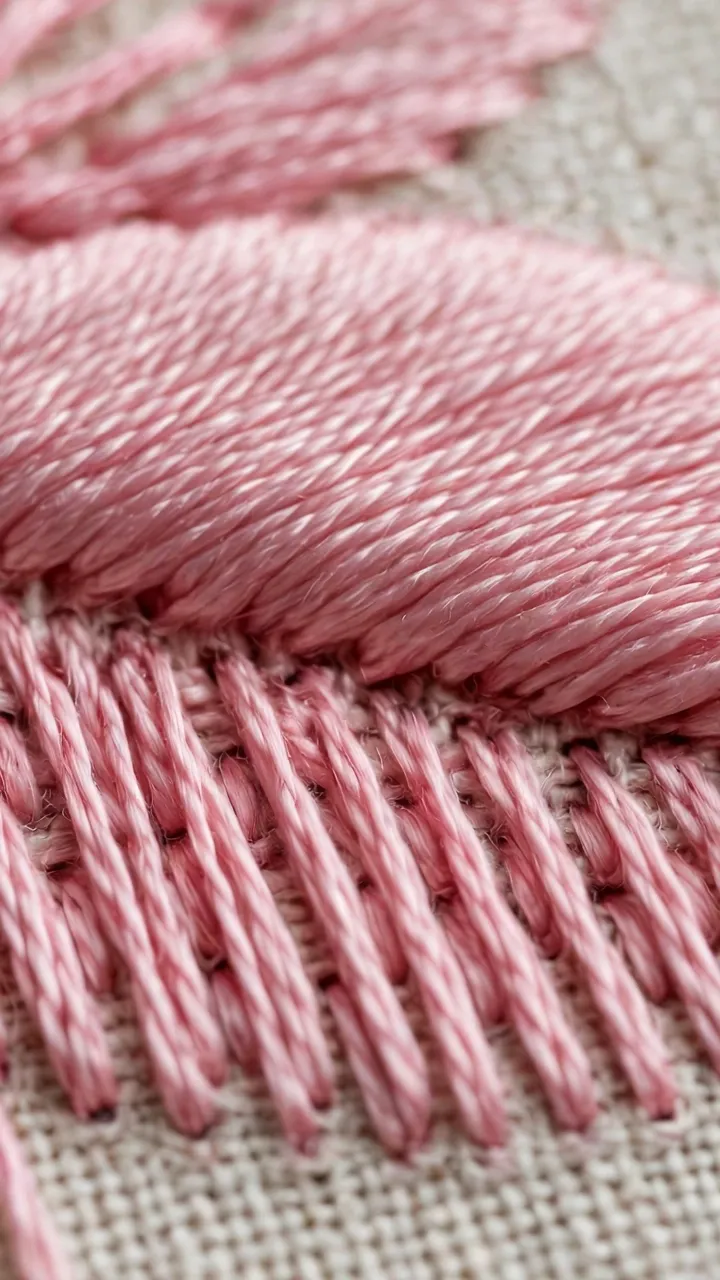
Layer 3: the surface. Switch to DMC 602, the darkest. Stitch a small shape at the petal’s base, where a real petal would curve into shadow, inset another quarter inch. Keep these stitches short and snug. Now look at the petal from the side. Three distinct heights, three values, and the darkest where the shadow would fall. That is 3D, and it took three layers, not thirty.
The order matters: always base to top
Stitch the largest, lightest layer first and work inward and darker. Reversing the order, dark small shape first, then trying to stitch around it, produces lumpy edges and buried layers, because each new layer has to fight the bulk of the last one. Base to top, light to dark, large to small. I have never seen this order fail.
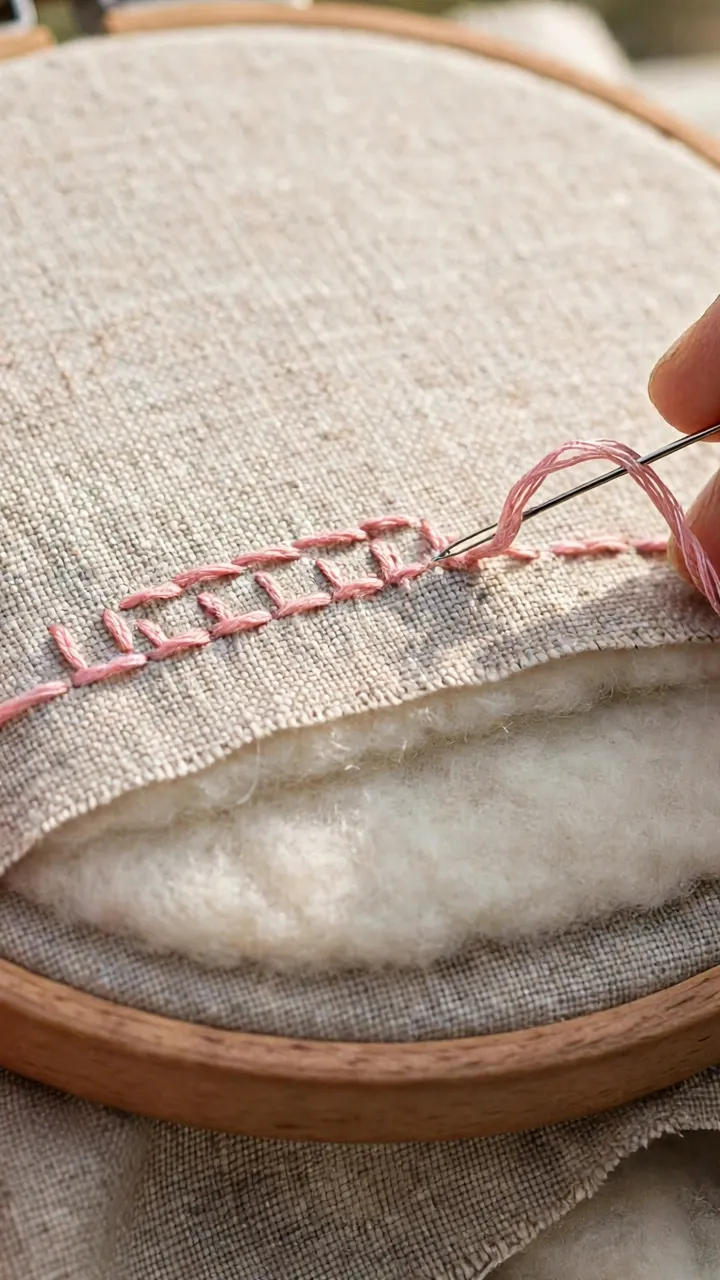
The other order rule: finish a layer completely before starting the next. Stitching two layers simultaneously, alternating stitches, blends them into one flat layer with extra steps. Discipline here is the difference between dimension and mush. If your satin stitch needs a refresher before the middle layer, my gapless satin guide will get you there.
Why layered stitching looks flat (and how to fix it)
No value contrast. Three layers in nearly identical shades read as one layer. You need a visible step between values: light, medium, dark, with real distance between them. Hold your three floss colors at arm’s length; if you cannot tell them apart instantly, pick a darker dark.
Layers too similar in size. If each layer is only a sixteenth of an inch smaller than the last, the steps are invisible. Quarter-inch insets minimum. Be brave about the halo of foundation showing around the middle layer; that visible ring is doing half the dimensional work.
Stitches too tight. Strangling each layer flat defeats the purpose. The middle and top layers should sit on the foundation, not crush into it. Relaxed tension, slightly lofty stitches. Think cushion, not corset.

Going further: wired edges and stumpwork
Once the three-layer petal clicks, the advanced techniques open up. Wired edges, where you couch a thin wire under the outer stitching and bend the petal into a real curve, give you dimension you can adjust with your fingers. Stumpwork, the historical raised-embroidery tradition, builds whole flowers off the fabric surface on wire frames. The stumpwork tradition goes back to 17th-century England, and its layered slips are the great-grandmother of everything in this post.
But start with the petal. Three layers, three values, quarter-inch insets, base to top. Stitch it once on scrap, then stitch it into your next real project, and watch what happens when someone sees it. They will touch it. They always touch it. For the knot centers that finish a 3D flower, my french knot guide and bullion knot guide have you covered.
Scaling up: layering a whole flower
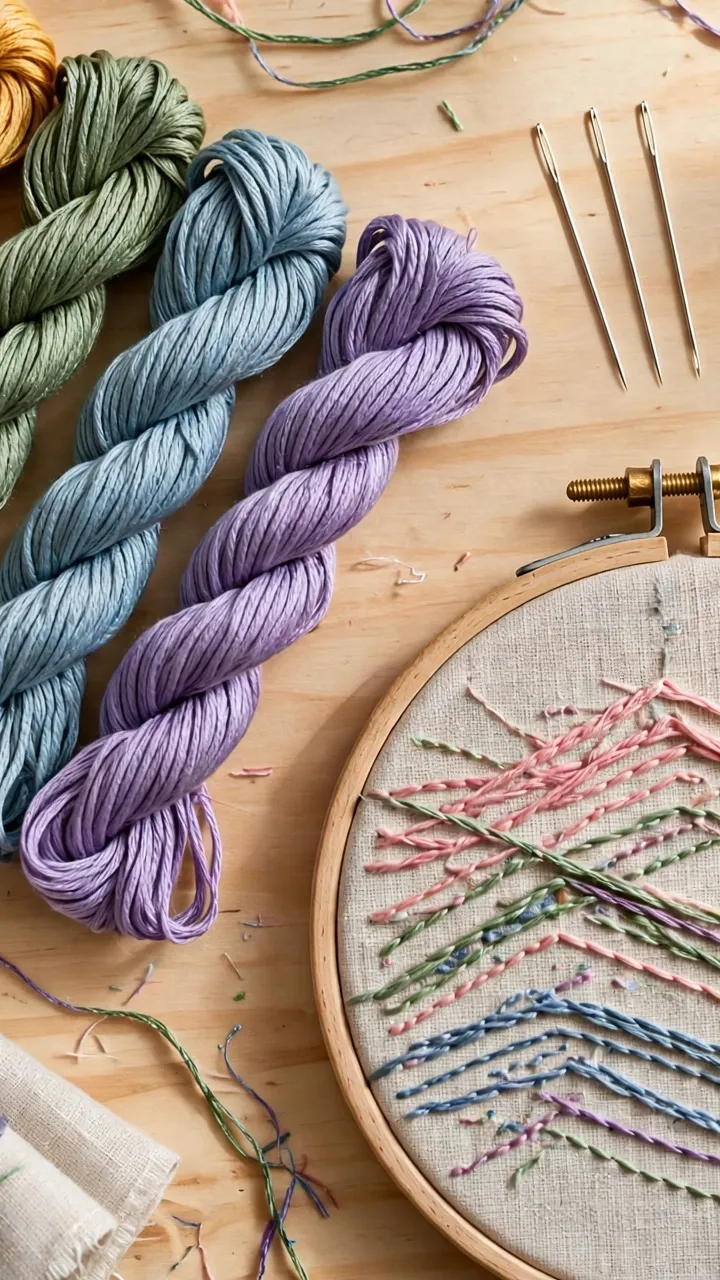
The single petal is the drill. A whole flower is where the technique pays off, and the planning is simpler than you think. Pick a five-petal flower and treat each petal as its own three-layer project, but stagger the values across petals so the flower reads as one lit object: the petals catching the most light get the lightest set, the ones tucked behind get the middle set pushed one shade darker.
Work the back petals first, completely, before you start the front ones. This is the part beginners resist, because it feels wrong to finish something you will partly cover. But the overlap is the whole point: a front petal lying over a finished back petal casts a real shadow, and that shadow does more for the 3D illusion than any stitch choice. If you work all five petals at once, layer by layer, you lose the overlaps and the flower goes flat again.
For centers, keep it simple. A ring of French knots in the darkest value, packed tight, gives the eye somewhere to land and hides every transition point where petals meet. My French knot guide covers the tension trick that keeps them round instead of sloppy. Finish the whole flower, then hold it at arm’s length. If one petal looks pasted on, it is almost always the value step: swap its middle layer one shade darker or lighter and watch it settle into the flower.