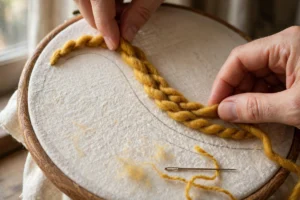
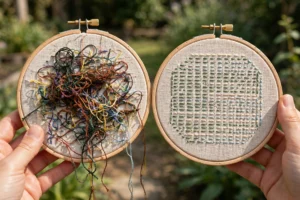
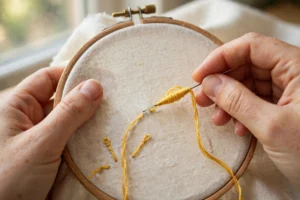
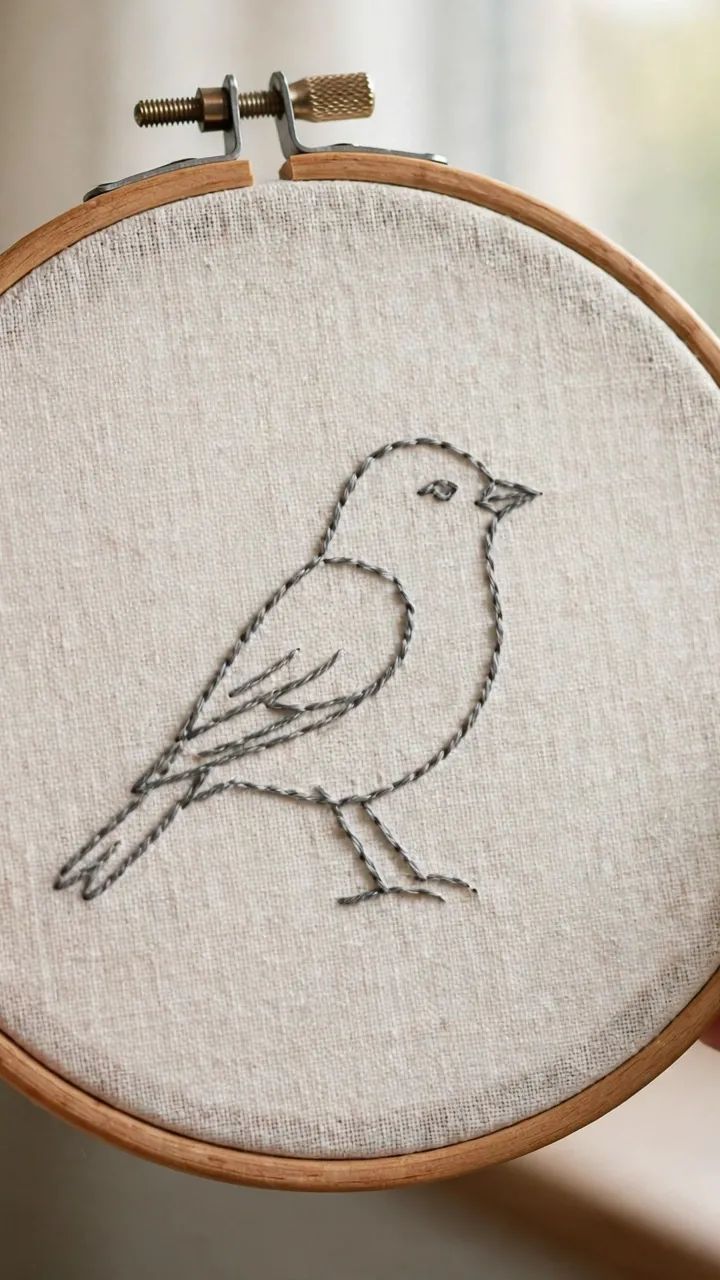
Split stitch is the only embroidery stitch that looks like drawing. Backstitch looks like stitching. Stem stitch looks like rope. But split stitch outlines have a broken, sketchy quality, each stitch visibly piercing the last, that reads exactly like a pencil line on paper. I stumbled into this while outlining a bird pattern in 2022, and the finished piece fooled two separate visitors into thinking it was ink. That is the effect we are chasing.
Why split stitch looks hand drawn
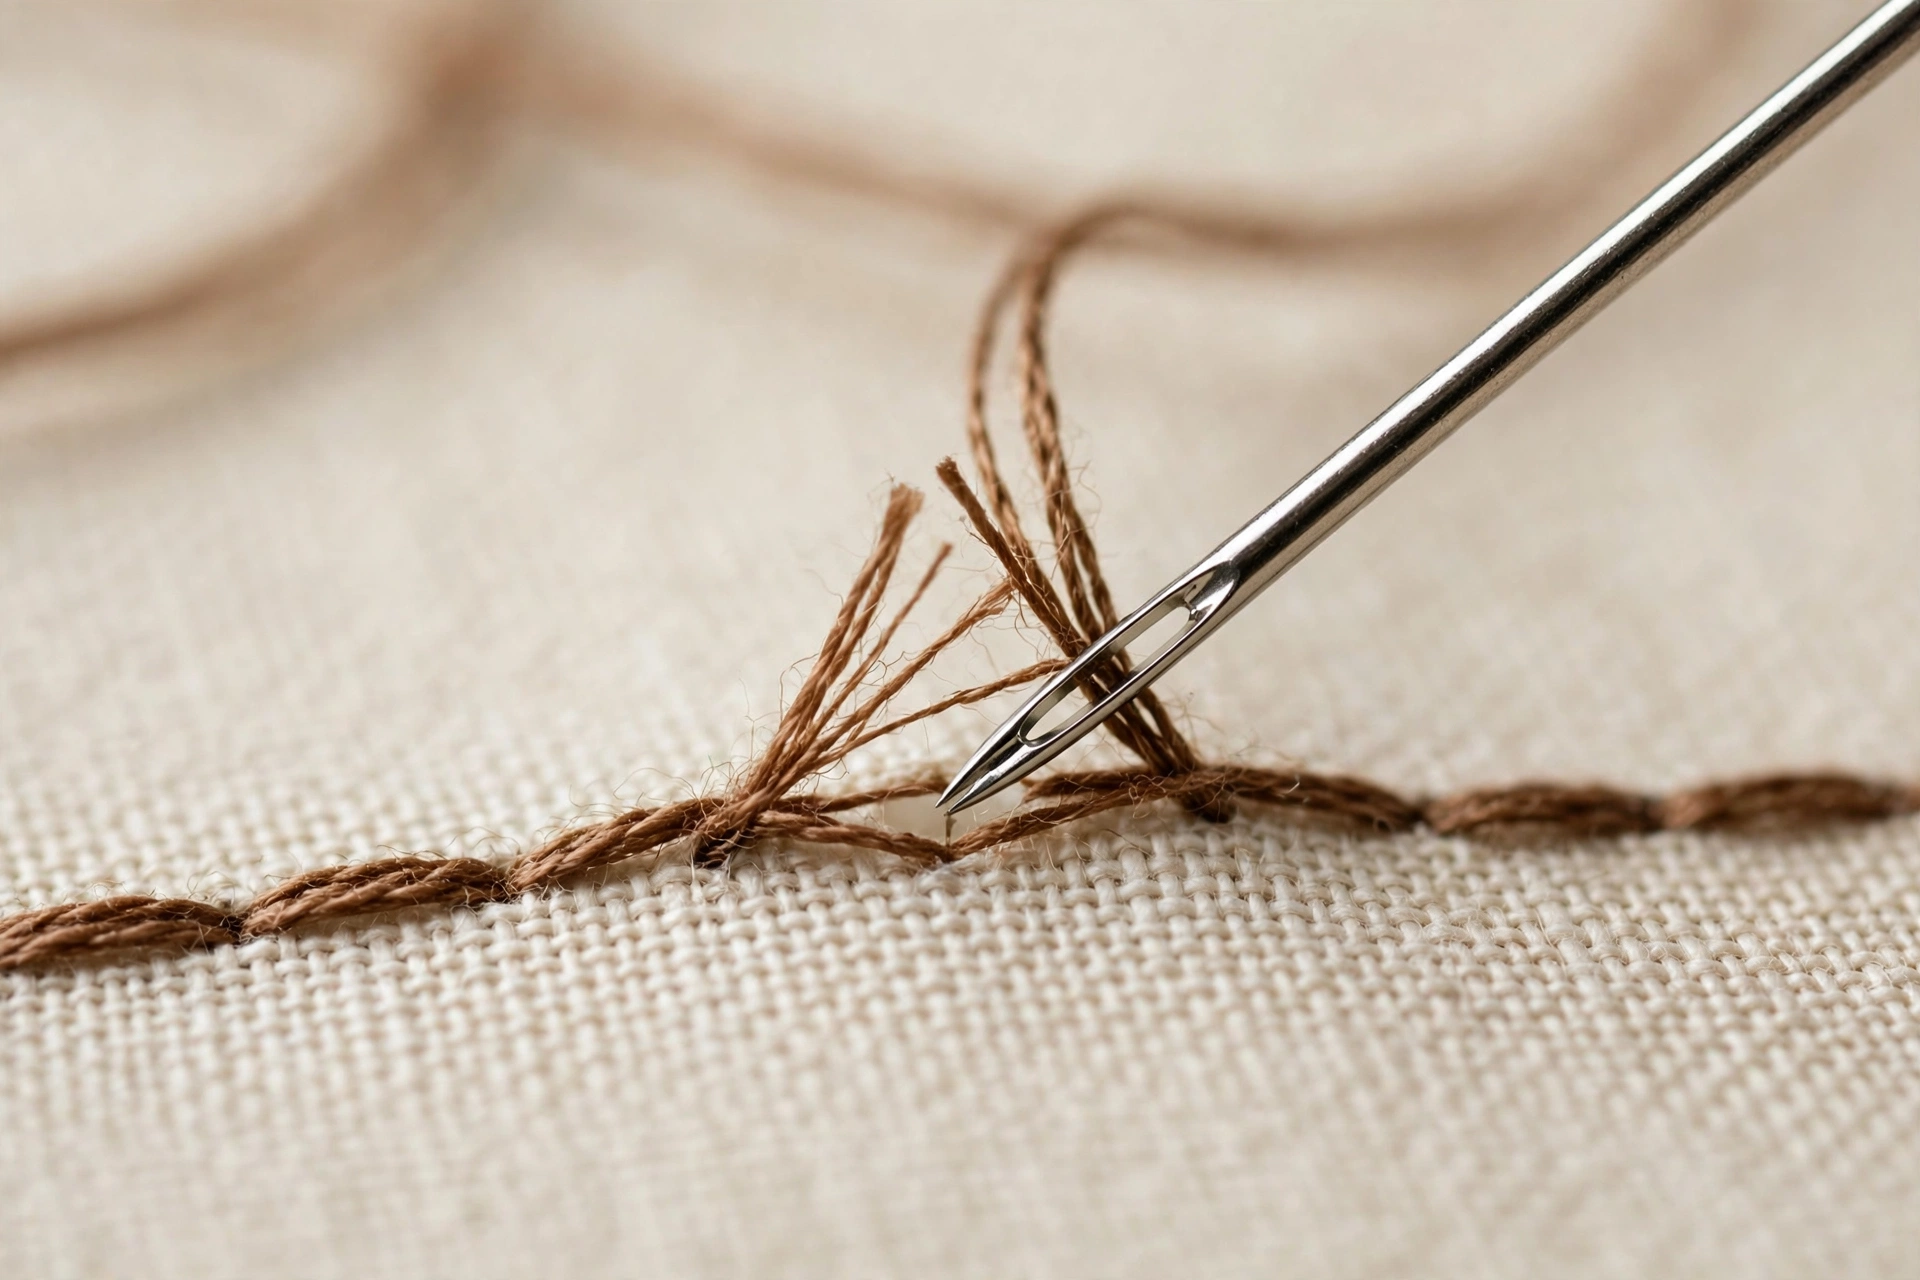
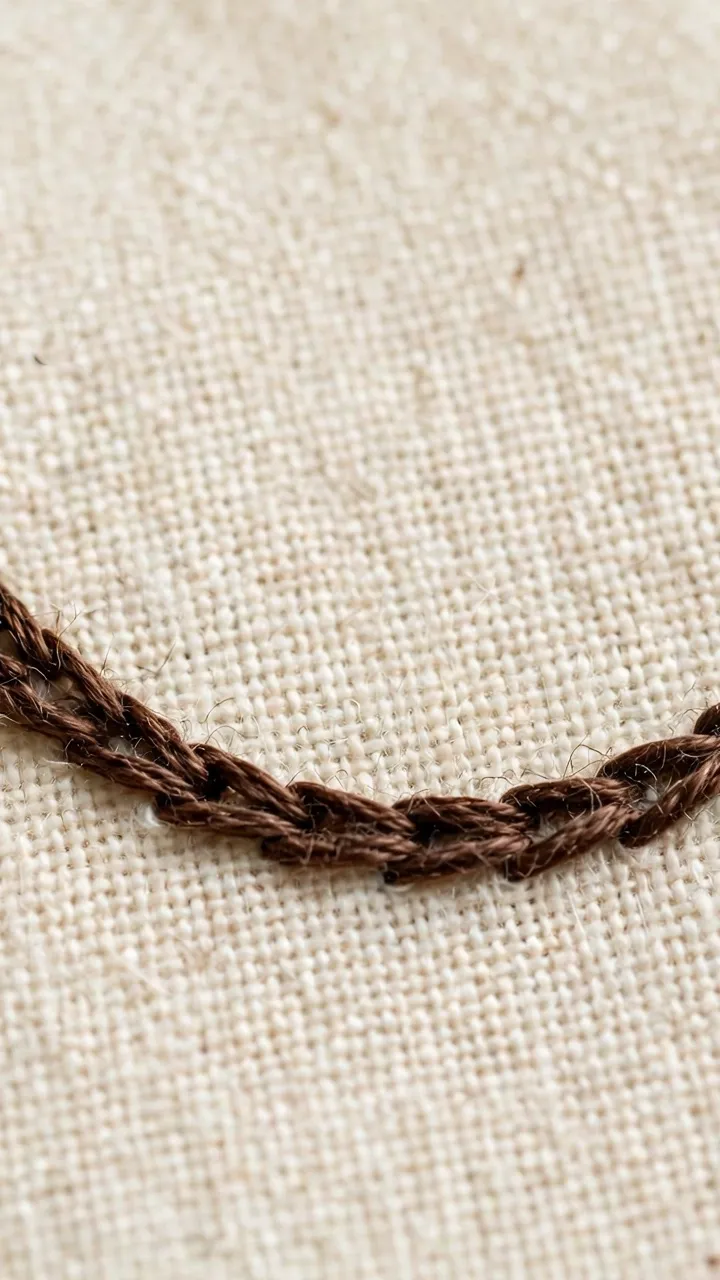
The secret is the split itself. Every stitch pierces through the middle of the previous stitch, which breaks the thread fibers slightly and creates a textured, slightly irregular line. Perfectly uniform stitches look machine-made. Split stitch is uniform in rhythm but irregular in texture, which is precisely what a hand-drawn line is: consistent direction, imperfect edge.
Compare it to its cousins. Backstitch makes a crisp dotted rhythm, too neat. Stem stitch makes a smooth twisted cord, too polished. Split stitch makes a line with a heartbeat. For sketch-style embroidery, nothing else comes close, and I say that as someone who has tried to fake the effect with every outline stitch in the book.
Split stitch outlines: the technique, step by step
Thread up with 2 strands; split stitch with more than 3 strands gets clumsy, and the splitting action needs a slim stitch to pierce cleanly. I use John James size 7 embroidery needles for this, sharp enough to split the thread without shredding it.
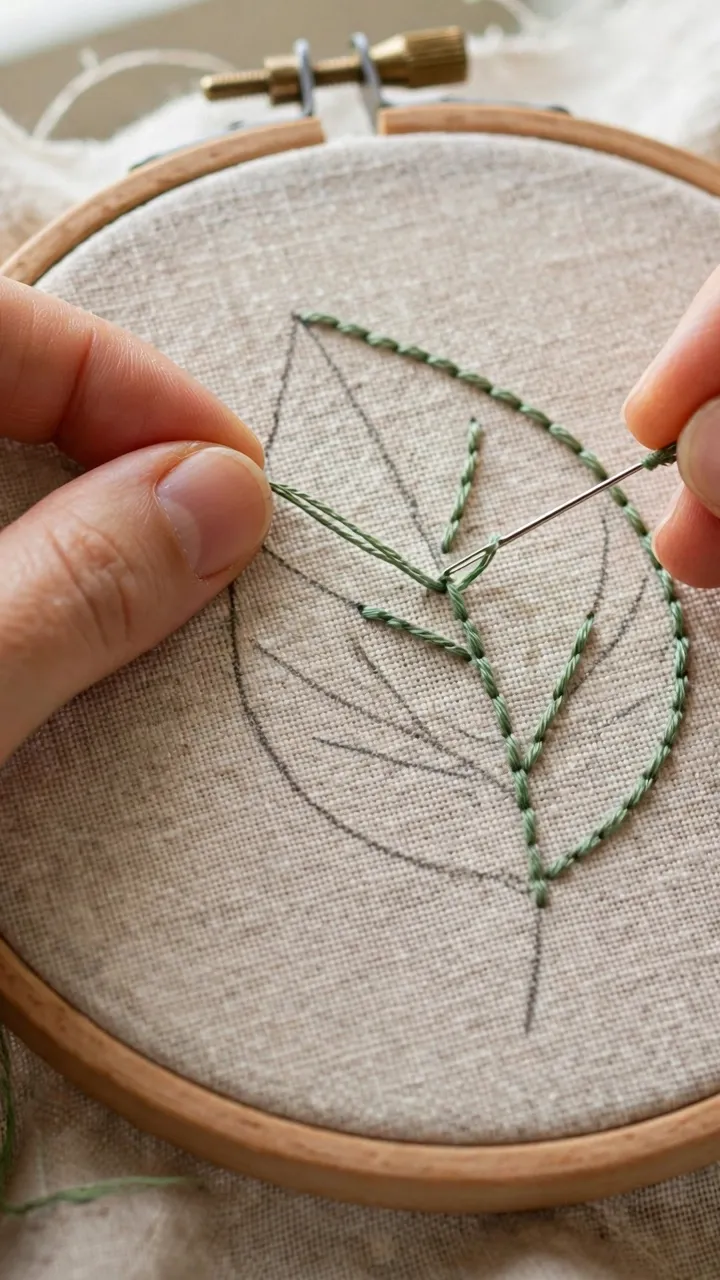
Step 1. Bring the needle up at the start of your line and take a stitch forward about an eighth of an inch, the way you would start a backstitch.
Step 2. Bring the needle up again through the middle of that first stitch, splitting its threads apart. Aim for the center. Splitting off-center makes the line wander, which is charming in a sketch but only if you meant it.
Step 3. Take the next stitch forward another eighth of an inch, keeping the length consistent. Consistency of length is what keeps the line reading as one confident pencil stroke instead of a stutter.
Step 4. Repeat: up through the middle of the last stitch, forward an eighth of an inch. The rhythm becomes meditative after about fifty stitches, and I mean that as a compliment.
Three tricks for the hand-drawn look
Keep it short. Eighth-inch stitches maximum on curves, a touch longer on straight runs. Long split stitches look lumpy, not sketchy. This is the same principle as my even-stitch guide: short stitches, big control.
Use one strand for the sketchiest lines. A single strand of floss in split stitch makes a line so fine it genuinely passes for pen work. I outline entire botanical sketches in 1 strand of DMC 310, black, and the result looks like an ink drawing that happens to have texture. It takes twice as long as 2 strands. It looks three times as good.
Let the line break. Real pencil sketches have gaps, overlaps, and places where the artist lifted the pen. Stitch your outline in sections with tiny gaps at natural pause points, overlap the ends slightly instead of joining them perfectly, and let a few stitches wander a hair off the marked line. Controlled imperfection is the whole game.
The mistakes that kill the sketch effect
Stitches too long. Quarter-inch split stitches do not look hand drawn; they look like a caterpillar. Shorten up.
Too many strands. Six strands of split stitch looks like a rope, not a pencil line. One or two strands for sketch work, three at the absolute most.
Overworking the line. Going over the same outline twice to “fix” it destroys the sketch quality instantly. One pass, confident, done. If a section truly bothers you, frog it and redo it once. The second attempt always looks better than the patched one, because hesitation shows in thread the way it shows in ink.
The split stitch outline is my favorite trick for turning simple line drawings into embroidery without losing what made the drawing charming. Sketch something on paper, transfer it to linen, and stitch it in split stitch like you are tracing your own drawing with thread. The The Victoria and Albert Museum’s embroidery collection has historical pieces with this same sketchy quality, worked centuries before anyone called it a style, which tells me the effect is not a trend. It is just what thread does when you let it draw.
Where split stitch earns its keep
The sketch effect is the headline, but split stitch is a workhorse far beyond artsy outlines. Once the rhythm is in your hands, you will reach for it constantly.
Lettering. Split stitch is my default for stitched words. Backstitch lettering looks stamped; split stitch lettering looks written. Keep the stitches short on curves, two strands, and let the slight wobble read as handwriting. Names on stockings, labels on pouches, a single word across a hoop, all of it looks better in split stitch.
Outlining fills. Before you lay satin stitch or long and short stitch over a shape, run one row of split stitch just inside the outline. It gives the fill stitches a raised edge to butt against, so the edge stays crisp instead of fraying into the background fabric. This is the oldest professional trick in the book, and it takes about ninety seconds.
Hair and fur. The broken texture that makes split stitch look hand-drawn also makes it look like hair. Short, slightly overlapping rows of split stitch in two close shades will suggest an animal’s coat or a head of hair with almost no effort. I stitched an entire fox tail this way once, and people assumed it was some advanced technique. It was just split stitch, patiently repeated.
Practice that actually helps. Draw five wavy lines on scrap linen, each about four inches long, and stitch them in split stitch with two strands. Do not aim for perfection; aim for even rhythm. By the fifth line your hands will know the motion, and that muscle memory transfers directly to real projects. Ten minutes of this beats an hour of reading about the stitch.