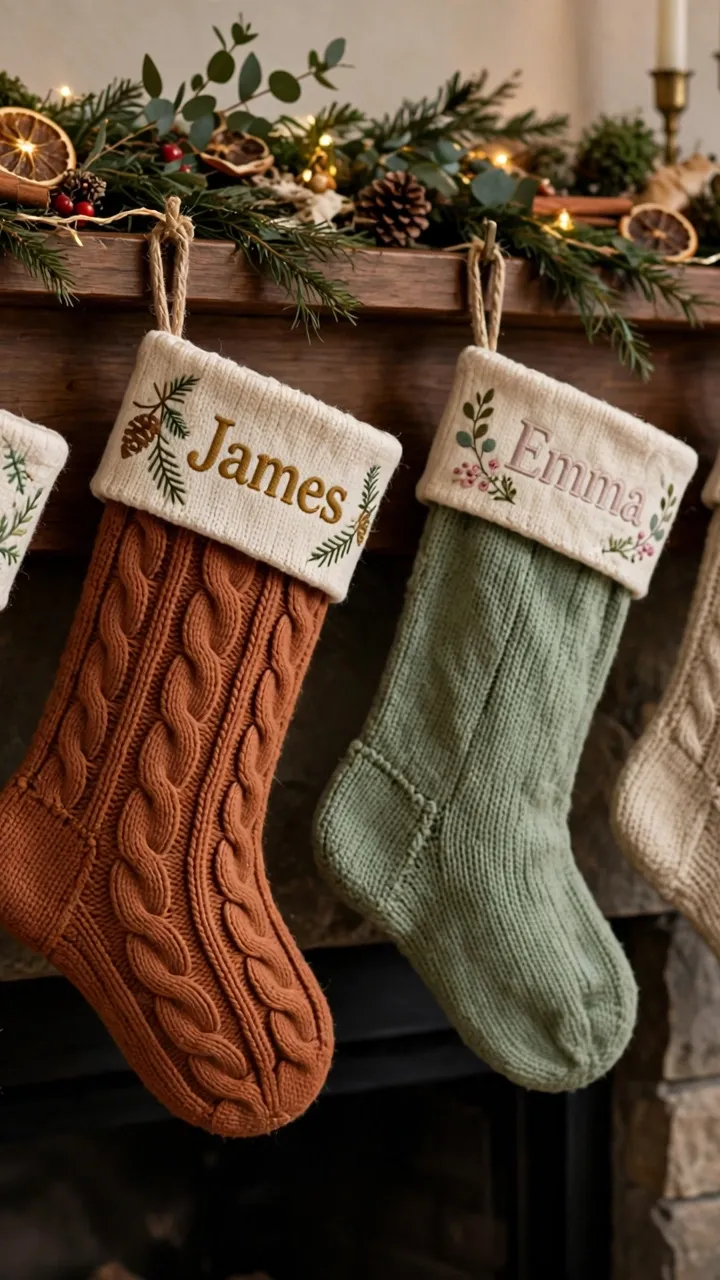
There is something magical about seeing your name stitched onto a Christmas stocking. It transforms a simple decoration into a personal treasure, the kind of thing that gets carefully packed away every January and unwrapped with delight every December. And here is the secret: embroidering a name on a stocking is one of the most approachable personalization projects in all of embroidery.
I stitched my first stocking name with shaking hands, convinced I would ruin the stocking. It came out slightly wobbly and absolutely perfect. Years later, that stocking is still used, wobbles and all. This guide will walk you through every step, from choosing your lettering to the final stitch, so you can personalize stockings with confidence.
Quick Facts
- Difficulty: Beginner, basic lettering skills needed
- Time needed: 2 to 4 hours per stocking, depending on name length
- Best for: family Christmas stockings, gifts for new babies, newlyweds, or pets
- What you will learn: lettering methods, best stitches for names, and full step-by-step process
What You Need
- A plain Christmas stocking (or one you have sewn yourself)
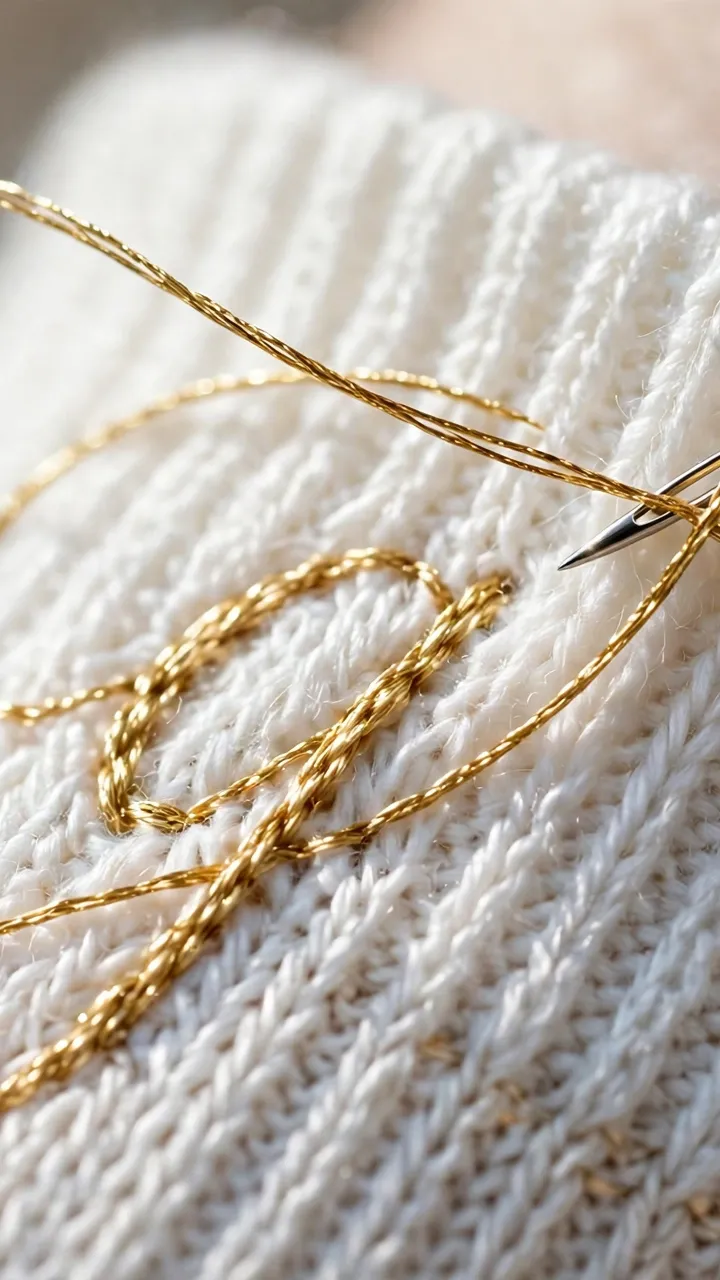
- Embroidery floss in contrasting colors, metallic gold is classic
- Embroidery needle, size 7 or 8
- Water-soluble pen or chalk pencil for tracing
- Small embroidery hoop or stitching in hand
- Printed name template in your chosen font
- Stabilizer or interfacing (optional but recommended for knit stockings)
Choosing Where to Put the Name
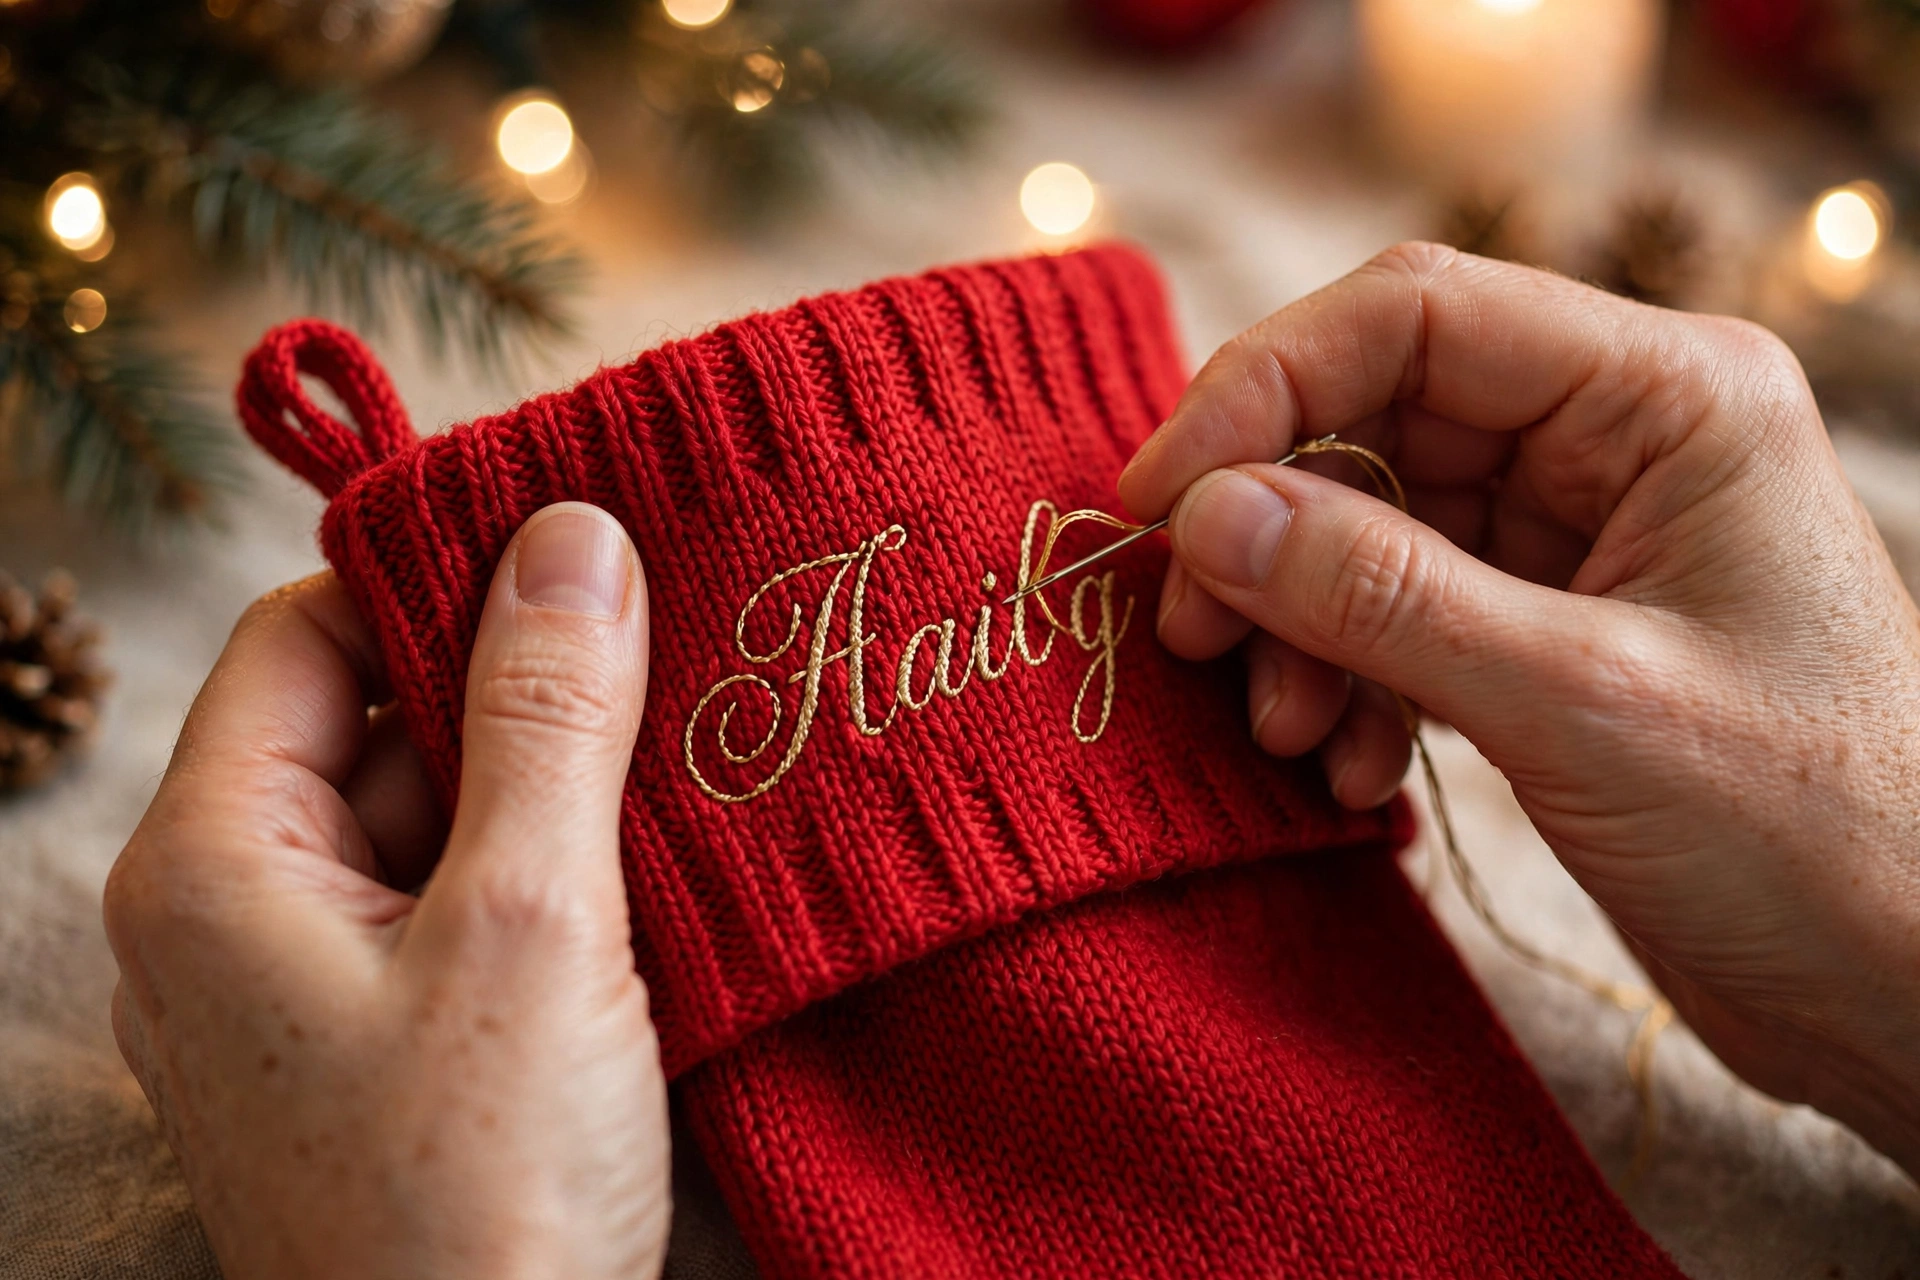
The classic spot is the cuff, the folded-over top of the stocking. It is flat, visible when hung, and easy to stitch because you can work on it before the stocking is fully assembled or slip your hand inside for support. If your stocking does not have a cuff, the upper third of the stocking body works well.
For a modern look, try stitching the name vertically down the side of the stocking, or diagonally across the foot. These placements are less traditional but very stylish. Just make sure the area is relatively flat and accessible.
Picking Your Lettering Style
You have three main options for stocking names, each with a different feel and difficulty level.
Simple Block Letters
Clean, modern, and the easiest to stitch well. Use backstitch to outline each letter, or fill them with satin stitch for a bolder look. Block letters are very forgiving because straight lines are easier to keep even than curves. This is my recommendation for your first stocking.
Script or Cursive
Elegant and traditional, perfect for a classic Christmas look. Stitch script letters with stem stitch or a slightly whipped backstitch for smooth, flowing lines. Script is harder because curves require steady control, but the result is gorgeous. Practice the full name on scrap fabric first.
Printed Template Method
Not a style but a technique: print the name in any font you love, then transfer it to the stocking. This gives you access to beautiful fonts without needing to hand-draw them. Use a lightbox or sunny window to trace, or use transfer paper designed for fabric.
Best Stitches for Stocking Names
Backstitch is the workhorse for names. It creates clean, solid lines that read clearly from across the room. Use 2 or 3 strands depending on how bold you want the name. Two strands is elegant, three is bolder and more visible.
Stem stitch gives a slightly textured, rope-like line that looks beautiful for script lettering. It follows curves more smoothly than backstitch, making it ideal for cursive names.
Satin stitch fills letters solidly for a rich, embroidered-patch look. It works best for block letters with enough width to fill. Keep your stitches parallel and even for the smoothest result.
Chain stitch creates a decorative, slightly vintage look. It is lovely for names on rustic or handmade stockings. Chain stitch uses more thread but the texture is worth it.
Step-by-Step: Stitching a Name on a Stocking Cuff
- Decide on placement and measure. Center the name on the cuff, leaving equal margins on both sides. For most stockings, the name should span about two-thirds of the cuff width.
- Print your name template. Type the name in your chosen font at the right size, print it, and cut it out. Hold it against the stocking to check sizing before committing.
- Transfer the design. Place the template where you want it and trace with a water-soluble pen. If the cuff is thick, use a chalk pencil or pin the paper template on and stitch through it, tearing the paper away afterward.
- Stabilize if needed. If the stocking is knit or stretchy, fuse a small piece of lightweight interfacing to the back of the cuff area. This prevents the fabric from stretching as you stitch, which would distort the letters.
- Thread your needle with 2 to 3 strands. Shorter lengths, about 15 inches, tangle less when you are maneuvering around a stocking.
- Start stitching from the center outward. Begin with the middle letter and work toward each end. This keeps your spacing balanced and prevents running out of room.
- Use small, even stitches. For backstitch, keep each stitch about 2mm long on curves and up to 4mm on straight sections. Consistency matters more than speed.
- Secure your thread properly. Weave the tail through the back of nearby stitches rather than knotting, which creates bumps that show through on the front.
- Step back and check frequently. Hold the stocking at arm’s length every few letters to check spacing and alignment. It is much easier to fix one letter now than the whole name later.
- Finish and press. When done, remove any tracing marks with water, let it dry, and press gently from the back with a cloth between the iron and the stitching.
Adding Decorative Touches
A name alone is beautiful, but small additions make it extra special. Add a tiny stitched snowflake, star, or holly sprig before or after the name. Use metallic gold thread for one accent element to make it feel festive. For children’s stockings, add their birth year in small numbers underneath the name.
If you are making stockings for a whole family, use the same font and thread color for all of them but vary the accent motifs. This creates a coordinated set where each stocking is personal but they clearly belong together.
What to Avoid
Do not stitch the name too close to the edge of the cuff. Leave at least half an inch of margin all around, or the letters will look cramped and may get caught in the cuff fold. Do not use all six strands of floss, it looks bulky and amateurish on lettering. And do not skip the template step, freehanding names directly on the stocking is how you end up with “Chistmas” instead of “Christmas.”
Avoid very thin fonts for your first attempt. Delicate script looks beautiful but requires precise control. A medium-weight font is much more forgiving and still looks elegant.
Troubleshooting
My letters are different sizes
You are probably not using a template, or your template shifted while tracing. Always secure your template before tracing, and check each letter against the template as you stitch. For script, write the whole word first in pencil, then stitch over it.
The fabric is puckering around the name
Your tension is too tight, or the fabric is stretching. Loosen up, use shorter thread lengths, and add stabilizer if the fabric has any stretch. Stitching on a stabilized surface makes an enormous difference.
I made a spelling mistake
Do not panic. Carefully unpick the wrong letters with a seam ripper, working from the back. Press the fabric to smooth out the needle holes, then restitch correctly. Small holes from unpicking usually close up after washing or pressing.
The name is crooked
Draw a light baseline with your water-soluble pen before tracing the letters. Even experienced stitchers use guidelines. A slightly curved baseline can look intentional and charming, but a severely slanted one just looks like a mistake.
My Honest Take
Personalized stockings are one of those projects where the emotional value wildly exceeds the difficulty. The stitching itself is straightforward, just letters, but the result becomes part of someone’s Christmas tradition. I have stitched stockings for babies who are now teenagers, and those stockings are still hung every year.
Take your time, use a template, and do not aim for machine-perfect. The slight wobble in hand-stitched lettering is what makes it precious. Years from now, nobody will remember if the “a” was perfectly round. They will remember that you made it for them.
Read next: How to Transfer an Embroidery Pattern to Fabric: 5 Methods