Halloween embroidery is the best kind of seasonal stitching because the aesthetic does half the work for you. Wonky lines? That ghost looks even better a little lopsided. Uneven stitches? Adds to the spooky charm. Halloween is the one time of year when imperfection is literally the style, which makes it perfect for beginners.
These 15 Halloween embroidery patterns are all beginner-friendly, leaning toward cute-spooky rather than horror-movie scary. Think smiling ghosts, plump pumpkins, and friendly bats. Each one uses basic stitches and can be finished well before October 31st, even if you start in October.
Quick Facts
- Difficulty: Beginner, mostly backstitch, straight stitch, and French knots
- Time needed: 1 to 3 hours per pattern
- Best for: Halloween decor, trick-or-treat bags, costume accessories, and spooky gifts
- What you will learn: 15 Halloween motifs from cute to mildly spooky
Color Palette Tips for Halloween
The classic Halloween palette is orange, black, purple, and white, and it works beautifully in embroidery. But do not feel locked in. I love stitching Halloween designs in non-traditional colors too, like dusty pink ghosts or sage green witches’ hats. The motif reads as Halloween regardless of color, so choose what makes you happy.
For a striking effect, try stitching white or glow-in-the-dark thread on black fabric. White ghosts on black linen look absolutely stunning and the high contrast hides any wobbly lines. Black fabric can be harder to trace on, so use a white water-soluble pen or tailor’s chalk.
Cute and Friendly (Perfect for Beginners)
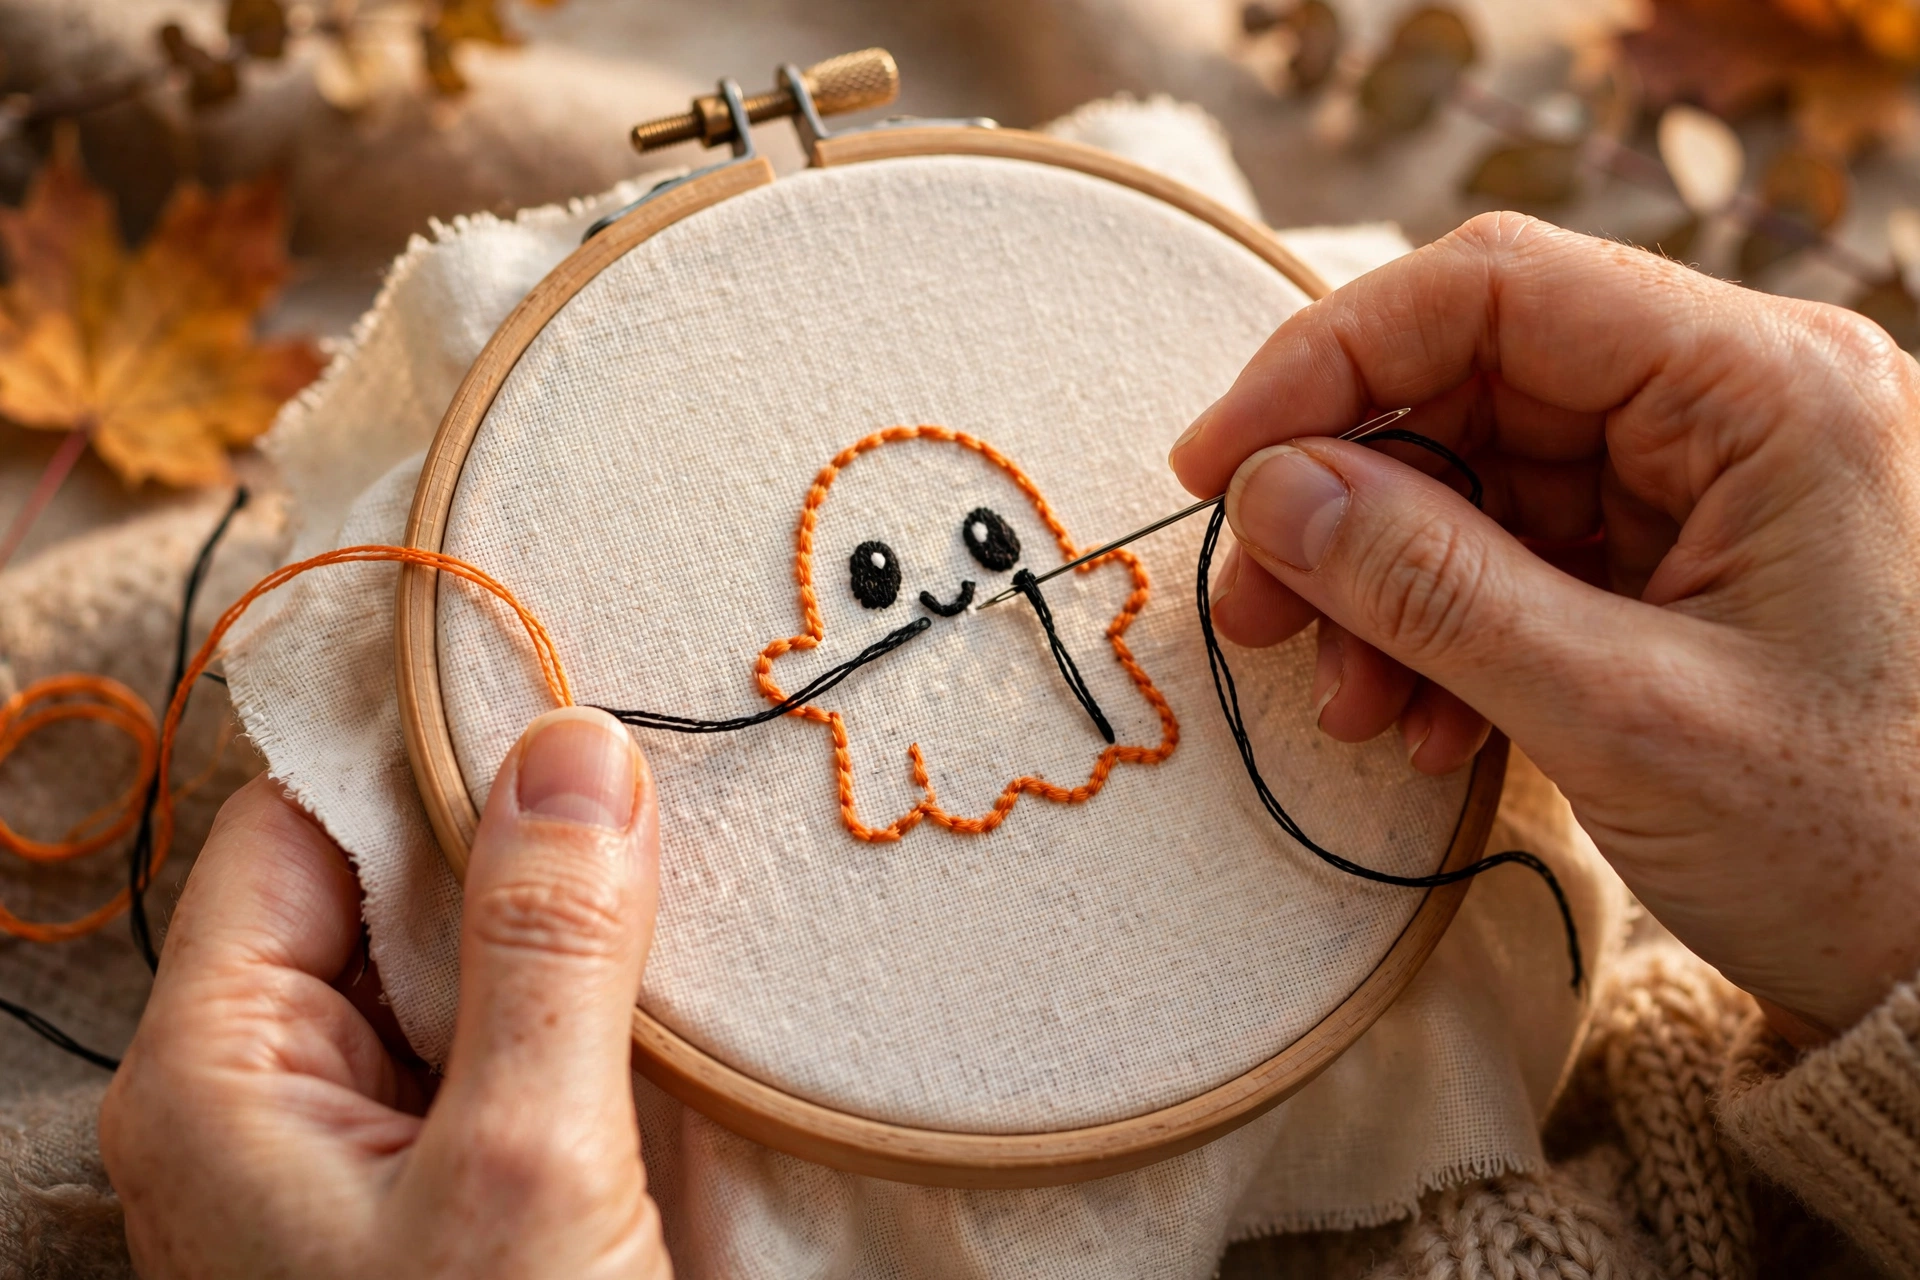
1. Smiling Ghost
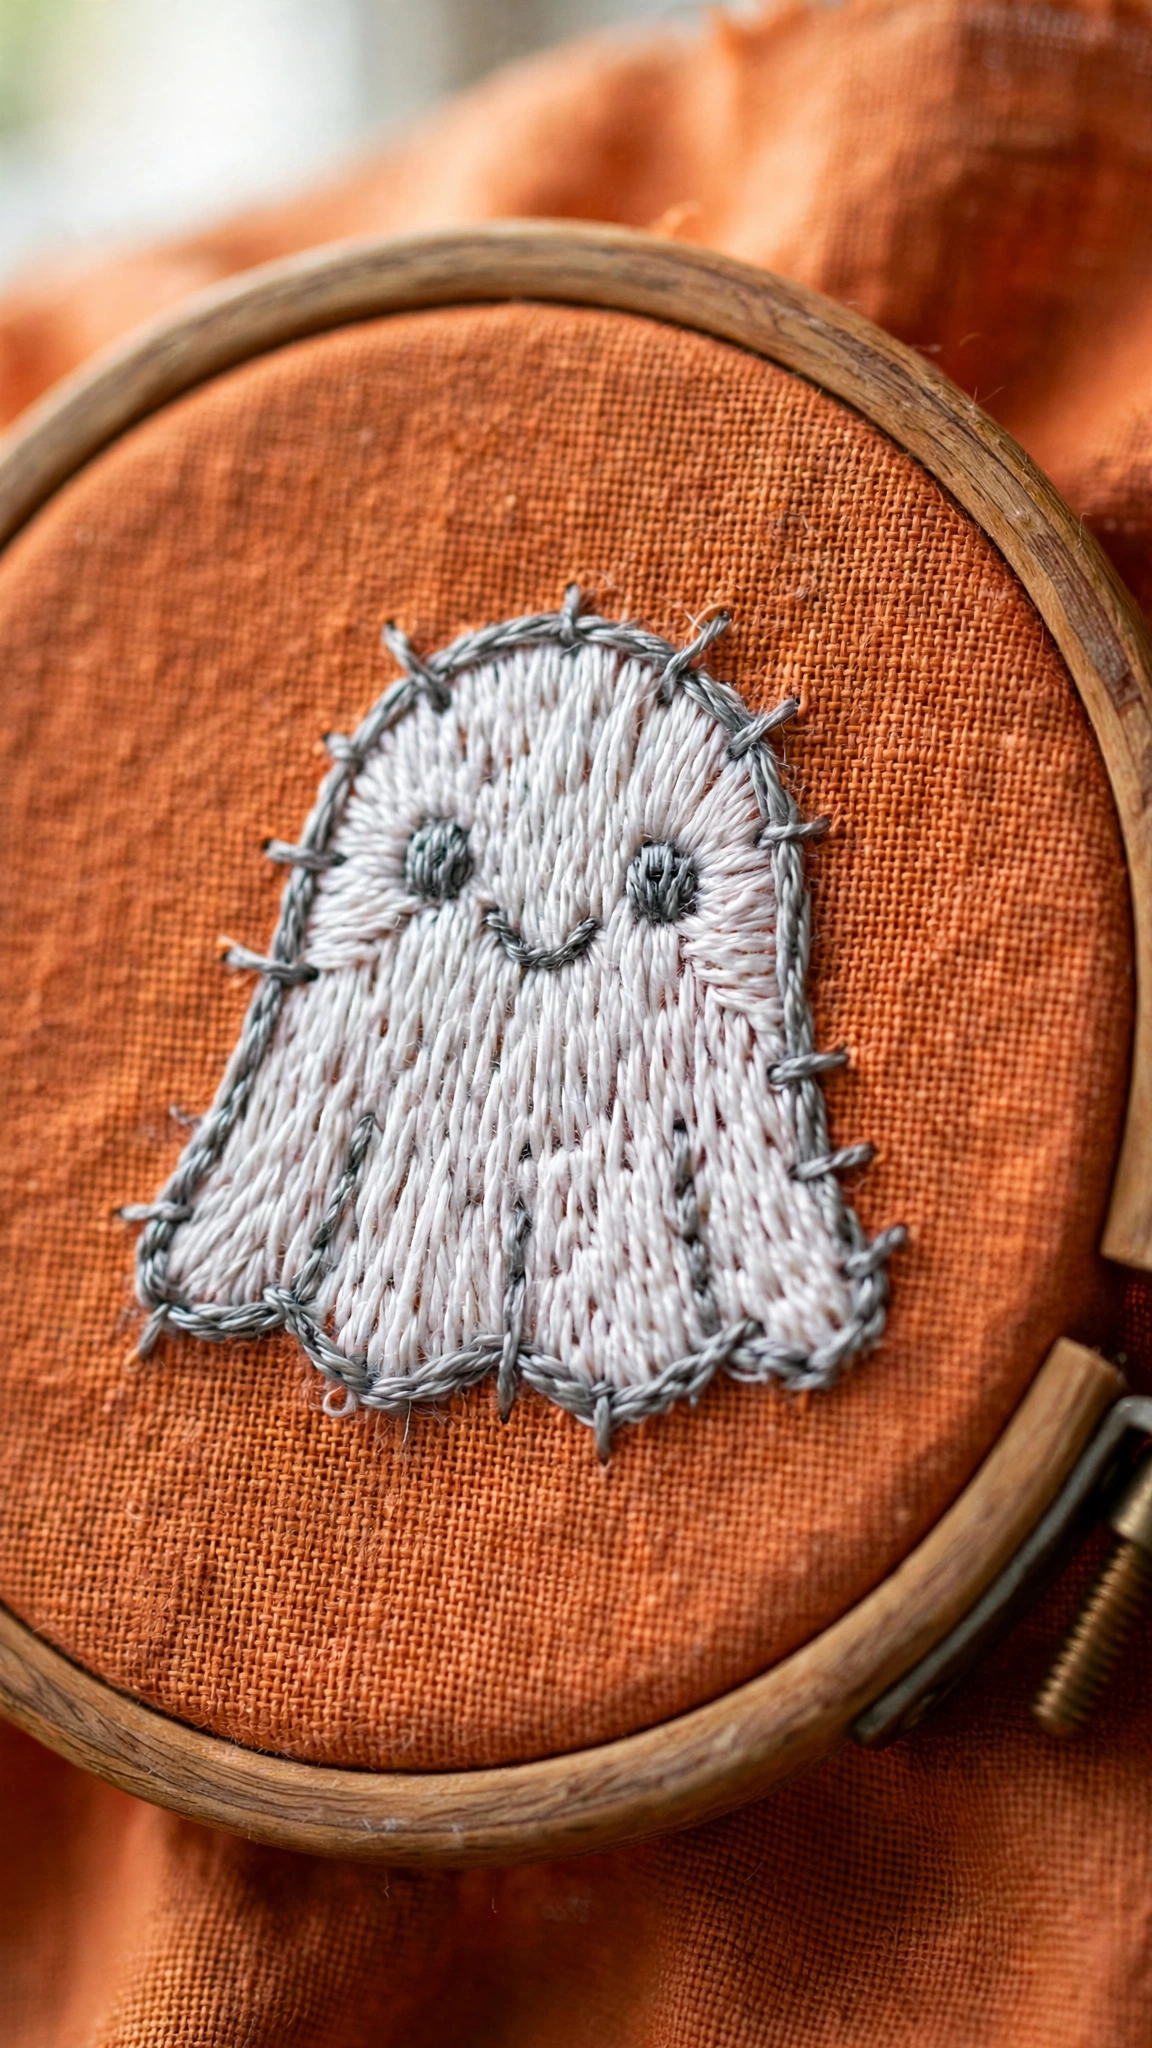
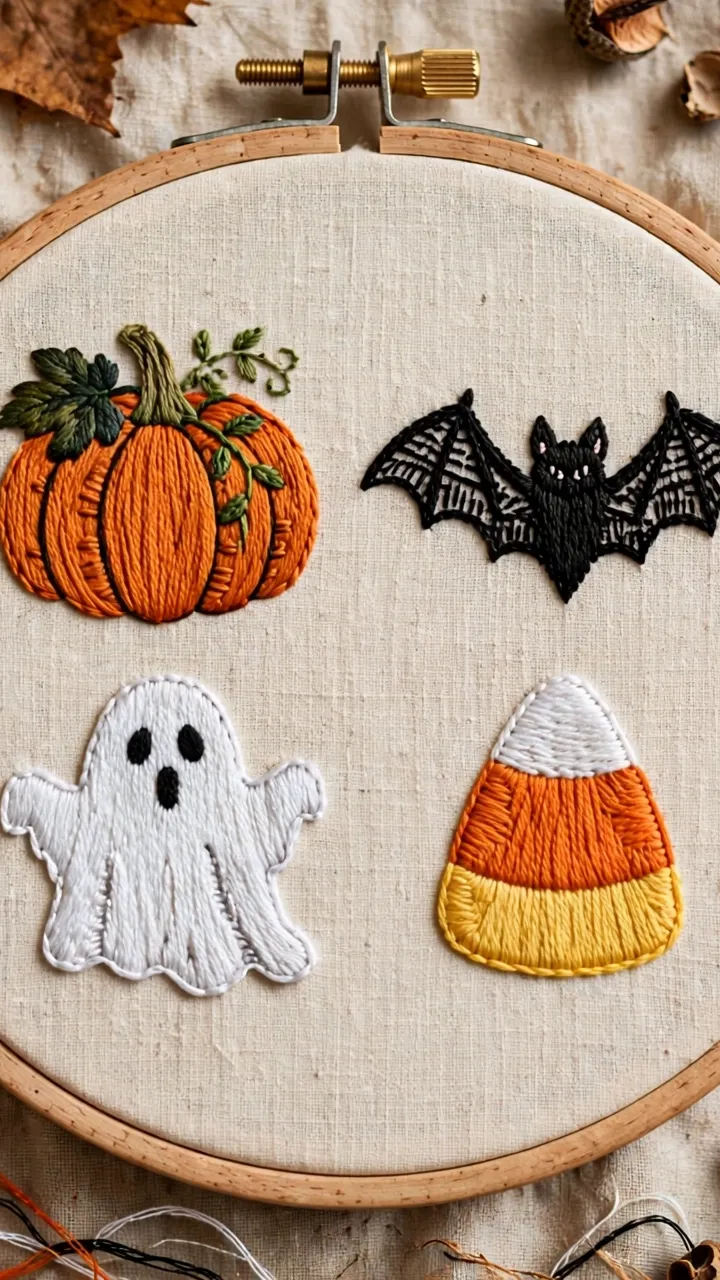
A simple ghost shape, basically a rounded rectangle with a wavy bottom, with two dot eyes and a smile. Fill it with white straight stitches or leave it as an outline. This is the friendliest possible Halloween motif and takes about 30 minutes.
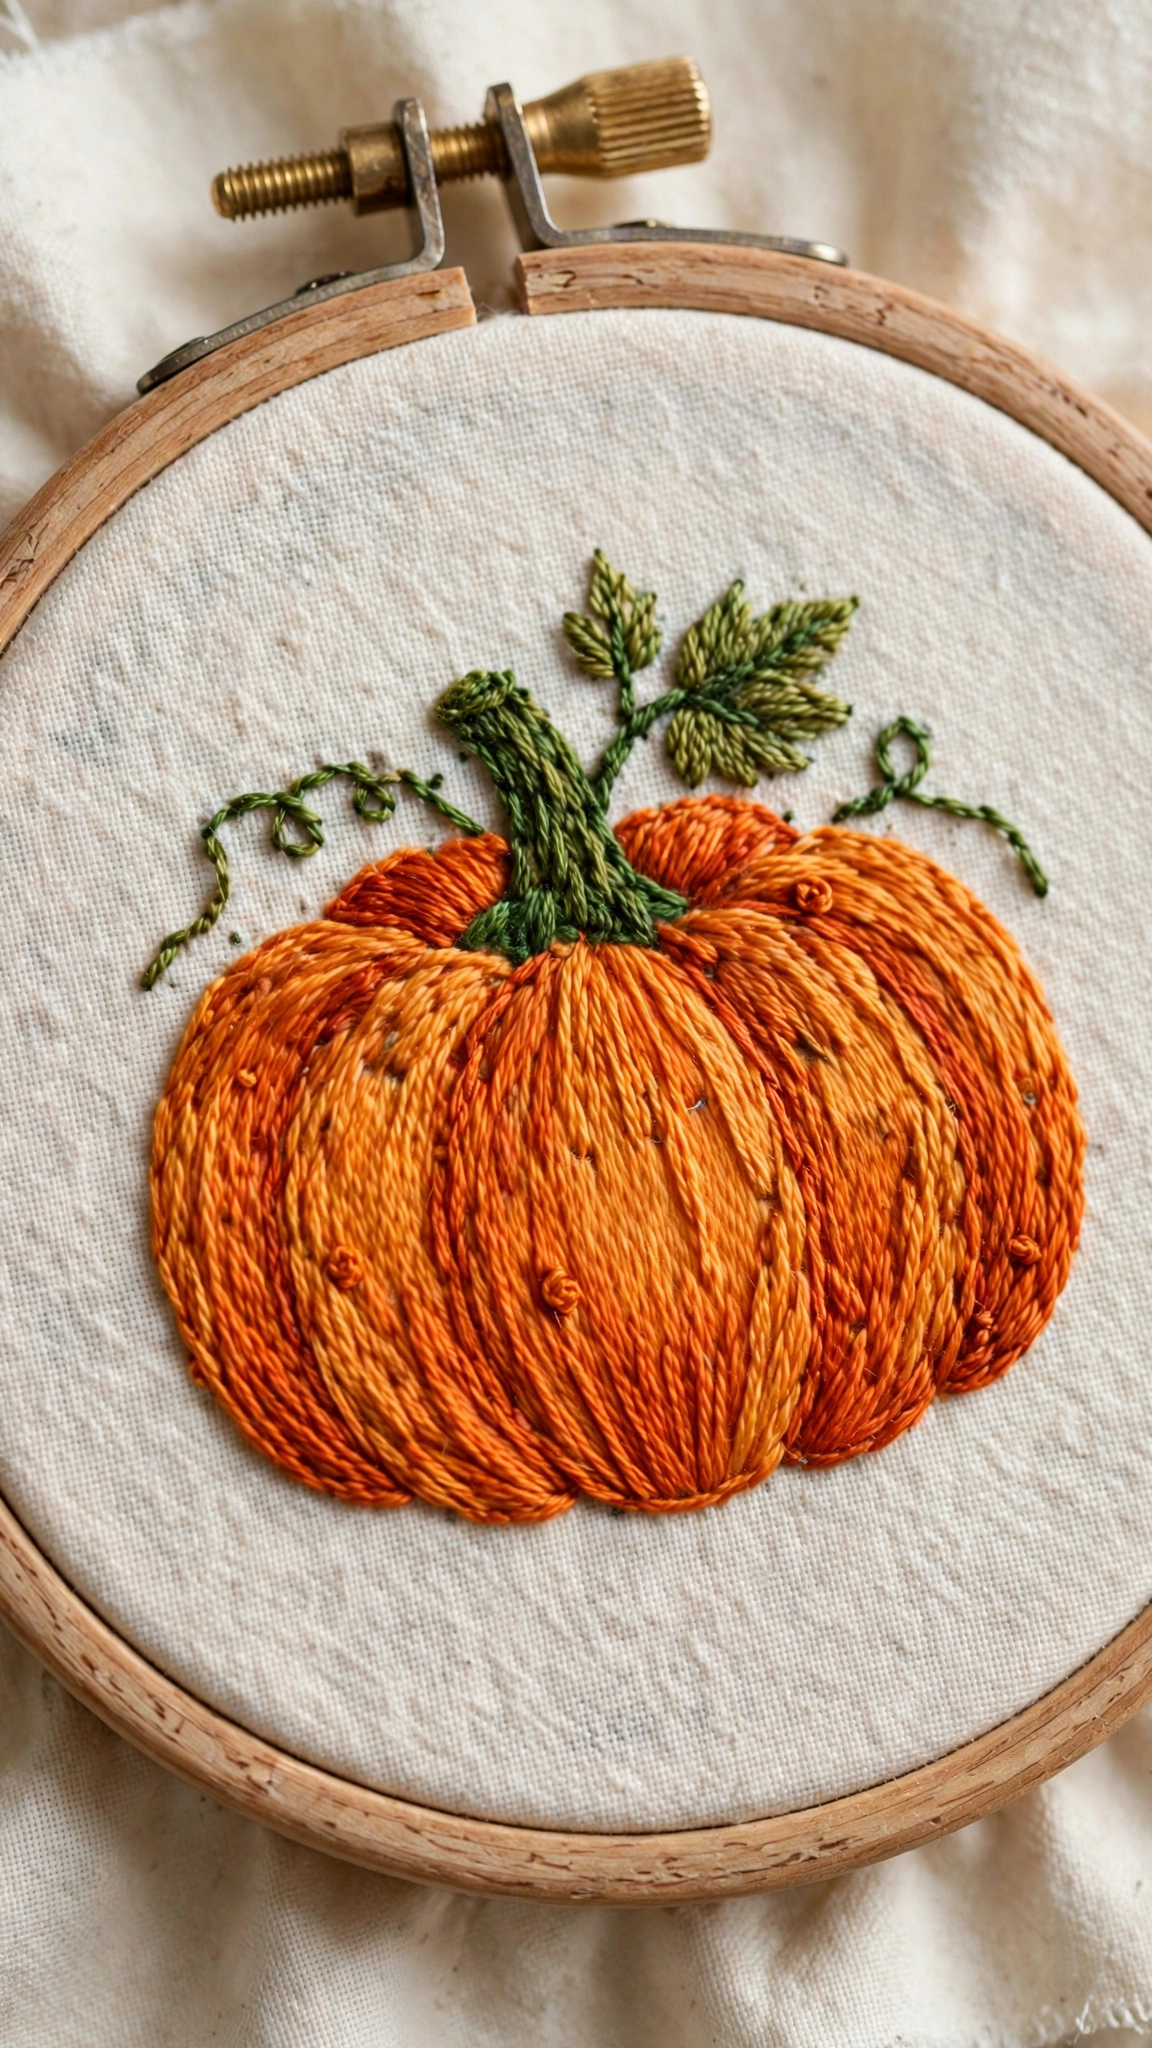
2. Plump Pumpkin
A round pumpkin shape with curved segment lines in orange, a brown stem, and a green curly vine. Pumpkins are just circles with lines, but they scream autumn. Add a jack-o-lantern face if you want spooky, or leave it plain for cute.
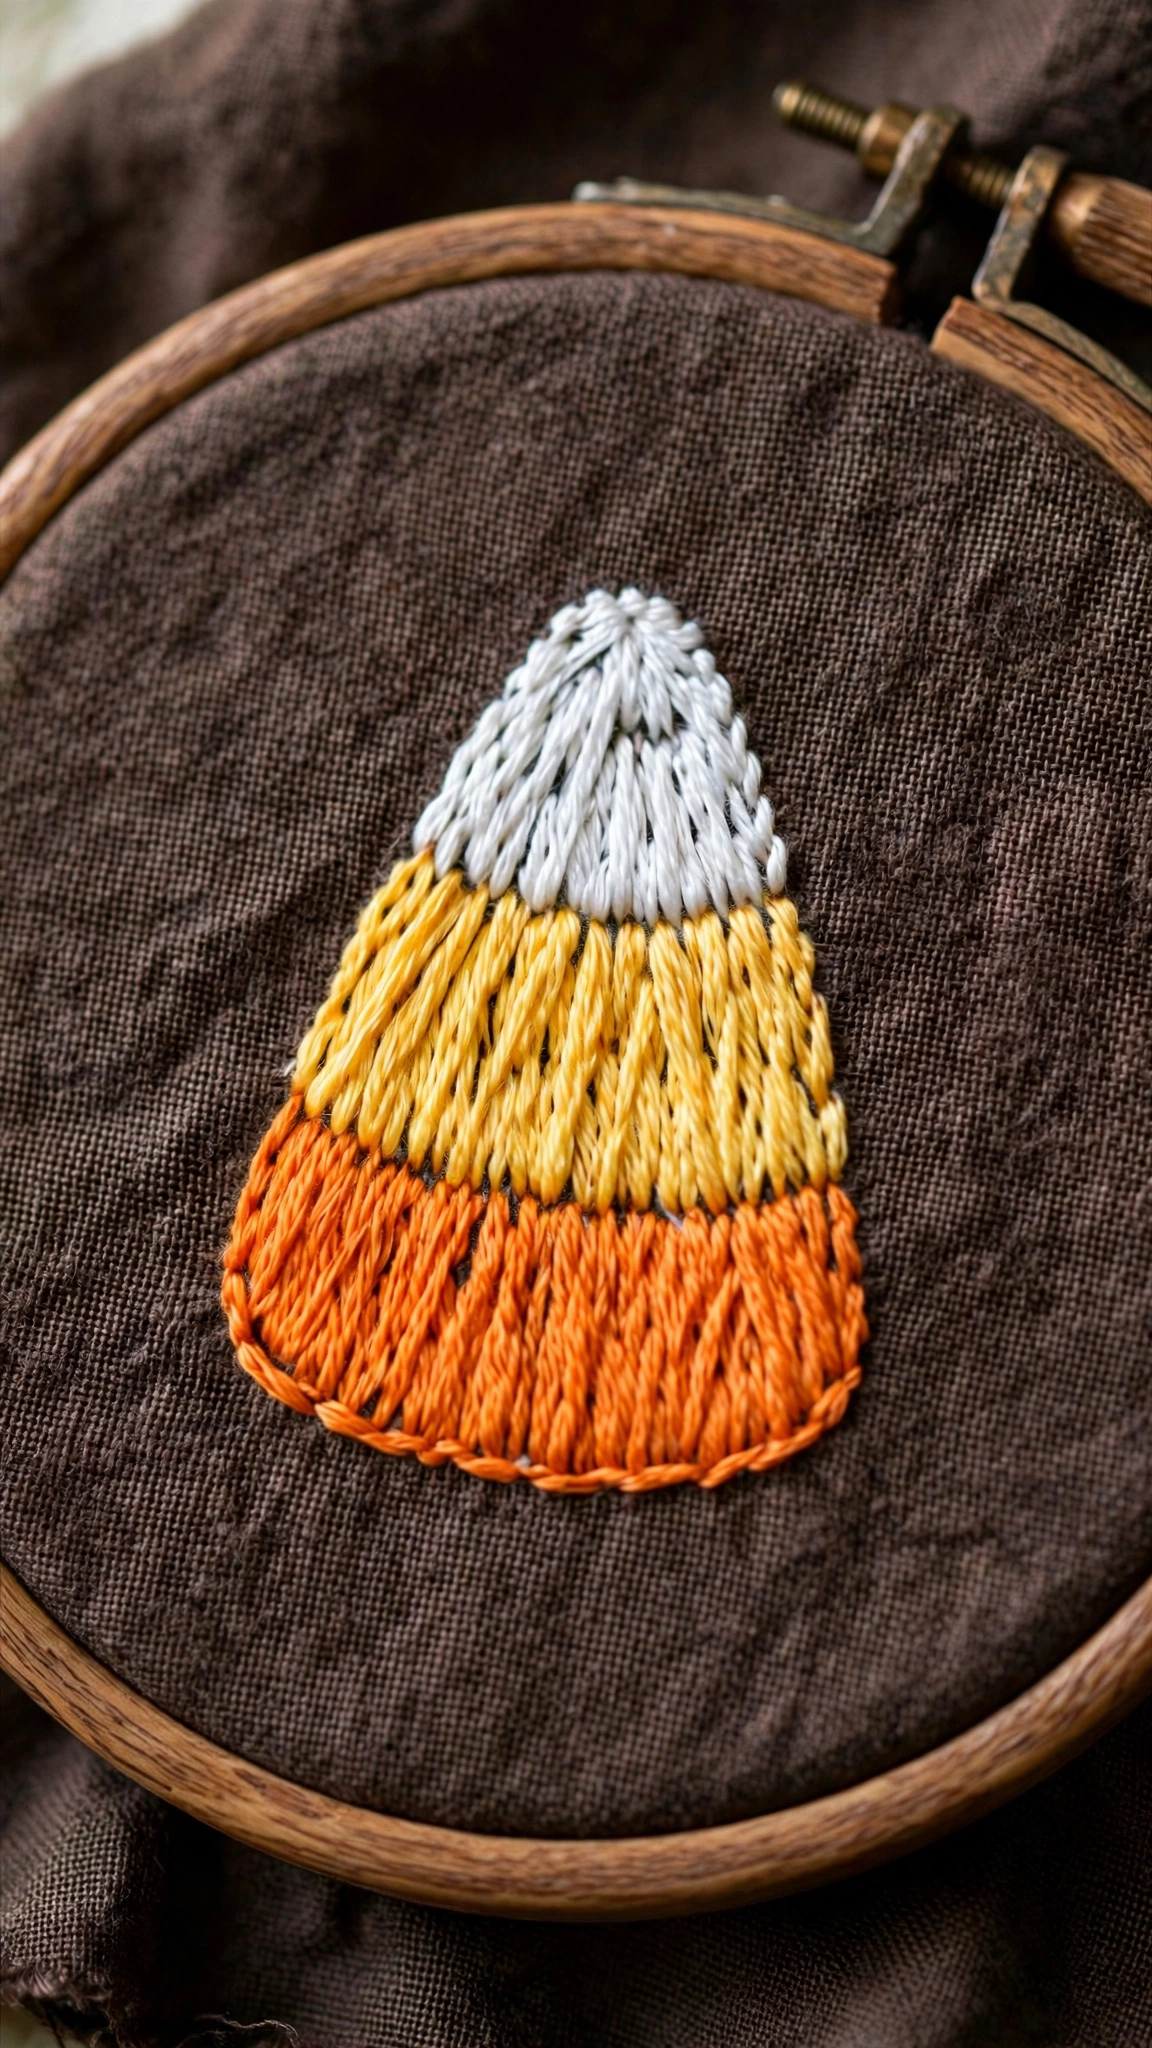
3. Candy Corn
Three stacked triangles in orange, yellow, and white. That is literally the whole pattern. Candy corn is iconic, instantly recognizable, and almost impossible to mess up. Make a row of them for a festive border.
4. Friendly Bat
A simple bat silhouette with scalloped wings. Bats look complicated but they are just two wing shapes and a small body. Keep the wings rounded rather than pointy for cute instead of creepy.
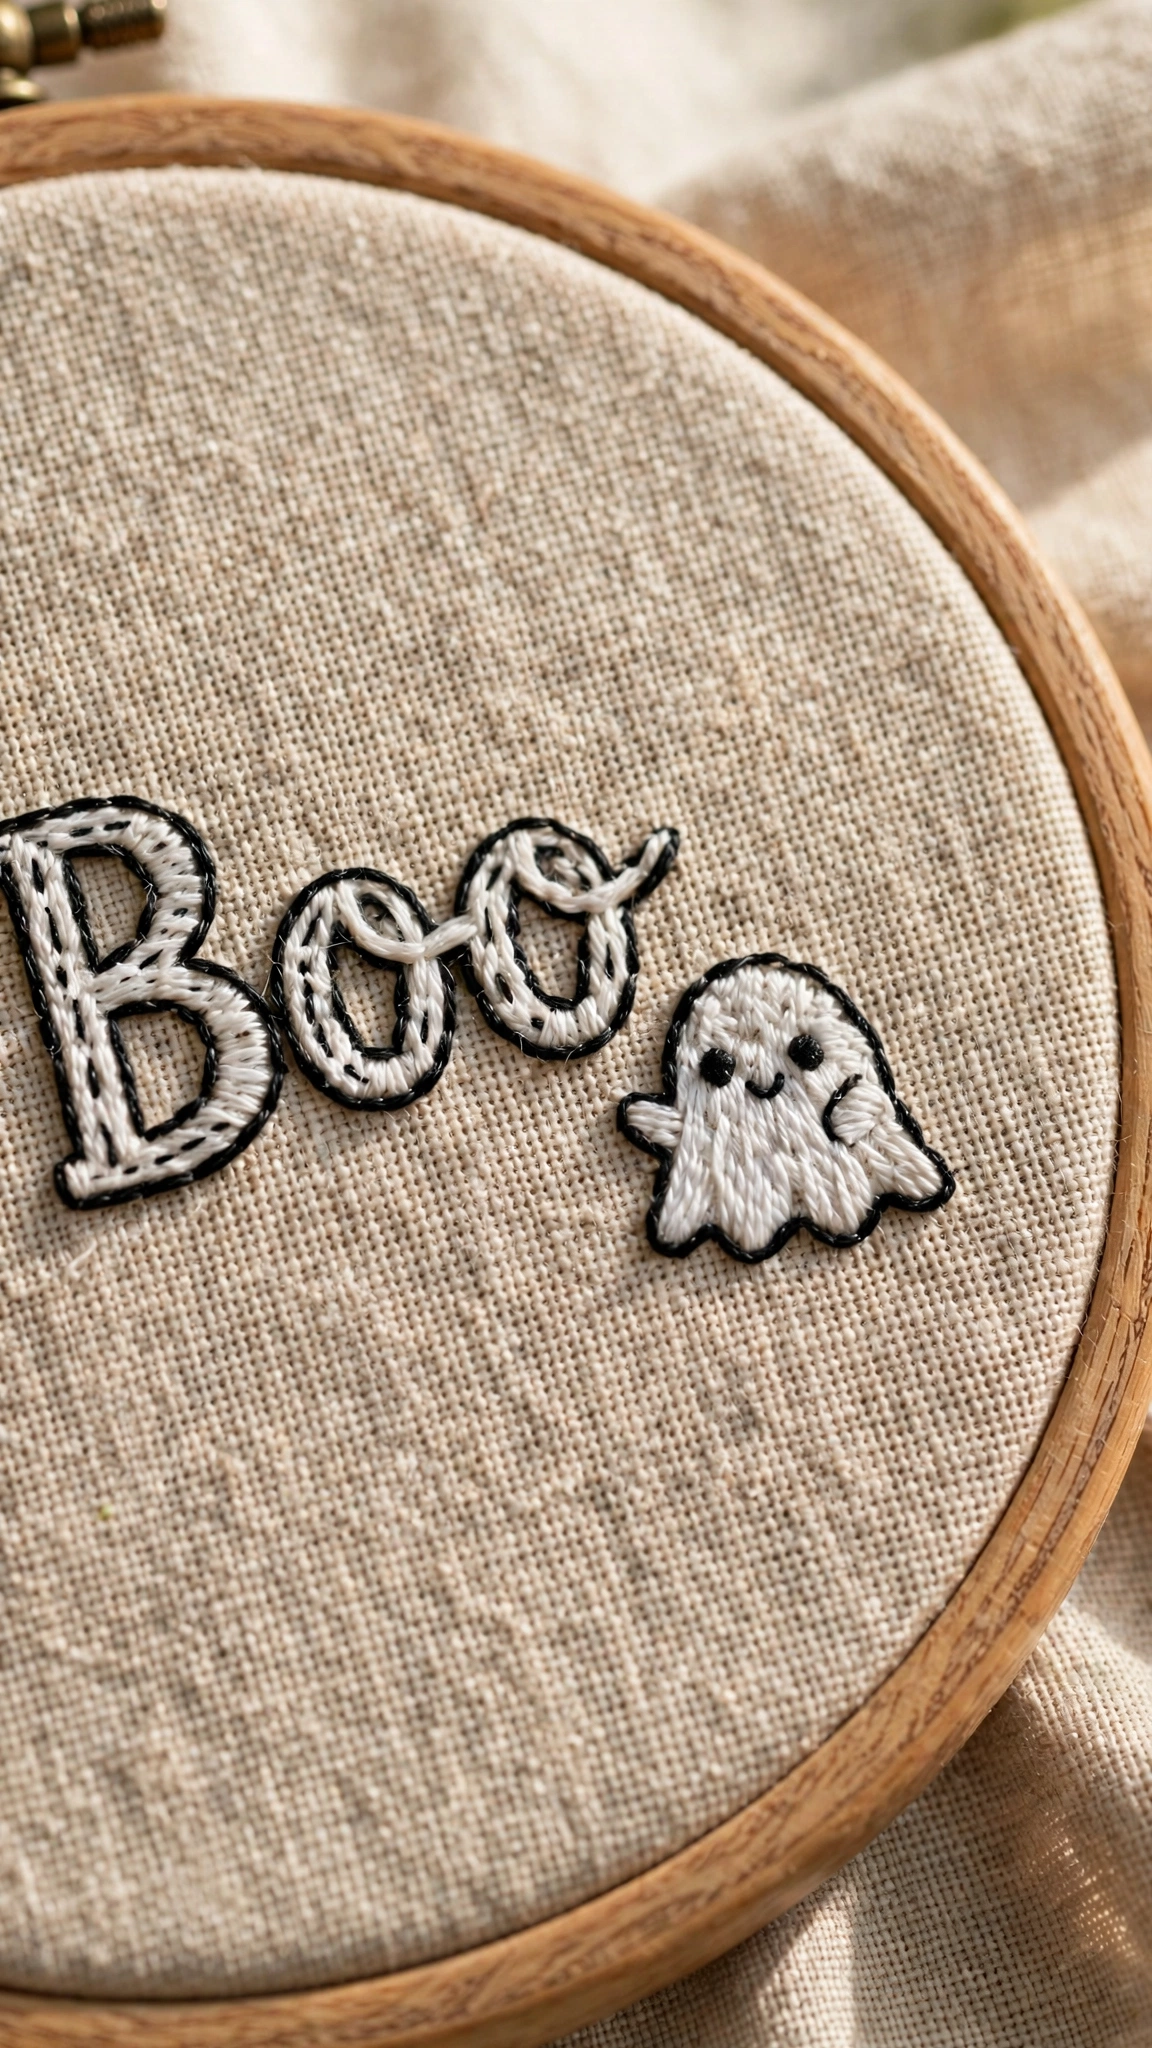
5. “Boo” Lettering with Ghost
The word “Boo” in playful lettering next to a tiny ghost. Short words are great for practicing lettering because you can focus on making three letters look good rather than a whole phrase.
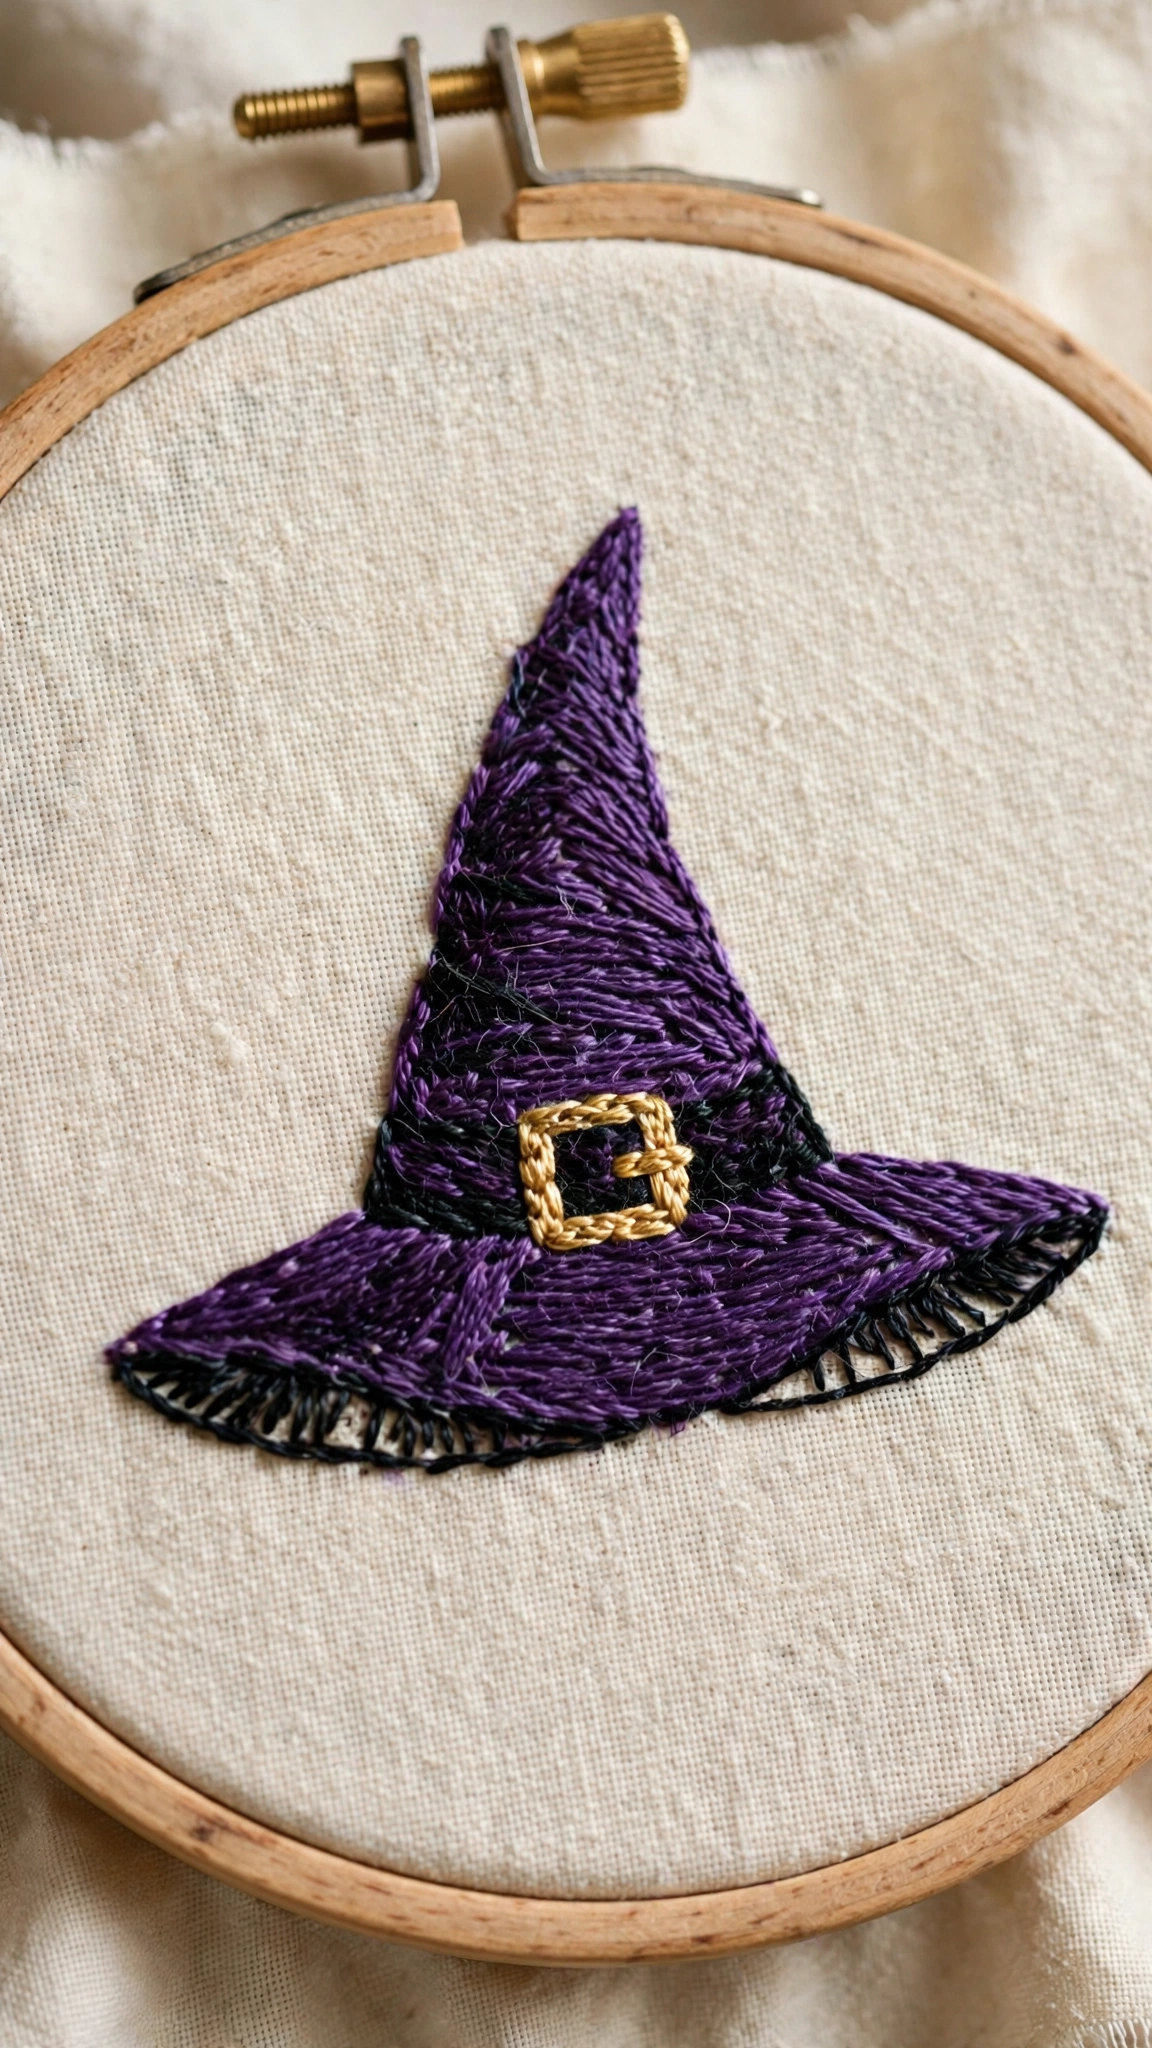
6. Witch Hat
A triangle hat with a brim, decorated with a band and a small buckle or star. Witch hats are geometric and simple, and you can go wild with the decorations. Add purple and gold for a magical feel.
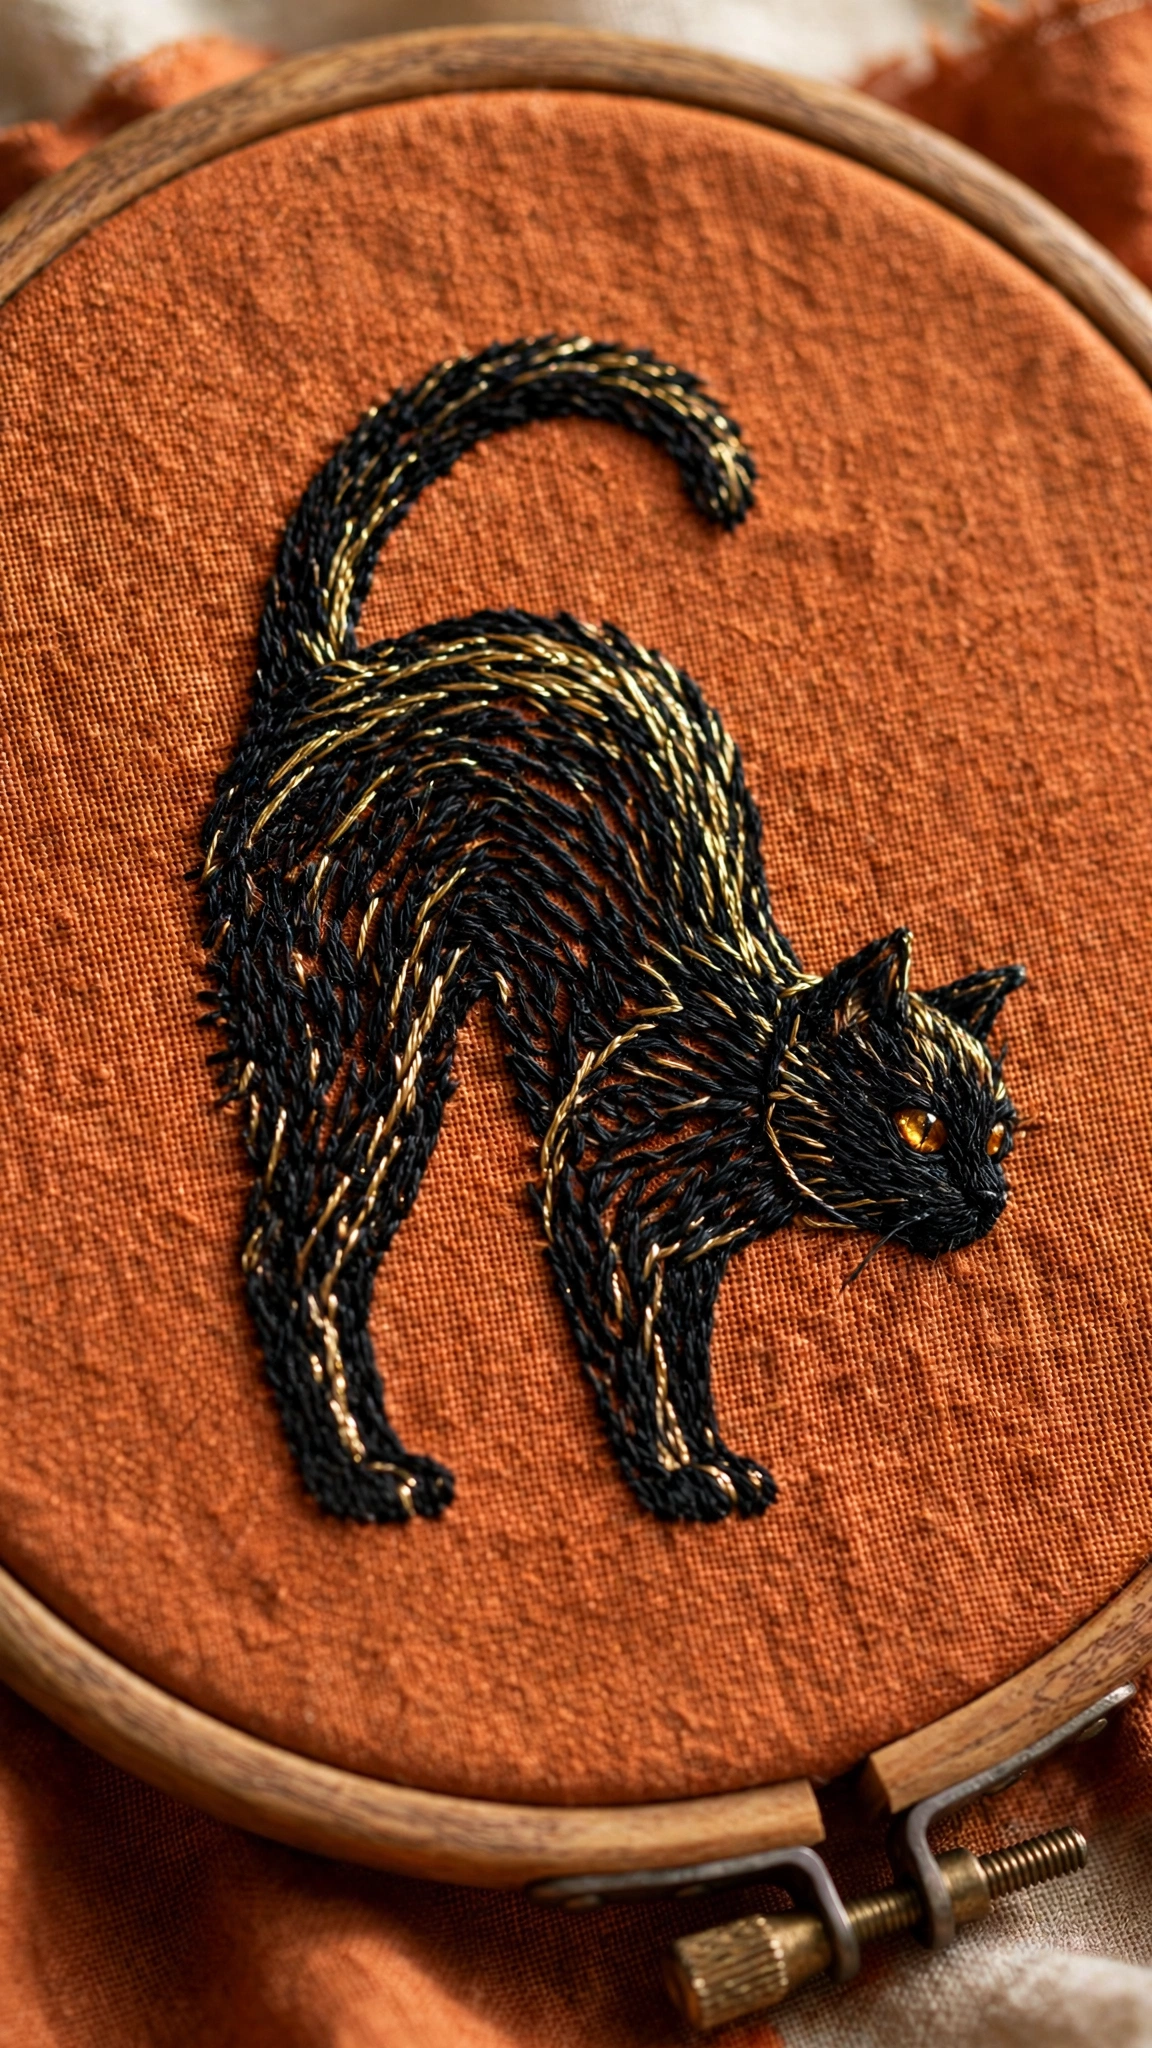
7. Black Cat Silhouette
A sitting cat silhouette with pointy ears and a curled tail. Add green or yellow French knot eyes for a pop. Cat silhouettes are elegant and look great as a single motif on a larger piece.
A Touch Spooky (Still Beginner-Friendly)
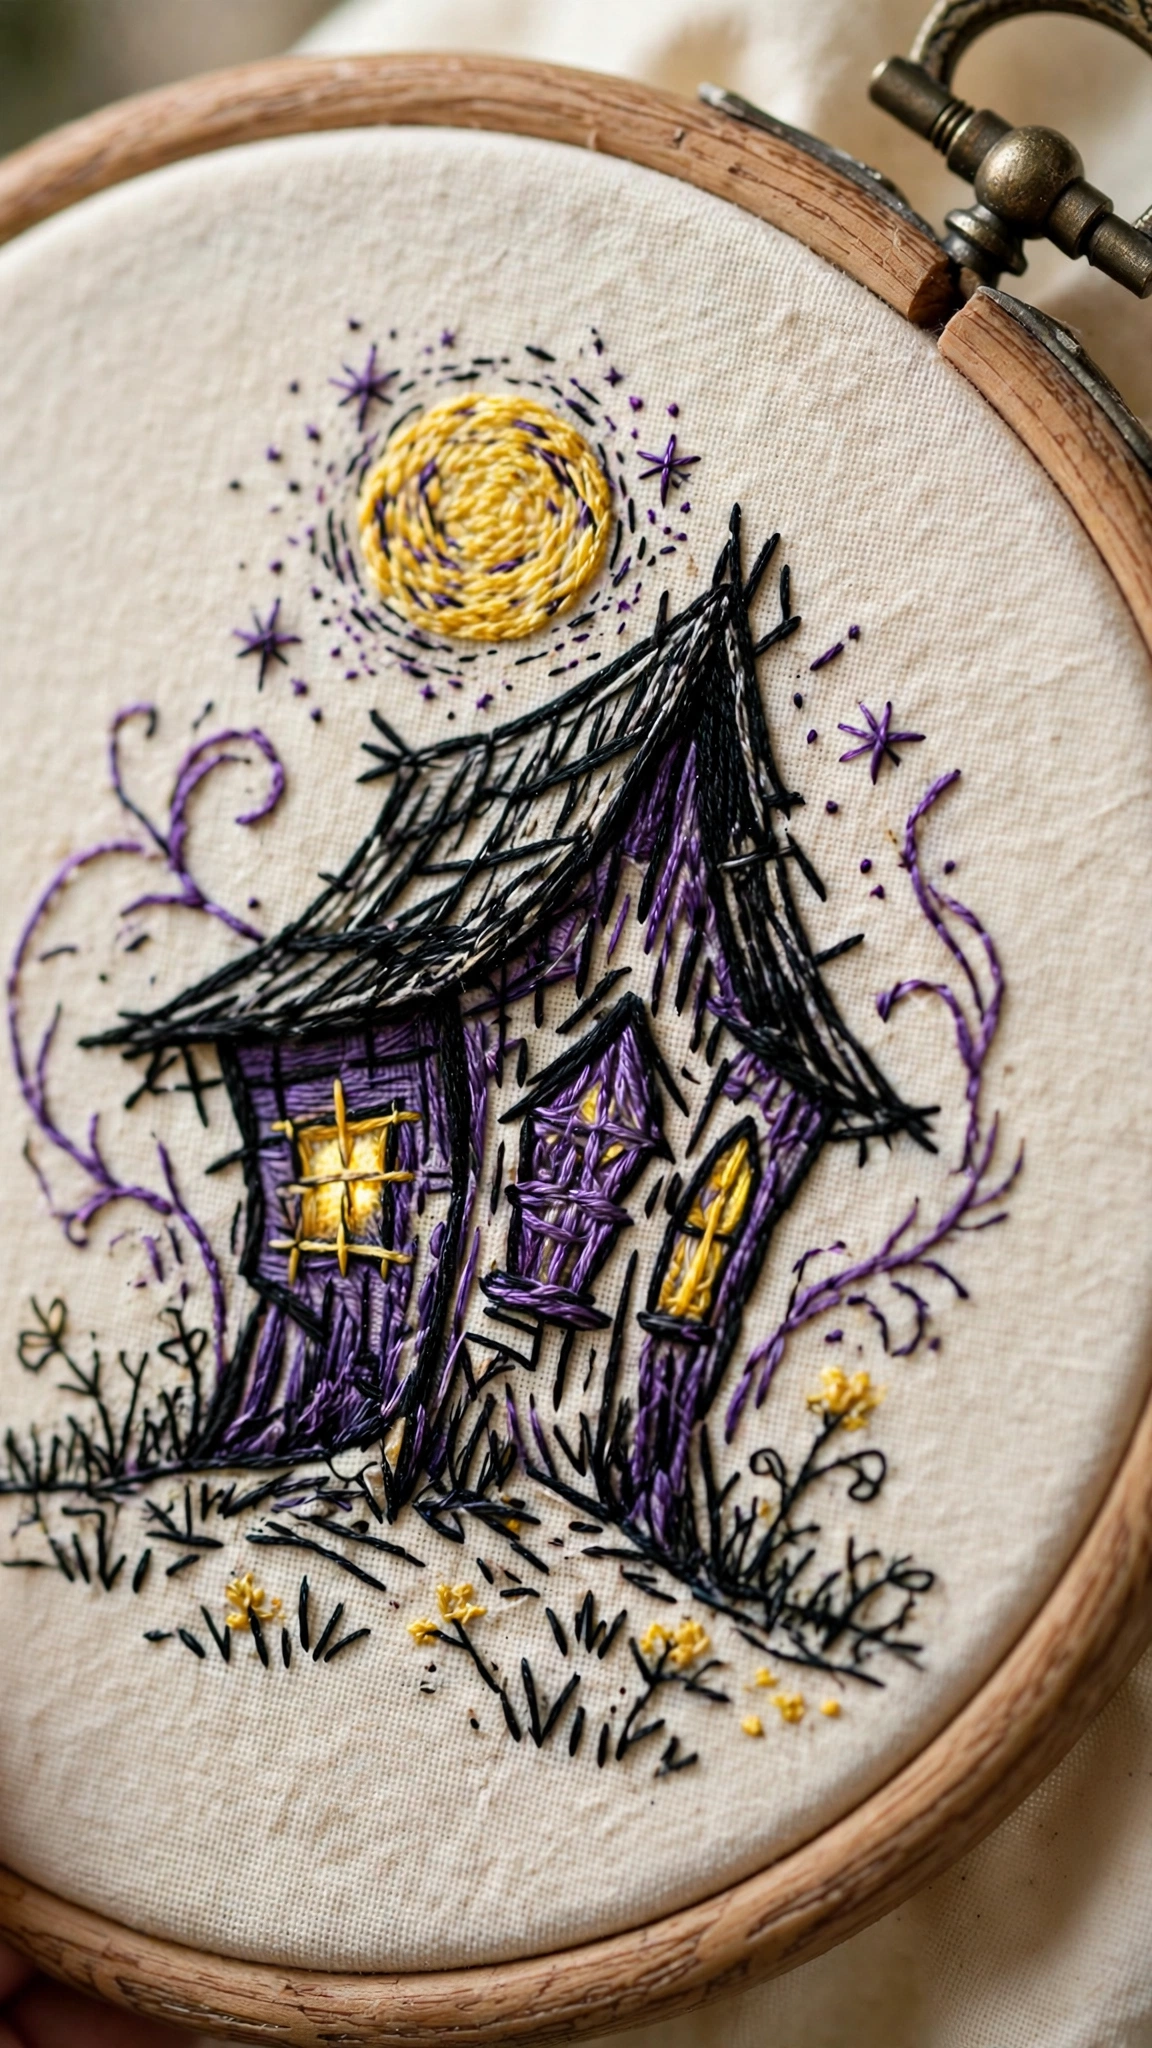
8. Haunted House
A simple house shape with a crooked roof, a door, and glowing yellow windows. The crooked lines are a feature, not a bug. Add a moon and some bats around it for a full scene.
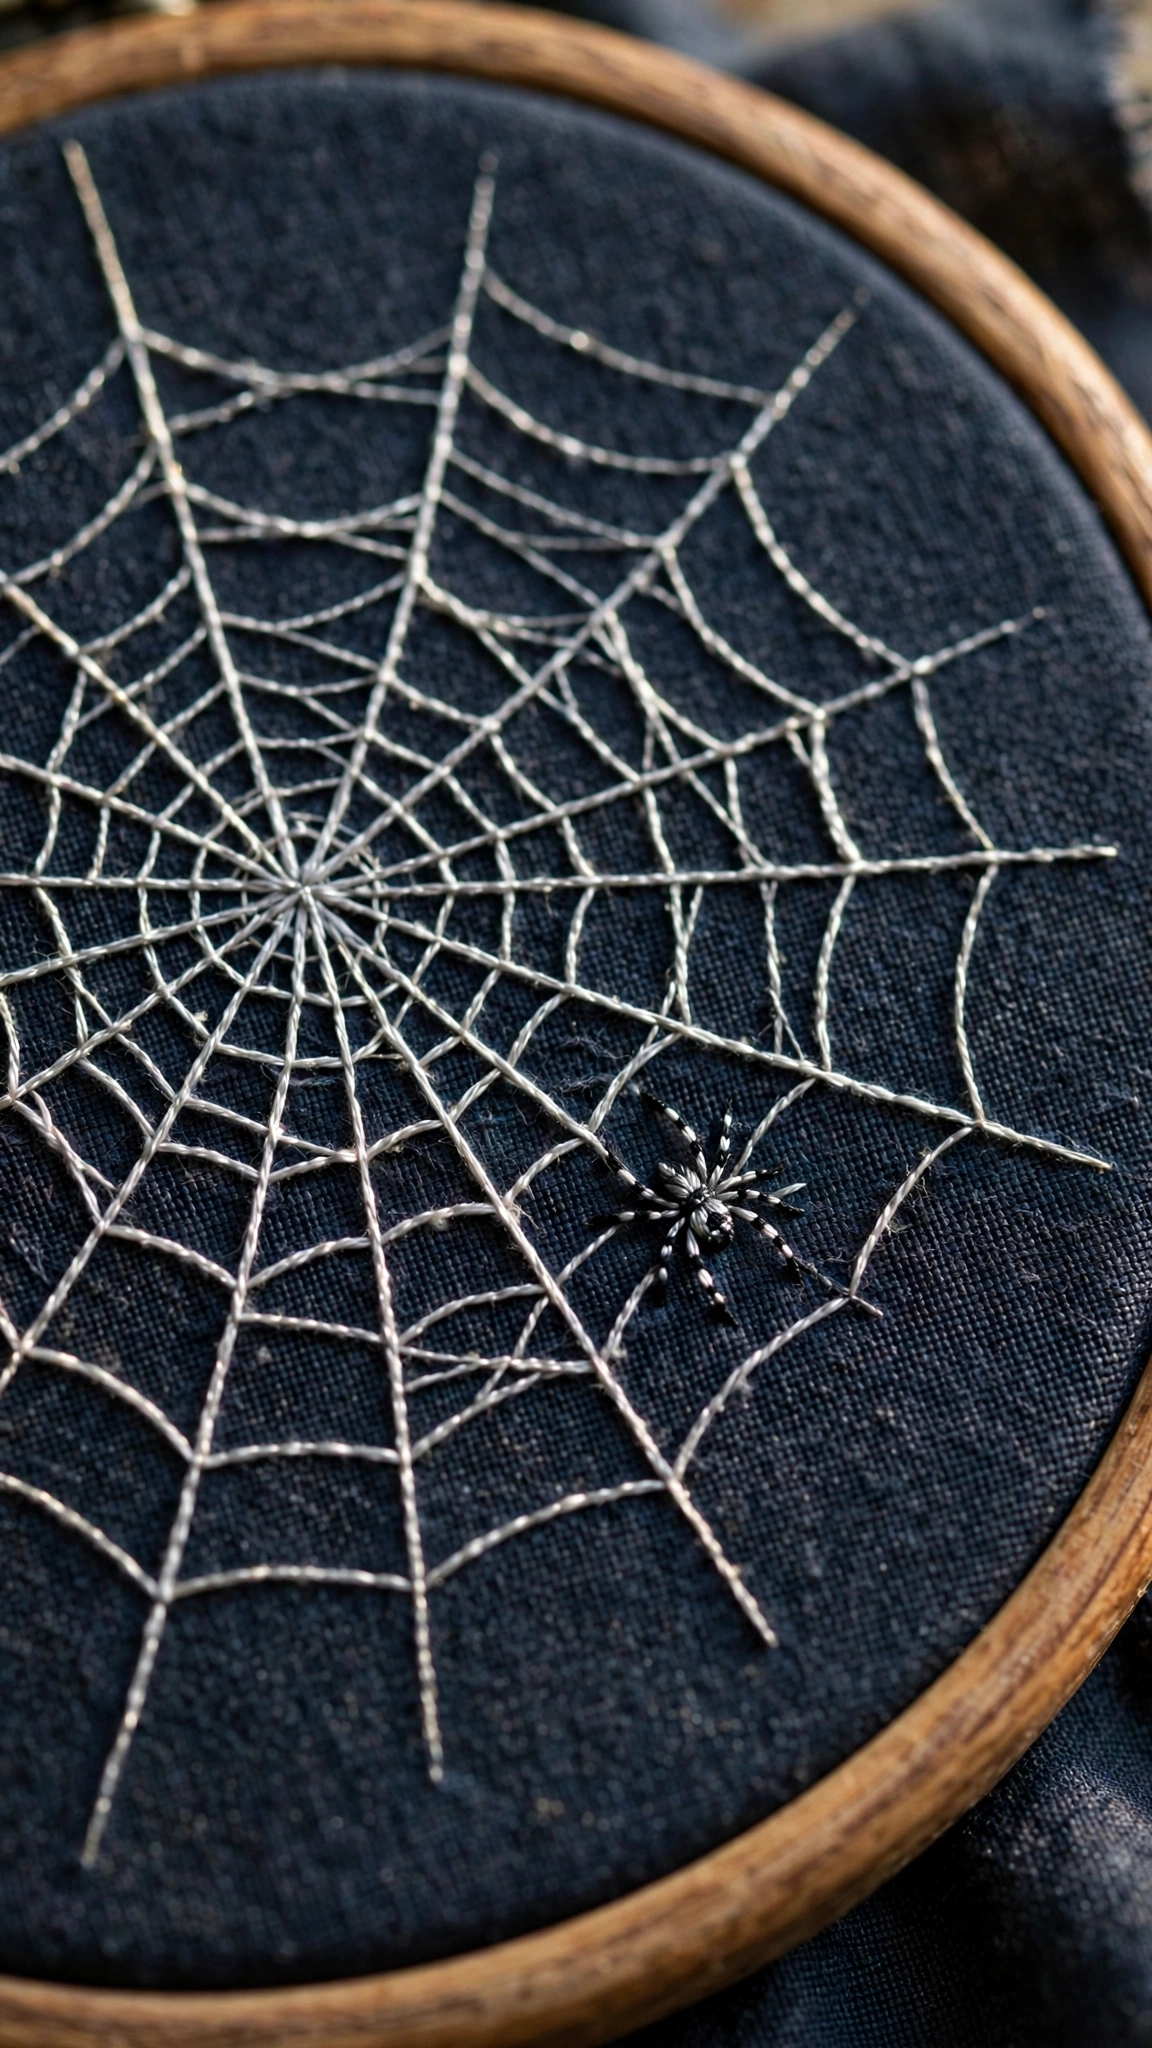
9. Spiderweb
Radiating straight lines connected by curved concentric lines. Spiderwebs are meditative to stitch and look impressively intricate for how simple they are. Add a small spider, just a round body with eight straight-stitch legs, for the full effect.
10. Skull (Cute Style)
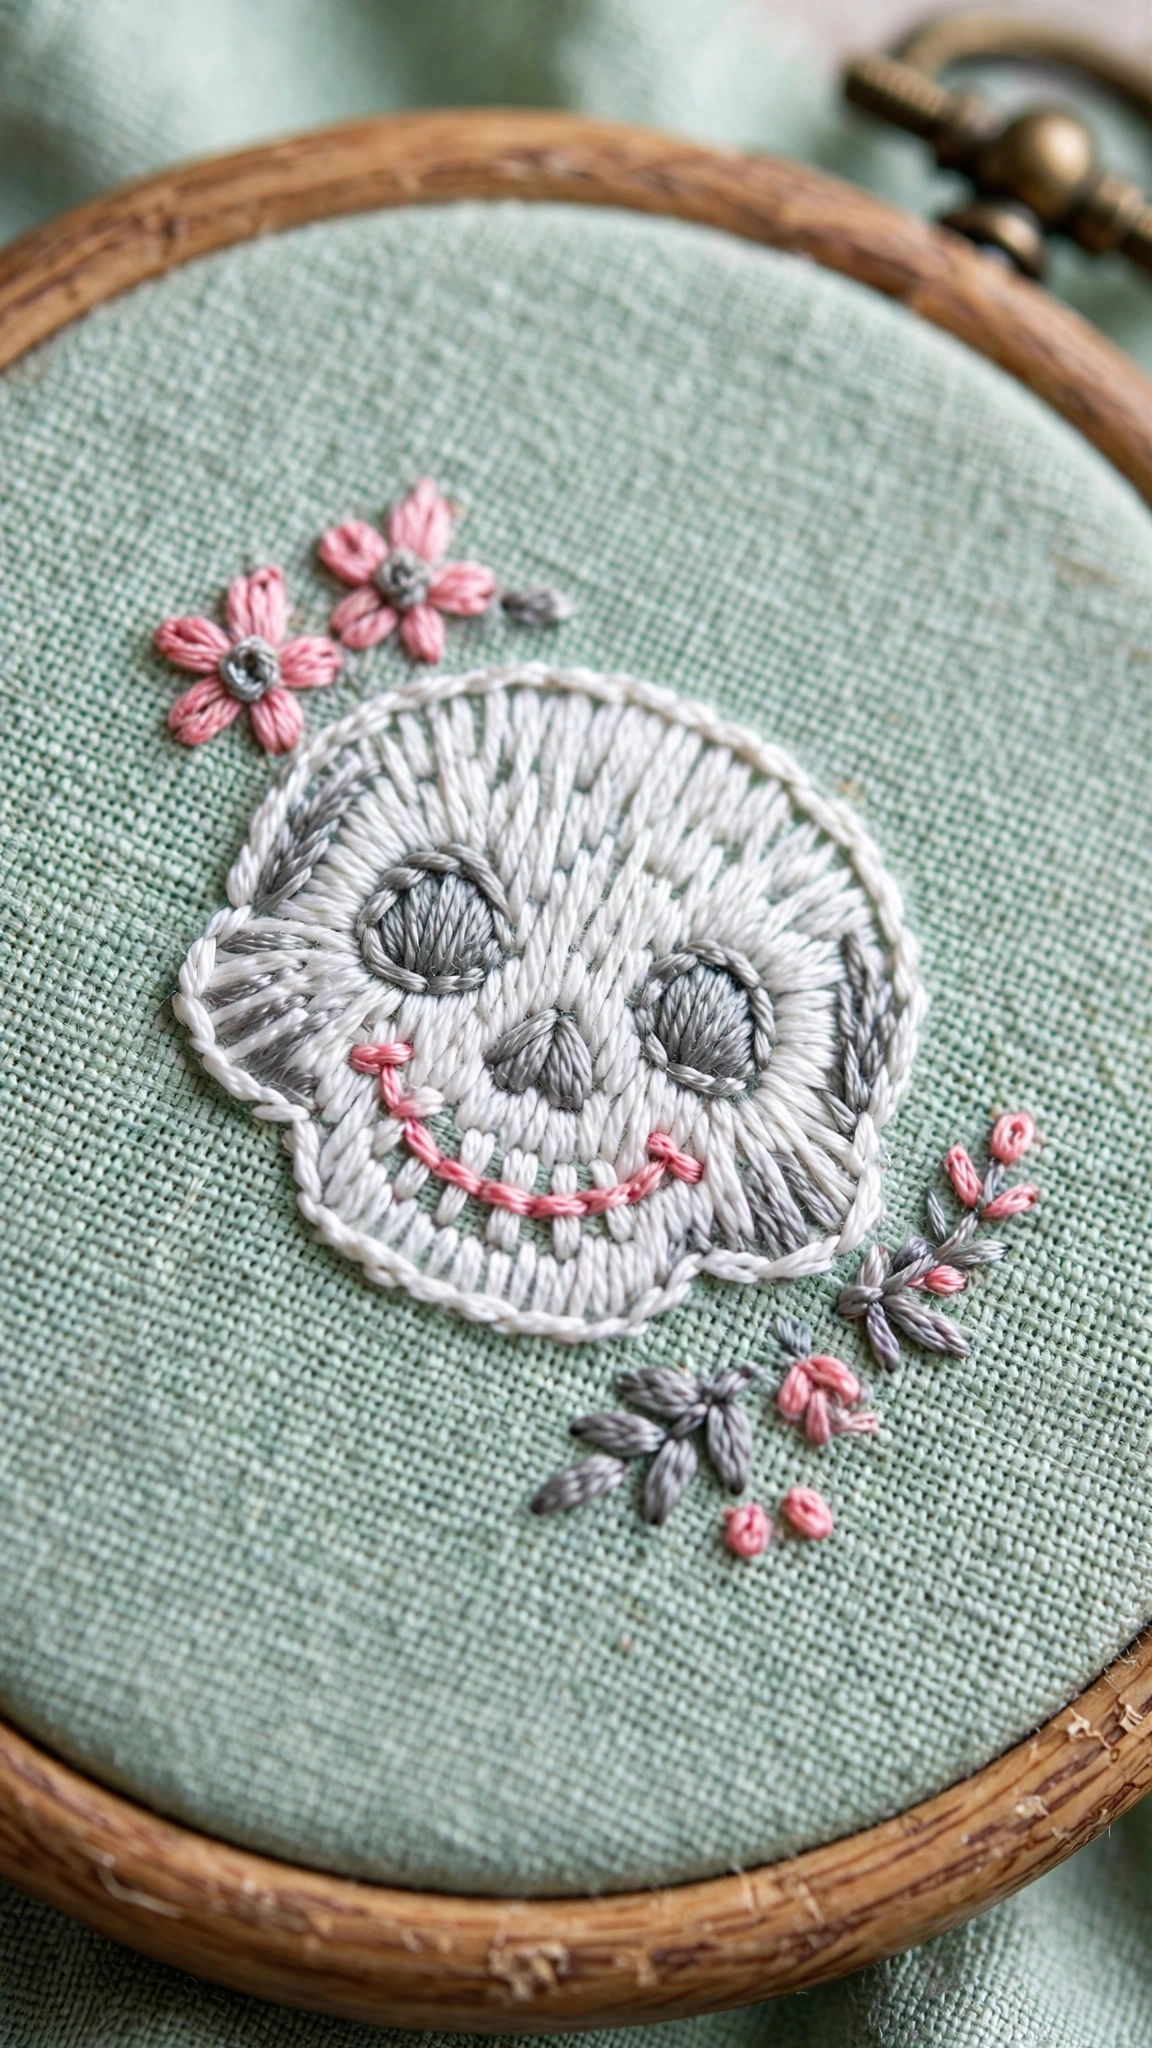
A rounded skull shape with heart-shaped eyes instead of scary sockets. The cute skull style is very popular and much more approachable than realistic skulls. It is just a circle with a jaw shape and simple features.
11. Potion Bottle
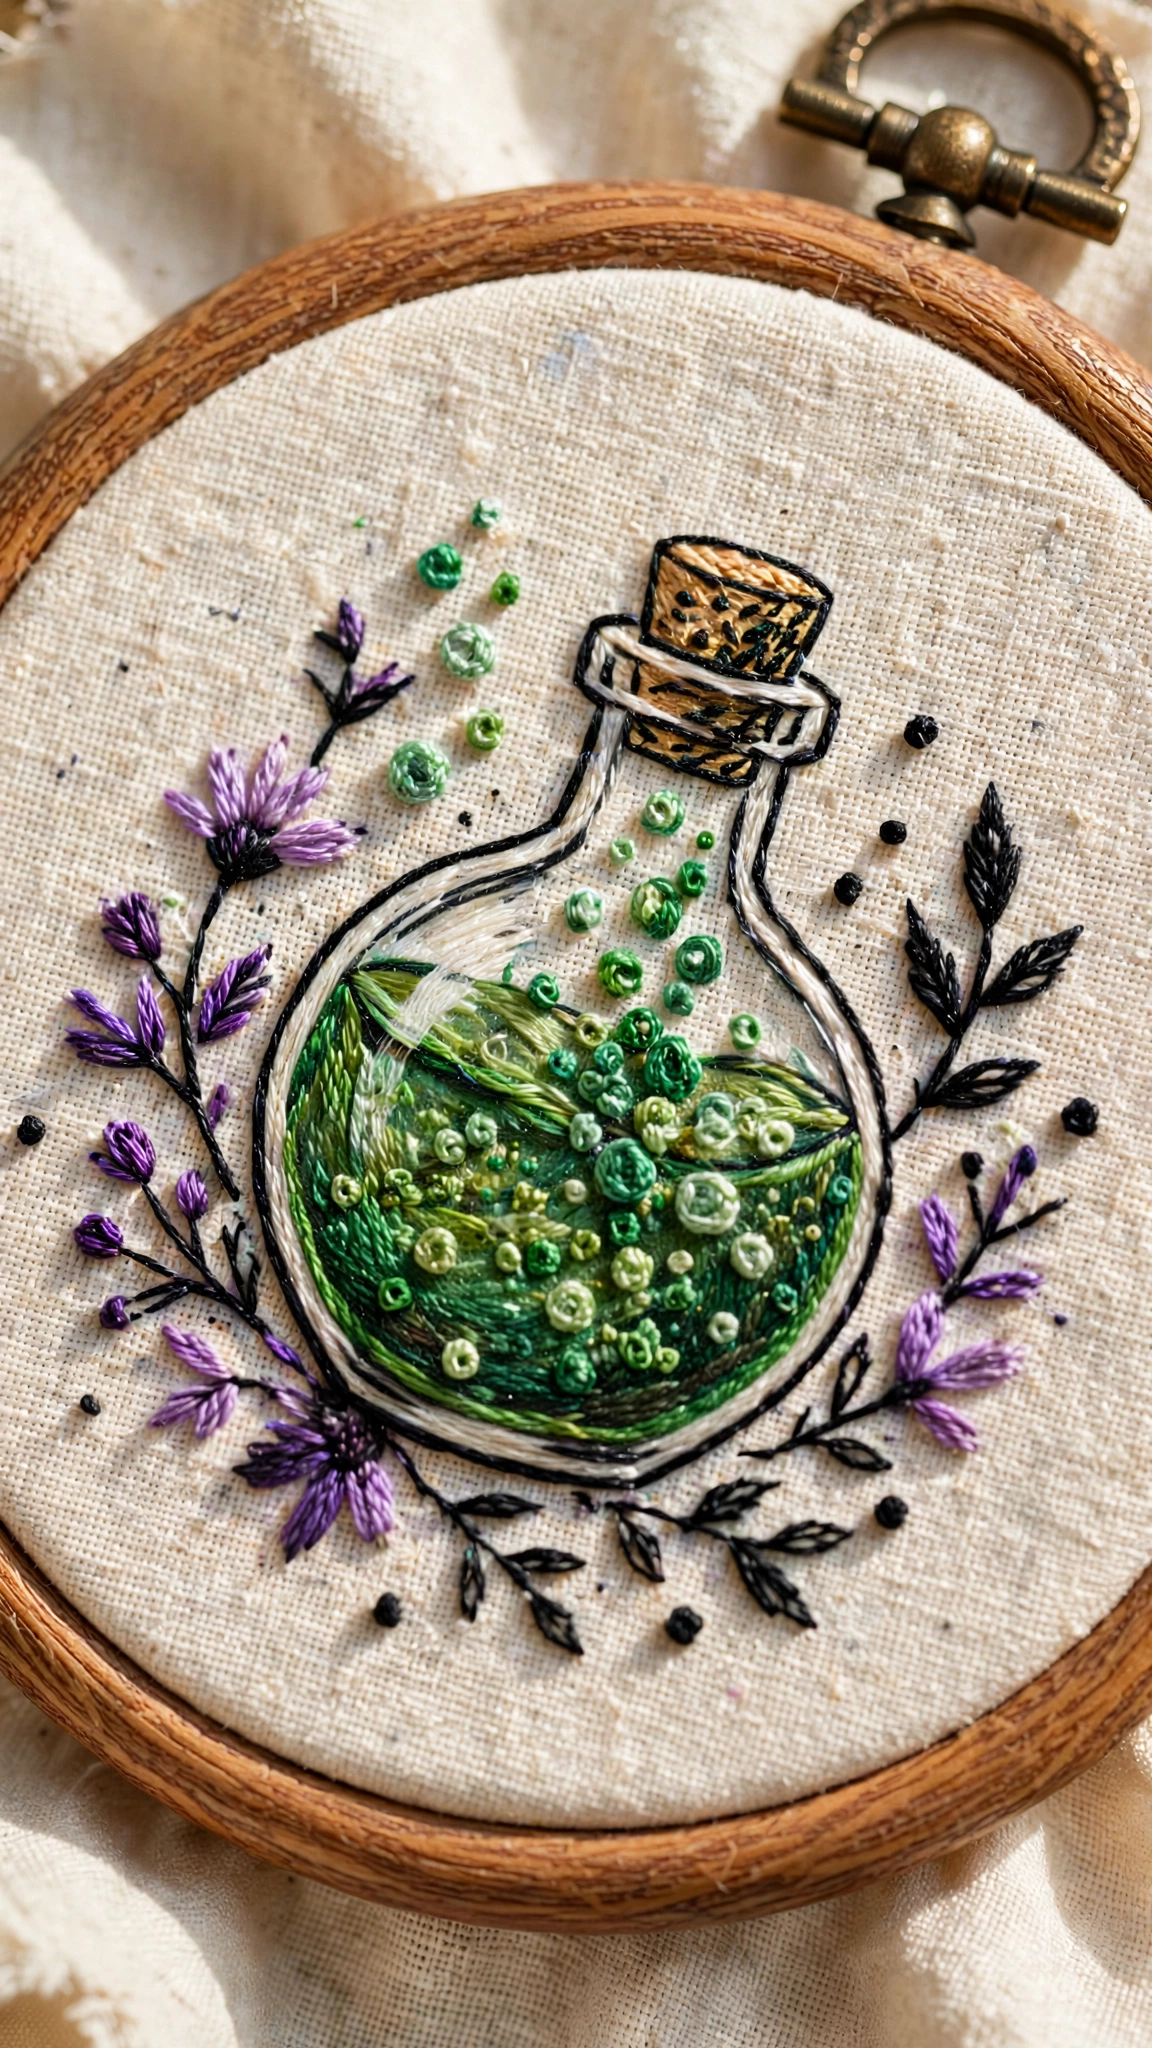
A bottle shape with bubbles coming out and a label that says “Boo Brew” or “Witch’s Brew.” Potion bottles let you play with fun details like corks, labels, and swirling contents. They are great for practicing small details.
12. Full Moon with Bats
A large circle in pale yellow or cream with a few bat silhouettes flying across it. This is dramatic and beautiful, and it is mostly just a circle and some bats. It makes a stunning centerpiece for a Halloween display.
For the Bold (Slightly More Challenging)
13. Day of the Dead Sugar Skull
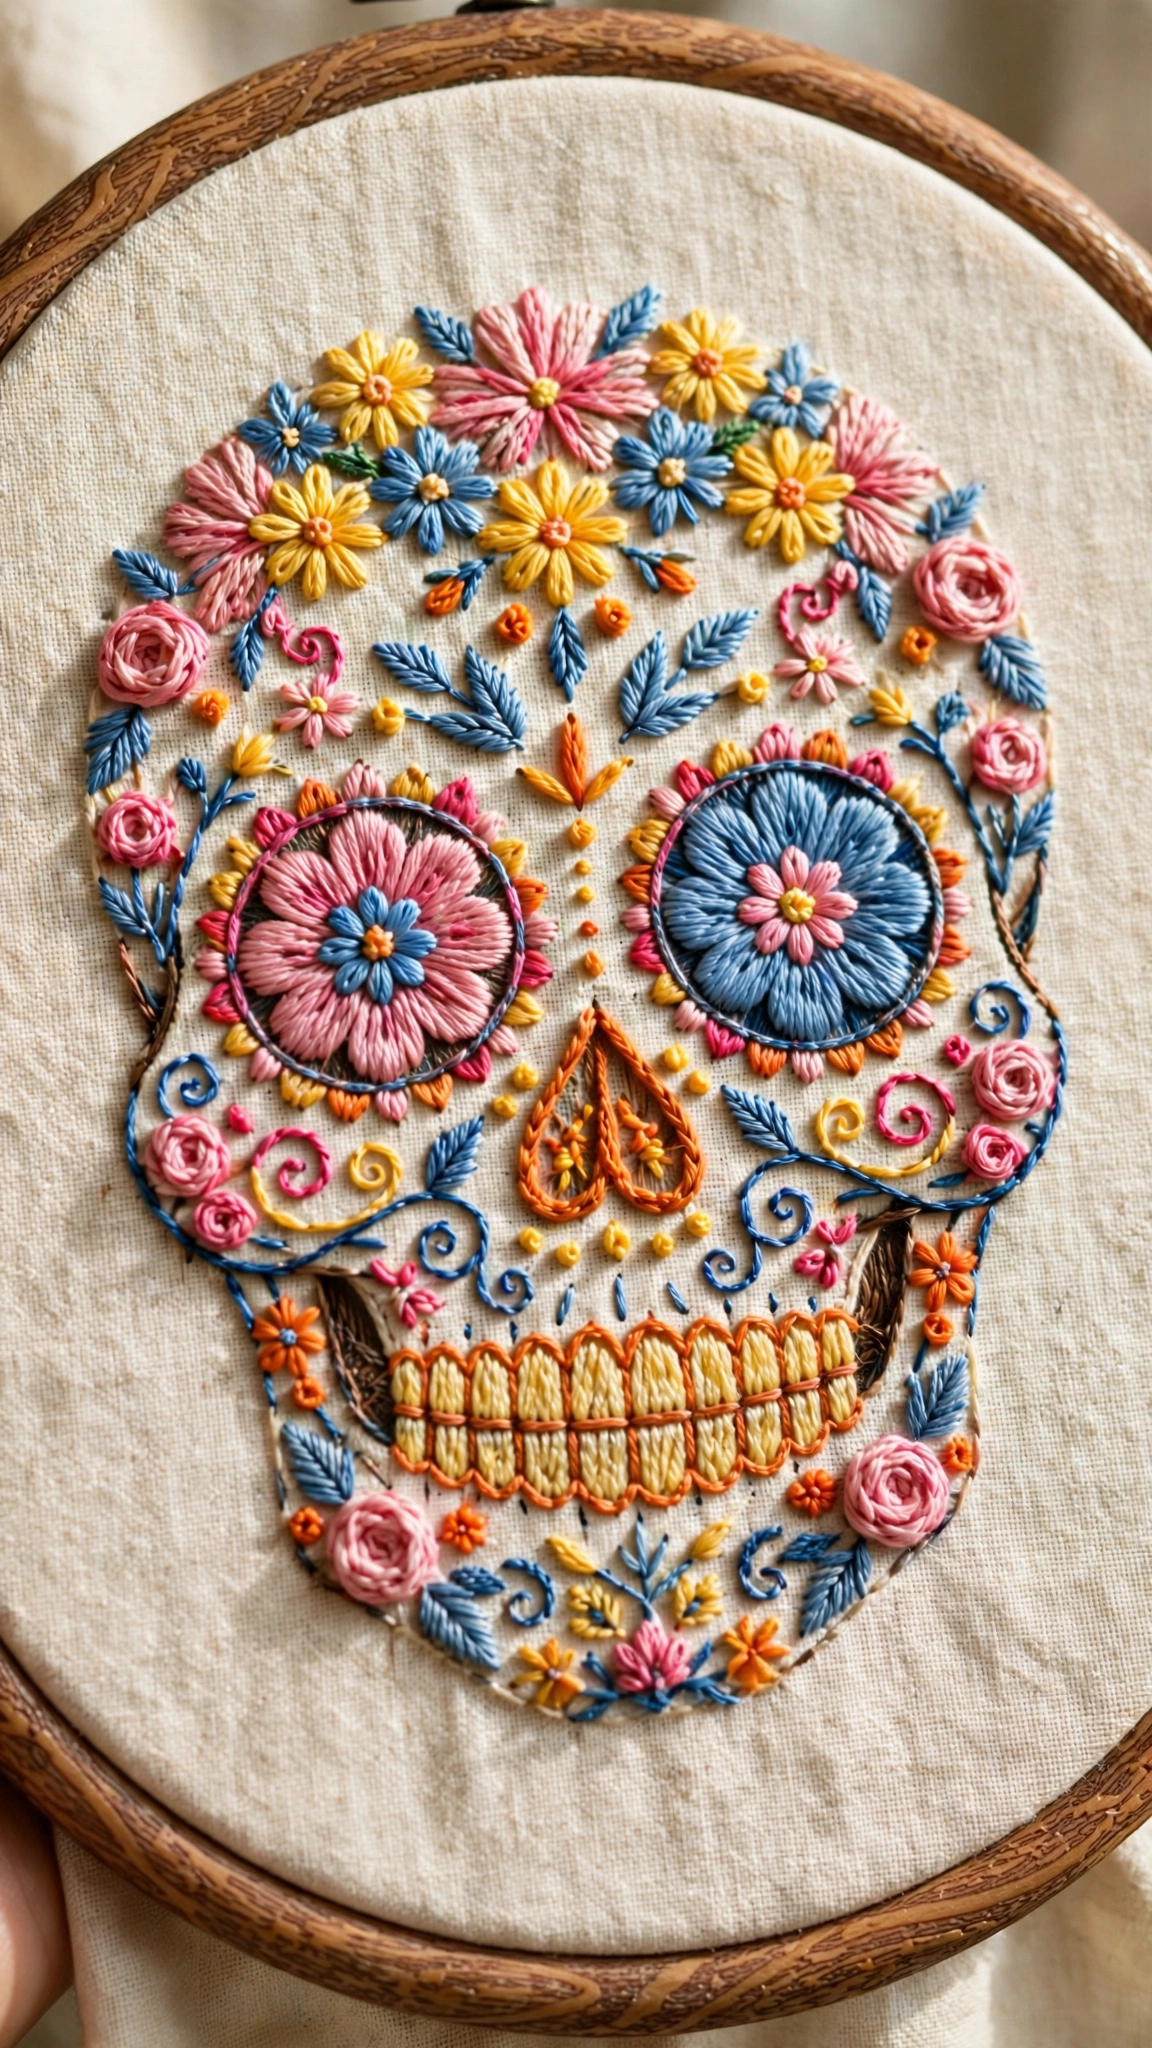
A skull decorated with flowers, hearts, and swirling patterns in bright colors. Sugar skulls are detailed but the details are all simple shapes repeated. This is a joyful, celebratory design that honors the tradition beautifully.
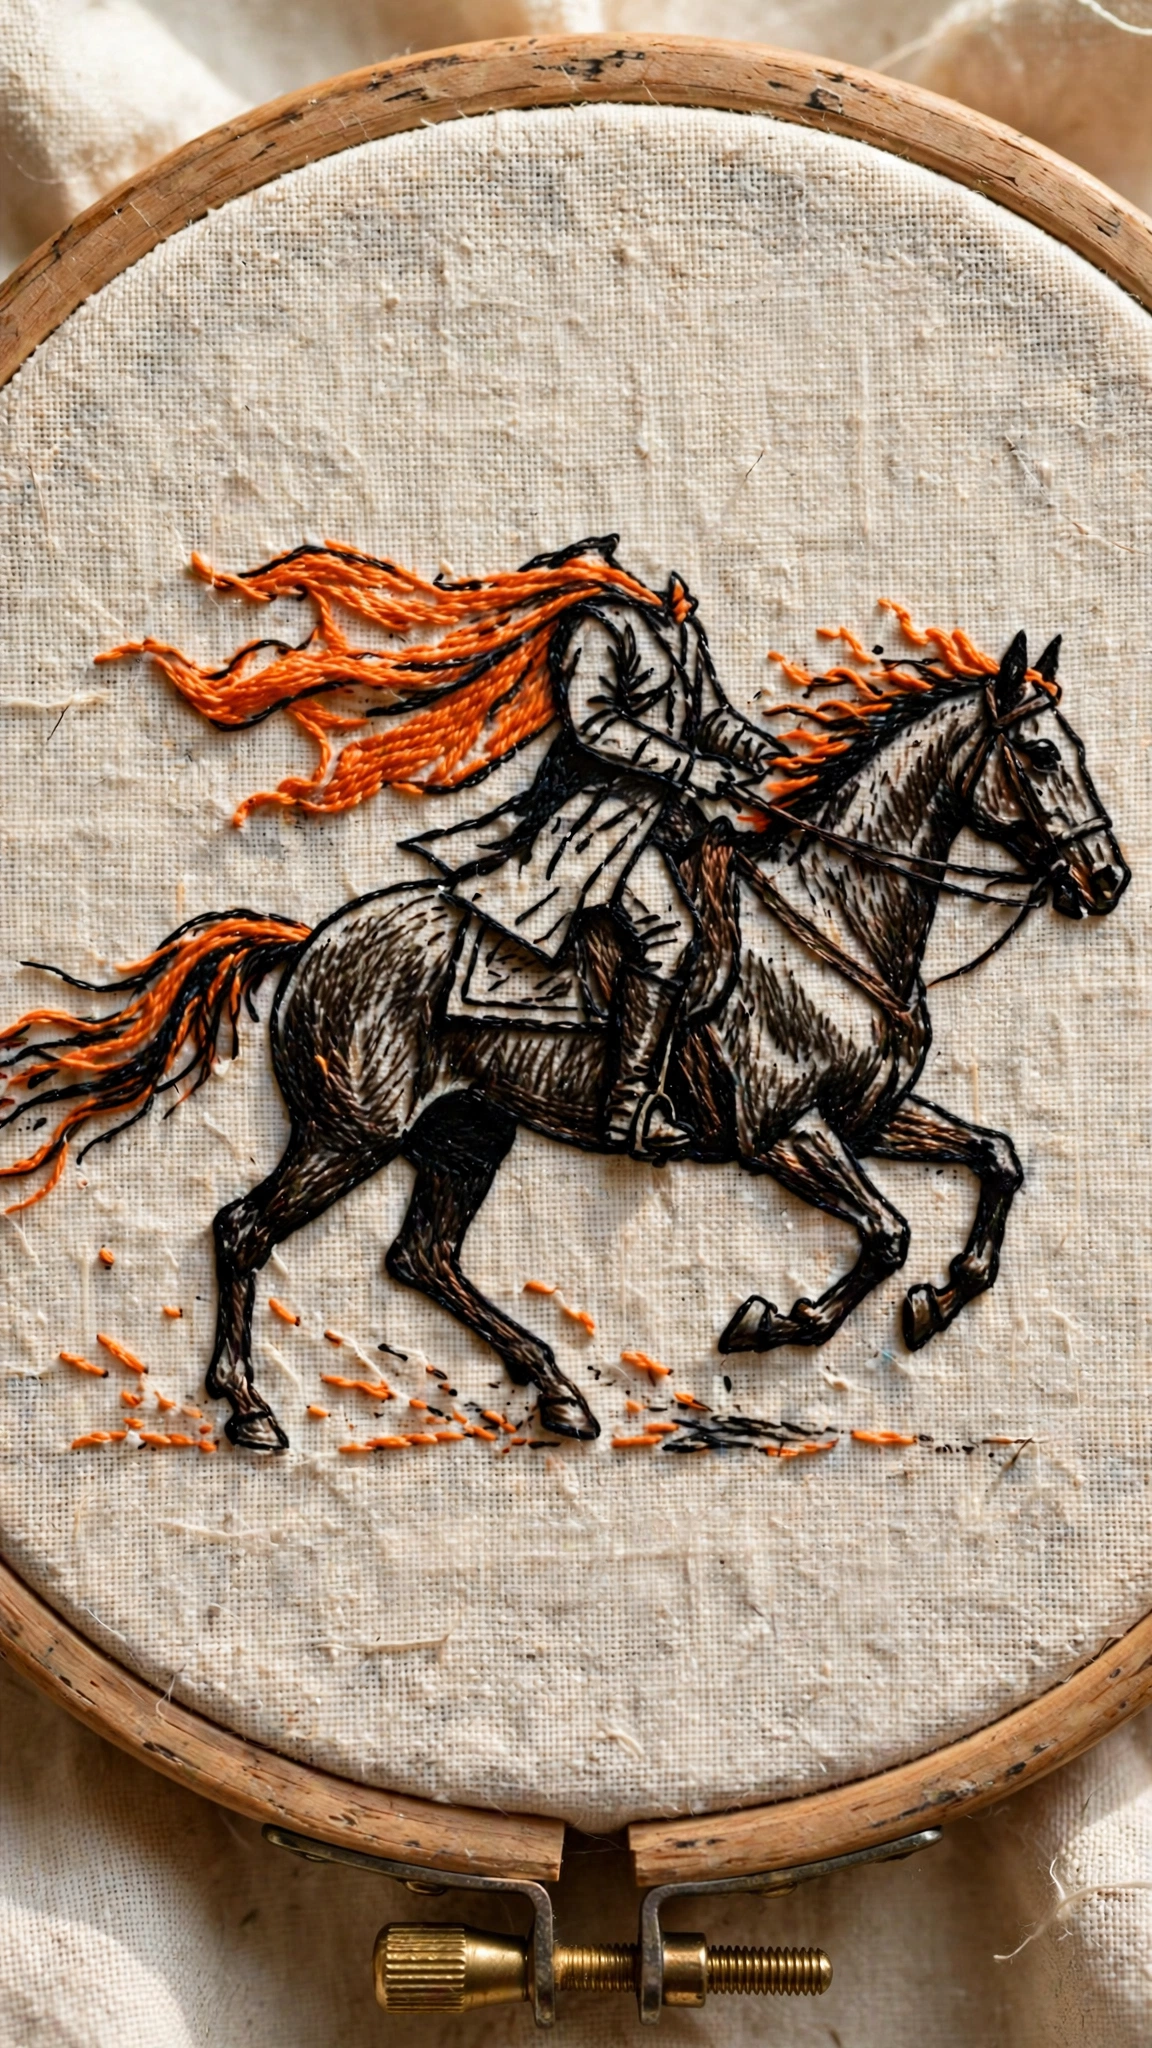
14. Headless Horseman Scene
A silhouette scene with a horseman, a moon, and bare trees. Silhouettes are powerful because they suggest rather than detail. Stitch it in black on orange fabric for maximum Halloween impact.
15. “Trick or Treat” Sampler
A collection of small Halloween motifs arranged in a grid with the words “Trick or Treat” in the center. Samplers take longer but they are incredibly satisfying, and you get to practice a dozen different mini designs in one project.
Where to Use Halloween Embroidery
Halloween embroidery is incredibly versatile. Stitch designs onto trick-or-treat bags for kids, they will treasure a personalized bag way more than a plastic pumpkin. Add motifs to throw pillows for instant seasonal decor. Make small hoop ornaments to hang in windows. I have even stitched a bat onto a denim jacket, and it gets compliments every October.
For parties, embroidered napkins or a table runner with subtle Halloween motifs elevates your decor from store-bought to handmade. Guests always notice and ask about hand-stitched details.
Stitch Combinations That Look Spooky-Good
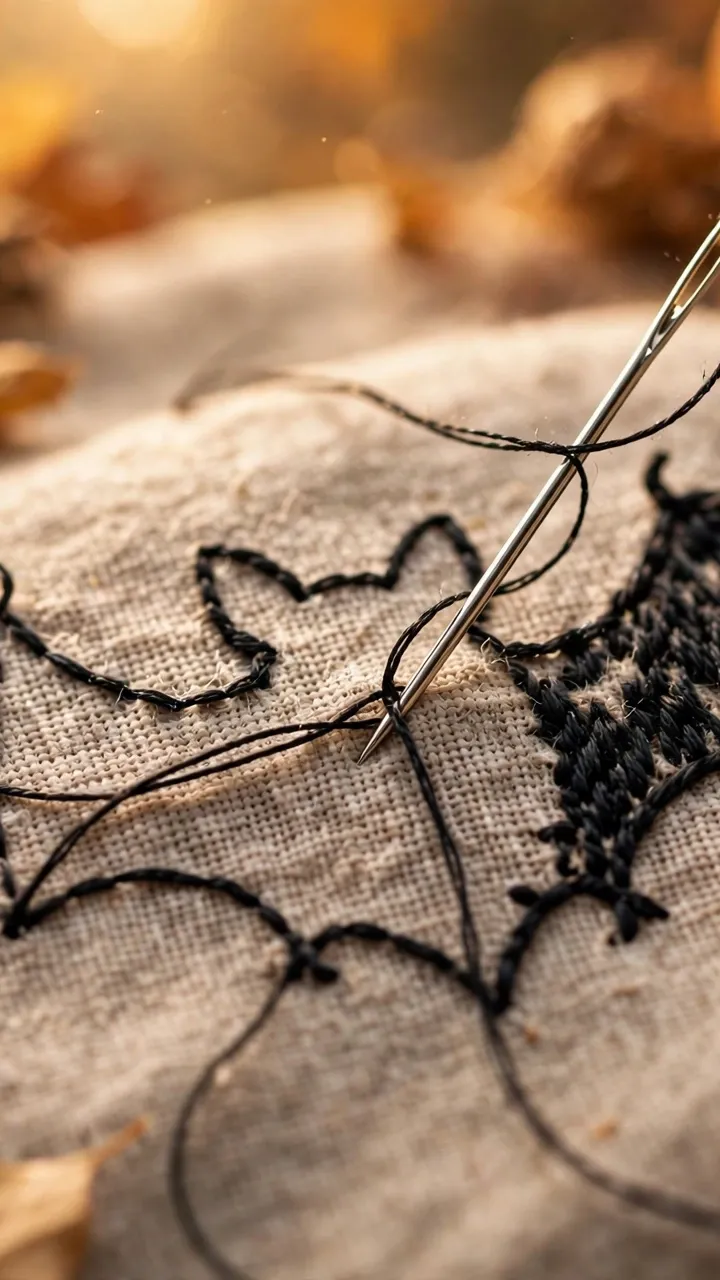
Certain stitch pairings just scream Halloween. Backstitch outlines with French knot details create the classic embroidered look that works for almost every spooky motif. Try outlining a pumpkin in backstitch, then filling it with straight stitches in alternating shades of orange for dimension.
For ghosts, use white straight stitch to fill the body loosely, leaving some fabric showing through for a translucent, ethereal effect. Real ghosts would not be opaque, and neither should your stitched ones. Add tiny black French knots for eyes, and you have a ghost with personality.
Spiderwebs look best in a single color, either white on black or black on white. The stark contrast is what makes them dramatic. Use backstitch for the radiating lines to keep them crisp, then stem stitch for the connecting curves to give them a slight organic wobble.
Troubleshooting
My black thread keeps showing through light fabric
Black floss is notorious for shadowing through light fabric. Use fewer strands, keep your stitches neat on the back, and avoid carrying thread across large empty areas on the back. If it is really bad, add a layer of interfacing behind your work.
Tracing on black fabric is impossible
Use a white water-soluble pen, tailor’s chalk, or a chalk pencil. Alternatively, trace your design onto tissue paper, baste the tissue to your fabric, stitch through both, then tear the tissue away gently. This method works on any dark fabric.
My spiderweb looks uneven
Mark your radiating lines first with a ruler to keep them evenly spaced. The connecting curved lines should sag slightly between spokes, like a real web. Perfect symmetry actually looks less natural, so do not stress about it.
The design is not reading as “Halloween”
Add context. A pumpkin alone might just look autumnal, but a pumpkin with a bat and the word “Boo” is unmistakably Halloween. Combining two or three motifs instantly creates the seasonal feel.
My Honest Take
Halloween is my favorite season to stitch for because the bar for “good enough” is delightfully low and the creative ceiling is incredibly high. A wobbly ghost is charming. A slightly lopsided pumpkin has character. And nobody has ever looked at a handmade Halloween decoration and thought anything except “that is so cool, you made that?”
Start with the smiling ghost. It takes 30 minutes, it will make you smile, and it might just start a new October tradition. Before you know it, you will have a whole collection of spooky-cute hoops to hang every fall.