A tote bag you embroidered yourself is a different thing from a tote bag you bought. You carry it to the market, to the library, to the beach, and every time someone compliments it, you get to say the magic words. Thanks, I made it myself. An embroidered tote bag is a practical project you will actually use, which makes it one of the most satisfying beginner projects you can take on.
This guide will show you how to make an embroidered tote bag from start to finish. We will cover choosing the right bag, picking a design that works on canvas, the best stitches for sturdy fabric, and how to make your embroidery survive daily use and washing. Let us stitch something you can carry everywhere.
Why a Tote Bag Is a Great Beginner Project
Tote bags are forgiving in ways that other projects are not. The fabric is sturdy, so it does not pucker easily. The design area is generous, so you have room to work. And because a tote bag is a functional object, small imperfections read as handmade charm rather than mistakes. Nobody inspects a grocery bag with a magnifying glass.
It is also a project with a built in reward. When you finish, you do not have to figure out what to do with it. You just use it. That immediate usefulness makes it incredibly motivating, especially if you are the kind of stitcher who needs to see a purpose to stay excited.
Choosing Your Tote Bag
You have two options: buy a blank tote bag or sew one yourself. For your first embroidered tote, buying blank is the smart move. It lets you focus entirely on the embroidery without adding sewing to the learning curve.
Look for a tote bag made of natural canvas or cotton drill, ideally 10 to 12 ounces in weight. This weight is sturdy enough to hold its shape and support embroidery without sagging. Avoid very thin tote bags, the kind given away free at conferences. They are too flimsy for embroidery and the stitches will distort the fabric.
Color matters too. Natural, unbleached canvas is the classic choice and it shows off embroidery beautifully. But do not overlook colored canvas. A navy or forest green tote with cream and gold embroidery looks stunning. Just make sure you can see your design transfer lines on the fabric color you choose.
Design Ideas for Tote Bags
The best tote bag designs are bold, simple, and readable from a few feet away. Fine details get lost on a bag that is usually seen at arm’s length or further. Here are some ideas that work beautifully:
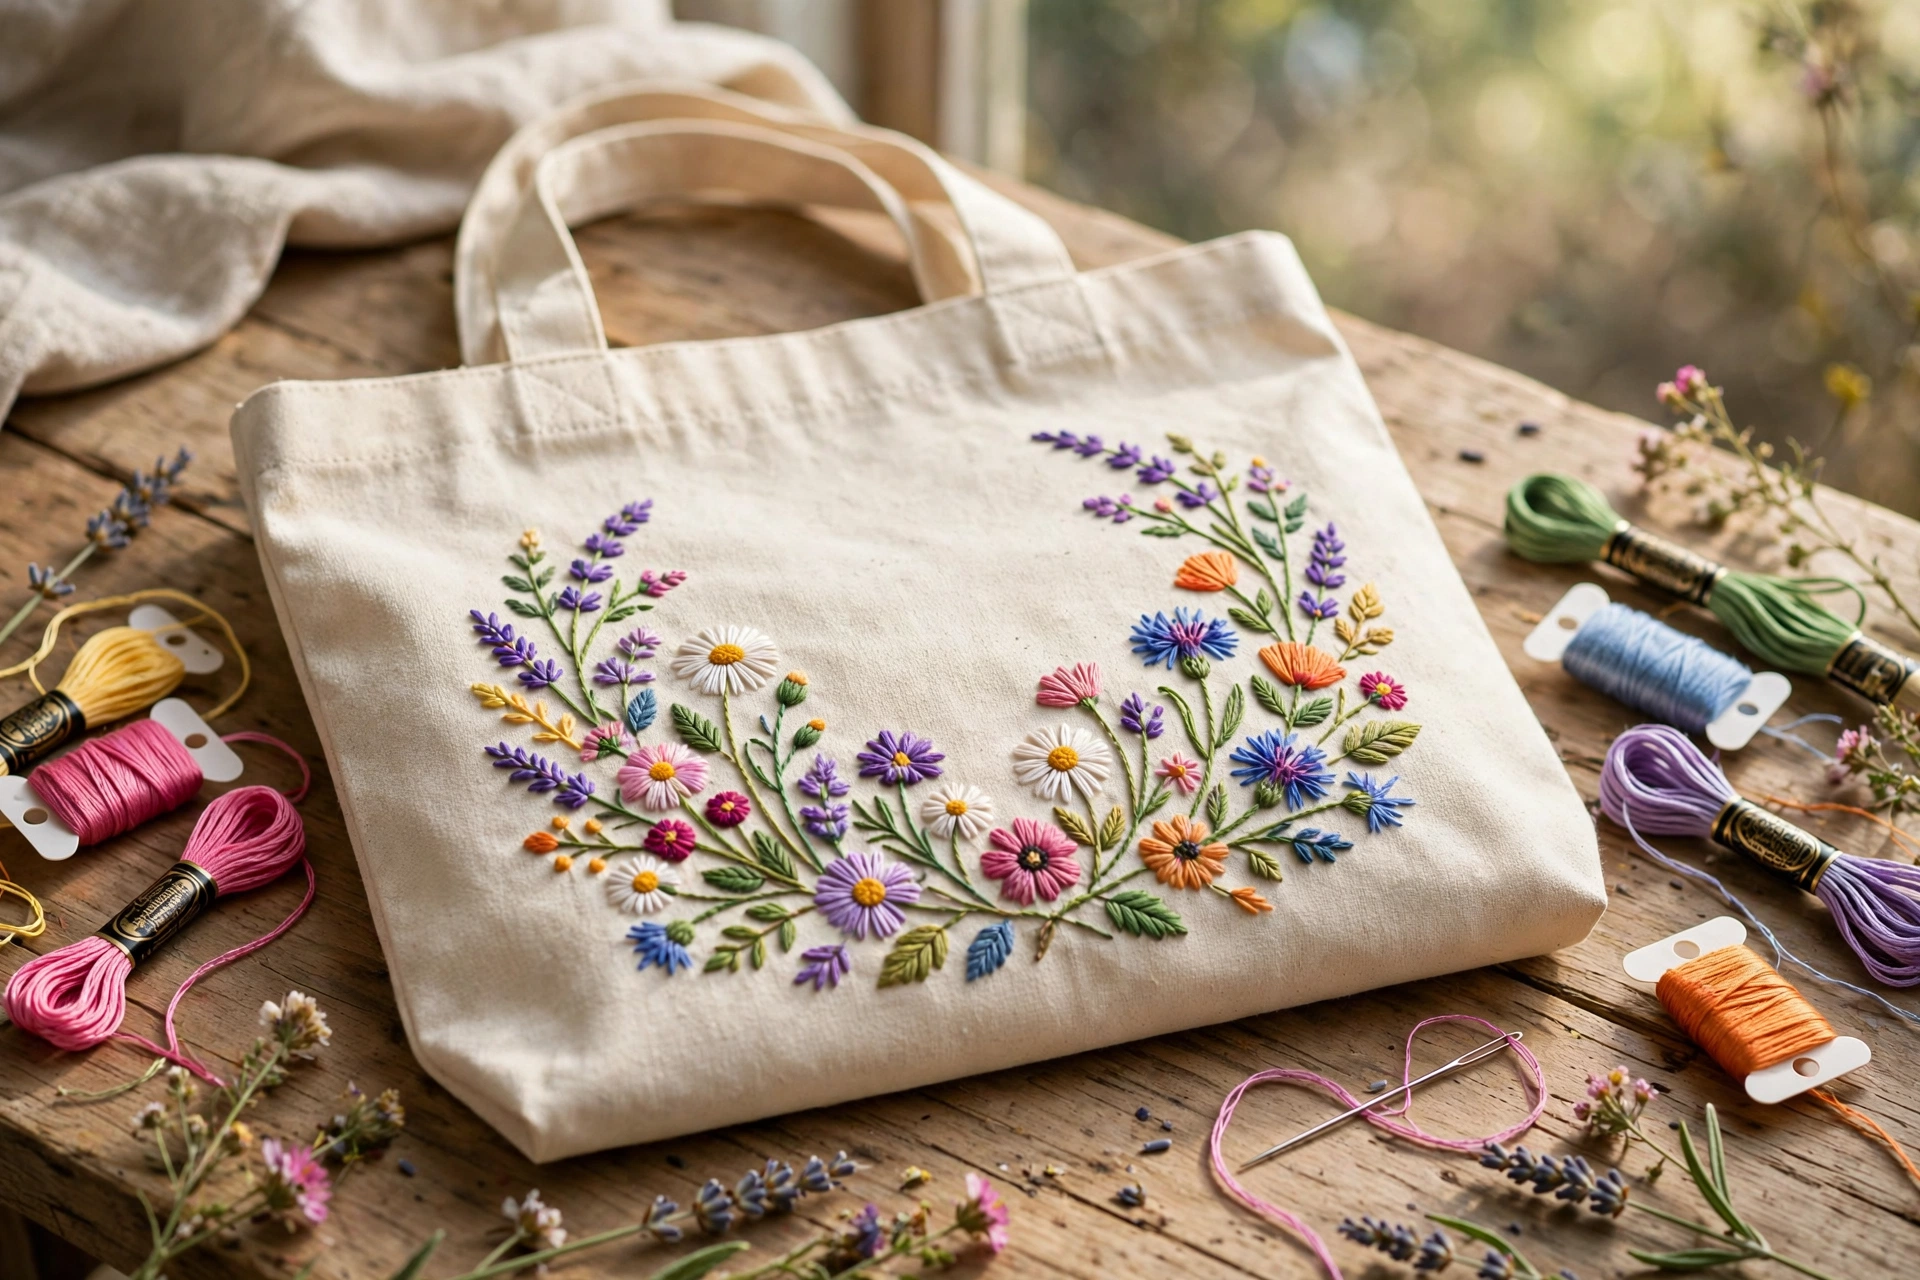
- A wildflower bouquet. Loose, garden style flowers in cheerful colors. Imperfect is perfect here.
- A single statement motif. One large sunflower, a mushroom, a bee, or a sprig of eucalyptus centered on the bag.
- Botanical border. A garland of leaves and small flowers running along the bottom or around the edges.
- A word or phrase. “Grow,” “wander,” or “book lover” in backstitch with small floral accents. Keep lettering large and simple.
- Fruit and vegetable motifs. Strawberries, lemons, or mushrooms are playful and always popular.
Size your design to fill the front of the bag nicely without crowding the edges. Leave at least two inches of clear space around all sides, and keep the design above the bottom seam where it might get hidden when the bag is full.
Supplies You Will Need
- A blank canvas tote bag, 10 to 12 ounce canvas
- Embroidery floss in your chosen colors
- Embroidery needles, size 7 or 8
- A water soluble fabric marker or chalk pencil for transferring your design
- Small sharp scissors
- Stabilizer (optional but recommended, see below)
- An embroidery hoop large enough to hold your stitching area, or a sturdy frame
Should You Use Stabilizer?
Stabilizer is a backing material that gives fabric extra body during stitching. For tote bags, it is worth considering, especially if your canvas is on the lighter side or your design has a lot of dense stitching.
Cut a piece of medium weight cut away stabilizer slightly larger than your design area and pin or baste it to the inside of the bag behind where you will stitch. It prevents puckering and keeps your stitches crisp. You can leave it in place permanently. It also reinforces the bag, which is a nice bonus for something that will carry heavy loads.
If your canvas is heavy and your design is relatively open, you can skip the stabilizer. But when in doubt, use it. It is inexpensive insurance against a puckered finished piece.
Transferring Your Design to Canvas
Canvas is thicker than quilting cotton, so some transfer methods work better than others. The tissue paper method is excellent for tote bags. Print or draw your design on lightweight tissue paper, pin it to the bag, and stitch right through it. When you are done, gently tear the tissue away. Any tiny bits left under stitches will wash out or can be picked out with tweezers.
Alternatively, use a water soluble marker to draw directly on the canvas. Test it on an inside seam first to make sure it washes out completely. Chalk pencils also work well on canvas and brush away easily.
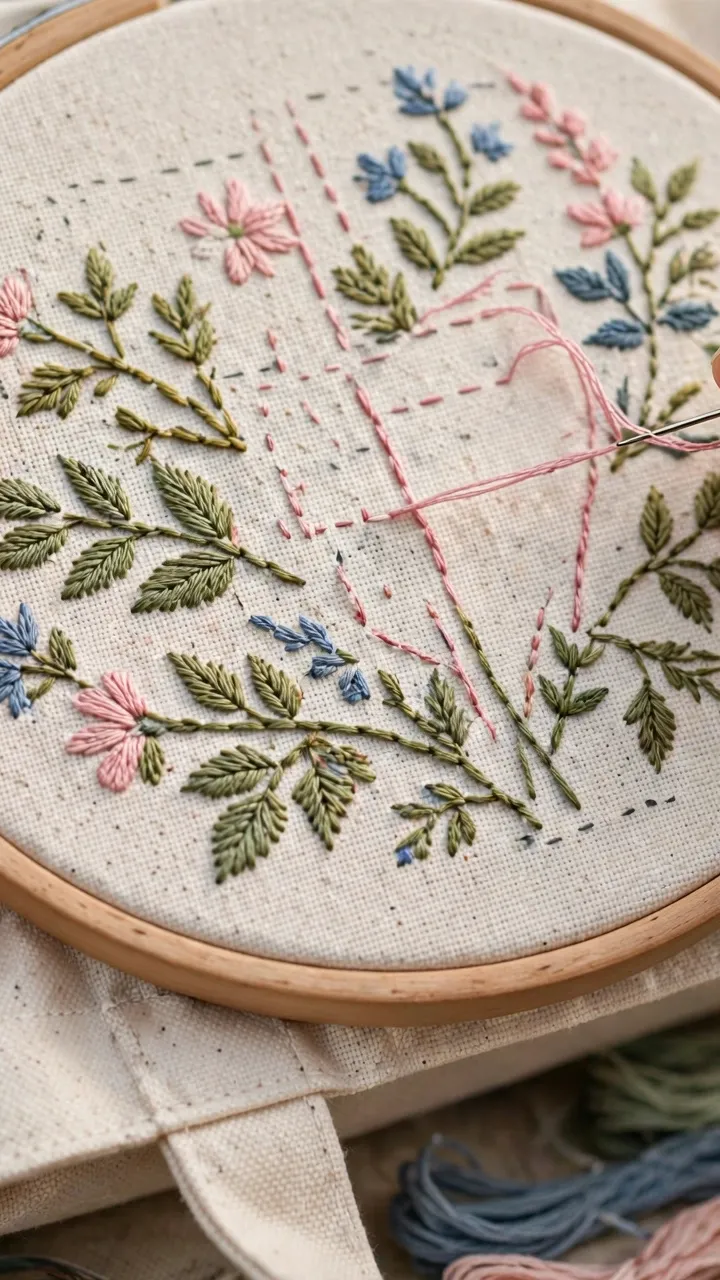
Avoid iron on transfer pens for tote bags unless you are confident about placement. They are permanent, and on a bag you will use daily, a misplaced line is hard to hide.
Stitching on Canvas: What to Know
Canvas is tougher than regular embroidery fabric, which means a few adjustments to your technique:
- Use a sharp needle. A regular embroidery needle works, but a sharp chenille needle pushes through canvas more easily. Your fingers will thank you.
- Consider a thimble. Pushing a needle through heavy canvas repeatedly can get uncomfortable. A thimble on your middle finger makes a real difference on longer sessions.
- Keep your stitches slightly looser. Dense, tight stitching on canvas can cause the fabric to buckle. Let your stitches sit on the surface rather than pulling them snug.
- Use fewer strands for detail. Two strands is usually plenty on canvas. The texture of the fabric adds visual weight, so you do not need as much thread to make an impact.
Best stitches for tote bags
Backstitch and stem stitch handle outlines and lettering. Satin stitch fills petals and shapes, but keep filled areas modest in size since large satin areas on canvas can look stiff. French knots make perfect flower centers and dot details. Lazy daisy stitches create quick leaves and petals. For a modern look, try straight stitch seed filling, scattered straight stitches that fill an area with lovely texture.
Step by Step: Stitching Your Tote
Step 1: Prepare your workspace. Stuff the tote bag with a towel or a small pillow to give yourself a firm surface to work against. This prevents the back of the bag from getting in your way.
Step 2: Position your design. Attach your tissue paper pattern or marked design. If using a hoop, center it over your design area and tighten. You may need to work in sections for larger designs.
Step 3: Stitch the main outlines. Start with the structural lines of your design in backstitch or stem stitch. This establishes your shapes.
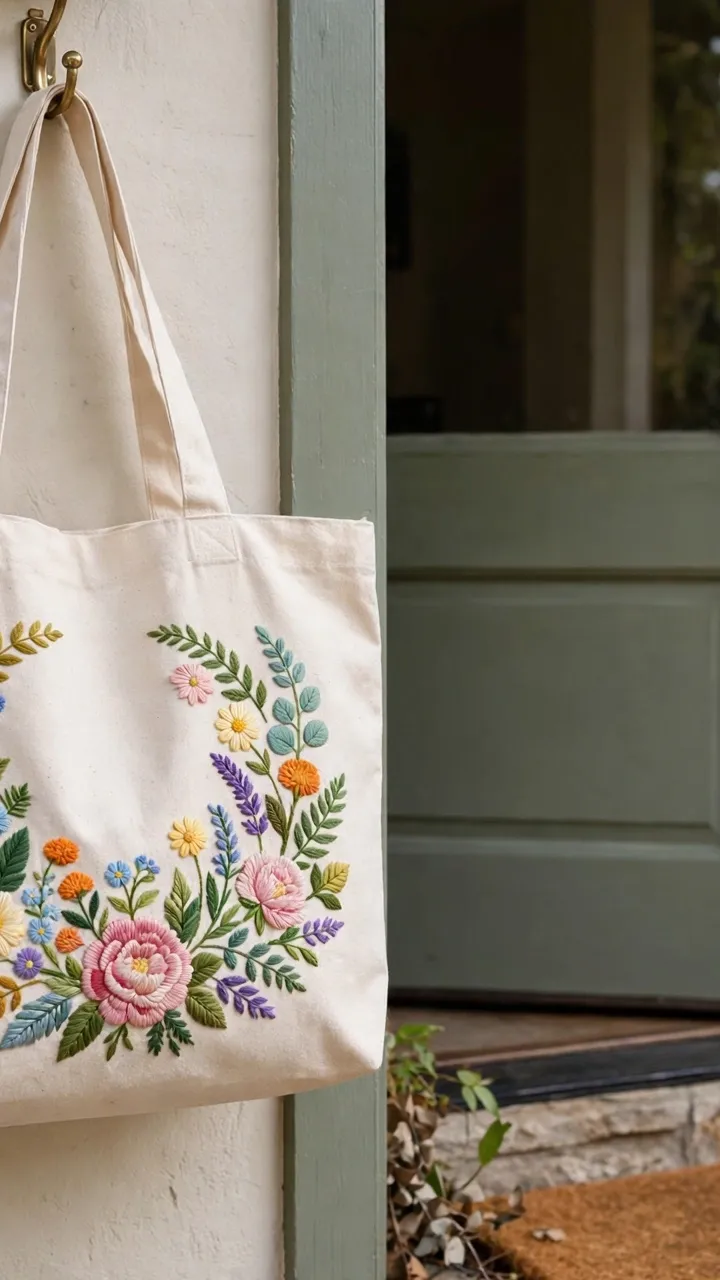
Step 4: Fill and detail. Add satin stitched petals, French knot centers, leaves, and accents. Work from the center of your design outward.
Step 5: Remove guidelines. Tear away tissue paper or dab water soluble marks with a damp cloth.
Step 6: Press carefully. Turn the bag inside out and press from the inside with a warm iron and a pressing cloth. Never iron directly on your stitches.
Making Your Embroidery Last
A tote bag lives a hard life. Here is how to make your embroidery survive it:
- Secure all thread ends thoroughly. Weave ends under at least an inch of existing stitches on the back. Loose ends will work free with use.
- Avoid very long floats on the back. Long threads spanning the back of your work can snag on items inside the bag. Keep back stitches reasonably short.
- Consider a lining. A simple fabric lining sewn into the bag protects your stitching from keys, pens, and other pocket contents. It also looks professional.
- Wash gently. Hand wash your embroidered tote in cool water with mild soap, and air dry. Machine washing is possible on gentle, but hand washing extends the life of your embroidery significantly.
Mistakes to Avoid
- Stitching too close to seams. Seams are thick and hard to stitch through. Keep your design clear of them.
- Using a design that is too detailed. Tiny details disappear on a bag seen from a distance. Go bold.
- Forgetting the bag has two sides. It sounds obvious, but double check you are stitching on the outside front, not the inside or the back.
- Skipping stabilizer on light canvas. Puckering on a finished tote cannot be fixed. Stabilize when in doubt.
Gift It or Keep It
An embroidered tote bag makes a wonderful gift. Fill it with goodies related to the design, like seed packets for a floral bag or a book for a literary quote bag, and you have a present that feels deeply personal. Or keep it for yourself. You earned it.
Once you have made one, you will start seeing blank tote bags as canvases full of possibility. That is the sign of a stitcher who has caught the bug, and it is a wonderful thing.