In a world of text messages and social media posts, a handmade card still stops people in their tracks. Add embroidery to it, and you have something nobody will ever throw away. Embroidered greeting cards combine the thoughtfulness of a handwritten note with the beauty of hand stitching, and they are far easier to make than you might think.
This guide will show you how to make embroidered greeting cards from start to finish. We will cover the right paper and materials, how to stitch on cardstock without tearing it, simple designs that look stunning at card size, and how to assemble everything into a card worth keeping. Let us make something heartfelt.
Why Embroidered Cards Are Special
A store bought card says you remembered. A handmade embroidered card says you cared enough to spend your time. The texture of thread on paper is unexpected and delightful. People touch it, turn it over, and examine the stitches. It becomes a keepsake rather than something recycled after a week.
For stitchers, cards are also the perfect small project. They use scraps of thread, take an hour or two at most, and let you practice new stitches without committing to a large piece. They are ideal for using up those half skeins cluttering your thread box.
What You Need
- Cardstock or watercolor paper. Look for heavyweight paper, at least 300gsm. Watercolor paper is excellent because it is sturdy and has a lovely texture. Avoid thin printer paper, which tears easily.
- Blank cards with envelopes. You can buy pre folded blank cards, or fold your own from cardstock. A standard A6 or 5 by 7 inch card is a good size.
- Embroidery floss. Use your scraps. Small designs need very little thread.
- A sharp embroidery needle. Size 9 or 10 works well for paper. The smaller needle makes smaller holes.
- A pin or awl for pre punching holes. This is the secret to stitching on paper without tearing it.
- A soft surface. A piece of craft foam, a folded towel, or a mousepad to punch holes against.
- Glue or double sided tape. For assembling the card layers.
- Decorative paper (optional). For backing your stitched panel or adding borders.
Design Ideas for Embroidered Cards
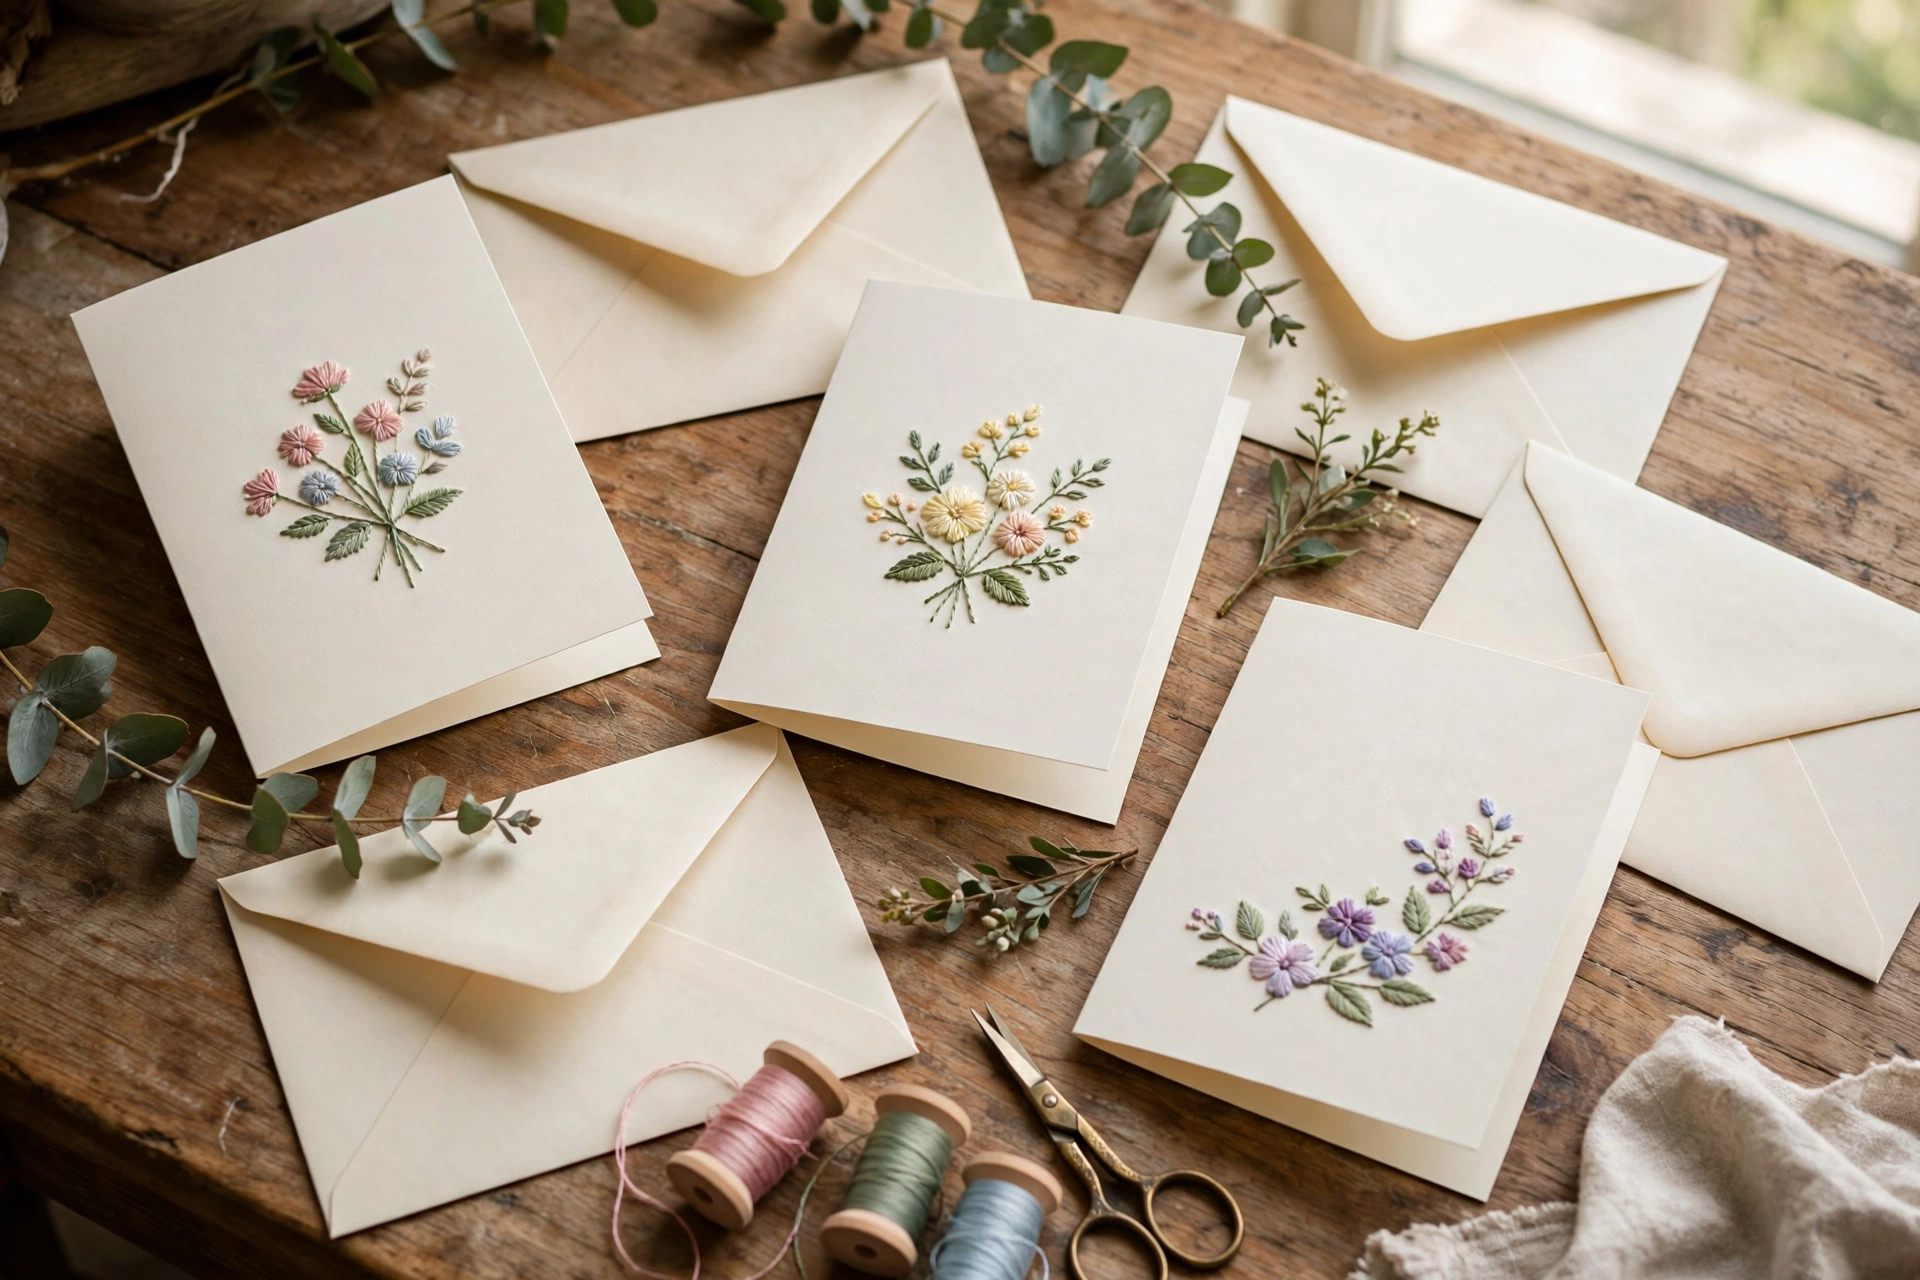
Card sized embroidery should be simple and bold. Intricate details get lost at small scale. These designs all work beautifully:
- A single flower. One daisy, tulip, or wildflower with a stem. Classic and always lovely.
- A heart. Outlined or filled, plain or embellished with French knots. Perfect for Valentine’s Day, anniversaries, or just because.
- Initials. The recipient’s initial in backstitch with a small floral accent. Deeply personal.
- A tiny landscape. A simple sun, hills, and a tree. Charming and surprisingly easy.
- Seasonal motifs. A snowflake for winter, a pumpkin for fall, an egg for spring. Match the occasion.
- Geometric patterns. Simple repeating shapes in two or three colors look modern and striking.
Keep your design to about 3 inches square or smaller. This leaves a nice paper border around the stitching, which looks professional and gives the eye room to rest. Adding a name or date makes any card feel personal, and my guide to embroidering letters that actually look neat shows the technique.
The Key Technique: Pre Punching Holes
Here is the most important thing to know about stitching on paper. Do not just push your needle through. Paper does not have a weave like fabric, so forcing a needle through tears the fibers and creates ragged holes.
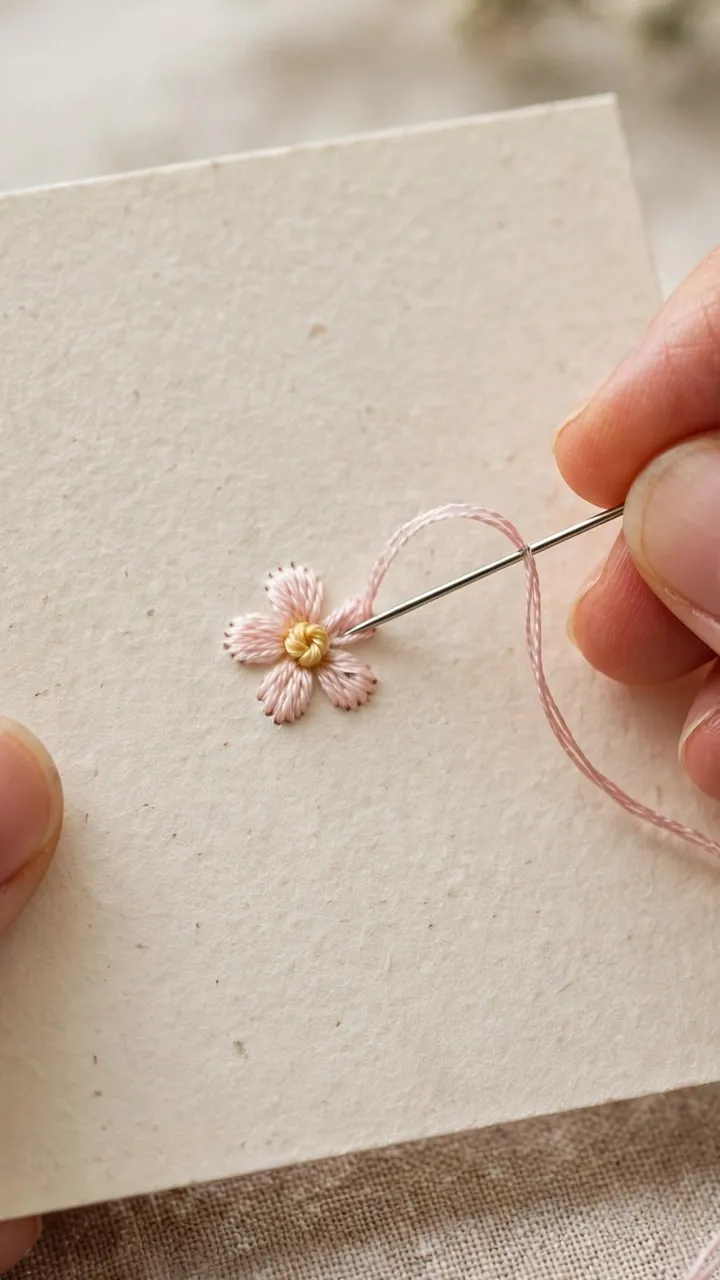
Instead, pre punch every hole before you stitch. Place your paper on a soft surface like craft foam. Use a pin, a needle, or a paper piercing tool to poke a hole everywhere your needle will go in and out. Then stitch through the pre made holes. Your needle will glide through easily, and your holes will be clean and even.
Mark your design on the paper first with a light pencil, then punch along the lines. For curved shapes, punch holes close together, about an eighth of an inch apart. For straight lines, you can space them slightly further.
Choosing Stitches for Paper
Not all embroidery stitches work well on paper. Stick with these reliable choices:
- Backstitch. The number one stitch for paper embroidery. It creates clean lines for outlines, lettering, and details.
- Straight stitch. Simple single stitches for rays, grass, and scattered accents.
- French knots. Tiny and adorable on paper. Use them for flower centers and dot details. Keep them small with just two wraps.
- Satin stitch. Works for small filled areas like petals or hearts. Keep the area small to avoid warping the paper.
- Chain stitch. Nice for borders and outlines with a bit more texture than backstitch.
Use two strands of floss for most card stitching. One strand is too delicate and hard to see, while three or more strands create holes that are too large and can tear the paper.
Step by Step: Making Your Card
Step 1: Plan your design. Sketch your design on scrap paper first at actual size. This is your practice run and your template.
Step 2: Prepare your stitched panel. Cut a piece of watercolor paper or cardstock for your embroidered panel, about 3.5 by 3.5 inches. Lightly trace your design onto it with pencil.
Step 3: Pre punch all holes. Place the panel on craft foam and punch every stitch hole with your pin tool. Take your time. This step determines how clean your finished stitching looks.
Step 4: Stitch your design. Thread your needle with two strands and stitch through the pre punched holes. Work gently. Let the needle find the holes rather than forcing it.
Step 5: Prepare the card base. Fold your cardstock into a card, or use a pre folded blank. If you like, cut a slightly larger piece of decorative paper to layer behind your stitched panel.
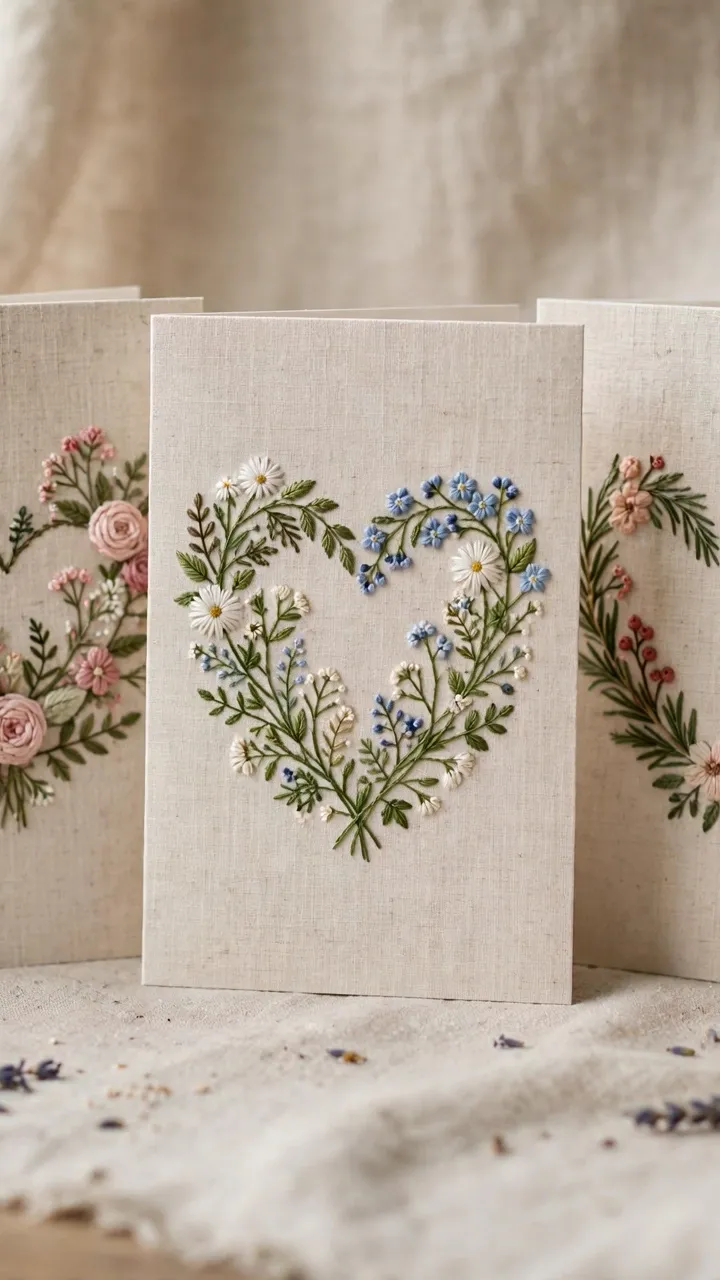
Step 6: Assemble. Attach your stitched panel to the card front using double sided tape or a thin layer of glue. Press firmly and let dry. For extra security and a beautiful finish, you can stitch the panel to the card with a running stitch border instead of glue.
Step 7: Write your message. The inside is yours. A heartfelt handwritten note completes the card.
Tips for Beautiful Results
- Keep the back neat. Unlike fabric embroidery, the back of paper stitching can show through or create bumps. Keep your thread carries short and trim ends close.
- Do not overwork the paper. Every time you pull thread through paper, you stress it slightly. Plan your stitching path to minimize passes through the same hole.
- Let the paper rest. If your paper starts to curl from handling, place it under a heavy book overnight before assembling.
- Test your glue. Some glues warp paper. Test on a scrap first, and use the thinnest effective layer.
- Consider the envelope. Embroidered cards are slightly bulky. Use a padded envelope or a larger envelope so the card does not get crushed in the mail.
Mistakes to Avoid
- Using paper that is too thin. This is the most common failure. Thin paper tears, warps, and looks sad. Invest in heavyweight stock.
- Skipping the pre punching. Stitching directly into paper without pre punched holes leads to tears and ragged edges. Always punch first.
- Designs that are too complex. At card size, simplicity wins. If your design has more than a dozen elements, simplify it.
- Too many strands. Thick thread on paper looks clumsy and damages the paper. Two strands is the sweet spot.
- Forgetting to sign the back. Date and sign your cards. Future recipients will treasure knowing when you made it.
Batching Cards for Occasions
Once you have the technique down, consider batching. Stitch six identical floral panels in an evening while watching something comforting, then assemble them into cards over the next day. You will build a stash of handmade cards ready for birthdays, thank yous, and unexpected occasions. There is a particular joy in reaching for a handmade card instead of running to the store.
A Card Worth Keeping
The cards you make will be kept. They will sit on mantels, get tucked into memory boxes, and be pulled out years later with fondness. That is a remarkable thing to create with some paper, a needle, and an hour of your time.
So pick an occasion, choose a simple design, and stitch someone a little happiness. They will feel the love in every stitch. And if one card gets you hooked on handmade gifting, my list of personalized embroidery gift ideas for beginners has plenty more.