I have a drawer that I open approximately once a month, stare into, and close again. It is full of fabric scraps: the corners cut off quilt blocks, the leftover strips from tote bags, the odd-shaped pieces from hoop backings that were too pretty to throw away and too small to use for anything obvious. Every stitcher has this drawer. It grows quietly, fed by the trimmings of every project, until one day you realize you are storing what is essentially very pretty garbage. These embroidery ideas for scrap fabric are my system for turning that drawer from a guilt pile into a project goldmine.
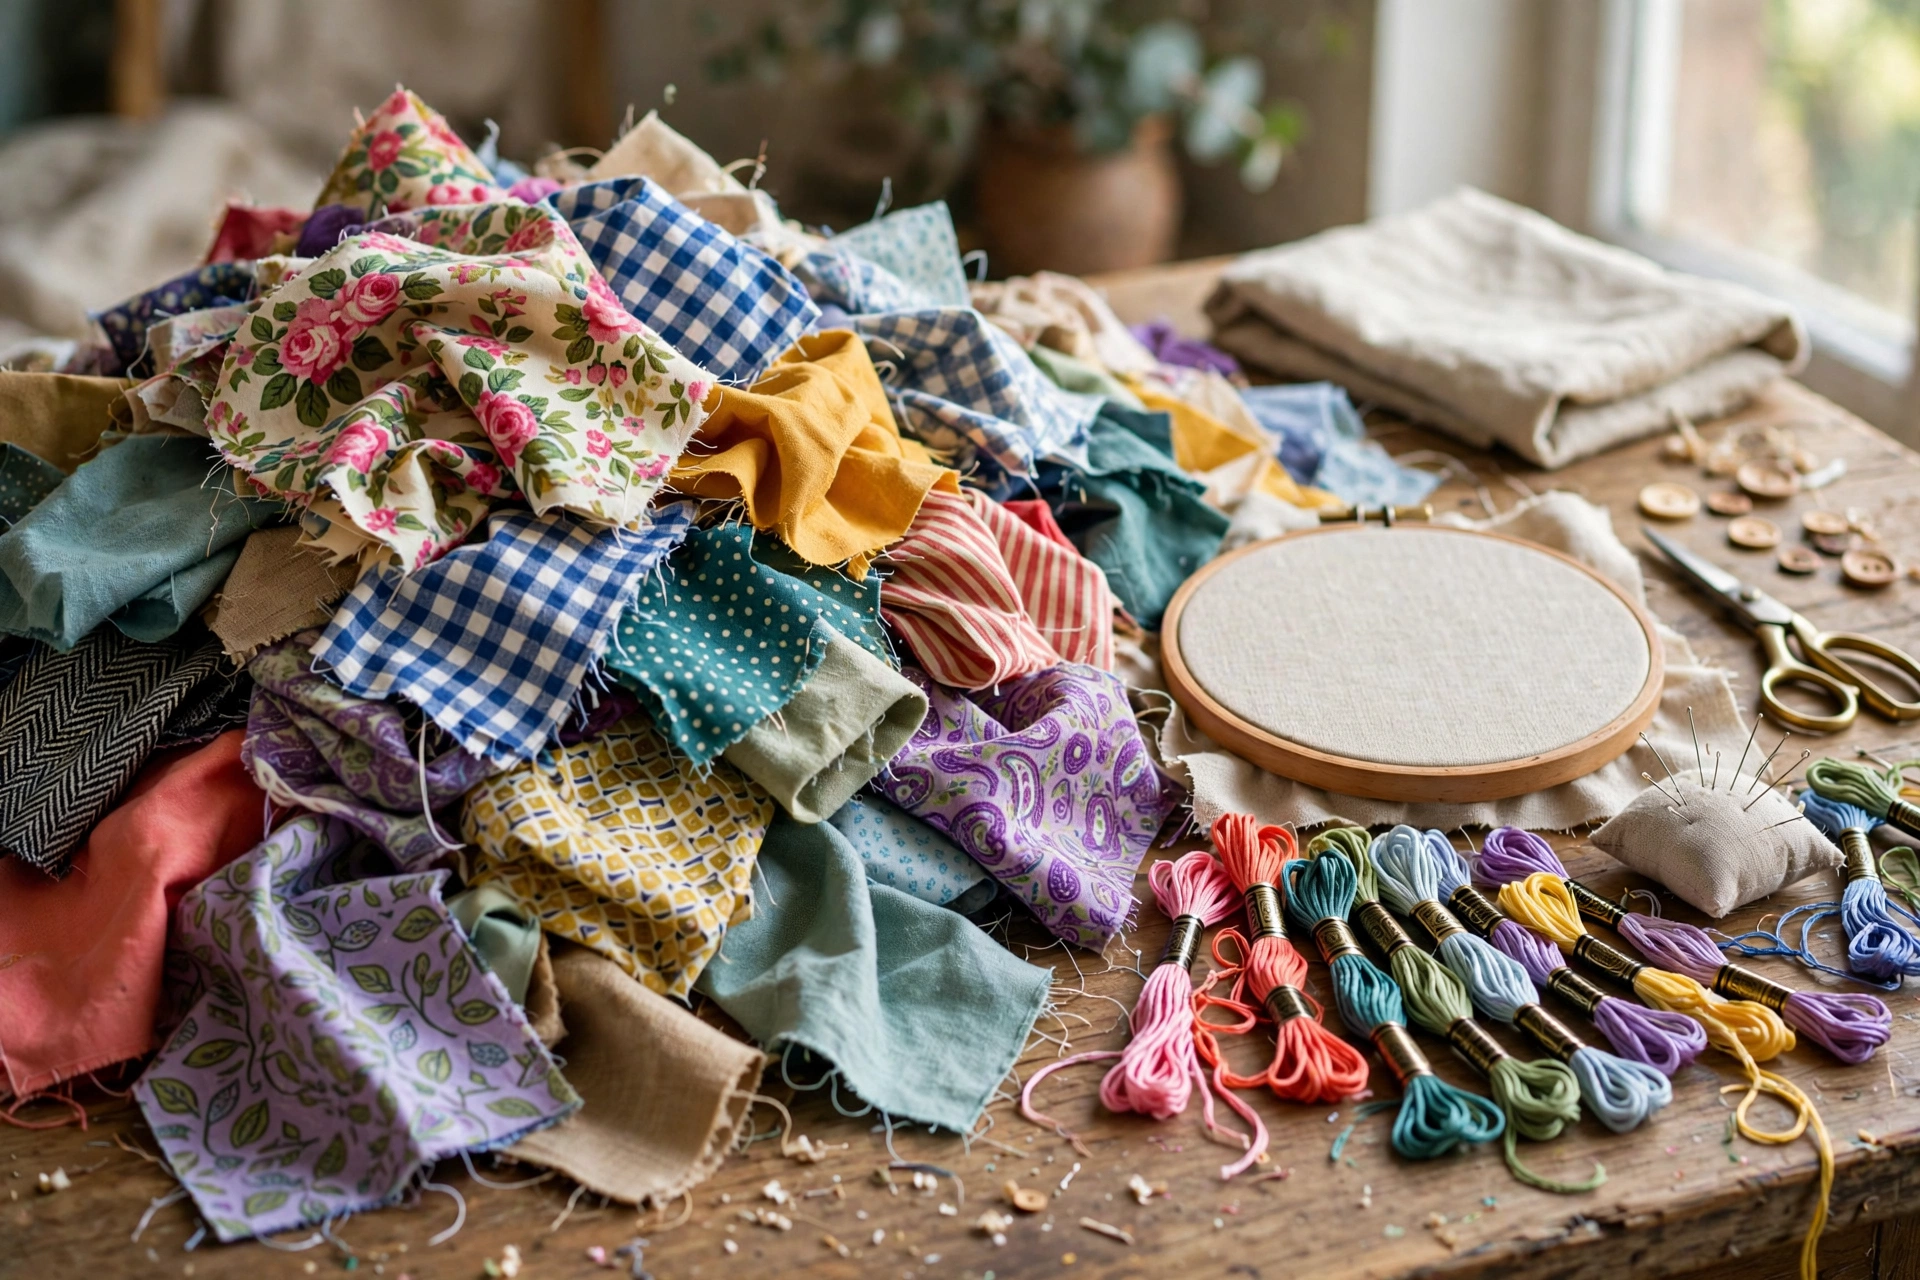
The key insight is that scraps are not failed fabric. They are pre-cut project starters. A 3-inch square is not a leftover, it is a mini hoop waiting to happen. A strip is not waste, it is a bookmark. Once you start seeing scraps as inventory instead of remnants, the drawer stops being a problem and starts being a resource. Here are fourteen projects organized by scrap size, because the size of the scrap determines what it wants to become.
Tiny scraps: under 3 inches
These are the bits most people throw away: corners, trimmings, the weird triangles. Do not throw them away. Tiny scraps are perfect for tiny projects, and tiny projects are the most giftable things you will ever make.
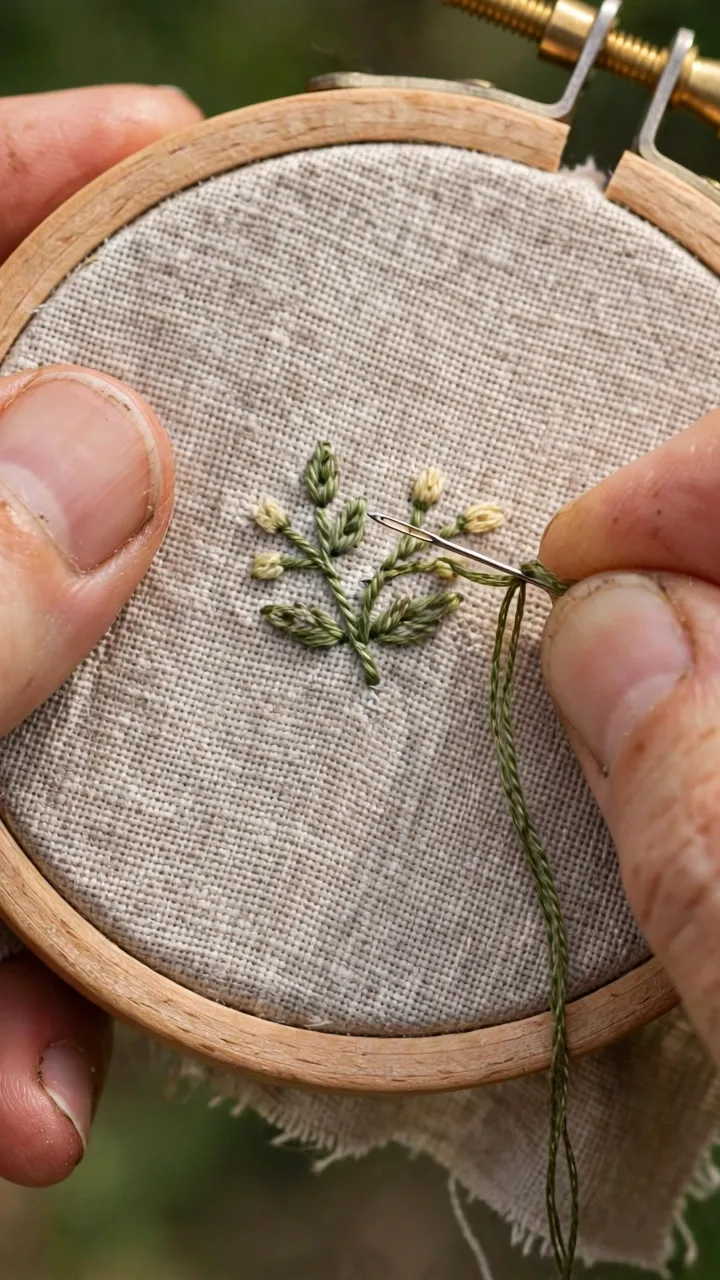
1. Mini hoop magnets. A 2-inch scrap in a 1.5-inch mini hoop, one tiny motif: a heart, a star, a bee. Glue a magnet to the back. Each one takes twenty minutes. Make them in batches of ten while watching television, and you will never need to buy a hostess gift again. I keep a bowl of these by my front door, and guests take them. It is the best kind of generosity, the kind that costs almost nothing and delights completely.
2. Fabric scrap confetti cards. Glue tiny scraps onto cardstock in a scattered pattern, then stitch a few straight stitches or French knots over them. The scraps provide color and texture, the stitching provides intention. Each card takes fifteen minutes. They look like art and they use up the absolute smallest bits.
3. Scrap-stuffed pincushions. The most poetic use of scraps: stuff a small pincushion with your tiniest fabric trimmings instead of polyester fill. Sew two 3-inch squares right sides together, leave a gap, stuff with scraps, stitch shut, add a button on top. The pincushion of a stitcher, stuffed with the history of her projects. Mine contains pieces of my first quilt, my wedding napkins, and a tote bag that did not survive. Every time I use it, I remember.
4. Stitched gift tags. A 2×3 inch scrap, folded over a tag shape, with an initial or tiny motif stitched on the front. Punch a hole, add ribbon. Gift tags are the ideal tiny-scrap project because they are meant to be small, they are meant to be quick, and they make every gift look more thoughtful. I make these in December assembly-line style: cut twenty, stitch twenty initials, done for the season.
Small scraps: 3 to 6 inches
This is the sweet spot. Most quilting scraps, most garment offcuts, and most hoop trimmings land in this range. These scraps fit standard small hoops and make real, substantial projects.
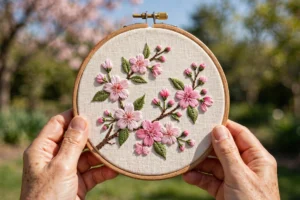
5. The 3-inch hoop collection. A 4-inch square of scrap fits a 3-inch hoop perfectly, with enough margin to secure in the hoop. Stitch one motif per scrap: whatever the fabric suggests. Floral fabric gets a bee. Striped fabric gets a geometric design. Let the print inspire the stitching. These small hoops group beautifully on walls, and each one is a two-hour project. I have a hallway of nothing but scrap hoops, and visitors assume it is a curated collection. It is. Curated from the scrap drawer.
6. Patchwork coasters. Four 3-inch squares sewn into a patchwork top, quilted lightly, bound with bias tape, with a stitched motif in the center square. Coasters are the perfect scrap project because they are small, useful, and the patchwork means no single scrap needs to be big enough on its own. A set of four takes an afternoon. Use them, gift them, and watch people flip them over to admire the stitching.
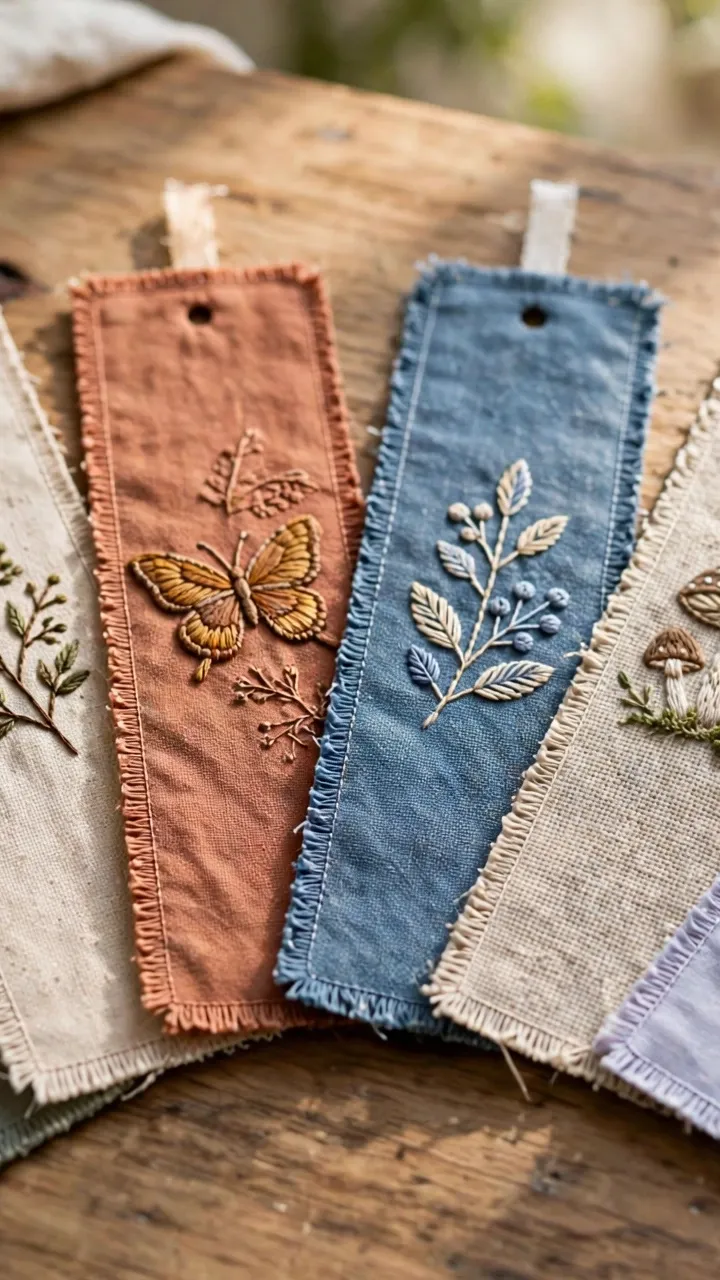
7. Embroidered bookmarks. A 2×6 inch strip, a vine of stem stitch with lazy daisy flowers, blanket stitch around the edge. Bookmarks are the ideal small-scrap project because the shape is long and narrow, which matches how scraps often come (strips off the edge of larger cuts). Each one takes about an hour. I have given away probably fifty stitched bookmarks, and every single one is still in use as far as I know.
8. Scrap fabric postcards. A 4×6 inch scrap backed with heavy interfacing, a stitched design on the front, address lines on the back. These are mailable with the right postage, and receiving a stitched postcard is one of life’s great small joys. The interfacing is essential: without it, the postcard will not survive the postal system. With it, it arrives looking like art.
Medium scraps: 6 to 12 inches
These are the substantial leftovers: fat quarter remnants, large garment offcuts, the centers cut out of bigger pieces. They can hold real designs and make items people actually use.
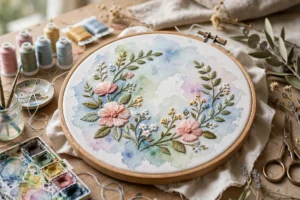
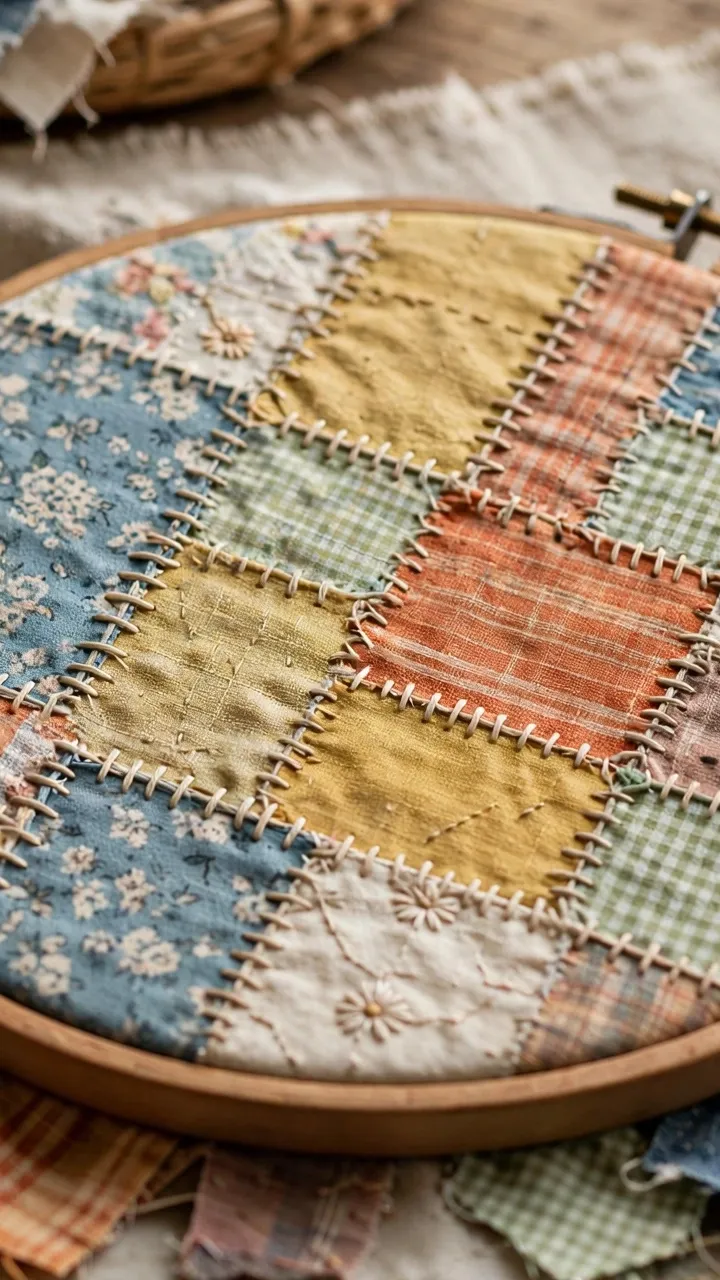
9. The scrap collage hoop. Piece together medium scraps into a background large enough for a 6-inch hoop, pressing the seams flat, then stitch a design over the top that incorporates the piecing: vines that follow seam lines, flowers that bloom across two fabrics, words that span the joins. The piecing becomes part of the design instead of something to hide. This is my favorite scrap project because it is genuinely creative: no two collage hoops are ever alike, and the constraint of the available scraps forces design decisions you would never make with a blank canvas.
10. Drawstring pouches. Two 8-inch squares make a pouch that holds anything: project supplies, cosmetics, treasures. Stitch a motif on the front panel before assembly, then sew it up. The embroidery elevates a simple pouch into a gift, and pouches are the ideal scrap size because they use the medium pieces that are too big for hoops and too small for garments.
11. Patchwork wall hanging. Sew medium scraps into a panel, add embroidered details over the piecing, mount on a dowel. This is the scrap project that looks most impressive relative to its difficulty, because patchwork reads as complex and embroidery reads as skilled, but both are just straight lines if you break them down. A 12×18 inch hanging takes a weekend and becomes a real piece of wall art.
12. Stitched notebook covers. A fabric cover for a standard notebook, with an embroidered design on the front. Measure the notebook, add seam allowances, stitch the front panel, assemble. Writers and journalers treasure these, because a beautiful cover makes the writing inside feel more important. I made one for my embroidery journal (more on journals in a moment) and it is my favorite object on my desk.
Large scraps and odd shapes: 12 inches and up
Sometimes the scrap drawer produces something substantial: a half-yard cut wrong, a large piece with a stain in one corner, the remains of a project that changed direction. These deserve bigger thinking.
13. The statement pillow. A large scrap becomes a pillow front, with an embroidered design scaled to the size. The key is scaling up: a design that works in a 4-inch hoop looks lost on an 18-inch pillow. Enlarge your motifs, use 3 or 4 strands, and let the design breathe. Cut around stains or flaws, placing them in the seam allowance. The flaw becomes invisible and the scrap becomes furniture.
14. The memory quilt block. The ultimate scrap destination: a quilt block that incorporates scraps from meaningful projects. Stitch a motif that references the scrap’s origin: a tiny dress on fabric from a daughter’s dress, a flower on fabric from wedding napkins. Assemble the blocks over time. This is a years-long project, not a weekend one, but it is the reason to save scraps in the first place. My memory quilt has twelve blocks so far, each one a story I can touch.
How to store scraps so you actually use them
A scrap system you will not maintain is worse than no system, because it adds guilt to the clutter. Here is the minimal system that actually works.
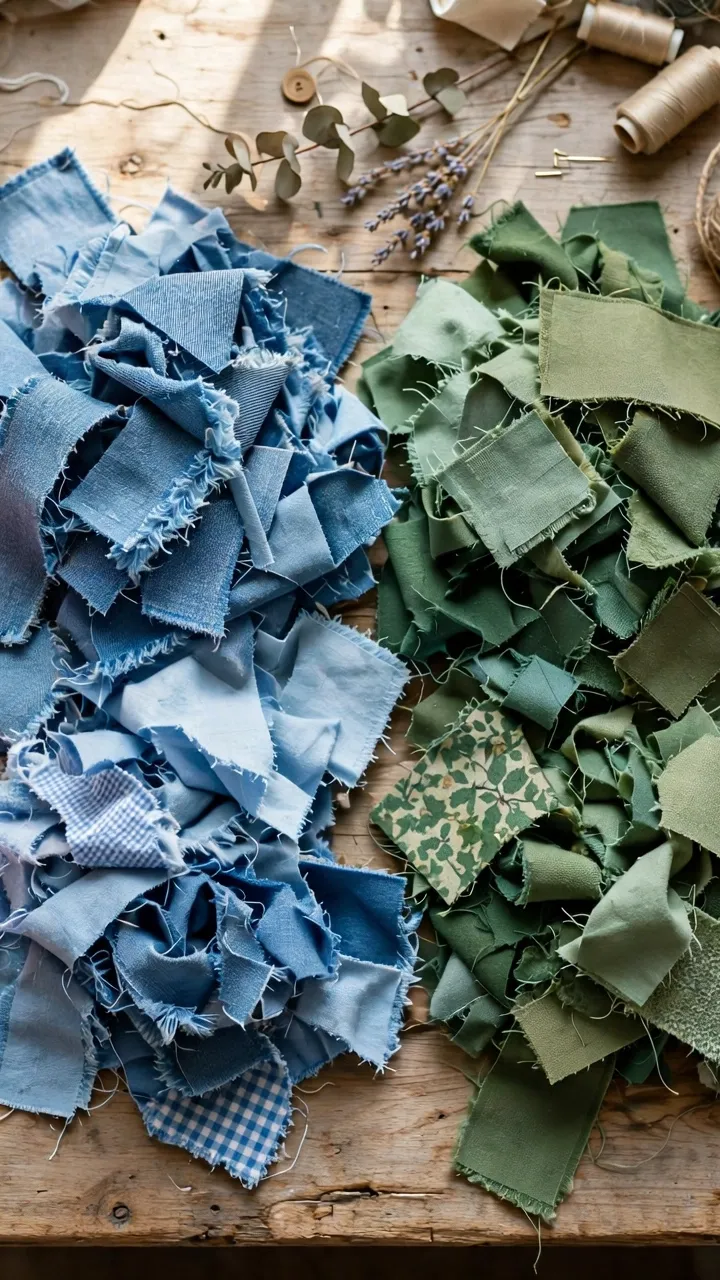
Sort by size, not by color. Color-sorting is beautiful and useless, because you choose projects by size first. Keep three containers: tiny (under 3 inches), small (3 to 6 inches), and medium-plus (over 6 inches). When you want to make mini hoop magnets, you grab the tiny box. When you want coasters, you grab the small box. Size-first sorting matches how you actually choose projects.
The one-year rule. If a scrap has sat untouched for a year, it goes. Donate it, give it to a quilter, or let it go. Scraps you will never use are not resources, they are clutter with sentimental value, and the sentimental value does not increase with storage time. I do an annual scrap purge every January, and the drawer thanks me.
Keep a scrap project list. Tape a list to the inside of the drawer lid: the projects from this guide, with the scrap size each one needs. When you have twenty minutes and a 3-inch square, the list tells you exactly what to make. Decision fatigue is the real reason scraps accumulate. The list eliminates it.
Open that drawer this weekend. Pull out the three prettiest scraps, regardless of size, and match each one to a project from this guide. Tiny goes to magnets, small goes to a hoop, medium goes to a pouch. By Sunday evening the drawer will be lighter, your hands will be happy, and you will have three finished things that did not exist on Friday. That is the magic of scraps: they were already paid for, already beautiful, just waiting for someone to see what they could become. And if you want even more small-project ideas, my list of quick embroidery ideas for weekend projects is full of one-day makes.