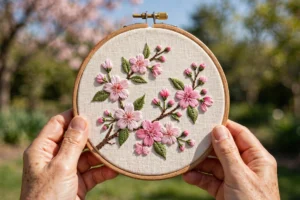
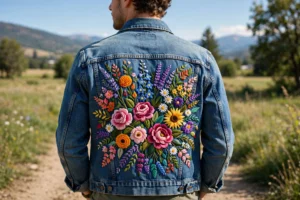
I used to keep my crafts in separate boxes, literally and mentally. Embroidery lived in one basket, watercolors in another, and never the twain shall meet. Then one rainy afternoon I was staring at a watercolor wash that had gone wrong, a muddy pink blob that was supposed to be a rose, and instead of throwing it away I stitched over it. French knot center, lazy daisy petals right on top of the paint. The result was better than either craft could have managed alone, and it cracked open something in my brain. Combining embroidery with other crafts is not about being fancy. It is about letting each craft do what it does best and cover for what the other cannot.
Every craft has strengths and weaknesses. Watercolor gives you washes and gradients that would take a thousand stitches to replicate, but it cannot give you texture. Knitting gives you fabric with built-in stretch and warmth, but the surface is too busy for detail. Paper is crisp and graphic but fragile. Embroidery is slow, precise, and dimensional. When you combine them thoughtfully, you get work that is faster than pure embroidery, richer than the base craft alone, and genuinely surprising. Here are eight pairings that work, with the techniques that make each one succeed and the pitfalls that make each one fail.
Embroidery plus watercolor: paint the ground, stitch the detail
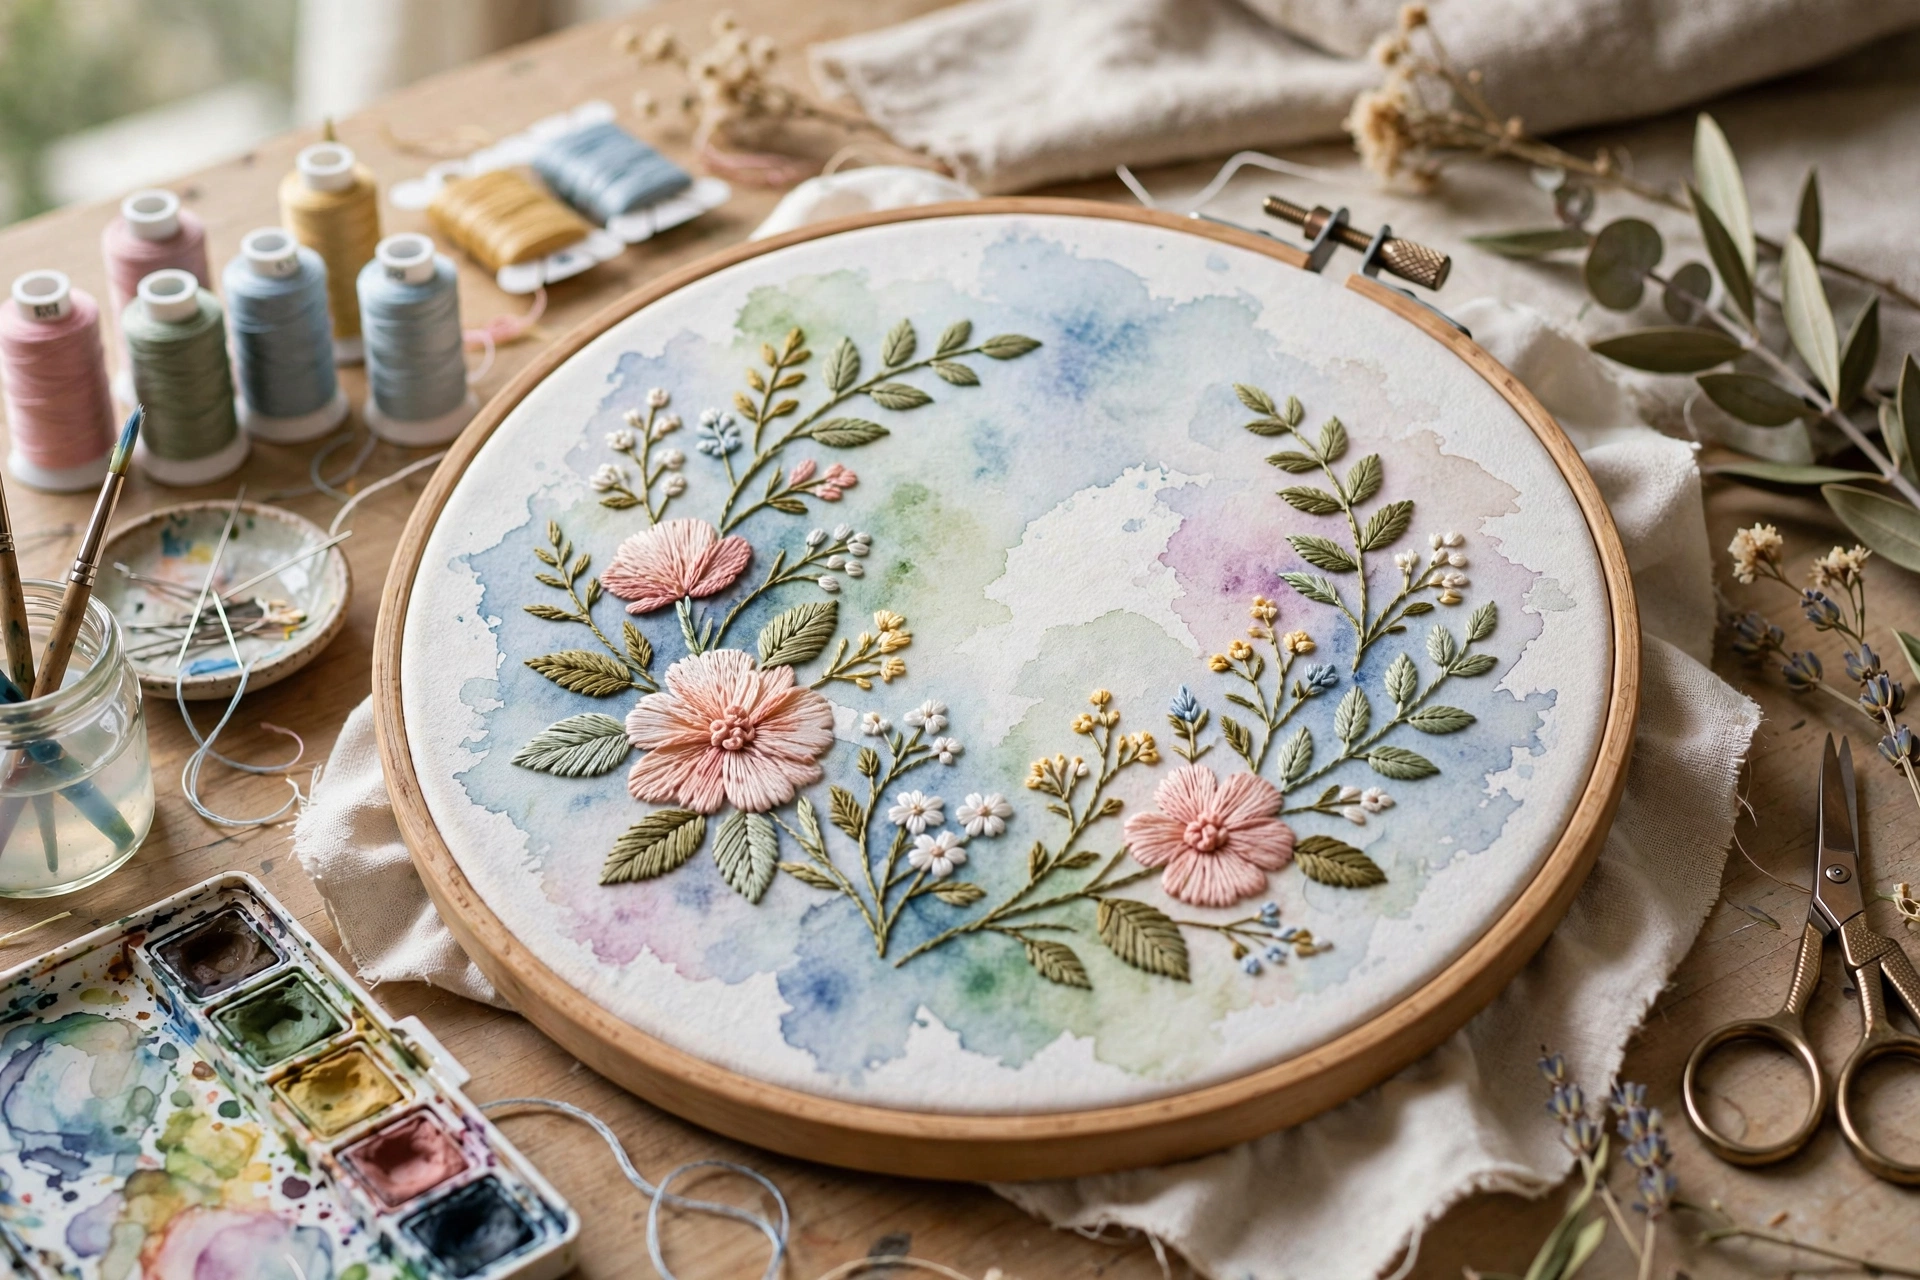
This is the pairing that started it all for me, and it remains the most magical. Paint a loose watercolor background, a wash of sky, a blob of flower color, a gradient sunset, then stitch the precise details over it: the flower centers, the bird’s eye, the sharp horizon line.
How to do it: Use heavy watercolor paper (140 lb / 300 gsm minimum) or watercolor-primed fabric. Paint your background and let it dry completely, bone dry, not damp-dry, because damp paper tears under the needle. Then hoop the paper carefully or work it flat on a padded surface, and stitch with a sharp needle. The paint stiffens the paper, so pre-punch your holes with the needle before threading it, which saves both the needle and your patience.
What embroidery adds: texture, precision, and the details watercolor cannot do: French knot flower centers, backstitch outlines that define shapes, metallic thread accents that catch the light. The combination reads as mixed media art, because it is.
What to avoid: do not stitch large filled areas over watercolor. The paint already did the filling; your job is detail. And do not use wet techniques after stitching. The floss will bleed, the paper will warp, and you will learn a sad lesson about planning order. Paint first, always. Stitch second, always.
Embroidery plus knitting and crochet: detail on texture
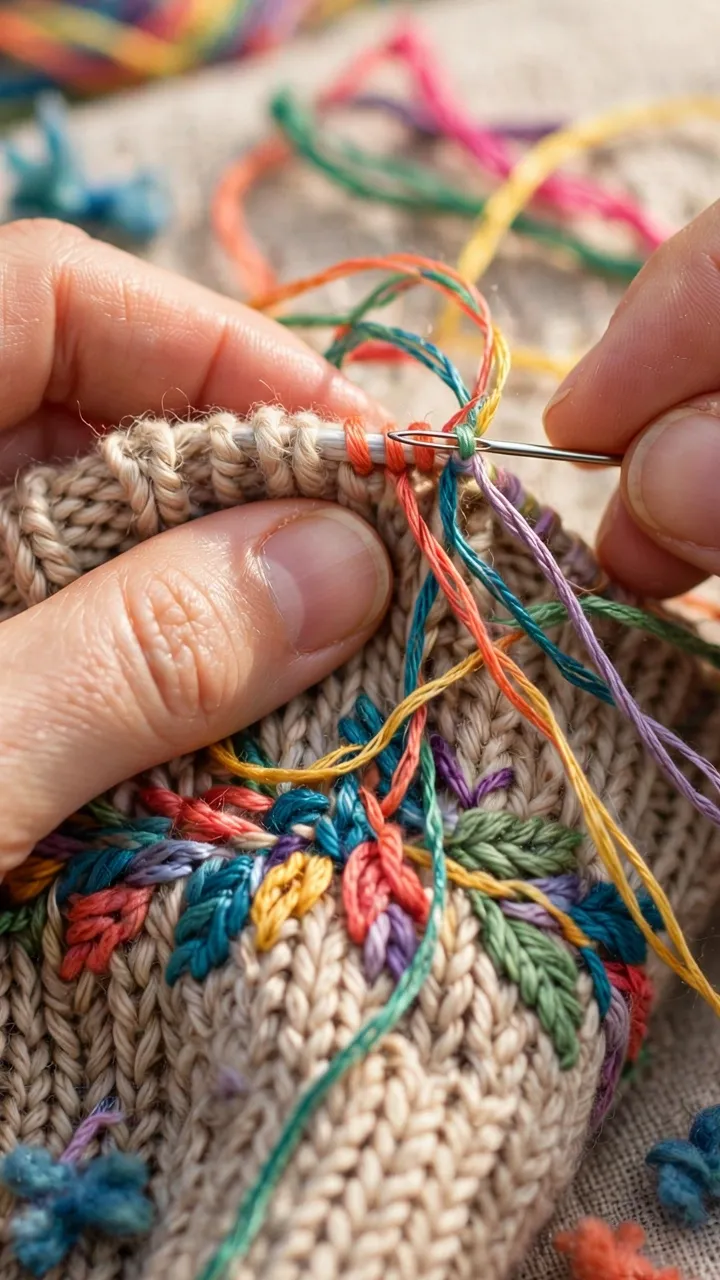
Knitted fabric is a challenging embroidery ground because it stretches and the knit texture competes with your stitches. But it is worth the effort, because a stitched motif on a hand-knit sweater is the pinnacle of handmade.
How to do it: The classic technique is duplicate stitch, also called Swiss darning, where you trace over existing knit stitches with embroidery floss, effectively “re-knitting” the stitch in a new color. It is precise, it does not distort the knit, and it is the standard method for adding motifs to sweaters. For free-form embroidery on knits, use a water-soluble stabilizer on top and a cut-away stabilizer behind, the same setup as stitching on t-shirts.
What embroidery adds: motifs and details that knitting cannot easily produce: faces, lettering, fine florals. A knitted baby blanket with an embroidered name is the heirloom version of a knit blanket. A crocheted shawl with stitched flowers around the border is the upgrade nobody expected.
What to avoid: do not pull your embroidery stitches tight on knits. The knit needs to stretch, and tight embroidery locks it in place, creating puckered dead zones. Keep your tension relaxed, use fewer strands than you would on linen, and test the stretch after every few inches. If the fabric cannot stretch where you stitched, your tension is wrong.
Embroidery plus quilting: the story in the seams
Quilters and embroiderers are natural allies. Both work in fabric, both love color, and the combination produces pieces with a depth neither craft achieves alone.
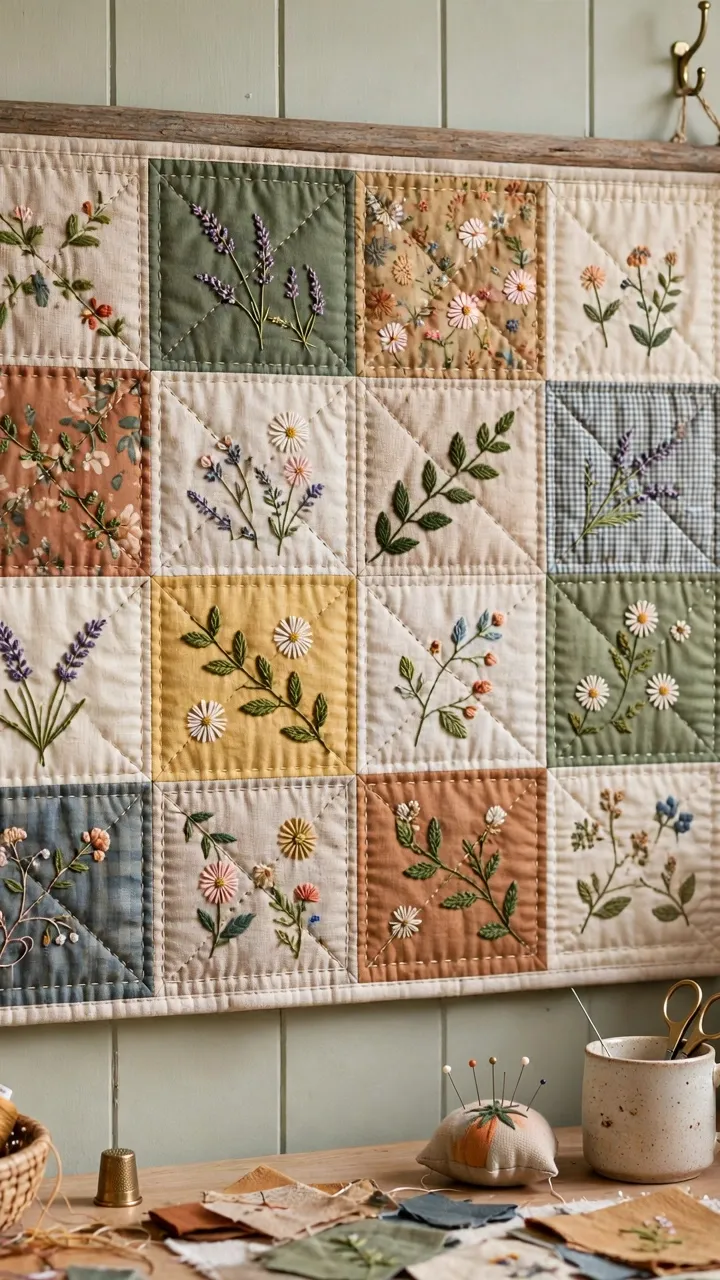
How to do it: There are two approaches. The first is to embroider individual quilt blocks before assembly: stitch a motif on each square, then piece them as normal. This is the easier method because you are working on small flat pieces. The second is to embroider over a finished quilt top, adding details that cross seam lines: vines that wander across blocks, words that span the quilt, texture that ignores the piecing. This is harder but spectacular.
What embroidery adds: narrative and detail. A quilt says color and pattern. Embroidery on a quilt says story. Names, dates, tiny illustrations, the elements that turn a beautiful quilt into a memory quilt. I have seen a wedding quilt where the embroiderer stitched the couple’s story across the borders, and there was not a dry eye at the reception.
What to avoid: do not embroider through all three quilt layers unless you intend to. Most quilt embroidery goes through the top only, before the sandwich is assembled. If you stitch through batting, your needle will drag and your stitches will sink. Plan the embroidery for the pre-assembly stage, always.
Embroidery plus paper crafts: stitching on cardstock
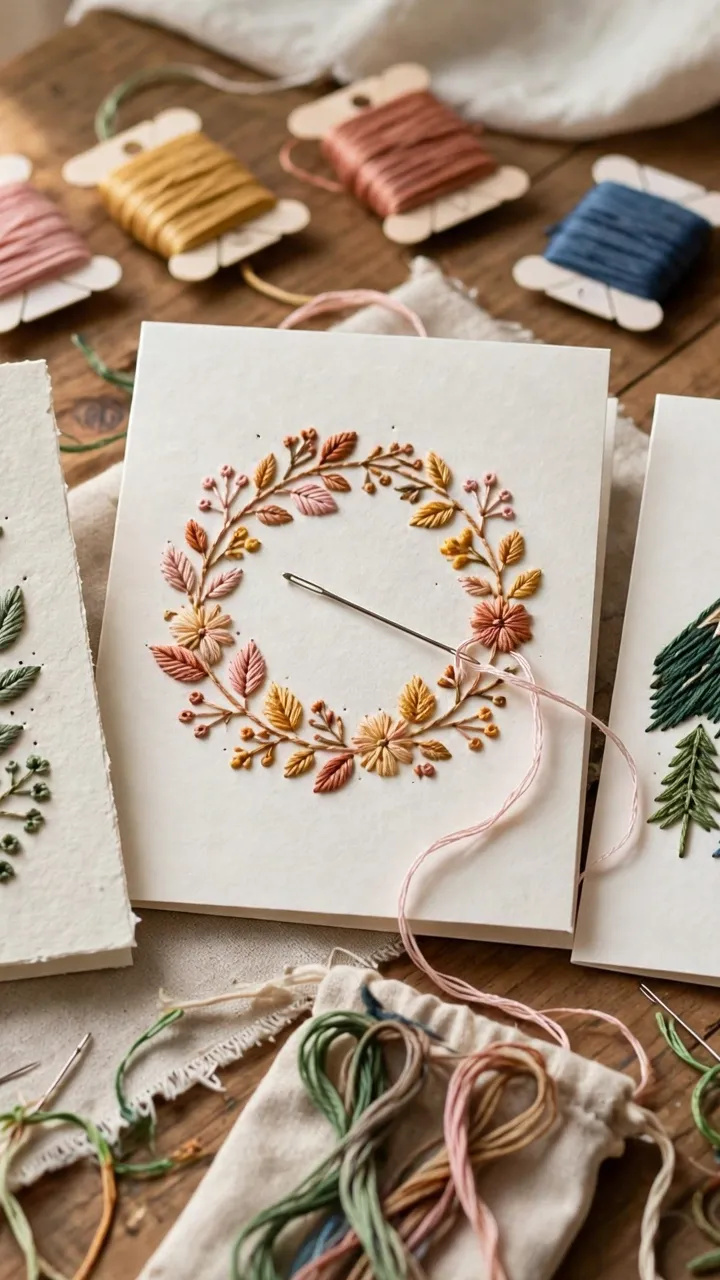
Paper embroidery sounds fragile, and it is, but within its limits it produces the most delicate, graphic work of any pairing. Stitched greeting cards, bookmarks, journal covers, and art prints all live here.
How to do it: Use heavy cardstock, at least 110 lb, or watercolor paper. Mark your design with light pencil, then pre-punch every hole with a needle or a piercing tool before you thread up. This is the critical step. Trying to punch and stitch simultaneously tears the paper. Once the holes are punched, stitch with 1 or 2 strands maximum. Paper cannot handle the bulk of 3 strands, and the holes will enlarge and fray.
What embroidery adds: dimension and tactility to paper’s flat graphic world. A stitched card feels luxurious in a way that printed cards never do. The thread catches light, casts tiny shadows, and invites touch. In a stack of paper cards, the stitched one is the one people keep.
What to avoid: do not use French knots on paper unless the paper is very heavy. The knot’s bulk distorts the hole and can tear through. Stick to flat stitches: backstitch, running stitch, straight stitch, cross stitch. And keep designs simple. Paper embroidery is about graphic impact, not dense coverage. Less is genuinely more here.
Embroidery plus sewing: embellished garments and goods
This is the most practical pairing, because sewn items need decoration and embroidery needs a purpose. Tote bags, pouches, aprons, and clothing all get the treatment.
How to do it: Embroider the flat fabric panels before you sew the item together. This is the golden rule. Stitching a finished tote bag means wrestling with seams and linings. Stitching the front panel while it is still flat is easy. Plan your design placement during the cutting stage, mark it, stitch it, then construct. The order is: cut, stitch, sew. Never sew, then try to stitch.
What embroidery adds: the handmade signature. A sewn tote is nice. A sewn tote with an embroidered wildflower is a gift. The embroidery elevates sewn goods from craft-fair to boutique, and it is the fastest way to make sewn items feel personal.
What to avoid: do not place embroidery where seams will cross it. Check your seam allowances before you stitch. I once embroidered a beautiful motif exactly where the side seam needed to go, and the seam allowance ate half a flower. Measure twice, stitch once.
Embroidery plus beadwork: texture and sparkle
Beads and embroidery are old friends. Beads add weight, shine, and dimension that thread alone cannot achieve, and embroidery gives beads a soft, organic setting.
How to do it: Stitch your embroidery base first, then add beads as accents: French knot centers replaced with beads, scattered seed beads as flower pollen, beaded outlines on leaves. Use a beading needle, which is thinner and more flexible than an embroidery needle, and secure each bead with two passes of thread. One pass loosens over time. Two passes last.
What embroidery adds: the soft ground that makes beads shine. Beads on bare fabric can look sparse. Beads nestled into embroidered flowers look intentional and lush. The thread does the storytelling, the beads do the jewelry.
What to avoid: do not bead anything that will be washed regularly. Beads and washing machines are enemies. Keep beaded embroidery to display pieces, accessories, and special-occasion items. And do not use beads as a cover for bad stitching. Beads draw the eye, which means they draw the eye to whatever is underneath them too.
Embroidery plus wood and hoops: beyond the round frame
The embroidery hoop is the default, but it is not the only wooden ground. Stitching on wooden boxes, plaques, and slices opens a rustic, permanent dimension.
How to do it: Drill or pre-punch holes in thin wood (balsa or thin plywood, under 1/8 inch), then stitch through them like paper embroidery. For thicker wood, use a Dremel or awl to make clean holes. The wood must be thin enough that a needle passes without excessive force, because forcing a needle through wood bends it, breaks it, or sends it into your finger. I speak from experience on all three outcomes.
What embroidery adds: softness to wood’s hardness. The contrast of thread against grain is visually striking, and wooden pieces are permanent in a way fabric is not. A stitched wooden keepsake box is the kind of object that gets passed down.
Embroidery plus photography: stitched photos
Printing a photo on fabric and stitching over it is the most contemporary pairing on this list, and the results are genuinely art-worthy.
How to do it: Print your photo on inkjet-printable fabric sheets (available at craft stores), following the package directions exactly. Hoop the printed fabric and stitch over selected elements: outline a figure in backstitch, add French knot flowers to a landscape, stitch rain over a street scene. The photo provides the image, the stitching provides the intervention.
What to avoid: do not stitch over faces unless you are deliberately going for surrealism. A backstitch line across someone’s eyes reads as unsettling, not artistic. Stitch around the subject, over the background, through the sky. Let the photo be the photo and the thread be the commentary.
How to start mixing: my three rules
Rule one: master each craft separately first. Do not learn watercolor and embroidery simultaneously on the same piece. Get comfortable with each one alone, then combine from strength. The combination should feel like a conversation between two skills you trust, not a collision of two things you are still figuring out.
Rule two: let one craft lead. Every mixed piece needs a dominant craft and a supporting one. Watercolor leads, embroidery accents. Knitting leads, duplicate stitch details. When both crafts compete for attention, the piece feels busy. When one leads, it feels designed.
Rule three: finish one combination before starting the next. It is tempting to try all eight pairings in a month. Resist. Pick the one that excites you most, make three pieces in that combination, and learn its specific lessons. Depth beats breadth in mixed media, because each pairing has quirks that only reveal themselves through repetition.
Start with watercolor and embroidery. It needs the least new equipment, the technique is forgiving, and the results are immediate and beautiful. Paint a wash this weekend, stitch over it next weekend, and watch two crafts you already love become something neither could be alone.