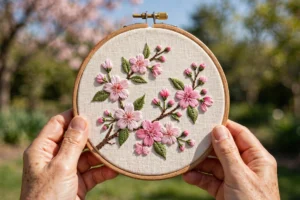
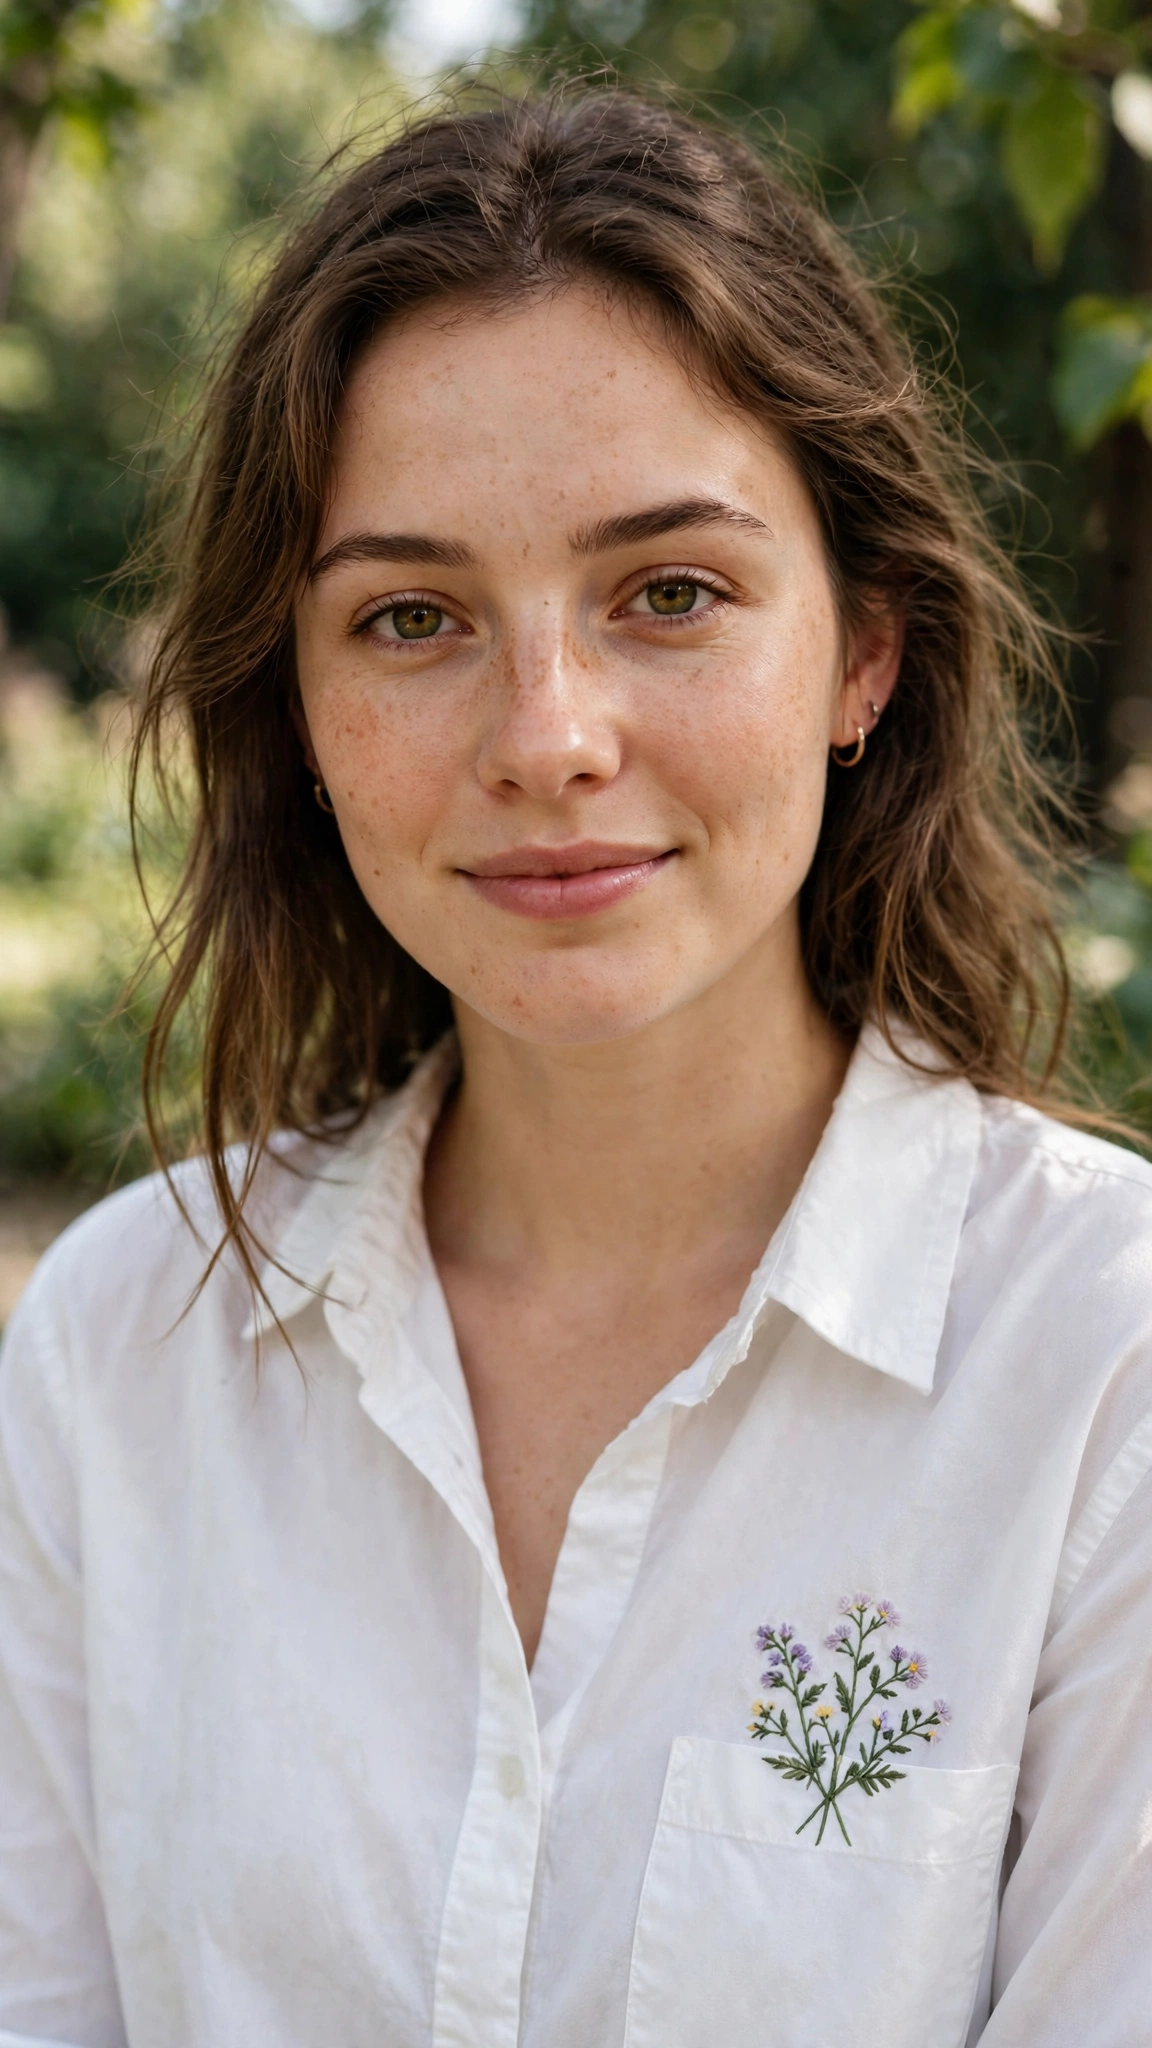
The first time I wore something I had embroidered, a stranger stopped me on the street. I had stitched a small wildflower spray on the chest pocket of a white shirt, nothing ambitious, just stem stitch and French knots in dusty pink. A woman at the crosswalk pointed at it and said, “Did you do that yourself?” I have received compliments on hoops hanging in my house, but nothing hits like a compliment on something you are wearing. Wearable embroidery art turns your body into a gallery, and the gallery goes everywhere you go.
But stitching on clothes is a different craft from stitching on hooped linen. Fabric moves, stretches, gets washed, and gets worn against skin. The techniques that make wearable embroidery art last are specific, and most beginners learn them the hard way: by watching their beautiful stitching pucker, stretch, or dissolve in the first wash. This guide covers everything I wish I had known before I stitched my first shirt, from stabilizers to placement to the washing rules that keep it all intact.
Why wearable embroidery fails: the three enemies
Every wearable embroidery disaster comes down to one of three things. Understand them and you can stitch on almost anything.
Enemy one: stretch. Knit fabrics like t-shirts and sweatshirts stretch in every direction. When you stitch on stretched fabric and then release it, the stitches pucker and warp. The fix is stabilizer, always stabilizer, which I will cover in detail below. Never stitch on a knit without it. I learned this on a gray t-shirt that now has a permanently wavy flower, which I wear anyway out of spite.
Enemy two: movement. Clothes bend, fold, and rub. Stitches on elbows, knees, and seat areas take brutal abuse. Long floating stitches snag. Raised knots get crushed. The fix is stitch choice: use flat, short, locked stitches on high-movement areas, and save the dimensional stuff for stable zones like the chest, back panel, or upper arm.
Enemy three: washing. Water, heat, and agitation are the mortal enemies of thread. The fix is floss choice and finishing: colorfast cotton floss, secured thread ends, and washing rules you actually follow. More on all of this below.
The stabilizer guide: what to use on what
Stabilizer is the unglamorous hero of wearable embroidery art. It is a temporary or permanent backing that keeps fabric stable while you stitch. Here is what to use for each fabric type.
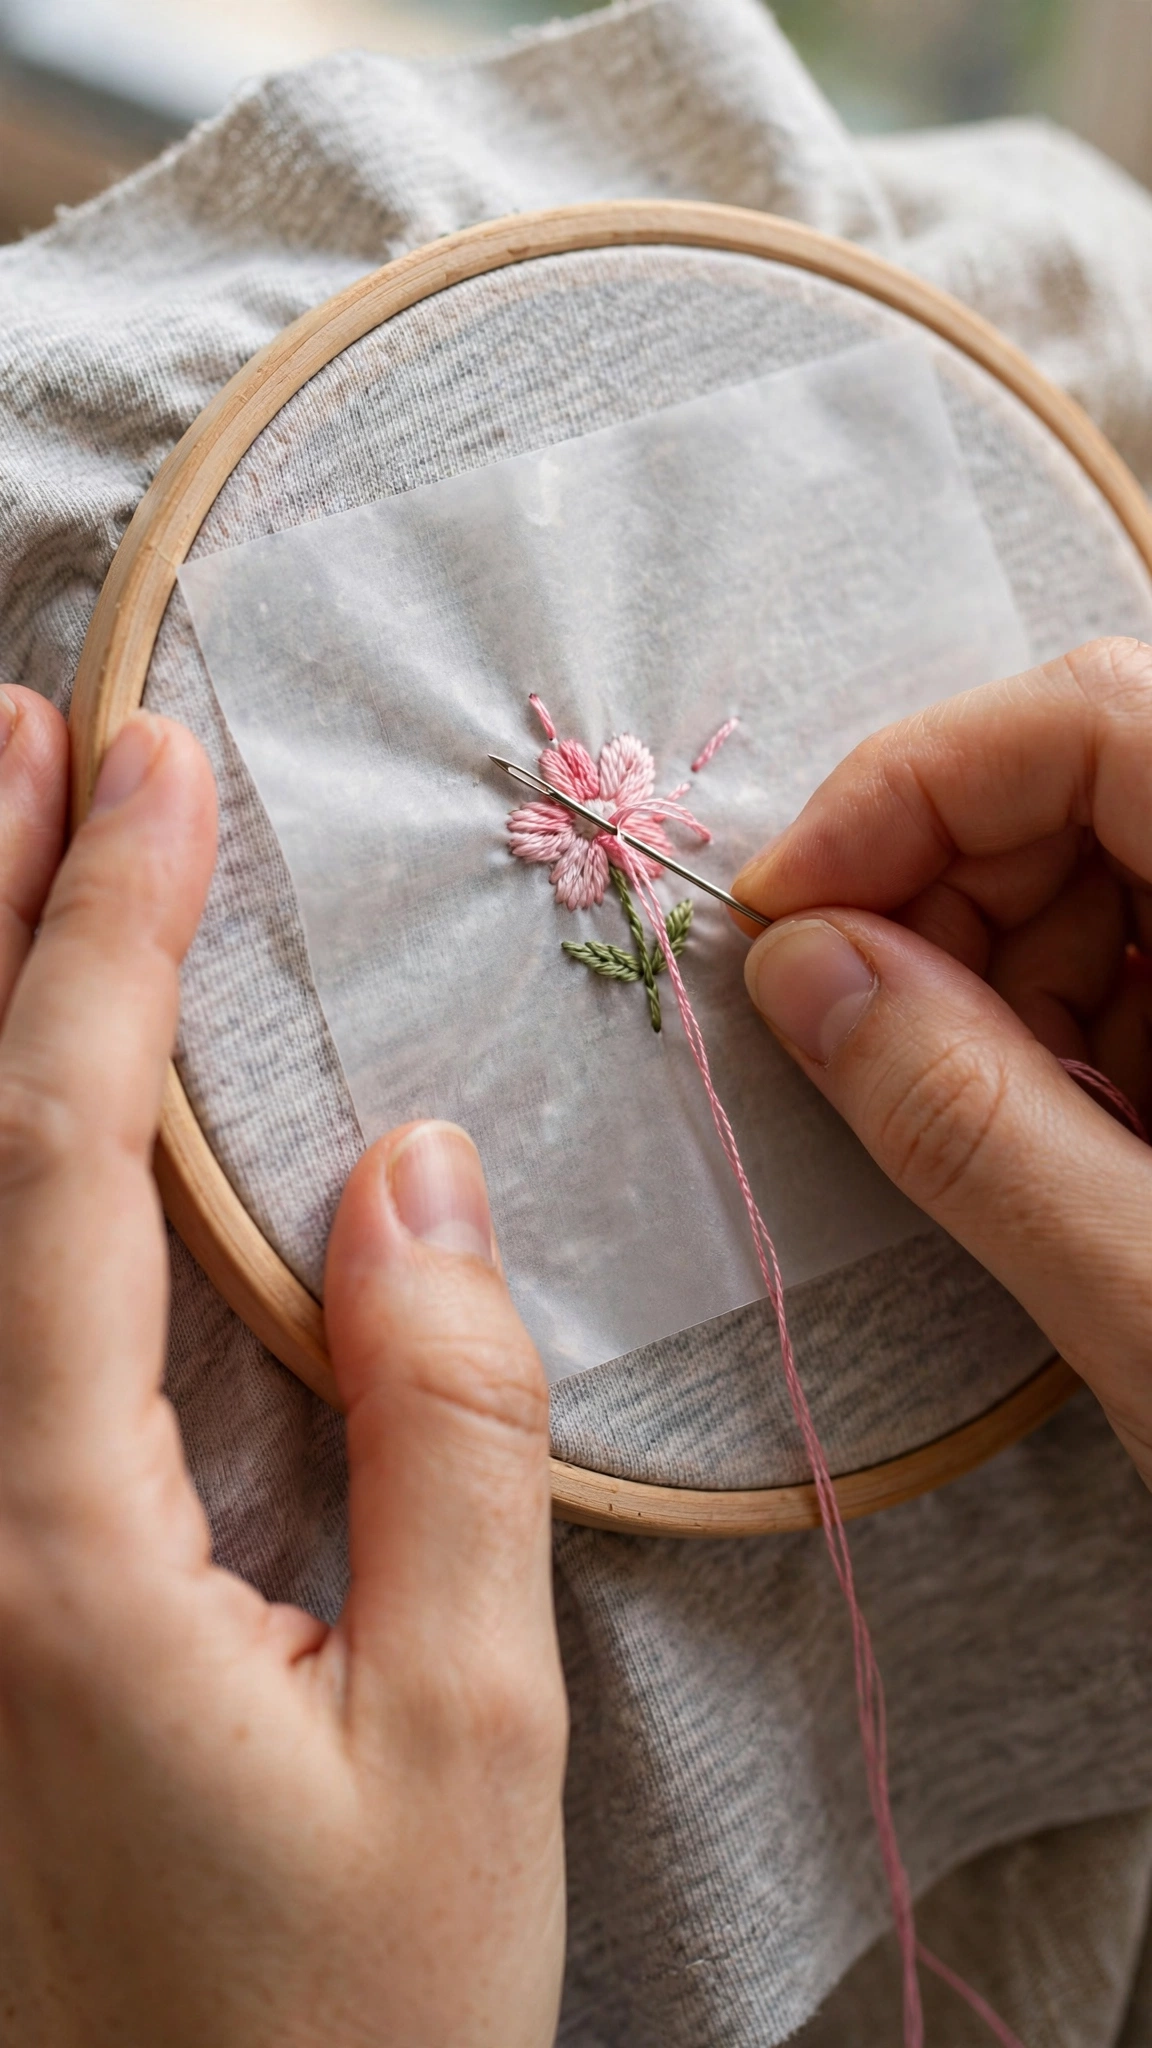
For t-shirts and knits: cut-away stabilizer. This is non-negotiable. Hoop a layer of medium-weight cut-away stabilizer behind the knit, and the fabric behaves like linen while you stitch. After finishing, trim the stabilizer close to the design, leaving about a quarter inch. It stays in the garment permanently, softens with washing, and prevents the design from stretching out over time. One yard lasts for dozens of projects.
For sweatshirts and fleece: water-soluble stabilizer on top. Thick, textured fabrics swallow stitches. Lay a sheet of water-soluble stabilizer (like Sulky Solvy) over the design area, stitch through it, then rinse it away. The stitches sit on top of the texture instead of sinking into it. This is the difference between a design that looks crisp and one that looks like it is drowning in fleece.
For denim and canvas: usually nothing needed. Denim is stable enough to stitch directly, which is why jeans are the classic wearable canvas. The challenge with denim is getting the needle through, not keeping it stable. Use a sharp needle, a thimble, and patience. For very heavy denim, a jeans needle (size 90/14) makes a noticeable difference.
For silky or slippery fabrics: fusible interfacing. Iron a lightweight fusible interfacing to the back of the design area before you start. It adds body without bulk and stops the fabric from shifting under the needle. Test on a scrap first, because some interfacing changes how the fabric drapes, and you want to know that before it is on the garment.
Placement: where to stitch on the body
Placement is the difference between wearable art and a crafting accident. These are the zones that work, ranked by beginner-friendliness.
The chest pocket area. The easiest placement on any shirt. The fabric is usually doubled (pocket plus shirt), which means it is stable. The area is small, which means the design stays small. And it sits at the perfect viewing height. A 2-inch wildflower spray here is the ideal first wearable project. If your shirt has no pocket, stitch where the pocket would be. Nobody will know.
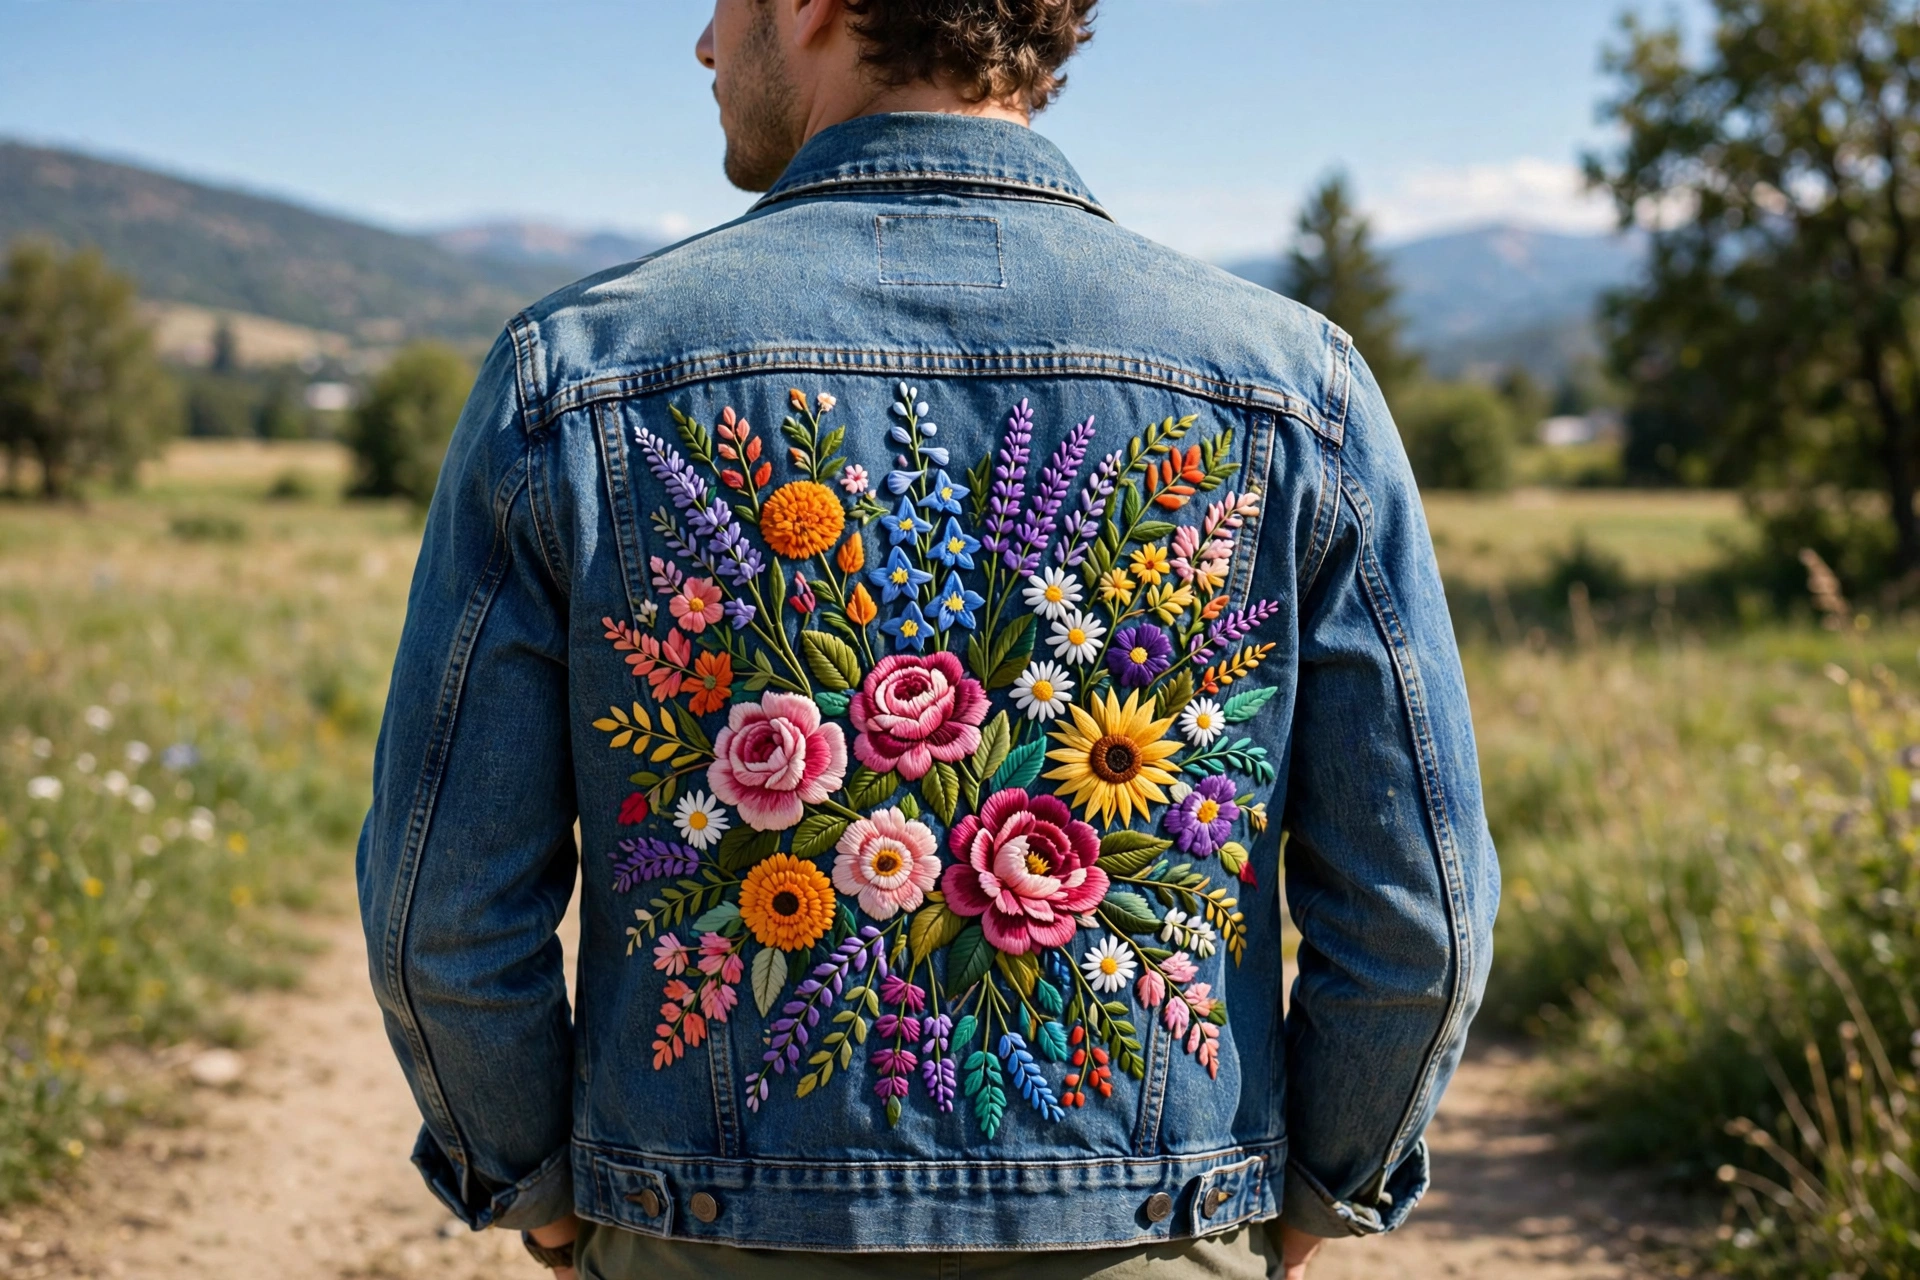
The upper back panel of a denim jacket. The classic statement placement. A large floral design or word across the shoulders turns a plain jacket into a one-of-a-kind piece. The denim is stable, the area is flat, and you can hoop it by unbuttoning the jacket and working with the panel flat on a table. Budget eight to twelve hours for a full back design. It sounds like a lot, but you will wear that jacket for years.
Collar points and cuffs. Tiny motifs on shirt collars or jacket cuffs: a bee, a star, an initial. These are visible, charming, and small enough to finish in an evening. The fabric is usually interfaced already, which means it is stable. This is where I put my experimental designs, because if I hate it, it is a two-inch area I can cover with a patch.
Jeans pockets. The back pocket of jeans is a perfect small canvas: stable denim, visible placement, and a natural frame. A floral corner or a word in backstitch fits beautifully. Avoid the front pockets, which get stressed every time hands go in and out. Back pockets are for show. Front pockets are for work.
Sleeves, upper arm only. The upper arm moves less than the elbow, so designs here survive. Keep them small and flat. Anything near the elbow will be destroyed within a month, because elbows bend approximately four thousand times a day and each bend stresses the stitches.
Areas to avoid: elbows, knees, seat, underarms, and anywhere the fabric stretches significantly when worn. Also avoid the center front of button-up shirts, where button strain pulls at the fabric. And think about sitting: a beautiful design on the back of jeans is wasted if you sit on it all day.
Stitch choices for clothes that last
Not all stitches survive wear. Here is what to use and what to skip.
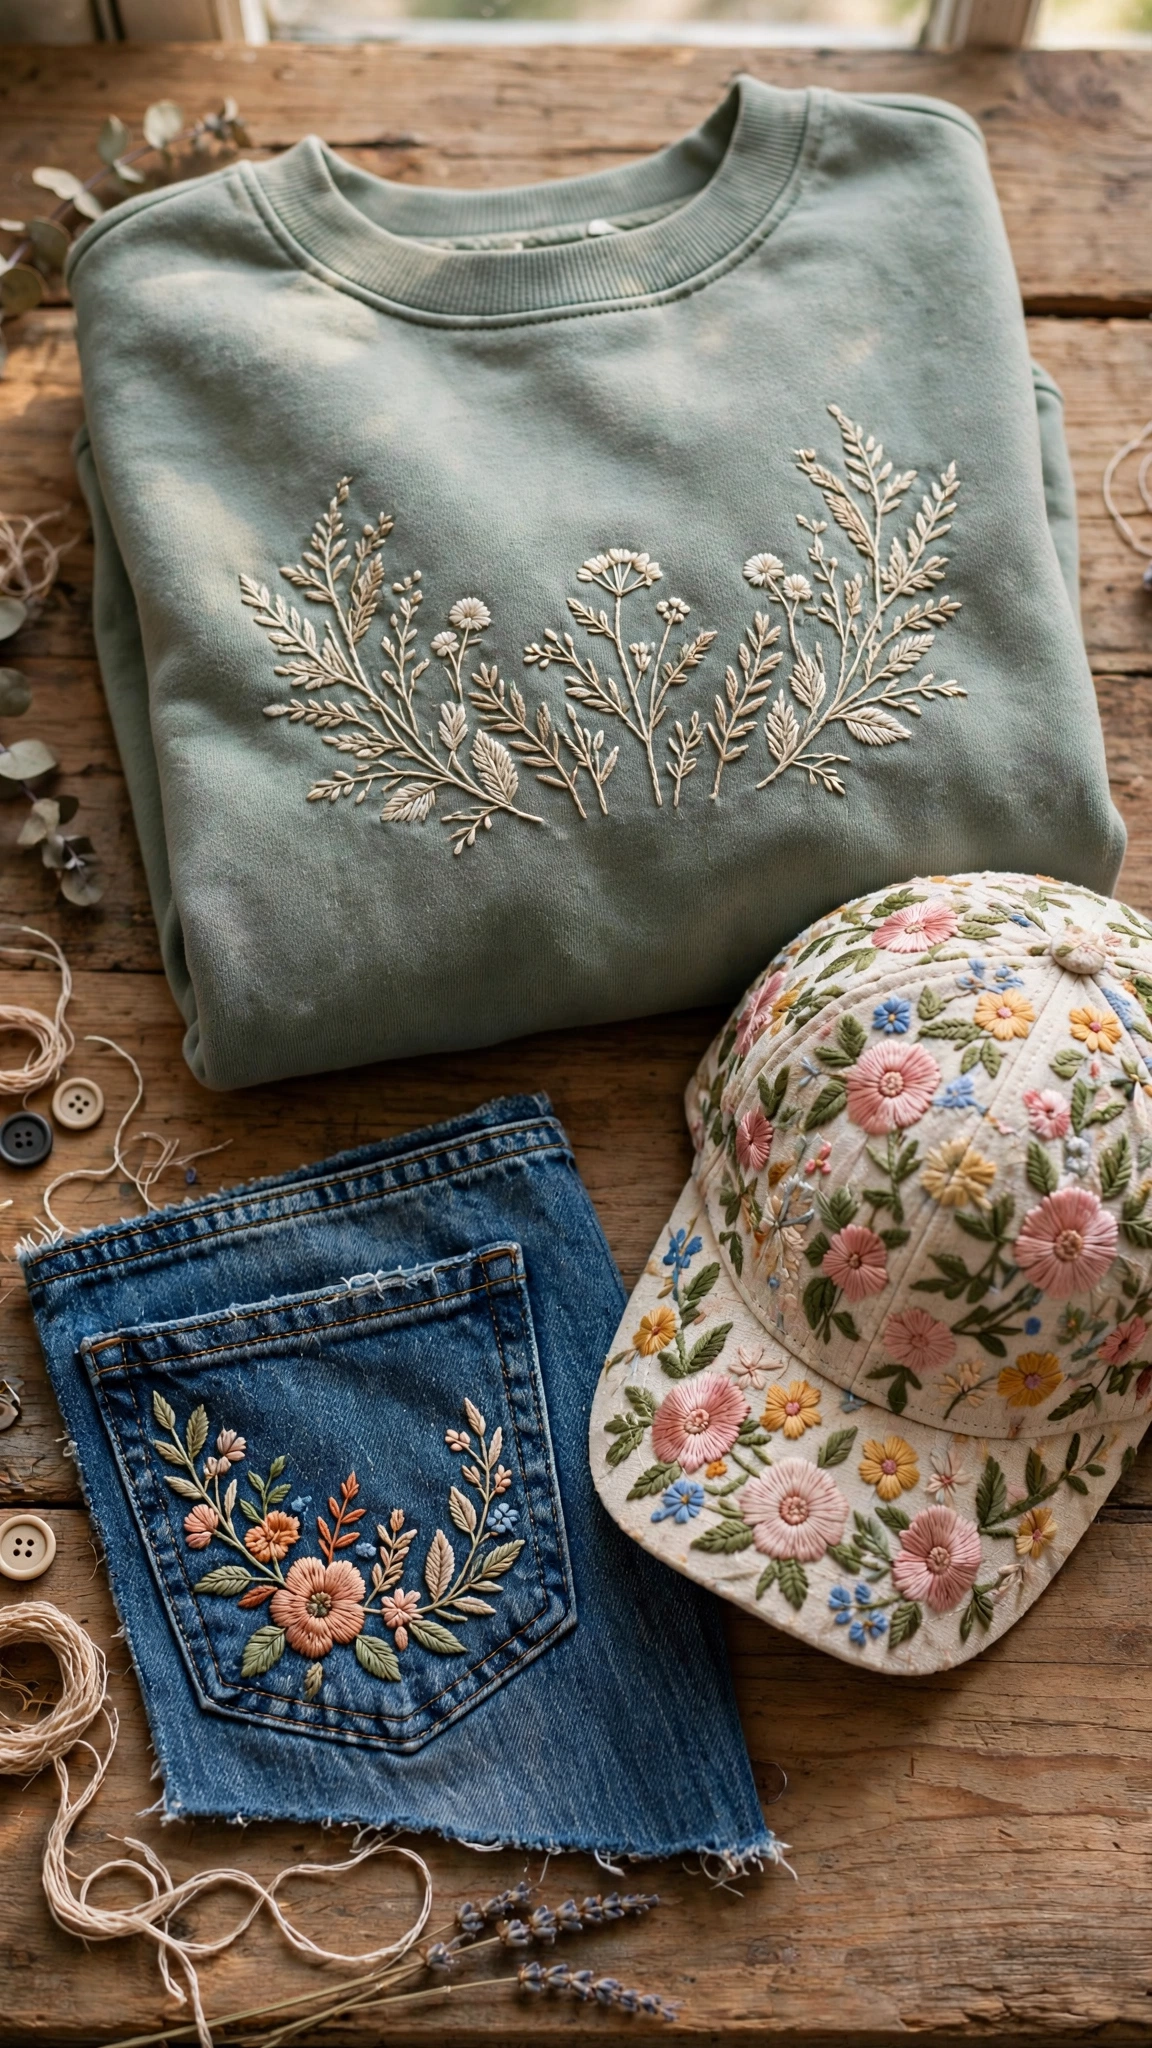
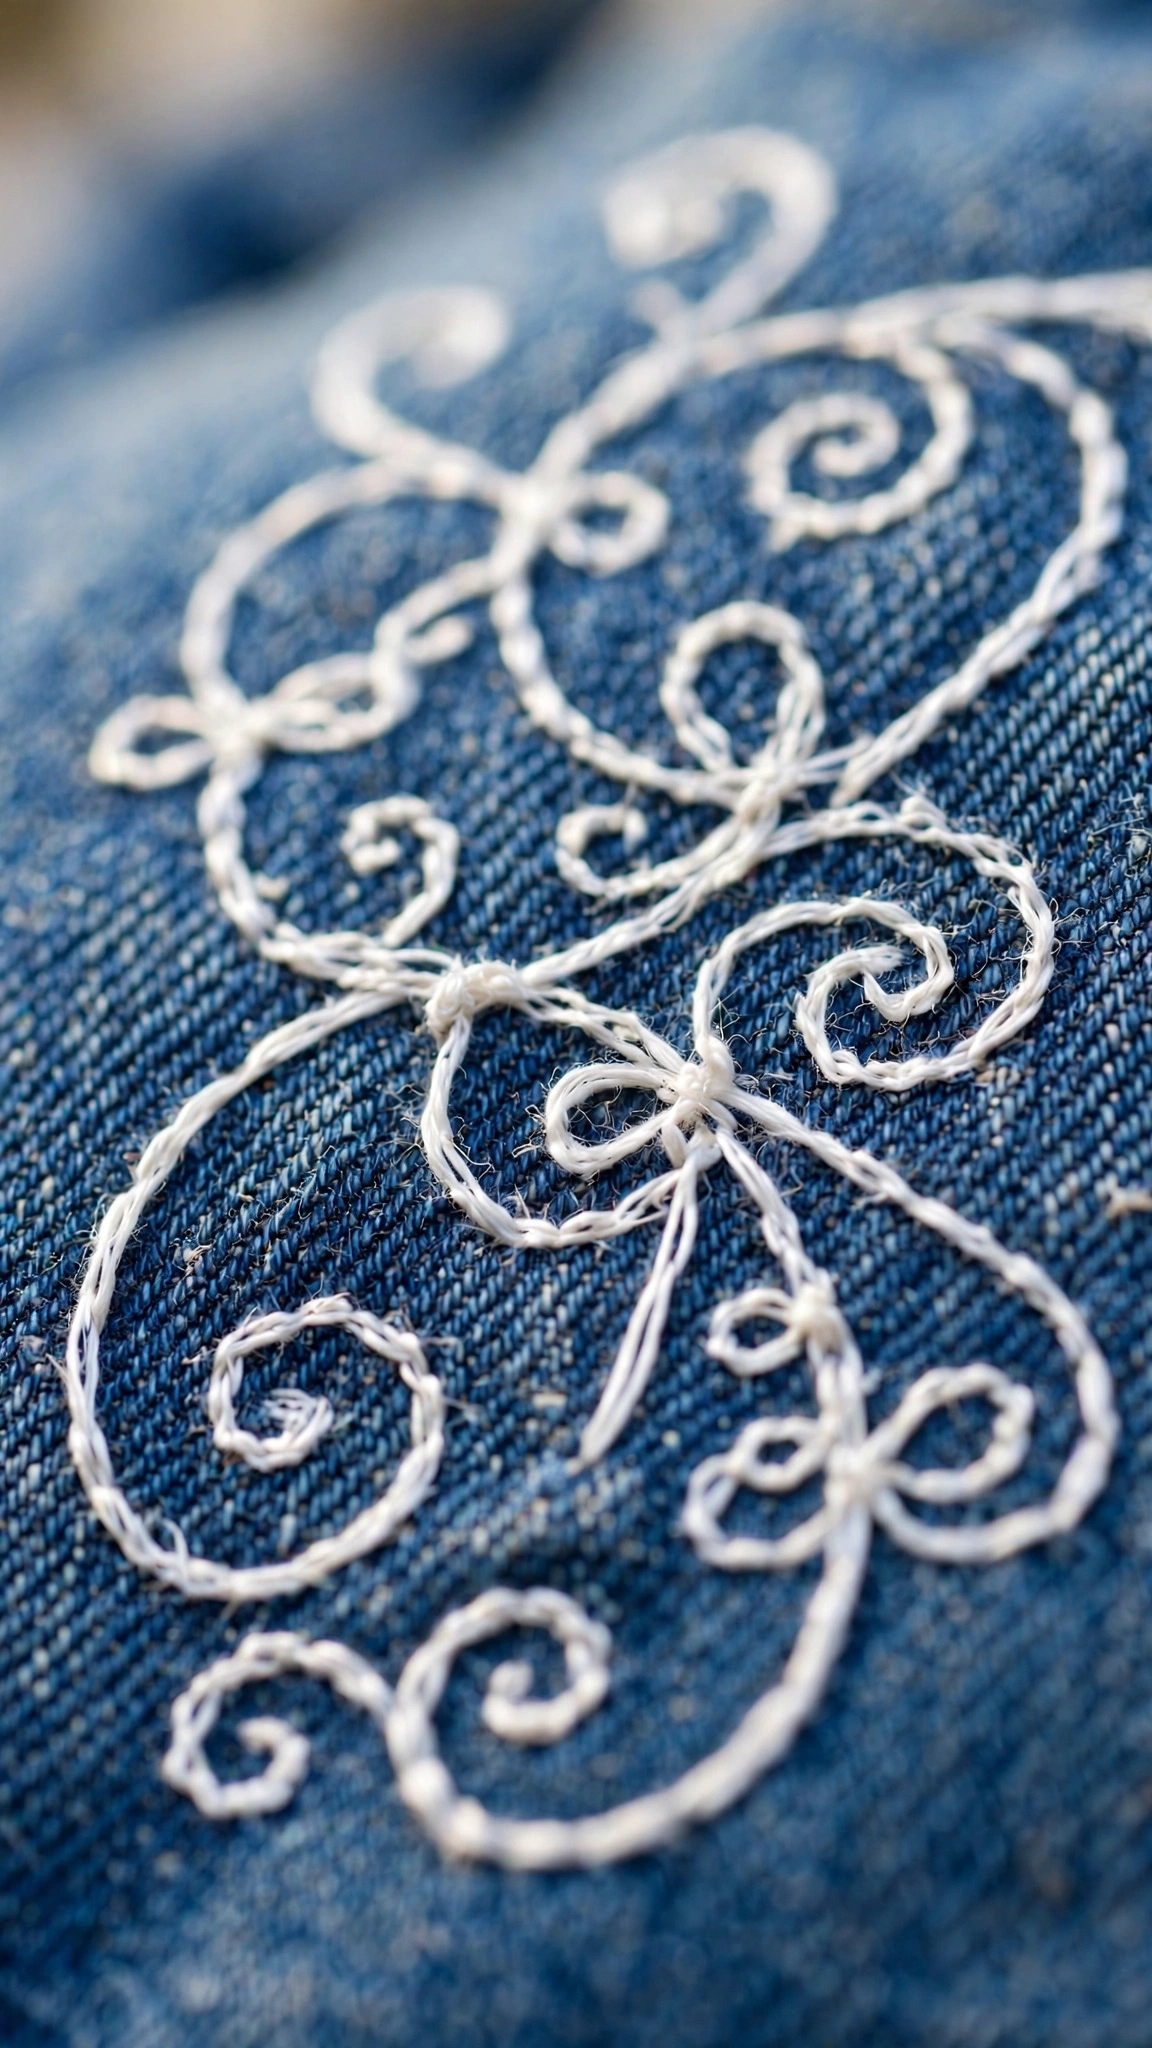
Use: backstitch, stem stitch, satin stitch (small areas), running stitch. These are flat, locked, and durable. Backstitch is the workhorse of wearable embroidery because every stitch is anchored independently. If one stitch snags, the rest hold. Stem stitch gives beautiful flowing lines for florals and lettering. Keep satin stitch areas under half an inch wide, because wide satin stitch snags on everything including, I have discovered, seatbelts, zippers, and curious toddlers.
Use sparingly: French knots, lazy daisy. These are dimensional, which means they catch on things. A few French knot flower centers on a chest design are fine. A whole field of French knots on a sleeve is a snagging disaster waiting to happen. If you love texture, put it on low-contact areas like the upper back.
Avoid: long floating stitches, turkey work, anything with loops. Anything that stands proud of the fabric surface will be pulled, caught, or crushed. Wearable embroidery should feel almost smooth to the touch. Run your hand over the finished design: if you can feel significant texture, reconsider the placement or the stitches.
Floss and finishing for washable art
Floss: Use DMC cotton or another reliably colorfast brand. Test any hand-dyed or variegated floss by soaking a snippet in hot water for ten minutes before it goes near a garment. Metallic floss looks spectacular on clothes but breaks easily; if you use it, keep the stitches short and expect to repair them eventually. I use metallic for accents only, never for structural lines.
Thread ends: On hoops, you can get away with casual thread management. On clothes, every thread end must be secured properly, because loose ends work free in the wash and unravel from the back. Weave ends under at least five existing stitches on the back. Then add a tiny drop of fray-check on each woven end for insurance. This takes an extra ten minutes and saves the entire project.
The back: Cover the back of the design with a piece of lightweight fusible interfacing or iron-on backing. This does three things: it protects skin from knots, it prevents the design from catching on things in the wash, and it makes the garment look professionally finished from the inside. Skip this step and the first person who sees the inside will see a mess. We have all been that person. Do not be that person.
Washing rules that keep it alive
Your wearable art will be washed. Plan for it from the first stitch.
Turn the garment inside out before washing. Use cold water and a gentle cycle. Never use bleach, not even the “color-safe” kind, because it is not color-safe for floss. Tumble dry on low or, better, air dry flat. The dryer is where embroidery goes to die: the heat loosens stitches and the tumbling abrades them.
Iron on the reverse side only, with a pressing cloth between the iron and the stitches. Direct iron heat flattens dimensional stitches and can melt synthetic stabilizer residue. I press all my embroidered clothes inside-out on a towel, and they look new after dozens of washes.
Tell anyone who might wash the garment. Put a note in the pocket if you have to. I lost a beautiful stitched sweatshirt to a well-meaning partner and a hot wash, and I still bring it up. He still pretends not to hear.
Five wearable projects to start with
1. The pocket wildflower. A 2-inch spray on a shirt pocket or pocket area. Stem stitch stems, lazy daisy petals, French knot centers. Two hours. The perfect first wearable.
2. The initial cap. Your initial in backstitch on a plain baseball cap, worked through stabilizer. Caps are structured, which means the fabric does not move. Three hours, and you will wear it constantly.
3. The denim pocket flower. A single large flower on a jeans back pocket. Satin stitch petals, French knot center. Four hours. Denim is forgiving and the placement is ideal.
4. The word sweatshirt. One word in stem stitch across the chest: “wildflower,” “dreamer,” your name. Six hours with stabilizer. This is the project that gets the street compliments.
5. The full jacket back. A floral design across the shoulders of a denim jacket. Ten to twelve hours. The masterpiece project. Start this one when you have finished at least two of the smaller ones, because the skills compound and the big piece deserves your best work.
Wearable embroidery art is the most rewarding kind of stitching because it leaves the house. Hoops hang on walls and get seen by visitors. Clothes go to grocery stores, offices, parks, and crosswalks, collecting compliments from strangers who have no obligation to be nice. Start with the pocket wildflower this weekend. By next week you will be wearing your stitching, and once you start, you will never look at a plain shirt the same way again.