There is a special kind of luxury in sleeping on a pillowcase you embroidered yourself. It is a small, daily pleasure, the kind you notice every night when your head hits the pillow. An embroidered pillowcase is a classic project for good reason. It is practical, it is personal, and a simple floral border can turn an ordinary pillowcase into something that feels like it came from a boutique.
In this tutorial, you will learn how to embroider a pillowcase from start to finish. We will cover choosing the right pillowcase, design ideas that work beautifully on bedding, the best stitches for washable embroidery, and how to care for your finished piece so it stays lovely wash after wash. Let us stitch something you will use every single day.
Why Embroider a Pillowcase?
Pillowcases are one of the most traditional embroidery projects in existence. Generations of stitchers have decorated pillowcases with monograms, flowers, and decorative borders. There is a reason this project has endured. It hits the sweet spot of useful, beautiful, and achievable.
For beginners, pillowcases offer several advantages. The fabric is usually a smooth cotton that is easy to stitch. The design area, typically a border near the open edge, is well defined so you do not have to agonize over placement. And the project is naturally repetitive, which means lots of practice on the same stitches. By the time you finish the second pillowcase, your stitches will look noticeably better than when you started the first.
Choosing the Right Pillowcase
Not all pillowcases are created equal when it comes to embroidery. Here is what to look for:
- Fabric: Choose 100 percent cotton or a cotton rich blend with a smooth, tight weave. Percale is ideal. Avoid microfiber and very high thread count sateen, which are difficult to stitch through neatly.
- Color: White and cream are classic and show embroidery beautifully. Light pastels also work well. Avoid dark colors for your first project since transfer lines are harder to see.
- Construction: A simple pillowcase with a plain hemmed edge gives you a clean canvas. Pillowcases with existing decorative borders can work too, but make sure your embroidery complements rather than fights the existing design.
You can buy blank pillowcases specifically for embroidery, often sold as a pair, or use good quality plain pillowcases from any home store. Either way, wash and press them before you start. Pre washing removes sizing and pre shrinks the fabric so your embroidery does not pucker later.
Design Ideas for Pillowcases
The classic pillowcase design is a border near the open edge, but there are many variations. Here are some ideas to inspire you:
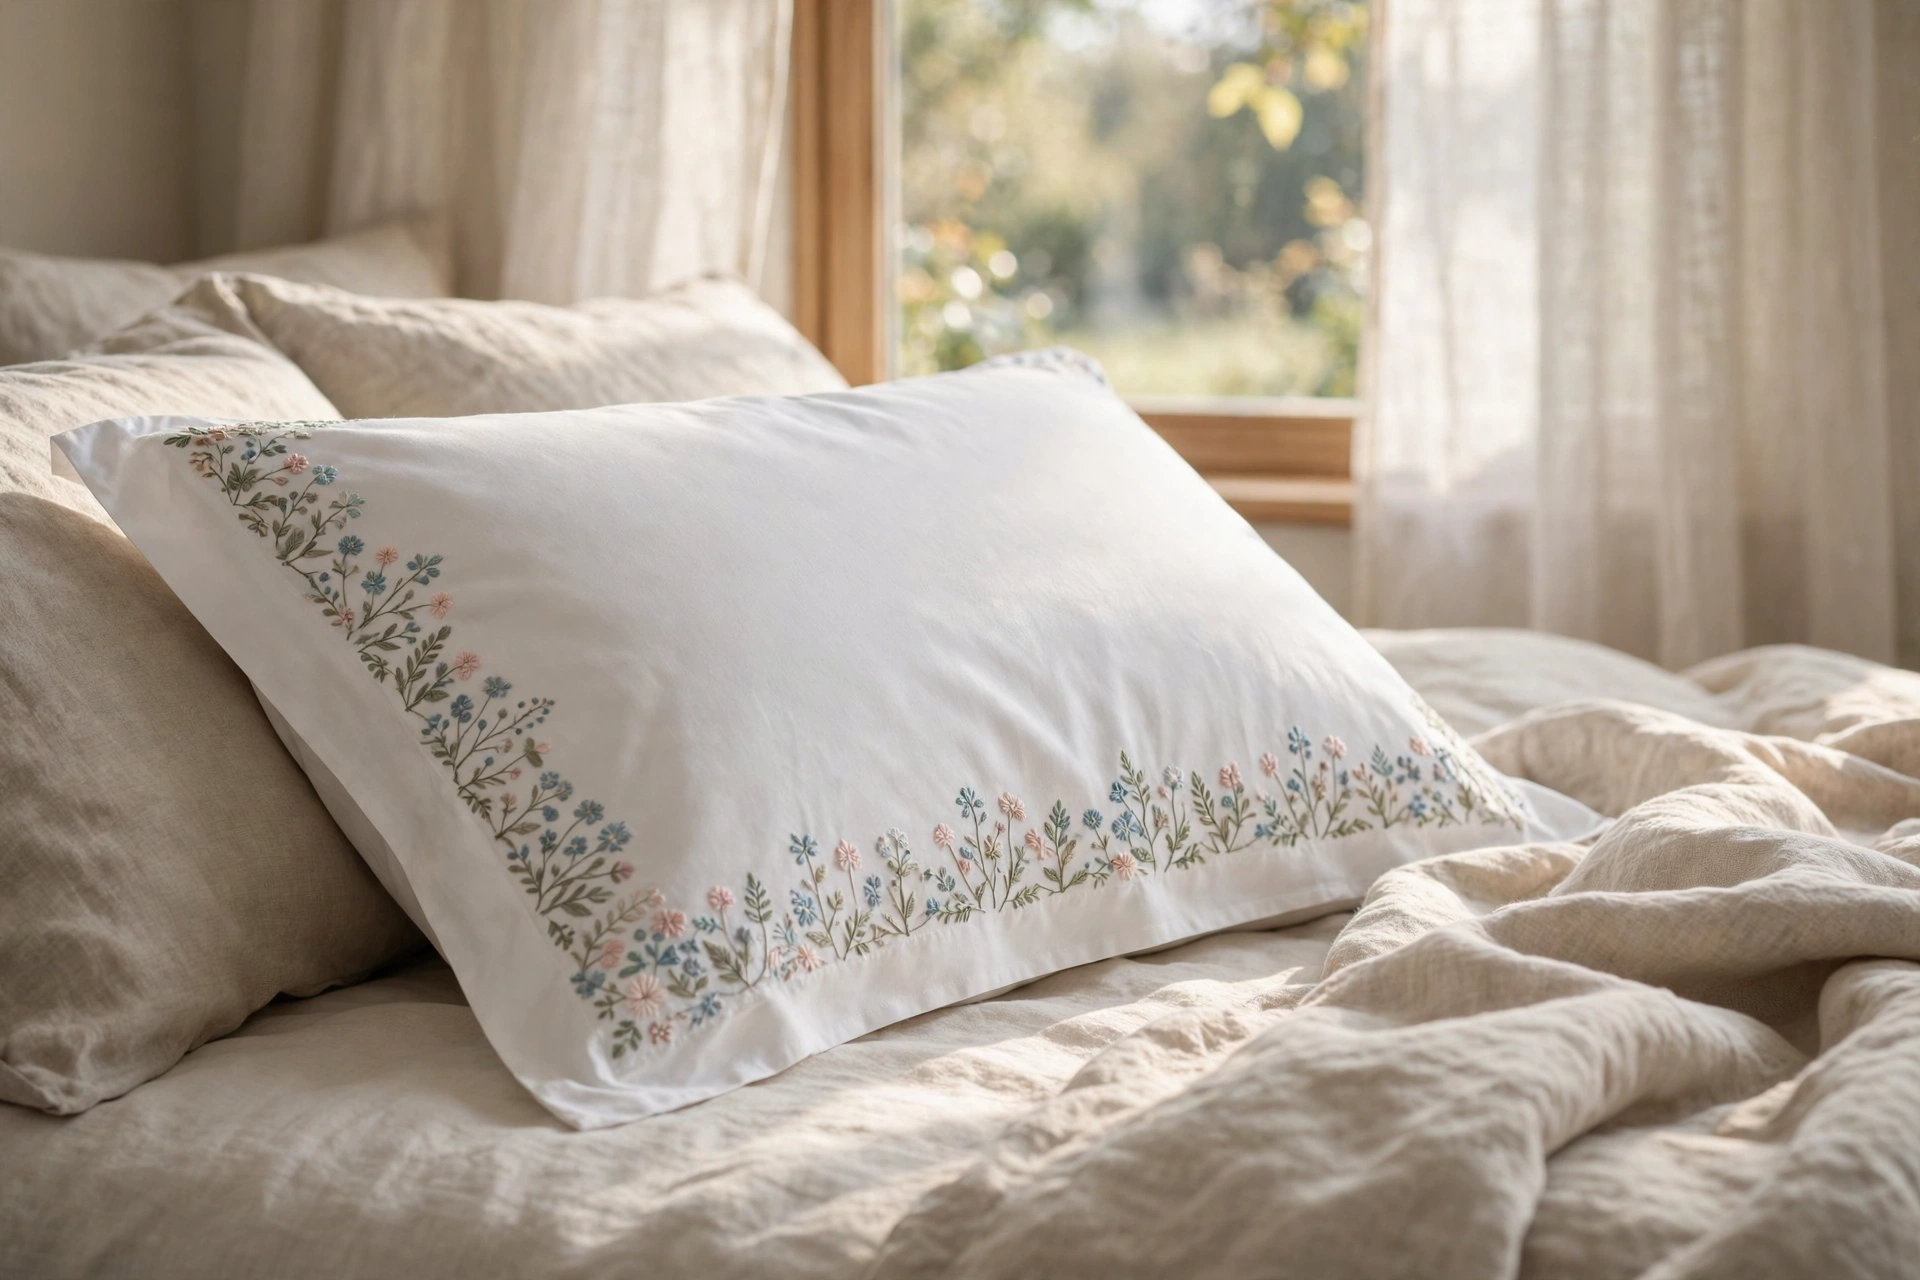
- Floral border. A repeating vine with small flowers and leaves running along the edge. Timeless and always beautiful.
- Monogram. Your initial, or a couple’s initials, in an elegant script surrounded by small flowers. A traditional favorite for wedding gifts.
- Corner motif. A single spray of flowers in one corner rather than a full border. Quicker to stitch and very elegant.
- Scalloped edge with embroidery. Stitch a scallop border and embellish each scallop with a small flower or French knot cluster.
- Matching pair with variations. Stitch the same border design on two pillowcases but in different color schemes. They coordinate without being identical.
Keep your design in the top third of the pillowcase, near the open edge. This is the part that shows when the pillow is on the bed. Designs placed in the middle get hidden by the pillow itself.
Supplies You Will Need
- One pair of cotton pillowcases, pre washed and pressed
- Embroidery floss in your chosen colors
- Embroidery needles, size 7 or 8
- A water soluble fabric marker for transferring your design
- Small sharp scissors
- An embroidery hoop to hold your work area taut
- Tear away or wash away stabilizer (recommended)
Transferring Your Design
For pillowcases, the window tracing method works wonderfully. Print your border design at the right size, tape it to a bright window, position the pillowcase over it, and trace with your water soluble marker. For repeating borders, trace one repeat, then slide the paper along and trace the next, keeping your spacing consistent.
If your border needs to wrap around the pillowcase edge, mark the center point first and work outward in both directions. This keeps the design symmetrical. Count your repeats to make sure the pattern meets neatly at the ends.
For monograms, print the letter in your chosen font at the desired size and trace it the same way. Script fonts look gorgeous but make sure the letter is large enough to stitch comfortably. At least two inches tall is a good minimum.
To Stabilize or Not to Stabilize
Pillowcase fabric is relatively lightweight, and embroidery adds weight and pull. A light tear away or wash away stabilizer on the back of your stitching area prevents puckering and keeps your stitches crisp. It is especially helpful for dense designs and satin stitch filling.
Cut the stabilizer to cover your design area plus an inch on all sides. For wash away stabilizer, you can baste it in place and it will dissolve in the first wash. For tear away, gently tear it away after stitching, supporting your stitches as you go. Either way, your future self will thank you for the extra step.
Best Stitches for Pillowcases
Since pillowcases get washed regularly, choose stitches that are durable and lie relatively flat:
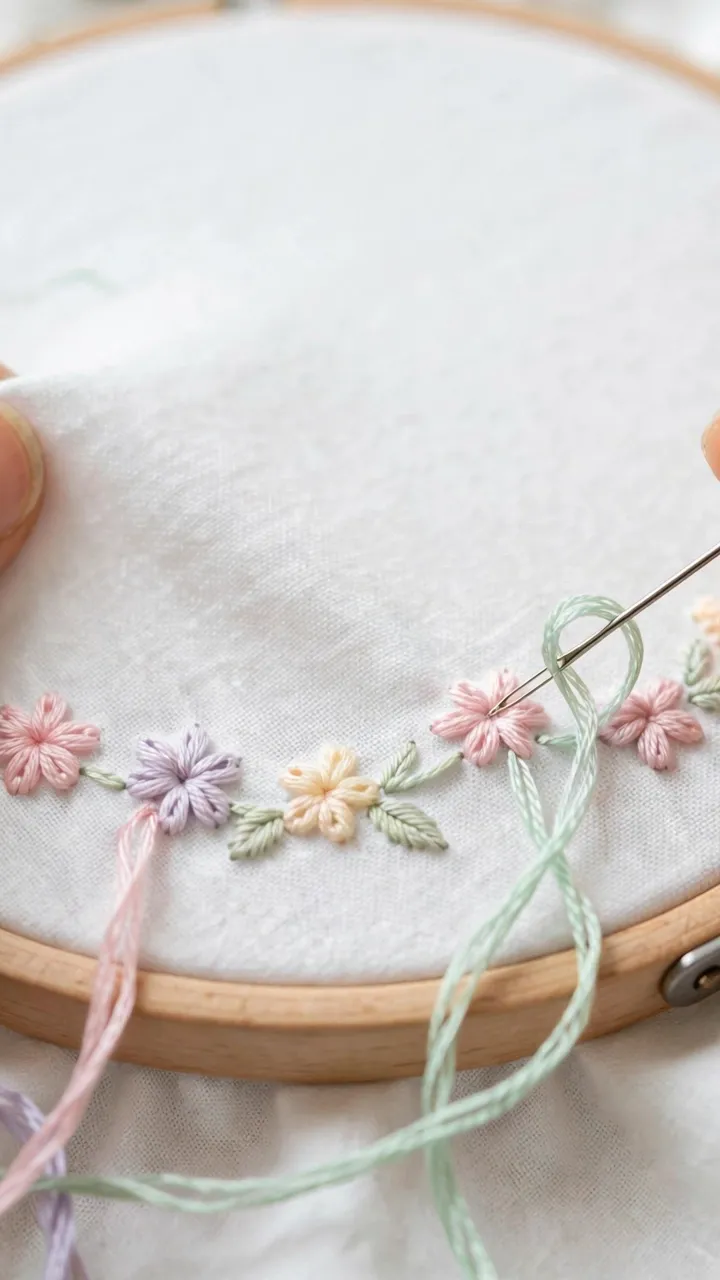
- Stem stitch for vines, stems, and outlines. It is sturdy and looks beautiful in borders.
- Backstitch for lettering and fine outlines. Simple and strong.
- Satin stitch for petals and leaves. Keep filled areas small to medium for the best wash durability.
- Lazy daisy stitch for small flowers and leaves. Quick and charming.
- French knots for flower centers and dot accents. Make them snug so they survive washing.
- Chain stitch for bold outlines and decorative borders. It has a lovely handmade texture.
Avoid very raised or loopy stitches for pillowcases. They catch on things in the wash and wear out faster. Save the dimensional stitches for wall pieces.
Stitching Your Pillowcase Step by Step
Step 1: Mark your design. Transfer your border or motif to the pillowcase, double checking placement and symmetry.
Step 2: Attach stabilizer. Baste your stabilizer to the wrong side behind the design area.
Step 3: Hoop up. Place your hoop over the first section of the design. You will move it along as you work.
Step 4: Stitch outlines first. Work all the stems, vines, and outlines in stem stitch or backstitch.
Step 5: Add fills and details. Satin stitch petals, lazy daisy leaves, French knot centers.
Step 6: Move the hoop and repeat. For borders, work in comfortable sections, repositioning the hoop as needed.
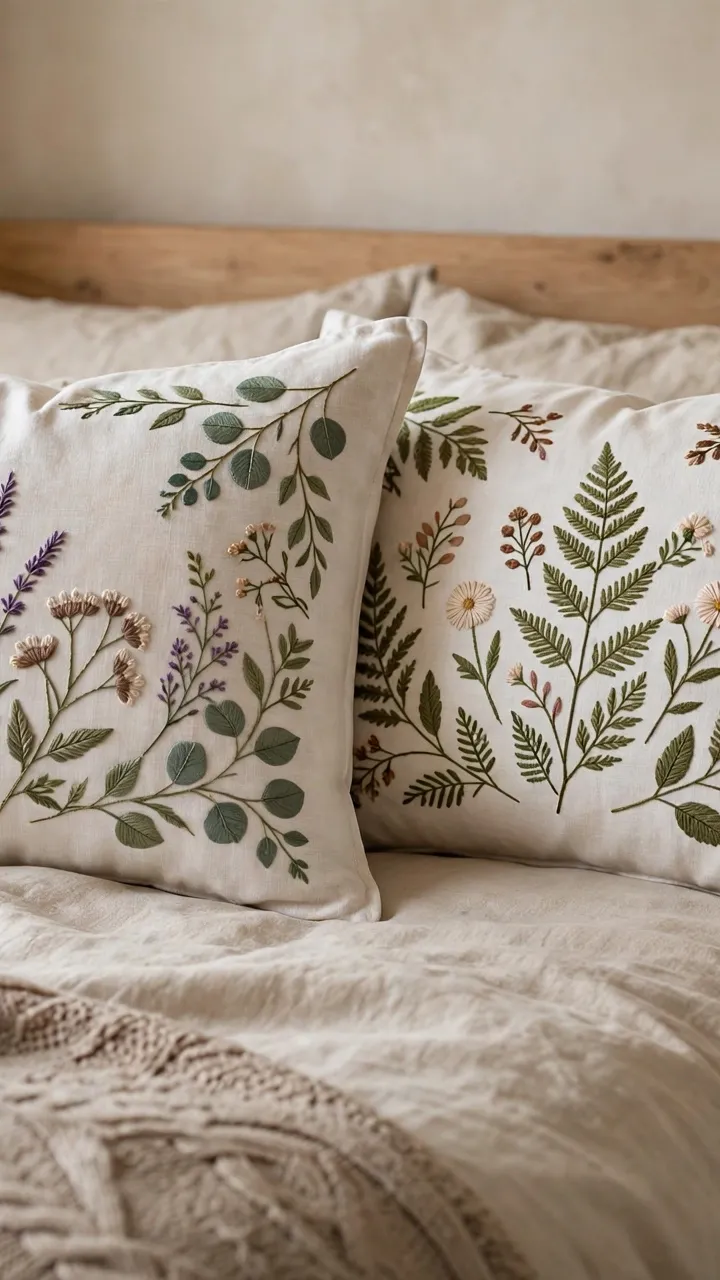
Step 7: Finish and clean up. Remove stabilizer, dab away any transfer marks with water, and press from the back.
Matching Your Pair
If you are stitching a pair of pillowcases, consistency matters. Finish the first one completely, then use it as your reference for the second. Keep notes on which colors you used where. It is surprisingly easy to forget whether that leaf was two strands of the medium green or three strands of the dark green by the time you start the second case.
Some stitchers prefer to work both pillowcases simultaneously, completing the same section on each before moving on. This keeps your tension and style consistent across the pair. Either approach works. Choose the one that suits your temperament.
Washing and Caring for Embroidered Pillowcases
Your embroidered pillowcases will need regular washing, so proper care matters:
- Machine wash on gentle in cool water with mild detergent. Turn the pillowcase inside out to protect the embroidery.
- Avoid bleach and harsh stain removers, which can fade floss colors.
- Tumble dry on low or line dry. High heat is hard on embroidery thread.
- Iron on the reverse side with a pressing cloth. Never iron directly on your stitches.
- Use colorfast floss. Quality stranded cotton floss is colorfast, but test any unfamiliar threads before committing to a large project.
Mistakes to Avoid
- Skipping the pre wash. Unwashed fabric can shrink after you have stitched, puckering your beautiful work.
- Placing the design too low. Remember, the visible area is near the open edge. Measure twice.
- Using too many strands. Two to three strands is right for most pillowcase embroidery. More looks chunky and wears poorly.
- Forgetting stabilizer. Lightweight cotton plus dense stitching equals puckering without support.
- Rushing the second pillowcase. Fatigue leads to sloppy stitches. Take breaks and keep your standards consistent.
A Heirloom in the Making
Hand embroidered pillowcases have been treasured for generations, passed down through families and tucked into hope chests. Yours can be too. Every time you change your sheets, you will see your own handiwork and remember the quiet hours you spent making it. That is the real luxury here, not the object itself but the care stitched into every inch.
So thread your needle, put on something comforting to listen to, and enjoy the process. Your bed is about to get a whole lot more beautiful.