
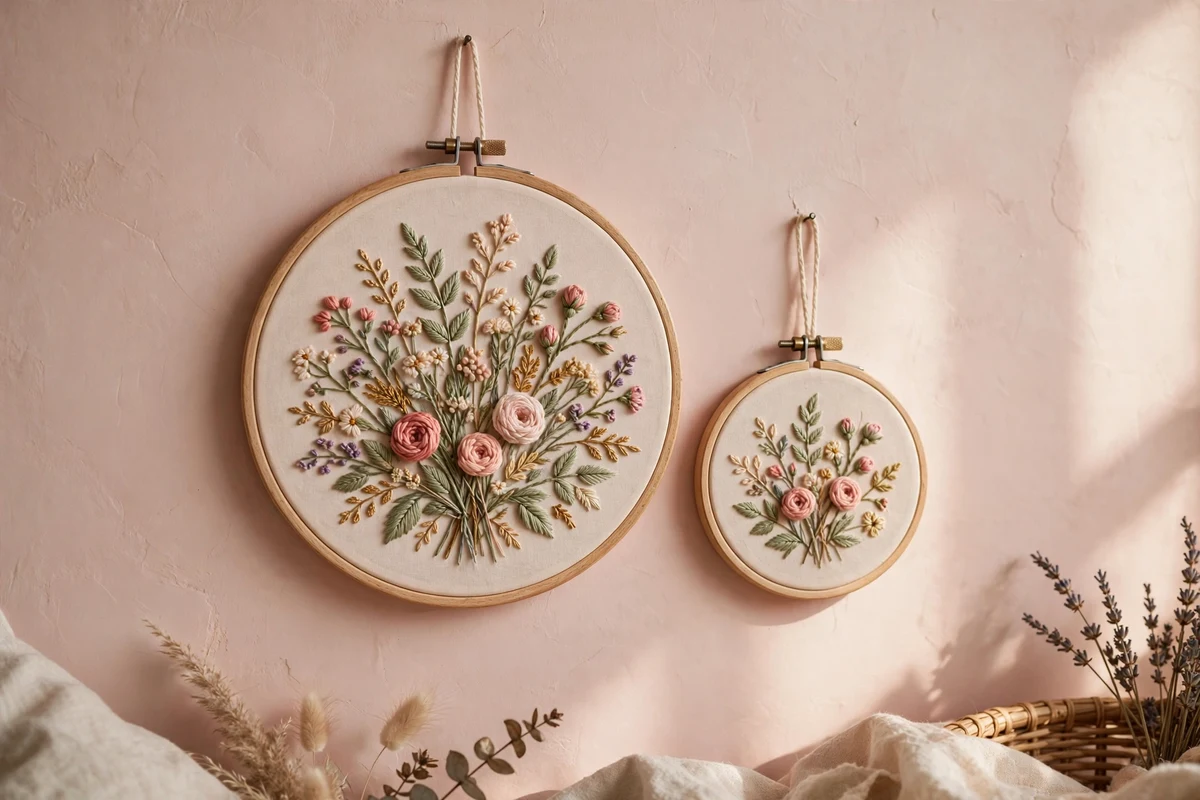
There is a moment every embroiderer remembers: the first time you loosen the screw on your hoop, smooth the fabric flat, and realize you made something beautiful with your own two hands. For me, that moment happened on a rainy afternoon with a cheap wooden hoop, a tangle of dusty rose floss, and a wildflower pattern I had drawn myself. It was far from perfect, but I hung it on my bedroom wall and stared at it for days.
I am Emily Harper, founder of Floss and Fern, and if you are holding your first embroidery hoop right now wondering where to begin, this tutorial is for you. Embroidered hoop art is the single best first project a beginner can tackle. It is small enough to finish in a weekend, forgiving enough that wobbly stitches still look charming, and the hoop itself becomes the frame, so there is no fussy framing step at the end. Let us walk through the whole thing together, from the craft store to your wall.
Why Hoop Art Is the Perfect Beginner Project
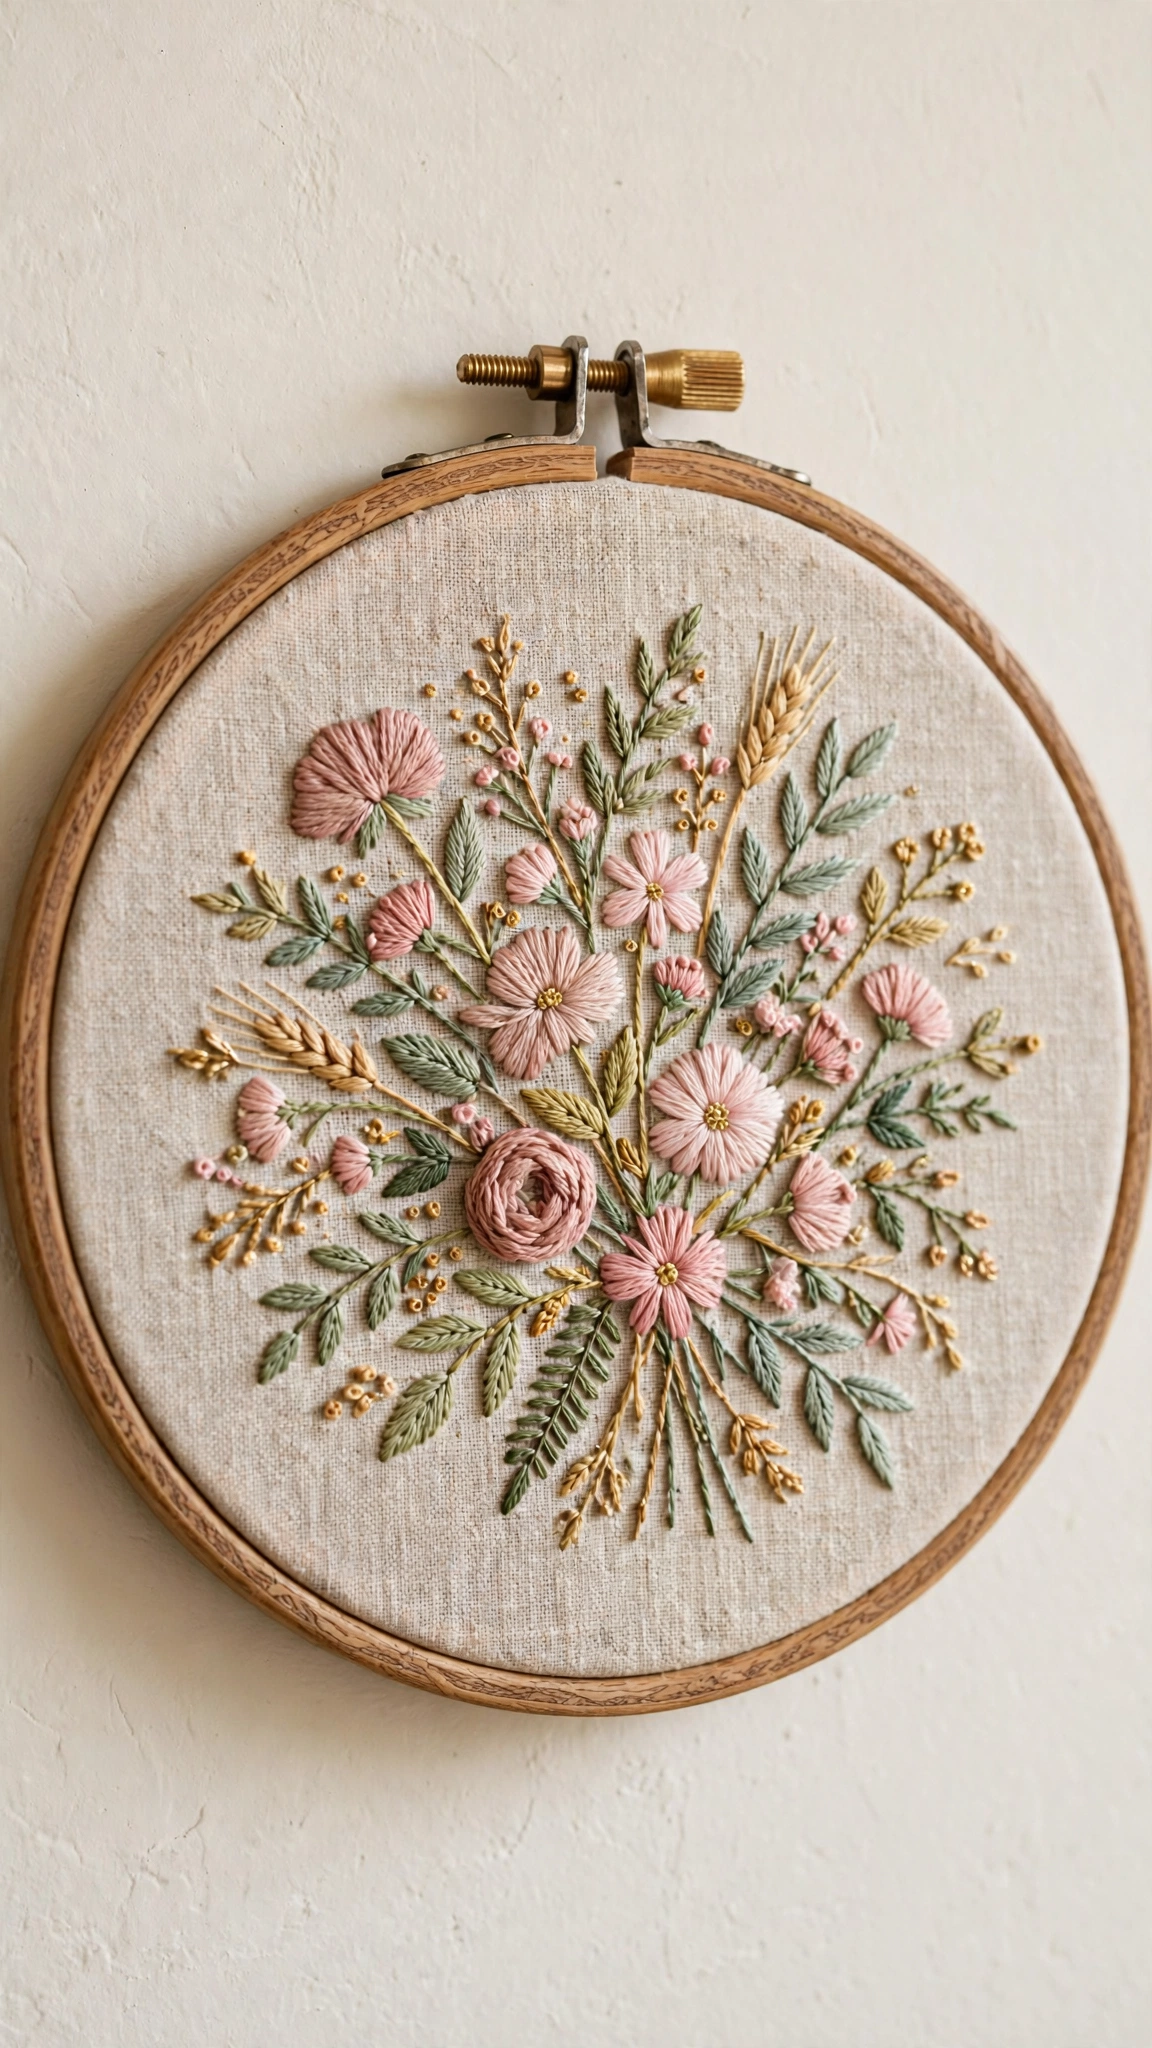
When you are new to hand embroidery, the hardest part is not the stitching. It is finishing. Big projects like tablecloths and quilts can take months, and most beginners lose steam long before the last stitch. A hoop art project flips that completely. You can go from a blank piece of fabric to a finished piece of wall art in one cozy afternoon or a relaxed weekend.
There are a few more reasons I always recommend hoop art first. The hoop keeps your fabric drum-tight, which makes stitching dramatically easier than working on loose fabric. The round frame crops your design into a tidy composition, so even a simple sprig of leaves looks intentional and artful. And because the hoop doubles as the frame, you skip the intimidating finishing steps that other projects demand. If you have not gathered your supplies yet, take a look at my complete beginner guide to hand embroidery first, then come back here ready to stitch.
What You Will Need
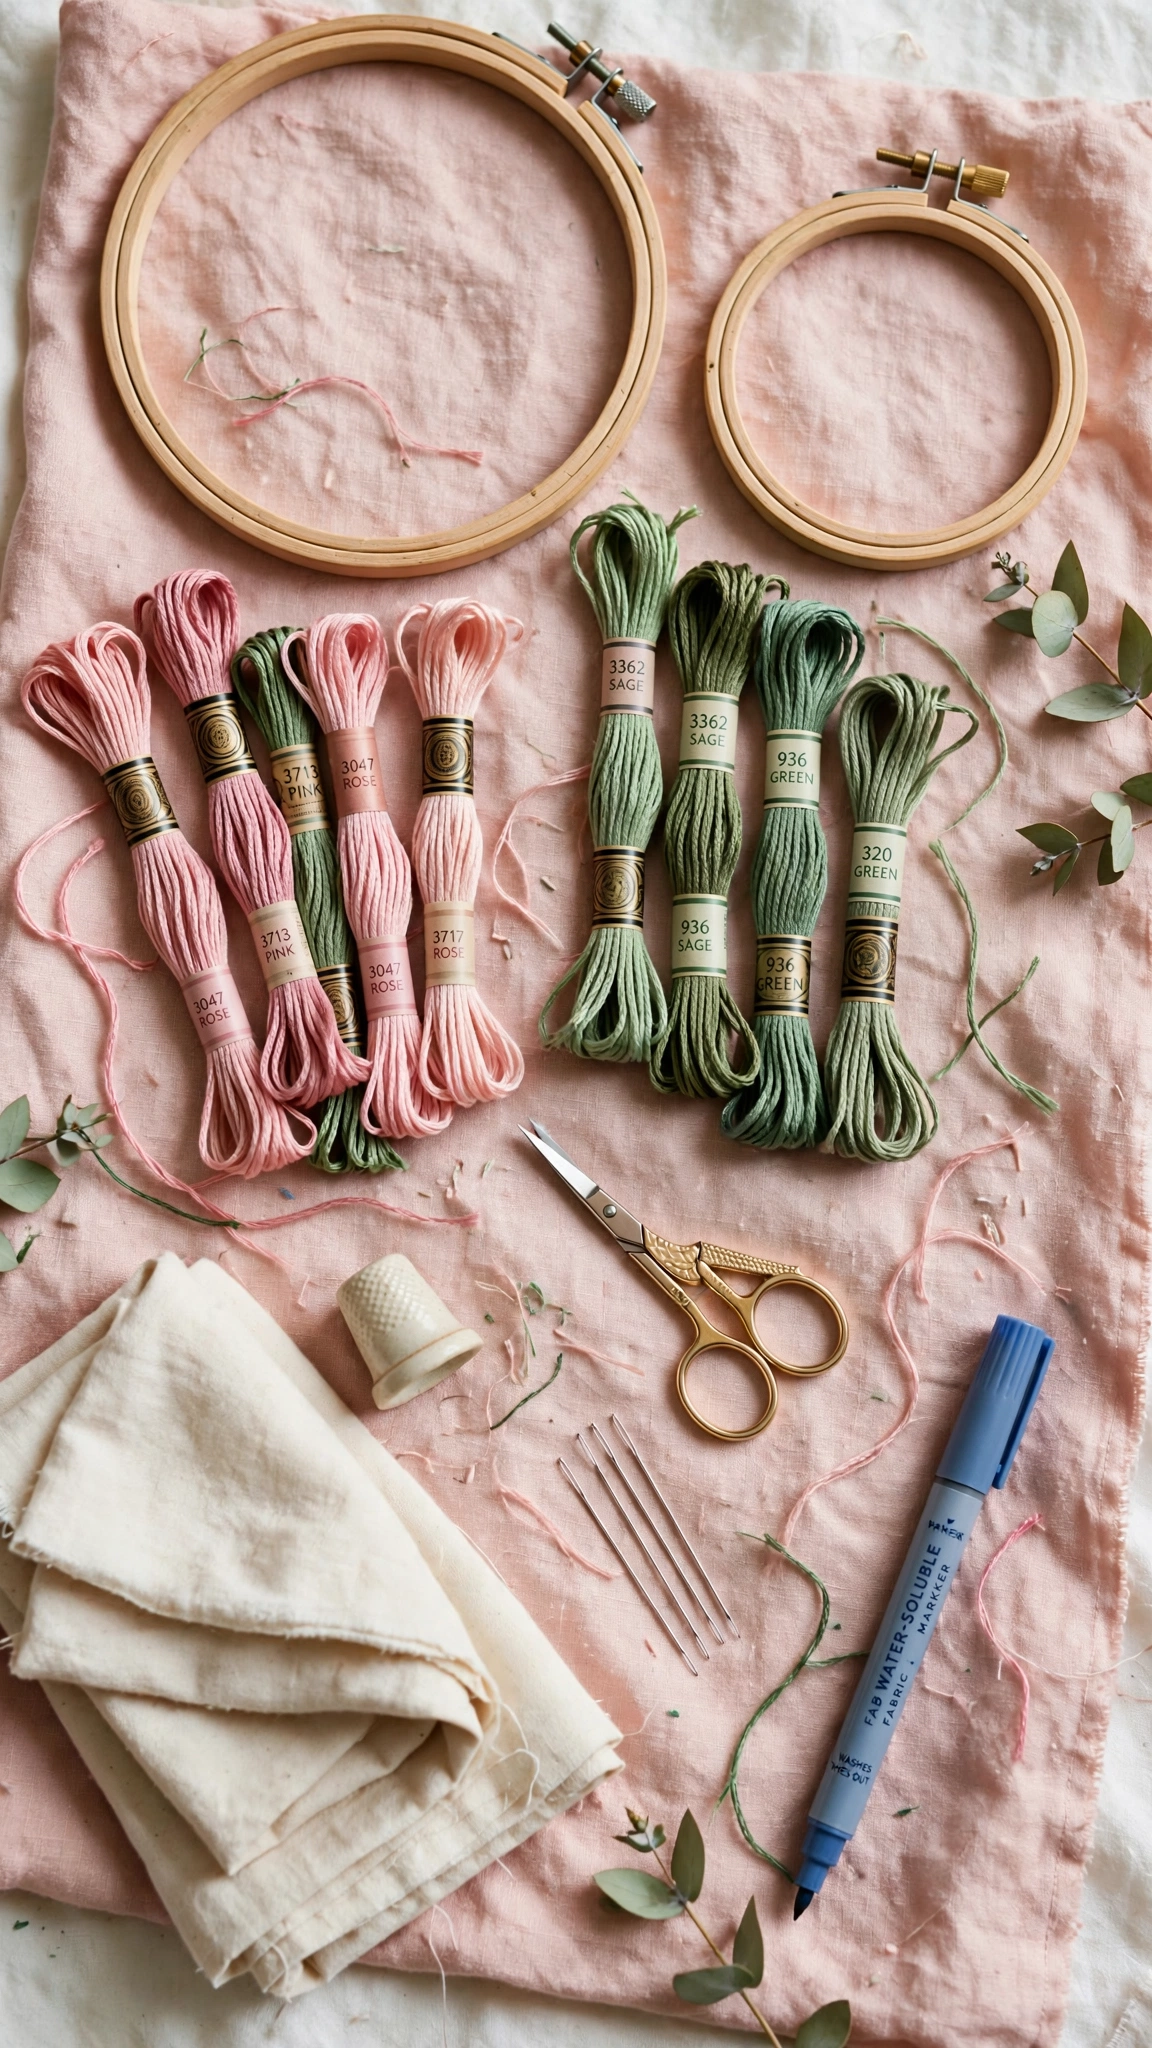
You do not need much, and that is the beauty of it. Here is the full materials list, with my honest notes on what matters and what you can skip:
- A 6-inch wooden embroidery hoop. This is the sweet spot for beginners. Smaller hoops feel cramped, larger ones are harder to keep taut. Bamboo hoops are cheapest; beechwood hoops grip fabric a little better.
- Cotton or linen fabric. A fat quarter (about 18 x 22 inches) gives you plenty for several projects. Look for a medium-weight quilting cotton or linen with a visible weave. Avoid stretchy or very thin fabrics for your first piece.
- Embroidery floss in 3 to 4 colors. DMC cotton floss is the standard and costs very little per skein. For a first floral design I love a palette like dusty rose, sage green, warm gold, and cream. You can browse exact shades on the DMC website if you want to plan your colors.
- An embroidery needle, size 7 or 8. These have a larger eye than regular sewing needles, which makes threading floss much easier. A small pack costs almost nothing.
- Small sharp scissors. Embroidery scissors are lovely, but any small sharp pair works.
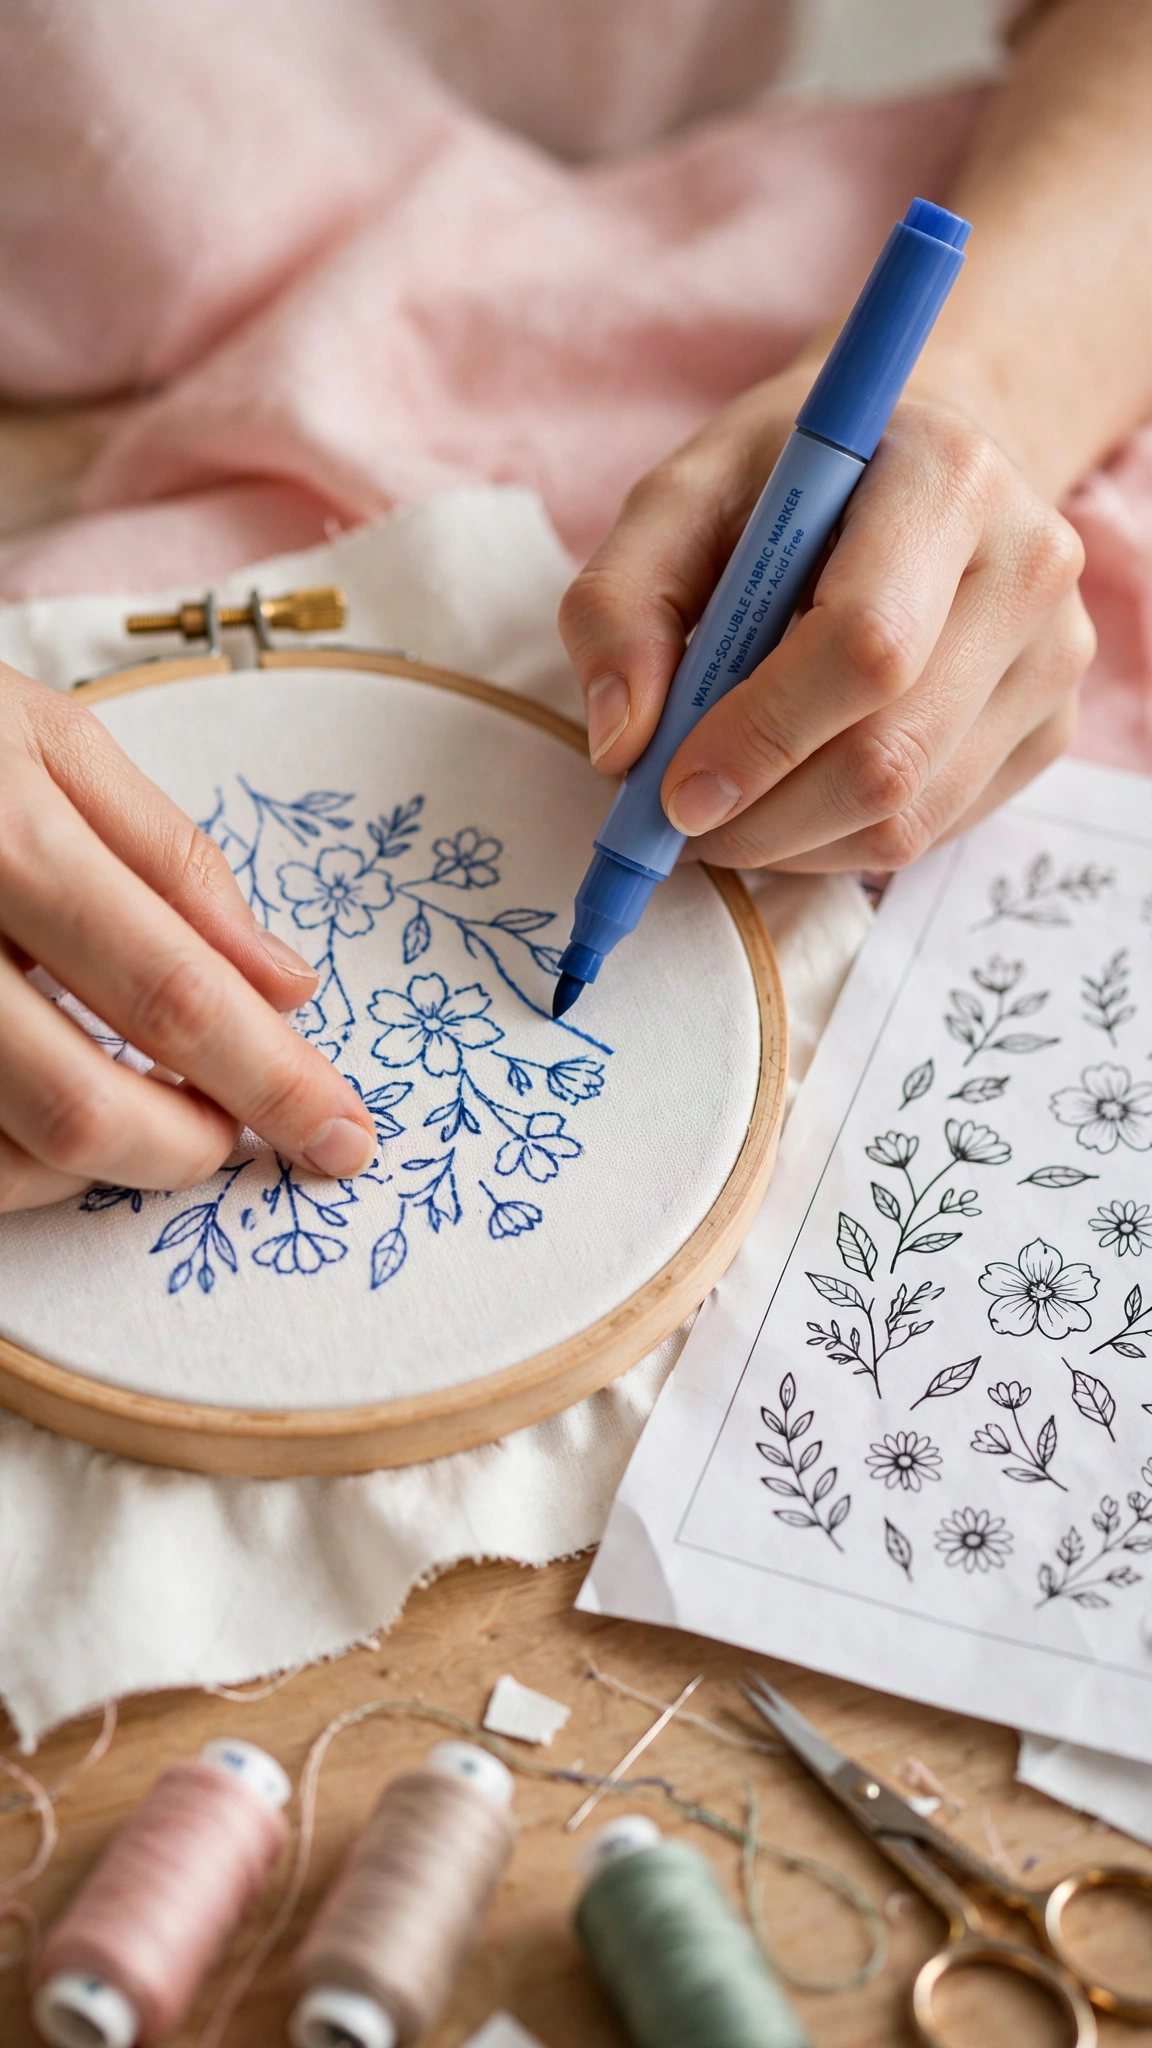
- A water-soluble fabric marker or a soft pencil. You will use this to trace your pattern onto the fabric. The marks wash out with a dab of water when you are done.
- A printed pattern. I will share my favorite beginner pattern ideas in the next section, and you can draw your own with nothing fancier than a pencil and a round object to trace.
- A piece of felt for backing. About an 8-inch square of craft felt in a color that complements your design. This gives your finished hoop a clean, professional back.
- Optional: ribbon or twine for hanging. A simple loop tied through the hoop screw is all you need.
Choosing Your First Pattern
Here is my golden rule for a first pattern: pick something with bold, simple shapes and no tiny details. Intricate designs are tempting, but they demand control you have not built yet. These ideas all stitch up beautifully with just two or three basic stitches:
- A wildflower sprig. A single stem with a few leaves and a simple five-petal flower. My personal favorite for beginners because every stitch reads clearly.
- A leafy branch or eucalyptus stem. Almost entirely one stitch repeated, which builds your rhythm fast.
- A moon and stars. Simple curved lines and French knot stars. Dreamy and very forgiving.
- A single word or short quote. Your name, “breathe,” or “home sweet home” in backstitch. Lettering looks impressive with minimal stitching.
- Geometric shapes. Overlapping circles, triangles, or a rainbow arc. Modern, quick, and great for practicing even stitches.
You can find free beginner patterns from many wonderful designers online. One I often recommend to new stitchers is the beginners embroidery hoop tutorial on Cut Out and Keep, which walks through a simple design with very patient instructions. Or draw your own: trace a 5-inch circle (a small plate works perfectly), sketch your design inside it with pencil, and you have a custom pattern.
Preparing Your Hoop and Fabric
Good prep makes everything that follows easier, so do not rush this part. Cut your fabric about 2 inches larger than your hoop all around. For a 6-inch hoop, that means roughly a 10-inch square. Loosen the screw at the top of the hoop and separate the inner and outer rings.
Lay the outer ring flat, place your fabric over it with your traced design centered, then press the inner ring down inside. Pull the fabric gently at the edges, going around in a circle, until it is smooth and drum-tight, like the skin of a tambourine. Then tighten the screw. Give the fabric a light tap. It should sound taut, not floppy. If you see wrinkles, loosen and re-tighten. Getting this right is the single best defense against puckering later. If puckering does happen, my guide to fixing puckered embroidery fabric will help you rescue the piece.
The Only Three Stitches You Need
You can stitch an entire beautiful hoop with just three stitches. Truly. Here they are:
1. Backstitch (for outlines)
The backstitch is the workhorse of embroidery. It makes a clean, continuous line that is perfect for stems, outlines, and lettering. If you learn one stitch today, make it this one. I have a full photo walkthrough in my backstitch beginner guide, but the short version is: bring the needle up, go back down one stitch-length behind, come up one stitch-length ahead, and repeat. Keep your stitch length short, about the width of a grain of rice, for the smoothest lines.
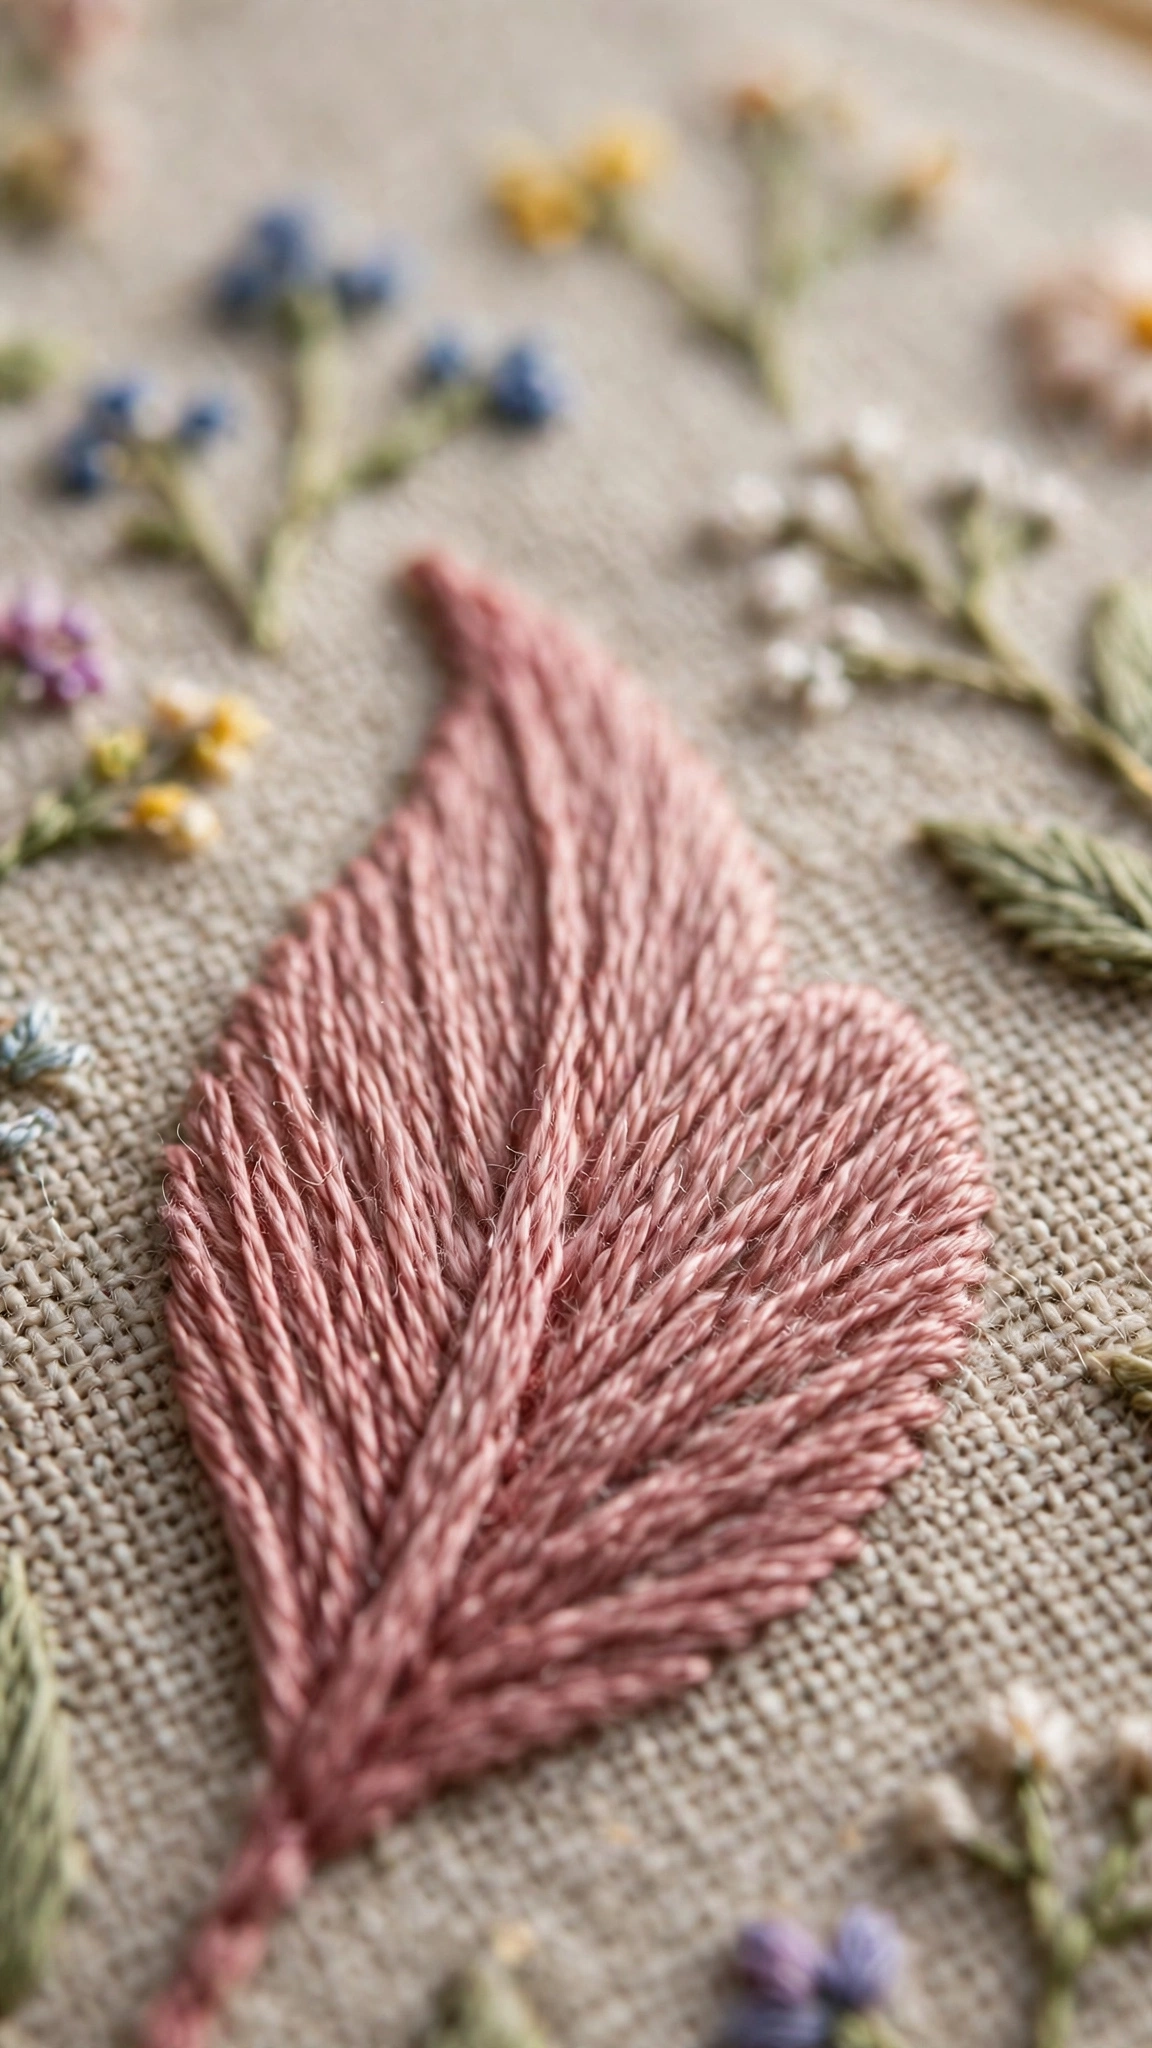
2. Satin stitch (for filling shapes)
Satin stitch fills an area with smooth, parallel threads that sit side by side like satin ribbon. It is ideal for petals and leaves. The trick is to keep your stitches close together with no fabric peeking through, and to keep your tension even. Start at the widest part of the shape and work outward.
3. French knot (for texture and details)
French knots are those adorable little raised dots you see in the center of flowers and scattered like berries. They look fancy but take about thirty seconds to learn. Wrap the floss around your needle twice, push the needle back down very close to where it came up, and hold the wraps snug as you pull through. My step-by-step French knot tutorial has close-up photos of every wrap if you want to practice first.
Step-by-Step: Stitching Your Hoop Art
Now the fun part. Put on something cozy, pour yourself a cup of tea, and let us stitch. I recommend using 2 strands of floss for outlines and 3 strands for filled areas, which gives a nice balance of delicacy and coverage.
Step 1: Thread your needle. Cut a length of floss about 18 inches long, roughly from your fingertips to your elbow. Longer thread tangles and wears thin. Split the 6-strand floss down to the number of strands you want, thread your needle, and tie a small knot at the end.
Step 2: Stitch your outlines first. Using backstitch, outline the main shapes of your design: stems, flower outlines, the moon curve, whatever your pattern calls for. Outlines give the piece its structure, like a coloring book page waiting for color.
Step 3: Fill the larger shapes. Switch to satin stitch for petals and leaves. Work slowly and keep your stitches parallel. If a shape is wide, you can split it down the middle and stitch each half toward the center line for neater coverage.
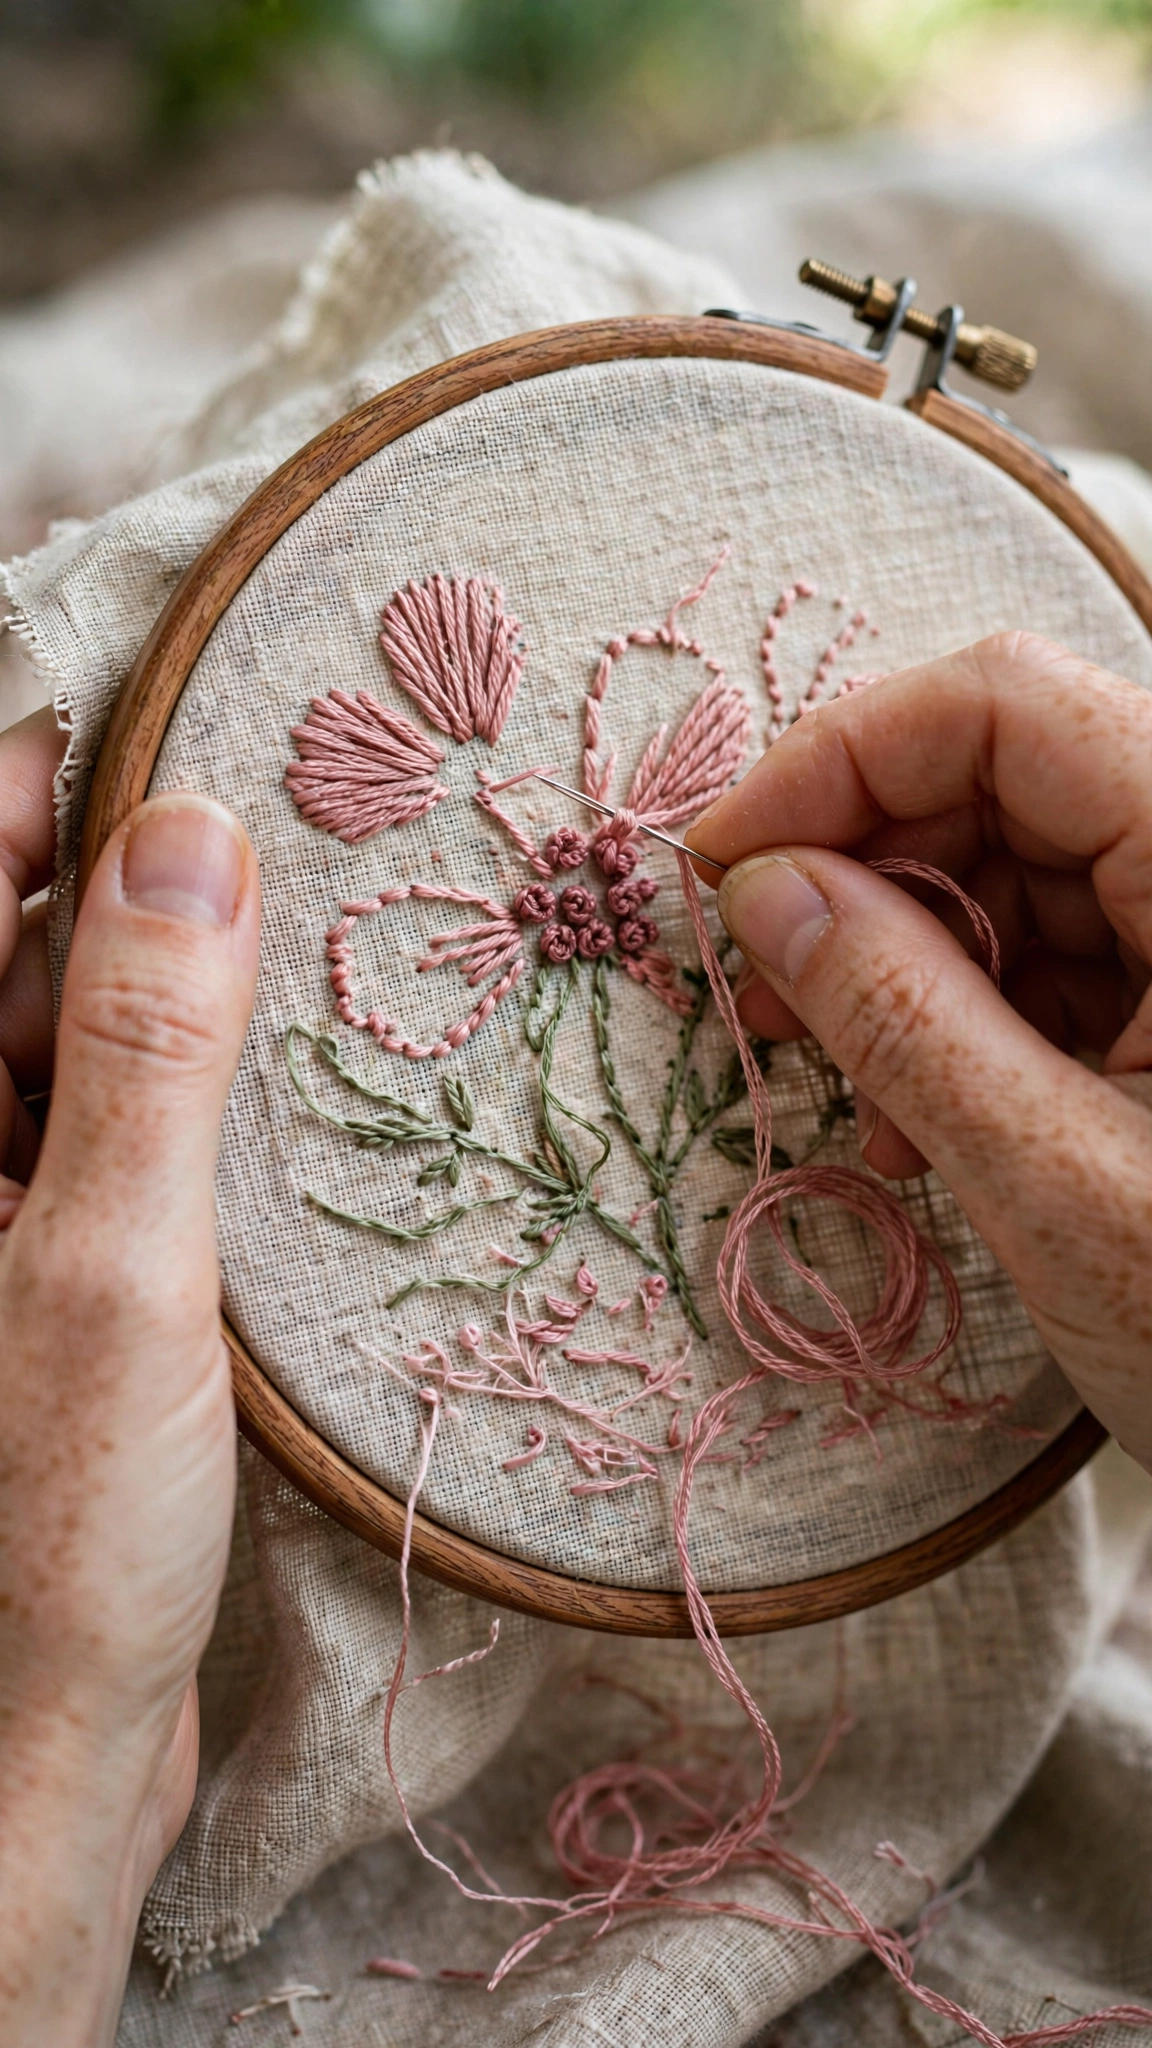
Step 4: Add texture with French knots. Scatter French knots as flower centers, berries, or stars. This is the step where the piece suddenly comes alive, so enjoy it.
Step 5: Step back and check. Hold the hoop at arm’s length. Are there gaps in your satin stitch? Any outlines that wandered? Small fixes now are easy. Remember, handmade charm is the goal, not machine perfection. Slight wobbles are what make it yours.
Step 6: Remove the pattern lines. Dab the water-soluble marker lines with a damp cloth or cotton swab and watch them disappear. Let the fabric dry completely before finishing the back.
Finishing the Back (Do Not Skip This)
Here is the difference between a project that looks handmade in the best way and one that looks unfinished: a tidy back. It takes ten minutes and it is worth every second, especially if you plan to gift your hoop or hang it where the back might show.
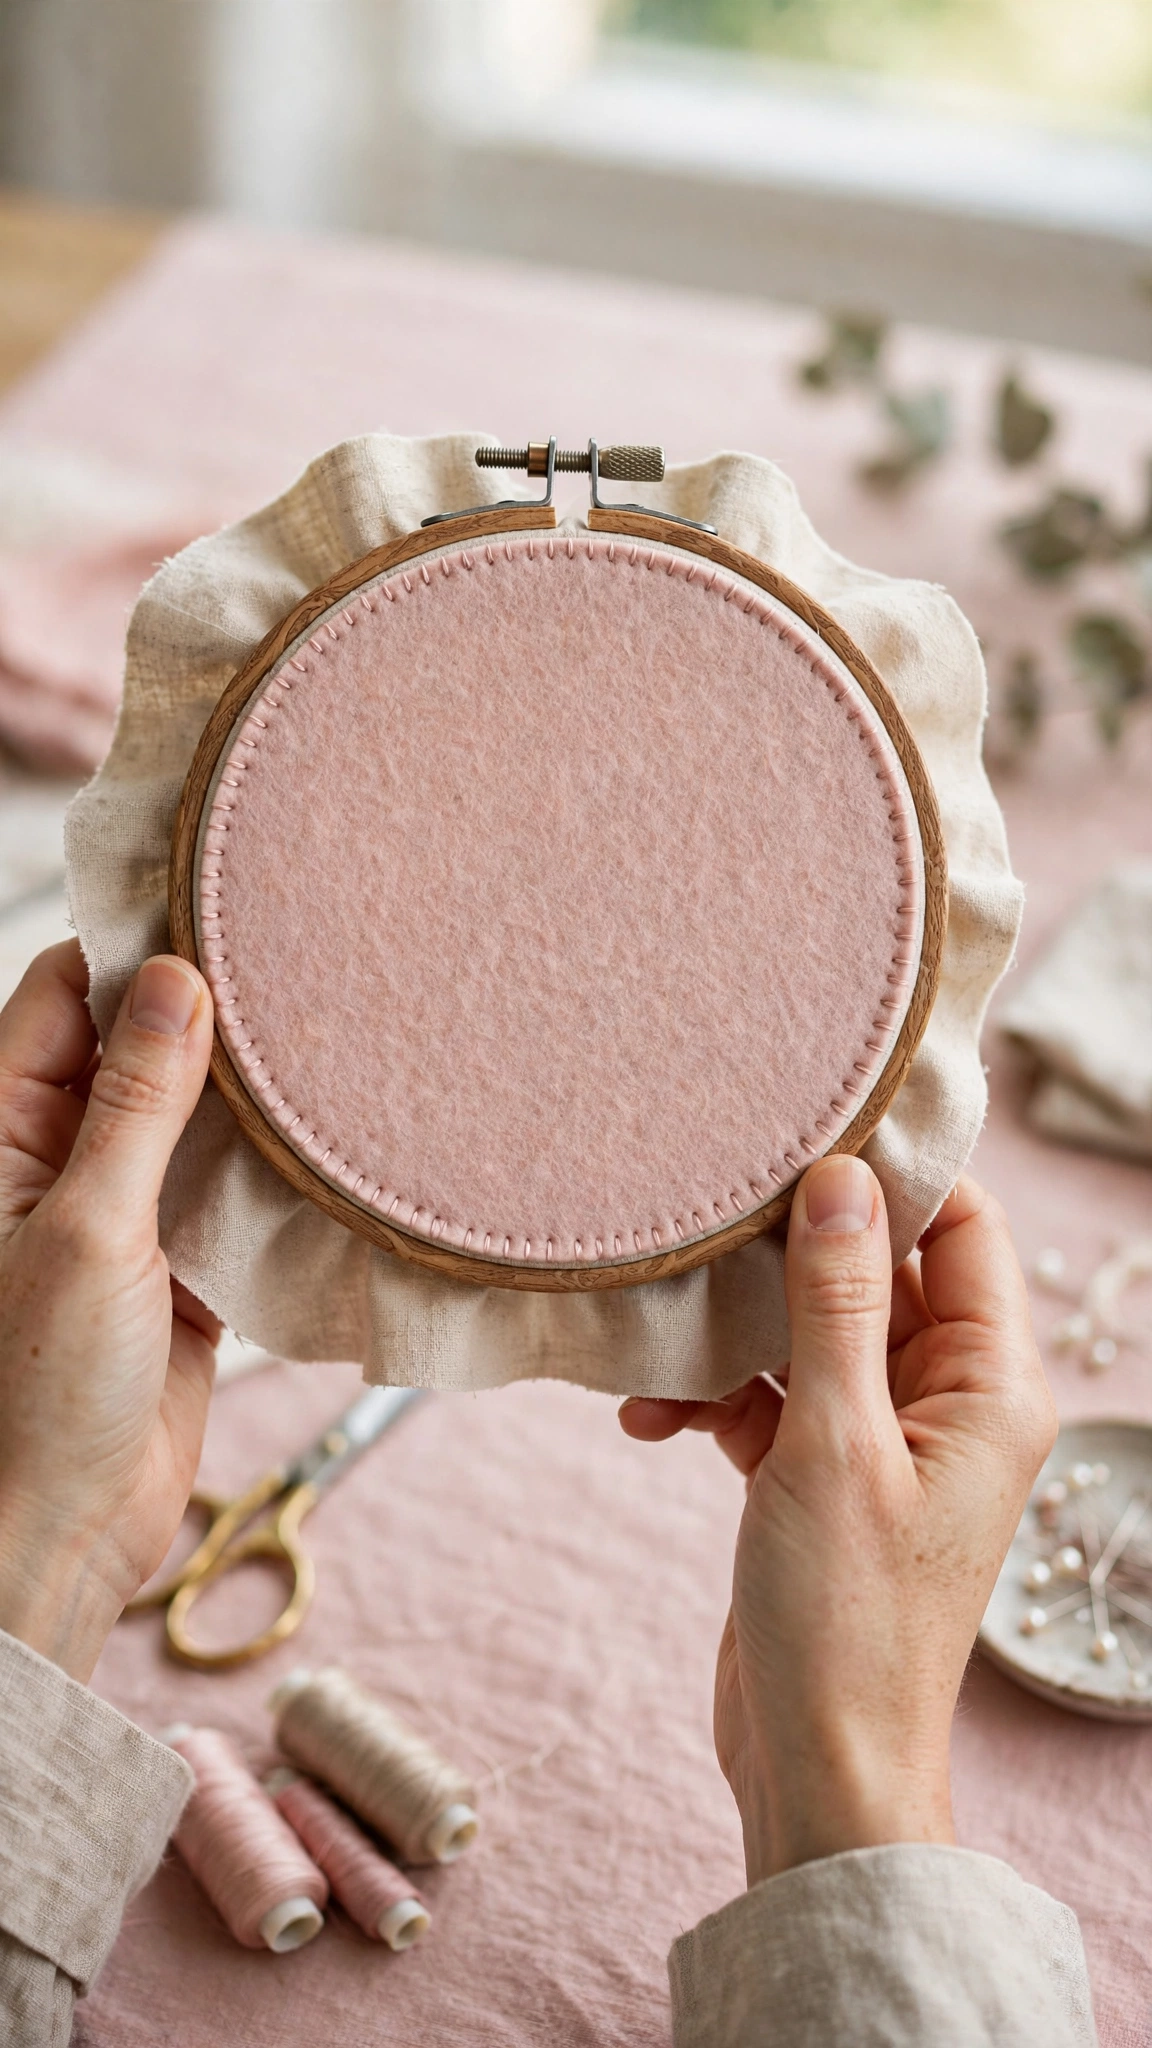
Remove the fabric from the hoop and trim the excess to about 1 inch all around. Thread a regular sewing needle with sewing thread and run a simple gathering stitch (a loose running stitch) around the edge of the fabric, about half an inch from the cut edge. Pull the thread gently to gather the fabric toward the center, like a little drawstring pouch, and knot it off.
Now trace the inner ring of your hoop onto your felt and cut out the circle. Place it over the gathered back and secure it with a few small stitches or a thin line of fabric glue around the edge. Pop the fabric back into the hoop, tighten, and trim any felt peeking out. That is it. A clean, professional back that you will be proud to show off.
Hanging and Displaying Your Hoop Art
Your hoop is done, so let us give it the display it deserves. The simplest option is a loop of ribbon or twine tied through the metal screw at the top of the hoop. Choose a ribbon that matches your palette for a polished look.
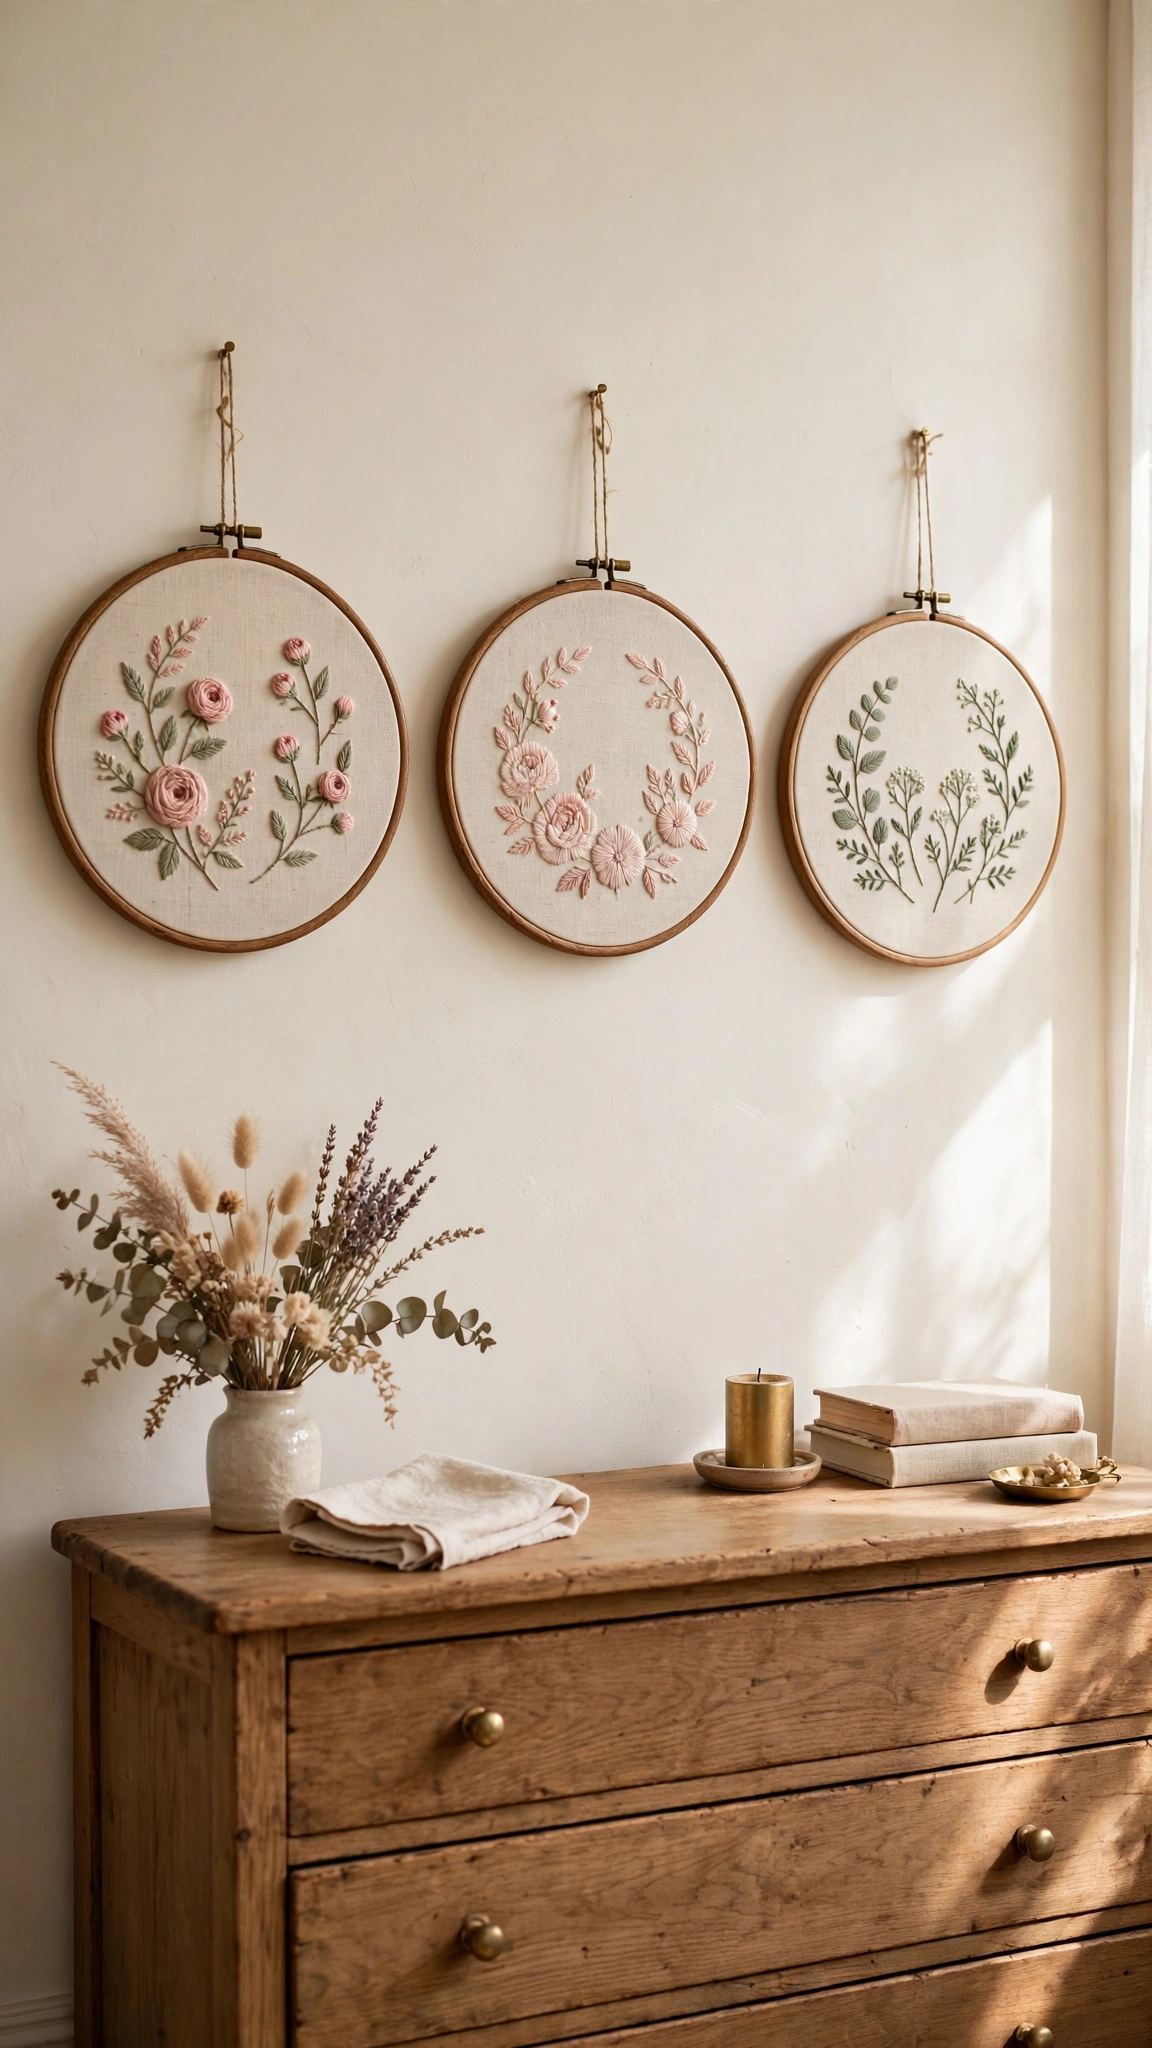
If you catch the hoop art bug (and you will), try grouping three hoops of different sizes together on one wall. Odd numbers look best, and mixing a 4-inch, 6-inch, and 8-inch hoop creates a lovely gallery effect. Small adhesive wall hooks hold hoops perfectly and leave no marks, which makes them ideal for renters.
Hoops also look wonderful propped on a bookshelf, hung from a doorknob with a long ribbon, or grouped with framed prints. I have a little cluster above my sewing table that makes me smile every single day.
Common Beginner Mistakes to Avoid
Every beginner makes these, including me. Knowing them in advance saves you the learning curve:
- Pulling stitches too tight. This puckers the fabric and distorts your design. Your stitches should lie flat and relaxed on the fabric, not yank it.
- Using all 6 strands of floss. Six strands are thick and hard to control. Two or three strands give you much neater results.
- Cutting thread too long. Long thread tangles, knots, and frays. Stick to 18 inches or less.
- Skipping the hoop tightening. Loose fabric in the hoop leads to uneven stitches and puckering. Re-tighten as you go if it loosens.
- Comparing your first piece to a professional’s fiftieth. The stitchers you admire on Pinterest were beginners once too. Your first hoop is supposed to look like a first hoop, and that is exactly what makes it precious.
Embroidered Hoop Art: You Did It, Stitcher
Take a good look at your finished hoop. You chose the fabric, transferred the pattern, learned real stitches, and finished it like a pro. That is no small thing. Hang it somewhere you will see it every day, because it is proof that you can learn anything you set your mind to, one stitch at a time.
When you are ready for your next project, try a new color palette on the same pattern and watch how different it feels, or explore more easy embroidery ideas for beginners to keep the momentum going. And if you stitch this tutorial, I would genuinely love to see it. There is nothing that makes my day like seeing a first finished hoop. Happy stitching, friend.

5 thoughts on “DIY Embroidered Hoop Art: Beginner Tutorial | Floss & Fern”