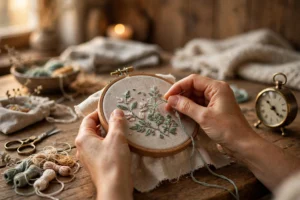
The first time I walked into a proper embroidery shop, I stood in front of the floss wall for eleven minutes. I know it was eleven because my sister texted me twice to ask if I was still alive. The wall held maybe five hundred paper-wrapped skeins, each stamped with a number I didn’t understand, and all I needed was the purple for a lavender sprig. My pattern said “DMC 209.” I bought DMC 209, DMC 210, and three more purples just in case, went home, cut a generous length, threaded the entire bundle through my needle, and stitched my lavender stems with all six strands at once. They came out looking like licorice whips. Those licorice lavender stems are the whole reason I can now talk about embroidery floss strands for an hour without getting bored.
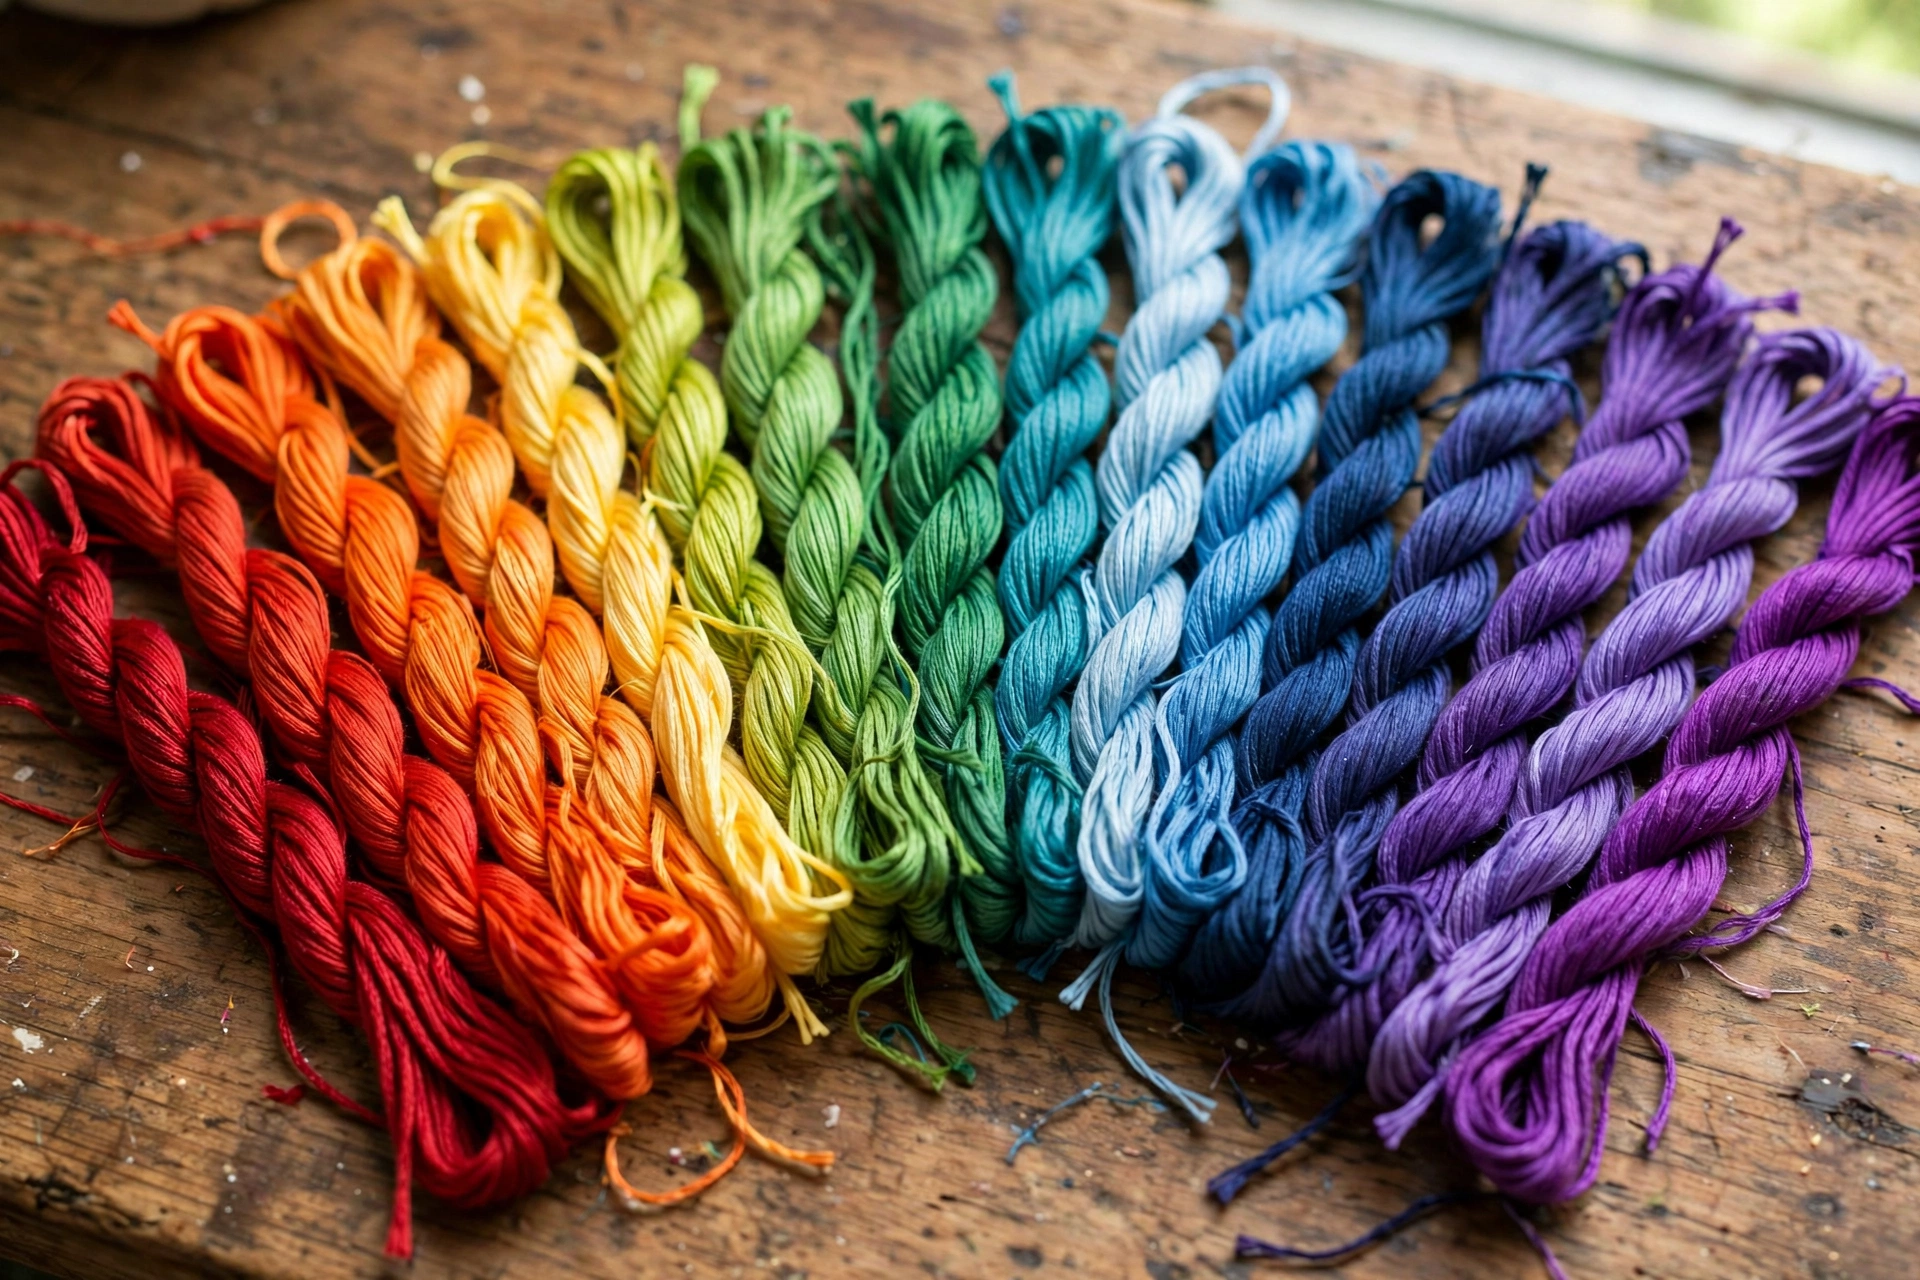
Here is the single fact that unlocks everything: a standard skein of embroidery floss is not one thread. It is six thin threads, called strands, twisted loosely together into one bundle. Every skein of DMC or Anchor you buy contains those six divisible strands, about 8.7 yards of them, and nearly every beginner mistake with floss comes from not knowing you are supposed to pull them apart.
Embroidery floss strands, decoded
Stranded cotton floss is the default thread of hand embroidery, and it has been for over a century. The six strands are held together with just enough twist to behave as one unit in the skein, but the whole point of the design is that you separate them and recombine only as many as your stitch needs. One strand gives you a line fine enough for lettering on linen. Six strands give you a rope. Most of the stitching you’ll do in your first year lives at two or three.
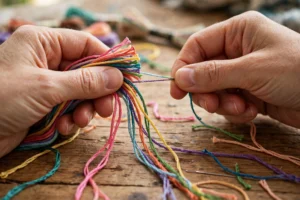
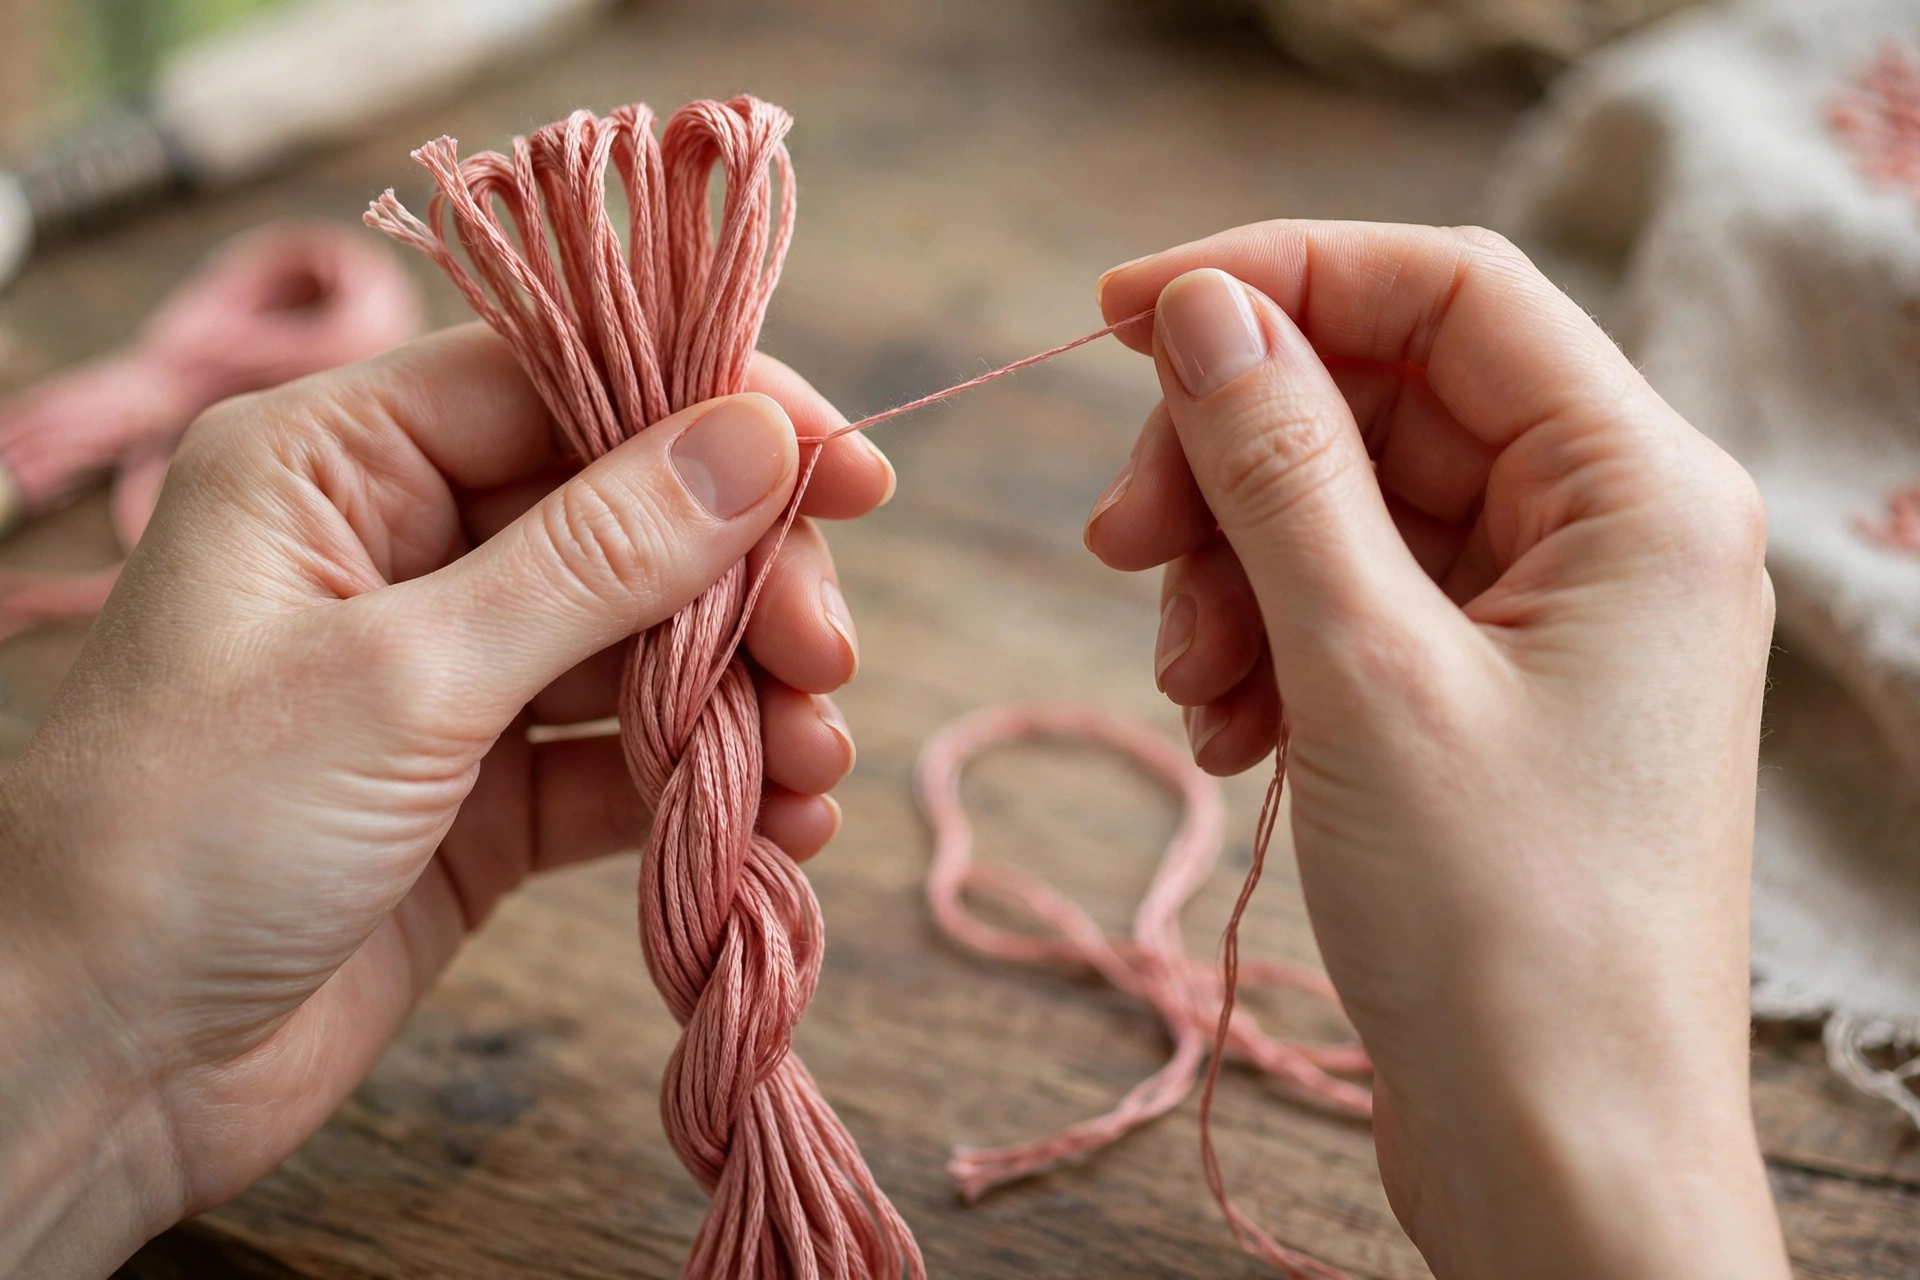
Separating strands is a small physical skill and it feels wrong the first three times. Cut a working length of about 18 inches, no longer. Hold the bundle near one end, pinch a single strand between your fingernails, and pull it slowly upward while the other five scrunch down like an accordion. You’ll hear a faint squeak as it slides free. That squeak is the sound of doing it right. If you need three strands, strip three out one at a time and lay them together again. Don’t try to peel off three at once. They will argue with you, tangle, and win.
Why does any of this matter? Because strand count controls three things at once: how bold your line looks, how much your fabric puckers, and whether your needle cooperates. A thick bundle dragged through quilting cotton with a too-small needle will chew the fabric, leave visible holes, and twist into knots every six inches. When your thread keeps tangling, the culprit is usually too many strands, too long a cut, or both. I wrote a whole guide on how to stop thread tangling after spending one memorable evening unpicking a knot the size of a walnut from the back of a tea towel.
How many strands should you actually use?
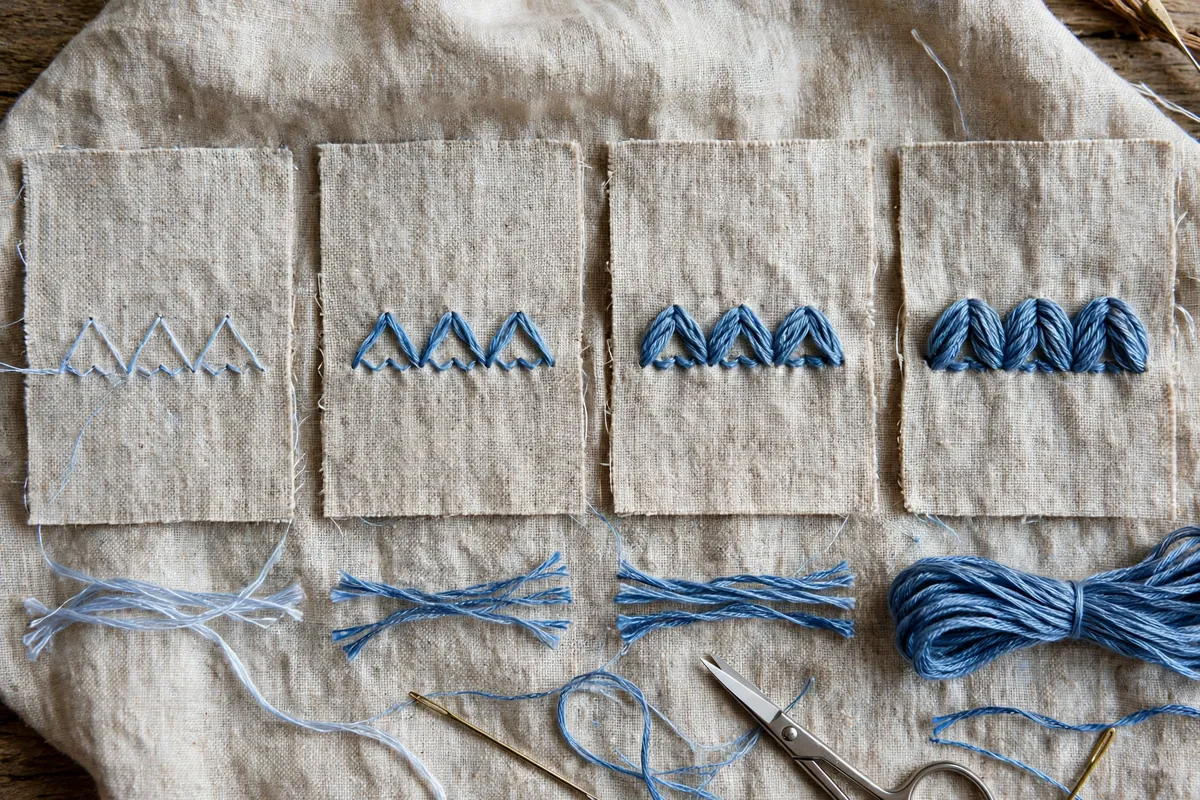
Patterns sometimes tell you and sometimes assume you were born knowing. Here is the chart I wish someone had taped to my hoop:
1 strand: Fine detail work. Lettering under half an inch tall, delicate French knots on linen, outlining tiny facial features on dolls. Use your smallest sharp needle and good light.
2 strands: The workhorse. This is my default for backstitch outlines, stems, and most line work on quilting cotton or mid-weight linen. If a pattern doesn’t specify, start here. My backstitch beginner guide uses two strands throughout, and it’s the combination I recommend for your first five projects.
3 strands: Bolder lines and filled areas. Satin stitch with three strands covers ground faster and gives a plush, cushiony fill. Stems get chunky and confident. This is also where puckering starts to threaten on lightweight fabric, so keep your hoop drum-tight.
4 to 6 strands: Statement stitching. Thick outlines on denim or canvas, punch-needle-adjacent texture, filling large areas fast. Six strands on quilting cotton will pucker it like a drawstring bag, so reserve the full bundle for heavy fabrics or deliberate chunk.
The rule of thumb I actually use: thread your needle and pull the floss through a scrap of your fabric. If it glides, you’re fine. If you have to yank, drop a strand or go up a needle size. Forcing thick floss through with a tiny needle is how you get frayed thread, enlarged holes, and snapped strands mid-stem.
DMC vs Anchor: the only brand fight that matters
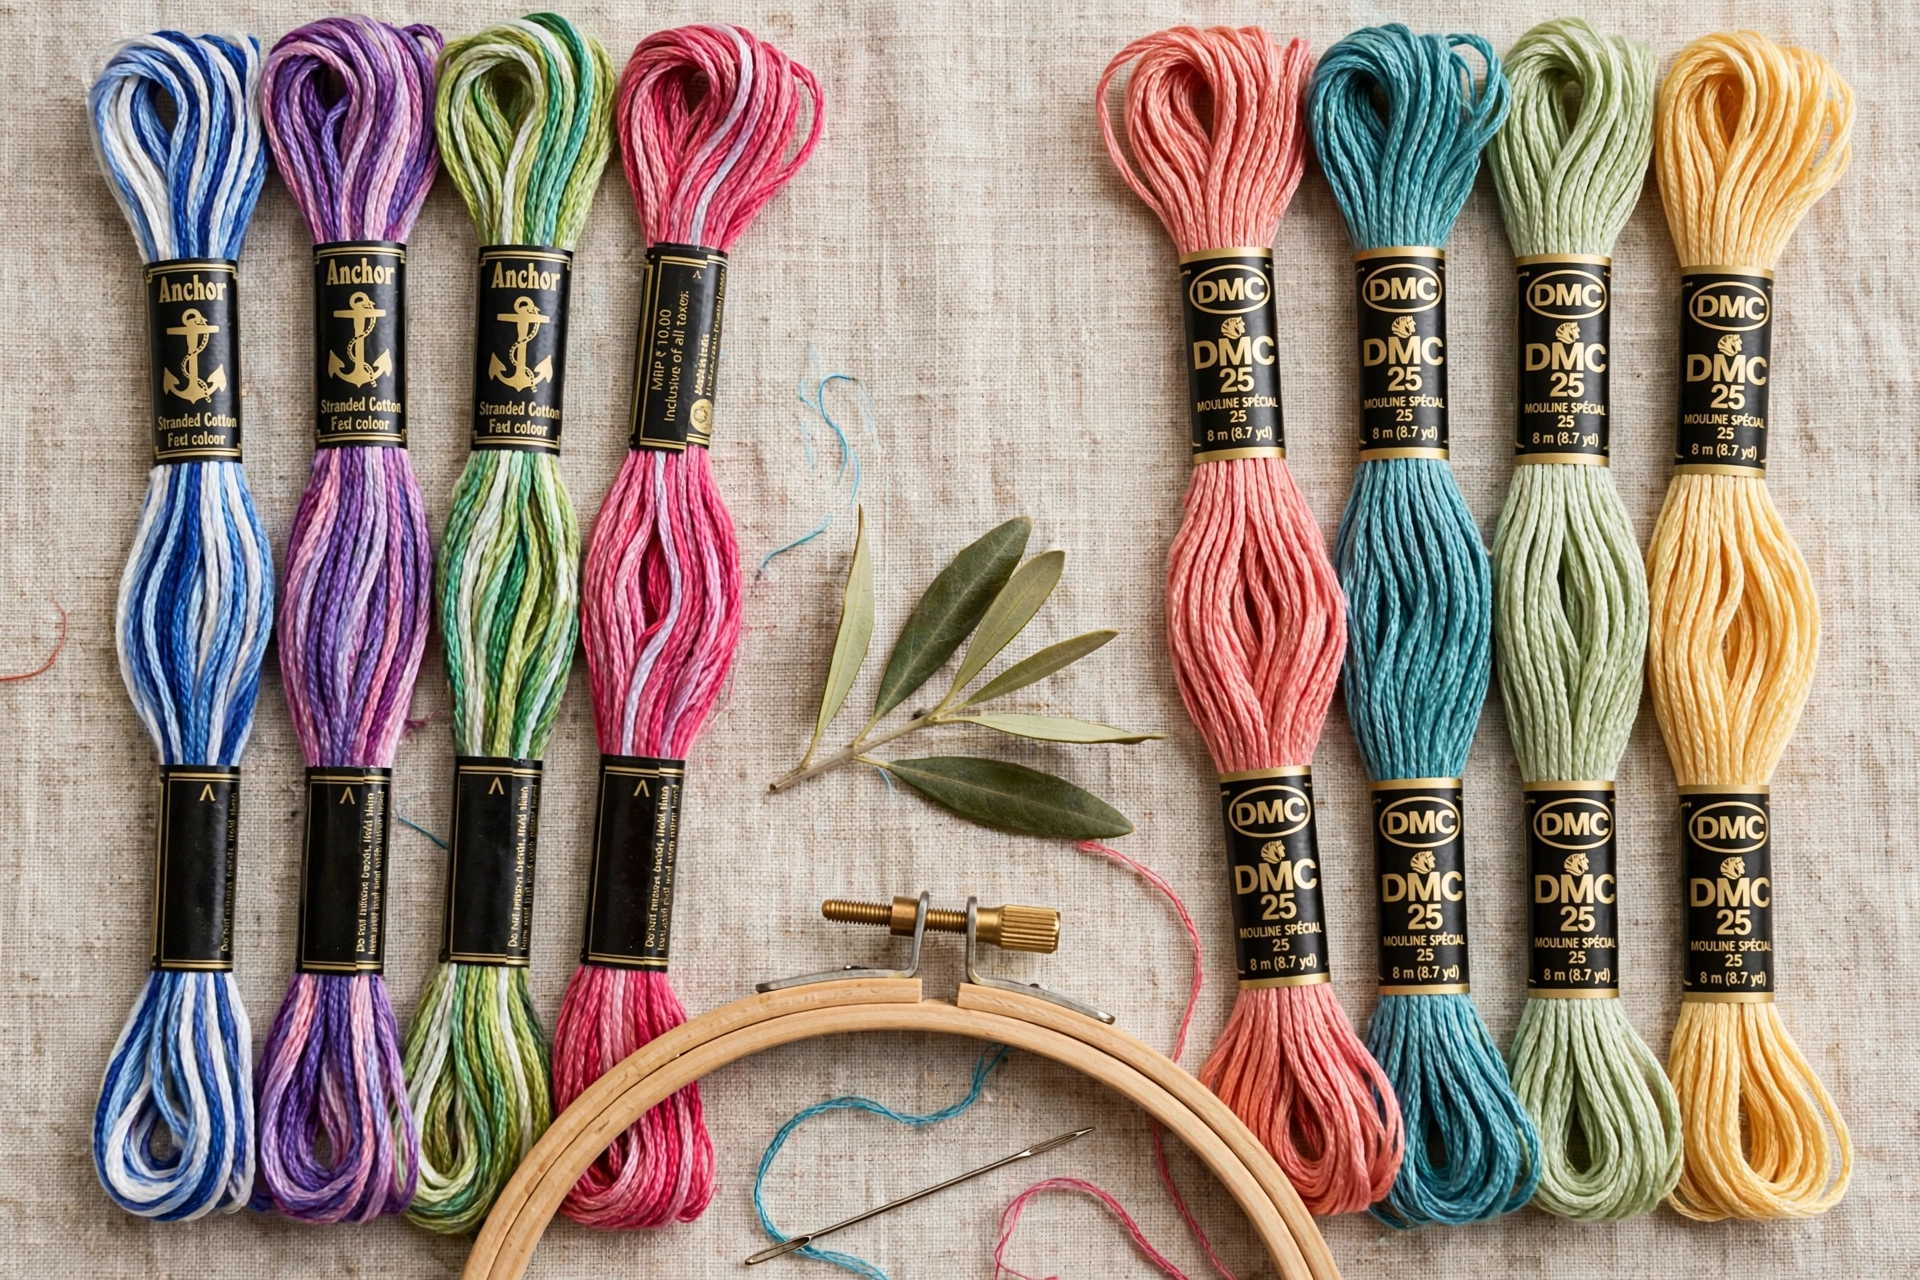
Walk into any craft store on earth and you will find one or both of these brands. DMC, the French company, offers over 500 colors, and a skein costs roughly a dollar at a big-box store, sometimes less on sale. Anchor, the historic English brand, offers around 444 colors at a similar or slightly lower price depending on where you live. Both are mercerized cotton, both are colorfast under normal conditions, and both come as six-strand skeins of 8.7 yards. On paper they are nearly interchangeable. In practice, stitchers develop loyalties the way sports fans do, and I am a DMC loyalist. I’ll own that bias up front.
DMC’s color range is the reason most patterns are written in DMC numbers. When a designer says “stitch the poppy in DMC 321,” that 321 is a specific Christmas red that every DMC-buying stitcher on the planet can reproduce. Anchor has an equivalent, but it’s a near-match, not a twin. If you mix brands inside one motif, you can see the seam where one red ends and the other begins, especially in satin stitch fills where threads lie side by side. So my strong take is this: pick one brand per project and stay loyal for the whole piece. Conversion charts exist online and they’re fine for “I need roughly a sage green,” but I don’t trust them for exact matches, and I’ve never fully converted a chart from one brand to the other. Life is short.
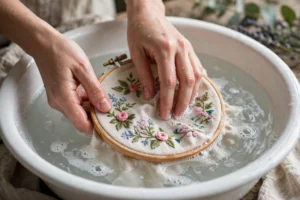
Anchor does have genuine fans and real virtues. Its floss has a slightly softer, more matte finish that some stitchers prefer for vintage-style pieces, and in the UK it’s often cheaper and easier to find than DMC. If you learned on Anchor, there is no reason to switch. The worst floss choice isn’t DMC or Anchor. It’s the no-name “embroidery thread” multipack from a discount marketplace, the kind with 100 rainbow skeins for nine dollars. That thread breaks, sheds dye in the wash, and tangles if you look at it. I keep one such pack in a drawer as a cautionary tale, and the reds in it bled so badly they stained the drawer liner. If you ever want to test my washing advice the dramatic way, here’s how I wash finished embroidery without ruining it.
Color numbers are a language. Learn twelve words of it.
Those numbers on the paper bands look like serial codes, but they’re organized in color families, and learning a few landmarks saves you from standing at the floss wall for eleven minutes. DMC 310 is black. DMC B5200 is snow white. DMC 321 is the classic Christmas red. Once you know those three, you’re oriented, because every pattern on earth uses them.
A few more landmarks worth memorizing: DMC 209 and 210 are light lavenders, 602 is a soft pink, 741 is a warm tangerine, 798 and 799 are delft blues, 3012 is a sage green, 3345 is a deep hunter green, 3822 is a pale straw yellow, and 938 is a dark coffee brown. You don’t need all of these on day one. But notice how the families cluster: the 200s hold lavenders and purples, the 700s hold yellows and oranges, the 3000s hold greens. It’s not perfectly consistent, but it’s consistent enough to navigate by.
Two practical rules about color numbers. First, always buy by number, never by memory. “That dusty pink” has six cousins and you will grab the wrong one under store lighting. Write the number down, photograph the band, tattoo it on your hand, whatever works. Second, keep the paper band until the skein is gone. Once a naked skein loses its band it becomes a mystery, and mystery skeins breed in drawers. I pencil the number onto my storage bobbins the moment I wind a new skein, because I have been burned by the mystery drawer and I refuse to go back.
Beyond the solids, both brands sell variegated floss that shifts color along the length; DMC calls theirs Color Variations and Coloris. Gorgeous for petals, not required for beginners. There’s also perle cotton, a twisted, non-divisible thread sold by weight number: No. 8 is roughly two strands of floss, No. 5 roughly three to four. If you hate separating strands, perle cotton No. 8 is your thread. And then there’s metallic floss, which tangles, frays, and looks like tinsel had a bad day. Buy it when you’re experienced and feeling brave.
What to buy, and what to leave on the shelf
If you’re starting from zero, here is my honest starter list, about fifteen dollars at a craft store: DMC 310 (black), DMC B5200 (white), DMC 321 (red), DMC 209 or 210 (lavender), DMC 602 (pink), DMC 741 (tangerine), DMC 3822 (pale yellow), DMC 3012 (sage), DMC 3345 (dark green), DMC 798 or 799 (blue), DMC 938 (brown), and one variegated skein in a colorway you love just for fun. That dozen covers flowers, leaves, lettering, and outlines for your first several projects. Add colors per pattern after that, two or three skeins at a time. My beginner tools checklist covers the rest of the kit, needles, hoops, and fabric, so I won’t repeat it here.
What to skip: the giant 100-color assortment box. It looks like incredible value until you realize you’ll use twelve colors and the other eighty-eight will live in a box until your heirs donate them. Skip metallic floss for now. Skip the bargain multipacks with no brand name. And skip buying “just in case” duplicates of colors you already own, which is how I ended up with four skeins of DMC 310 and a drawer that judges me.
One more honest admission about my limits: I stitch almost exclusively with plain DMC stranded cotton. I don’t do much with silk floss, which is glorious and costs roughly four times as much per skein, and my experience with hand-dyed indie floss is limited to admiring other people’s stashes on the internet. If your heart belongs to silk, find a silk stitcher to guide you. I’ll be over here with my dollar skeins, perfectly happy.
Storing floss so you can find it again
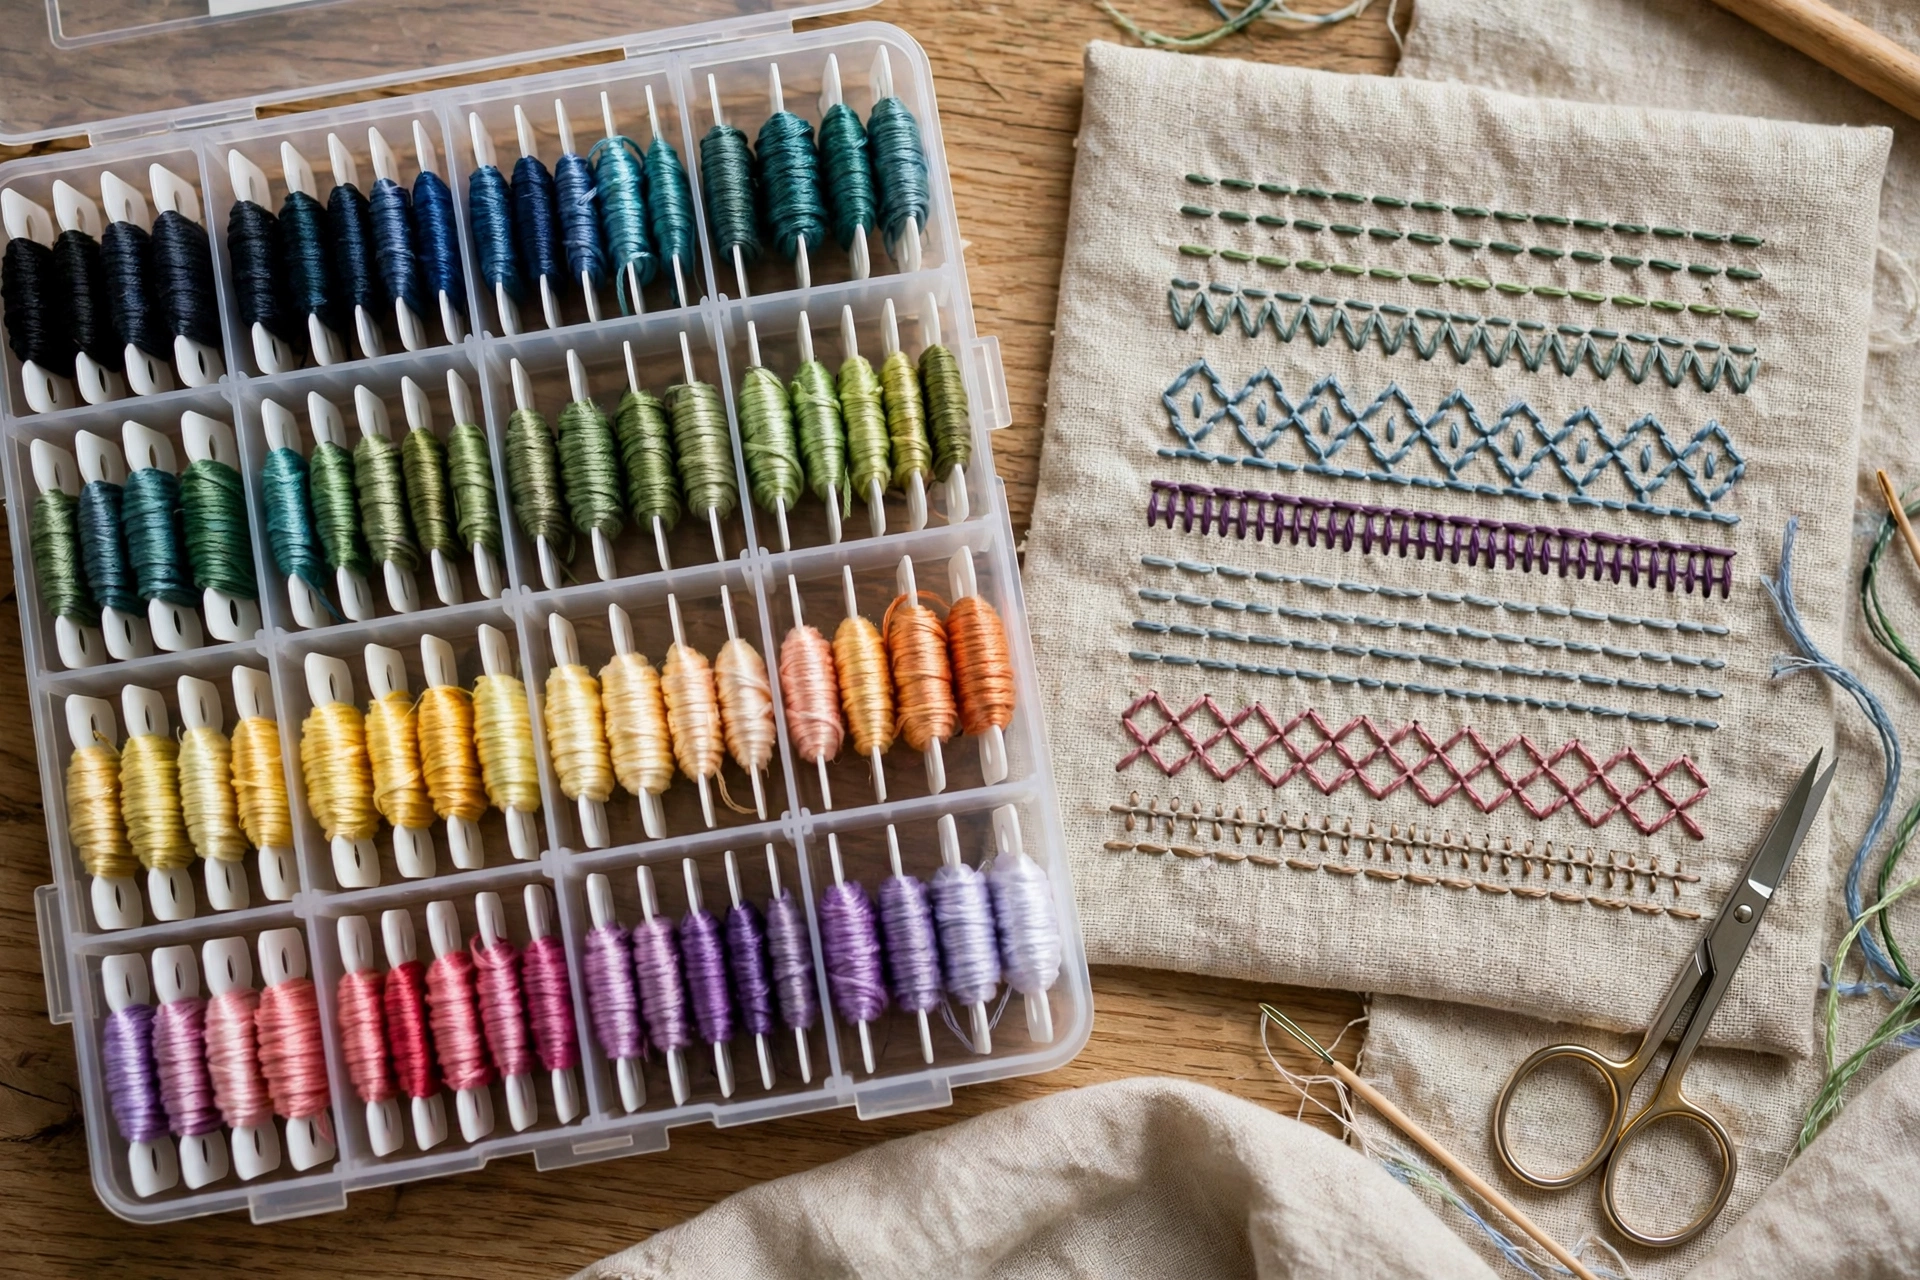
Floss storage is one of those problems that seems trivial until you own forty skeins and need DMC 321 in a hurry. The classic solution is winding each skein onto a small cardboard or plastic bobbin, writing the number on it, and filing the bobbins numerically in a plastic organizer box. It takes an afternoon to wind a starter stash, and it pays off every single time you start a project. Wind snugly but not tight. If you stretch the floss while winding, it goes a little wavy and never quite behaves the same.
The lazy alternative, which I used for my first year, is the ziplock method: one bag per color family with the numbers on a scrap of paper, all the bags in a shoebox. It works fine until you pass about sixty skeins, at which point the bags start reproducing. Either way, keep floss out of direct sunlight and keep it dry.
So here’s my nudge: go stand in front of the floss wall on purpose this time. Buy by number, strip your strands one at a time, and start everything at two strands until a pattern tells you otherwise. Your lavender will thank you. Mine never recovered, but yours still can.