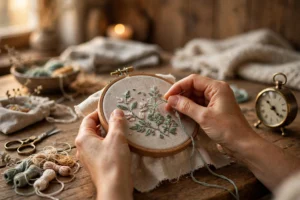
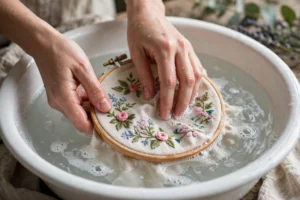
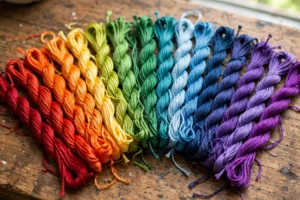
My third-ever project was a lavender sprig on a little sachet for my sister’s birthday. DMC 3042 for the stems, DMC 3041 for the buds, stitched on a scrap of quilting cotton I’d cut with pinking shears like I knew what I was doing. What came out looked like a purple sea anemone having a bad day. The fabric puckered so hard around the stems that the sachet rocked on the table like a tiny boat. Half my French knots shed their tails overnight and unraveled into sad little commas. And I stabbed myself with my own needle twice in one evening, because I was yanking the thread like I was trying to start a lawnmower. All of this happened in about ninety minutes, which is honestly impressive. If you’re reading this because your stitching looks nothing like the photos, welcome. I collected the classic beginner embroidery mistakes early and thoroughly, so you don’t have to. Here are the nine I actually made, in roughly the order I made them, with the exact fix that stopped each one.
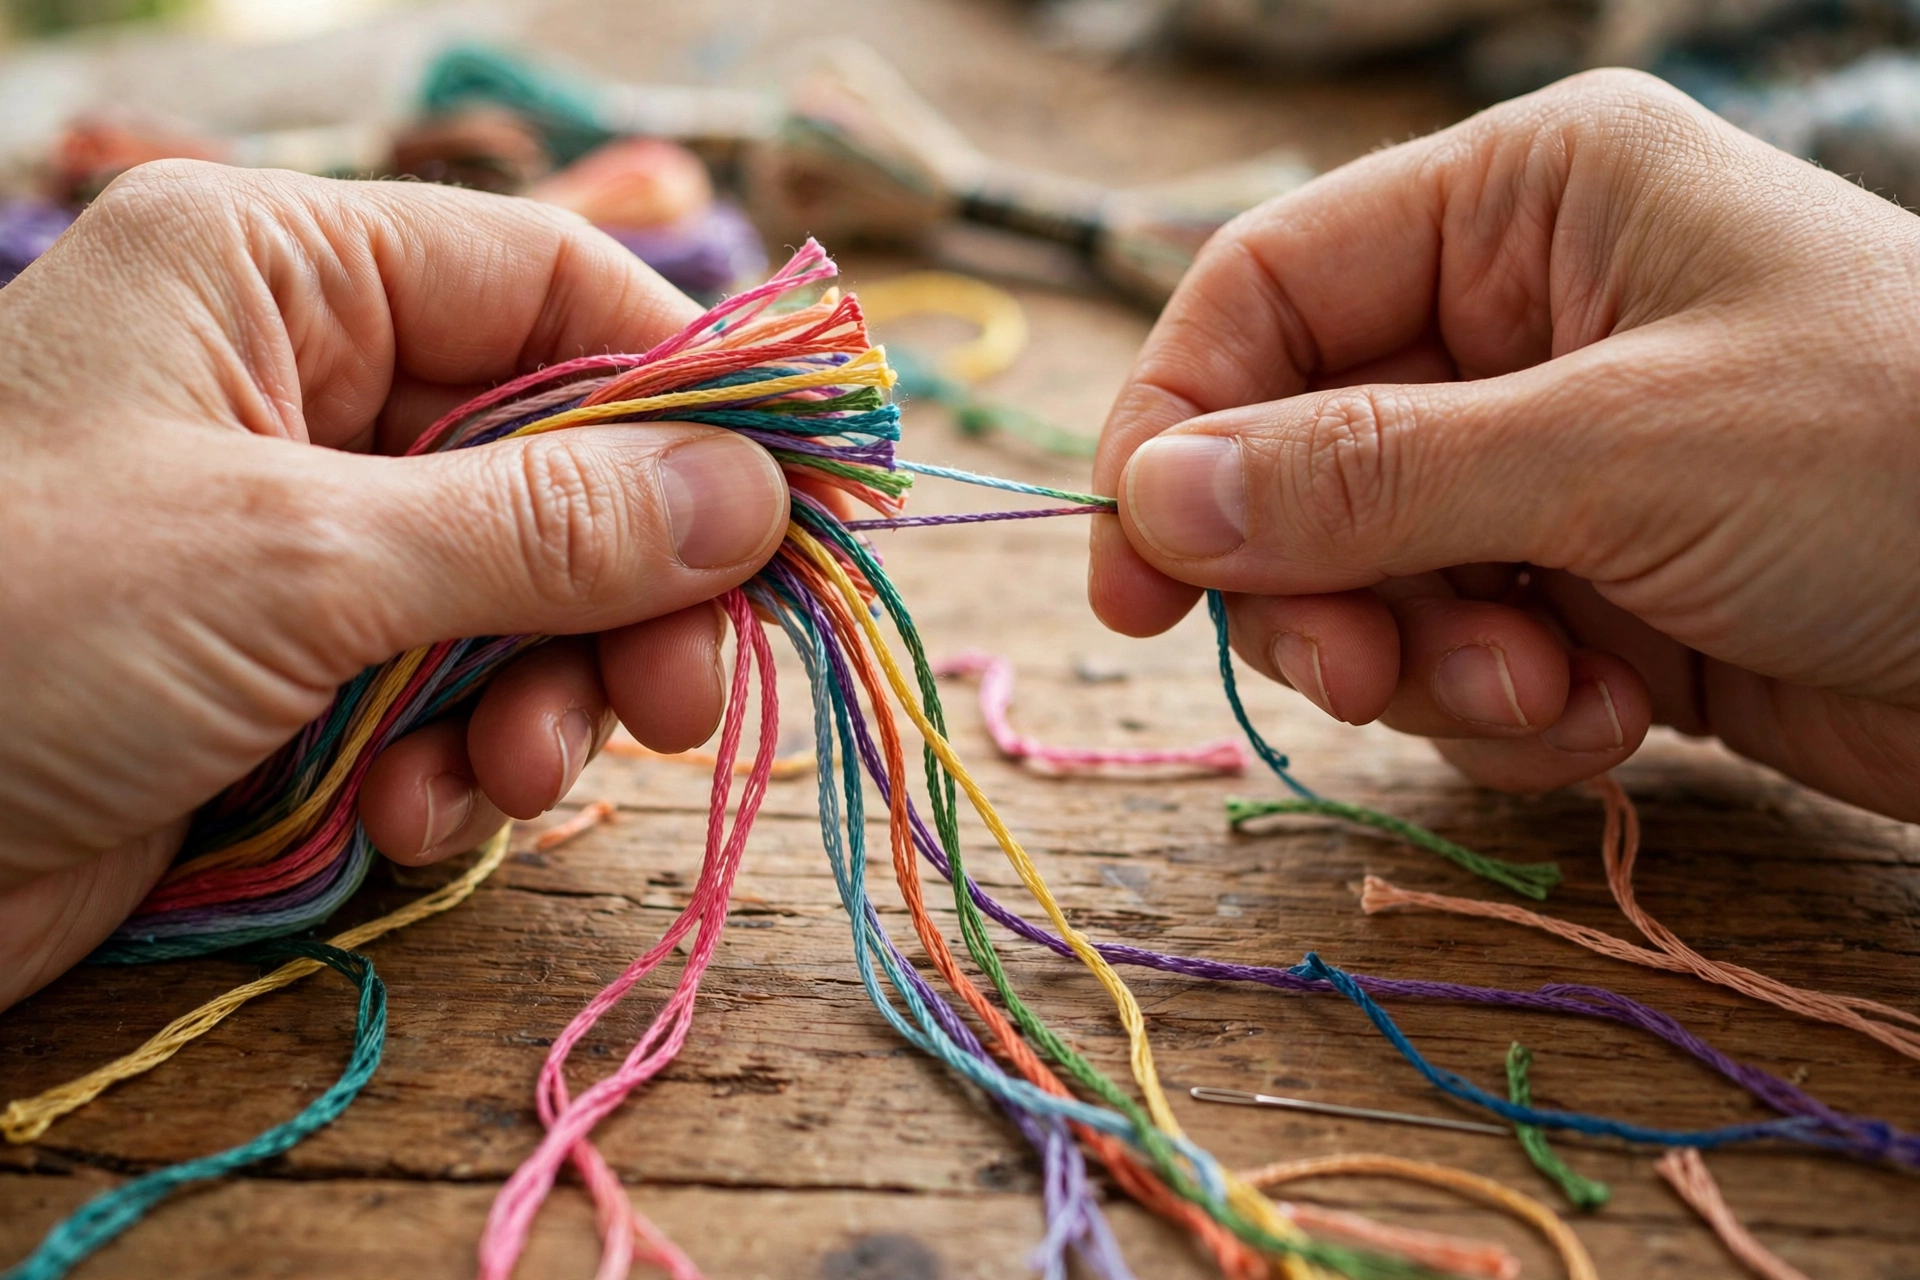
1. Stitching with all six strands of floss
Embroidery floss comes as six strands twisted together, and nobody tells beginners you’re supposed to peel them apart. I stitched my entire first sampler with all six strands because it looked right in the skein. My backstitch letters came out like fat pipe cleaners. The satin stitch hearts were so bulky they stood up off the fabric like tiny pillows, and the needle holes looked like I’d attacked the cotton with an ice pick. Then I watched someone separate strands in a video and felt like I’d been let in on a secret society. The fix: split your floss. For detail work on quilting cotton or linen, use two strands. For bolder outlines and fills, use three. Four or more is for chunky statement stitching on heavy fabric, not your first hoop. One cut length gives you six usable strands, so a single $0.69 skein of DMC goes a long way once you stop using the whole rope at once. My stitching got visibly neater the same evening I learned this.
2. Skipping the hoop (or not tightening it)
My first attempt at a freehand coaster happened on the couch, no hoop, fabric flopping around in my left hand. By the end it had curled into something shaped like a taco shell. Fabric needs to be drum tight while you stitch, or your stitches pull it into waves that never come out. The fix costs about four dollars: a 5 or 6 inch wooden hoop. Seat the fabric, tighten the screw, then tug the edges until it sounds like a drum when you tap it. Then retighten every twenty minutes, because it loosens as you work and nobody remembers this until the puckering shows up in photos. If your fabric is already puckered around finished stitches, don’t panic. There’s a full rescue routine in my guide to fixing embroidery fabric puckering, and most cases are salvageable.
3. Cutting your thread way too long
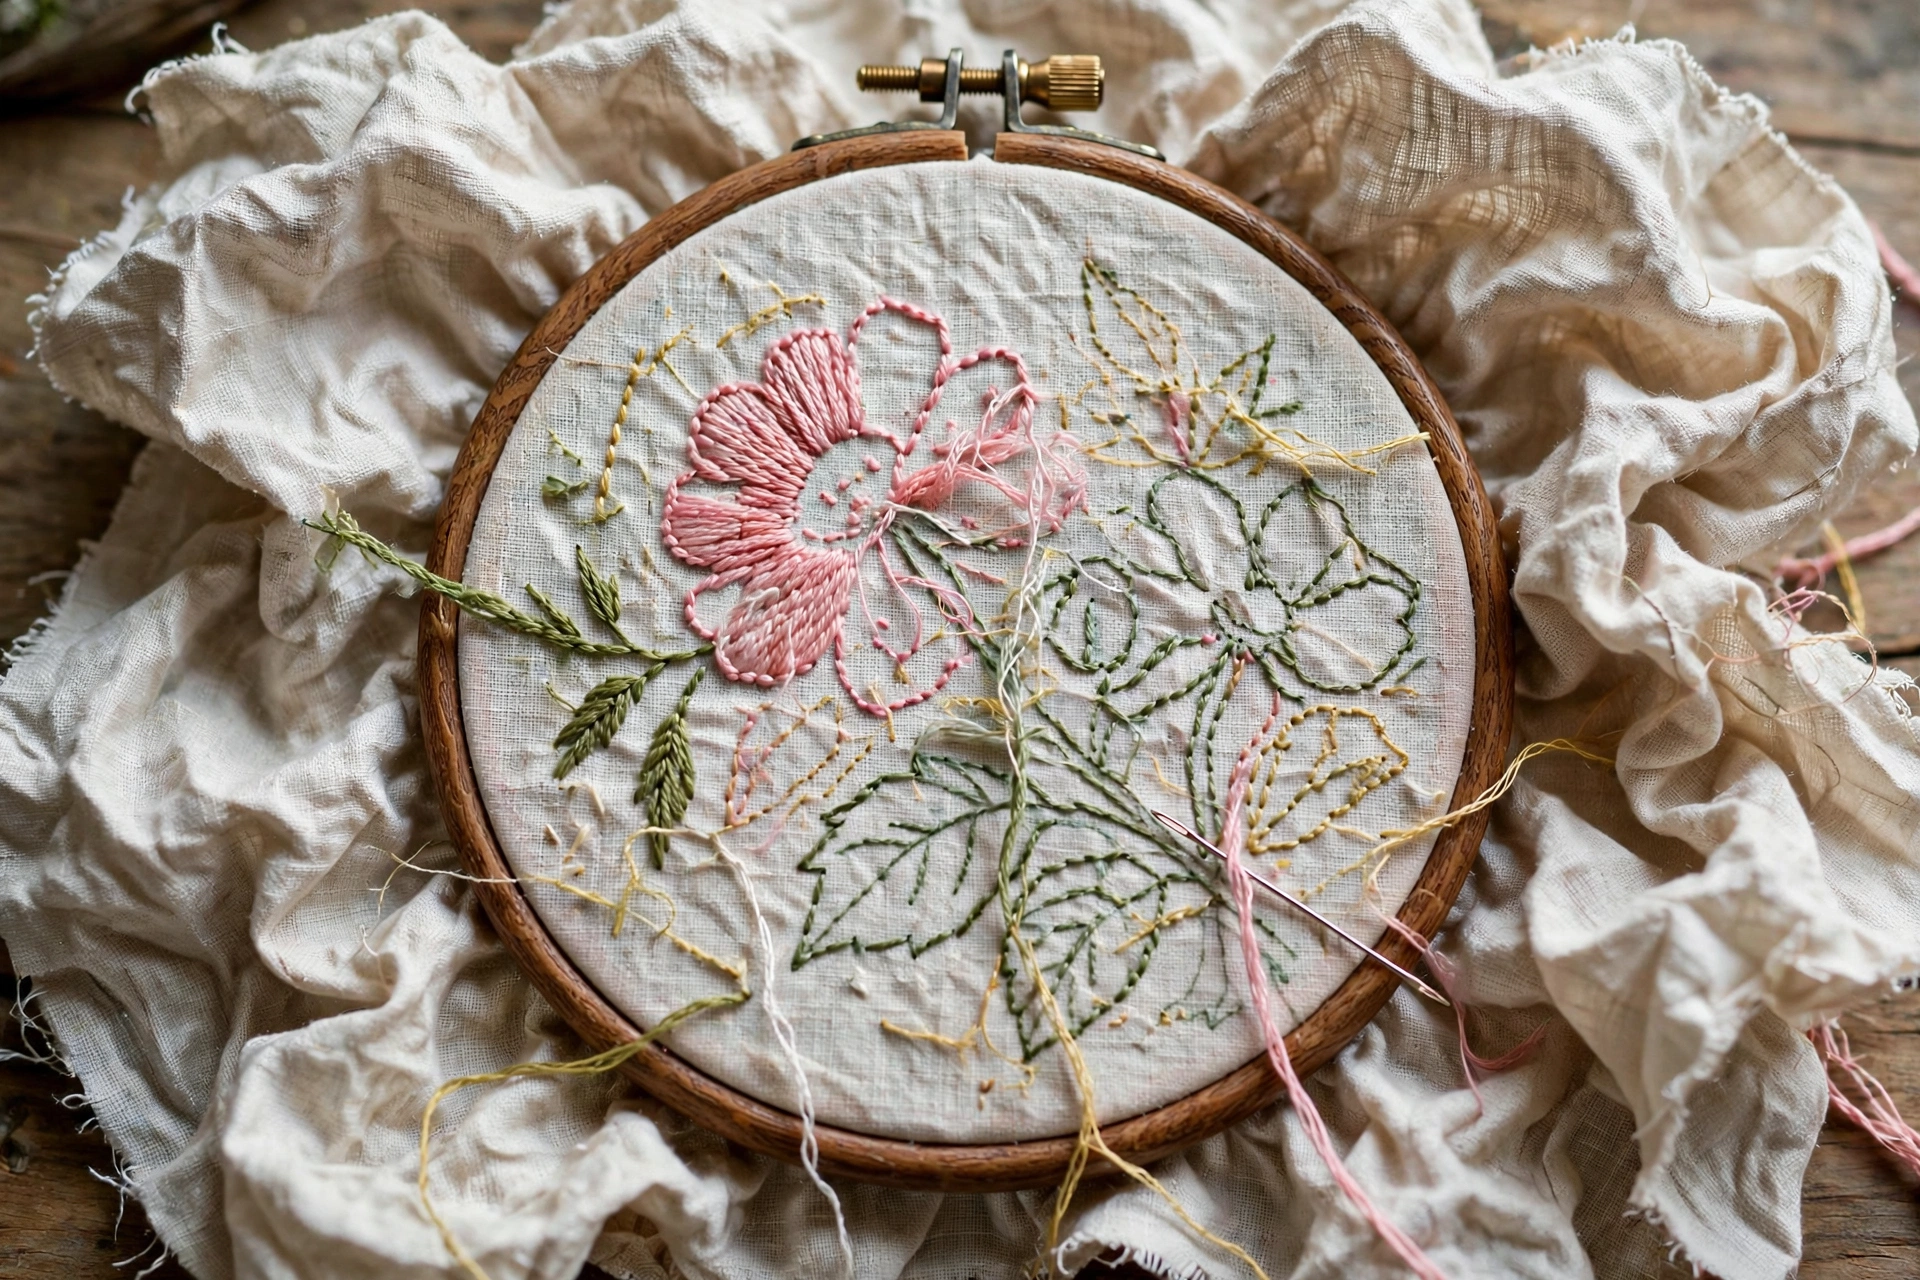
I used to cut thread about as long as my arm because rethreading the needle felt like a chore. Then I’d spend half the session untangling the mess a 40-inch thread becomes after fifty trips through fabric. Long thread twists on itself, knots behind the fabric, and frays from being dragged through the weave a hundred times. By the last six inches it looks like a fuzzy caterpillar and stitches like one too. The fix: cut no more than 18 inches, roughly fingertip to elbow. Yes, you’ll rethread more often. It still saves time, because you stop performing emergency thread surgery every ten minutes. If tangles are your personal nemesis, my full routine for stopping thread tangling covers the railroading trick and the one habit that fixed it for me permanently.
4. French knots that unravel the second you look away
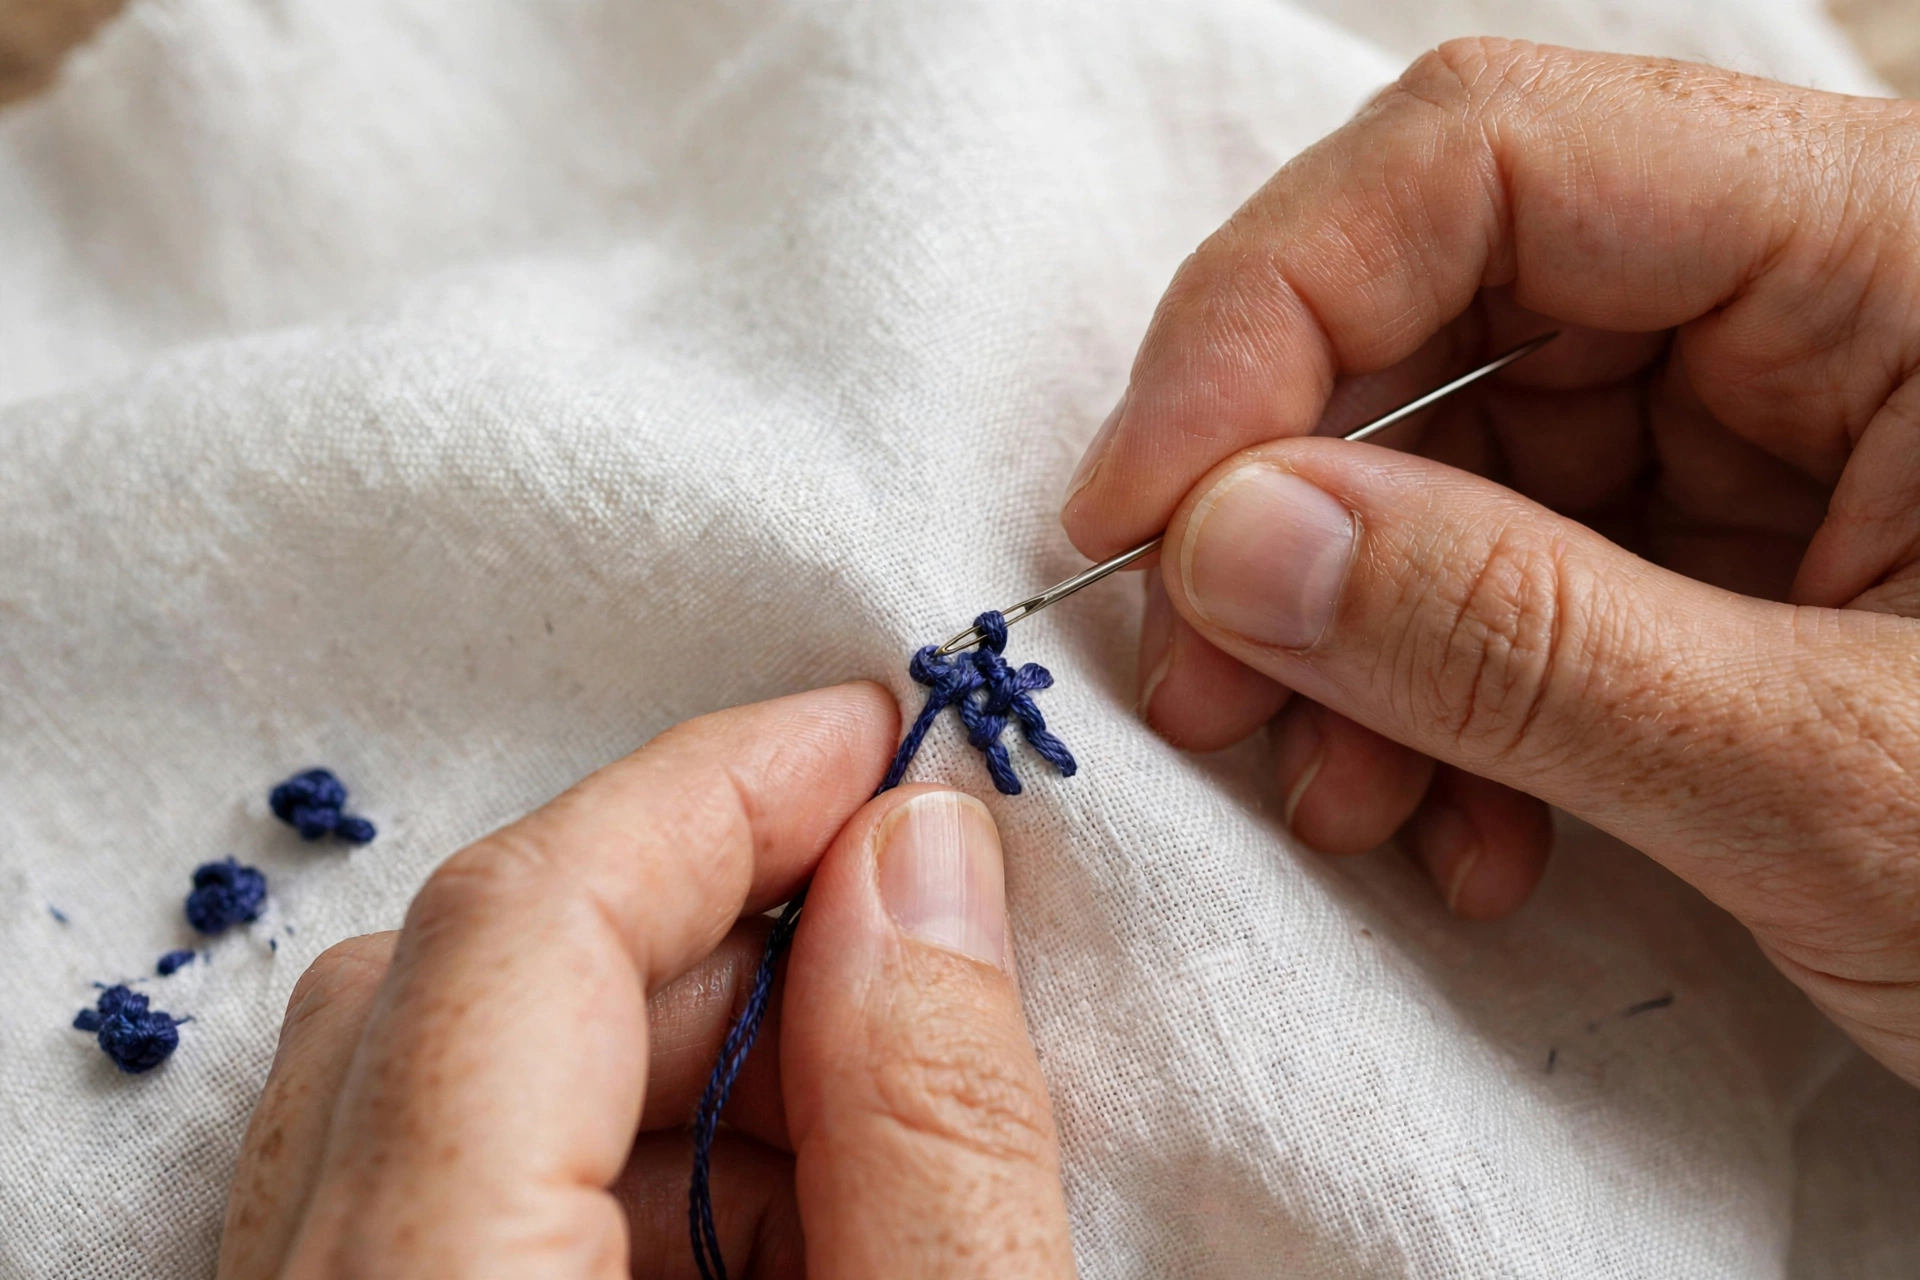
My first French knots were supposed to be flower centers. They came out as tiny worms that crawled off the fabric overnight, because I’d wrapped the thread three times around a wobbly needle and then let everything go slack. The fix has three parts, and all three matter. One: two wraps, not three, unless you want a deliberately chunky knot. Two: use two strands, not six. Three, and this is the one everyone skips: keep gentle tension on the working thread with your non-needle hand the entire time the needle goes back down, and bring the needle down very close to where it came up, not in the same hole. Hold that tension until the knot is seated on the fabric. My knots went from about a 30 percent survival rate to basically 100 percent the day I started doing this. There’s a slow-motion walkthrough in my French knot guide if you want to see the exact hand positions.
5. Using whatever needle was in the junk drawer
I started with a big blunt tapestry needle from a long-forgotten cross-stitch kit. It chewed holes in the fabric so wide you could practically see through them. Then I swung the other way and used a tiny sharp that shredded my floss into fuzzy despair within minutes. Needles are cheap and specific, and the right one matters more than beginners expect. The fix: for two strands on quilting cotton or linen, a John James size 7 embroidery (crewel) needle. The eye is long enough to thread without a fight, and the shaft is slim enough not to mangle the weave. Using three strands or a heavier fabric? Step up to a size 5. Working with perle cotton or ribbon? A chenille needle, size 22 or 24. A card of sixteen John James needles costs less than four dollars and lasts for months. I replace mine when threading starts feeling scratchy, roughly every three to four projects.
6. Tension that’s either a death grip or a wet noodle
This one took me the longest to see, because bad tension disguises itself as other problems. My satin stitch roses either gathered the fabric into little hills, because I was pulling each stitch like I was tightening a shoelace, or they flopped around loose and snaggy, because I’d overcorrected and was barely pulling at all. Both versions looked terrible in completely different ways, which is how I knew it was one problem wearing two costumes. The fix: aim for snug, not tight. Each stitch should lie flat and smooth against the fabric, with no pulling at the edges and no slack loops standing up. Check your work by laying the hoop flat on the table and looking across it sideways. Hills and valleys show up immediately in raking light. I also learned to stop death-gripping the needle, which was secretly half the problem. Tense hands make tense stitches.
7. Tracing your design with a regular pen
I traced my second project with a ballpoint pen because it was sitting on the table. Six months later those blue lines were still there, smirking at me from inside the finished piece, because ballpoint ink does not wash out. Ever. Not with soap, not with time, not with regret. The fix: a water-soluble fabric marker, the blue kind, like a Dritz Mark-B-Gone. It vanishes with a dab of plain water when you’re done. Test it on a scrap of your actual fabric first, because dark fabrics need the white chalk version instead. And trace lightly. You only need a whisper of a line to follow, not a trench. Your future self, holding the finished piece up to the light, will thank you.
8. A back that looks like a bird’s nest
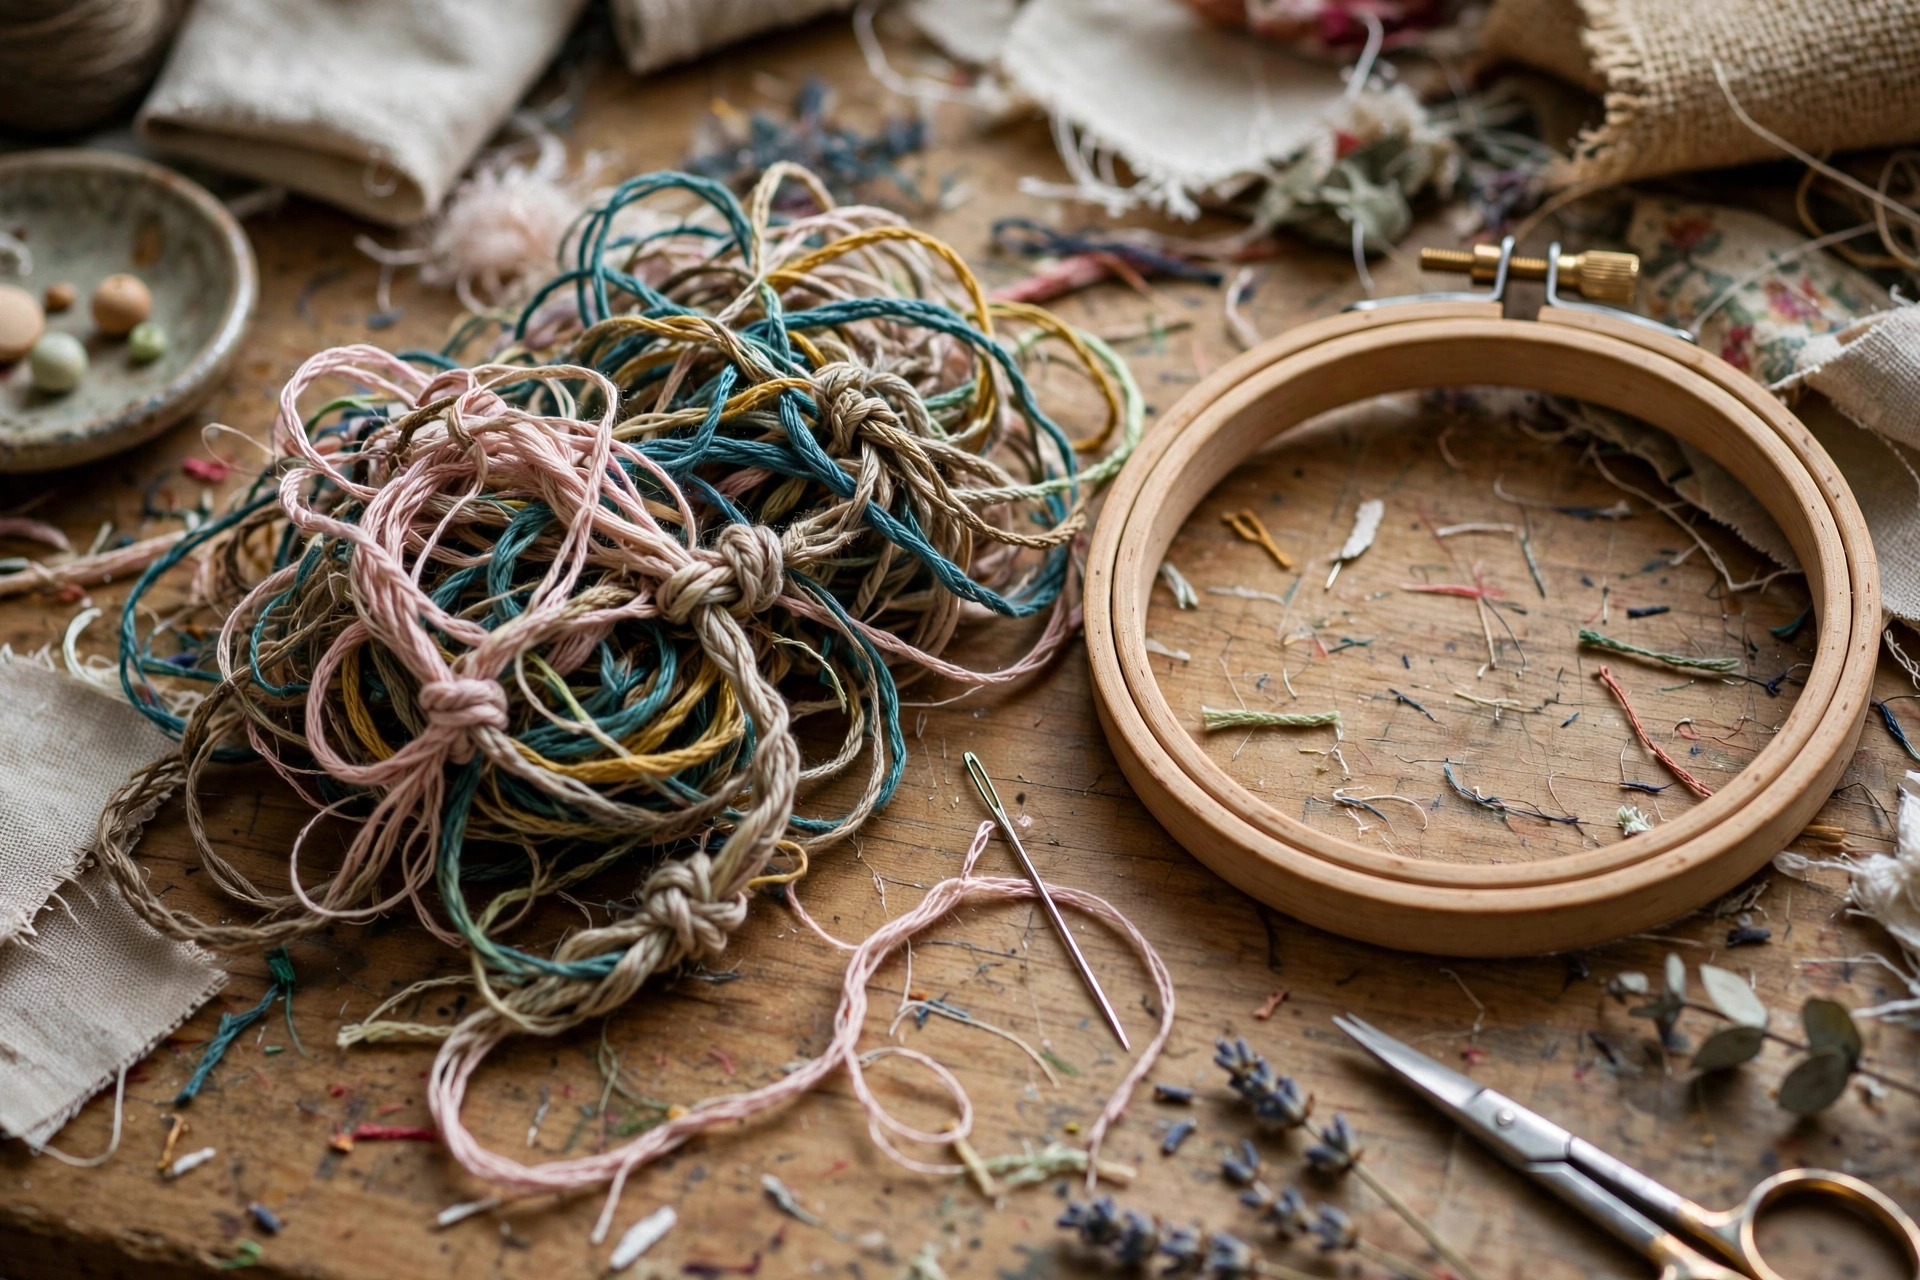
Nobody sees the back of your hoop art, so I told myself it didn’t matter. Then I stitched a design on white linen and every knot and long float showed through the front like shadows under the fabric. Big knots create lumps that press against the weave, and long thread carries across the back can peek through light fabric or catch on things later. The fix: skip the big knots entirely. Start and end each thread by weaving the tail under the backs of nearby stitches, three or four passes, then trim close. Keep any carries across the back under half an inch. On thin or light fabric, anchor with a waste knot or an away knot instead of a lump. My rule now: if I can feel a bump through the fabric with my fingertip, it’s too much and I redo it.
9. Starting with a masterpiece instead of a sampler
Project number four was a six-inch floral wreath with nine different stitch types, because I’d watched too many satisfying videos and developed delusions of grandeur. I frogged, that is ripped out, about half of it. Twice. An hour of stitching followed by forty minutes of un-stitching is a special kind of heartbreak. The fix: give yourself one ugly practice piece on purpose. A sampler where you run rows of backstitch, stem stitch, satin stitch, and French knots on scrap fabric teaches your hands more in thirty minutes than three hours of struggling through a real design. Nobody frames the sampler. That’s the point. My beginner’s starting guide walks through exactly that first practice session, including which stitch to learn first and why.
The beginner embroidery mistakes I still catch myself making
Here’s the part where I admit the fixes aren’t a one-time vaccine. I still cut my thread too long when I’m feeling lazy. I still forget to retighten the hoop and only notice when the fabric stops drumming. Last month I traced a design with a regular pencil on dark fabric and spent twenty minutes squinting at lines I couldn’t see. The difference now is that I catch each mistake in five minutes instead of five hours, and I know exactly which fix to reach for. That’s the whole game. The mistakes don’t stop. They just get cheaper.
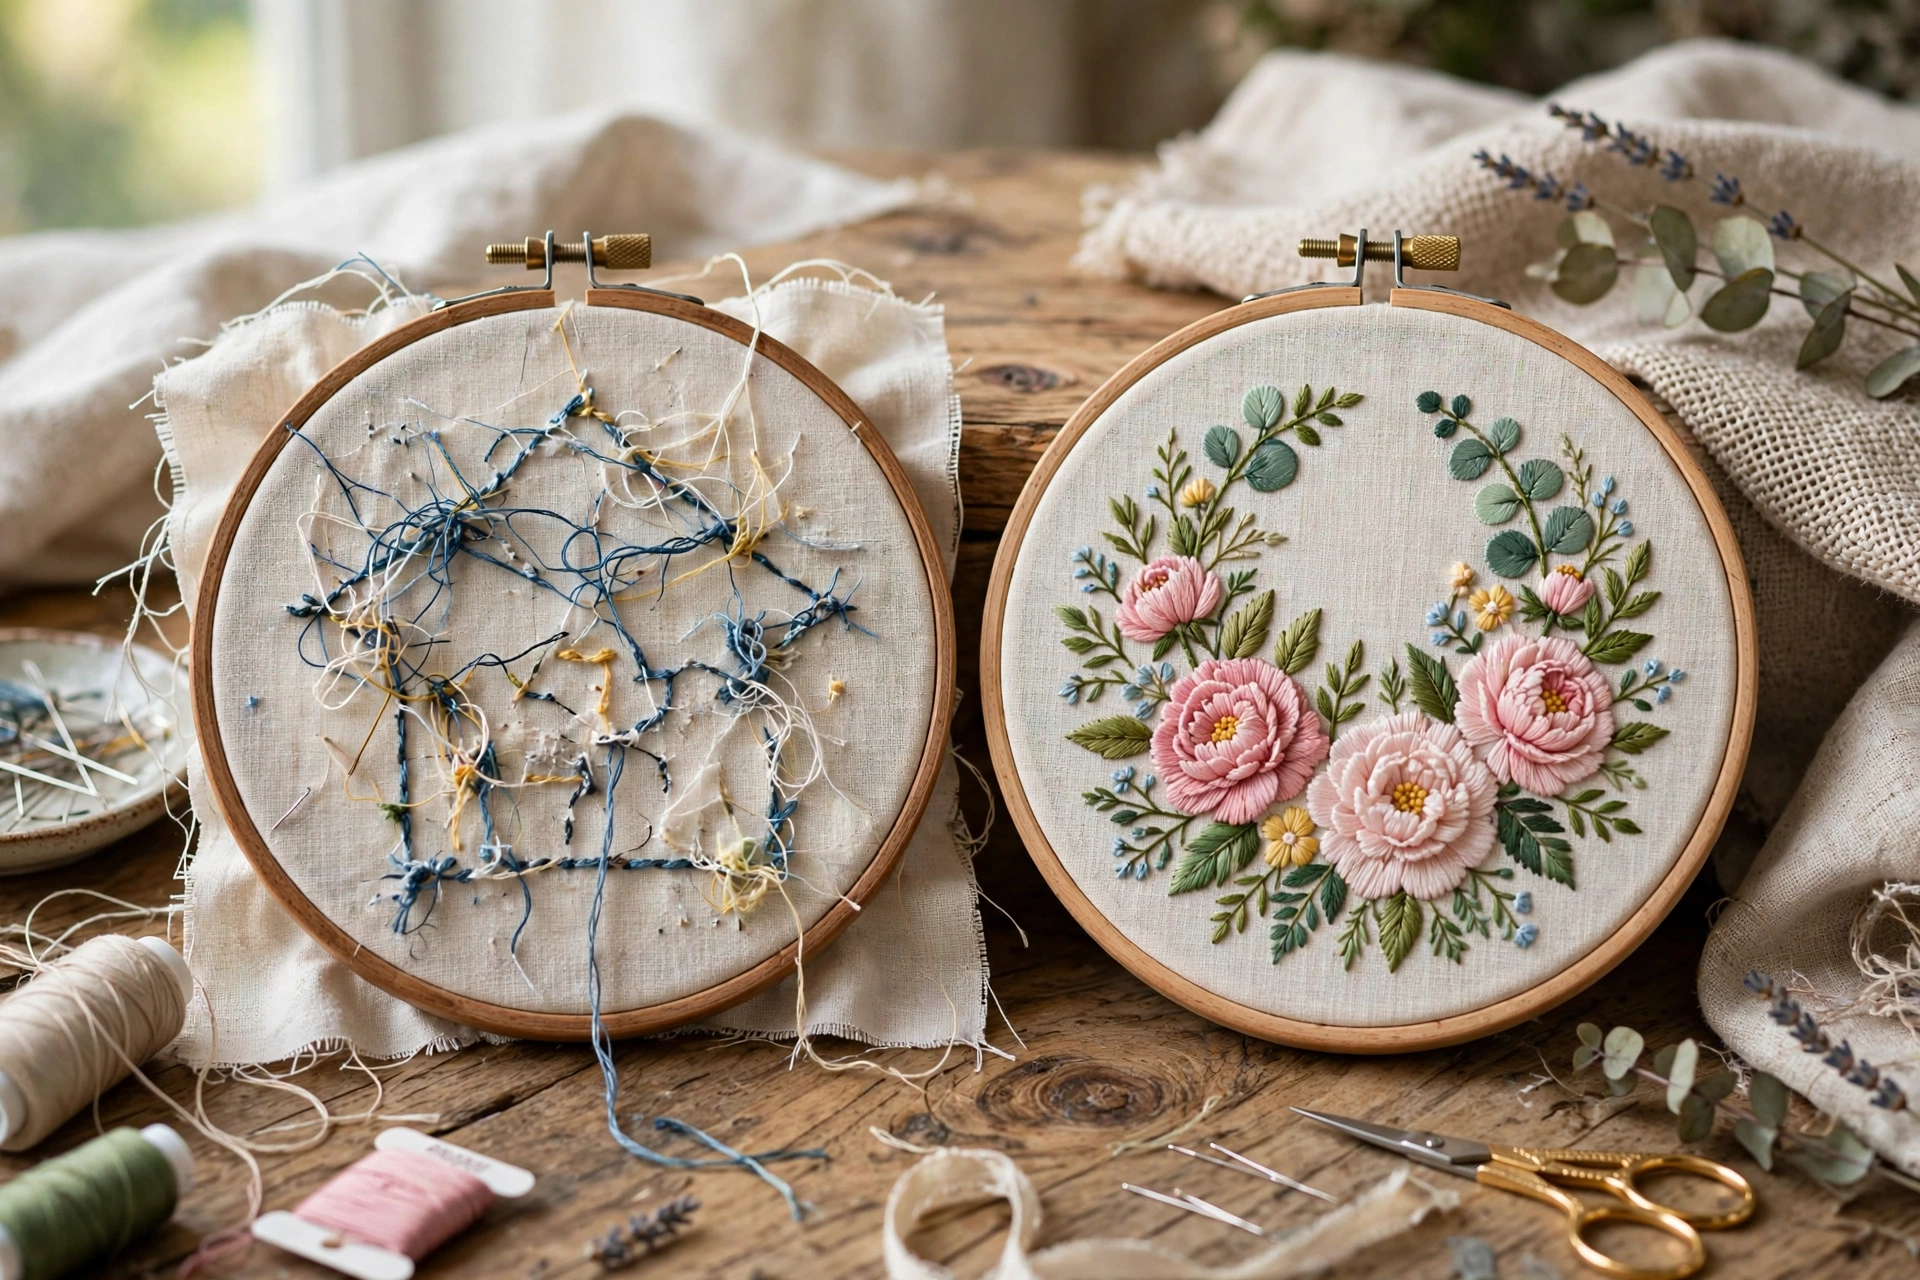
Keep your first piece, by the way. Mine hangs in my hallway, sea anemone and all, because it’s the funniest thing I own, and because every neat stitch I’ve made since then is standing on its lumpy little shoulders. Now go make your own mistakes. Just maybe not with a ballpoint pen.