
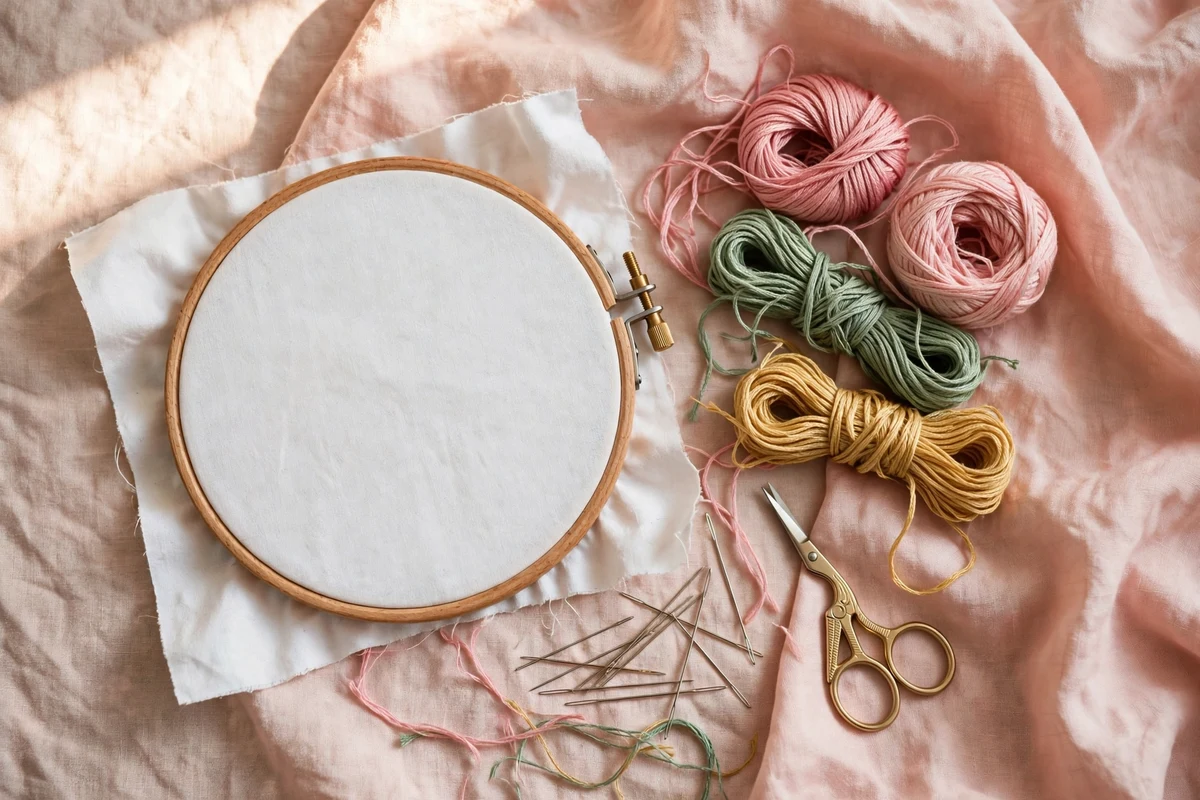
If you have ever picked up an embroidery hoop and thought, “I would love to make something like this, but I have no idea where to begin,” you are exactly who I wrote this guide for. I still remember my own first evening with a needle and thread: a kitchen table, a hoop that would not stay tight, and a tangle of pink floss that looked nothing like the pretty pictures on Pinterest. By the end of that night, though, I had made my first wonky line of stitches, and I was hooked for life.
Hand embroidery is one of the easiest crafts to start. It needs only a few inexpensive supplies, it travels well, and the learning curve is gentle. In this guide I will walk you through exactly how to start hand embroidery for beginners: the supplies you need, how to set up your hoop, how to thread a needle without tears, your very first stitches, and the mistakes I want you to skip. Let us make that first stitch together.
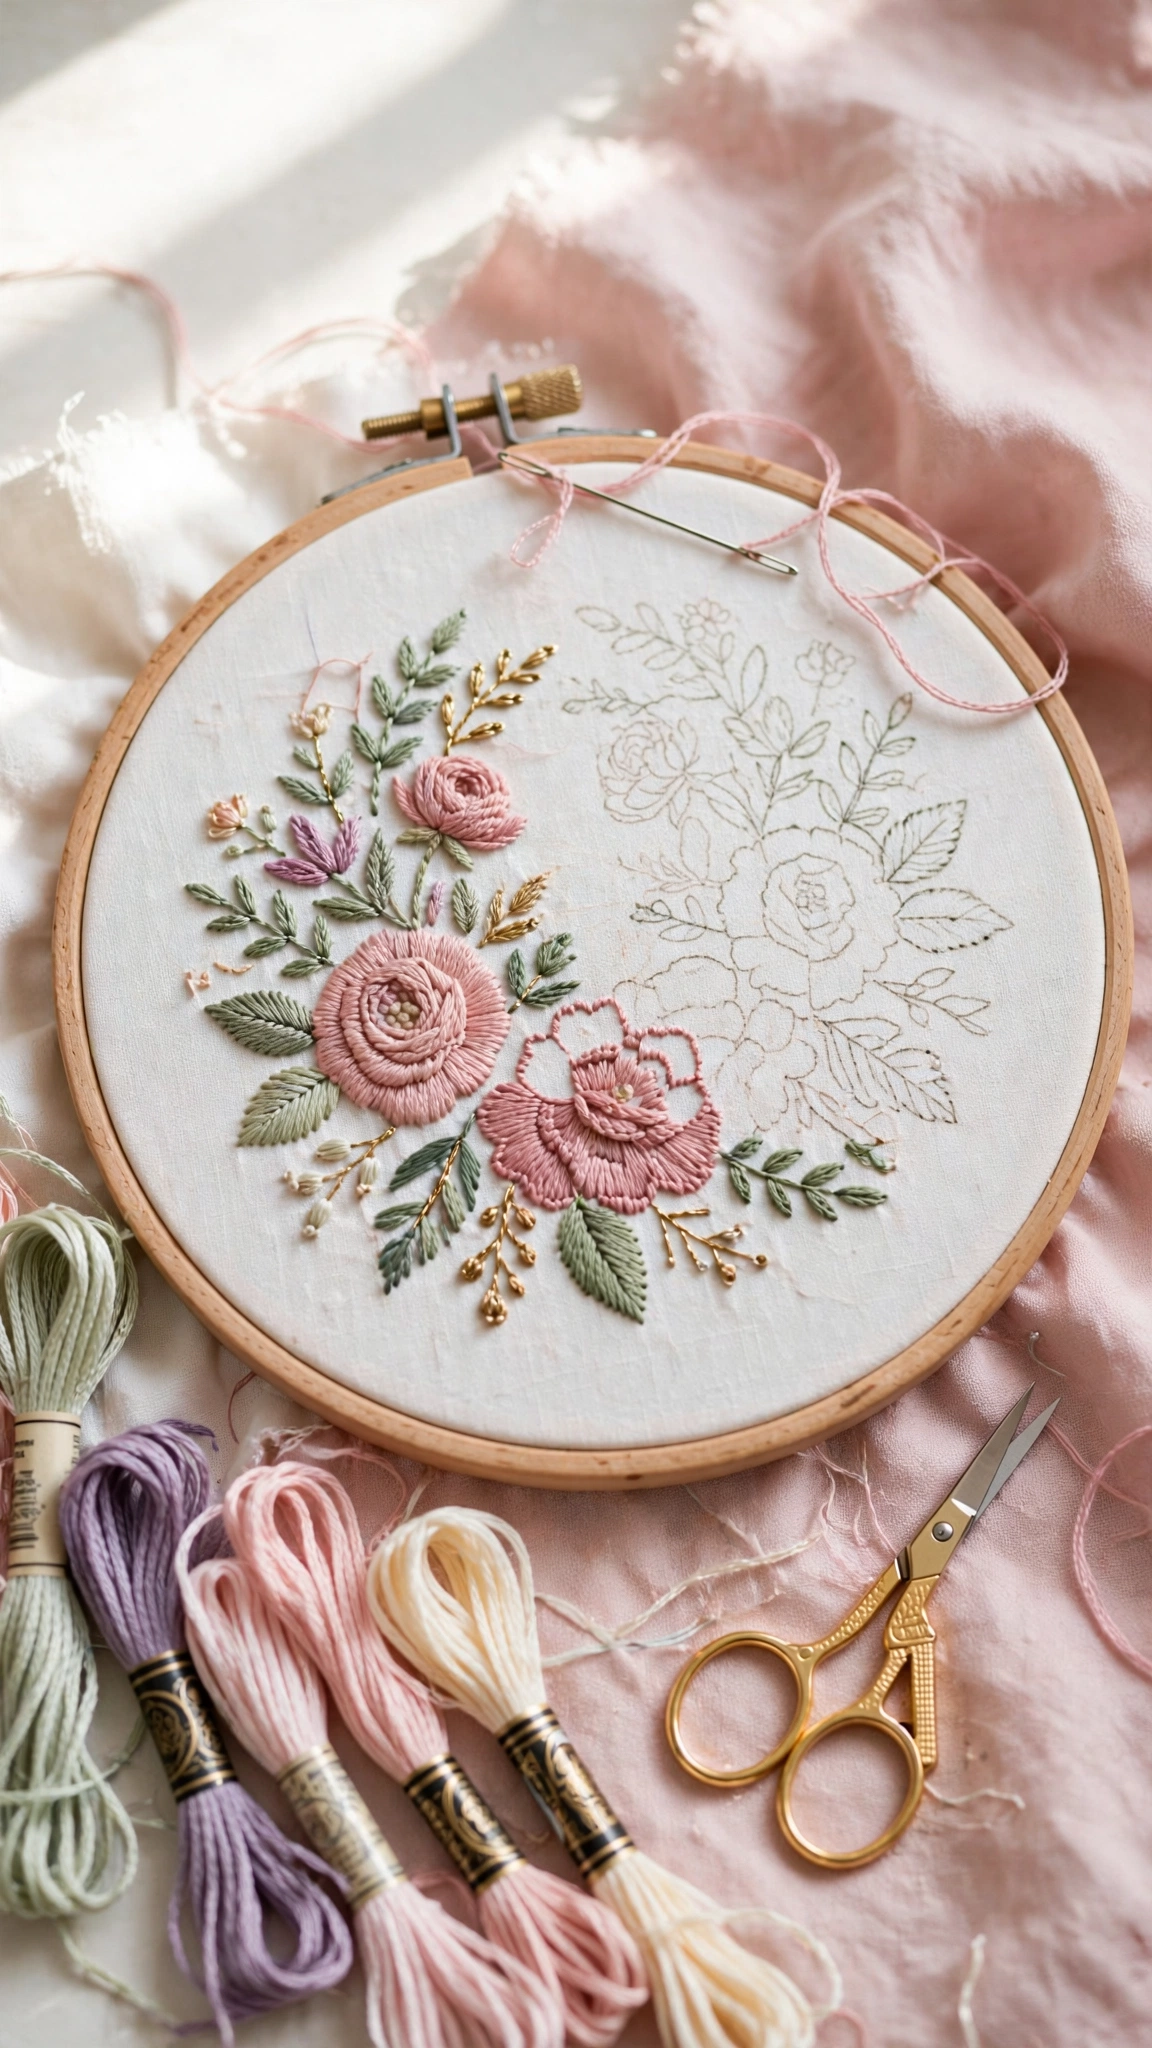
How to Start Hand Embroidery: What You Need
The beauty of this craft is its simplicity. You do not need a sewing machine, special software, or a craft room. Here is the complete starter kit, and I promise it costs less than a nice dinner out.
1. An embroidery hoop
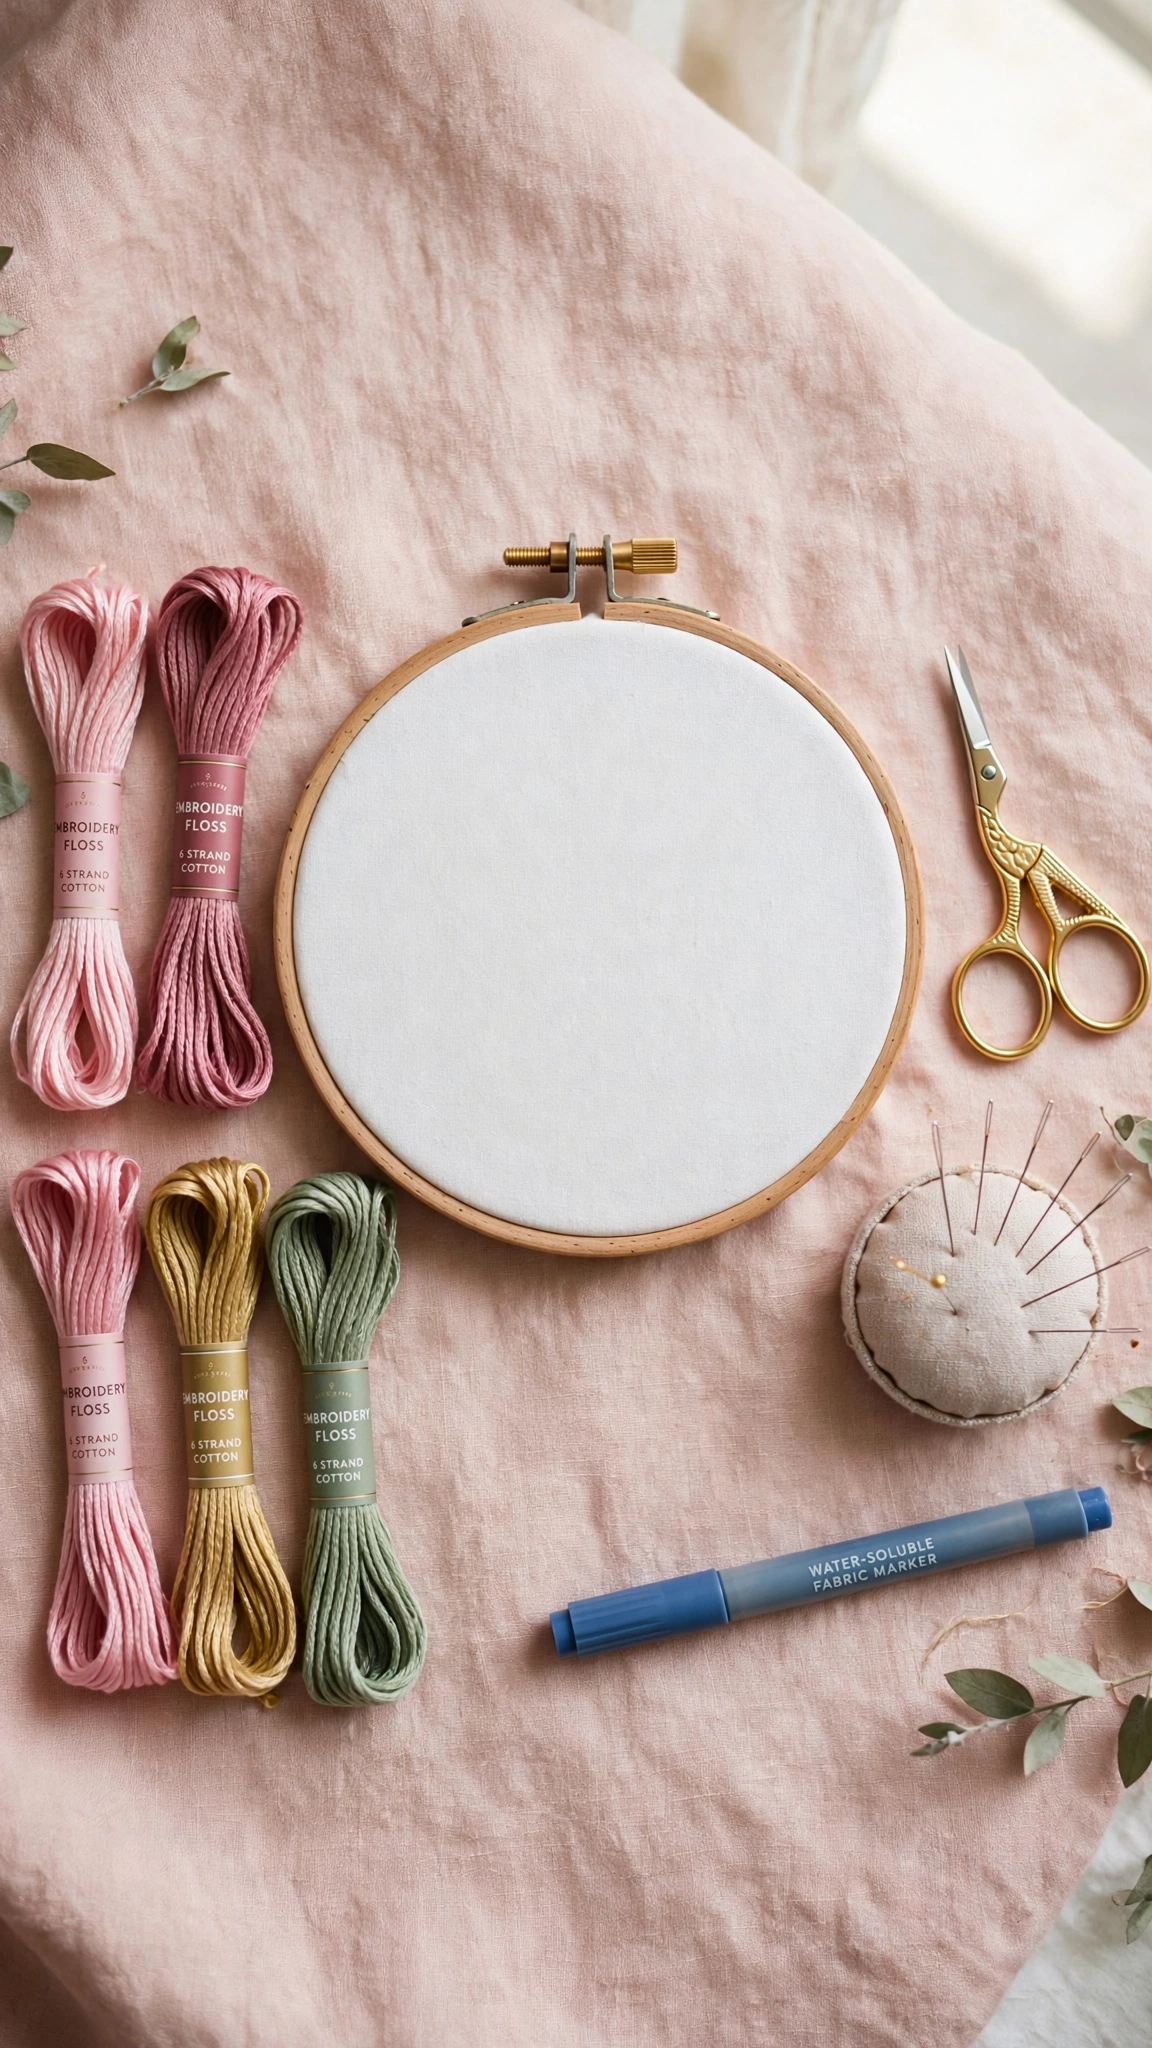
A 6-inch wooden hoop is the perfect beginner size. It fits comfortably in one hand and is large enough for small designs. Look for a hoop with a smooth inner ring and a brass tightening screw. I wrote a full breakdown of every supply worth owning in my embroidery tools for beginners checklist, if you want the complete list with my personal recommendations.
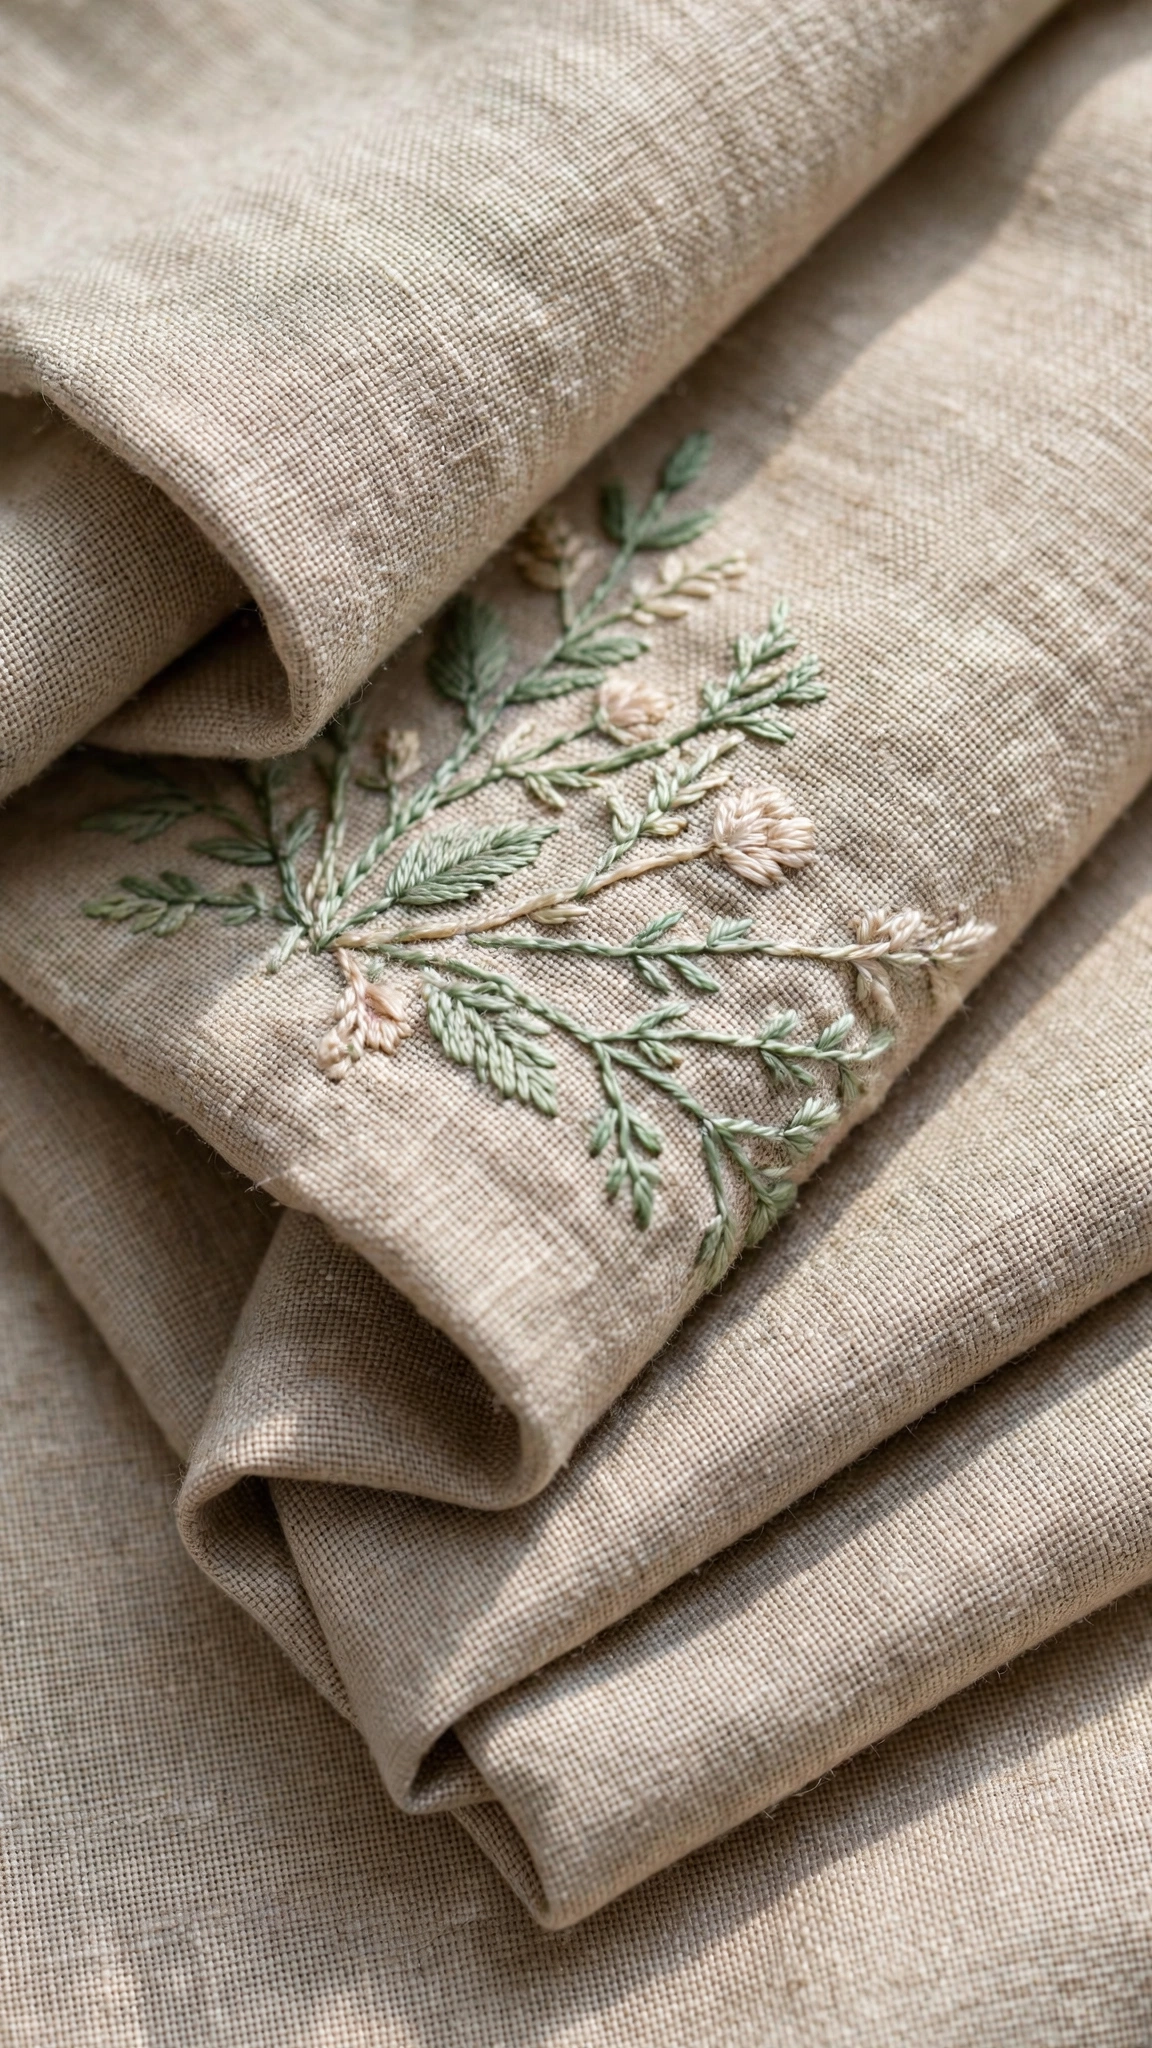
2. Fabric
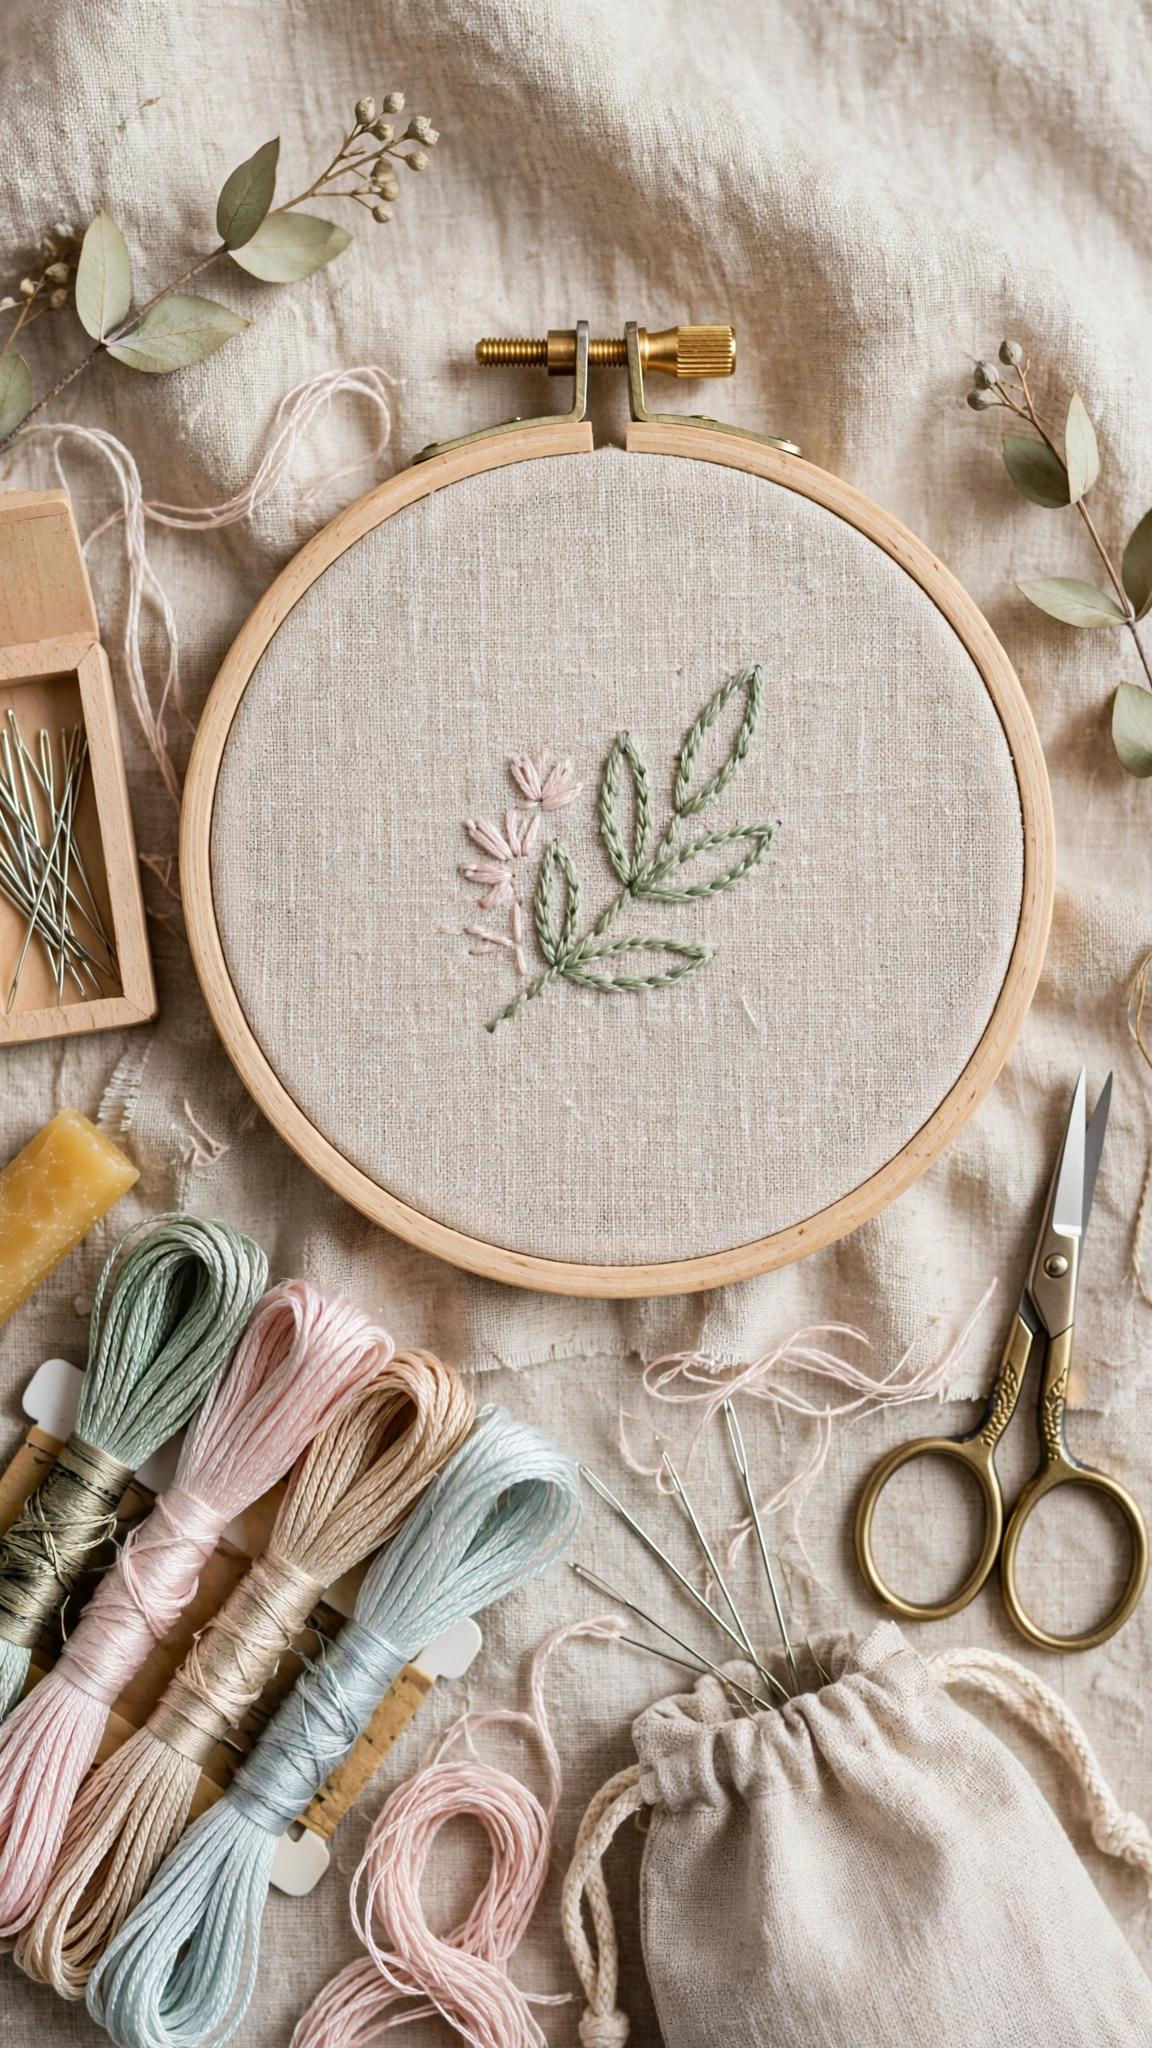
Start with plain cotton or linen, something like quilting cotton or a medium-weight linen. The weave should be tight enough that your needle does not slip through huge holes, but loose enough that the needle passes through easily. Light colors are best because you can see transferred pattern lines clearly. Avoid stretchy knits and very heavy denim for your first project.
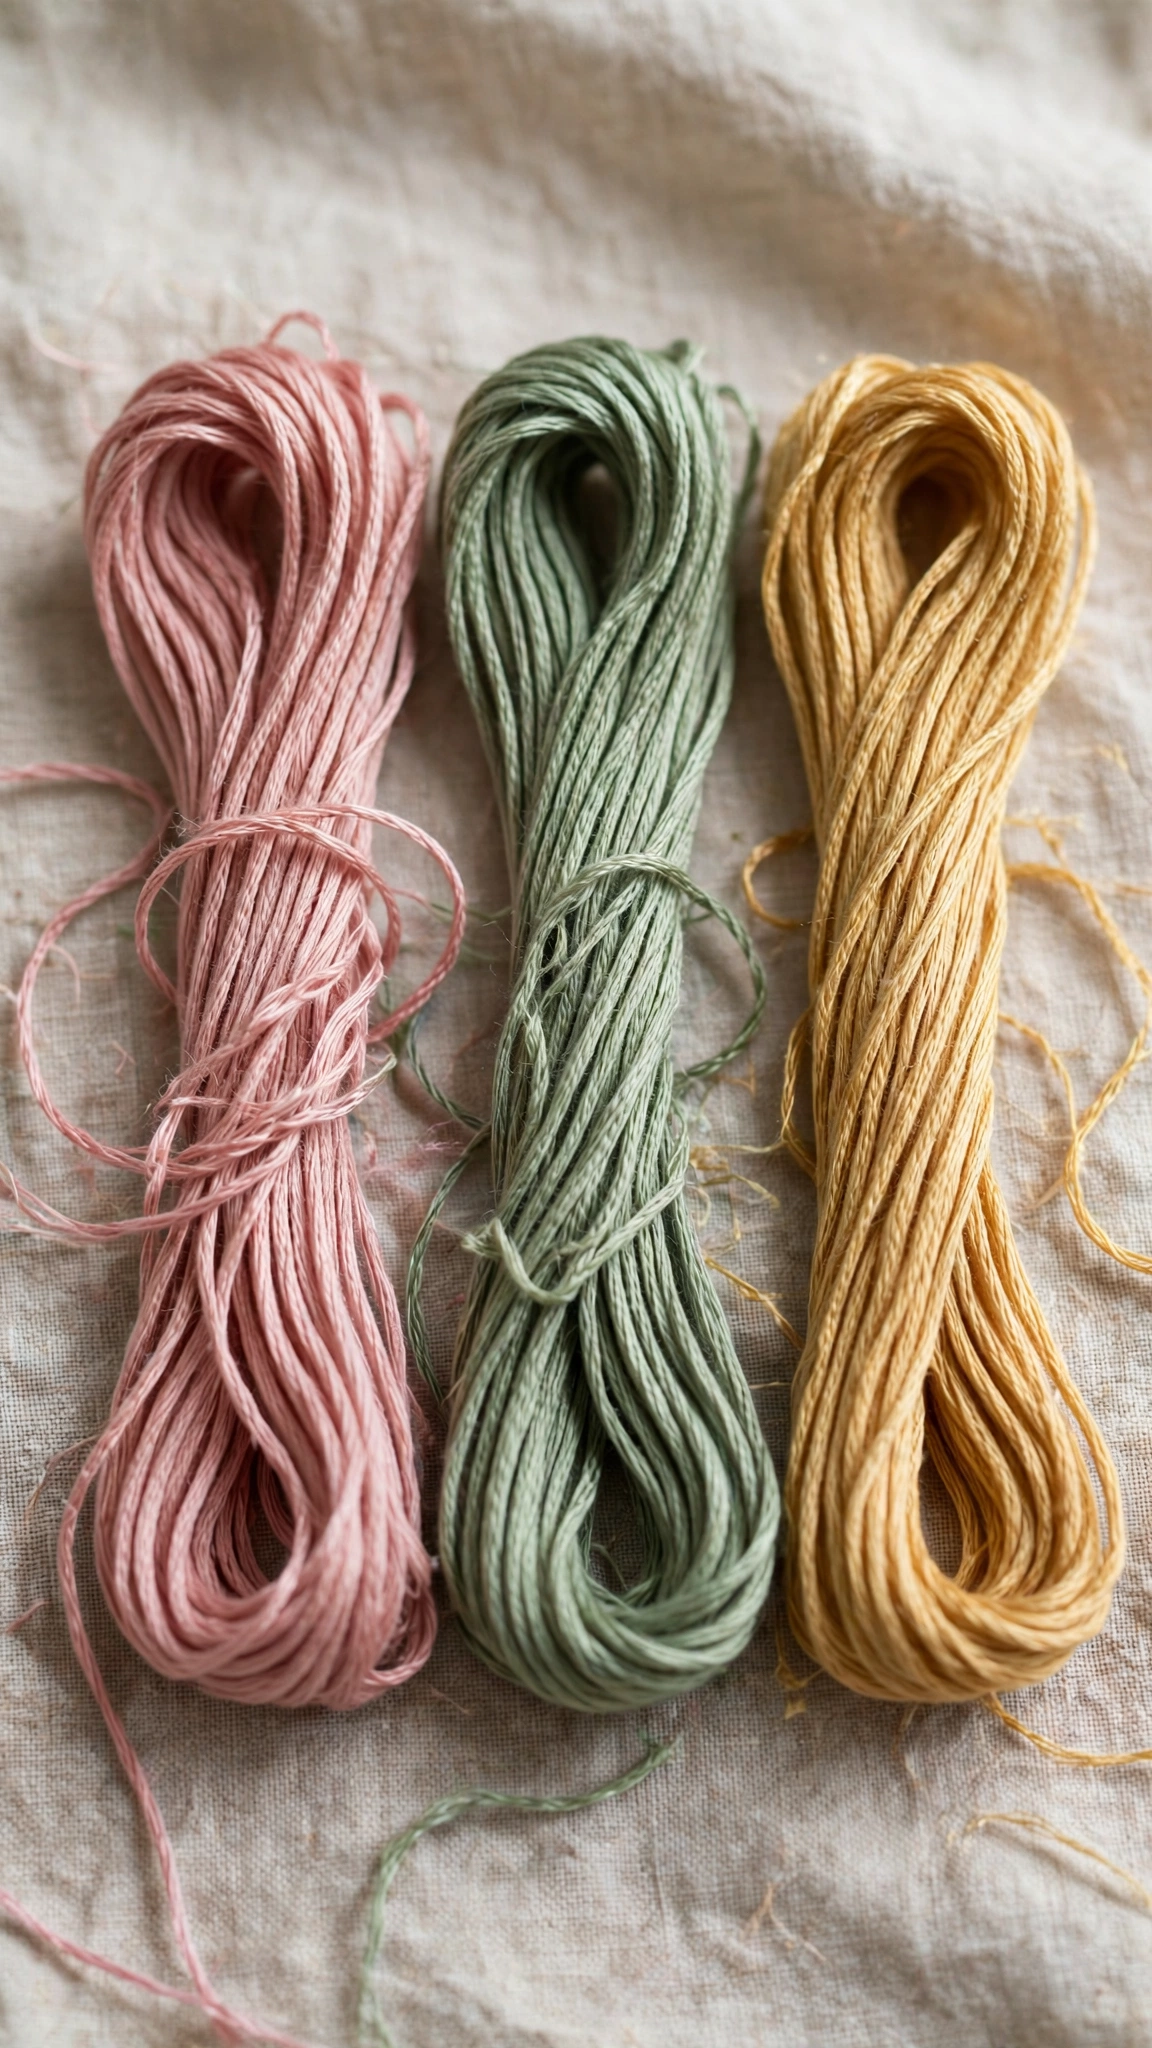
3. Embroidery floss
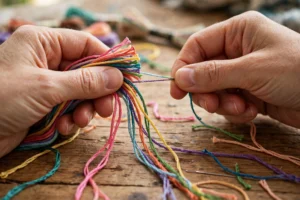
Stranded cotton floss (the kind that comes in a little skein with six separate strands) is the standard. DMC floss is the most widely available brand and my go-to recommendation. One skein gives you about 8.7 yards of thread, which stretches surprisingly far because you only stitch with 2 or 3 strands at a time. Grab a handful of colors you love. You cannot go wrong with a rose, a green, a gold, and a soft cream.
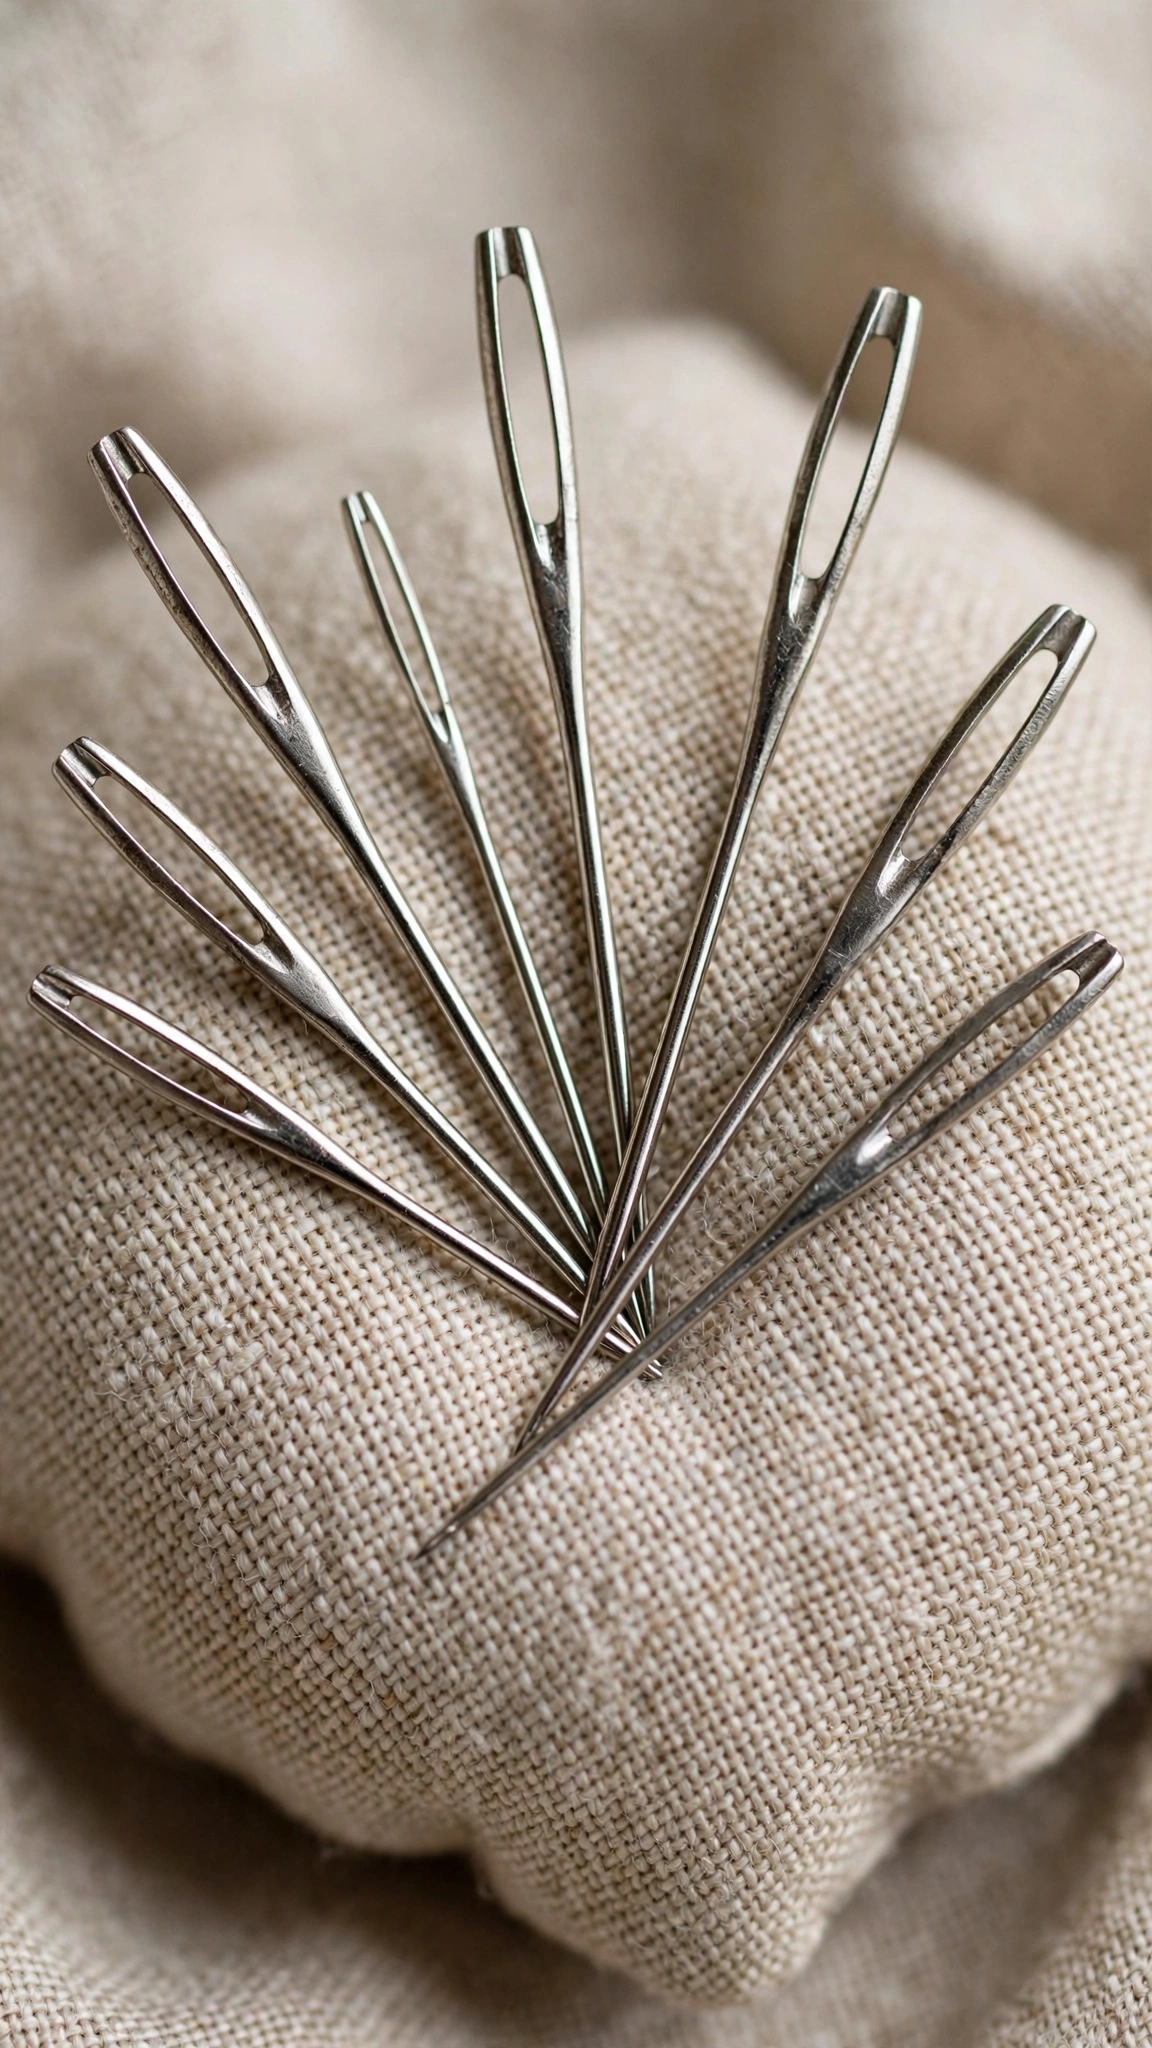
4. Embroidery needles
Crewel needles in sizes 5 to 9 are ideal for beginners. They have a long eye that is easy to thread and a sharp point that glides through cotton. If threading is hard for you, grab a pack of “easy thread” needles with a slotted top, plus a metal needle threader. No shame in using tools; even professionals do.
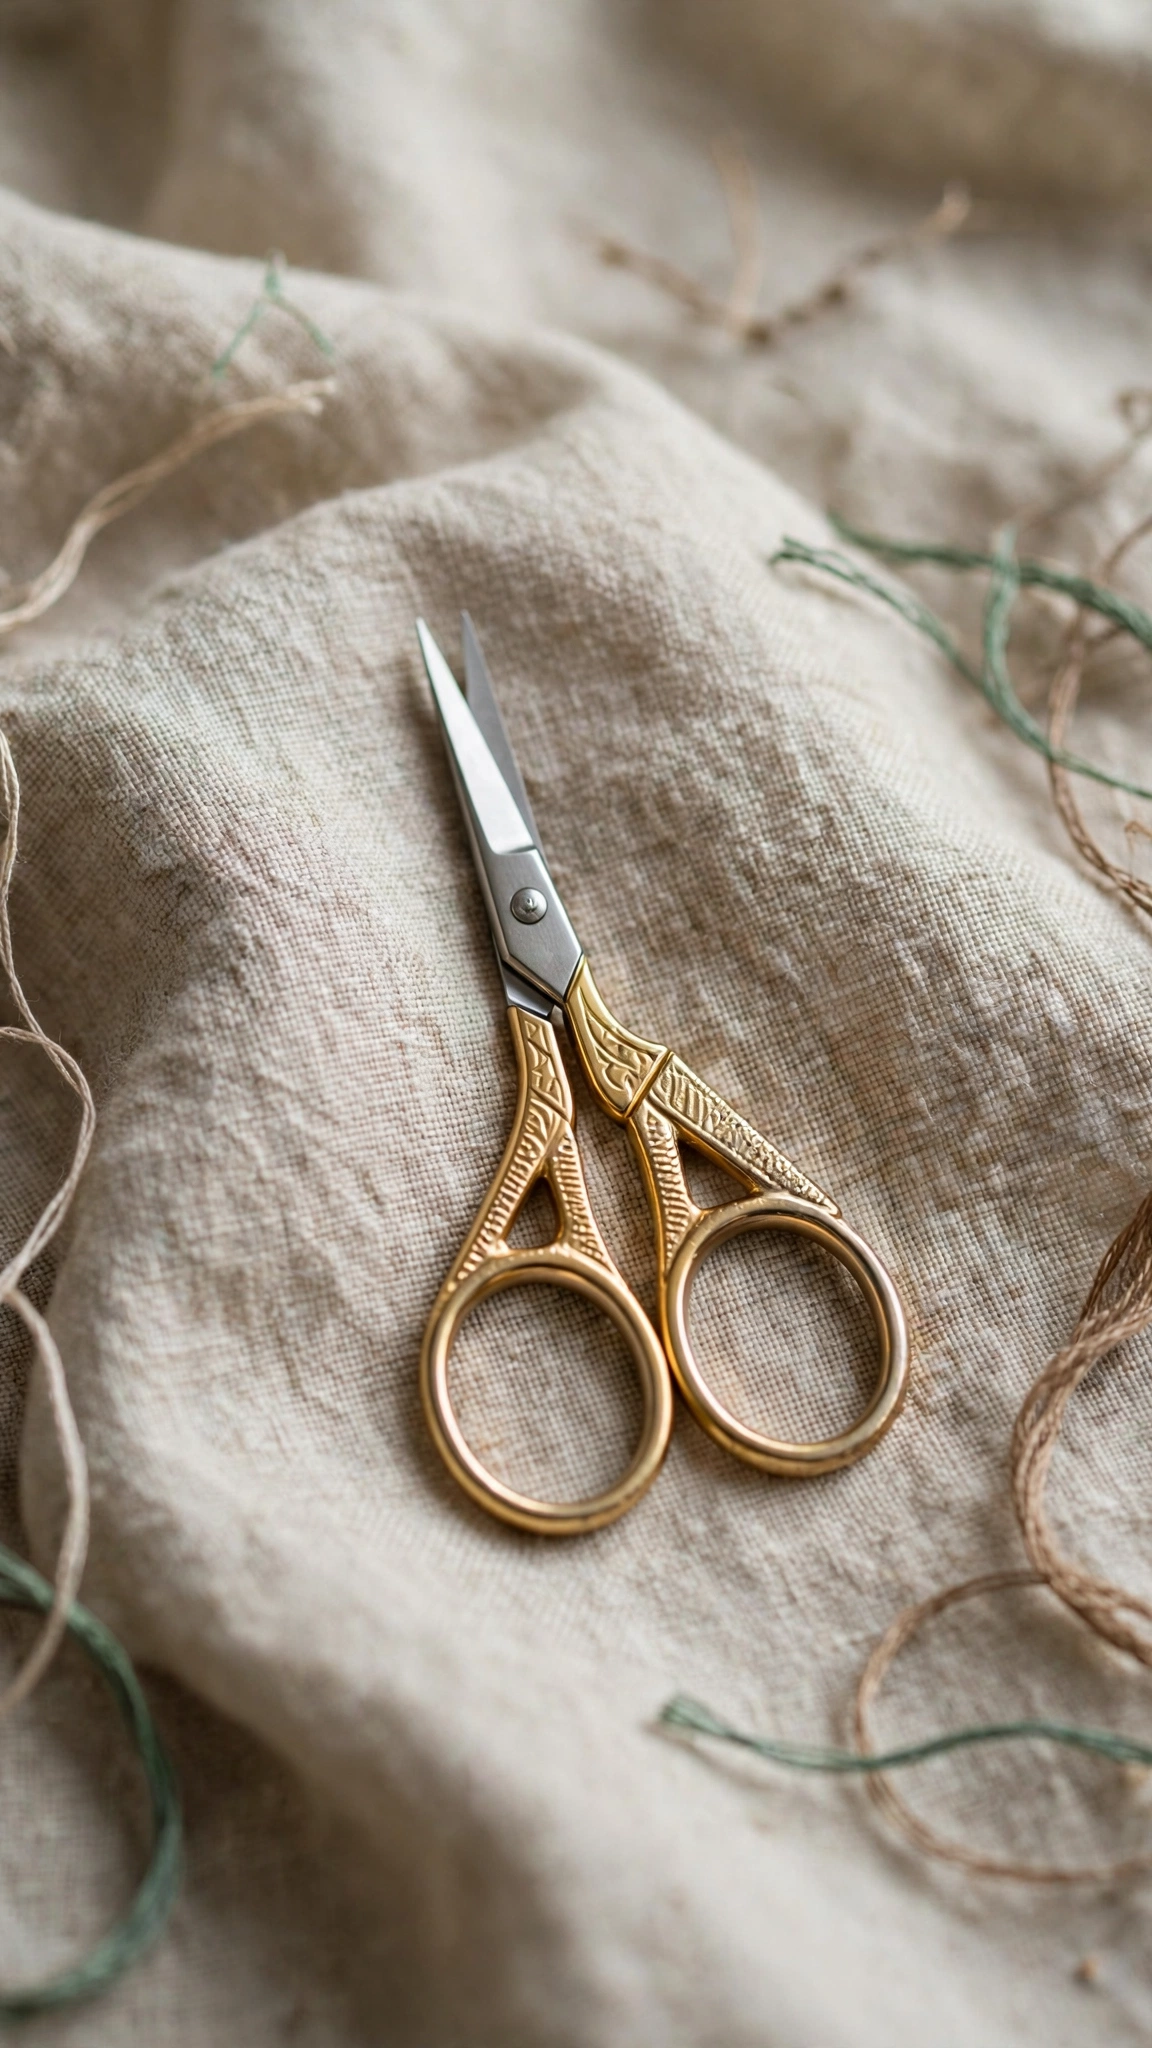
5. Small scissors
Any small, sharp pair of embroidery scissors works. They let you snip thread ends close to the fabric without risking a cut in your work.
6. A marking pen
A water-soluble fabric marker or a fine heat-erase pen lets you draw or transfer your design onto fabric. These marks wash or iron away when you are done, so there is no pressure to draw perfectly.
Setting Up Your Hoop the Right Way
Loosen the screw on your hoop and separate the two rings. Lay your fabric over the inner ring, then press the outer ring down over it and tighten the screw about halfway. Now gently pull the fabric taut from all four sides, like stretching a drum head, and tighten the screw fully. The fabric should be firm and bounce slightly when you tap it.
This step matters more than beginners realize. A loose hoop leads to puckered fabric and uneven stitches. If your fabric goes slack as you stitch, stop and re-tighten. My guide on fixing embroidery fabric puckering covers this in depth if you ever run into wrinkly results.
How to Thread a Needle (Without the Frustration)
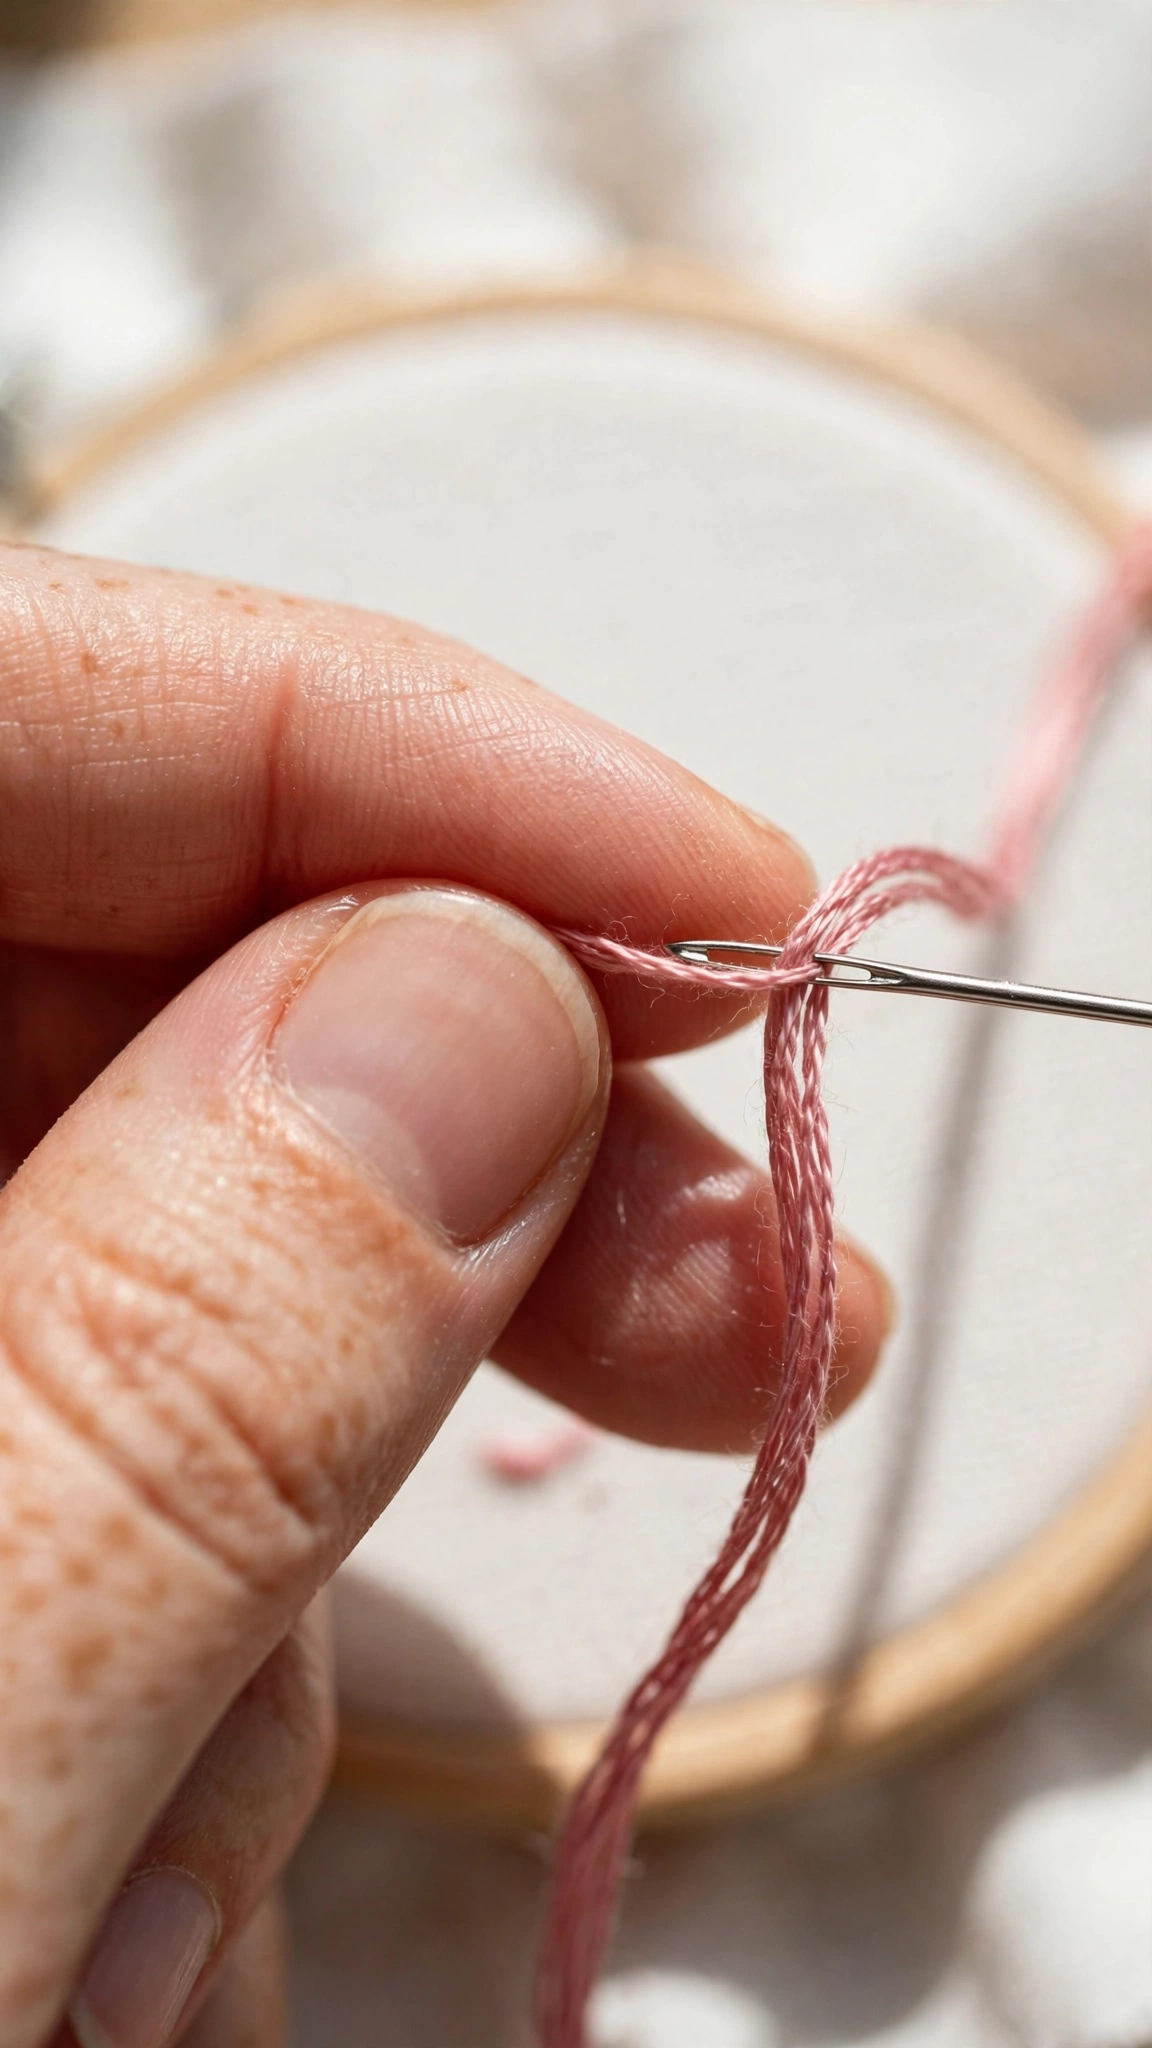
Cut a length of floss about 18 inches long, roughly the distance from your fingertips to your elbow. Longer thread tangles; shorter thread means constant re-threading. Then separate the strands: hold the bundle at one end and gently pull out two strands for fine detail work, or three for slightly bolder lines.
Here is the trick most beginners miss: pull the strands apart from the bundle, then put them back together before threading. Floss comes slightly twisted from the skein, and separating then recombining gives you smoother, less tangly stitches.
Thread your needle and tie a small knot at the end, or try the loop method: fold one strand in half, thread the loop end through the needle, and catch the loop with your first stitch so no knot shows on the back. I use knots for practice pieces and the loop start for anything I might frame.
Your First Stitches: The Big Three
You only need three stitches to make beautiful things. Seriously. Most floral hoop art and monograms are built from these.
Running stitch
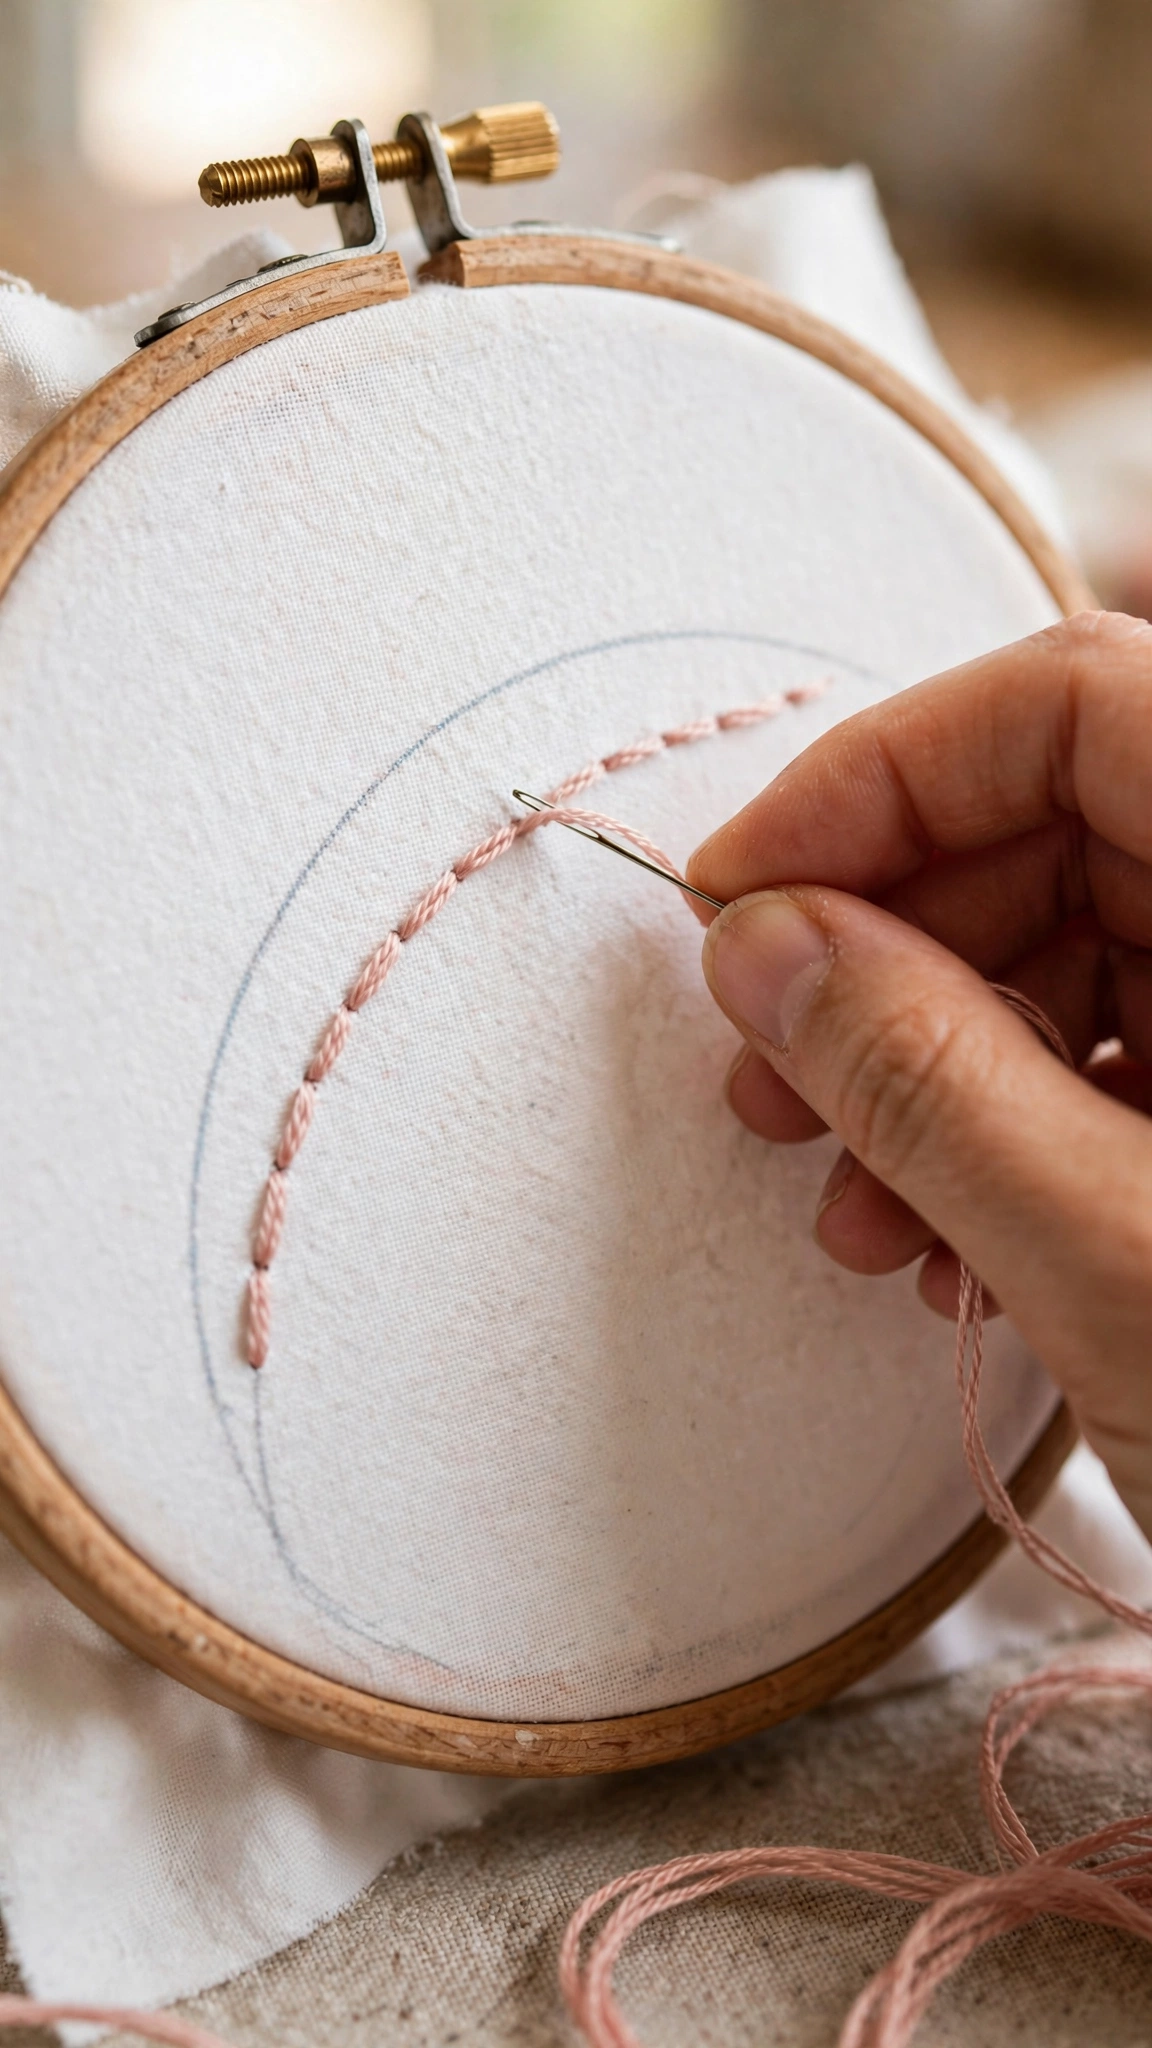
Bring your needle up from the back, take it down a short distance ahead, and repeat in a line. It looks like a dashed line. This is the easiest stitch in embroidery and a wonderful warm-up.
Backstitch
The workhorse of hand embroidery. Bring the needle up, go down one stitch-length ahead, then come up one stitch-length ahead of that and go back down into the end of the previous stitch. It creates a solid, unbroken line perfect for outlines and lettering. I have a full step-by-step tutorial on backstitch embroidery for beginners if you want to master it next.
Lazy daisy (detached chain stitch)
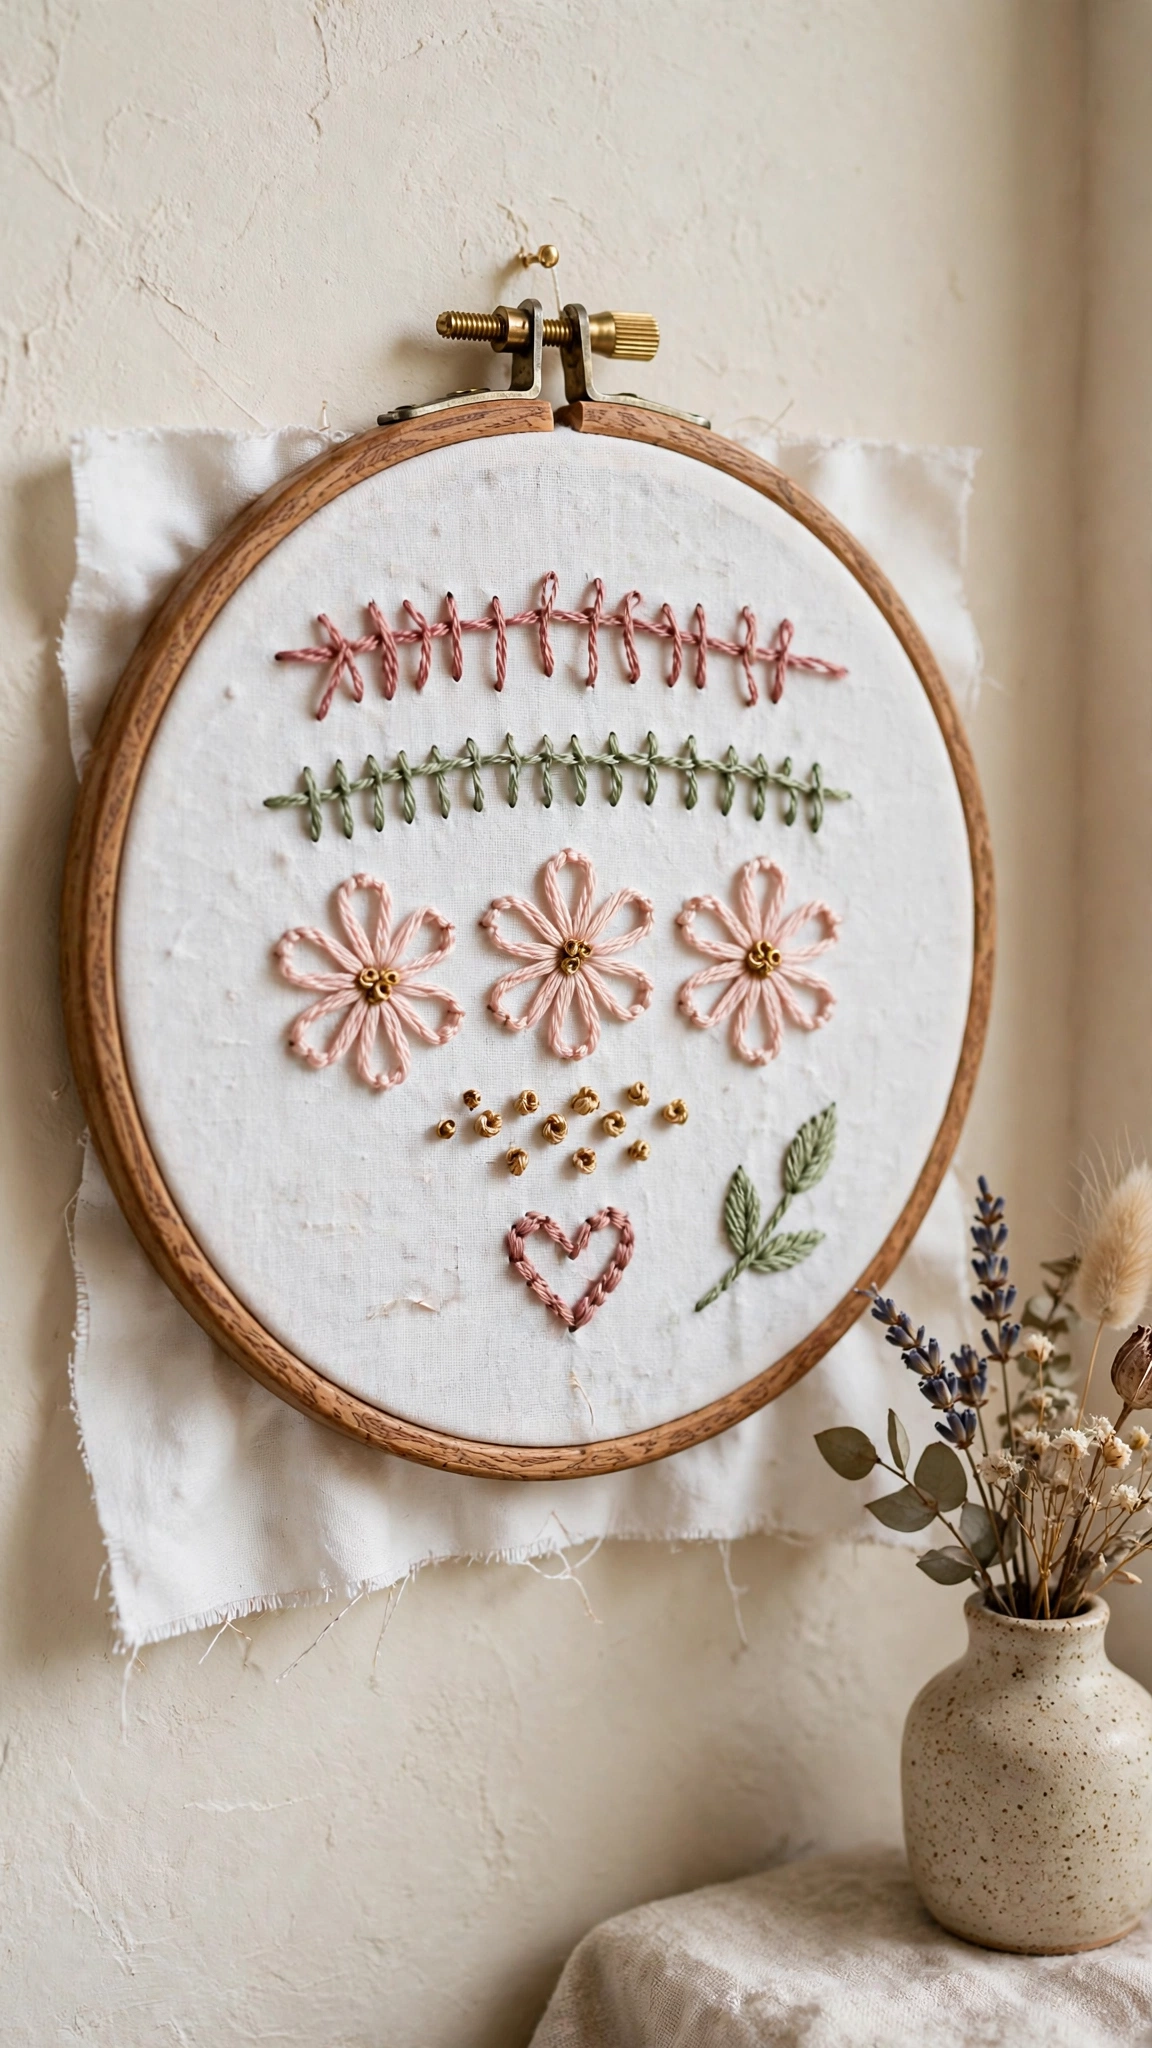
Bring the needle up, go back down right next to where you came up to form a loop, then come up at the tip of the loop and tack it down with a tiny stitch. Five lazy daisies in a circle make a flower. This one stitch will make you feel like an artist.
Your First Practice Session: A 30-Minute Plan
Do not start with a real project yet. Grab a scrap of cotton in your hoop and try this:
- Minutes 0-10: Practice the running stitch in rows. Focus on keeping your stitch lengths even. They will not be even. That is fine.
- Minutes 10-20: Switch to backstitch and make straight lines, then try following a curved line you drew with your fabric marker.
- Minutes 20-30: Stitch a row of lazy daisies. Make five petals in a circle and add a French knot center if you are feeling brave (my French knot step-by-step tutorial will hold your hand through it).
When you finish, you will have a little sampler of everything you learned. Date it and keep it. Mine lives in a drawer, and I pull it out whenever I need a reminder of how far I have come.
Common Beginner Mistakes (and How to Avoid Them)
Pulling thread too tight
This is the number one beginner mistake and the main cause of puckered fabric. Your stitches should lie flat and relaxed on the fabric. Think of it as laying the thread down, not yanking it through. If your fabric ripples, loosen up.
Using thread that is too long
Thread longer than 18 inches twists, knots, and frays. It is tempting to use a long piece to avoid re-threading, but shorter pieces genuinely save time and frustration.
Skipping the hoop
Stitching without a hoop, called stitching “in hand,” is an advanced skill. Beginners almost always get neater results with the fabric held taut. Use the hoop every time until it feels natural.
Choosing a complicated first pattern
That elaborate botanical design will still be there in a month. Start with something simple like a heart, a flower, or your initial. Small wins build the confidence for bigger projects. When you are ready, browse my easy embroidery ideas for beginners for projects matched to your skill level.
Comparing your first piece to someone’s hundredth
Every stitcher you admire once made lopsided French knots. Your first hoop is supposed to look like a first hoop. Enjoy the wobble.
Transferring a Pattern to Fabric
Once you have practiced the stitches, you will want to stitch a real design. The simplest method is tracing: tape your pattern to a window, tape your fabric over it, and trace with your water-soluble marker. For darker fabrics or more detailed patterns, iron-on transfer pens and water-soluble stabilizer work beautifully. I cover every method in my guide to transferring embroidery patterns to fabric.
What to Stitch First: Real Project Ideas
When practice feels good, graduate to a small finished project. A simple floral hoop, a monogrammed tea towel, or a tiny stitched quote all use just the three stitches you learned today. A finished piece you can hang or gift is the best motivation to keep going. My DIY embroidered hoop art tutorial walks you through a complete wall-ready piece, start to finish.
Caring for Your Finished Embroidery
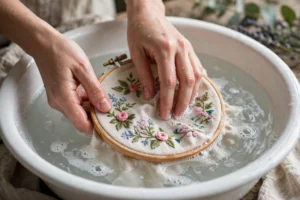
Wash finished pieces gently by hand in cool water with mild soap, and never wring them. Press from the back with a towel underneath to protect the texture. If you used a water-soluble marker, a soak will dissolve any remaining lines. Keep finished hoops out of direct sunlight to prevent thread colors from fading.
A Final Word Before You Begin
Hand embroidery rewards patience more than talent. Your stitches will get straighter, your tension will even out, and one day you will look at a piece and think, “I made that.” Pick up your hoop, thread your needle, and make that first stitch today. I am cheering for you, and I cannot wait to see what you create.
Happy stitching,
Emily

2 thoughts on “How to Start Hand Embroidery for Beginners (Step-by-Step Guide)”