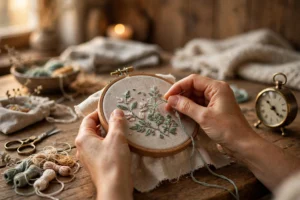
My first needle took twenty minutes. One needle, twenty minutes, on a gray October Saturday in 2016, at the kitchen table of my first apartment, while I tried to stitch a strawberry sprig I’d traced from a library book onto a scrap of white cotton for my sister’s birthday hoop. The floss, DMC 321, frayed into a sad little brush every time it reached the eye, and I kept wetting the end until my lower lip was stained pink. When the strand finally slid through, I said “thank you” out loud to an empty kitchen. I’m not proud of that. I’m telling you because this post is everything I’ve learned since about how to thread embroidery needle quickly, cleanly, and without staining your face. Ten years and roughly four thousand threading jobs later, I can do it in about eight seconds in decent light. Here’s how.
Your needle is probably wrong, and that’s half the battle
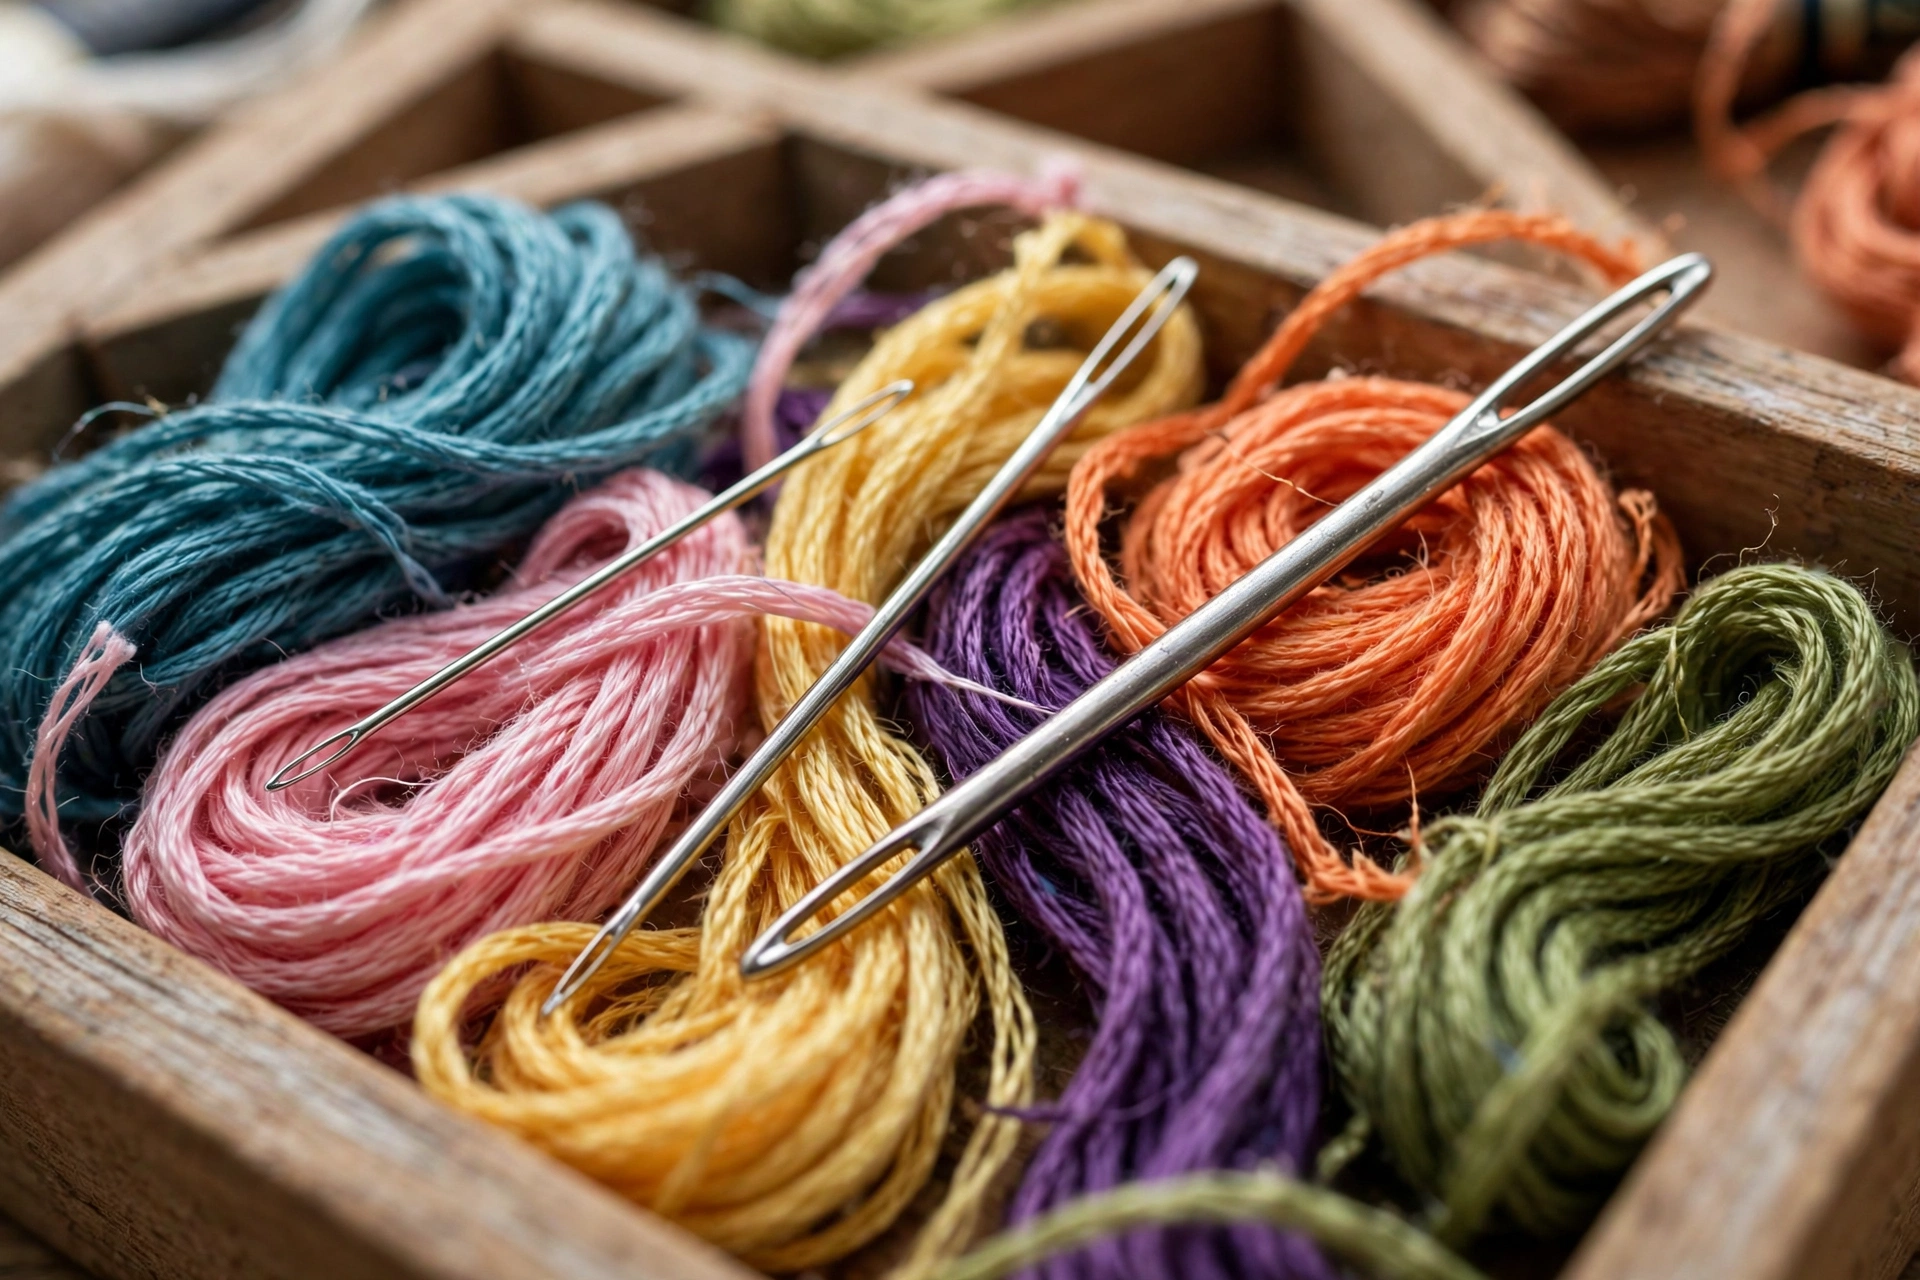
Before any technique talk, let’s talk hardware, because the needle matters more than the method. Most beginner kits include a needle with an eye like a keyhole in a dollhouse door, chrome plating that flakes after a week, and a shaft that bends if you look at it wrong. Throw away the needle that came in the kit. I mean it. A three-pack of John James embroidery needles costs about $3.50 and will outlast that kit needle by approximately forever.
Embroidery needles, also called crewel needles, have long eyes. That long eye is the whole point: it gives the floss room to pass without shredding. Sharps have tiny round eyes and are for people with the patience of saints and the eyesight of hawks. Use embroidery needles.
Needle sizes run 1 to 10, and the numbering is backwards from what you’d expect: the bigger the number, the smaller the needle. After years of arguing with myself, here are my defaults. Size 3 for six strands of floss, chunky outlines, and stitching on denim. Size 5 for three or four strands, the workhorse for filling shapes. Size 7 for two strands on quilting cotton or linen, my most-used needle by a mile, the one I’d grab if the house were on fire. Size 9 for one strand, fine detail, and French knots the size of pinheads. Chenille needles, sizes 18 to 24, are a separate family with enormous eyes made for wool and ribbon; they thread like a dream, and I sometimes cheat by using a chenille 24 for two strands of floss on loosely woven fabric.
The rule is simple: the eye should be just big enough for the floss to glide through with a little friction. If you’re forcing it, the needle is too small. If the needle slides around on the thread like a shopping cart with a bad wheel, it’s too big. I keep a size 5, a size 7, and a size 9 in a little felt needle book, and those three cover about 95 percent of everything I stitch. If you want my full rundown of what belongs in a beginner’s kit, it’s in my embroidery tools checklist for beginners.
Cut the right length and split the right strands
The second mistake I see everywhere is thread length. Beginners cut three feet of floss because it feels efficient, fewer re-threads, more stitching. Then they spend half the session fighting tangles, and the floss looks like it survived a storm by the end. Cut eighteen inches. That’s it. Elbow to fingertip is the old rule of thumb, but my arm is apparently longer than average, so I’ll just say eighteen inches, about 45 centimeters, and leave it there. Shorter thread means less drag through the fabric, less fraying, less tangling, and honestly, re-threading takes eight seconds once you know how, which is the entire point of this post.
Strand count matters too. A full skein of DMC floss is six strands twisted together, and almost nobody stitches with all six on standard fabric. Two strands is the default for outlines and most beginner projects on quilting cotton. Three strands gives bolder lines. Six strands is for big, chunky, rustic work, and if you try to thread six strands through a size 9 needle, you will learn a new kind of frustration. Match the strands to the needle: two strands with a size 7, three to four with a size 5, six with a size 3. Get this pairing right and threading gets dramatically easier before you’ve even touched the floss to the needle.
One more thing about splitting: strip the strands one at a time, then lay them back together. Pulling one strand out of the six lets the twist relax, and the floss lies flatter and threads cleaner than a clump you yanked apart all at once. It takes fifteen extra seconds and it makes a visible difference. If tangling is your real enemy mid-stitch, I wrote a whole post on how to stop thread tangling in embroidery, because that battle is fought separately.
How to thread embroidery needle: 7 methods that actually work
Here they are, ranked roughly by how often I use them. The first one handles about 80 percent of my threading. The rest are for the other 20 percent, the days my hands are dry, the light is bad, or the needle is being difficult.
Method 1: The pinch (my default)
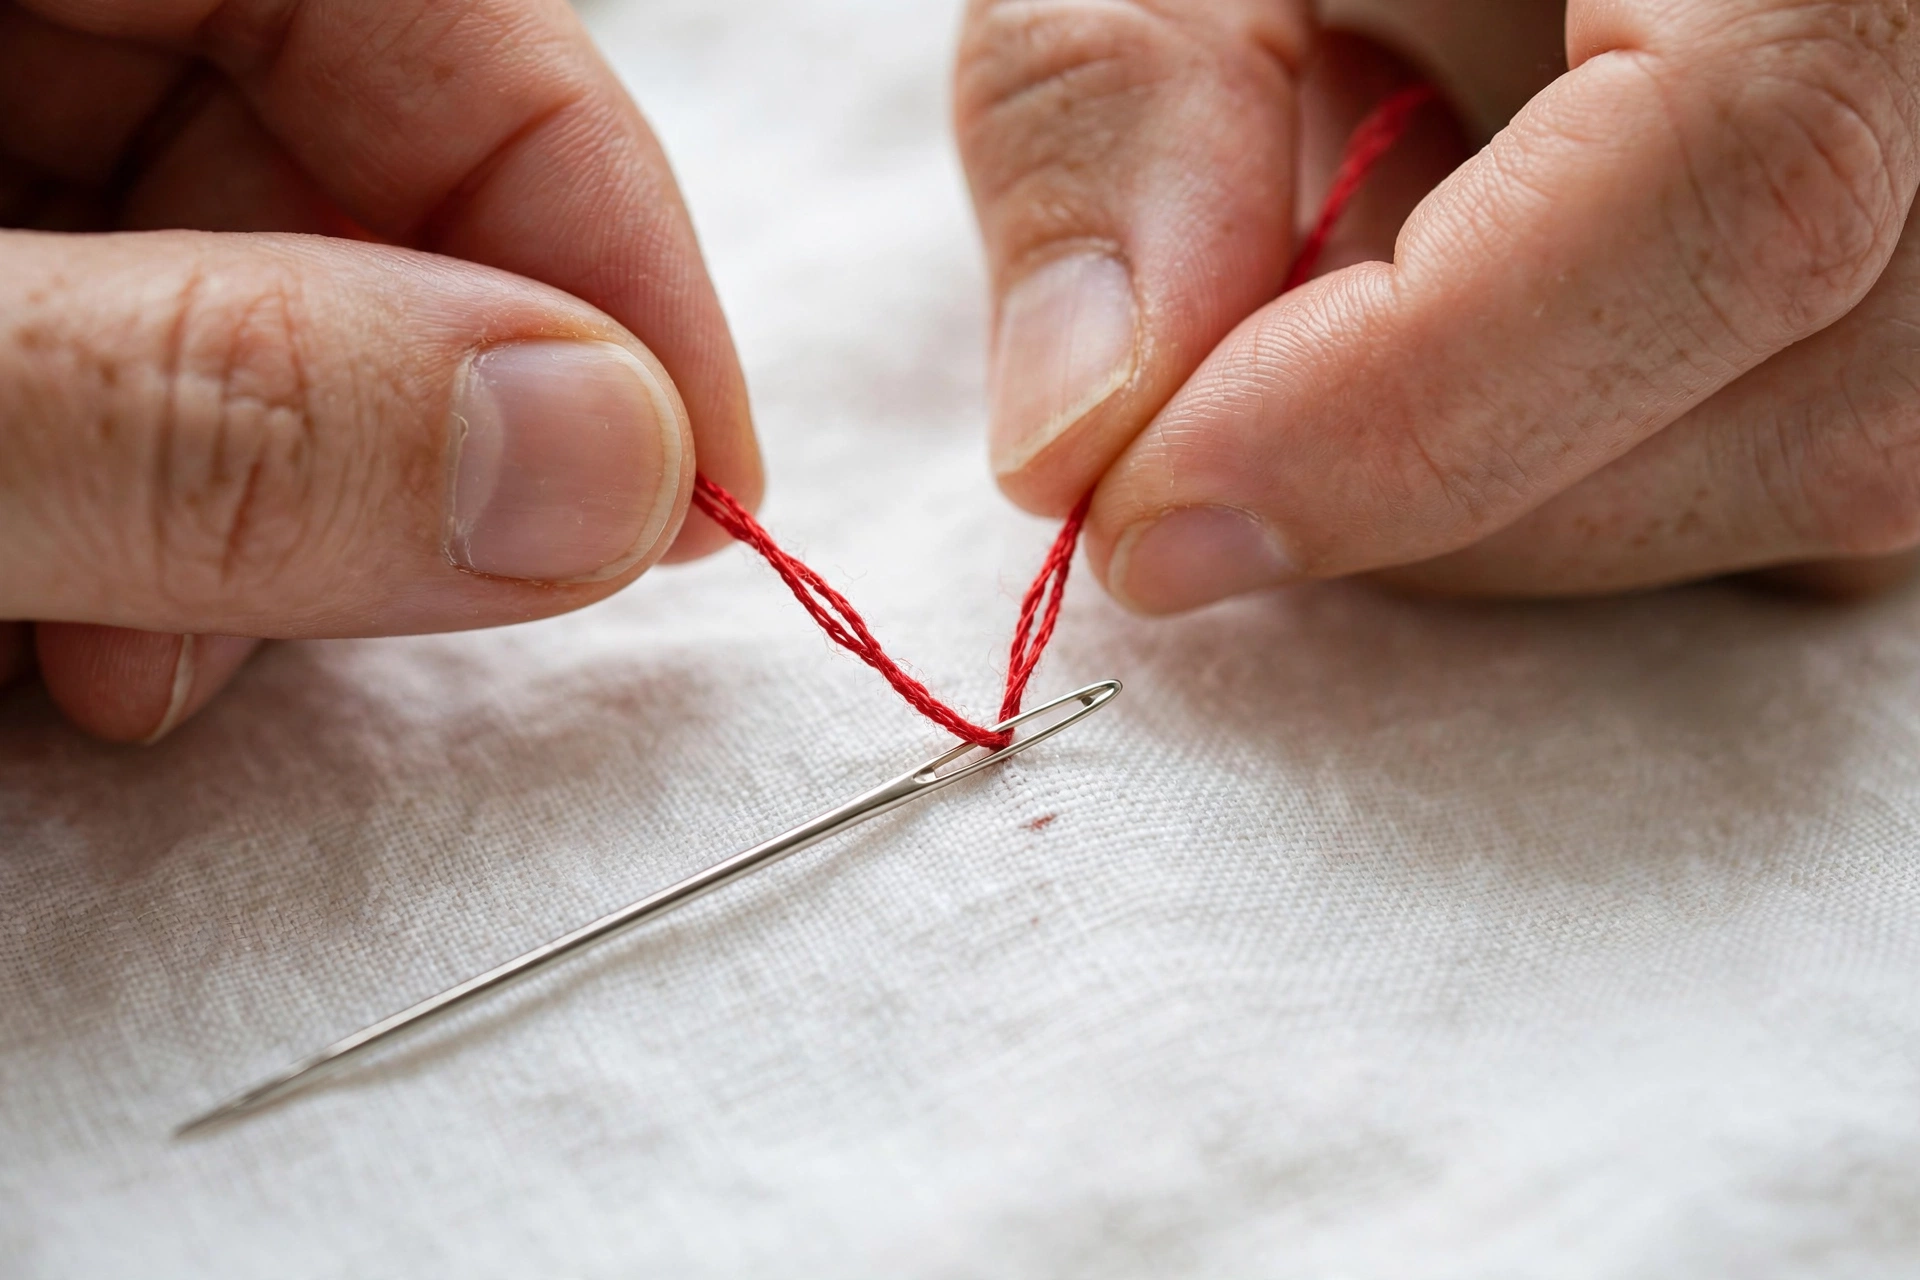
Pinch the floss between your thumb and forefinger about a quarter inch from the cut end, so just a tiny nub of thread sticks out past your fingers. Now slide the needle, eye first, over that little nub. Your pinched fingers keep the floss from bending or fraying, and the eye slides right over it. This works because the problem was never your aim; it was the floss collapsing at the last millimeter. The pinch method removes that last millimeter from the equation. I thread two strands through a size 7 this way without even looking most of the time.
Method 2: Fold and crease
Fold the last quarter inch of floss back on itself and press the fold hard with your fingernail to crease it. Feed the creased fold through the eye instead of the cut end. The fold is stiff, it doesn’t fray, and it holds its shape. Then pull the loop through and slide it off. This is my go-to when the floss end is already frayed and I’m too lazy to cut it fresh. It also works beautifully on slightly fuzzy threads like perle cotton that refuse to behave.
Method 3: The wire threader
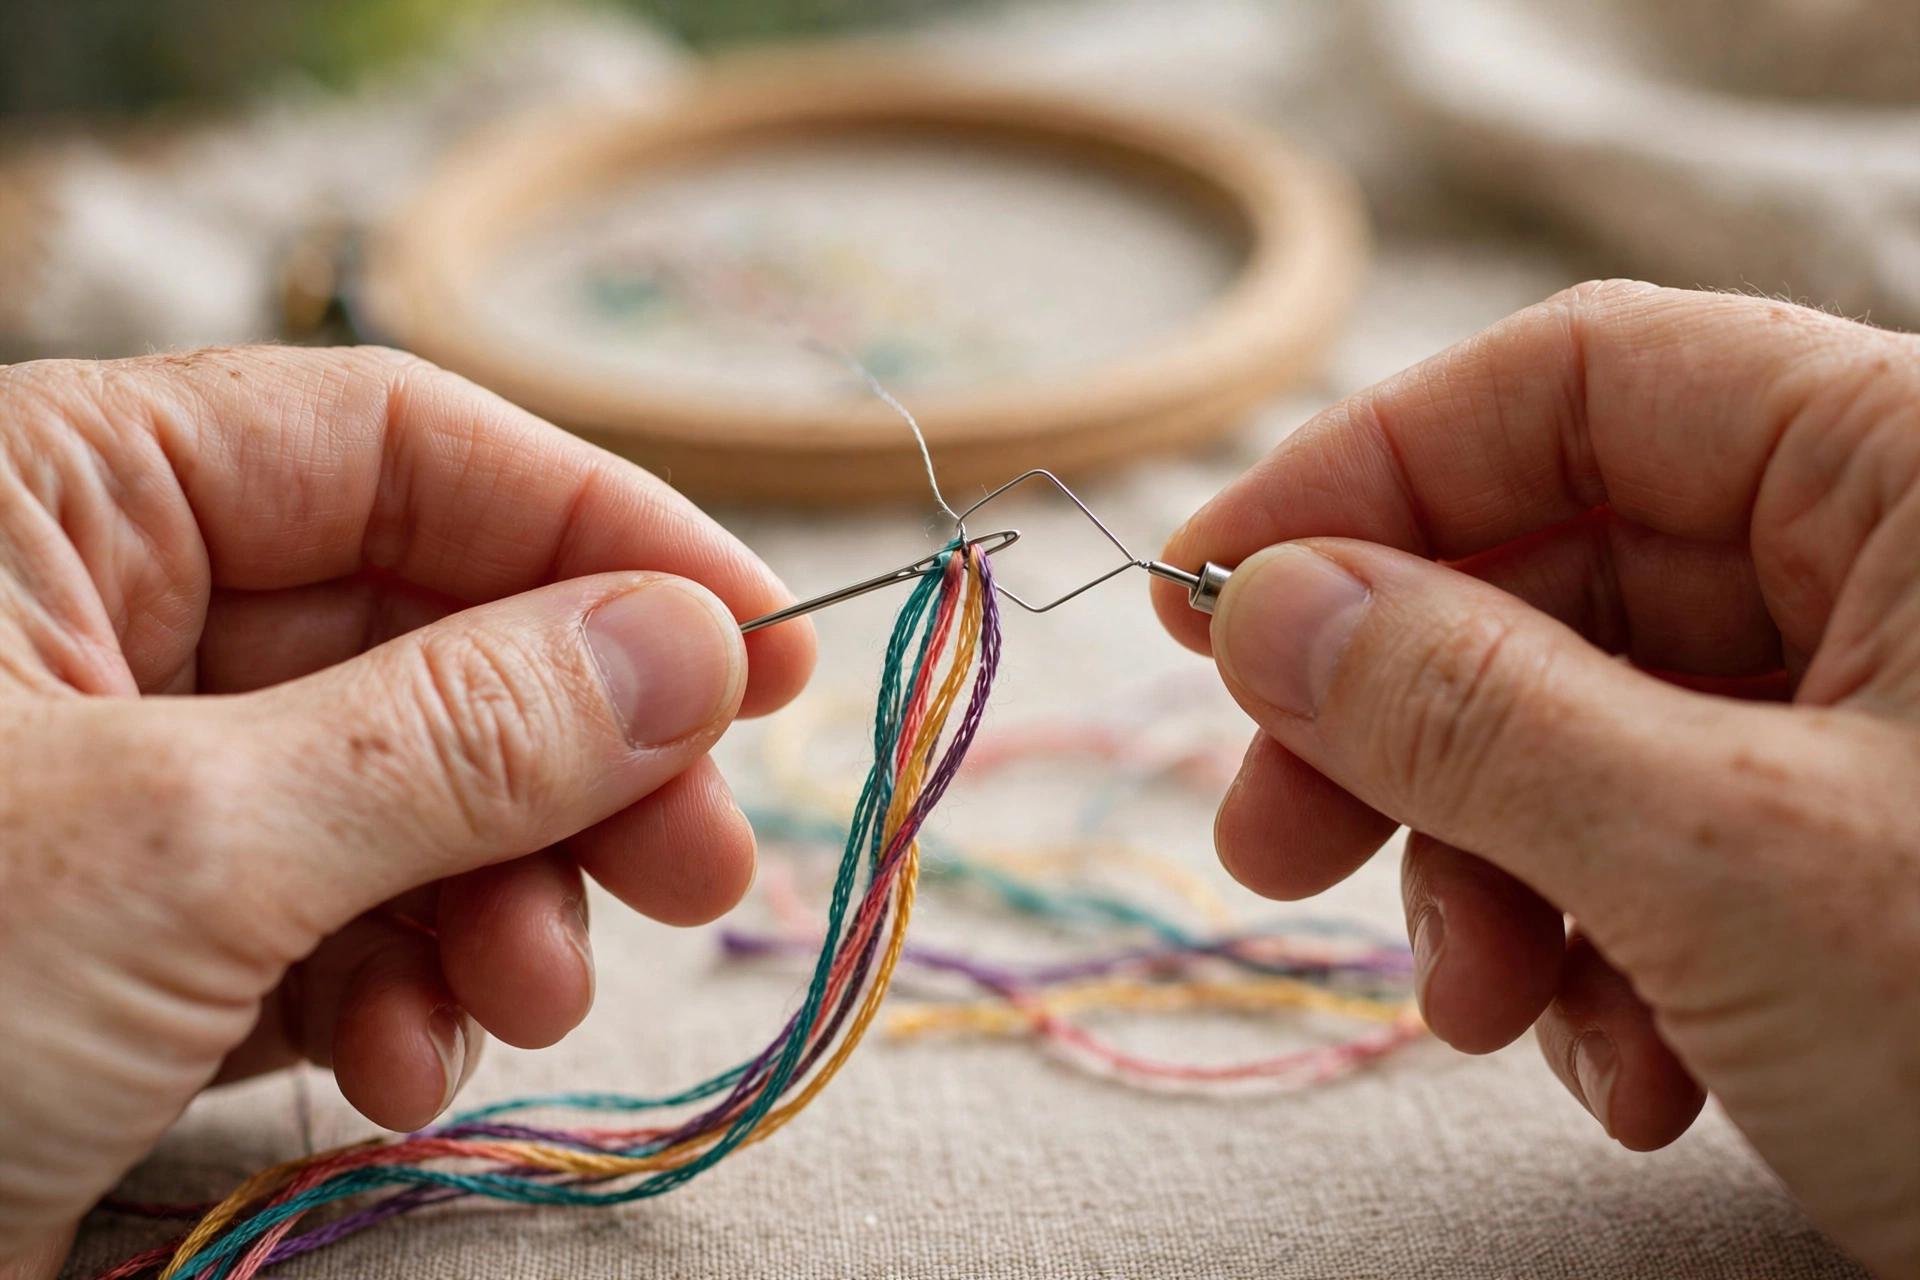
Push the thin wire loop of the threader through the needle eye, pass your floss through the wire loop, and pull the threader back out. The floss follows. A pack of five costs about a dollar, and John James makes a decent sturdy version. They do break, usually at the worst moment, right at the wire bend, so I keep them everywhere: one in the needle book, one in each project bag, one in the drawer next to the couch. No shame in this method. Professional stitchers use threaders. The only shame is in squinting for ten minutes out of stubbornness.
Method 4: Cut fresh, cut angled, don’t lick
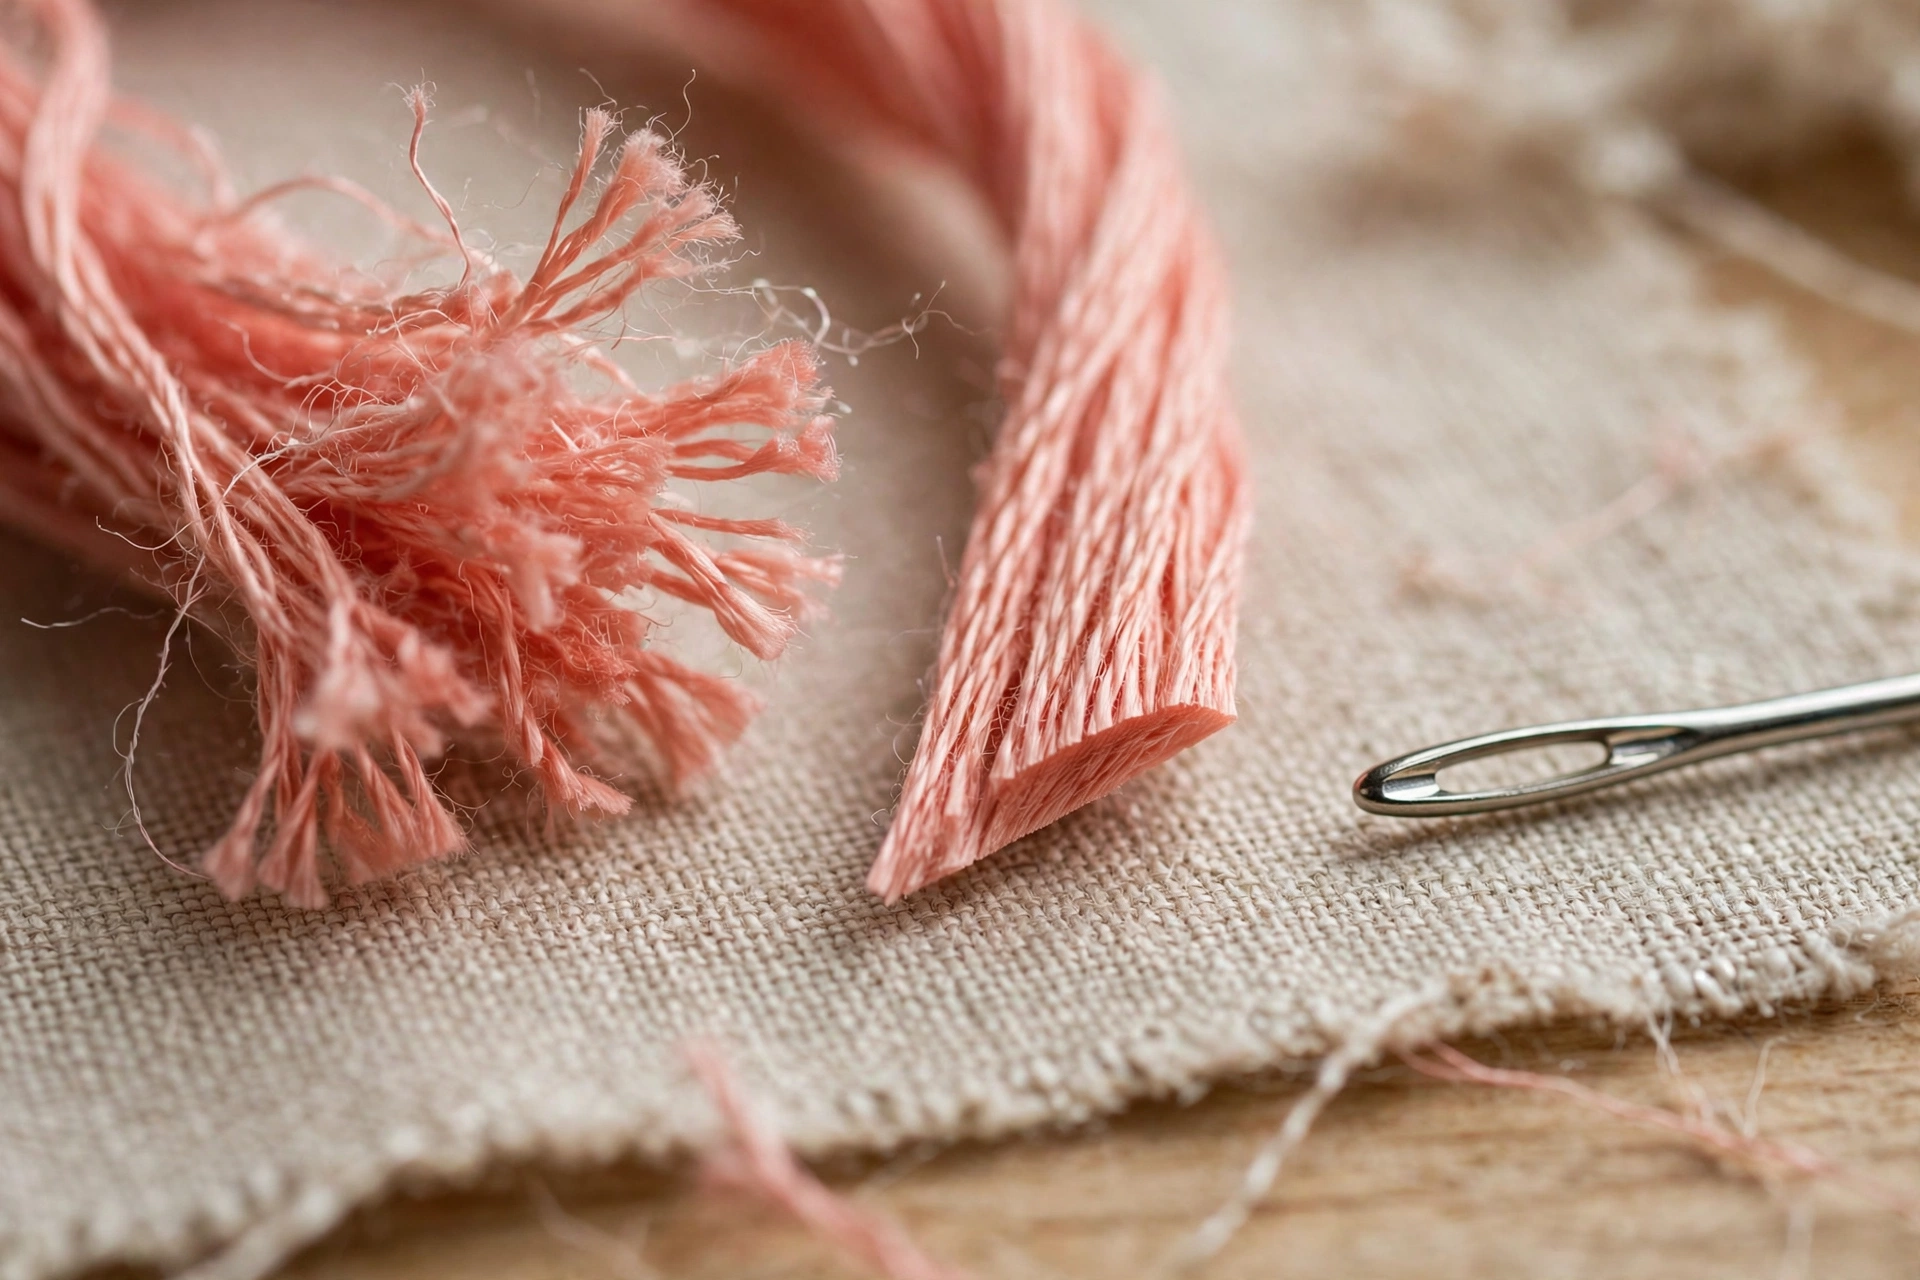
Here’s my strong take: stop licking the floss. Saliva makes the fibers swell and cling, and it turns the end into a damp paintbrush. Instead, cut a fresh quarter inch off the end with sharp scissors, and cut it at a 45-degree angle. The angled cut gives you a pointed tip that finds the eye like an arrow. Then, and this is the part people skip, don’t touch the cut end with your fingers. Skin oil does the same clinging thing as saliva. Cut it, thread it, stitch.
Method 5: Needle over thread
Flip the whole operation around. Lay the floss flat on your palm or on the table, hold it taut with one finger, and press the needle’s eye down over the thread. The hard surface behind the floss keeps it from bending away, which was the entire problem all along. This one feels backwards the first three times you try it, then it clicks, and suddenly you’re threading in half the time. It’s especially good for short thread tails where there’s nothing to grip.
Method 6: The white card trick
Half of threading difficulty is visibility, not dexterity. Hold the needle up against a white index card or a sheet of white paper held right behind the eye. The contrast makes the eye pop. Add a daylight lamp or sit by a window, and if you’re over forty, put on the reading glasses without embarrassment. I bought my first pair of 1.5x readers at age 41 specifically for threading needles, and my threading time dropped by half overnight. The needle didn’t change. My eyes did. Adjust accordingly.
Method 7: Wet the needle, not the thread
If you must use moisture, put a tiny drop of water on your fingertip and touch it to the needle’s eye, not the floss. The damp eye grabs the dry floss and pulls it through cleanly, with none of the fiber-swelling of the licking method. Thread conditioner, the little cake of stuff sold as Thread Heaven or beeswax, does something similar: run the floss through it once and the strands grip together and slide through the eye as one unit. I use conditioner mostly for metallic floss, which is a special circle of hell I’ll address another day.
The four threading mistakes I see in every beginner class
I taught a small beginner workshop in 2022, six women around a dining table, and every single one of them made at least two of these. They’re universal.
First, threading the wrong end. Floss has a nap, a direction it was twisted in. Stroke a strand between your fingers: smooth one way, slightly rough the other. The end that came off the skein first, the pulled end, threads smoother and tangles less. Cut your lengths, then thread the pulled end. This sounds fussy until you try it, and then it sounds like physics.
Second, the frayed end standoff. When the end frays, beginners keep stabbing the frayed brush at the eye, hoping this time will be different. It won’t be. Cut a quarter inch off and start fresh. Every failed attempt frays it more, so the rule is: two failed stabs, cut, retry. I enforce this on myself like a tiny strict teacher.
Third, the strand-to-needle mismatch. Six strands through a size 9 eye is not a threading problem, it’s a physics problem. Size up the needle or strip down the strands. When in doubt, size up; a slightly large needle leaves a slightly large hole, and the floss plumps to fill it. A too-small needle just shreds your thread and your patience.
Fourth, bad light and held breath. People hunch over, hold their breath, and squint in a dim corner, then wonder why their hands shake. Sit by a window. Breathe. Put the white card behind the eye. Threading is a two-second job done in good conditions and a ten-minute ordeal done in bad ones, and the conditions are usually the difference.
When to stop fighting and buy the threader
Let me close with permission, because some of you need it. If threading a needle hurts your eyes, frustrates you, or eats ten minutes of every stitching session, buy the wire threaders. They’re a dollar. They live in my kit next to needles that cost three times as much, and I reach for one without a flicker of shame about twice a week, usually late at night when the lamp is the only light on and my eyes have given up.
Threading is a gateway skill, not the craft itself. Nobody ever framed a beautifully threaded needle. The stitching is the point, the thread going through the eye is just the toll booth on the way there, and there’s no prize for paying the toll the hard way. Learn the pinch method for everyday use, keep a threader for the hard days, cut your floss at eighteen inches, and get on with the actual embroidery. If you’re just starting out, my beginner’s guide to hand embroidery picks up right where this leaves off, needle threaded and ready.
Now go thread something. And if you ever find yourself threading a needle by the light of a phone flashlight in a parking lot at 9pm because you forgot to do it at home before a stitching meetup, know you’re in excellent company. Ask me how I know.