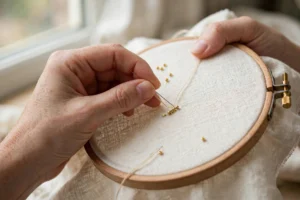
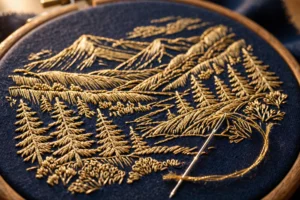
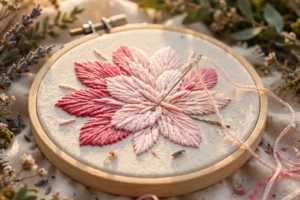
Thread painting looks like the kind of embroidery only experts do. You have seen the pieces: a robin with a breast that glows russet, a pansy with velvet petals, a landscape so detailed it could be a watercolour. Every time I see one I hear the same question in my head that I know you are asking too: could a beginner really make that?
The answer is yes, and sooner than you think. Thread painting is simply embroidery worked with a single strand of thread, using tiny long and short stitches to blend colours the way a painter blends paint. No special talent required, just patience and good light. This guide gives you the full beginner foundation: materials, the core stitch, colour blending, and a gentle first project.
What is thread painting, exactly?
Thread painting, sometimes called needle painting or silk shading, is a surface embroidery technique where you fill a design with rows of closely worked long and short stitches. Because you use only one strand of floss, each stitch is hair-thin, so dozens of them pack together into a smooth surface that reads like brushstrokes.
The “painting” part comes from colour blending. Instead of one flat colour, you stitch in many shades, sometimes ten or more in a single flower, letting dark and light threads mix at their edges. From a normal distance the stitches disappear and all you see is shading, glow, and depth.
Its friendly cousin is satin stitch shading, which blends two or three clear colour bands with two strands. Thread painting uses finer stitches, finer thread, and many more colours. If shading is a sketch, thread painting is the finished oil painting, and a confident beginner can start it directly.
What you will need
- Fabric: a smooth, tightly woven natural fabric. Cotton sateen, linen-cotton blend, or quilting cotton all work well. The weave must be tight enough to support hundreds of tiny stitches without them sinking. White, cream, or natural colours show blended colours truest.
- Hoop: a 5 or 6 inch (12 to 15 cm) wooden hoop. Keep the fabric drum-tight the entire time; thread painting exposes every wrinkle.
- Thread: stranded cotton floss (DMC or Anchor). Buy a family of 5 to 7 shades that flow from dark to light in one colour. A good beginner set for a flower: DMC 3803, 3689, 3806, 818, plus a dark like 3687. One strand only.
- Needle: a size 9 or 10 embroidery (crewel) needle or a sharp. The eye is small, so use a needle threader; your future self will thank you.
- Extras: small sharp scissors, a needle threader, a water-soluble marker or fine pencil for transferring the design, and a bright daylight lamp. Good lighting is not optional here; you are working with single strands and subtle colour differences.
- A simple design: start with one petal, leaf, or a small flower no bigger than 2 inches (5 cm). A simple daisy outline is perfect.
Choosing colours: thinking like a painter
Beginners often grab three colours and wonder why the result looks flat. Thread painting needs more steps in the gradient. Aim for five to seven shades in one colour family, running from deep shadow to bright highlight.
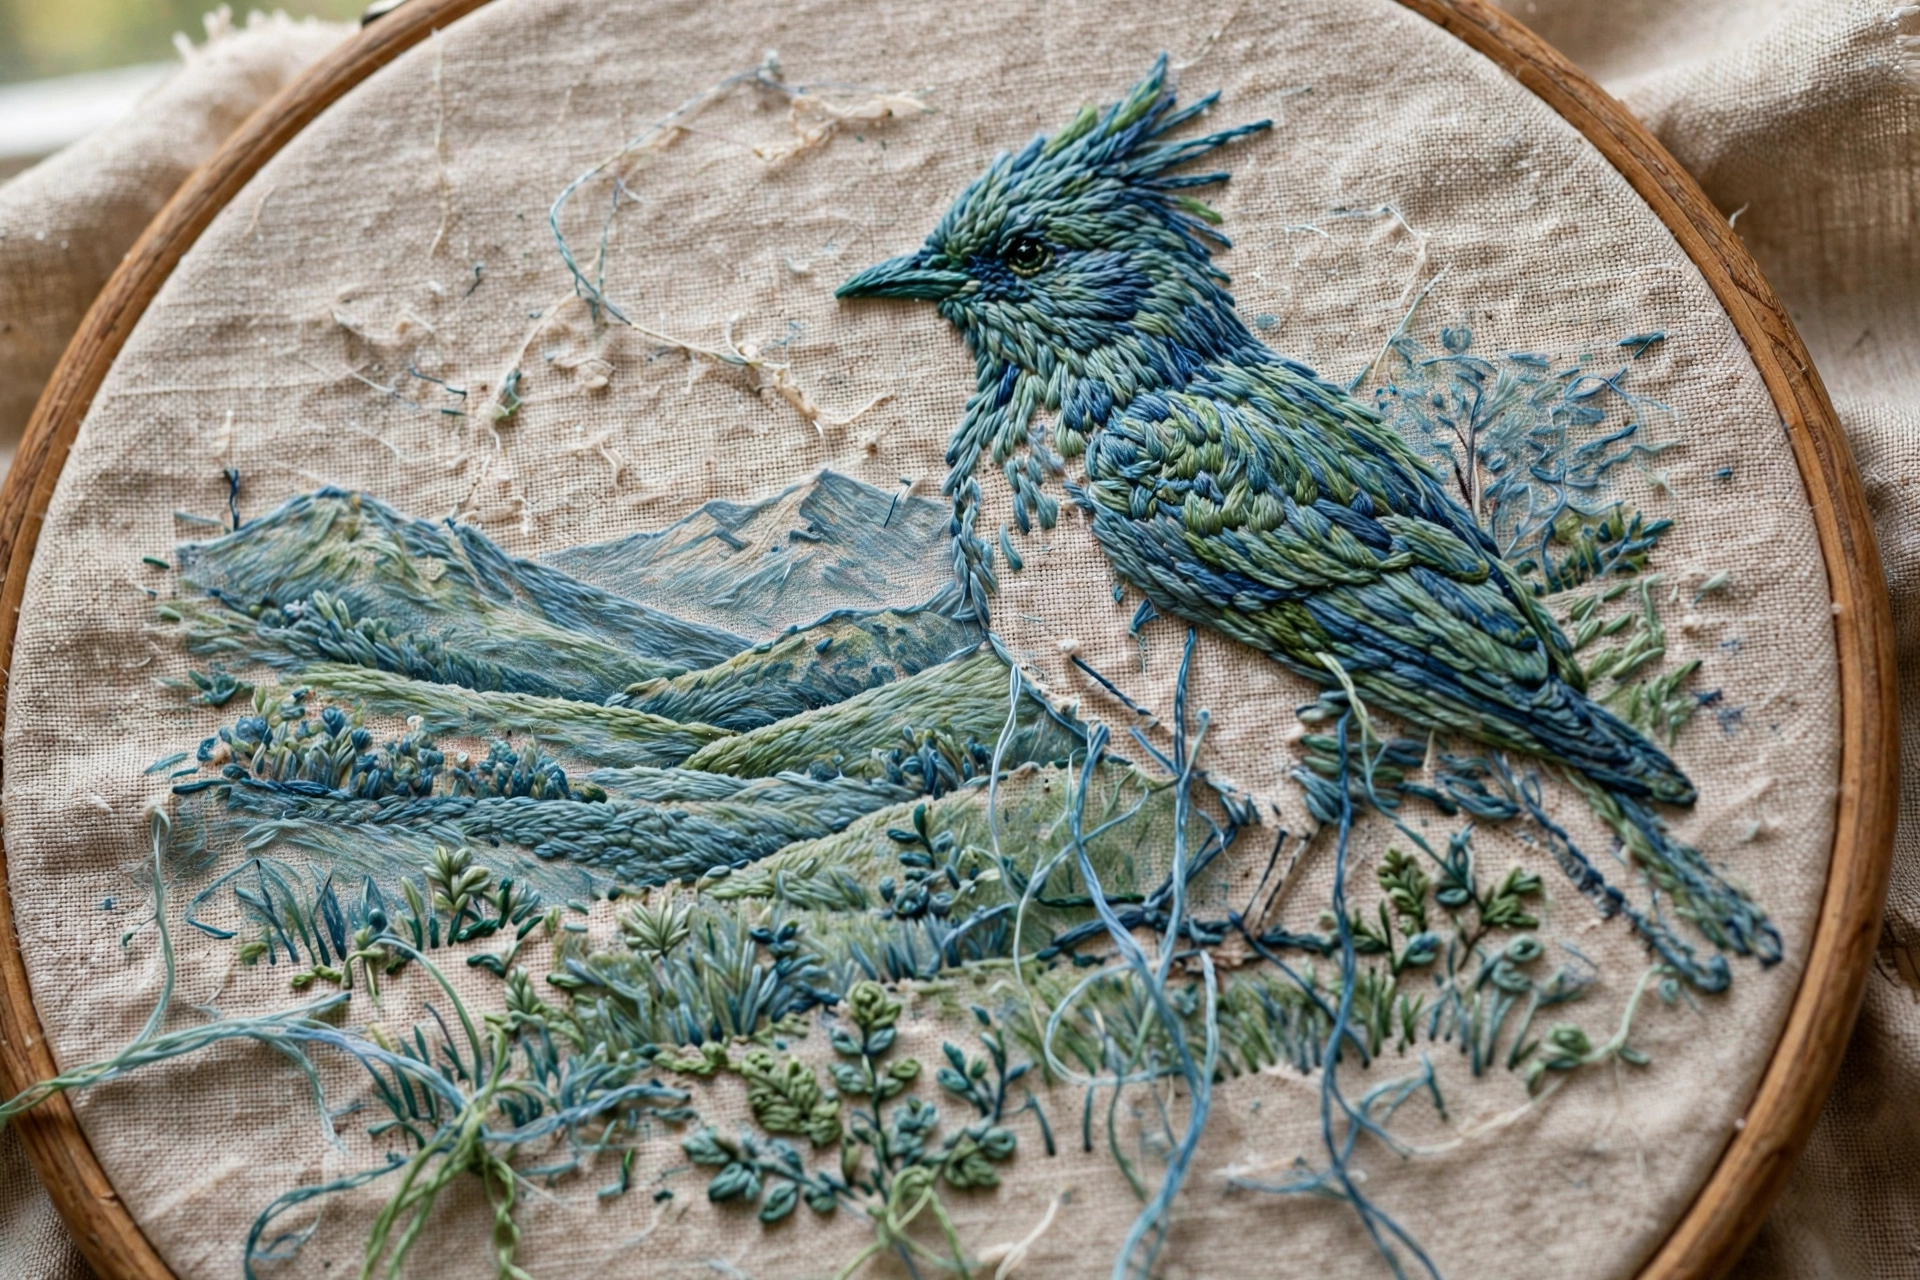
Here is how to build a beginner-friendly colour family:
- Pick your mid-tone first, the colour the petal “really” is. For a pink petal that might be DMC 3806.
- Add two shades darker for shadows: 3689 and 3687.
- Add two shades lighter for highlights: 818 and 819.
- Add one surprise shade from a neighbouring colour for realism. A pink petal often has a whisper of coral or mauve at its base; add DMC 761 or 3688. Real petals are never one pure colour.
Lay the skeins in a row from dark to light. If you can see each step clearly, the family works. Make each shade clearly different from the next, because blending softens everything by about half.
The core stitch: long and short, tiny and close
Thread painting uses one stitch almost exclusively: long and short stitch, worked very small. Here is the mechanic:
Work a first row along the edge of your shape, alternating long and short stitches, each 3 to 5 mm long, laid side by side with no gaps, following the direction the petal grows. Each new row starts in the gaps between the previous row’s stitches, overlapping them slightly. Every row nests into the one above.
The alternating lengths are the whole trick. If every stitch were the same length, you would get visible horizontal lines across your work. Staggering the lengths breaks up those lines, so rows melt into each other and the surface looks continuous.
Practise on a scrap: stitch a 1-inch square in two shades, alternating long and short, and watch the hard line between the colours vanish.
Step-by-step: your first thread-painted petal
Let us paint a single pink petal, darkest at the base, lightest at the tip, using one strand throughout. Hoop your fabric drum-tight and transfer a simple petal shape about 1.5 inches (4 cm) long.
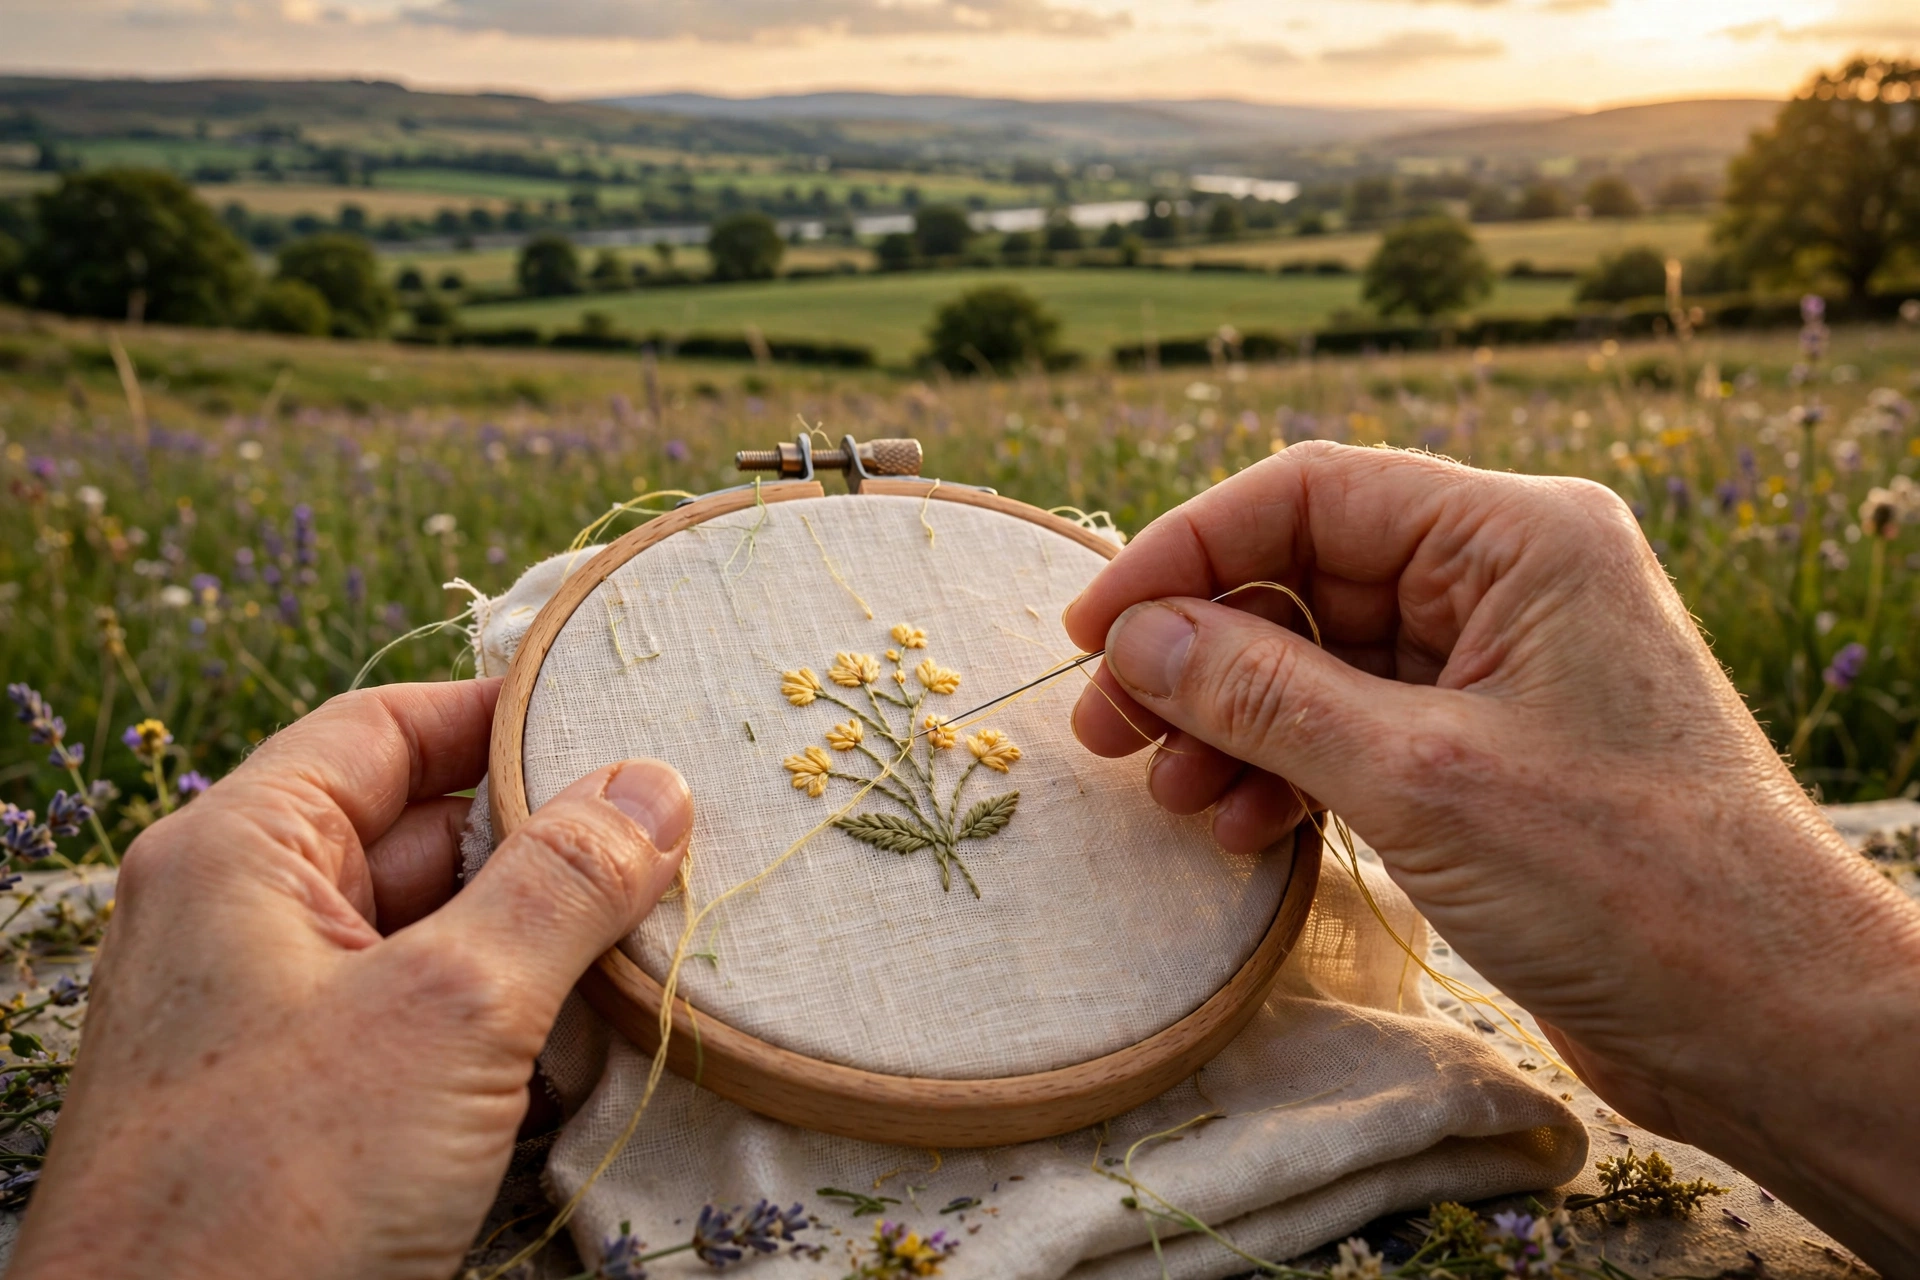
Step 1: Mark your colour zones
Lightly pencil your petal into three zones: dark at the base, mid in the middle, light at the tip. Write the DMC numbers in each zone if it helps. This map keeps you from drifting as you blend.
Step 2: Outline the petal
With one strand of your mid-tone, work tiny split stitches around the petal outline, each about 1.5 mm long. This fine edge contains your painting and keeps the boundary crisp.
Step 3: Stitch the dark base row
Thread one strand of your darkest shade. Along the base edge, inside your outline, work your first row of alternating long and short stitches, 3 to 5 mm long, pointing toward the petal tip. Pack them tight with no fabric showing. Fill the dark zone completely.
Step 4: Blend upward through the mid-tones
Switch to the next darker-mid shade. Start your new row by bringing the needle up between the stitches of the row above, splitting into them slightly, so the new stitches overlap the old by about 2 mm. Work toward the tip, changing shades as you cross into each zone: dark-mid, then true mid, then light-mid. Overlap generously; thread painting is built on stitches sinking into the row above.
Step 5: Add the highlight
Switch to your lightest shade for the final rows at the petal tip. Let a few light stitches reach further down than the rest, right into the mid zone, like sunlight spilling over. The brightest point of the petal should sit slightly off-centre, not dead in the middle, which looks more natural.
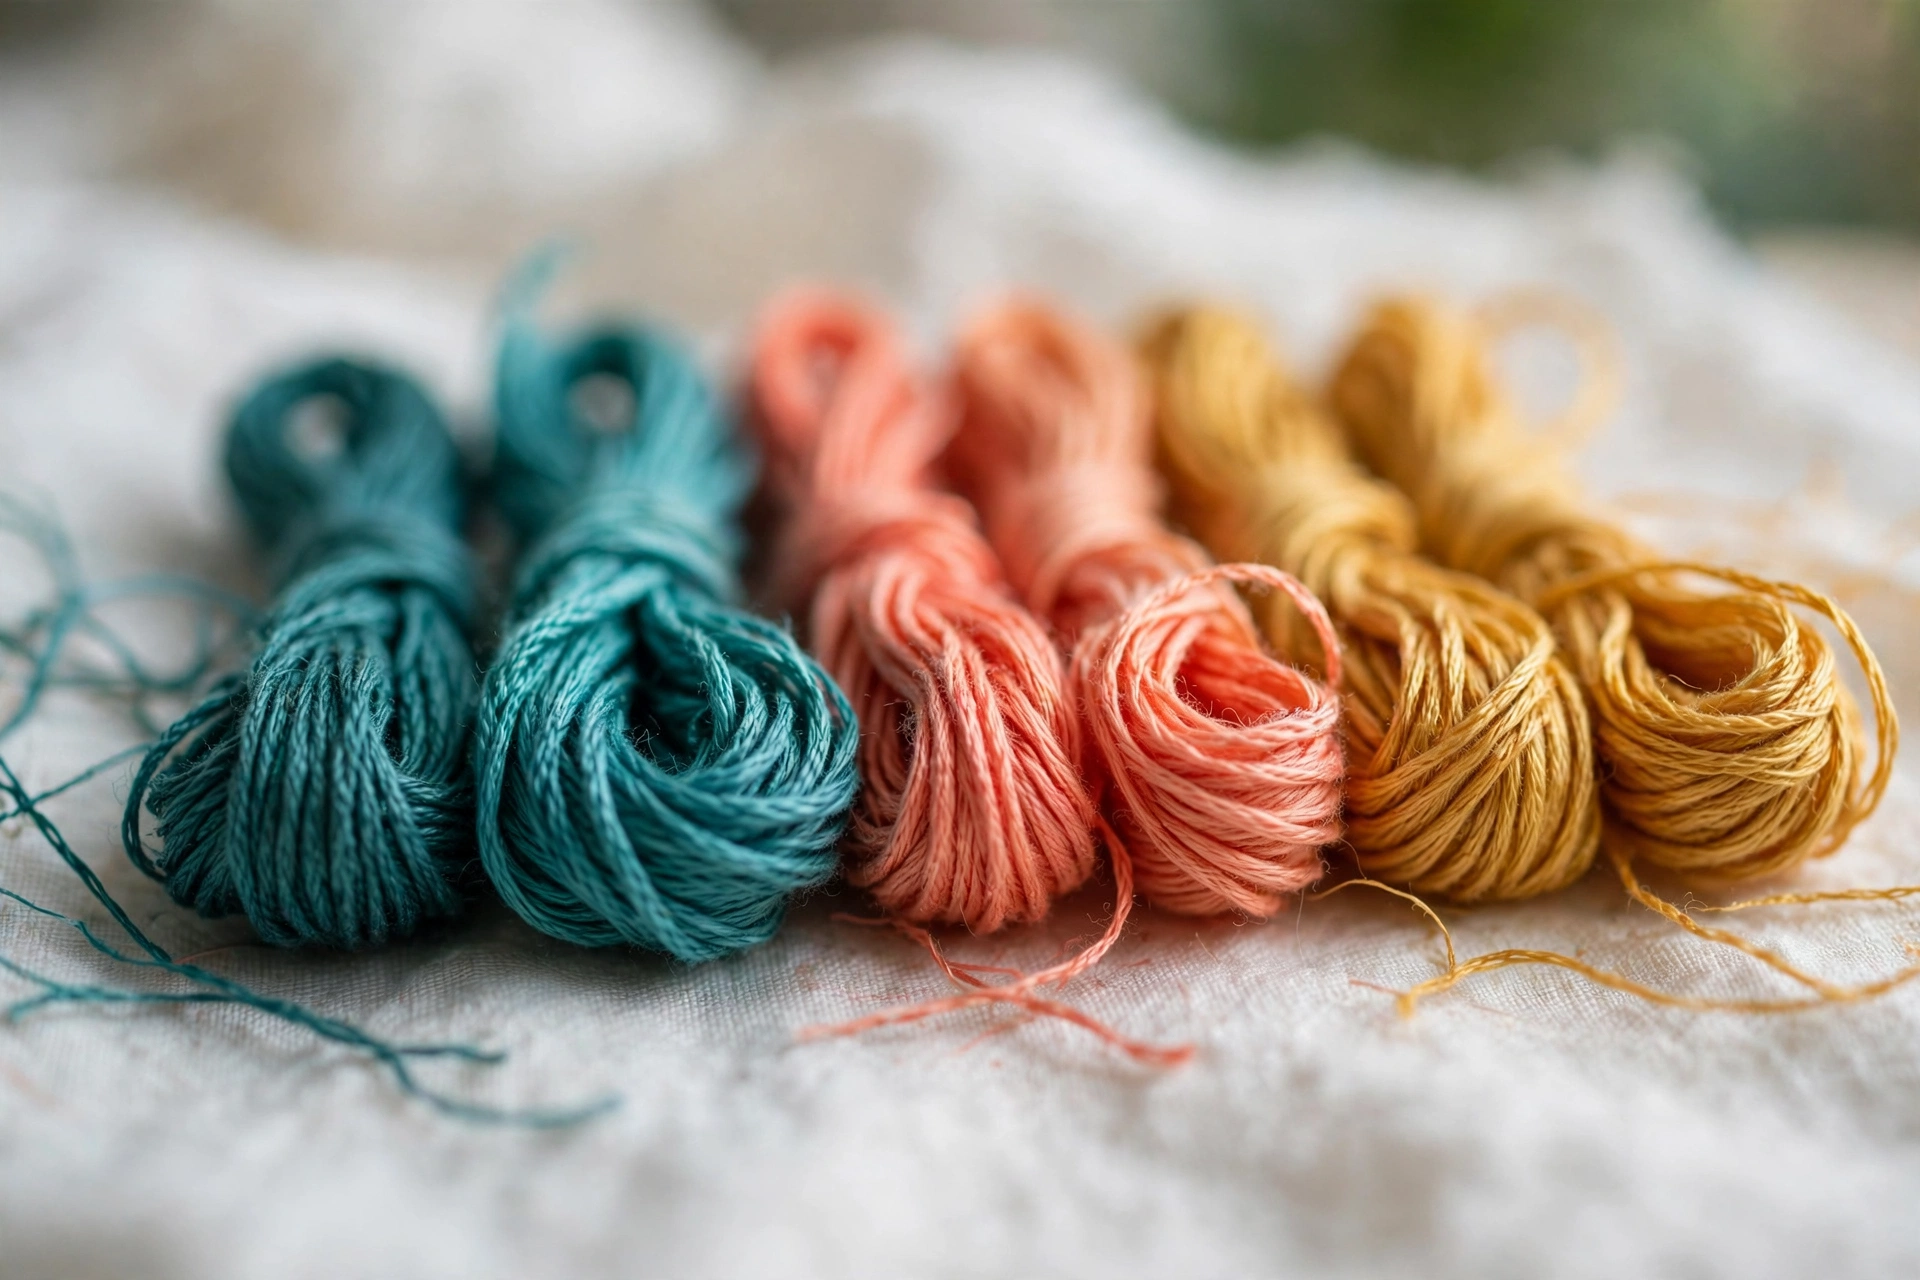
Step 6: Add the surprise shade
Thread your surprise shade, the coral or mauve whisper. Add a scattering of short stitches over the base and along one edge of the petal, just a dozen or so. Step back. The petal should suddenly look warmer and more alive. This is the step beginners skip and experts never do.
Step 7: Check and refine
Hold the hoop at arm’s length and squint. Look for bald patches where fabric peeks through, and fill them with tiny stitches in the surrounding shade. Look for hard colour lines and soften them with a few bridging stitches in the lighter shade. Thread painting is forgiving: you can always stitch over a problem.
Your first full project: a simple daisy
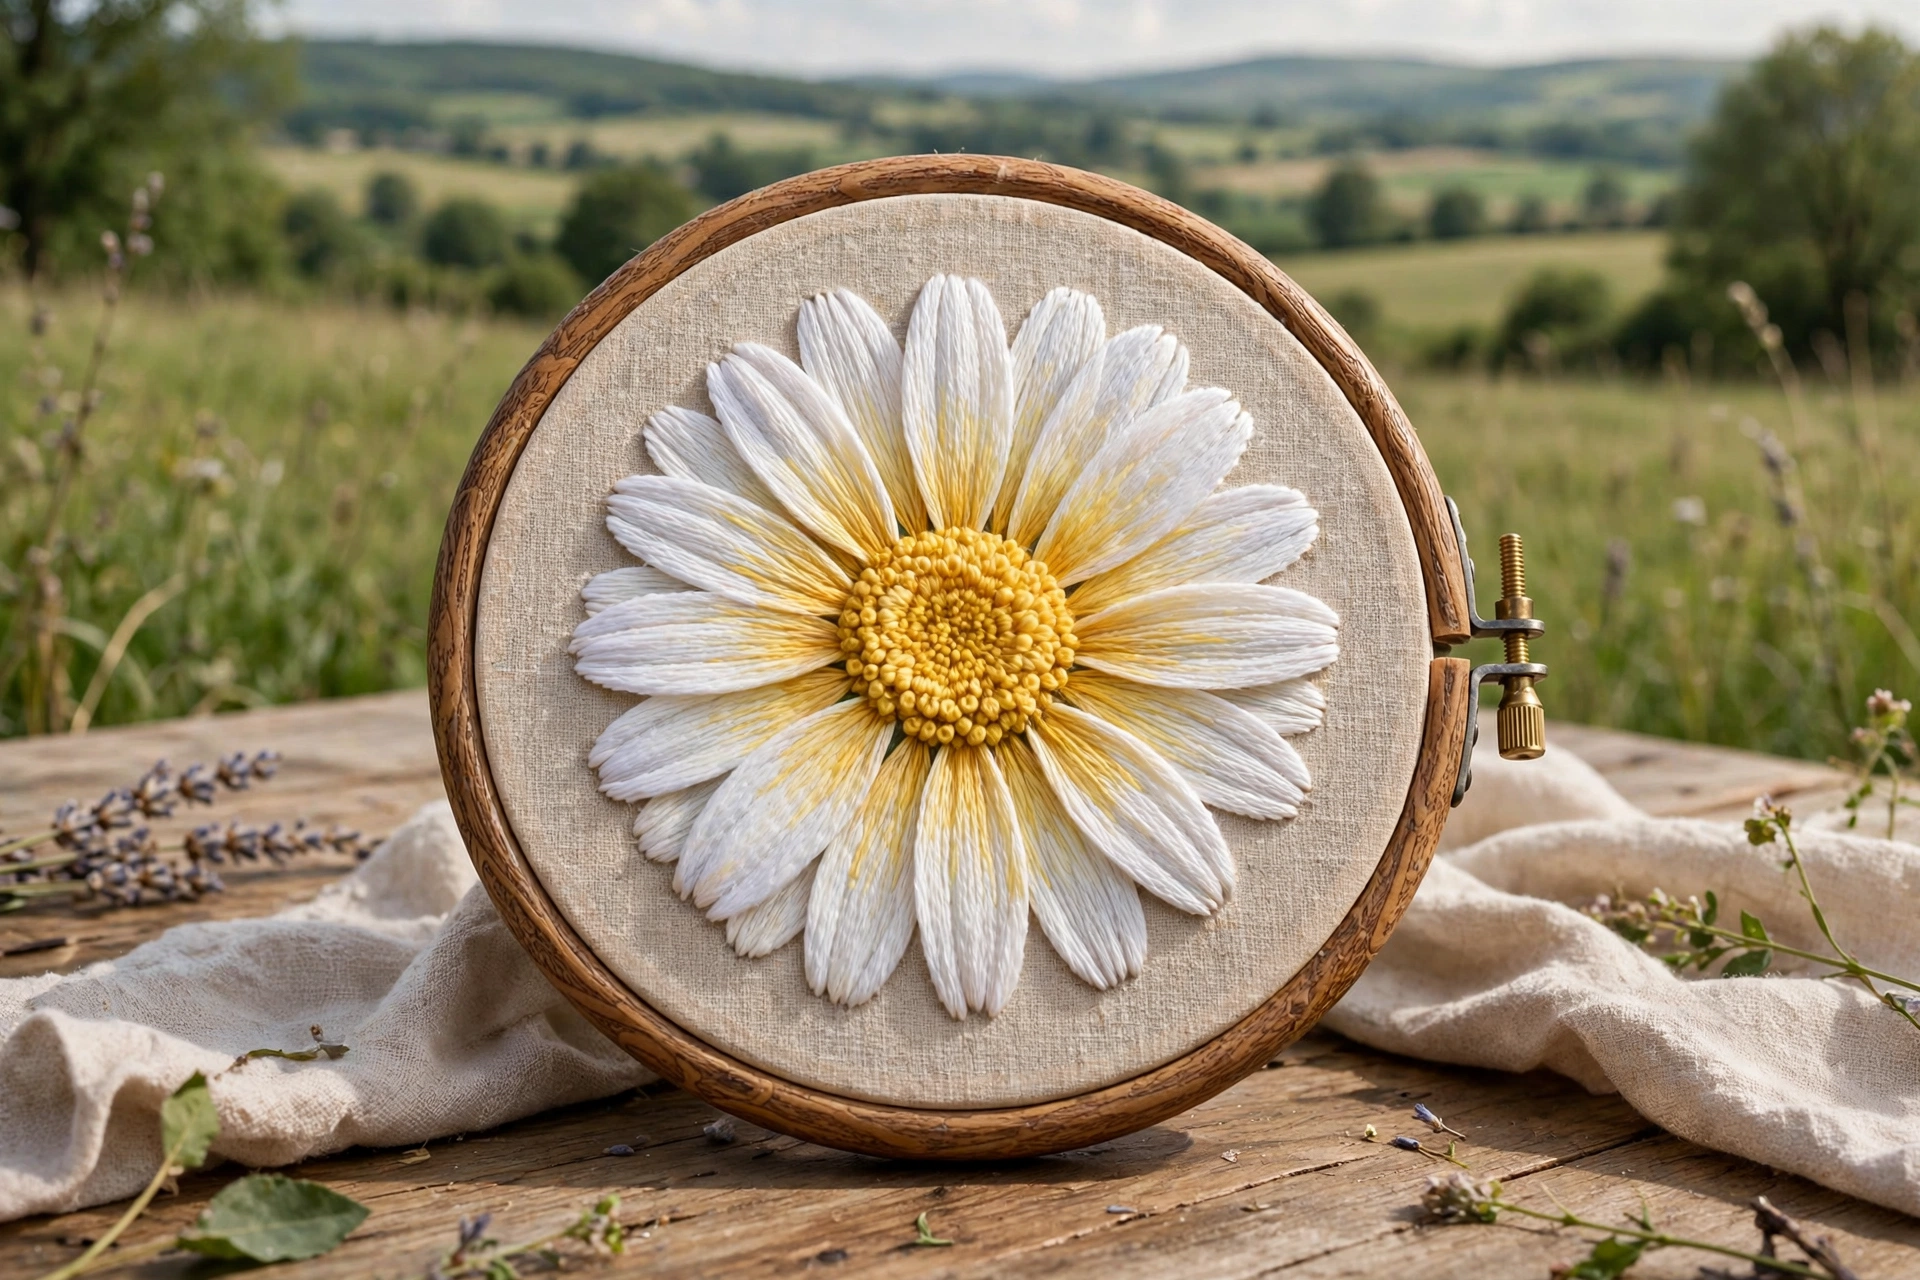
One petal is a study; a daisy is a finish. Draw a simple daisy: twelve narrow petals around a round centre, about 2.5 inches (6 cm) across. Paint each petal white to cream, shading with very light grey (DMC 762) at the base of each petal for shadow. Petals on the shadow side of the flower get a touch more grey.
Paint the centre with golden yellows: deep gold 783 at the very middle, blending out to 743, with a ring of French knots in 783 for texture. Work back petals first, then front petals, so overlaps sit naturally.
A daisy is the ideal first thread painting because white petals hide nothing, and the simple shape forgives wobbly edges. Frame it in the hoop when you finish.
Tips that make it easier
- One strand means short thread. Cut 12 to 14 inch (30 to 35 cm) lengths. Single strands tangle and wear faster than multi-strand thread, and fresh thread paints more smoothly.
- Keep the direction consistent. Every stitch in a petal should flow from base to tip, following the petal’s growth. Direction is what makes thread painting read as a petal instead of a blob.
- Work dark to light. Stitch shadows first, highlights last. Light single strands pick up dye if you drag dark thread across them.
- Use a daylight lamp. Warm indoor bulbs flatten subtle shade differences; daylight bulbs are cheap and change everything.
- Rest your eyes. Single-strand work is eye-intensive. Take a five-minute break every half hour and look at something far away. Tired eyes misjudge colour.
- Do not unpick unless you must. A slightly off shade buried under later rows disappears completely. Beginners unpick far more than they need to; keep stitching and the blend will swallow small mistakes.
Mistakes to avoid
- Using two or three strands. Thread painting lives on fine single-strand stitches. Multiple strands create chunky rows that cannot blend smoothly. If your needle eye fights you, use a needle threader, not thicker thread.
- Leaving gaps between stitches. Fabric peeking through breaks the painted illusion instantly. Pack every stitch snug against its neighbour. If you see background, add more stitches.
- Making all stitches the same length. Uniform rows create visible stripes across your work. Alternate long and short in every row, and vary the pattern so no two rows line up.
- Too few colours. Three shades give you bands; six shades give you a painting. Beginners almost always under-buy. Five to seven shades per colour family is the real minimum.
- Stitching against the growth direction. Stitches laid across a petal instead of along it look wrong even with perfect colours. Before each row, trace the petal’s direction with your fingertip.
- Starting too big. A full bouquet as a first project leads to burnout. One petal, then one daisy, then a small posy. Small finishes build the skills that big pieces need.
Frequently asked questions
How long does a beginner thread painting take?
Longer than you expect, and that is normal. A single 1.5-inch petal takes most beginners 45 to 90 minutes. A small 2.5-inch daisy might take 6 to 10 hours total across several evenings. Thread painting is slow art; settle in and enjoy it.
Can I use variegated or hand-dyed thread?
You can, and variegated thread does some blending for you. But it blends on its own schedule, so you lose control of where each colour lands. Learn with solid colours first, then experiment with variegated thread for backgrounds.
What fabric is best for thread painting?
A smooth, tightly woven fabric with a high thread count: cotton sateen, fine linen, or a good quilting cotton. The weave must be tight enough that tiny single-strand stitches sit on top instead of sinking in. Avoid loosely woven fabrics like aida or burlap; stitches disappear into them.
Do I need to be good at drawing first?
No. You need a clear outline to fill, not drawing talent. Trace designs from books, print free outlines, or use simple shapes like petals and leaves. The painting skill is in the stitching and colour blending, not in the drawing.
Pick up your needle
Thread painting asks for patience, not talent. One strand, tiny stitches, one colour melting into the next. Your first petal will look a little rough up close, and that is exactly how every thread painter in history started, including me.
So choose your prettiest colour family, draw one simple petal, and paint it with thread. By the time you finish your first daisy, people will lean in close and ask how you did it. And you will smile, because now you know: it was just one small stitch at a time.