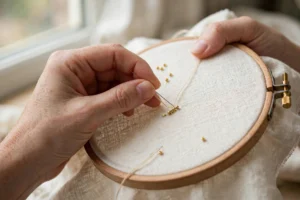
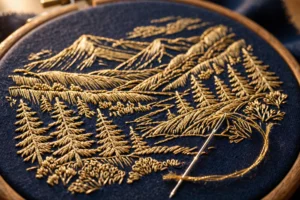
Smooth color gradients are the thing that makes people gasp when they look at hand embroidery. You know the moment: a flower petal that melts from deep rose into blush, or a leaf that shifts from forest green to spring lime without a visible seam. It looks like painting, but it is stitching, and the stitch that makes it possible is the long and short stitch.
If you have only stitched outlines before, blending colors with thread can feel intimidating. I promise you it is simpler than it looks. Long and short stitch is really just a straight stitch with a clever twist: you stagger the stitch lengths so each row interlocks with the next, and the colors fade into each other instead of stopping in hard bands. I still remember the first petal I blended this way, and honestly, I sat back and stared at it like a proud parent. In this guide I will walk you through the whole technique step by step, with the thread counts, stitch lengths, and practice plan I wish someone had handed me when I started.
What you will need
- Fabric: a tight, smooth weave such as quilting cotton or linen-cotton blend in a light neutral color. Avoid stretchy or very open weaves while you are learning, because the stitches need a firm, even ground.
- Embroidery hoop: a 5 or 6 inch wooden hoop that keeps your fabric drum-tight.
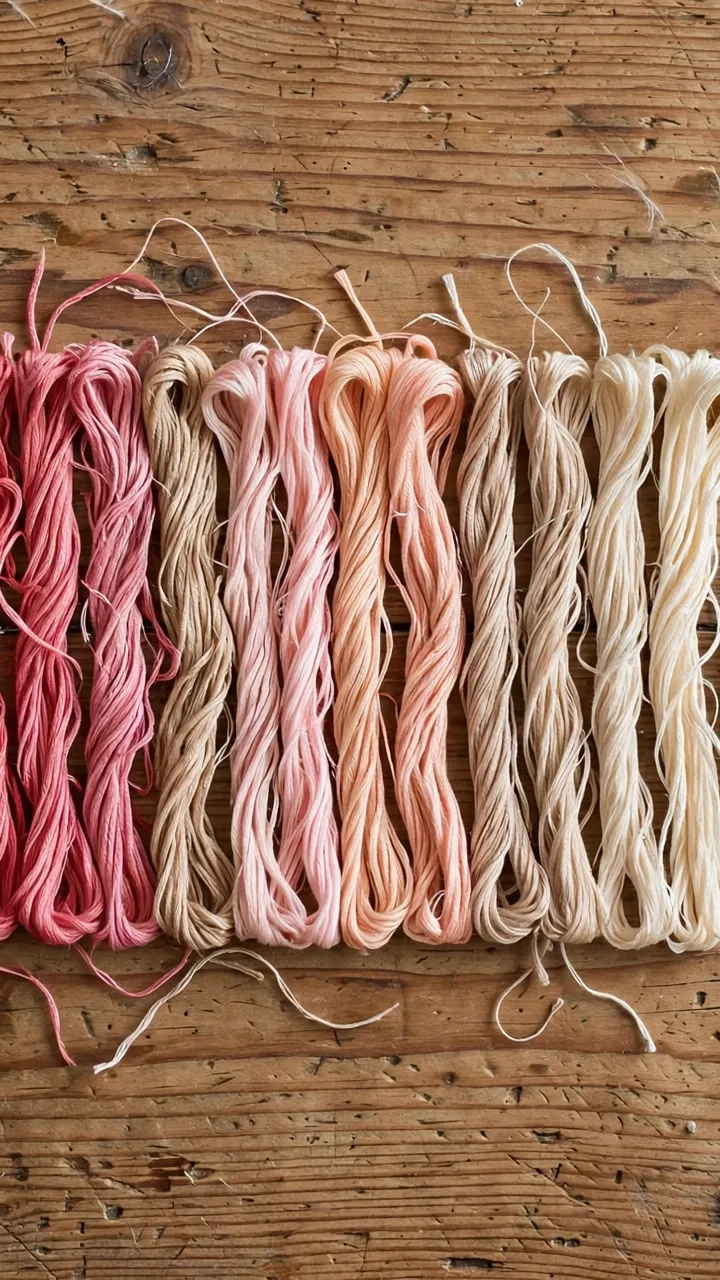
- Stranded embroidery floss: pick one color family in 3 to 5 shades that move gradually from dark to light. My favorite beginner combo is DMC 3805 (deep rose), DMC 3804 (rose), DMC 3609 (light rose), and DMC 3608 (pale blush). A green set like DMC 895, 469, 472, and 955 also works beautifully for leaves.
- Needles: size 7 or 8 embroidery (crewel) needles with a sharp point and a long eye.
- Scissors: small sharp embroidery scissors for snipping threads close to the fabric.
- Marking tool: a water-soluble fabric pen or a soft pencil to draw your petal or leaf shape.
- Optional: a needle threader and a magnifier lamp if close work tires your eyes.
Use just 2 strands of floss in your needle for gradient work. Six strands make chunky, rope-like stitches that refuse to blend. Two strands lie flat, mix visually with their neighbors, and give you the silky, painted effect you are after.
How long and short stitch works
Picture a brick wall. Each row of bricks is offset from the row below, so the joints never line up. Long and short stitch uses the same idea. Your first row along the outline is made of alternating long and short straight stitches. That staggered edge gives the second row something to nestle into: the second row’s stitches slide into the gaps between the first row’s stitches, and the two rows share space instead of forming a hard line.
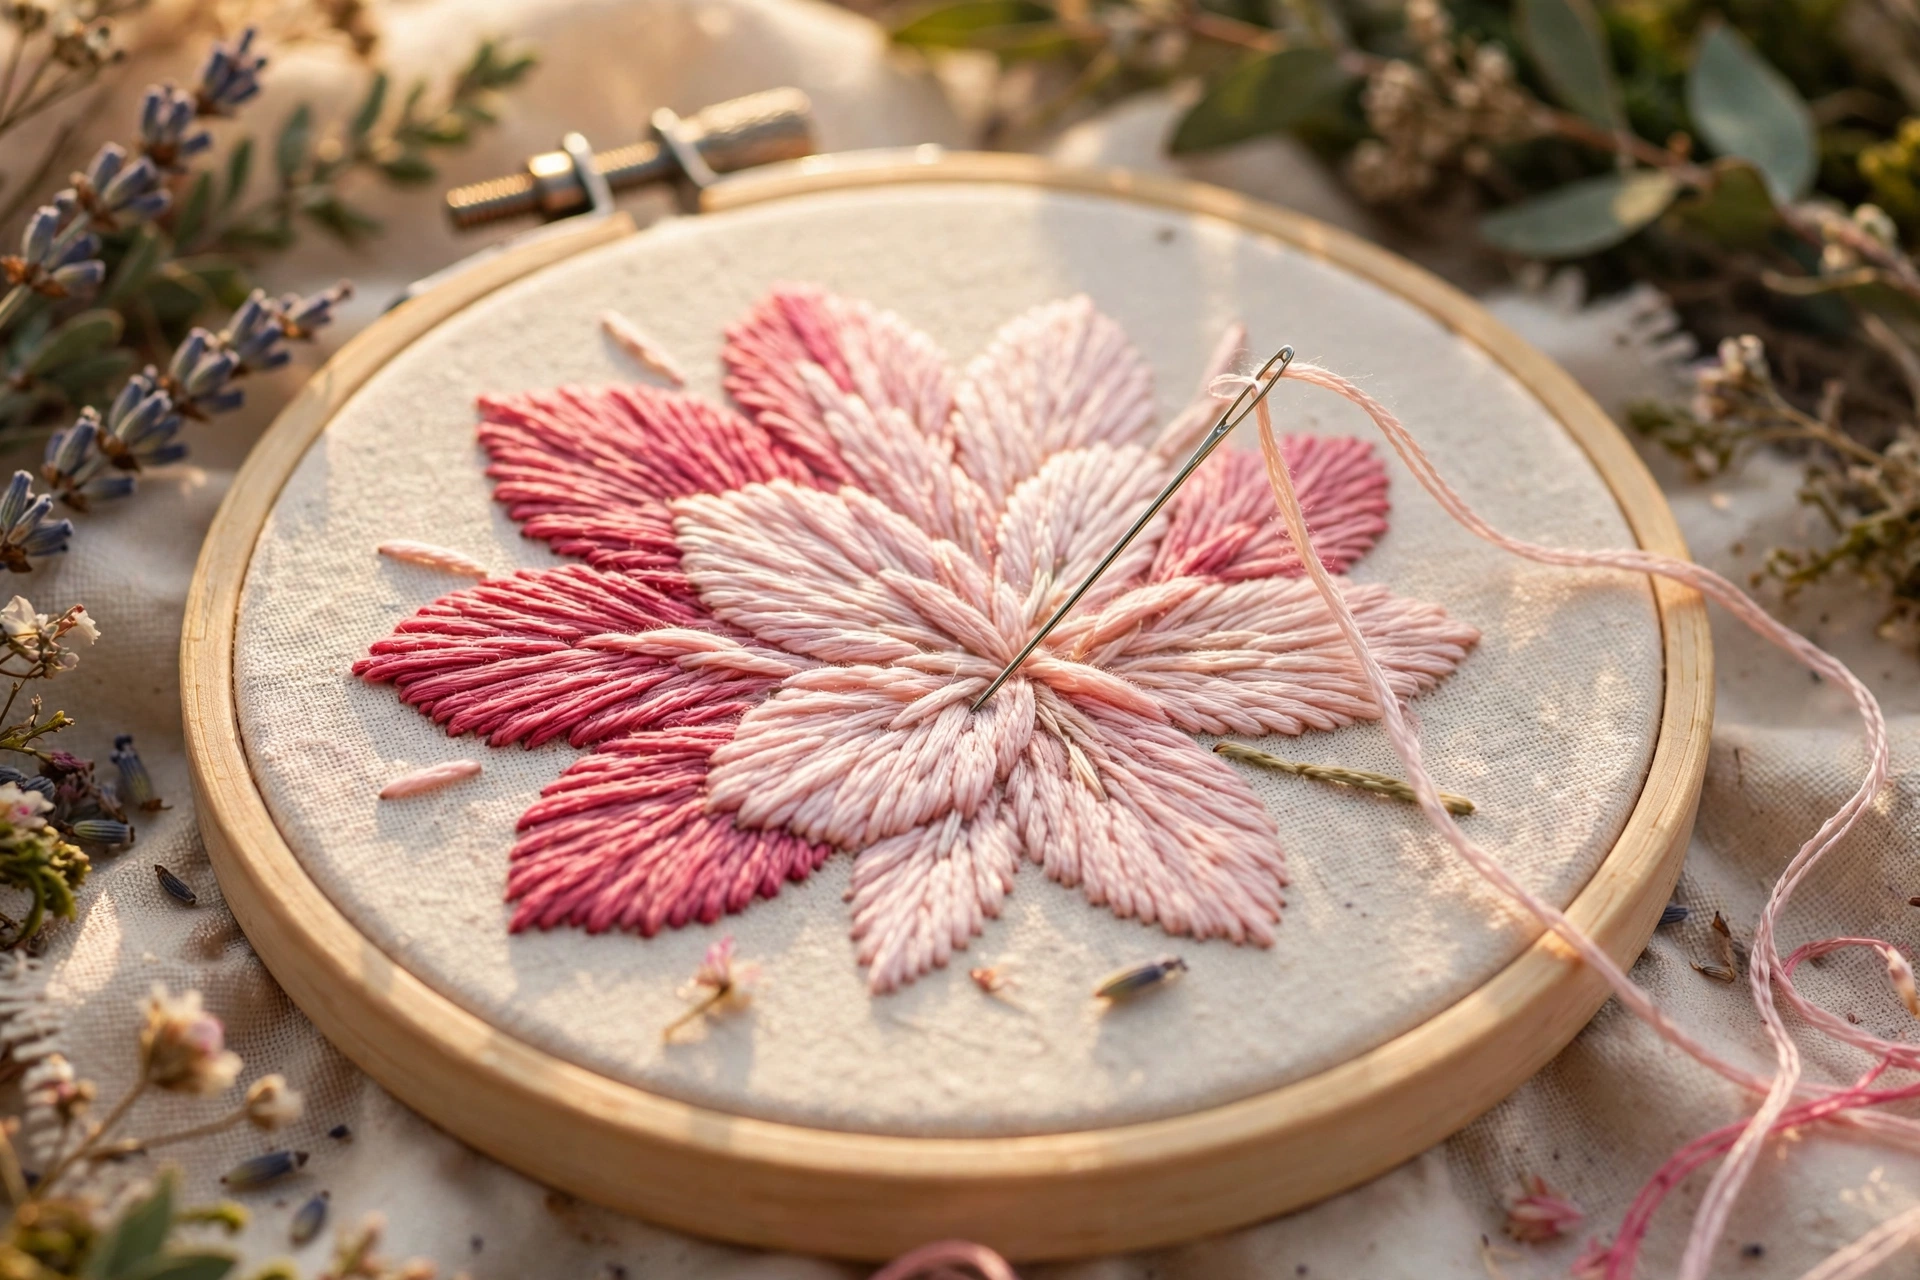
When you change thread color between rows, this interlocking is what creates the blend. The eye reads the overlapping stitches as a gradual shift, exactly the way pointillist painters mixed dots of color. The more staggered your starting row and the more closely your stitches sit together, the smoother the gradient.
A quick note on terms: long and short stitch is often called “thread painting” when it is used for realistic shading, and it belongs to the satin stitch family. If you can stitch a straight stitch, you already have the core skill.
Step-by-step: stitching a smooth gradient petal
Before you touch your good fabric, stitch one practice petal on a scrap. You will learn the rhythm in about twenty minutes, and your real project will look dramatically better for it.
Step 1: Draw your shape and plan your colors
Draw a simple petal about 1.5 inches long and 1 inch wide on your hooped fabric. Divide it mentally (or with very light pencil lines) into 3 or 4 horizontal bands, one per color. Mark which shade goes where: darkest at the petal tip or outer edge is classic for flowers, but darkest at the base works for leaves. Lay your shades in order on the table so you never grab the wrong one mid-flow.
Step 2: Stitch the first row in your darkest shade
Thread 2 strands of your darkest shade. Start at the outline of the petal and work your first row straight down the shape, following its direction like fur on an animal. Alternate one long stitch (about 1/4 inch, or 6 mm) with one short stitch (about 1/8 inch, or 3 mm). Keep every stitch parallel to its neighbors, and leave no gaps of bare fabric between stitches. This row sets the foundation, so take your time and keep the tension even: firm enough to lie flat, loose enough that the fabric does not pucker.
Step 3: Fill the second row in your next shade
Switch to your second-darkest shade. Now stitch a new row whose stitches begin in the gaps left by the short stitches of row one. In other words, your needle comes up through the fabric between the stitches of the first row and goes down at the bottom edge of the first row’s long stitches. This is the interlocking moment. Your new stitches should be roughly uniform in length, around 1/4 inch, and they should pack tightly against the first row with no bare fabric showing.
Step 4: Continue row by row, changing shades as you go
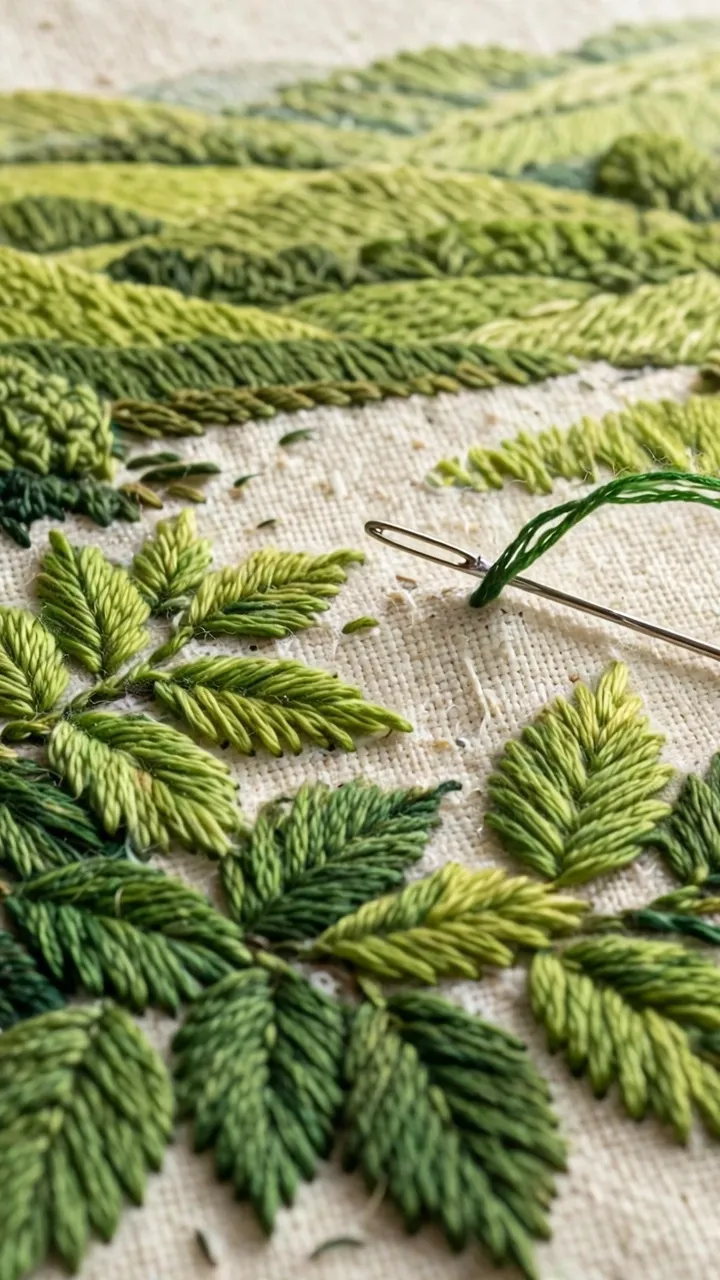
Keep going down the petal, switching to a lighter shade each time you cross one of your planned bands. Each new row interlocks with the row above it exactly the same way. You do not need alternating long and short stitches after the first row: uniform stitches from row two onward are correct. Work patiently and check every few stitches that your needle is coming up in the spaces between the previous row’s stitches, not splitting through a thread of the row above.
Step 5: Finish the bottom edge cleanly
When you reach the bottom of the petal, let the final row of your lightest shade end right at the drawn outline. If the last stitches look ragged, add a few tiny compensating stitches (very short ones) to fill gaps along the edge. Turn the hoop over and check the back: it should look nearly as neat as the front, with no long traveling threads or knots bunched up.
Step 6: Soften the joins if needed
Step back and look at your petal from arm’s length. If you can see a visible line where one shade meets the next, do not panic and do not unpick. Instead, add a few scattered “bridge” stitches: thread a shade from between the two bands and stitch short stitches right across the join, poking them between existing stitches. Five or six well-placed bridge stitches can erase a stripe completely.
Tips that make it easier
- Choose shades with small jumps. The secret to invisible blending is choosing colors that are close together. Three or four shades that differ only slightly beat two shades that leap from dark to light. When in doubt, add a middle shade.
- Keep a consistent stitch direction. Decide which way your stitches flow (down the petal, along the leaf) and never change direction mid-shape. Consistent direction is what makes the surface look silky.
- Do not split your previous stitches. Always bring the needle up in the open space between stitches, never through the middle of an existing thread. Splitting frays the old stitch and makes the surface look fuzzy.
- Work in good light. Blending depends on seeing subtle color differences. A daylight lamp makes it far easier to tell whether your new shade is actually different from the last one.
- Roll, do not pull. When you tighten a stitch, roll the thread between your fingers first to smooth out twists, then pull gently. Twisted threads cast tiny shadows that break up the smooth surface.
- Stitch a test strip first. A 1-inch test strip of your exact shade sequence on your actual fabric tells you more than any chart. If two shades look identical in the strip, swap one out before you commit.
- Mark rows lightly. Faint pencil guide lines across your shape keep your color bands even, especially on large petals. Use a water-soluble pen so the lines vanish with a dab of water.
Mistakes to avoid
- Using too many strands. Four or six strands create thick, lumpy rows that leave gaps between stitches. Stick to 2 strands for smooth gradients, 1 strand for very fine detail.
- Leaving gaps between stitches. Every sliver of visible background fabric breaks the illusion of painted color. Pack stitches snugly, side by side, until the ground fabric disappears under the thread.
- Making the first row uniform. If every stitch in row one is the same length, the second row has nothing to interlock with and you get a hard stripe. The alternating long-short pattern in the first row is the whole trick, so do not skip it.
- Pulling too tight. Over-tight stitches pucker the fabric and create little valleys that catch shadows. If your hoop looks like a waffle, loosen up.
- Choosing colors from the screen. Floss colors look different on a monitor than in real life. Choose shades by holding actual skeins next to each other in daylight.
- Changing direction halfway. Stitches that suddenly angle a different way read as a scratch across the surface. Plan your flow line before the first stitch.
- Skipping the practice petal. Your first attempt is for learning, not for framing. Give yourself one throwaway petal and your second one will be the one you keep.
Frequently asked questions
How is long and short stitch different from satin stitch?
Satin stitch fills a shape with parallel stitches of even length, which is lovely for solid blocks of color but creates a hard edge between two colors. Long and short stitch staggers the first row so rows interlock, which lets colors melt into each other. Think of satin stitch as painting with one color and long and short stitch as blending two.
How many shades do I need for a smooth gradient?
Three is the minimum and four to five is ideal for beginners. With only two shades the blend usually shows a visible line. Each extra shade makes the transition gentler, and since you are already stitching row by row, adding a shade costs you nothing but a thread change.
Why does my gradient look striped instead of smooth?
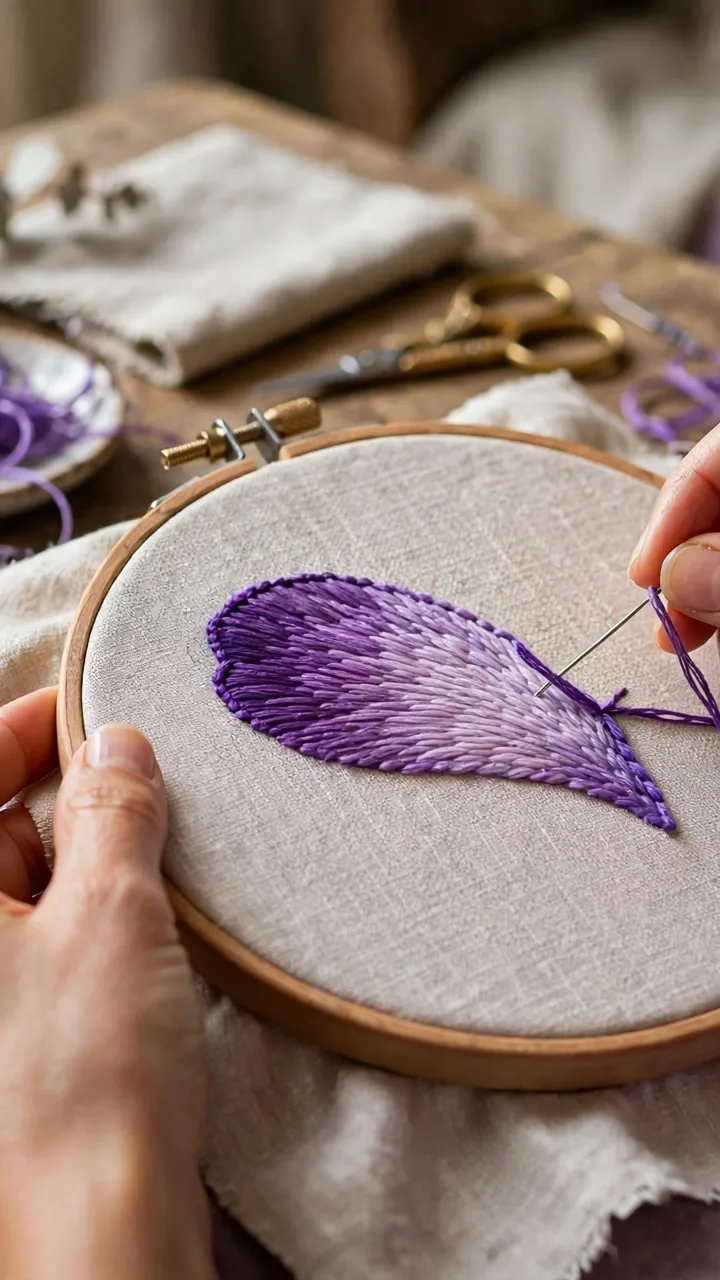
Stripes come from one of three causes: shades that jump too far apart, stitches in row one that are all the same length, or rows that sit edge to edge without interlocking. Fix it by adding an in-between shade, re-staggering row one, or adding bridge stitches across the join as described in step 6.
Can I use long and short stitch on dark fabric?
Yes, and it looks stunning, but choose your lightest shades carefully since dark fabric shows through any tiny gap. Pack your stitches a little tighter than usual and test your shade sequence on a scrap of the same dark fabric first, because colors read brighter against a dark ground.
Long and short stitch rewards patience more than talent. Your first petal might have a stripe or two, your third will start to glow, and by your tenth you will be blending colors the way you once only admired in other people’s work. Pick a small flower, lay out four gentle shades, and stitch one petal tonight. I would love to hear how your gradient turns out, so come back and tell me which color combination you tried first.