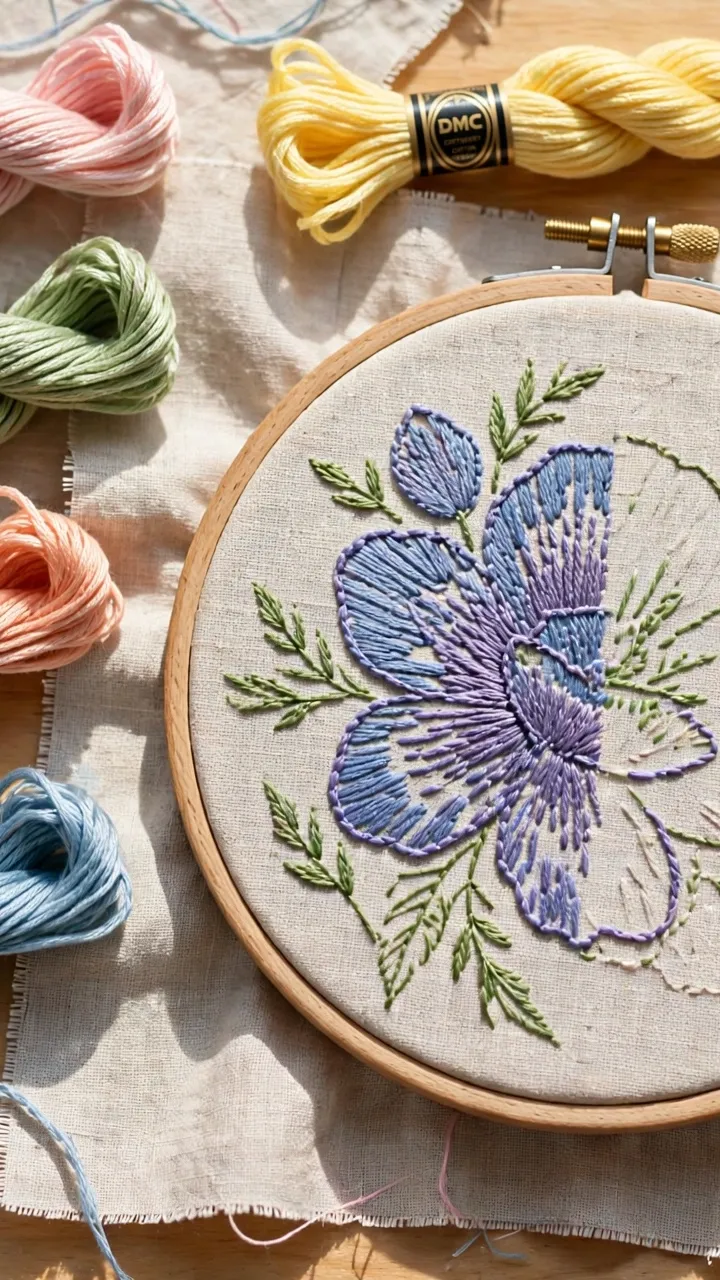
A skein of DMC floss holds about 8.7 yards, per DMC’s own specs. That sounds like plenty until you fill a four-inch flower with satin stitch and watch two full skeins vanish into one petal. Learning how to fill large embroidery areas without burning through your floss stash is part thrift and part design sense, because the cheapest fills often look better than the expensive ones anyway.
Here is the uncomfortable math. A 3-by-3-inch area in full satin stitch with 3 strands eats roughly 25 to 30 yards of floss: three full skeins, about four dollars, and an hour and a half of stitching. The same area in open trellis with couching uses about 8 yards: one skein, forty-five minutes, and a texture that satin cannot touch. Thread is not the only cost, but it is the one you feel at the checkout.
How to fill large embroidery areas: five techniques, ranked by thread
Ranked cheapest to most thread-hungry, with my honest opinion on what each one looks like.
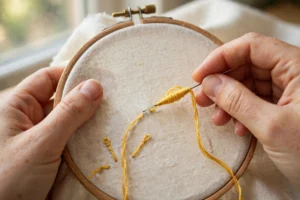
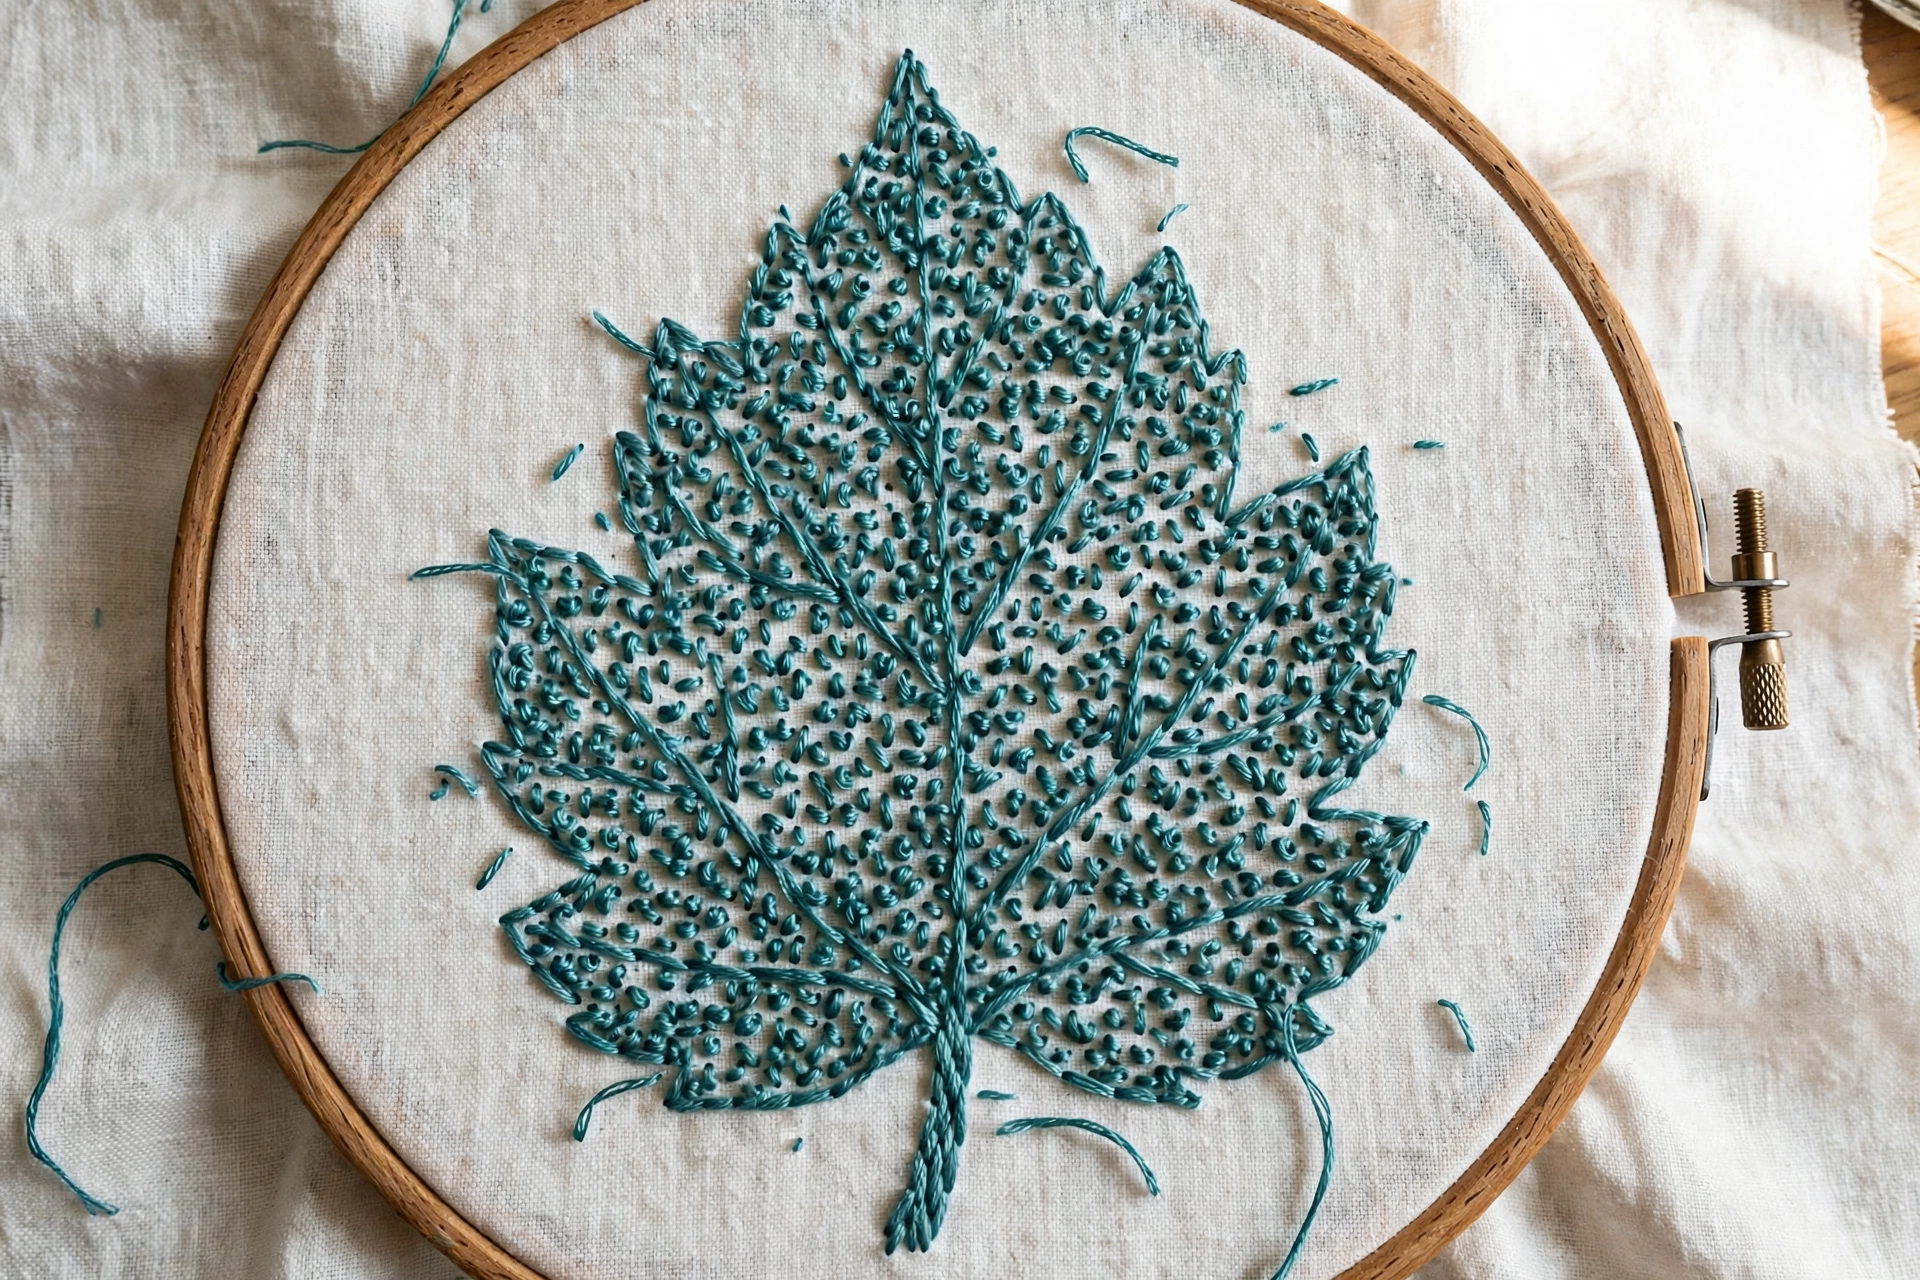
1. Scattered seed stitch (cheapest). Tiny straight stitches scattered like confetti across the shape, about a quarter inch apart. Uses maybe 20 percent of the thread of full satin, stitches up in twenty minutes for a palm-sized area, and looks modern and airy. It will not give you solid coverage, which is the point: the fabric showing through is part of the texture. I use 2 strands of DMC 3849 on everything from flower petals to animal fur.
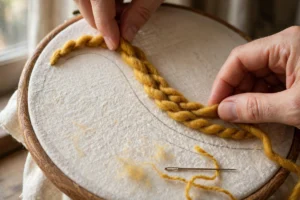
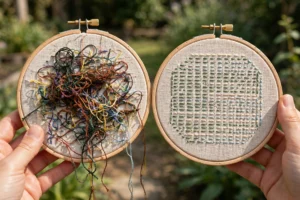
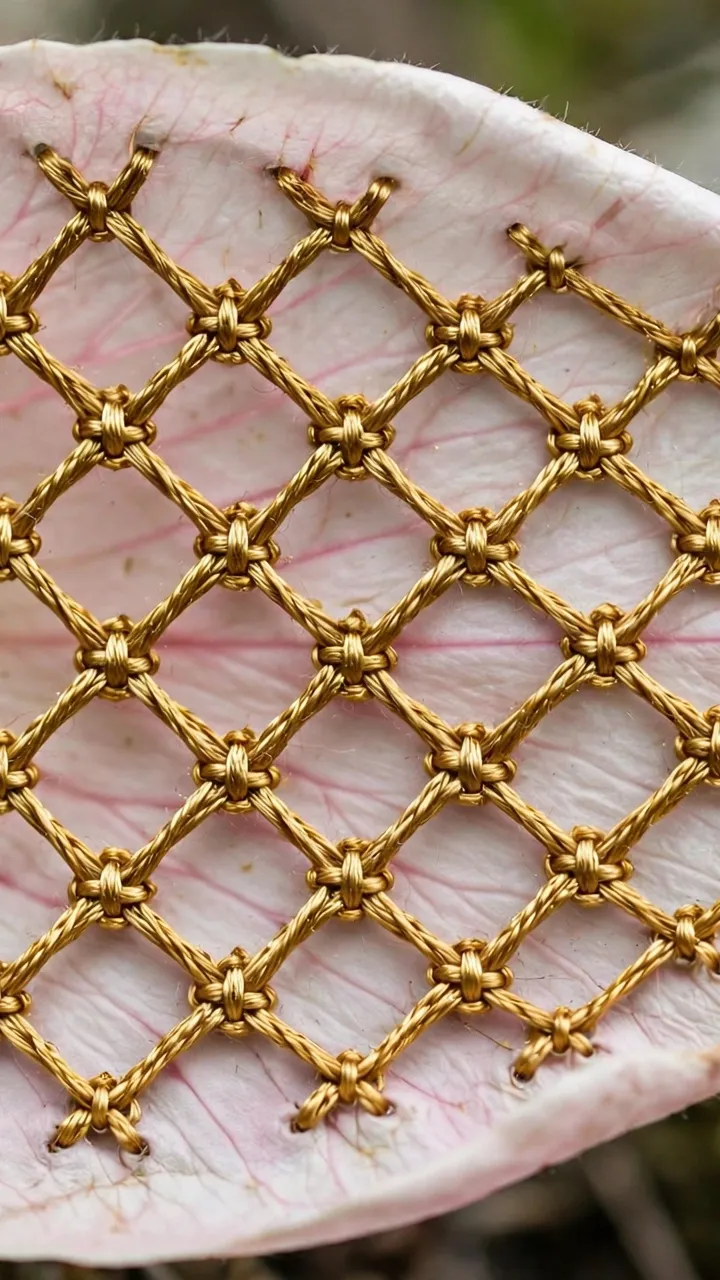
2. Trellis with couching. Lay long parallel threads across the area, then a second set crossing them, then couch the intersections down with tiny stitches in a contrast color. Thread use is about 30 percent of satin, and the grid texture looks expensive and deliberate. It takes patience to keep the lines straight, but a ruler and a water-soluble pen do the hard part.
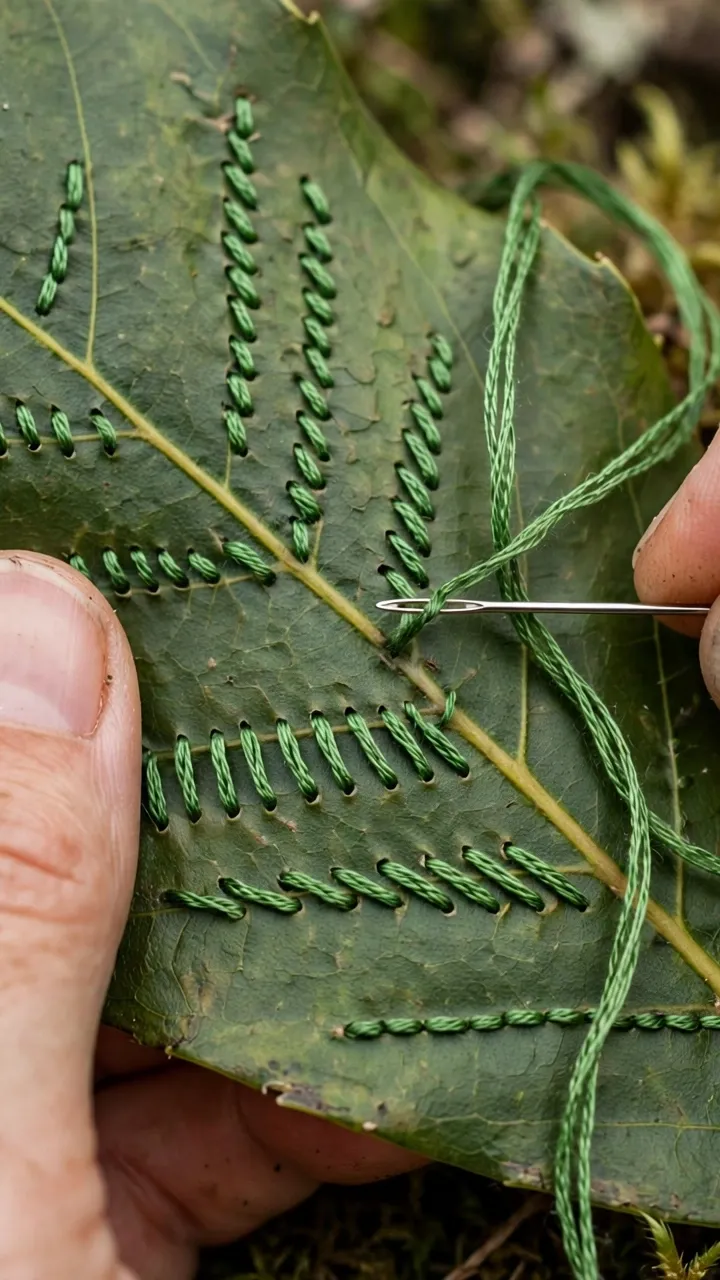
3. Fishbone and leaf stitch rows. Rows of overlapping stitches that follow the shape, like roof shingles. Uses about half the thread of satin because each row tucks under the last, and it is the best choice for leaves: the center spine of the leaf hides in the stitch direction. Stitch from the tip toward the base, 2 to 3 strands, and keep the rows snug.
4. Long and short stitch shading. Staggered rows of long and short stitches that blend colors. About 70 percent of satin’s thread use, but it buys you something satin cannot: smooth color gradients across a big petal. This is the technique for realistic flowers, and it is worth every yard. My satin stitch guide covers the gapless version of the final rows, which is where most people fumble the finish.
5. Full satin stitch (the splurge). Complete coverage, maximum thread, the luxury option. A palm-sized area takes two to three skeins and genuine commitment. It looks incredible on small, high-impact areas: a bird’s breast, a single bold petal, a monogram. On huge areas it looks like you are showing off your floss budget, and not in a good way.
The back-of-the-fabric test
Flip your work over. If the back is a thick, heavy mat of thread, you are spending too much where nobody will ever see it. The back of a trellis fill is nearly as tidy as the front. The back of full satin looks like a shag carpet. This is not about neatness snobbery; heavy backs make the fabric stiff, hard to hoop for the next section, and miserable to finish into a hoop or frame. Thread economy is also just good engineering.
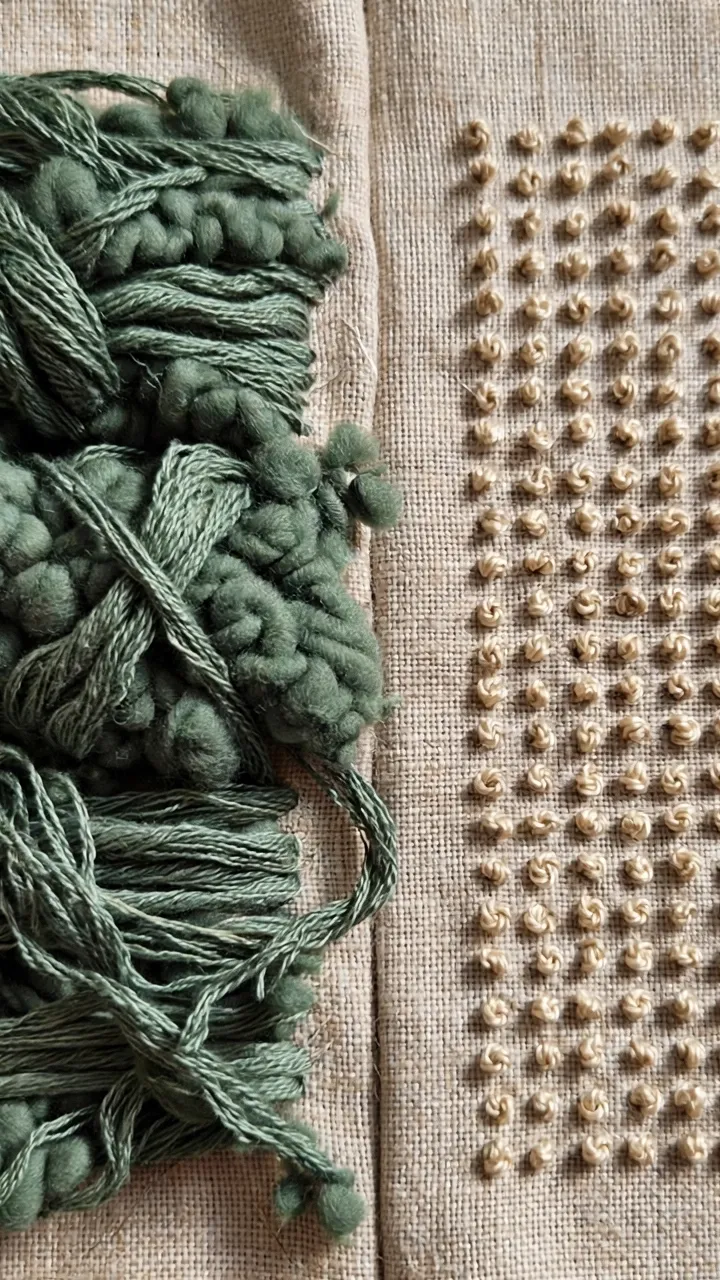
One more trick for the thrifty: stitch your fills with 2 strands instead of 3 wherever the fabric is light-colored. Two strands on white linen covers almost as well as three on a large area, and it cuts your thread use by a third instantly. The difference is invisible past arm’s length, which is where everyone else will be standing.
Estimating thread before you start
Here is the habit that saves me the most floss: I estimate before I thread the needle. Trace your shape onto paper, roughly compare it to that 3-by-3-inch square from the math above, and pick your technique first. A palm-sized leaf in fishbone needs about half the thread of the same leaf in satin, so the decision you make before the first stitch matters more than any trick you apply halfway through.
I keep a small notebook by my stitching chair with three columns: shape size, technique, and skeins used. After a dozen projects you will have your own personal conversion chart, and it beats every online estimate because it reflects how you actually stitch. Tight stitchers use more thread than loose ones, and your numbers are the only ones that matter for your work.
One more planning trick: when a design mixes fills, stitch the thirstiest technique first. If the satin-stitched bird breast is the star, do it while your patience and your floss supply are both full. The open, thrifty fills around it will feel like a reward afterward, and you will never run out of thread mid-showpiece. Planning the order of work is free, and it is the closest thing this craft has to a cheat code.
And if you are choosing between two techniques for the same shape, stitch a one-inch test patch of each on scrap fabric first. Five minutes of testing tells you exactly how each fill looks at your gauge, with your hands, on your fabric. It is the cheapest insurance in embroidery, and it has saved me from many yards of regret.
When to splurge on full coverage
Spend the thread when the area is the star of the piece. A single satin-stitched heart on an otherwise open design earns its three skeins. A whole background in satin does not; it exhausts the eye and the stitcher in equal measure. My rule: one full-coverage element per piece, maximum. Everything else gets a textured fill, and the piece looks richer for the variety.
If you are just starting out, work through the 10 basic stitches first, then come back and practice each of these five fills on a three-inch square of scrap linen. Time yourself, count your skeins, and you will never again fill a large area on autopilot. Your floss budget will thank you, and honestly, so will your eyes.