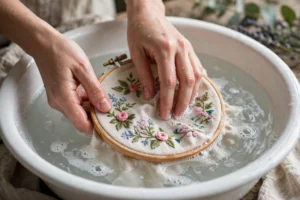
In May 2019 I stitched four linen napkins with little bluebell sprigs in DMC 798 for my mother’s 60th birthday. I knotted every start and every end, exactly the way the kit instructions said to, wrapped them in tissue, and watched her get misty-eyed at the table. A week later, at her house, I tossed two of the used ones into her wash myself, being helpful. When I pulled them from the dryer, three of my starting knots had nudged forward through the weave and sat on the front of the napkins like tiny gray bruises. My mother said they looked fine. They did not look fine. That wash is when I finally learned how to start end embroidery thread without a single knot, and I have never tied one since. This post is the myth-busting I wish someone had handed me before the bluebells.
Start end embroidery thread without knots: the short version
There are six reliable knotless methods, and between them they cover every situation you’ll ever meet: the loop start, the away knot (also called the waste knot), weaving in under existing stitches, tiny anchor stitches, weaving the tail to end, and the pin stitch for fiddly spots. Every myth below kept me tying knots for three years longer than I needed to. Let’s take them apart.
Myth 1: You need a knot or your stitches will fall out
This is the big one, the one printed in kit instructions, the one your grandmother may have taught you, and it’s simply not true. Embroidery stitches don’t fall out the way a single nail falls out of a wall. They’re a woven system. Each stitch passes through fabric and sits against its neighbors, and the friction of floss against floss and floss against fabric is enormous. A knot isn’t holding your work together. Your stitches are holding your work together. The knot is just sitting back there being lumpy.
Here’s the part nobody mentions: knots are lazier, not stronger. I tested this the obsessive way, because of course I did. I stitched two identical six-inch rows of backstitch on quilting cotton in DMC 310, one started with a knot, one started by weaving the tail under the first five stitches. Then I washed both, dried them, and tugged at the starting ends with tweezers. The knotted one had worked itself half loose, the knot rocking in its little fabric crater. The woven one didn’t budge. A knot concentrates all the stress on one tiny point of fabric. A woven tail spreads it across five stitches. Physics favors the knotless start every time.
Knots also cause the exact problems they’re supposed to prevent. They pull through to the front on loosely woven fabric, they create bulk that shows as bumps under the design, and the hard little lump abrades the floss around it every time the piece moves. If your piece will ever be washed, ironed, framed under glass, or given to someone you love, the knot is a liability wearing a disguise.
Myth 2: The loop start is the only clean way to begin
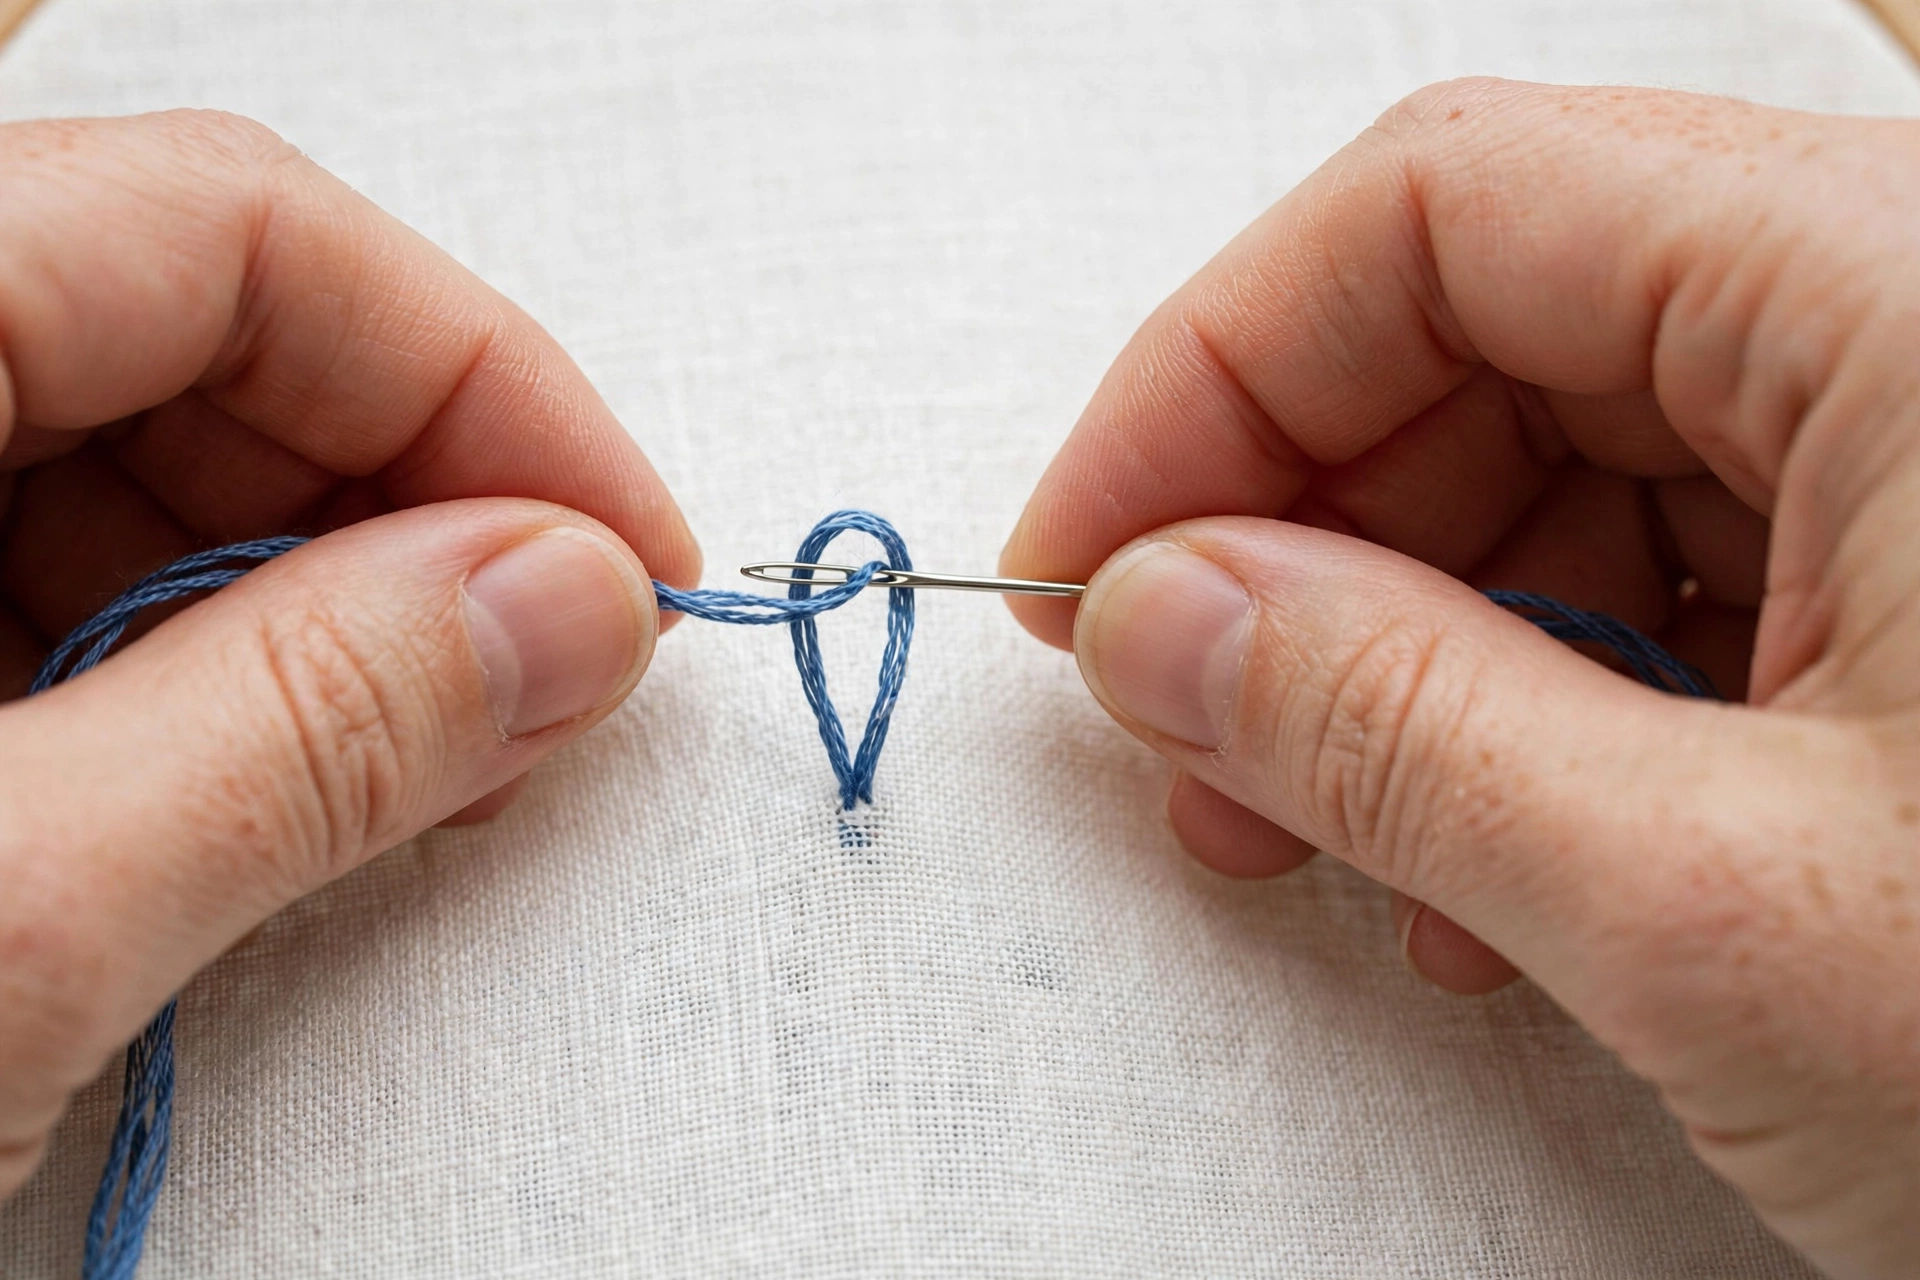
The loop start is lovely, and it’s the method everyone demonstrates first, which gives it an inflated reputation. It works like this: cut a single strand of floss twice as long as you need, fold it in half, thread the two cut ends through the needle, and leave the folded loop hanging. Come up through the fabric, take your first stitch, come back up, and pass the needle through the loop before pulling tight. The loop cinches around your first stitch and anchors the thread with zero bulk. Clean, fast, elegant. One problem: it only works with even numbers of strands. Two, four, six. If your design calls for three strands or one, and plenty do, the loop start can’t help you, and beginners who only know this method either force an even strand count that ruins the design or go back to knots in defeat.
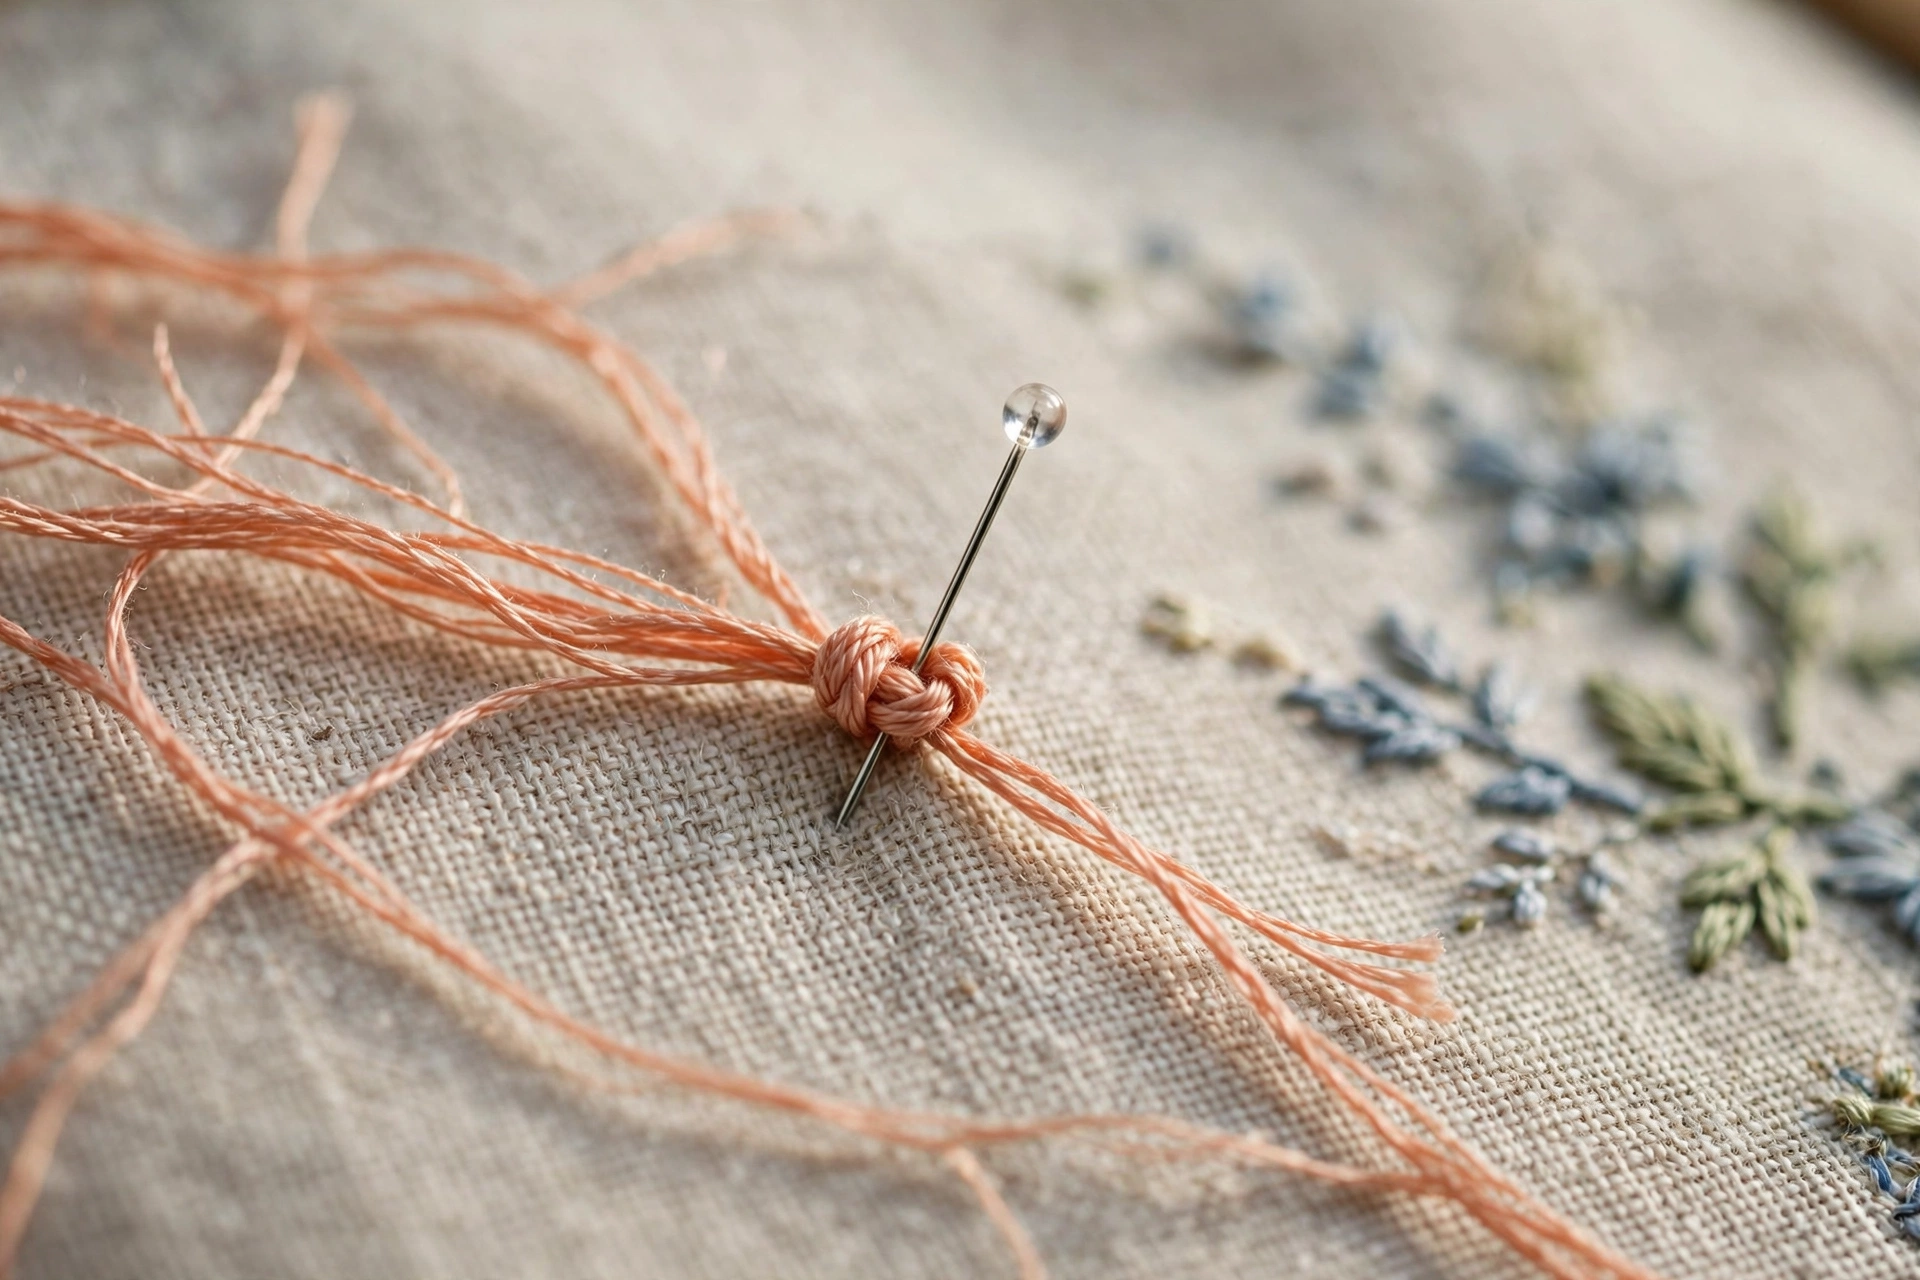
So learn the alternatives, because three-strand work is everywhere. My favorite is the away knot, also called the waste knot, and yes, the name involves the word knot, but it never stays in your work, which is the whole point. Tie a knot in the end of your floss, then push the needle down through the fabric about two inches away from where your design starts, in a spot that will be stitched over later. Stitch toward the design normally. When you reach the area covering that entry point, snip the away knot off and the tail disappears under your stitches. It takes an extra twenty seconds and it works with any strand count, any stitch, any situation. I used away knots for the entire border of a table runner in 2021, all three-strand stem stitch in DMC 471, and the back looks like it was stitched by a calm person, which I am not.
The third option is the weave-in start: if there’s already stitching nearby, slide your needle under the backs of three or four existing stitches on the reverse side, pull the tail through, and start stitching. The existing stitches grip the tail like fingers. No knot, no waste, no fuss. This is my default on any project past the first ten minutes, because by then there’s always something to anchor to.
Myth 3: Knotless starts are fiddly and slow
People imagine knotless starts involve tweezers, magnifiers, and the patience of a watchmaker. I timed myself, because I suspected this myth was nonsense and I like being right. A knot: about six seconds, plus the lifetime of regret. A loop start: about twelve seconds. An away knot: about twenty seconds including the snip. A weave-in under existing stitches: about fifteen seconds. We’re talking about a difference of seconds, not minutes, and the knotless methods get faster with practice while knots stay exactly as annoying forever.
The away knot deserves a closer look because beginners distrust it on sight. “You want me to put the knot two inches AWAY? Then cut it off? That can’t be right.” It is right, and here’s why it works: the knot is only a temporary parking brake. It holds the thread while you stitch the first inch or two, and by the time you snip it, the working thread is locked under real stitches and doesn’t need the brake anymore. Pin the knotted tail out of the way with a spare straight pin so it doesn’t tangle into your working area, stitch over its entry point, then snip it flush. If the entry point won’t be covered by design stitches, park the away knot in the seam allowance or the area that will sit inside the hoop’s edge. There’s always somewhere.
One honest caveat: on the very first stitches of a brand-new project, with no existing stitching and nowhere to hide an away knot, you have two clean options. Either start with a loop start if your strand count is even, or take three tiny anchor stitches on the back, each one passing through the same small spot on the reverse side, before you begin the design. Three tiny stitches stacked on each other on the back grip the tail firmly and add no visible bulk. They take about fifteen seconds. That’s the whole fiddly procedure. Myth busted.
Myth 4: Nobody sees the back, so knots don’t matter
This one survives because it’s half true. If you’re stitching a framed piece where the back gets covered with felt and nobody will ever look, knots are a victimless crime. But that’s a narrow case, and most embroidery lives a more public life than that. Hoop art, the thing half of us are making, has a visible back the moment someone picks it up off the wall. Napkins, table runners, and tea towels get washed, and washing is where knots go to misbehave, migrating forward through the weave like mine did on the bluebells. Anything stitched on light-colored or loosely woven fabric shows knot shadows through to the front, little gray ghosts under your stitches.
There’s also the framing problem. A knot is a lump, and lumps don’t press flat. When you mount embroidery behind glass or stretch it over board, every knot becomes a tiny tent pole pushing the fabric up. Five knots across a design and the whole piece sits unevenly. I learned this mounting a hoop-art piece for a craft fair in 2020, a hoop art tutorial project with a wreath design, and spent an embarrassing forty minutes trying to press knot bumps flat with my thumb before giving up and re-stitching the worst section. Knotless backs press flat in seconds. That’s not vanity, it’s craftsmanship.
And then there’s the simple pride argument. You’ll know the back is clean even if nobody else looks. I check the backs of my finished pieces the way a chef tastes the soup: not for the audience, for me. A flat, tidy back with no lumps is the signature of someone who knows what they’re doing, and after a few knotless projects you’ll feel the difference every time you pick up the hoop.
How to end a thread so it never unravels
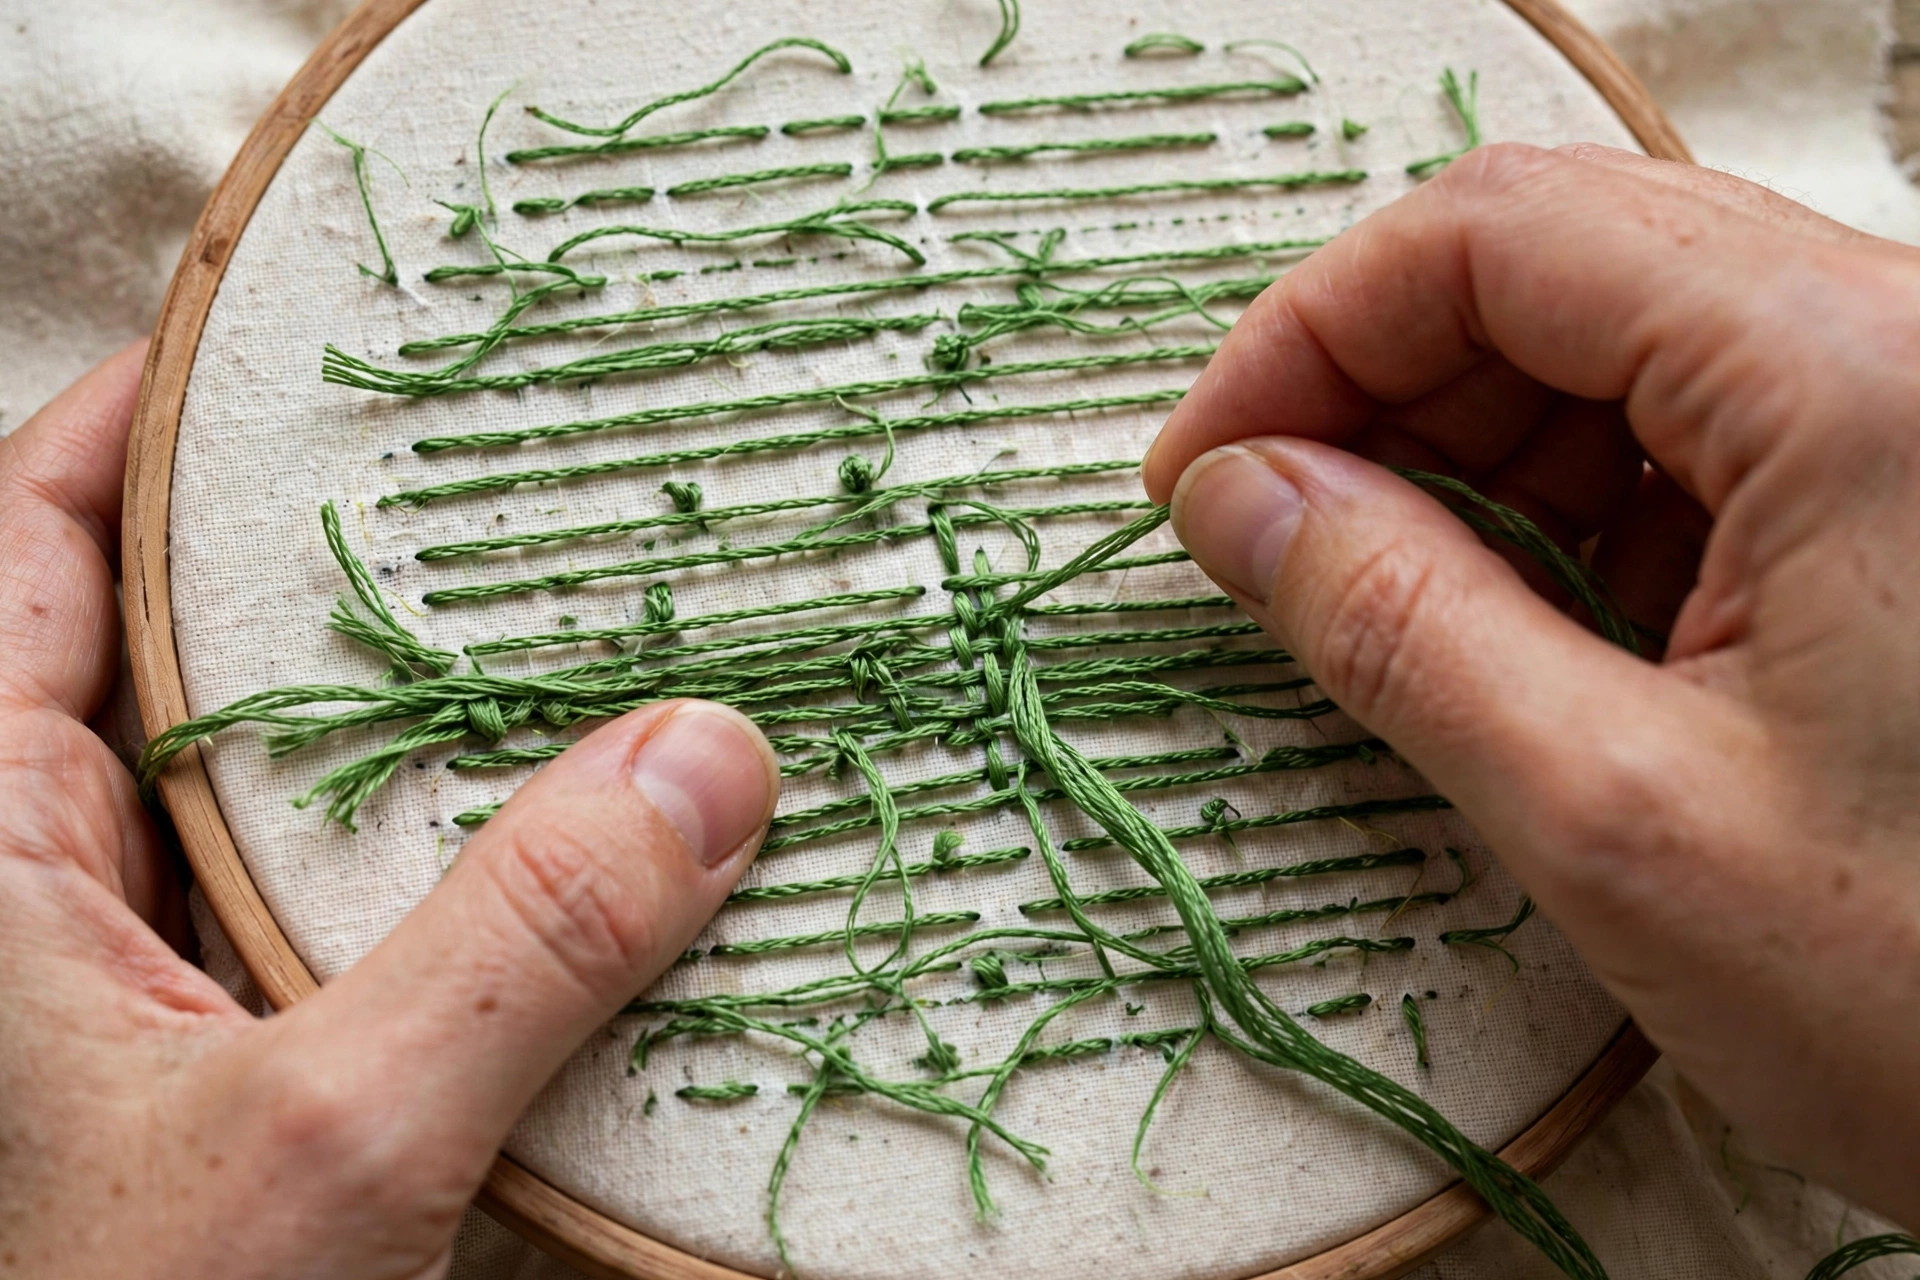
Endings scare beginners more than beginnings, which is funny because endings are easier. You already have stitches. Use them. The universal method: run your needle under the backs of four or five nearby stitches on the reverse side, pull the tail through, then change direction and run it under two or three more going the other way. Snip the tail close to the fabric. The direction change is the secret. A tail woven in one straight line can slide back out under tension. A tail that turns a corner locks itself. I’ve never had a properly woven end come loose, including on pieces that have been washed a dozen times.
Match the weave to the stitch type. Under satin stitch, the back is a solid bed of threads, and the tail disappears into it completely, which is deeply satisfying. Under backstitch or stem stitch, weave under the little bars on the reverse; if you need a refresher on the stitch itself, my backstitch guide covers the anatomy. For isolated stitches with nothing nearby, French knots standing alone in a field of fabric, run the tail across the back to the nearest stitch cluster, even if it’s half an inch away, and weave in there. A long tail traveling across the back is invisible from the front and perfectly respectable.
Two things never to do. First, never weave your ending tail under a knot, yours or anyone else’s. You’re building the one thing we’re trying to eliminate. Second, don’t snip the tail flush against the very last stitch with no tail left at all; leave about a quarter inch woven in. Floss relaxes after washing, and a tail with zero purchase can creep out. A quarter inch of woven tail stays put forever.
When the thread gets too short to comfortably weave, stop. This is the mistake that creates knots: stitching down to a two-inch tail, then tying a knot because there’s nothing left to work with. End your thread when you have four inches left. Four inches weaves in easily and wastes almost nothing. The last inch of floss is not worth a knot. Throw it away and feel rich.
The odd-strand problem, and two ways to beat it
One strand and three strands are the awkward strand counts: no loop start possible, and beginners assume that means knots are mandatory. It doesn’t. The away knot handles both, as described above. The second option is the pin stitch, my favorite party trick for fine work. On the back of the fabric, take two tiny stitches that cross each other in the same spot, like the world’s smallest X, then begin your design. The little X grips the tail with surprising force and adds essentially zero bulk. It’s the standard in counted cross-stitch for a reason, and it ports beautifully to surface embroidery. Two strands through a size 7 needle, one tiny X on the back, and you’re anchored.
For one-strand detail work, the pin stitch is genuinely better than any knot, because a knot on one strand is a tiny hard bead that pulls through fabric if you look at it wrong. I do all my single-strand outlining, the fine veins on leaves, whiskers on the cat portraits, with pin-stitch starts and woven ends, and those pieces have survived framing, gifting, and one memorable incident with a curious toddler. If a toddler can’t pull it apart, your stitches are fine.
And if you’re fighting puckering around your starts and ends, that’s usually tension, not anchoring: I wrote up the fixes in my fabric puckering guide, because a flat back and flat fabric go together.
Here’s my practical warning, learned the bluebell way: before you gift your first knotless piece, wash it. Not because knotless work is fragile, it’s stronger, but because washing is the final exam and you want to take it before the birthday party, not after. Wash it the way the recipient will, dryer and all if that’s their habit, then inspect the back. If every tail stayed put, and it will, you’re cleared for gifting forever. My mother still has those napkins. The re-stitched bluebells have no knots, no bruises, and she uses them every Sunday. That’s the whole point.