
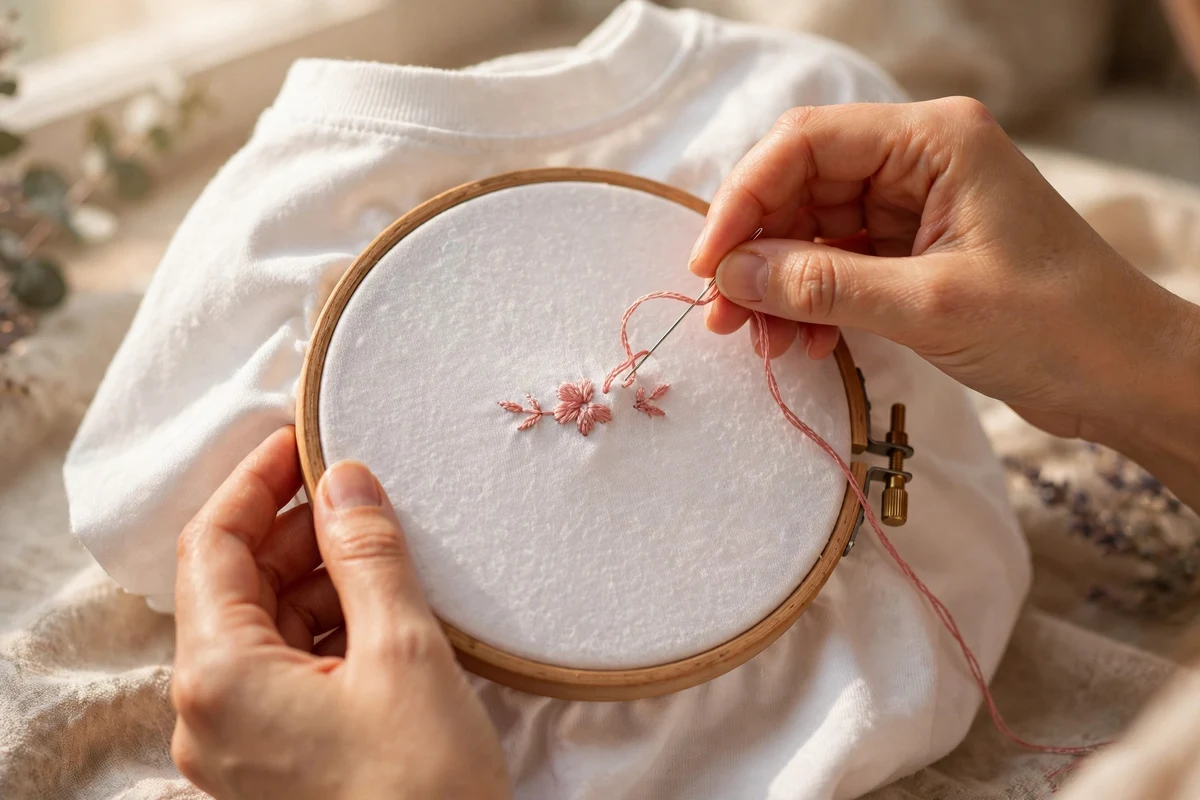
Learning how to embroider on t-shirt is easier than you think, and this guide walks you through every step.
Embroidering a t-shirt by hand is one of the most satisfying projects you can try. A plain tee becomes a one-of-a-kind piece with just a few hours of stitching, and it is far easier than most beginners expect. I stitched my first floral pocket tee on a quiet Sunday afternoon, and I still wear it years later. In this tutorial I will walk you through everything: choosing a design, stabilizing the stretchy fabric, hooping without distortion, picking the right stitches and caring for your finished shirt so it lasts. If you are completely new to hand embroidery, my beginner start guide covers the absolute basics first.
What You Will Need
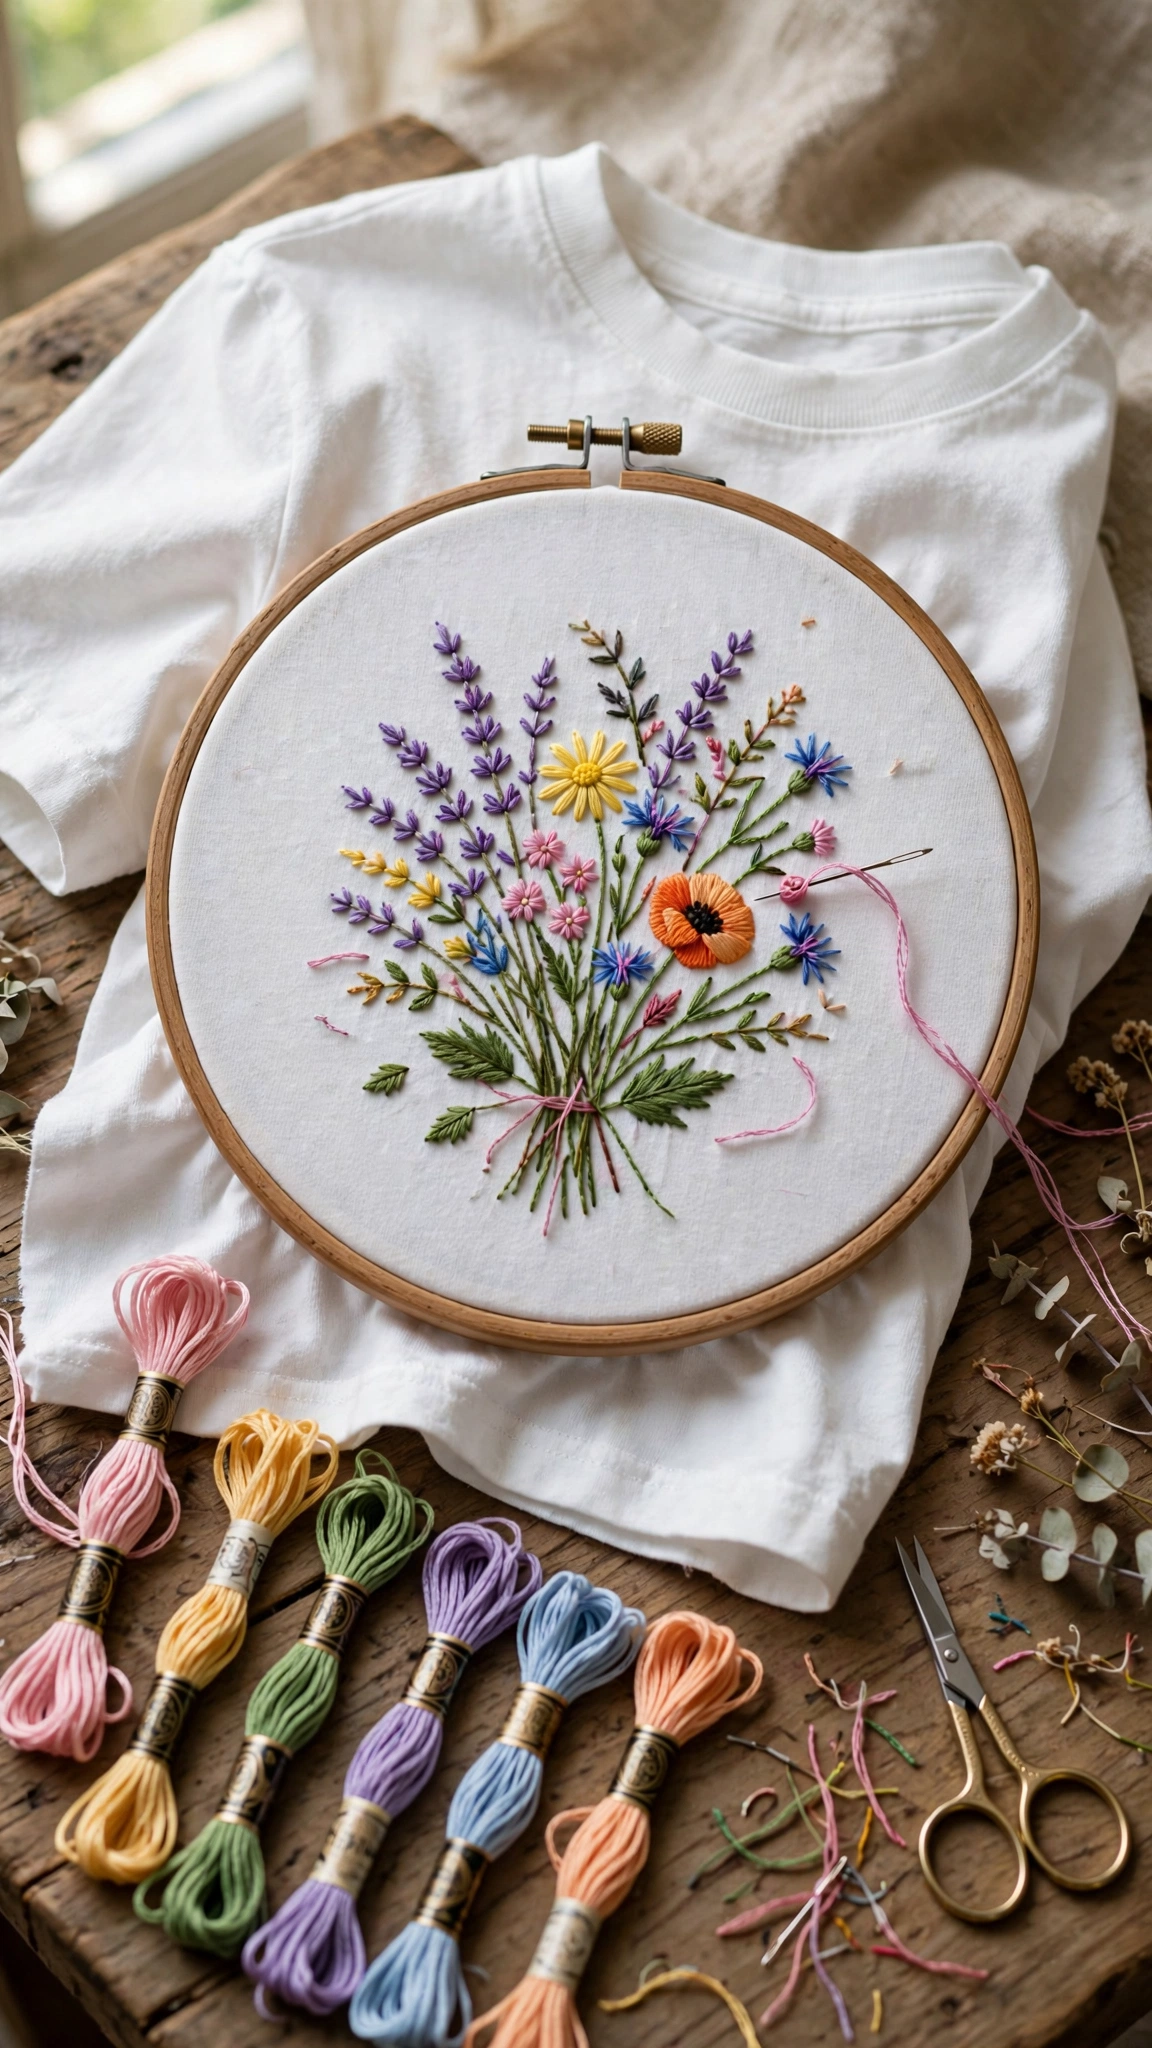
You probably own most of this already. T-shirts are forgiving projects, so there is no need for fancy equipment.
- A plain cotton or cotton-blend t-shirt, pre-washed and dried (this removes shrinkage and sizing)
- Adhesive water-soluble stabilizer, or a light tear-away stabilizer with temporary spray adhesive
- A wooden embroidery hoop, 5 or 6 inches, close to your design size
- Embroidery floss in your chosen colors (I use DMC, and their shade range makes picking a palette easy)
- Embroidery needles, size 7 or 8, with a slightly larger eye
- Small sharp scissors
- A water-soluble fabric pen or pencil for marking placement
- An iron, for pressing and optional iron-on backing
If you are still building your kit, my embroidery tools checklist for beginners covers exactly what to buy and what to skip.
Step 1: Choose a Beginner-Friendly Design
The design you pick matters more on a t-shirt than on plain cotton. Knit fabric moves and stretches, so the best beginner designs share a few traits. Keep the design small, about 3 to 4 inches wide. Choose open, airy motifs like florals, leaves, simple animals or lettering rather than dense filled areas. And favor short stitches over long ones, because long floats can snag and pull on a garment that gets worn and washed.
Good first designs include a small wildflower sprig on the chest pocket area, a tiny bee near the collar, a monogram on the sleeve or a short word in script. Avoid large satin stitch fills for your first shirt. They look beautiful but they are heavy, they pucker knit fabric easily and they take a very long time.
Step 2: Stabilize the Fabric
This is the single most important step, so do not skip it. T-shirt knit stretches in every direction, and without stabilizer your stitches will warp, pucker and look wobbly no matter how careful you are. Stabilizer gives the knit a firm backbone to stitch through.
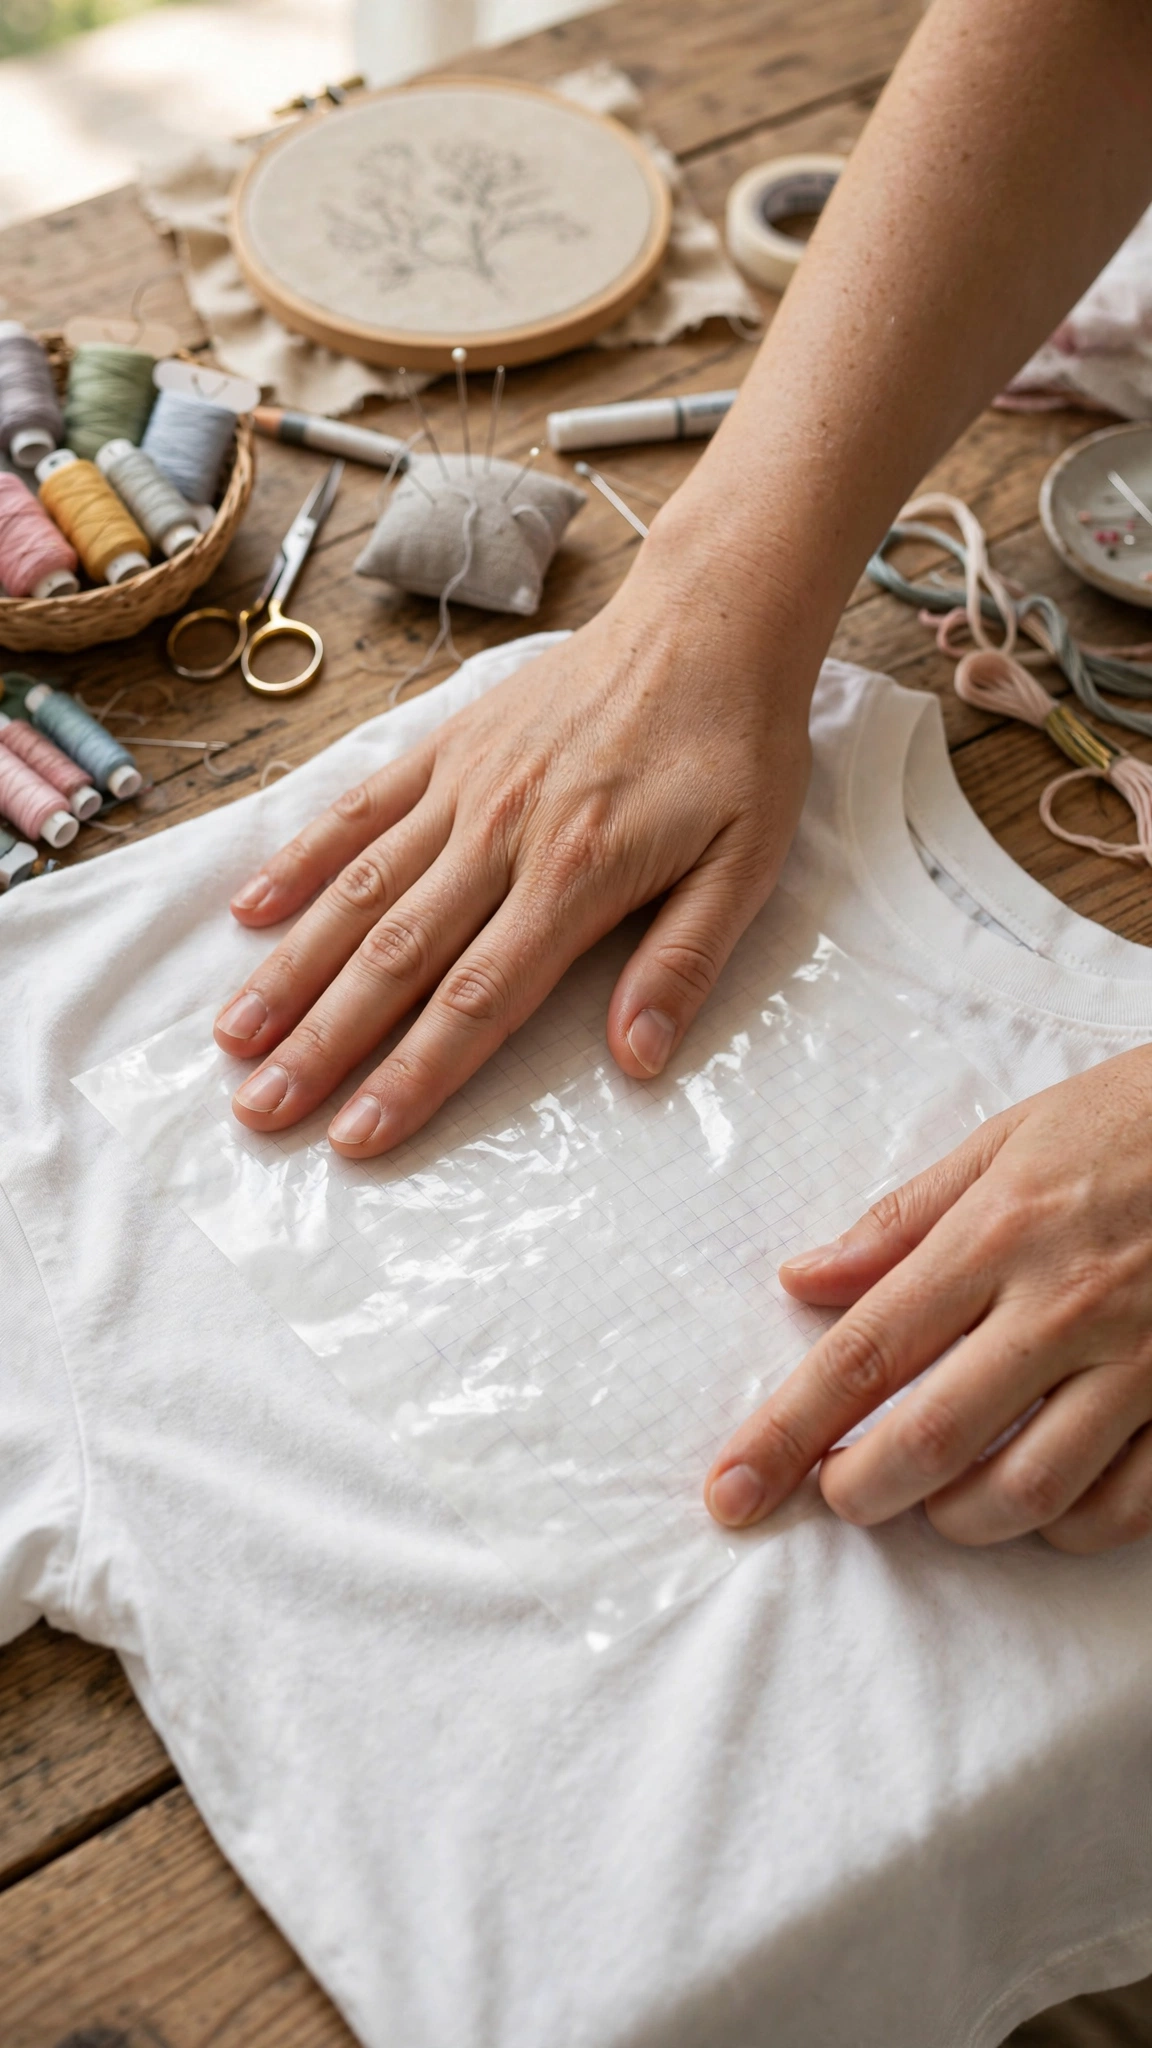
For hand embroidery, I recommend an adhesive water-soluble stabilizer for your first shirt. You trace or print your design directly onto it, stick it to the shirt like a sticker and stitch right through it. When you are done, it rinses away completely in water. The alternative is a light tear-away or cut-away stabilizer placed on the inside of the shirt and held in place with large basting stitches or a light mist of temporary spray adhesive.
Cut a piece of stabilizer a little larger than your hoop. If you are using the stick-on kind, trace your design onto the non-sticky side with a pen, peel off the backing and press it firmly onto the front of the shirt where you want your design. Smooth out every bubble and wrinkle before you start.
Step 3: Mark Your Placement
Placement makes the difference between a shirt that looks professionally done and one that looks slightly off. The classic spot for a chest design is 2.5 to 3 inches below the neckline seam, centered between the shoulders. For a pocket-area design, aim for the upper left chest.
Here is my foolproof method. Lay the shirt flat and fold it in half lengthwise, matching the shoulder seams. Lightly press or finger-crease the fold to find your true center, then unfold. Measure down from the neckline and mark the spot with your water-soluble pen. If your design has a center line, mark that too. Stand back and look at it before you commit. This thirty-second check saves so many regrets.
To get your chosen motif onto the shirt neatly, my guide to transferring embroidery patterns to fabric covers tracing, lightbox and stabilizer methods in detail.
Step 4: Hoop the Shirt Without Stretching
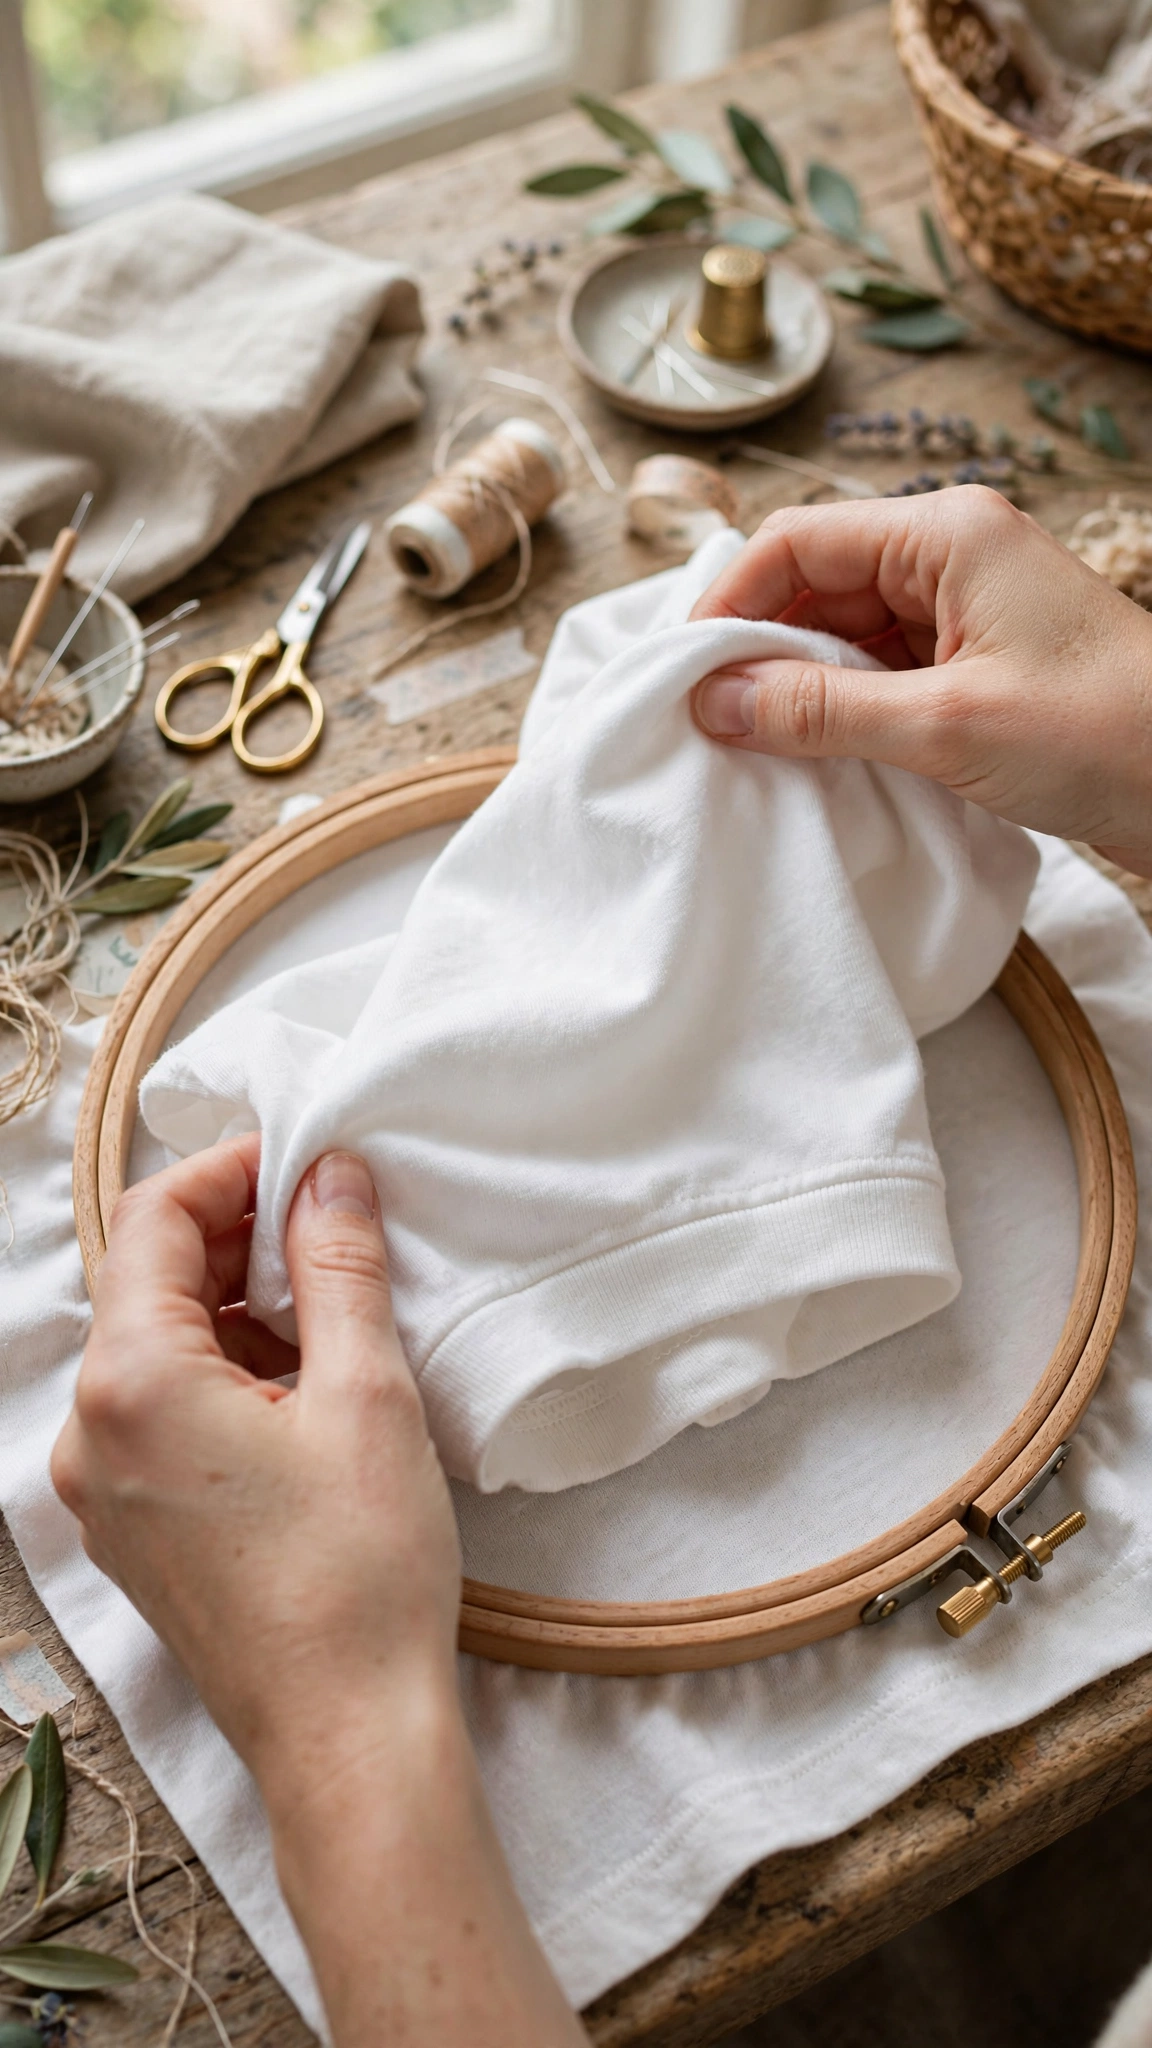
Hooping a t-shirt is different from hooping woven fabric. With quilting cotton you pull the fabric drum-tight. With knit, pulling tight is the enemy. If you stretch the knit in the hoop, it will relax back when you unhoop and your embroidery will pucker into a wrinkled mess.
Loosen the hoop screw so the outer ring is quite loose. Slide the inner ring inside the shirt under your marked area, keeping only the front layer of the shirt in the hoop. Press the outer ring down over it with even pressure, letting the fabric sit smooth and relaxed, exactly as it lies when unworn. Tighten the screw just enough to hold everything in place. Compare the hooped area to the rest of the shirt. If it looks pulled or distorted, loosen and redo it. Taking a minute to re-hoop is always worth it.
Step 5: Choose the Right Stitches
On knit fabric, simple is strong. These are the stitches I reach for on t-shirts, and they cover almost any beginner design.
- Backstitch for outlines, stems and lettering. Short, even stitches about an eighth of an inch long sit flattest on knit.
- Stem stitch for curving stems, vines and bolder outlines. It gives a lovely rope-like line.
- Lazy daisy for petals and leaves. Small, separate petals hold up better in the wash than large ones.
- French knots for flower centers, eyes, berries and texture. Keep them small with two wraps so they do not catch on things.
- Satin stitch only for small filled areas, like a tiny heart or a bee body. Work it in short sections rather than across a wide shape.
Use two or three strands of floss, not all six. Two strands give delicate lines and three give a slightly bolder look. More strands mean heavier stitches, which pull on knit fabric and wear less well over time.
Step 6: Stitch Your Design
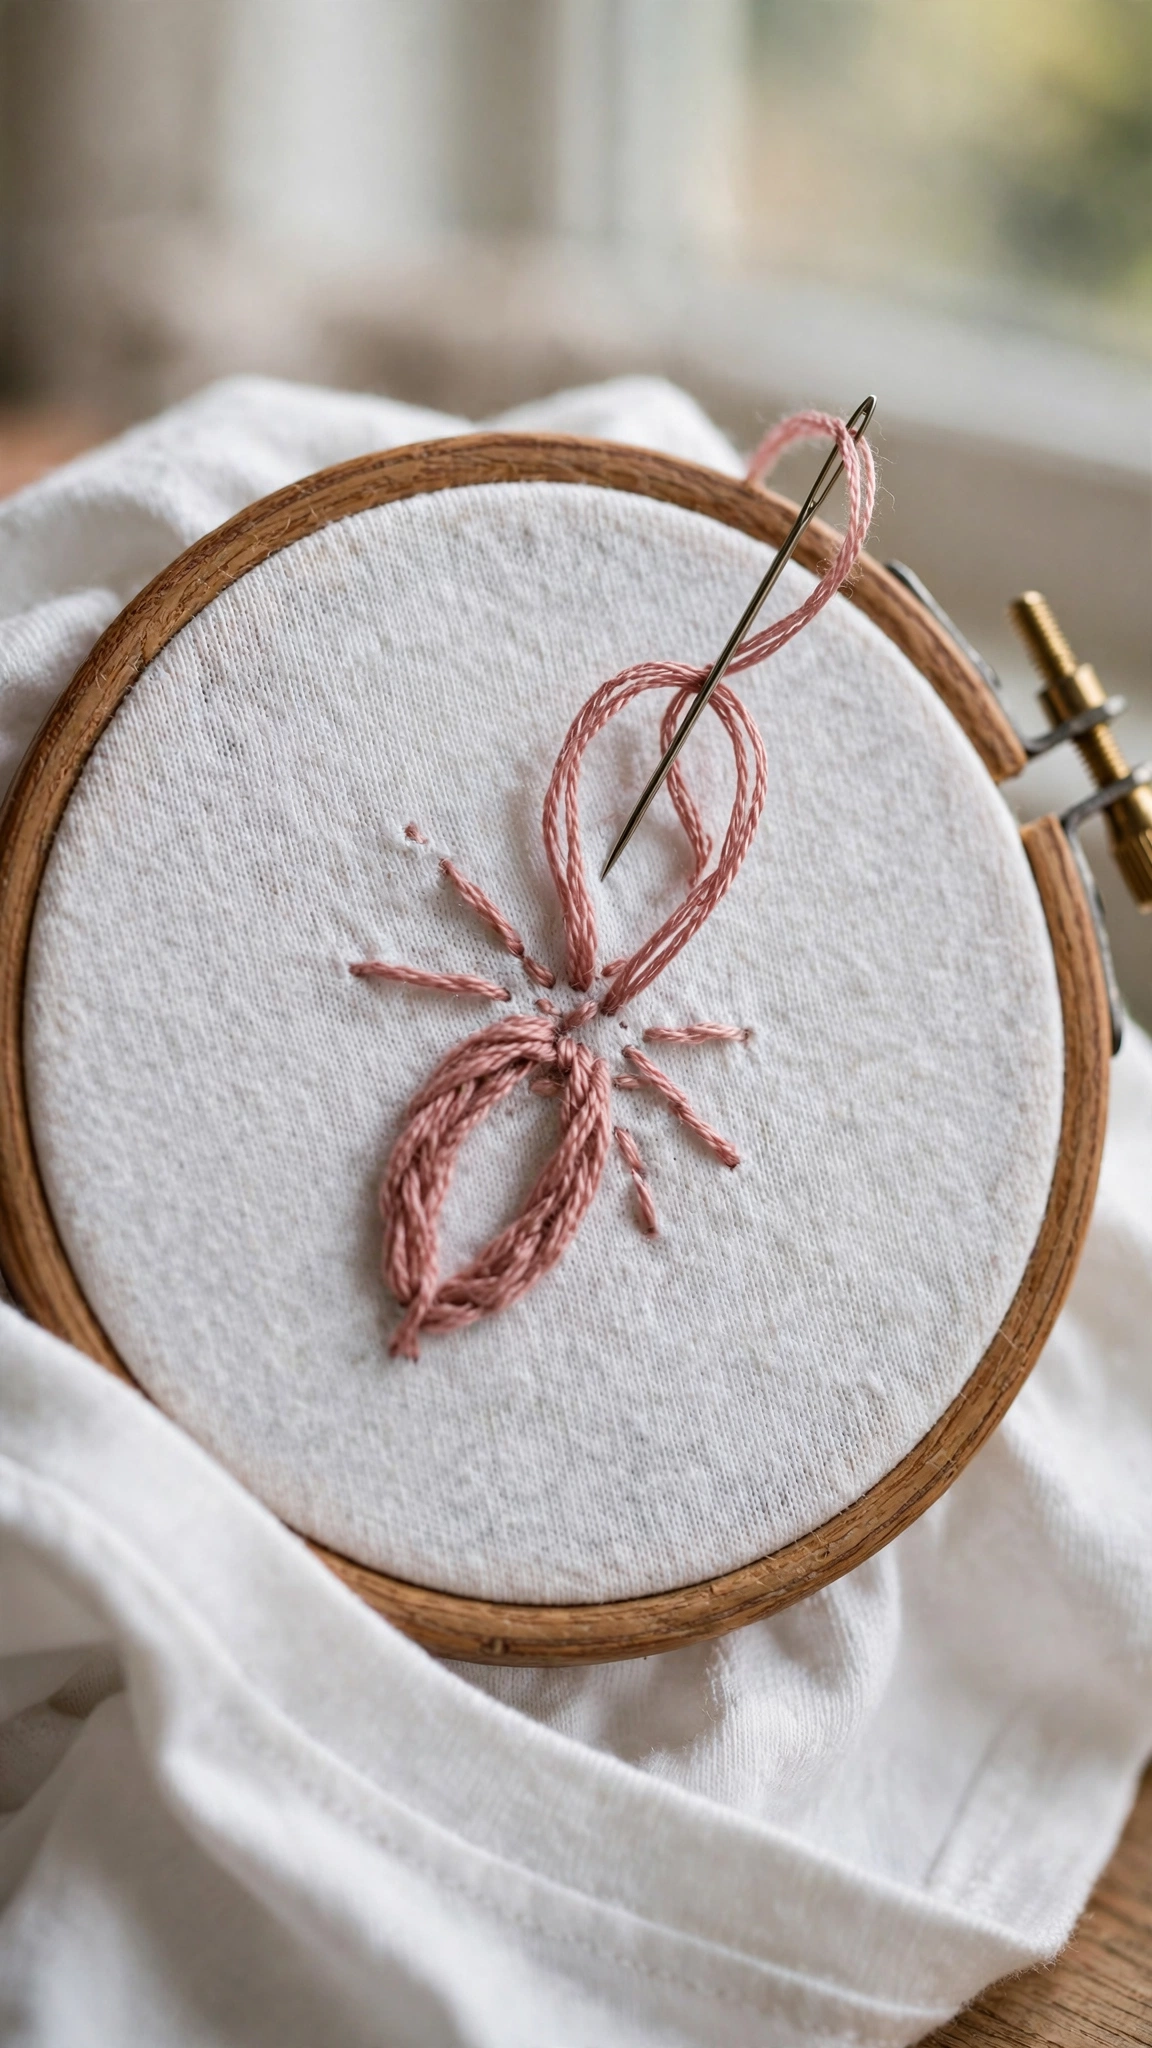
Now the fun part. Thread your needle with about 18 inches of floss. Longer thread tangles and wears thin from being pulled through the knit repeatedly. Knot the end, or better yet, use the loop method or weave your tail under the first few stitches on the back for a neater finish.
Stitch through both the stabilizer and the shirt fabric together. Keep your tension relaxed and even. On knit, it helps to let the needle drop and dangle every few stitches so the thread untwists naturally. Work from the center of your design outward when you can, since this distributes any slight shifting evenly.
If you are stitching lettering, backstitch each letter carefully and keep your stitch length consistent. For florals, stitch the stems first, then the leaves, then the petals, and add French knot centers last. This order keeps your work clean and prevents you from stitching over finished areas.
Step 7: Remove the Stabilizer and Finish the Back
Take the shirt out of the hoop and admire your work. If you used water-soluble stabilizer, rinse the stitched area under cool running water until every trace dissolves, then lay the shirt flat to dry. Never wring it. If you used tear-away, gently tear the stabilizer away from the back, supporting the stitches with your other hand. Trim any remaining bits close to the stitching with small scissors.
For comfort, especially if the design sits against your skin, press a piece of lightweight iron-on interfacing or specialty embroidery backing onto the inside of the shirt over the stitched area. This covers the thread ends so nothing itches and adds a little extra support. Cover it with a pressing cloth and press, do not slide the iron, for about ten seconds.
Step 8: Wash and Care for Your Embroidered T-Shirt
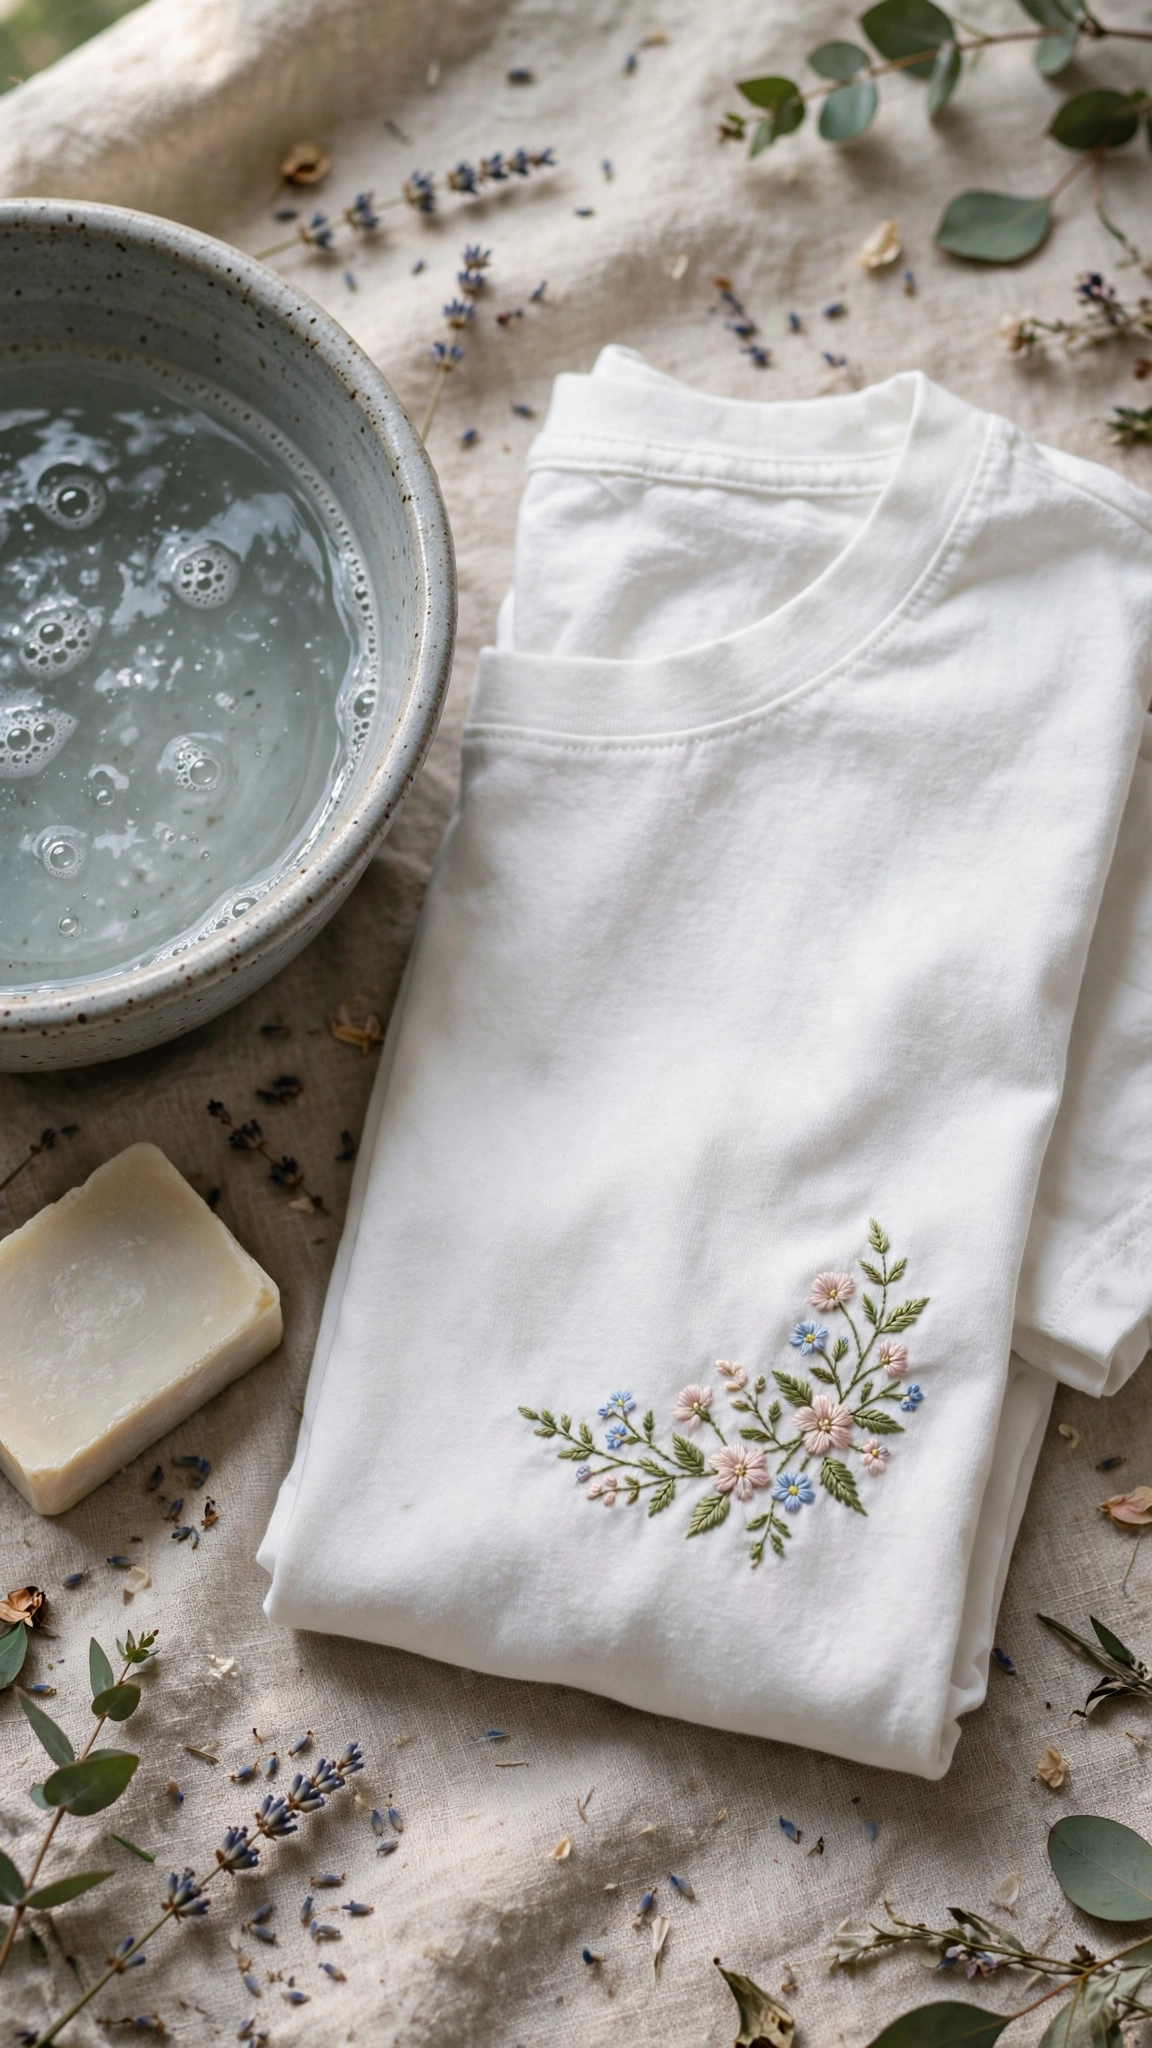
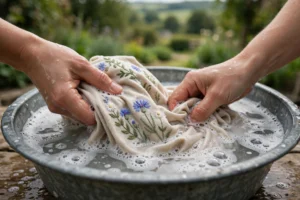
Your embroidery will last for years if you treat it gently. Turn the shirt inside out before every wash. Machine wash cold on a gentle cycle with mild detergent, and skip the bleach and fabric softener, which can weaken floss over time. Better still, hand wash it in cool water when you can.
Lay the shirt flat or hang it to dry rather than using a hot dryer. If it needs ironing, turn it inside out and press on the reverse side, or place a pressing cloth over the embroidery and use low heat. Never iron directly on the stitches with high heat, since polyester floss can melt and cotton floss can scorch.
Troubleshooting Common Problems
My fabric puckered around the stitches
Puckering almost always means the knit stretched during hooping or the stitches were pulled too tight. Next time, hoop the fabric completely relaxed and keep your stitching tension gentle. For a full rescue guide, see my post on fixing embroidery fabric puckering.
The design looks warped or off-center
This usually traces back to placement. Always find the true center by folding the shirt and measure from the neckline seam, not from where the collar looks like it sits. The fold method in Step 3 prevents most placement mistakes.
My French knots keep pulling through
On knit fabric, knots can slip through the looser weave. Use a slightly larger needle to open the hole less, keep your knots small with just two wraps, and make sure your stabilizer is still in place behind the fabric while you stitch them.
The back of the shirt feels scratchy
Cover the back of the embroidery with lightweight iron-on backing as described in Step 7. It makes a remarkable difference in comfort, and it also protects the stitches during washing.
Frequently Asked Questions
Can you hand embroider on any t-shirt?
Almost any, but medium-weight cotton or cotton-blend tees give the best results for beginners. Very thin, drapey knits are harder to control, and very thick sweatshirt fleece needs heavier stabilizer. Pre-wash every shirt first so it does its shrinking before you stitch.
Do I really need stabilizer for hand embroidery on a t-shirt?
Yes, truly. Without stabilizer the knit stretches as you stitch and your finished design will pucker and distort, especially after the first wash. Stabilizer is the difference between embroidery that looks handmade in the best way and embroidery that looks homemade in the worst way. For a deeper look at options, the hand embroidery guide at The Spruce Crafts walks through several stabilizer methods with photos.
How many strands of floss should I use on a t-shirt?
Two to three strands for most designs. Two strands give fine, delicate lines and three give a bolder look. Using all six strands makes stitches heavy, which pulls on knit fabric and wears out faster in the wash.
Will hand embroidery survive the washing machine?
Yes, if you wash gently. Turn the shirt inside out, use cold water on a delicate cycle and lay flat to dry. Hand washing is even kinder. I have shirts that have survived dozens of washes with their embroidery still looking fresh.
How to Embroider on T-Shirt: You Made Something Wearable
Take a moment to appreciate what you just did. You took an ordinary t-shirt and turned it into something nobody else in the world owns. That is the quiet magic of hand embroidery. Your first shirt might have a wobbly stem or a knot that sits a little proud, and I want you to wear it anyway, because every stitch in it was placed by your own hand and the next one will be even better. Now that you know how to embroider on a t-shirt, try a new design on the next one, experiment with colors you would never buy in a store and build yourself a little collection of wearable art. Happy stitching, friend.

2 thoughts on “How to Embroider on a T-Shirt for Beginners (Step by Step)”