
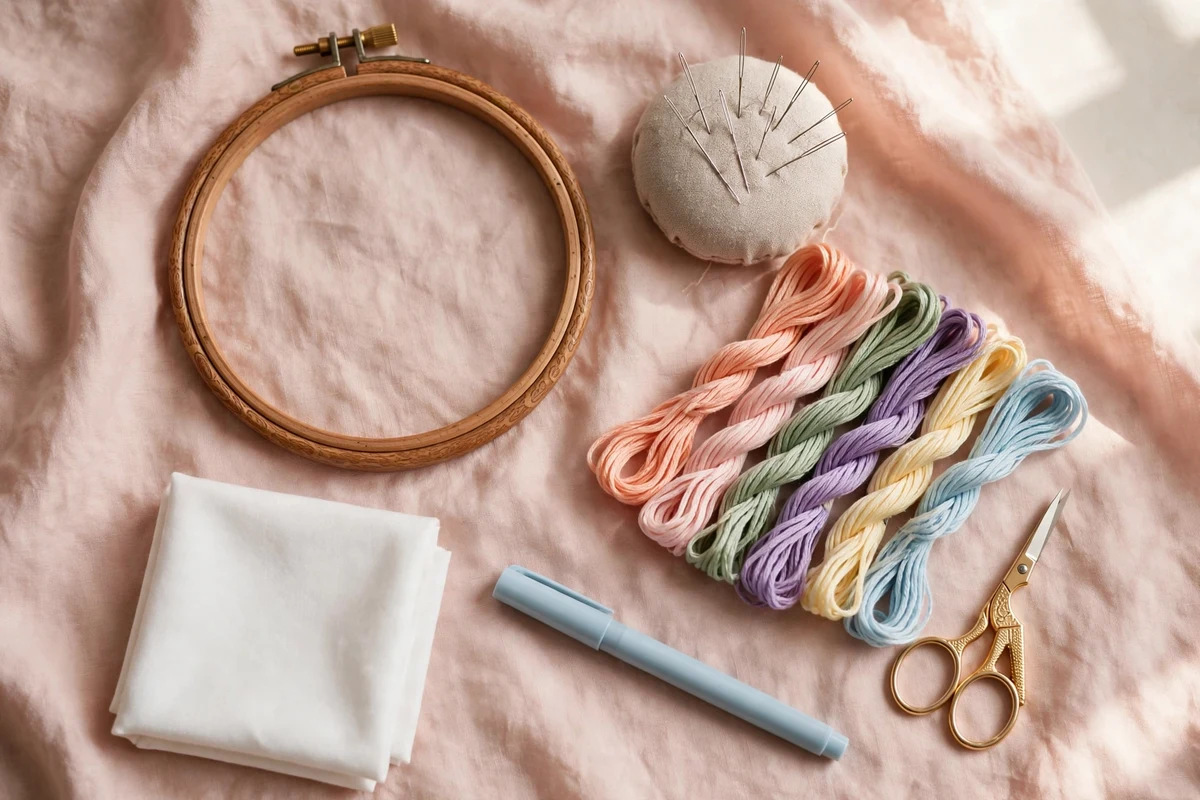
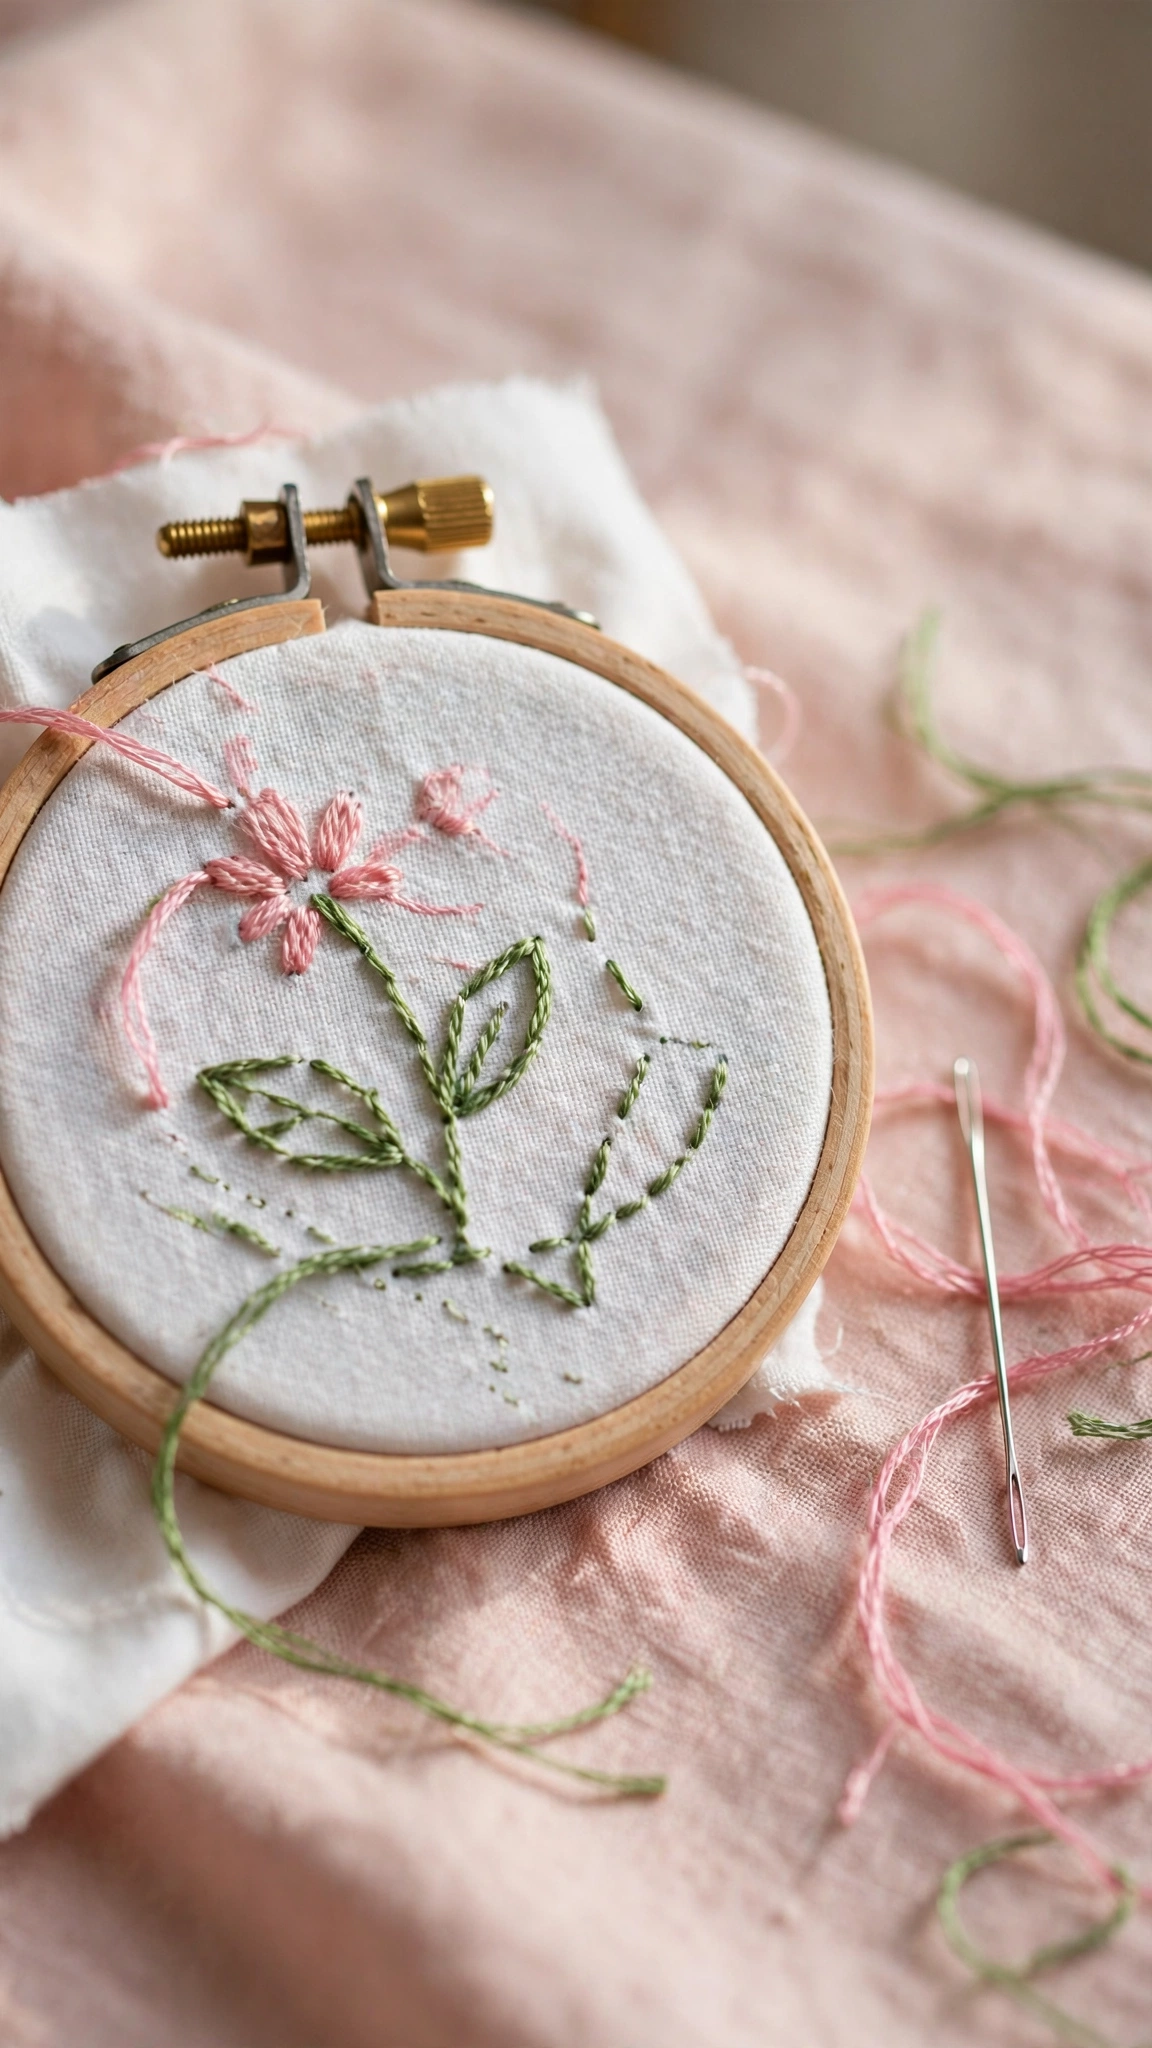
When I stitched my very first flower, a wobbly little daisy on a scrap of bedsheet, I had exactly three things: a sewing needle stolen from my grandmother’s pincushion, a tangled ball of craft thread, and a dinner plate I was using as a hoop. The daisy was lopsided, the fabric puckered like a prune, and I loved it anyway. But oh, how I wish someone had handed me a simple checklist of the embroidery tools for beginners that actually matter, before I wasted money on a fancy 40-color floss set I did not need and a hoop so big it felt like steering a ship.
So here is the embroidery tools for beginners checklist I wish I had. Everything below is what I keep in my own basket today, years later, and it is genuinely all you need to start stitching with confidence. No filler, no fluff, just the tools that earn their place.
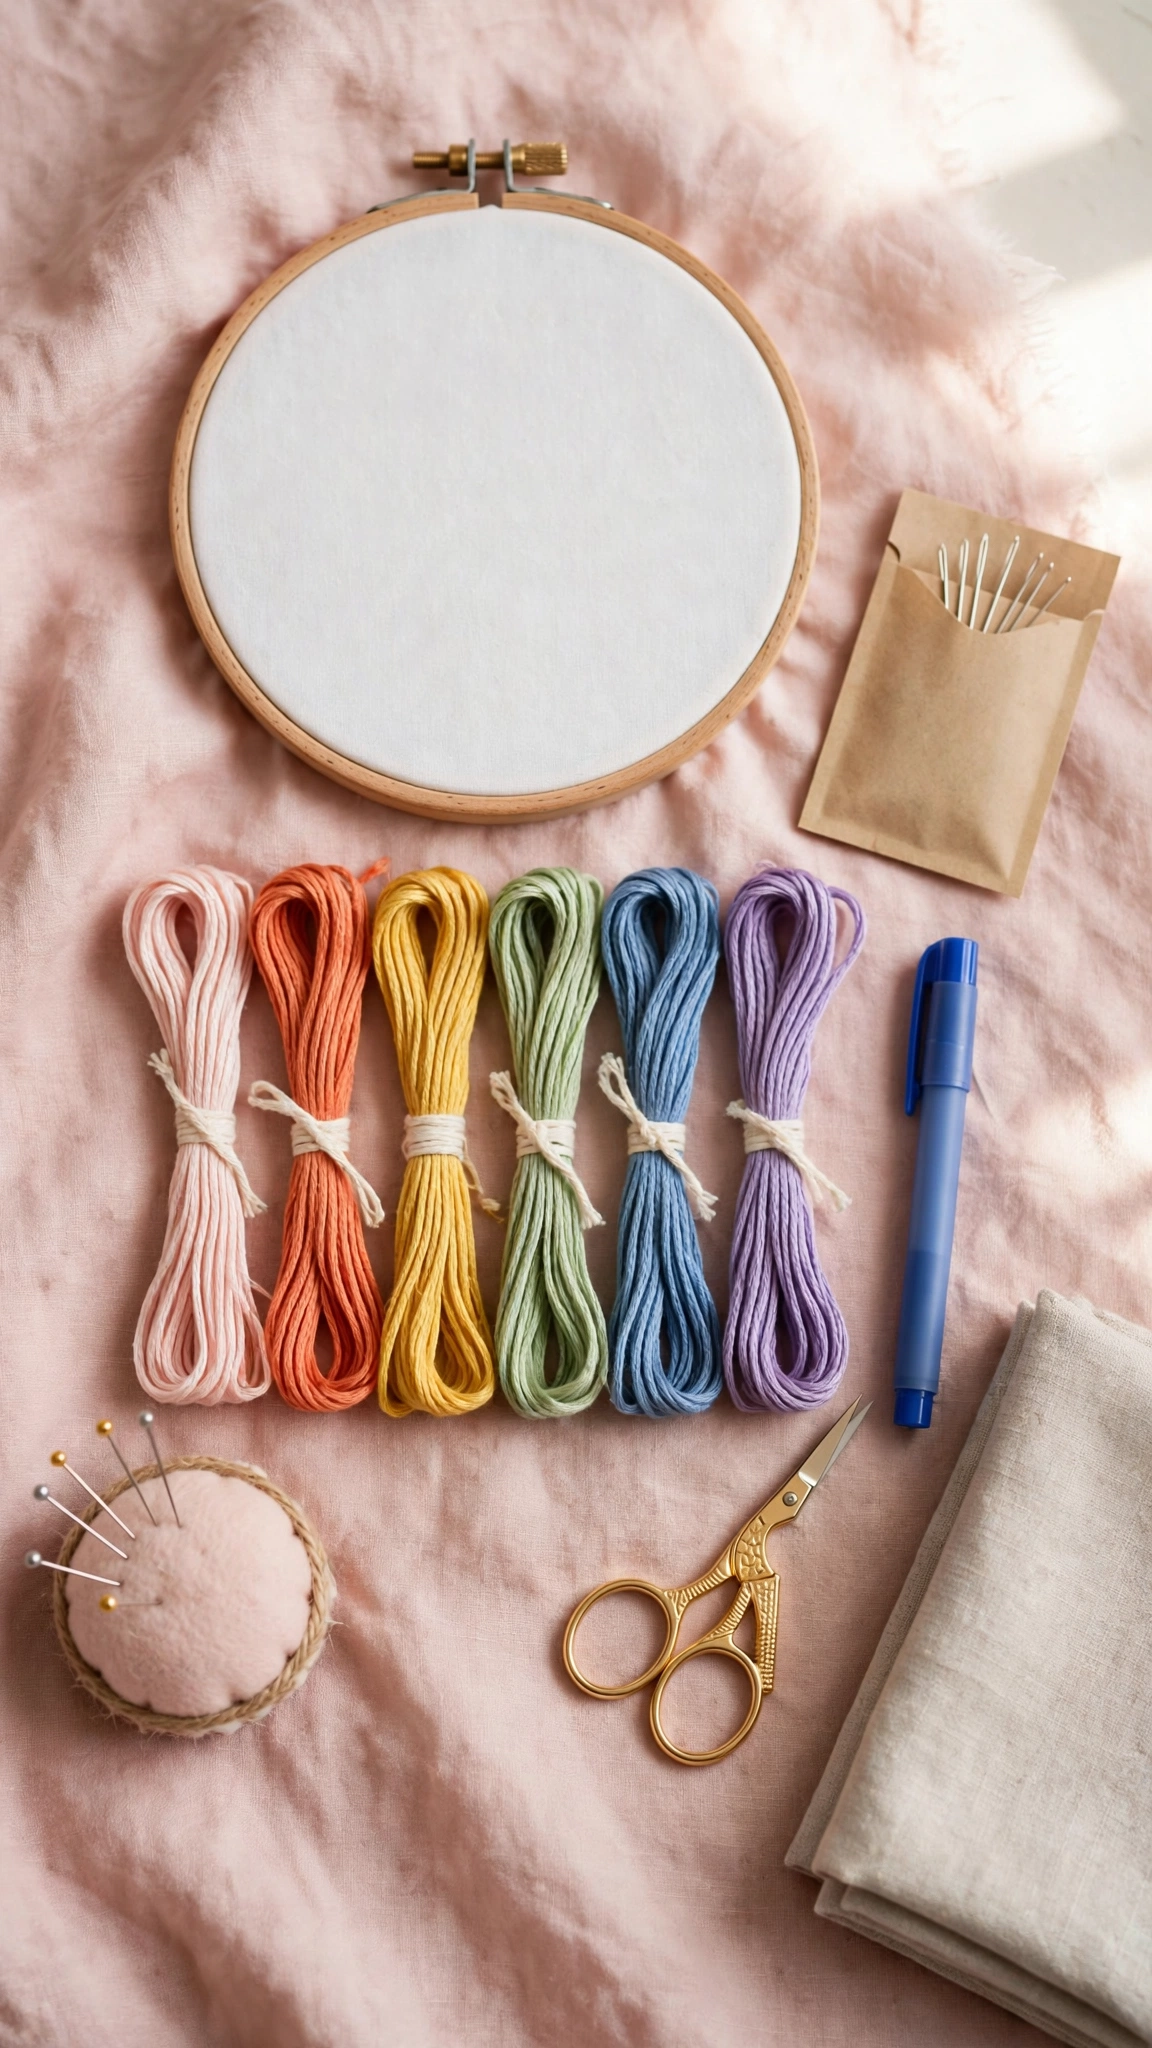
Think of this as two tiers. Tier one is the non-negotiable kit: six items that will take you from your first
backstitch to a finished hoop you are proud to hang on the wall. Tier two is the nice-to-have shelf:
small comforts that make stitching smoother once you are hooked. (You will be. They always are.)
The Complete Embroidery Tools for Beginners Checklist
1. An Embroidery Hoop (4 to 6 Inches)
The hoop is the single most important tool on this list, because it does one job nothing else can: it holds your fabric drum-tight while you stitch. Tight fabric means even stitches and no puckering, which is half the battle for a beginner.
What to look for: Start with a 4, 5, or 6-inch hoop. That size is easy to hold in one hand and big enough for practice pieces. Wooden hoops grip fabric beautifully and feel lovely to hold; plastic hoops are lighter, cheaper, and the tension screw is a little more forgiving. Either is a fine first hoop. Make sure the outer ring has a metal screw (not a plastic snap) so you can adjust tension properly.
Emily’s tip: Before you buy the big display hoop for your first wall piece, practice on the small one. When you tap tightened fabric it should sound like a little drum. If it sags, loosen the screw, pull the fabric edges gently, and retighten. You will get a feel for it within a day.
2. Embroidery Needles (Crewel, Sizes 3 to 9)
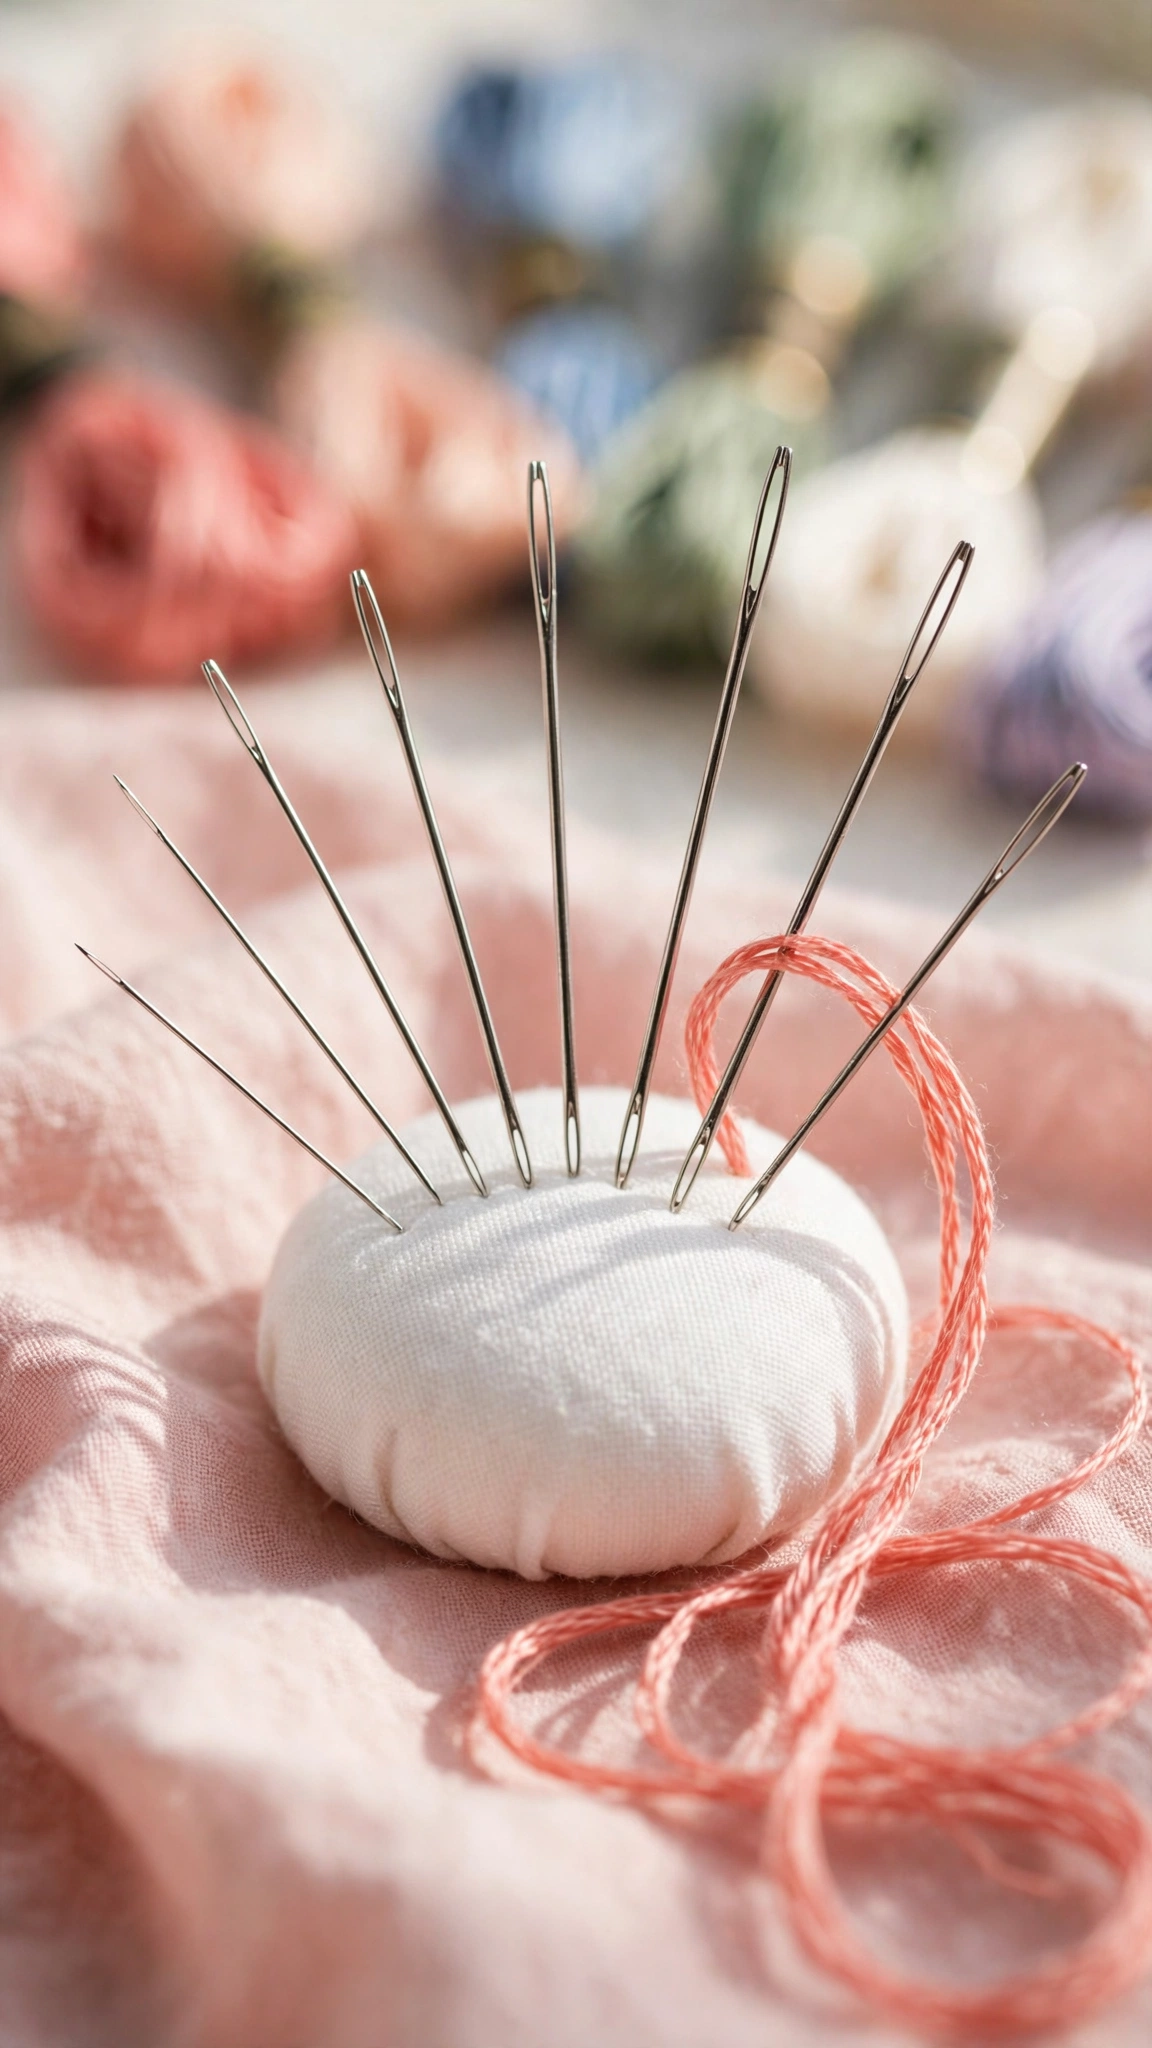
Regular sewing needles have tiny eyes and sharp points meant for thin thread. Embroidery needles, also called crewel needles, have a larger eye that fits multiple strands of floss and a sharp point that glides through woven fabric. That difference alone will save you ten minutes of frustrated squinting per project.
What to look for: Buy a mixed pack labeled sizes 3 to 9. The smaller the number, the bigger the needle. You will reach for sizes 5 to 7 most often as a beginner: big enough to thread easily, small enough not to leave holes in your fabric. Keep a couple of sizes 1 to 3 on hand for thicker threads or wool later on.
Emily’s tip: Needles are cheap, so buy the multipack and do not cry when one bends or vanishes into the couch. Also, change to a fresh needle when your thread starts fraying at the eye; a worn needle shreds floss faster than anything else.
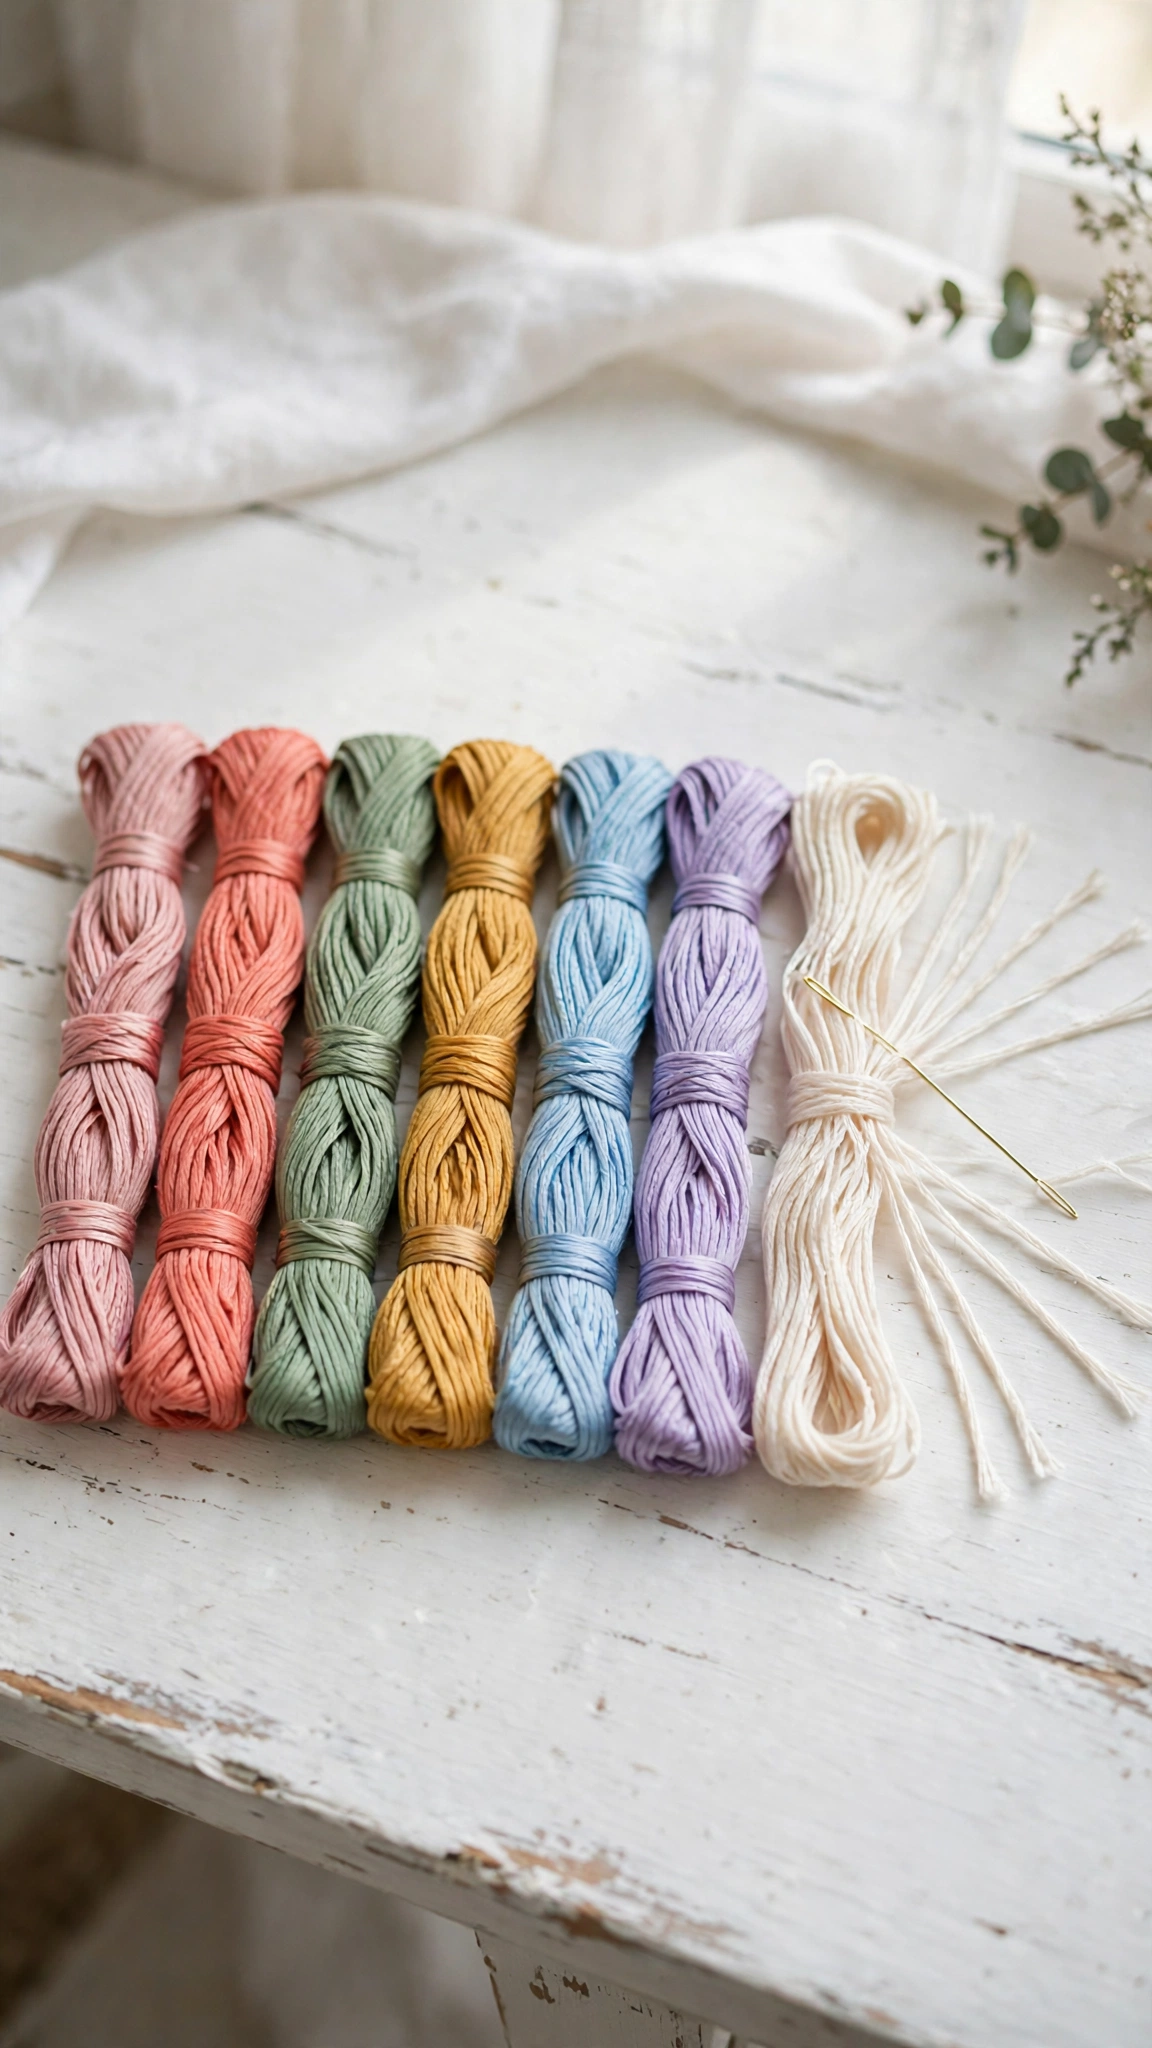
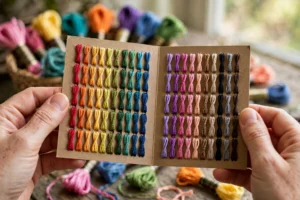
3. Six-Strand Cotton Embroidery Floss (6 to 8 Skeins)
This is the classic colorful thread you picture when you think of embroidery. Each skein is made of six individual strands twisted together, and the magic is that you can split them: use two or three strands for fine detail, all six for bold lines. One skein is secretly six threads in one.
What to look for: DMC is the gold standard for a reason: the colors are consistent between dye lots, the thread is smooth and strong, and every pattern you will ever find names DMC color numbers. Start with six to eight skeins in colors you love, a few greens, a pink or red, a blue, a yellow, a brown, and white. You do not need the 100-color box yet, no matter how pretty it looks on the shelf.
Emily’s tip: Cut floss no longer than about 18 inches (roughly elbow to fingertip). Longer thread tangles, knots, and wears thin from being pulled through fabric over and over. Short thread is the fastest beginner upgrade there is.
4. Beginner-Friendly Fabric (Cotton or Linen)
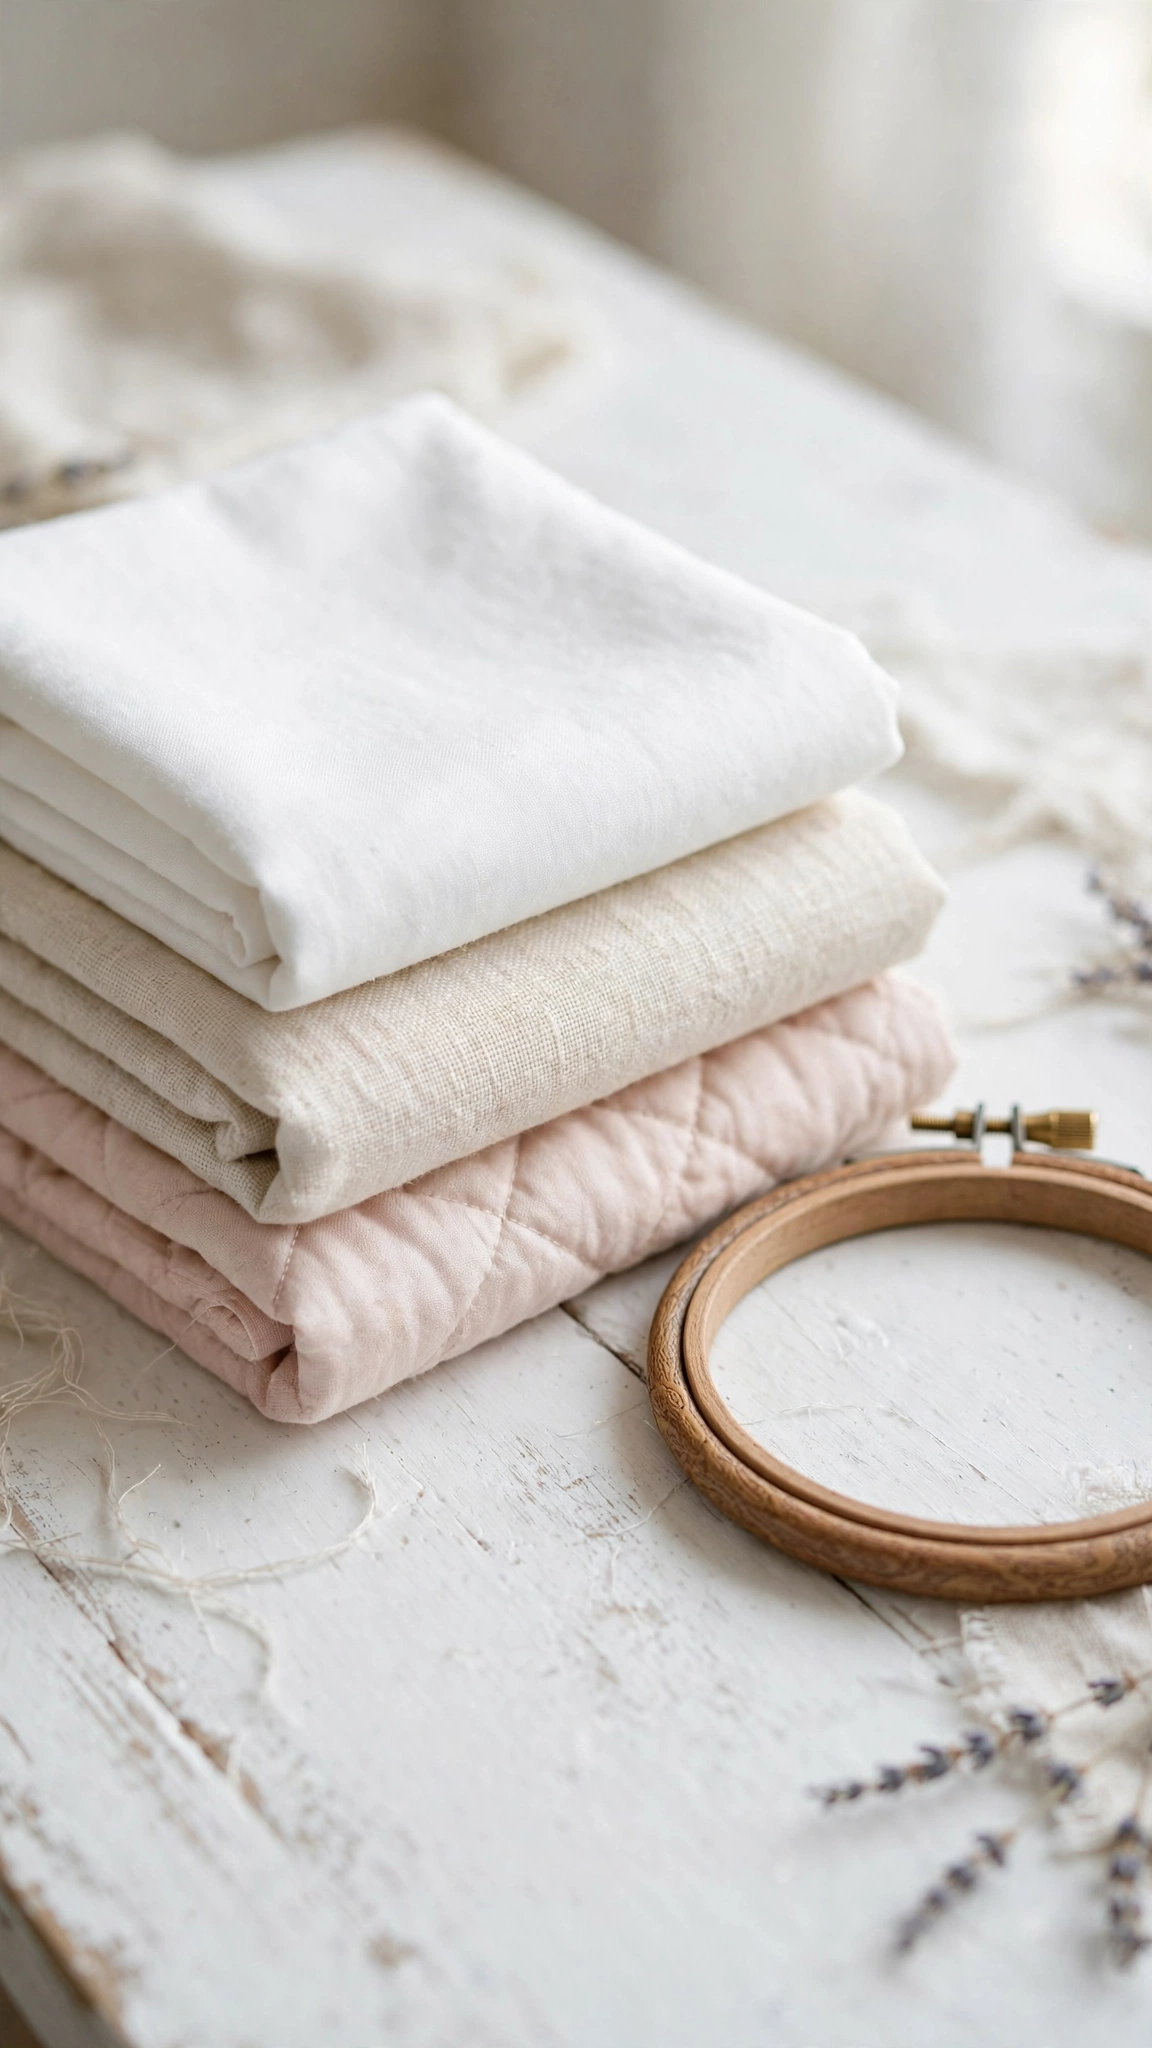
Your fabric is the canvas, and the wrong one will fight you. Stretchy knits shift under the needle, and loosely woven fabrics let stitches sink and disappear. Beginners do best with a stable, medium-weight woven fabric you can see your stitches sitting on top of.
What to look for: Quilting cotton (like Kona cotton) or a medium-weight linen or linen blend is perfect. Look for fabric that feels like a good bedsheet: smooth, with a visible but tight weave, and no stretch when you tug it diagonally. Prewash and press it before you stitch so it does not shrink around your finished work later.
Emily’s tip: If your stitches are sinking into the fabric or the weave looks uneven, your fabric is too loose. A fat quarter of quilting cotton costs very little and will carry you through your first half dozen practice pieces. Save the fancy hand-dyed linen for project number ten.
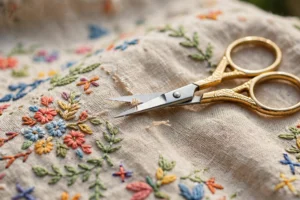
5. Small, Sharp Embroidery Scissors
You will snip thread hundreds of times per project, and big craft scissors are clumsy for the job. A small pair of embroidery scissors with a fine point lets you trim thread tails close to the fabric without nicking your stitches.
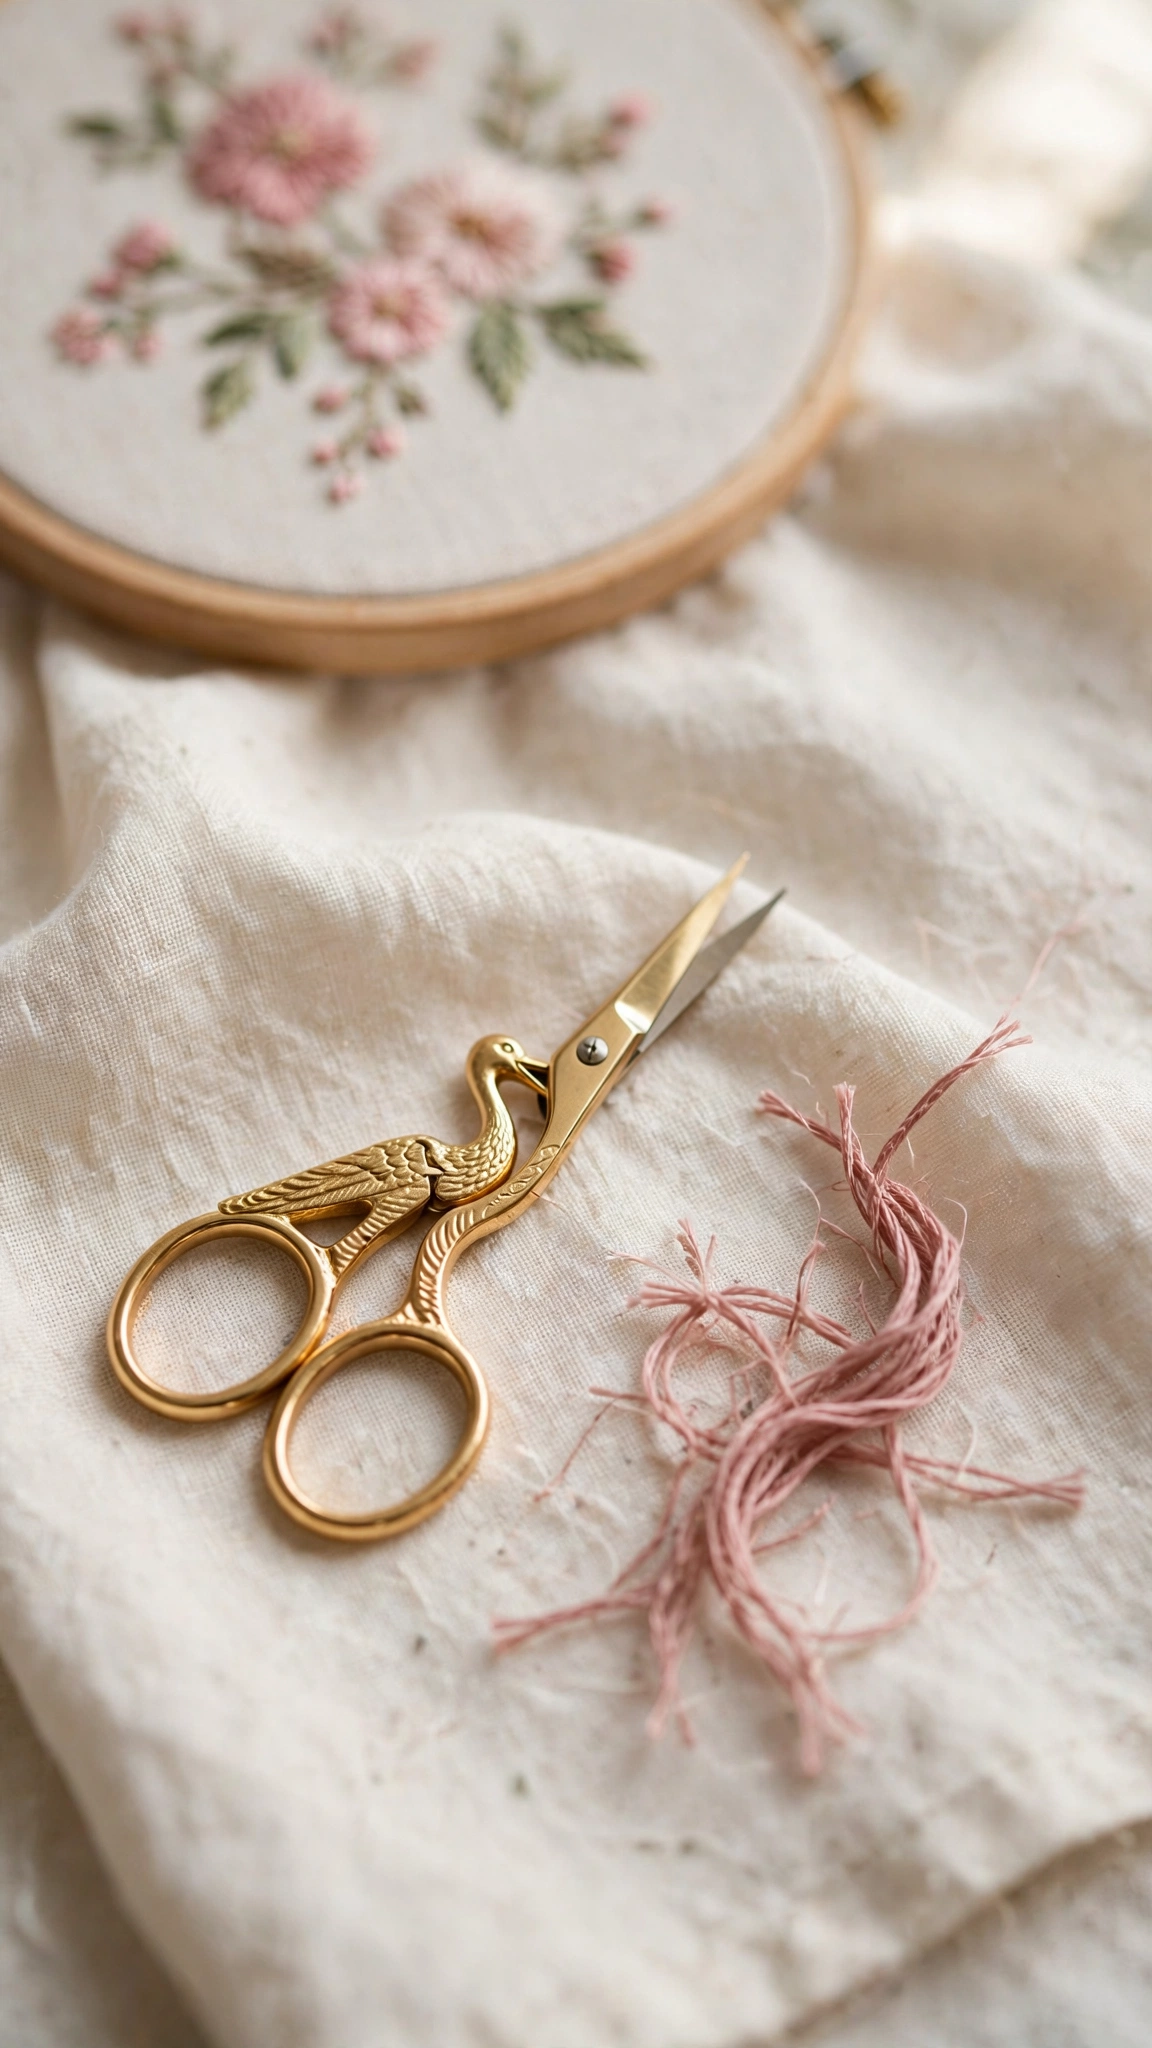
What to look for: Any small sharp pair works, stork-shaped ones are traditional and adorable, but plain snips are just as good. The one rule: reserve them for thread only. Cutting paper or fabric with them dulls the blades fast, and dull scissors chew thread instead of cutting it.
6. A Fabric Marking Pen
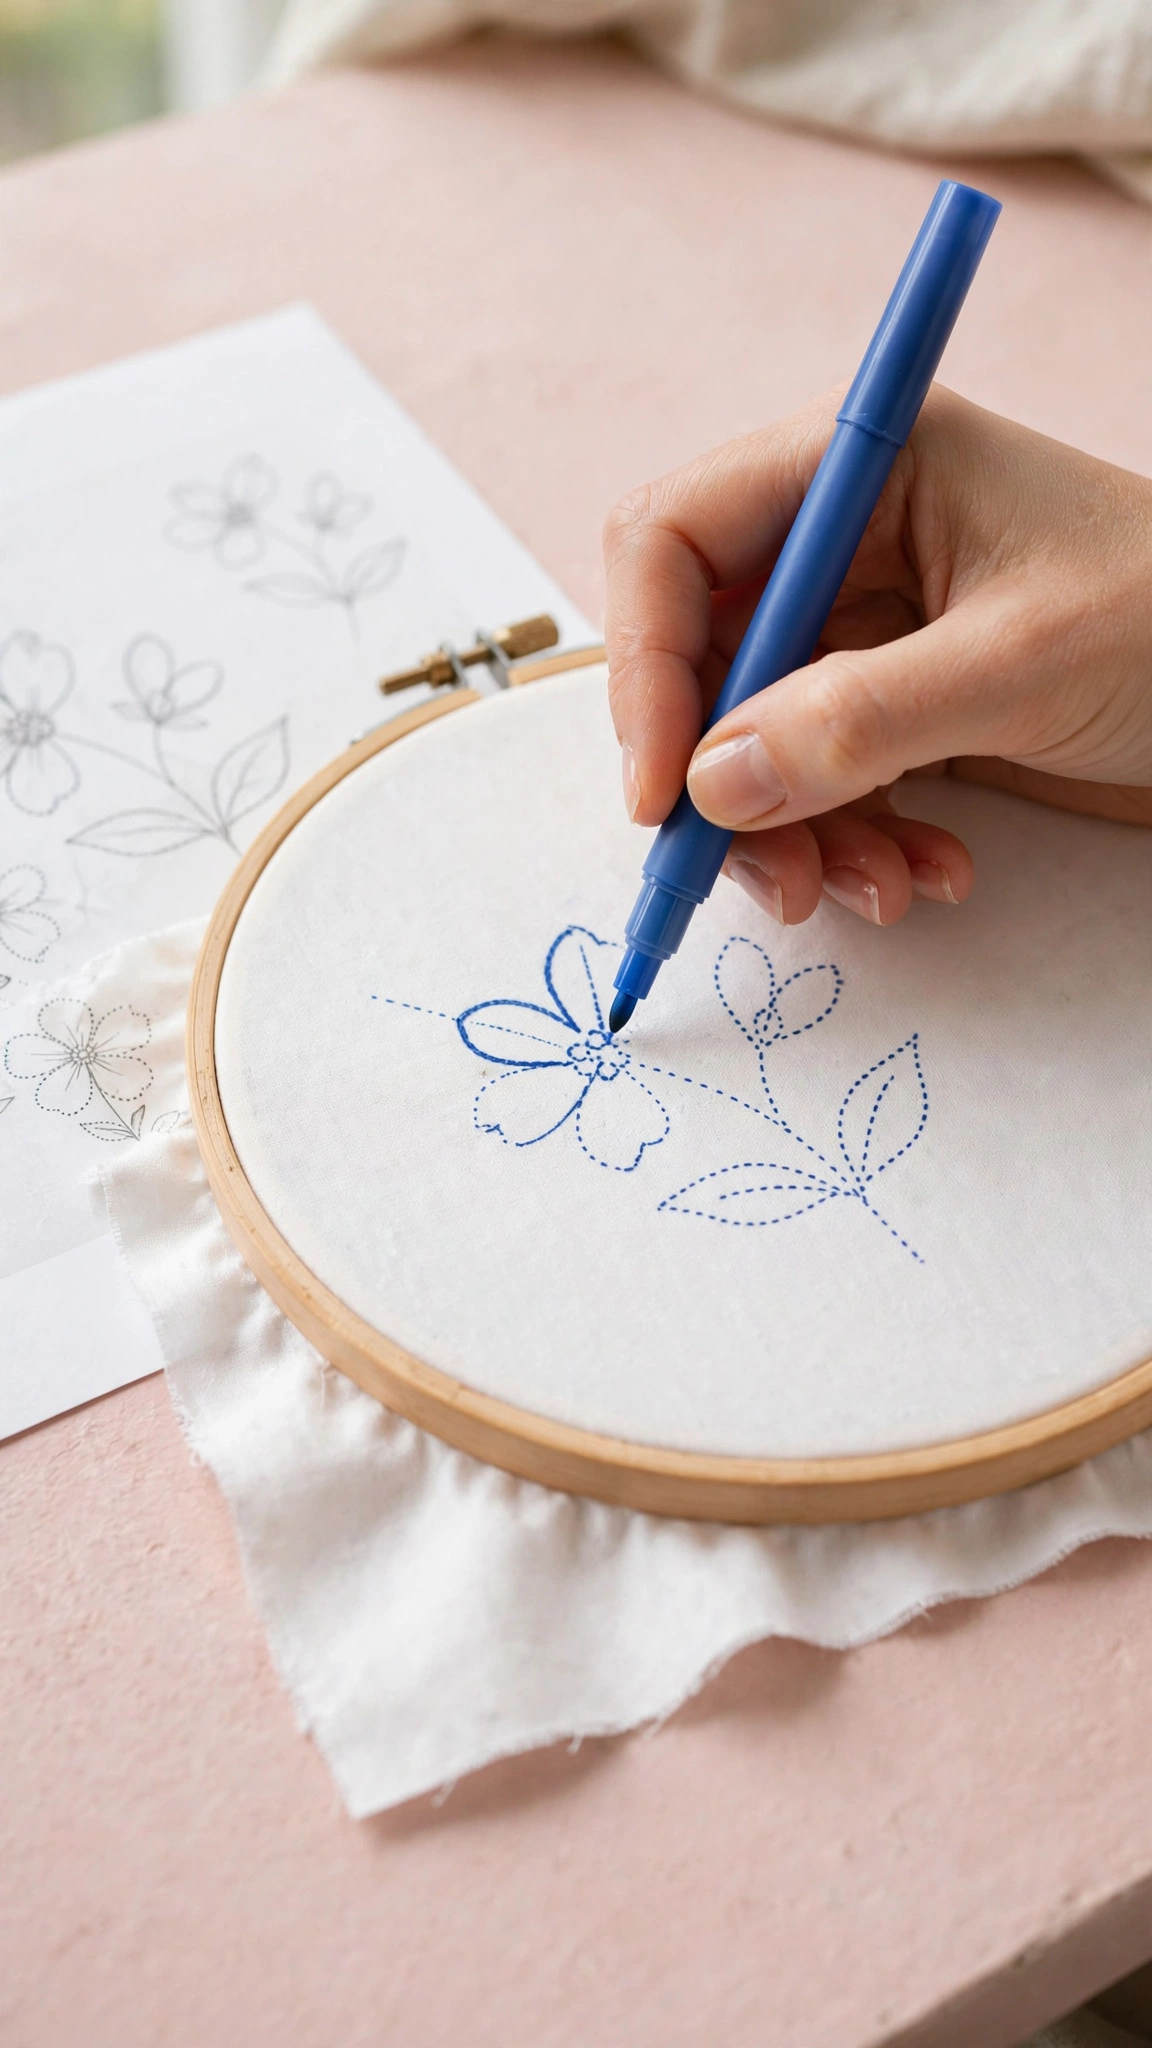
Unless you are stitching freehand (brave!), you need a way to draw your pattern onto fabric. The right marker goes on smoothly, stays visible while you stitch, and then disappears completely when you are done.
What to look for: A water-soluble blue pen is the classic beginner choice: it marks clearly on light fabric and rinses out with a dab of water. Heat-erasable pens (like FriXion) vanish with an iron and are wonderful for detailed work, but always test any marker on a scrap of your project fabric first. Some marks can ghost back on certain fabrics.
Emily’s tip: For your very first projects, you can even use a regular pencil on light fabric. It is not erasable, but thin pencil lines hide easily under stitches. Just keep the lines light.
Nice Extras Worth Adding Soon
You do not need these on day one, but each one solves a small annoyance you will absolutely run into by project three:
- A needle threader: a tiny wire loop that pulls floss through the needle eye in one motion. Costs almost nothing, saves real frustration, especially with all six strands.
- A needle minder: a little magnetic enamel pin that sticks to your fabric and holds your needle while you change thread. No more lost needles in the sofa.
- Floss bobbins or a floss box: wind each color onto a labeled cardboard bobbin so your skeins stop tangling into one big knot. Future you says thank you.
- A pincushion: keeps needles and pins in one safe place. The classic tomato is classic for a reason.
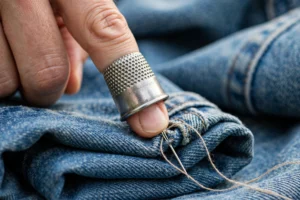
- A thimble: optional, but if your pushing finger gets sore during longer sessions, a thimble ends the complaint.
- A small light pad or LED light box: makes tracing patterns onto fabric dramatically easier than squinting at a window. A lovely upgrade once you start working from printed patterns.
What You Can Skip (For Now)
Craft stores are designed to separate beginners from their money, so here is your permission slip to walk past the following:
- The giant 100-skein floss organizer. You will use maybe fifteen colors in your first year. Buy colors per project.
- Specialty threads like metallics, silk, or variegated floss. They are gorgeous and genuinely harder to stitch with. Earn them.
- Machine embroidery anything. Different hobby, different tools, different budget. This list is for hand embroidery.
- Expensive frames and stands. A basic hoop in your lap works beautifully until you start very large pieces.
- Pre-printed “beginner kits” with mystery-quality thread. Some are fine, but many include scratchy thread and flimsy hoops. Buying the six essentials separately usually costs the same and works twice as well.
Your First Shopping List, All in One Place
Here is the whole embroidery tools for beginners starter kit as a quick checklist you can take to the store or use online:
- ☐ One 5 or 6-inch embroidery hoop with a metal tension screw
- ☐ One mixed pack of crewel embroidery needles, sizes 3 to 9
- ☐ Six to eight skeins of six-strand cotton floss (DMC) in basic colors
- ☐ One fat quarter of quilting cotton or medium-weight linen, prewashed
- ☐ One pair of small sharp embroidery scissors
- ☐ One water-soluble fabric marking pen
- ☐ (Soon after) needle threader, needle minder, and floss bobbins
That is genuinely it. This embroidery tools for beginners list fits in a shoebox, costs less than a nice dinner out, and will carry you through months of stitching.
Embroidery Tools for Beginners: Ready to Stitch?
With your tools gathered, the next step is learning your first stitches. My complete beginner’s guide to hand embroidery walks you through setting up your hoop and making your first stitches, and the backstitch tutorial teaches the one stitch that can outline almost any design. If your fabric starts rippling as you learn, my guide to fixing fabric puckering will sort it out. And when you finish that first piece, turn it into wall art with my DIY embroidered hoop art tutorial.
For floss, I always point beginners to DMC’s official site, where you can browse the full color range by number so the shades in your patterns always match what you buy.
Gather your embroidery tools for beginners kit, thread a needle, and make something gloriously imperfect. That first wobbly
daisy of yours? It is the start of something lovely. Happy stitching!
Bookmark this embroidery tools for beginners checklist , having the right embroidery tools for beginners makes every project more enjoyable from the very first stitch.

2 thoughts on “Embroidery Tools for Beginners: Complete Checklist”