
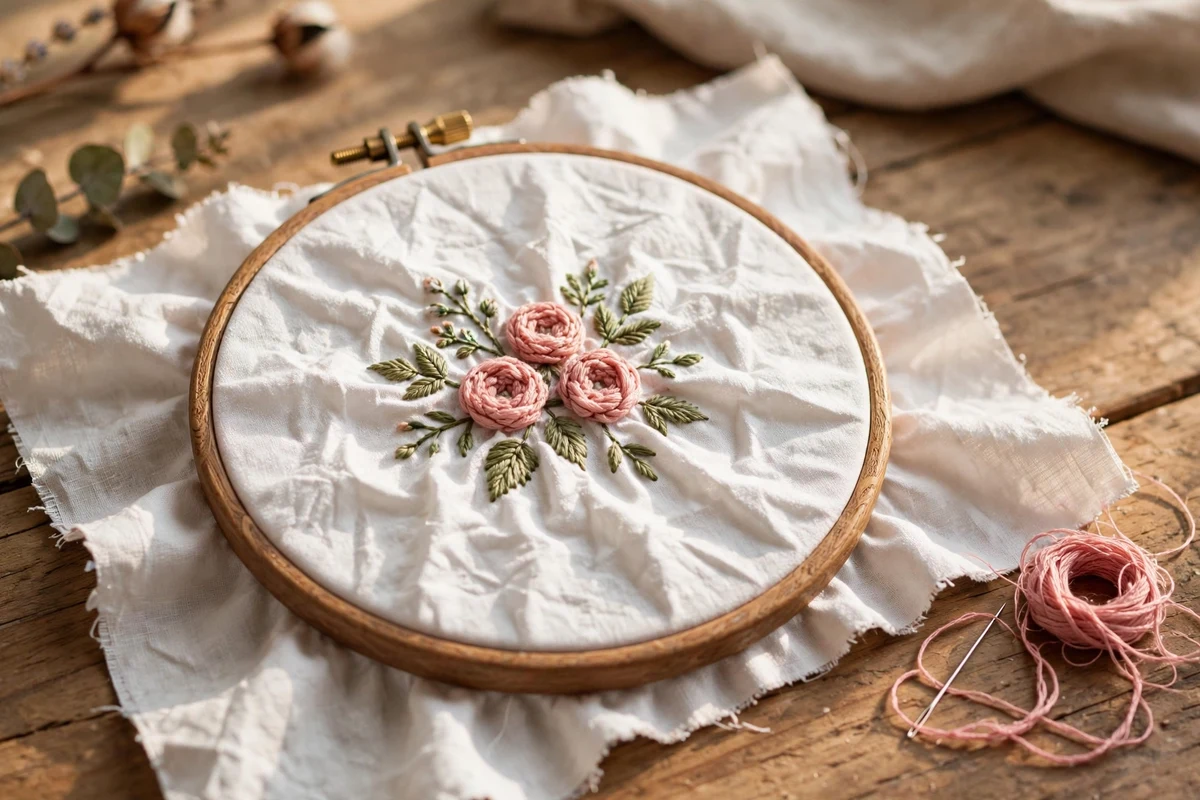
You finish the last stitch, unhoop your fabric, lay it flat, and there it is: the fabric around your beautiful design is rippled and gathered, like a little sea of wrIf you’ve ever unhooped your work to find embroidery fabric puckering around your stitches, yIf you’ve ever unhooped your work to find embroidery fabric puckering around your stitches, you’re not alone. You finish the last stitch, unhoop your fabric, lay it flat, and there it is: the fabric around your beautiful design is rippled and gathered.ou’re not alone. inkles. I know the sinking feeling well. My first hoop art piece had such dramatic puckering that the whole thing looked like a deflated balloon.
The good news is that puckering is almost always preventable, and even when it happens, there are ways to fix it. Let’s look at why embroidery fabric puckers, how to stop it from happening, and what to do if your finished piece already looks like a wrinkle farm.
What Is Embroidery Fabric Puckering?
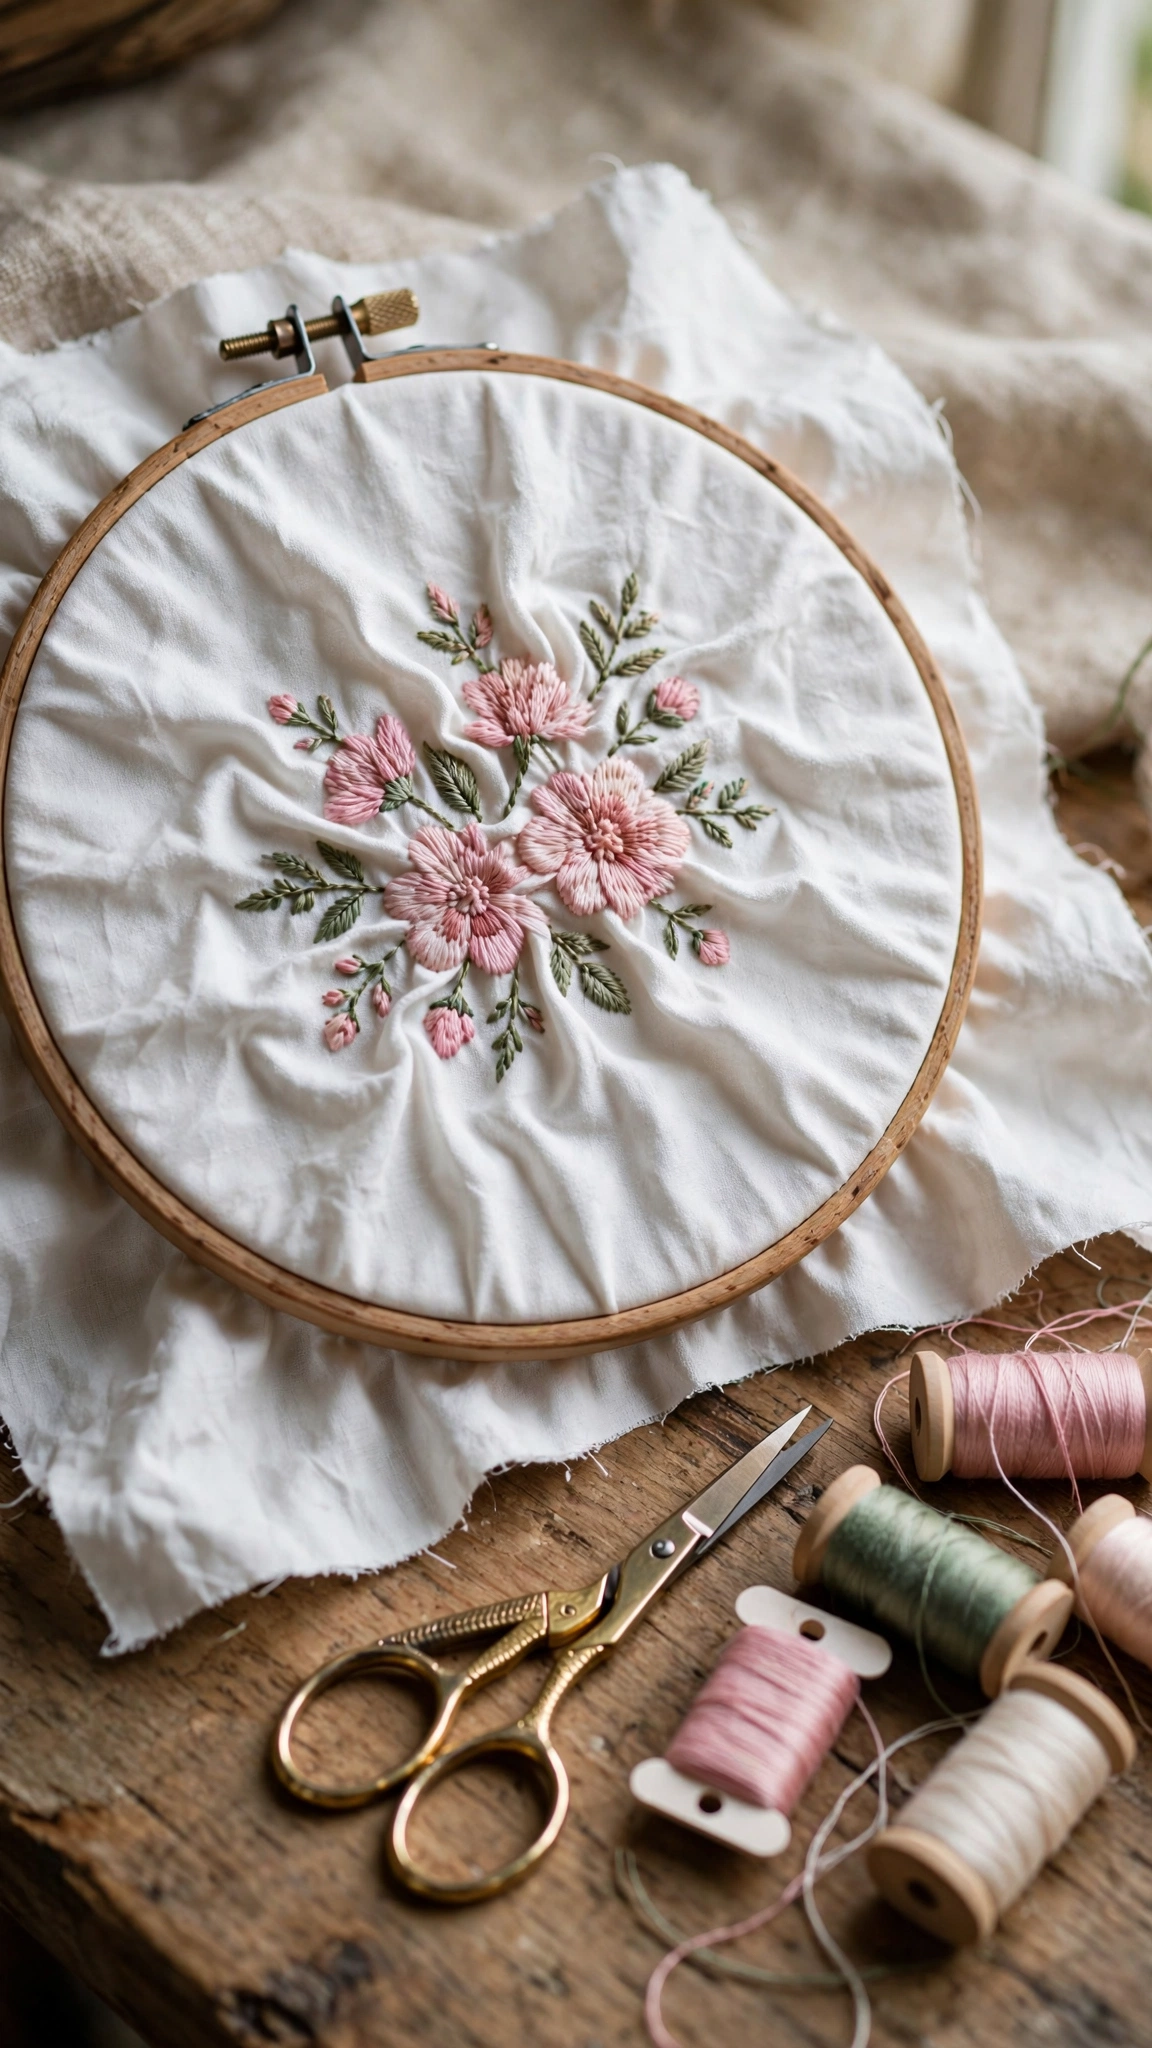
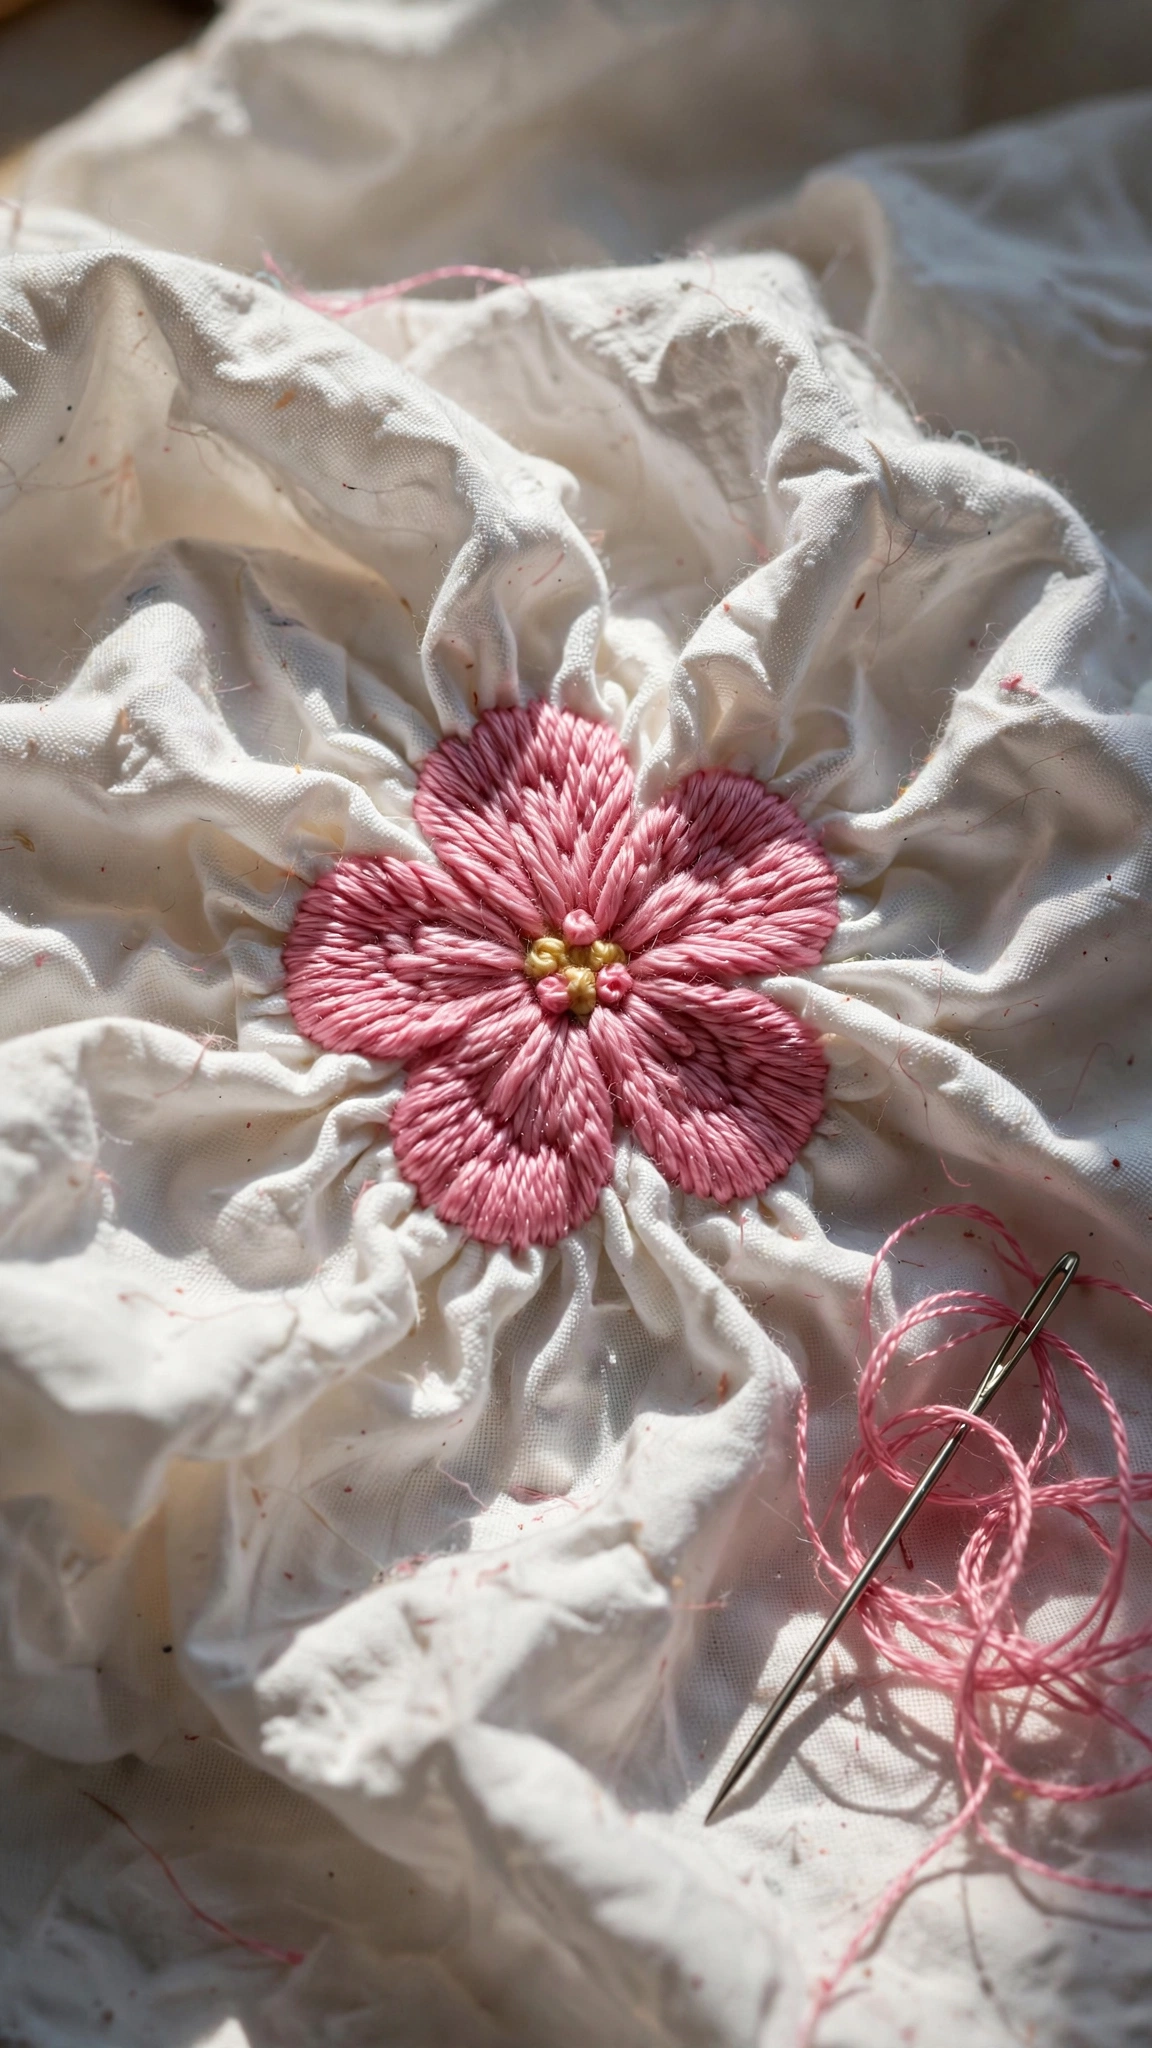
Puckering is the rippling, gathering, or waviness that appears in the fabric around your stitches. The fabric that was smooth when you started now has little waves or gathers, usually worst right at the edges of the design and sometimes radiating outward.
It happens because embroidery thread and fabric are in a constant tug of war. Every stitch pulls the fabric slightly inward, and every stitch also locks the fabric into whatever shape it was in at that moment. If the fabric was stretched, loose, or unsupported when the stitches went in, it cannot lie flat afterward, and you get puckers.
If you are still setting up your first project, reading my beginner embroidery guide will help you hoop and prepare your fabric correctly from the start.
6 Reasons Your Embroidery Fabric Is Puckering
1. You pulled the thread too tight
This is the biggest cause of puckering in hand embroidery, especially for beginners. Each stitch that is pulled snugger than the fabric can comfortably support gathers the fabric a tiny bit. Multiply that by hundreds of stitches and the whole design area puckers.
The fix: Aim for even, relaxed tension. Each stitch should lie smoothly on the fabric, not sink into it. A good test: after stitching, the fabric should feel the same around the design as it does anywhere else. If stitches are visibly denting the fabric, loosen up. With practice, your hands learn a rhythm, and the tension evens out naturally.
2. You stretched the fabric in the hoop
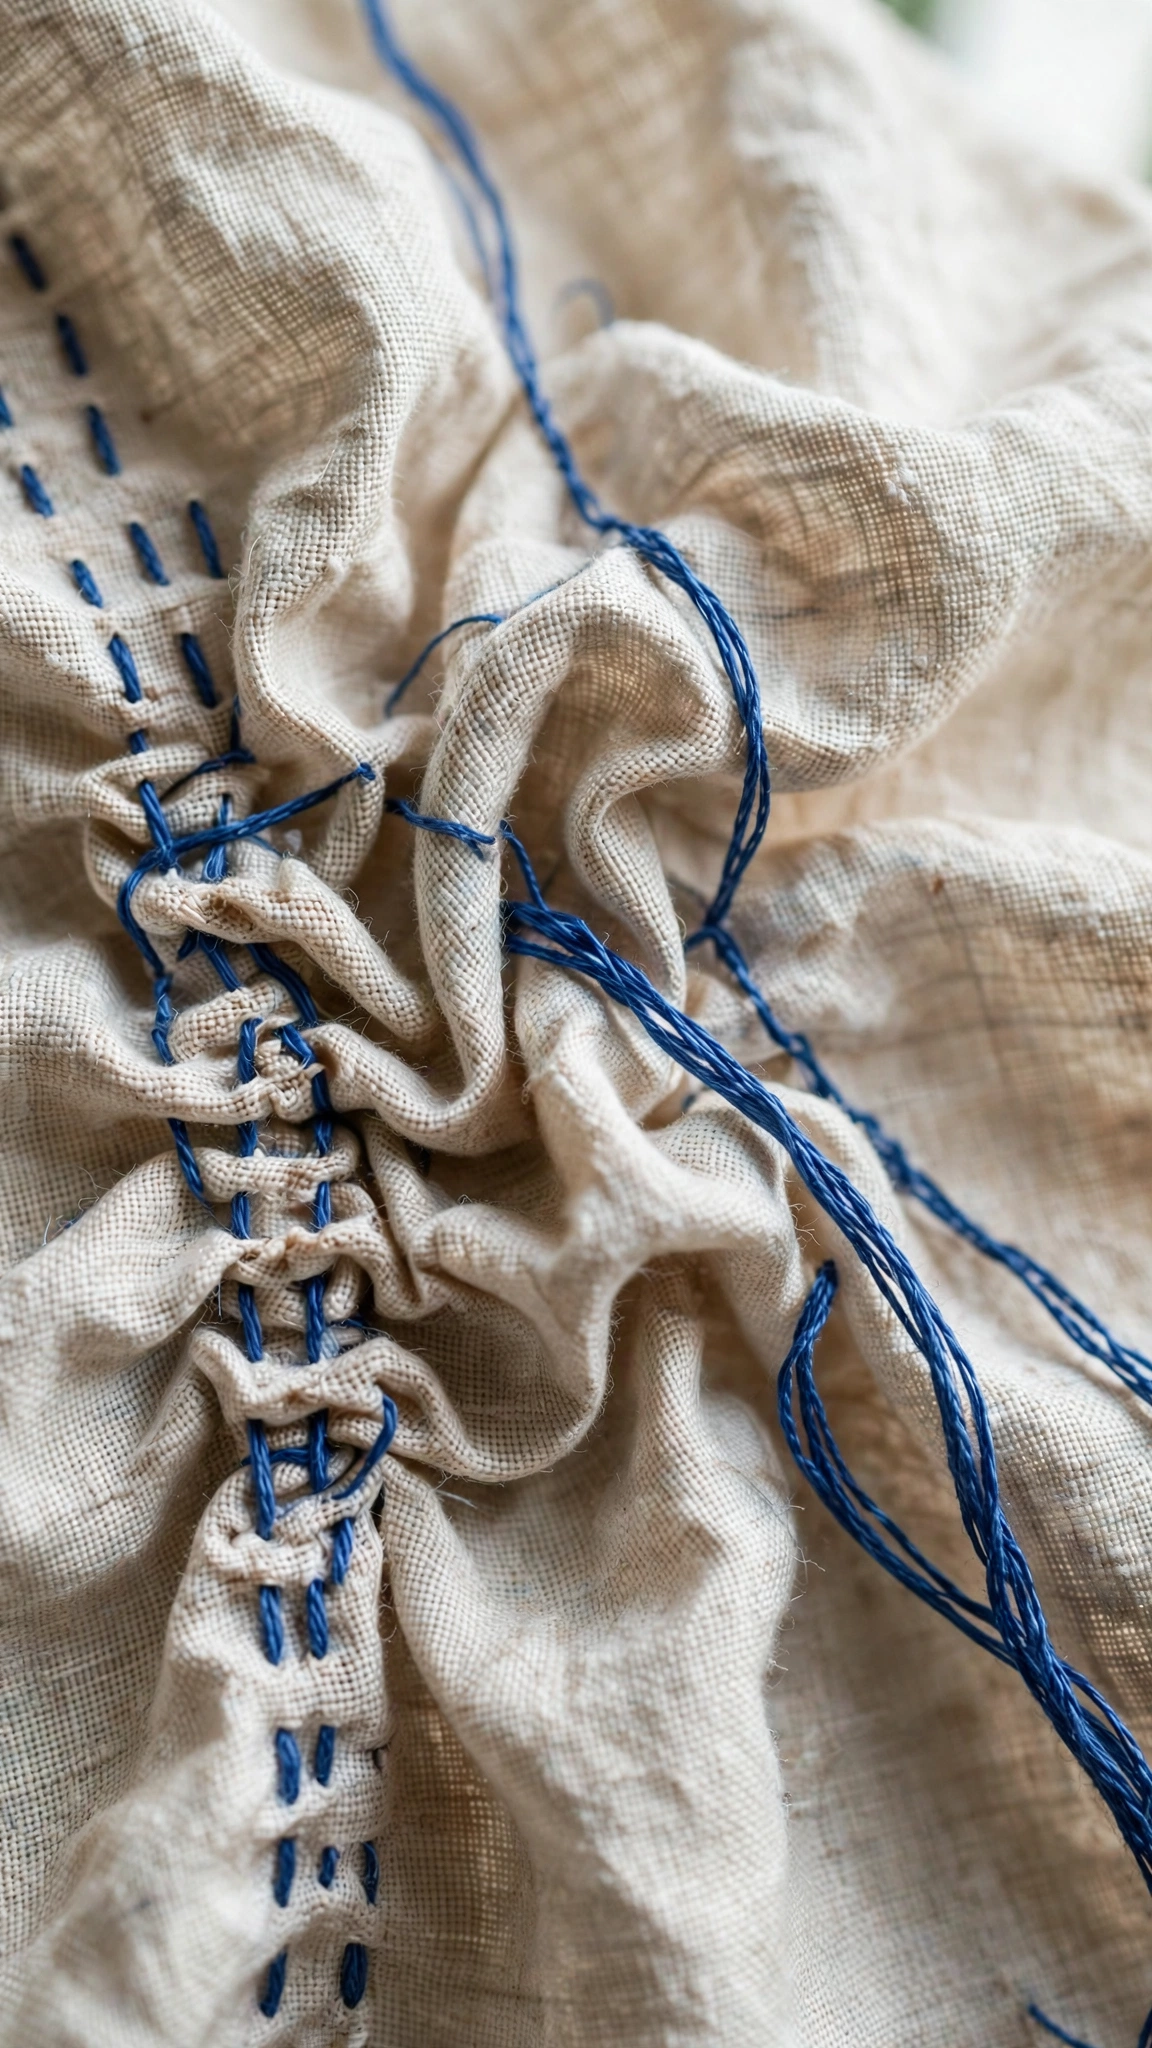
Many beginners hoop their fabric as tight as a drum skin, pulling and stretching it until it distorts. The fabric looks beautifully taut while hooped, but the moment you take it out of the hoop, the stretched fibers spring back to their natural shape, and the stitched area, which is locked in place by thread, cannot follow. The result: radial puckers around your design.
The fix: Hoop the fabric firm but not stretched. Lay the fabric over the inner ring, press the outer ring down, and smooth the fabric with your palm. It should be smooth and taut with no sagging, but the weave should not be visibly distorted. When you unhoop and the fabric lies perfectly flat, you will know you got it right.
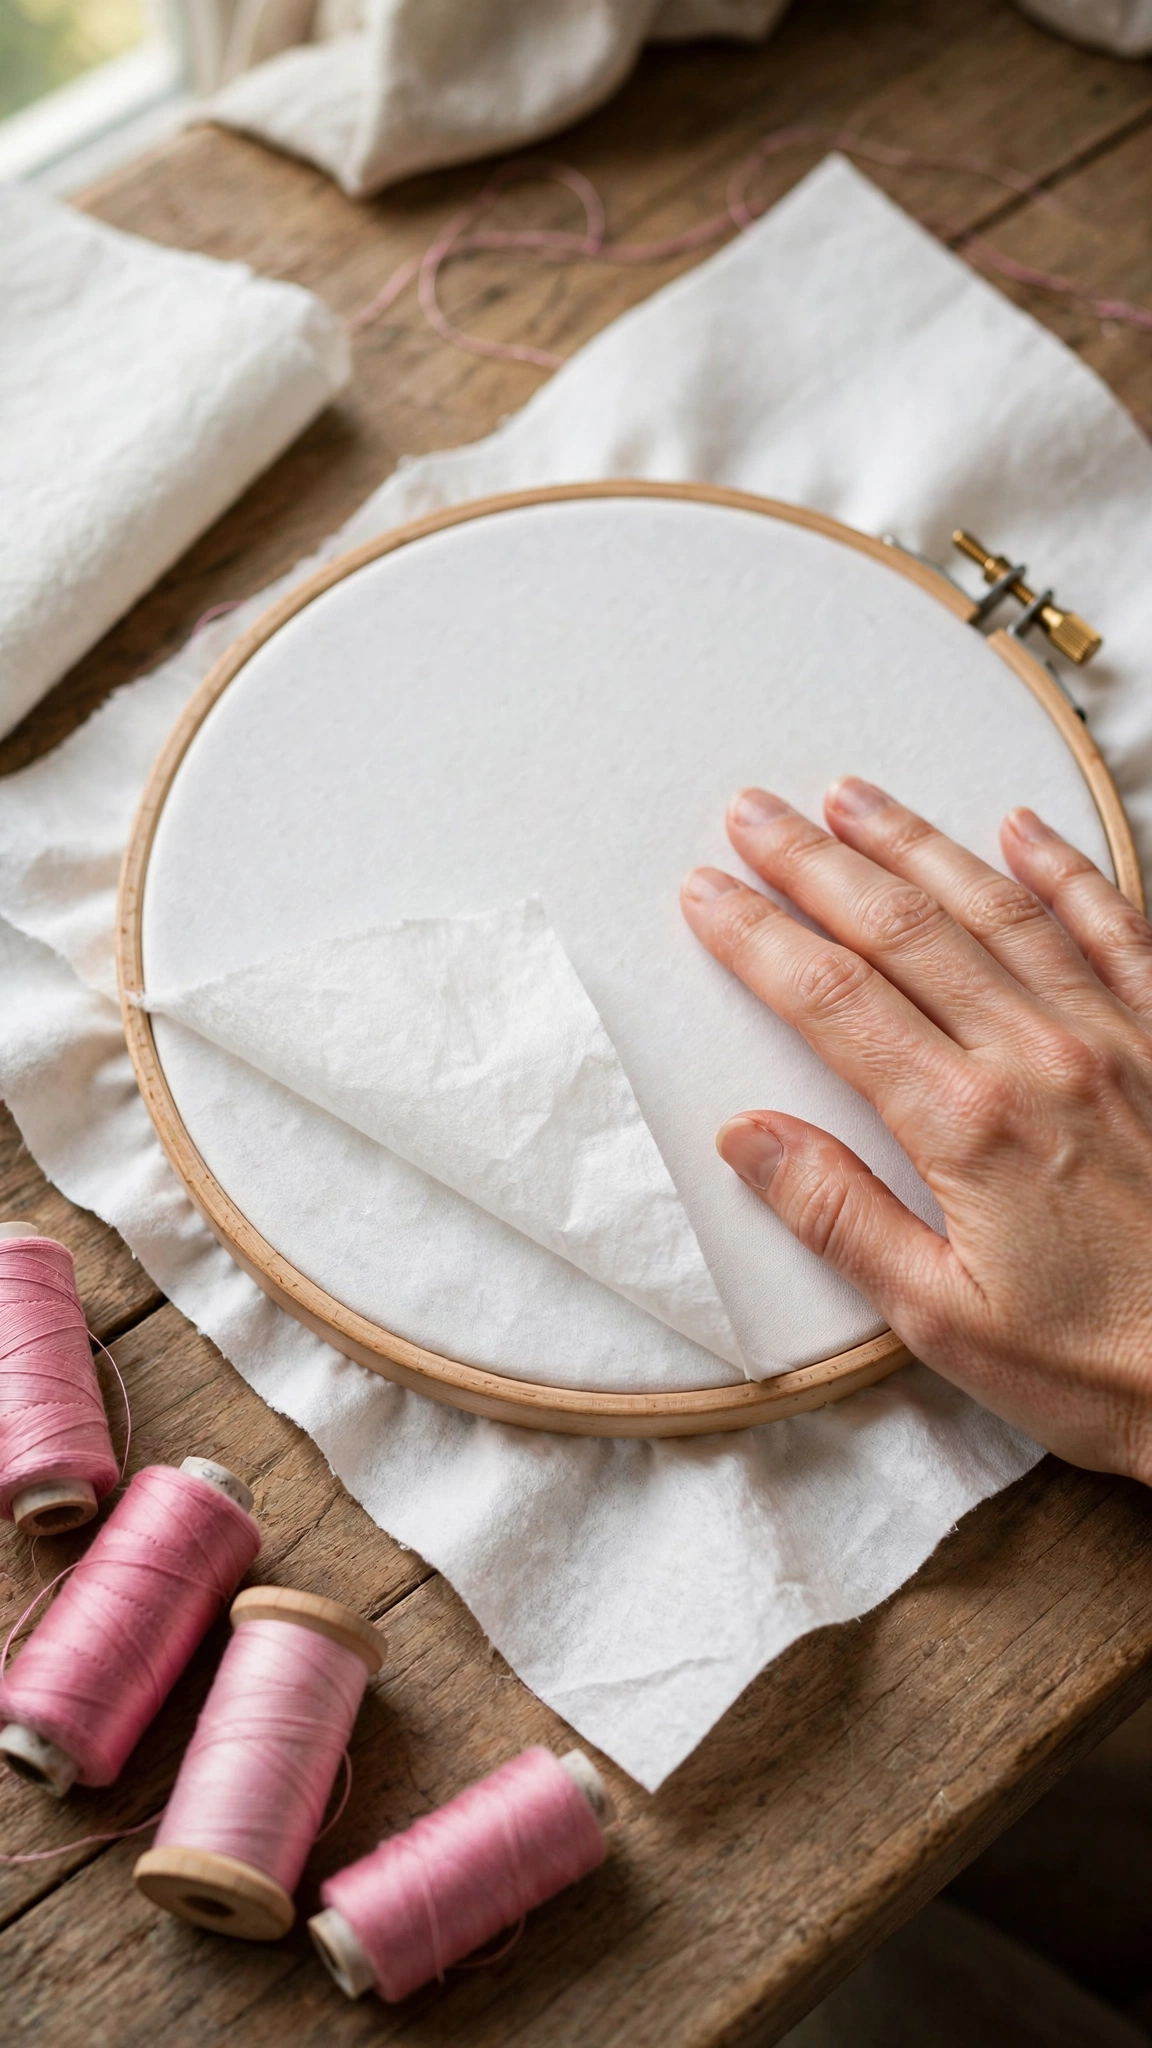
3. Your fabric has no support underneath
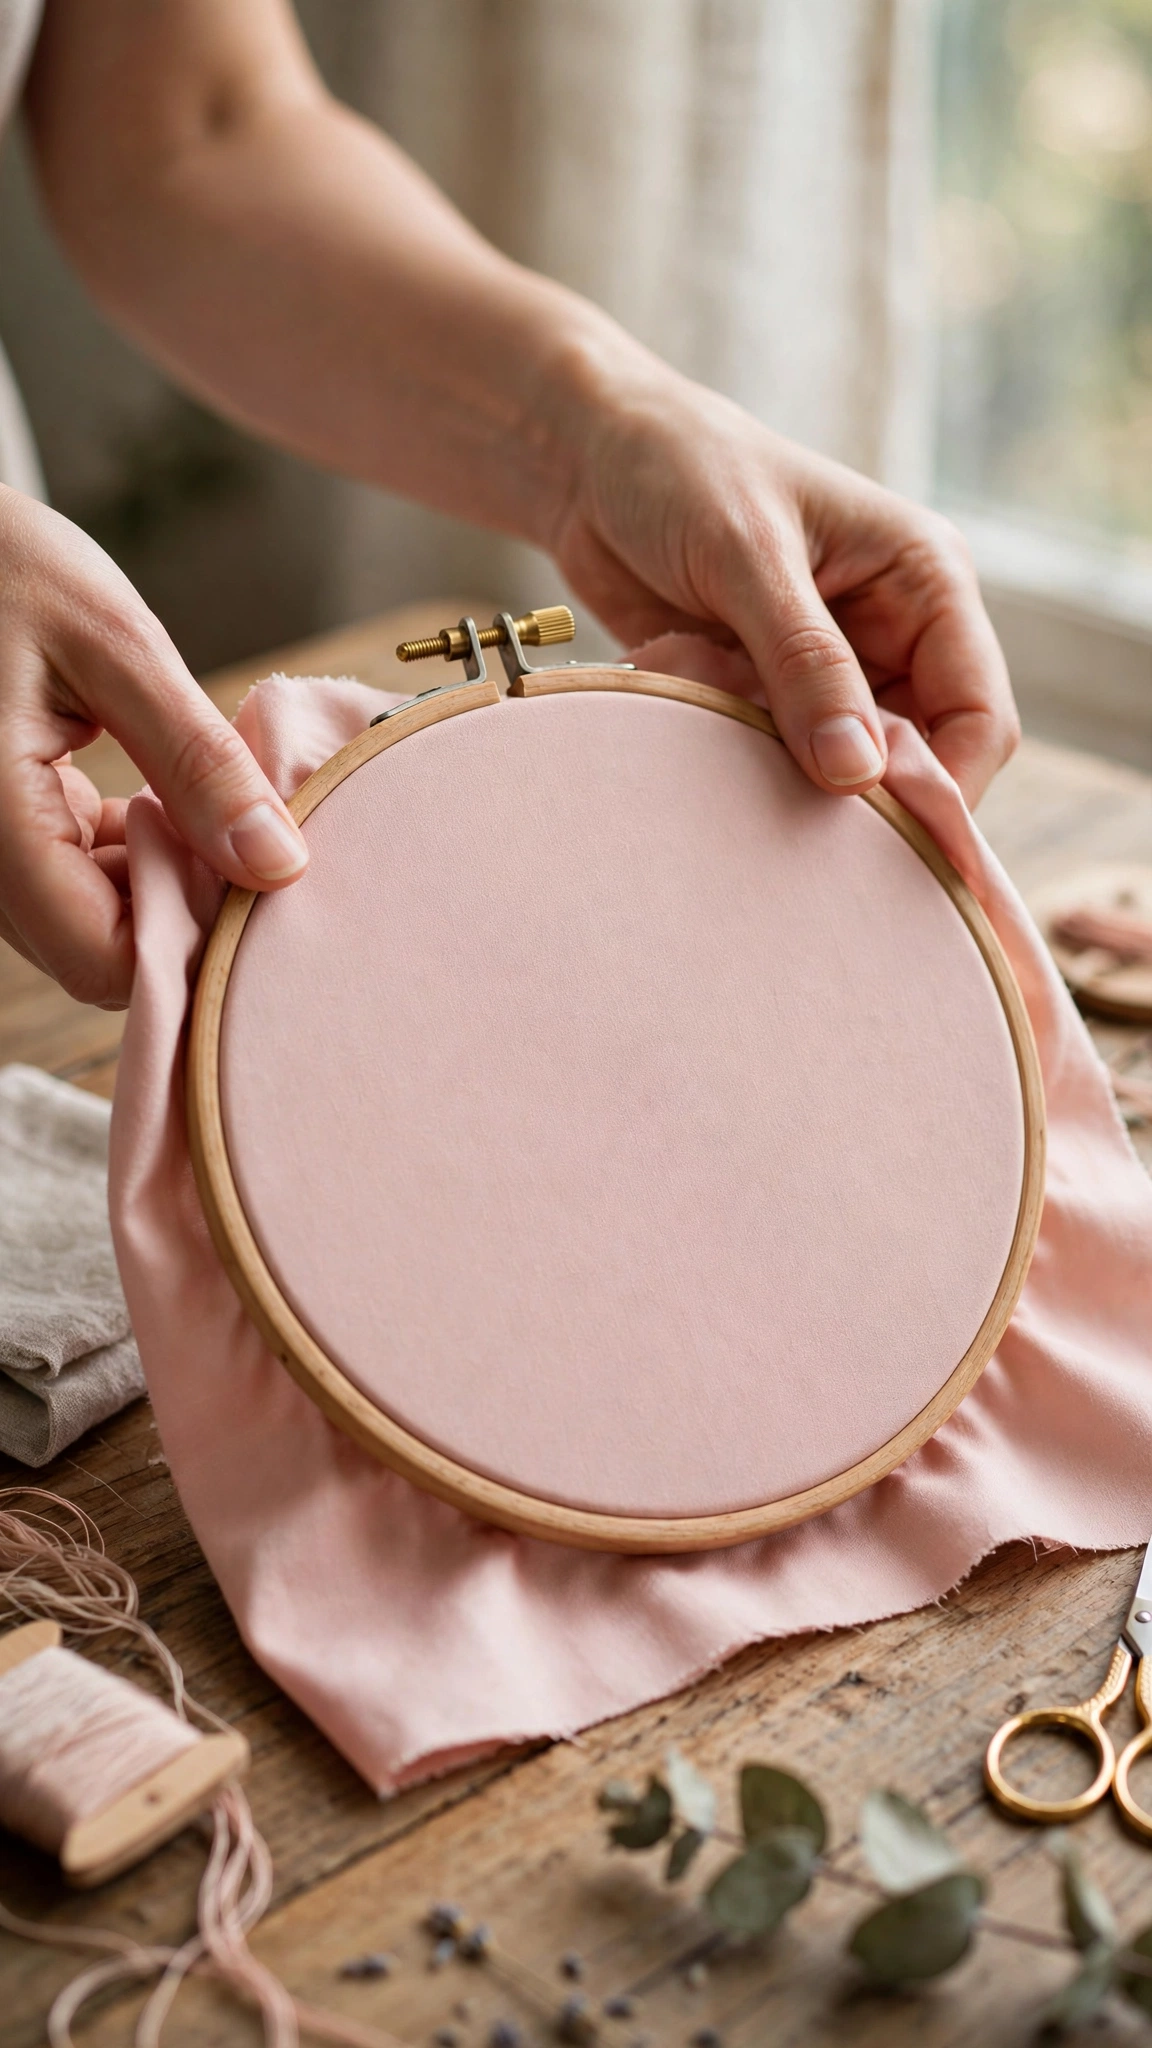
Lightweight fabrics like thin cotton, voile, muslin, and jersey are beautiful to stitch on but have very little body. Dense stitching pulls them inward with nothing to resist it, and puckering follows.
The fix: Add a stabilizer behind the fabric. For hand embroidery, a light iron-on interfacing (fusible stabilizer) works wonderfully: iron it onto the back of your fabric before you hoop, and stitch right through it. It gives the fabric body, supports the stitches, and peels the pucker risk away. This is the same trick I use when I embroider on t-shirts, where the stretchy jersey would pucker without support.
4. Your stitches are too dense for the fabric
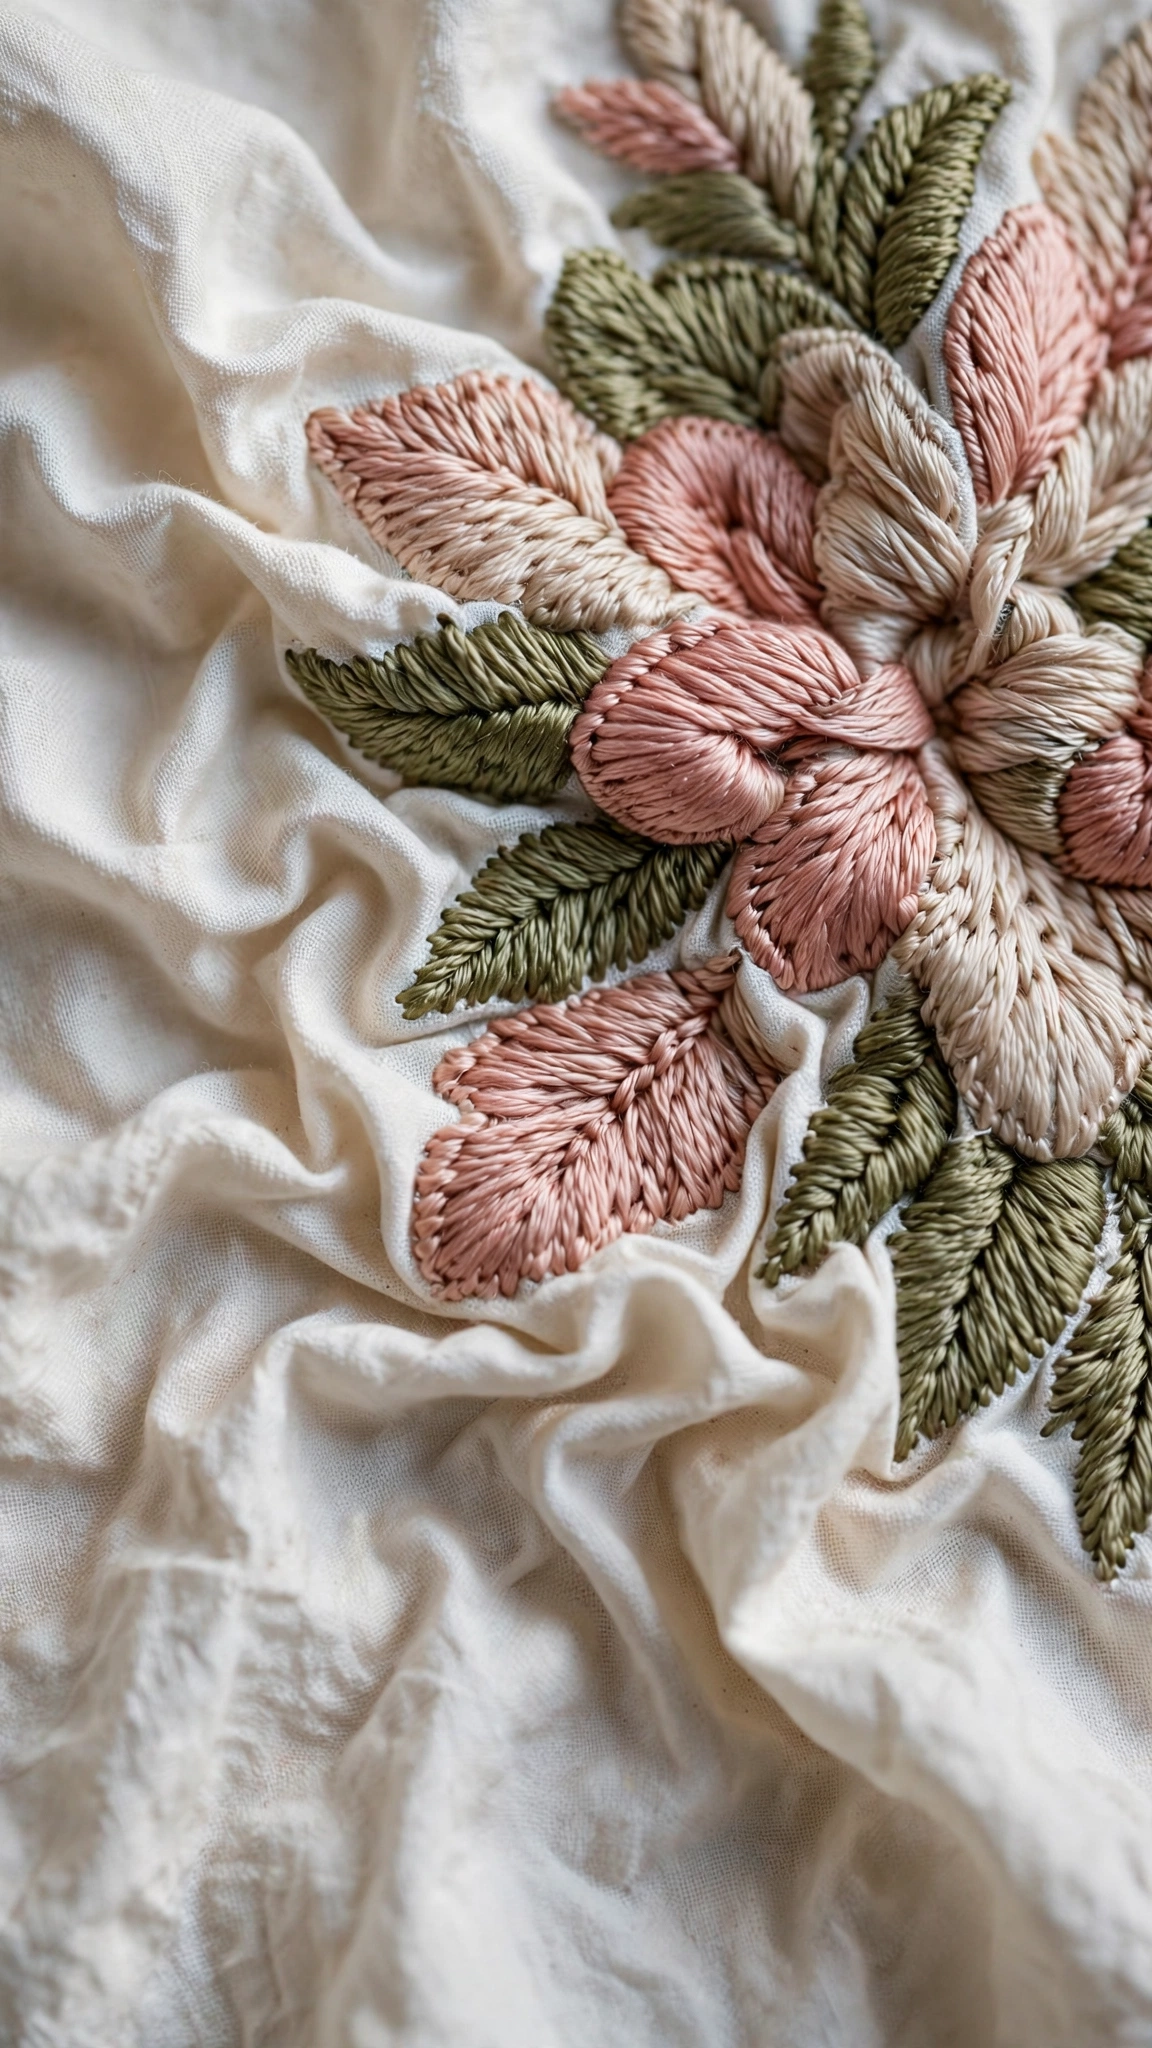
Every stitch is a tiny anchor pulling the fabric inward. A few hundred anchors in a small area create real inward force. If you pack satin stitches very tightly or layer many rows of stitching on top of each other on a lightweight fabric, the fabric simply cannot stay flat under the load.
The fix: Match your stitch density to your fabric. On lightweight fabric, leave a little breathing room between stitches, choose open fill stitches instead of packed satin stitch for large areas, and consider stitching on a medium-weight fabric if your design is very dense. When you transfer your pattern to fabric, take a moment to think about whether the design suits the fabric weight you have chosen.
5. The fabric grain was off when you hooped
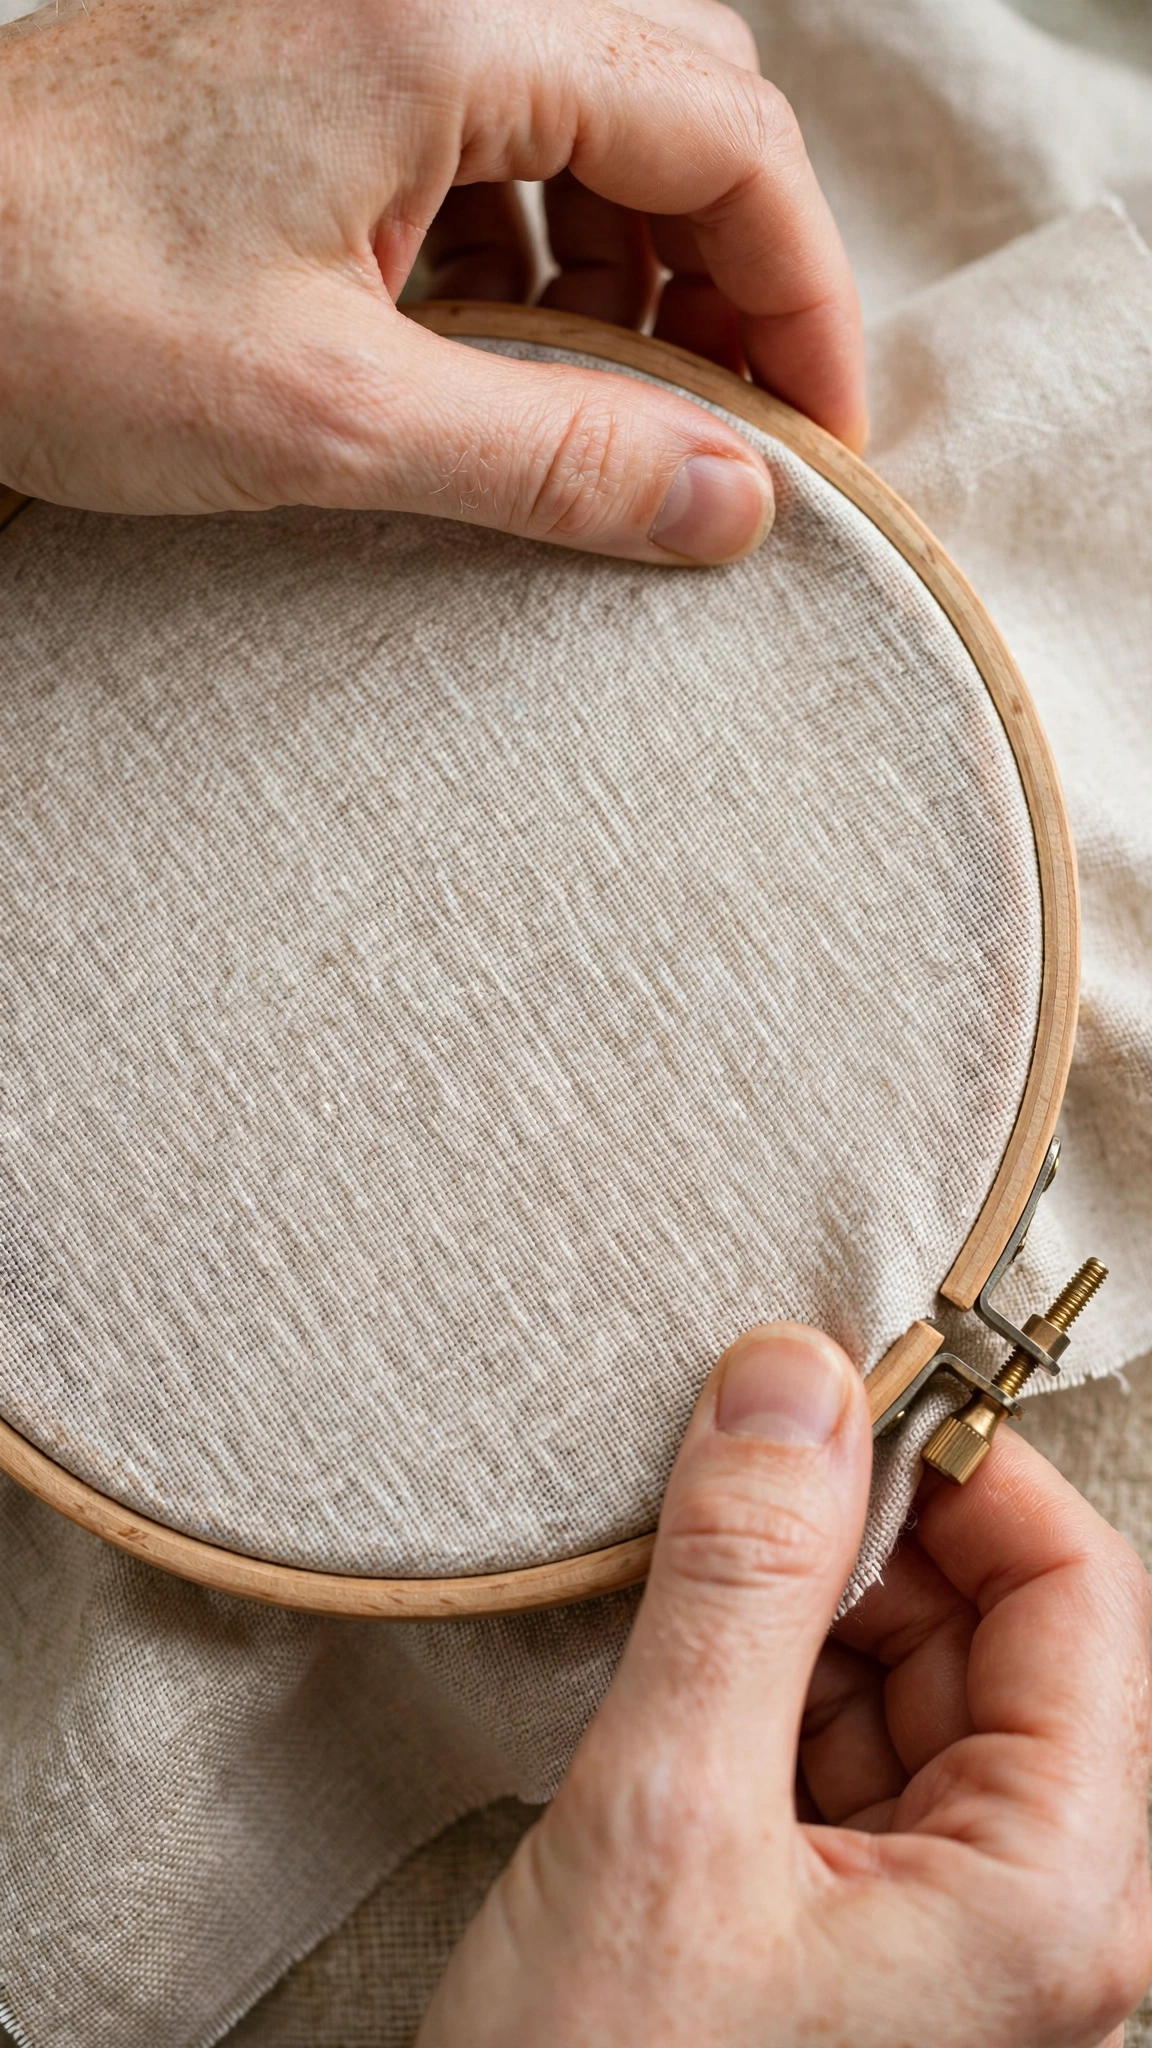
Fabric has a grain: the direction the threads run. If the fabric is hooped crooked, with the weave running diagonally, the stitches pull unevenly against the grain and the fabric distorts. This one is sneaky because everything looks fine until you unhoop.
The fix: Before hooping, pull a thread or follow the weave lines to find the straight grain, and align it with your hoop. Give the fabric a gentle press with an iron first so it starts flat. A fabric that starts flat and straight is far more likely to finish flat and straight.
6. You stitched without a hoop or frame
Stitching “in hand” without a hoop is a traditional technique and it can work beautifully, but it asks a lot of your tension control. Without a hoop keeping the fabric even, it is very easy to pull some stitches tighter than others, and the fabric gathers.
The fix: If your work is puckering and you are stitching in hand, try hooping for a while and see if the problem disappears. Most beginners get flatter results with a hoop. If you love the freedom of stitching in hand, a light stabilizer on the back helps a great deal.
How to Prevent Puckering: A Quick Checklist
Here is the prevention routine I follow for every project now. It takes two minutes and has eliminated puckering from my work almost entirely:
- Press your fabric before you start so it begins perfectly flat.
- Hoop it smooth, not stretched. Firm and taut, never distorted. Check the weave is straight.
- Add a stabilizer for lightweight or stretchy fabrics. Iron-on interfacing is my default.
- Keep your stitch tension even and relaxed. Stitches should rest on the fabric, not sink into it.
- Match density to fabric weight. Open stitches for light fabric, denser stitching for heavier fabric.
- Use quality tools. A hoop that grips well and a sharp needle that glides through the fabric make tension control much easier. My embroidery tools checklist covers what to look for.
How to Fix Puckering After It Happens
So the puckering already happened. Do not throw the piece away. Depending on how bad it is, one of these rescue methods may save it.
Steam and block it
This is the gentlest fix and it works surprisingly well for mild puckering. Lay the finished piece face down on a clean towel, hold a steam iron just above it (not touching the stitches), and let the steam relax the fabric. Then pin the fabric flat to a blocking board or a cork board, stretching it gently into shape, and let it dry completely. As the fibers relax and re-set, much of the waviness smooths out. I have rescued several pieces this way that I thought were lost.
Press from the back with a damp press cloth
For moderate puckering, place a damp (not soaking) press cloth over the back of the embroidery and press with a warm iron, moving gently outward from the design toward the edges. The combination of heat, moisture, and outward pressure coaxes the fabric back flat. Never iron directly on the front of your stitches: textured stitches like French knots will flatten, and some flosses do not tolerate direct heat.
Lace it over board for framing
If the piece is destined for a frame or hoop display, lacing solves many sins. Cut a piece of acid-free board slightly smaller than the display opening, center your embroidery over it, and lace the excess fabric across the back with strong thread, working in a crisscross pattern and pulling evenly. The even tension across the whole piece flattens out moderate puckering beautifully. This is how I finish most of my hoop art pieces anyway.
Know when to start over
I will be honest: severe puckering, where the fabric is deeply gathered and the design itself is distorted, usually cannot be fully fixed. If the piece matters to you, it is better to stitch it again with the prevention checklist above than to fight a losing battle. And honestly, the second attempt always goes faster and looks better, because your hands have learned the rhythm. My very first hoop art piece lives in a drawer as a reminder of how far I have come.
Puckering FAQs
Does puckering wash out?
Sometimes, partially. A gentle hand wash with cool water can relax mild puckering, especially on cotton. But washing will not fix puckering caused by overstretched fabric or extremely tight stitches, and some threads and fabrics do not like being washed. Steam and blocking is the safer first attempt.
Which fabrics pucker the least?
Medium-weight quilting cotton and linen are the most forgiving fabrics for beginners. They have enough body to support average stitching without stabilizer. Very lightweight voile, muslin, and stretchy knits pucker the most, and heavyweight canvas barely puckers at all but is harder to stitch through.
Does the type of thread matter?
It can. Very thick thread, like using all six strands of floss or heavy wool, pulls more aggressively than two or three strands. If you want the look of thick stitches on light fabric, add a stabilizer rather than fighting the thread. Also, thread that shrinks in washing while the fabric does not can pucker a finished piece later, so pre-wash fabrics if the piece will be laundered.
The Embroiderers’ Guild of America publishes excellent guidance on fabric, thread, and stitch interaction; their resources are worth exploring if you want to go deeper into the technical side of hand embroidery. You can find them at embroidersguildofamerica.org.
Conclusion
Puckering looks dramatic, but it comes down to a handful of simple causes: thread pulled too tight, fabric stretched in the hoop, no stabilizer on light fabric, stitches too dense for the fabric, crooked grain, or stitching without support. Fix the causes and your work comes out flat almost every time.
And if a piece puckers anyway, remember that every stitcher you admire has a drawer full of puckered first attempts. Mine certainly does. Steam it, block it, lace it, or stitch it again, and keep going. Your next piece will be flatter, and the one after that flatter still. Happy stitching.

2 thoughts on “Why Is My Embroidery Fabric Puckering? 6 Causes and Fixes”