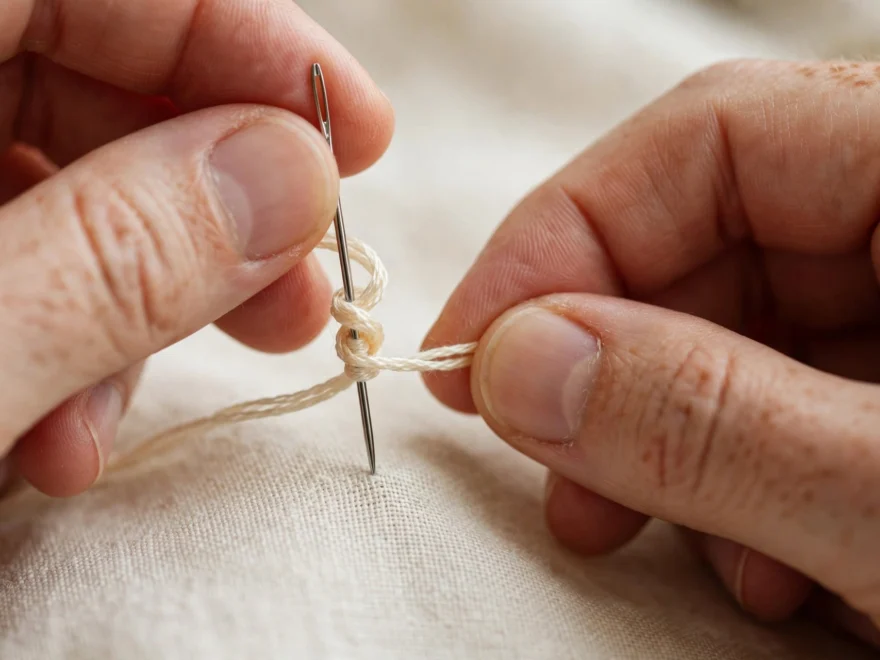
My first french knots looked like tiny tumors. Lopsided, half-buried lumps of DMC 321 that sat on the fabric like they were ashamed to be there. I avoided the stitch for a year, routing around every pattern that called for one, until a stitch-group friend watched me struggle for exactly one knot and said, “You are using three wraps and thread long enough to moor a boat.” She was right on both counts. Learning how to do a french knot properly took me one evening after that, and it will take you less, because I am going to give you the evening’s worth of corrections up front.
Why the french knot misbehaves
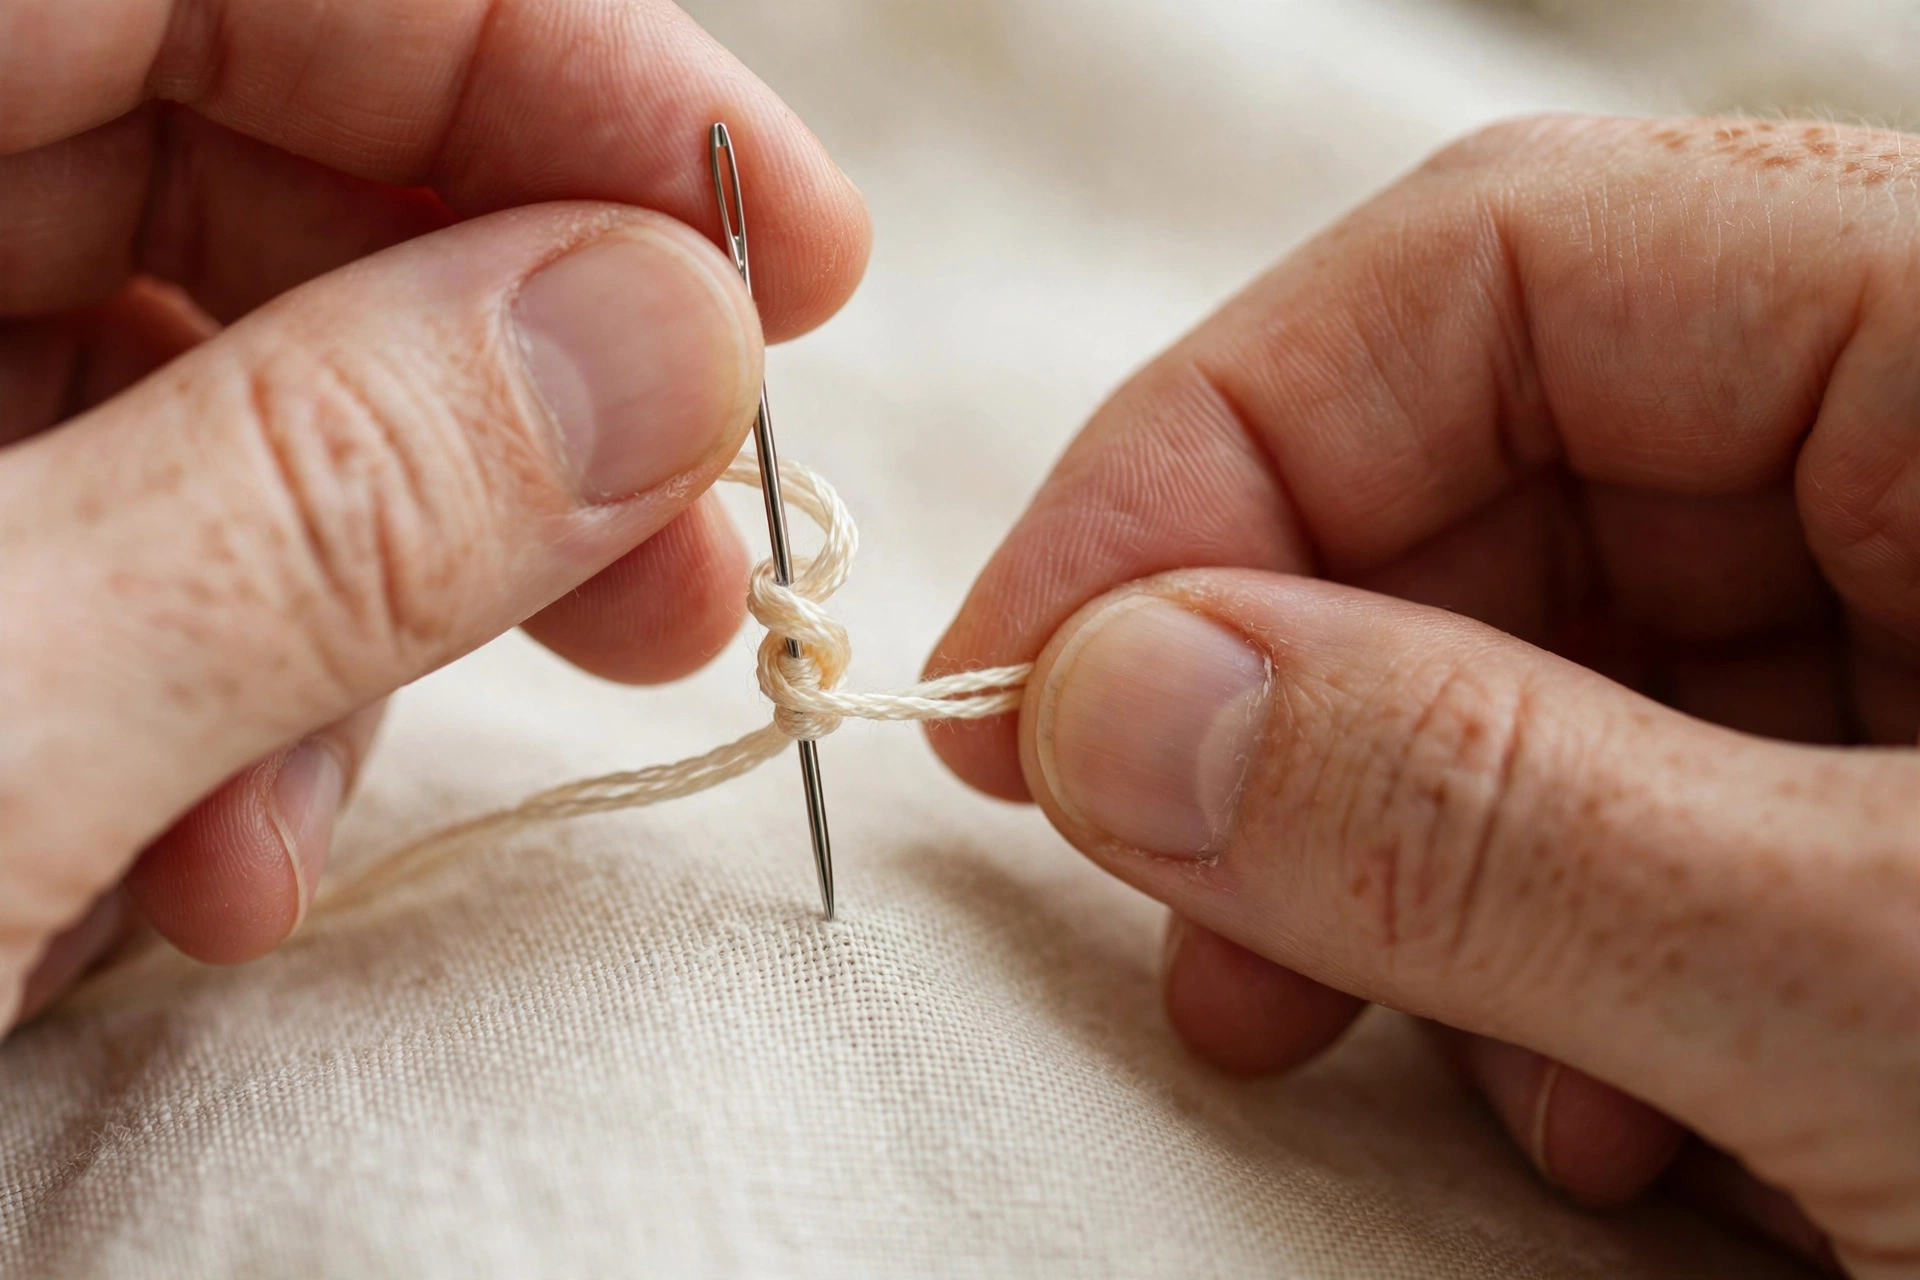
A french knot is just thread wrapped around a needle and pulled through fabric. Three things control whether it becomes a neat bead or a nest: the number of wraps, the tension on the working thread, and the length of the thread itself. Get all three right and the knot practically ties itself. Get any one wrong and you get my 2019 tumors.
The most common failure looks like this: you wrap, you pull, and the whole thing vanishes through to the back of the fabric, leaving a sad hole. That is a tension failure. The second most common: a tangled bird’s nest sitting on top of the fabric. That is a thread-length and twist failure. Both are fixable in about ten seconds once you know what to look at.
How to do a french knot, step by step
Thread your needle with 2 strands of floss, no longer than 12 inches. Shorter than you think. Knot the tail end or hold a one-inch tail on the back with your fingertip.
Step 1. Bring the needle up through the fabric exactly where you want the knot to sit.
Step 2. Hold the working thread taut with your non-dominant hand, out to the side, with gentle tension. Not yanked, just firm. This hand does not move for the rest of the operation. This is the step everyone skips, and it is the entire stitch.
Step 3. With your dominant hand, wrap the thread around the needle twice. Exactly twice. Lay the wraps side by side on the needle shaft, not stacked on top of each other.
Step 4. Still holding the thread taut, slide the needle back down into the fabric very close to where it came up, a thread or two away, not in the exact same hole. The exact same hole lets the knot slip straight through.
Step 5. Pull the needle through to the back slowly while your other hand keeps the thread taut. Only let go once you feel the knot seat against the fabric. Done. A bead, not a tumor.
The three rules that fixed my french knots
Two wraps, not three
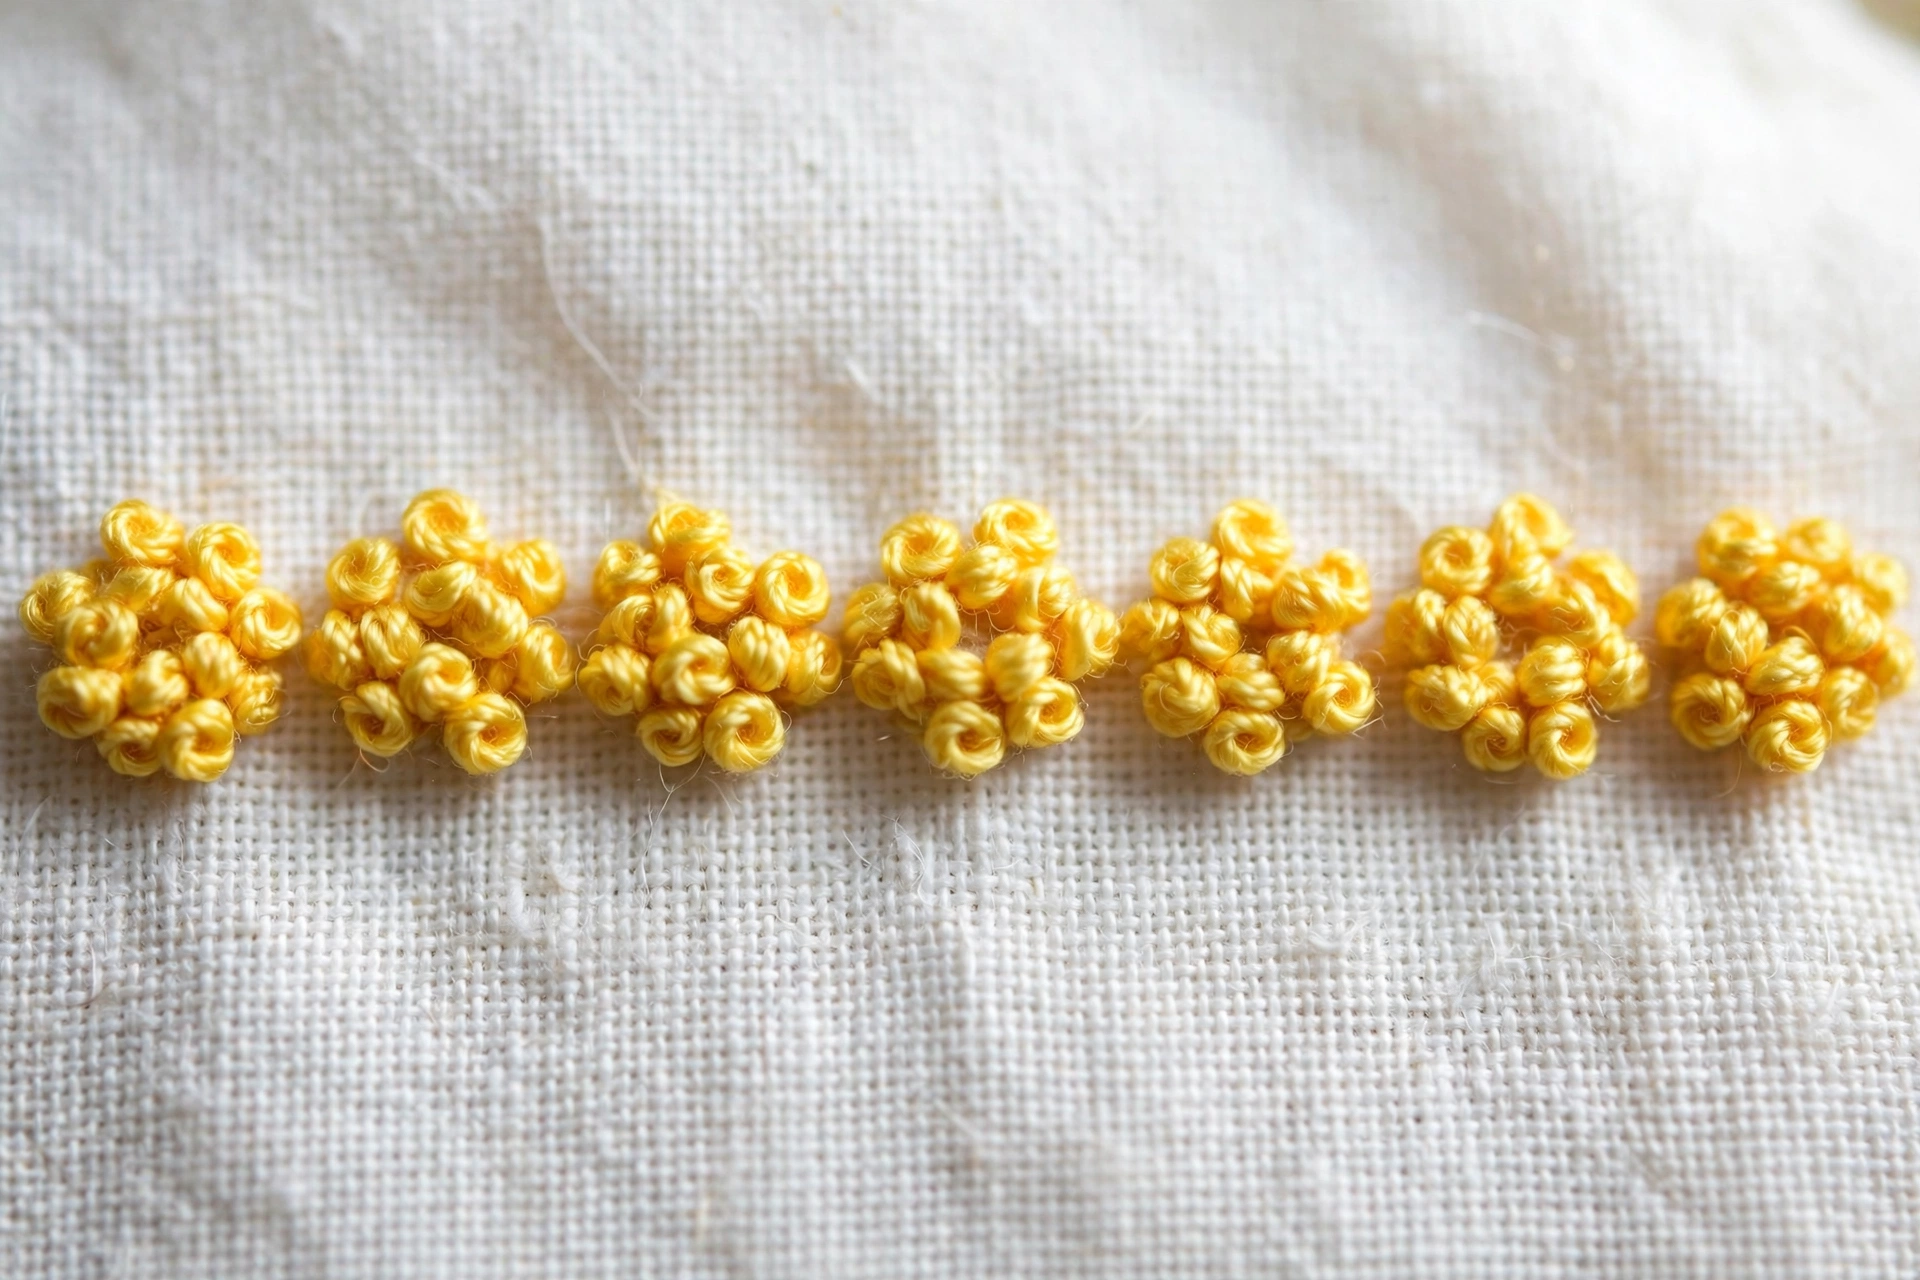
Every beginner tutorial that says “wrap two or three times” is hedging, and the hedge ruins knots. Three wraps makes a bigger knot in theory and a tangled mess in practice, because the extra wrap has room to slide and snag. Two wraps makes a tidy, consistent bead every time. If you want a bigger knot, use more strands of floss, not more wraps. Three strands with two wraps beats two strands with three wraps in every test I have ever run.
Never let go of the thread
The non-dominant hand holds tension from the moment of wrapping until the knot is seated. The instant you let go mid-pull, the wraps loosen, slide, and tangle. I tell beginners to pretend the thread is a dog leash and the knot is a squirrel. Do not drop the leash. 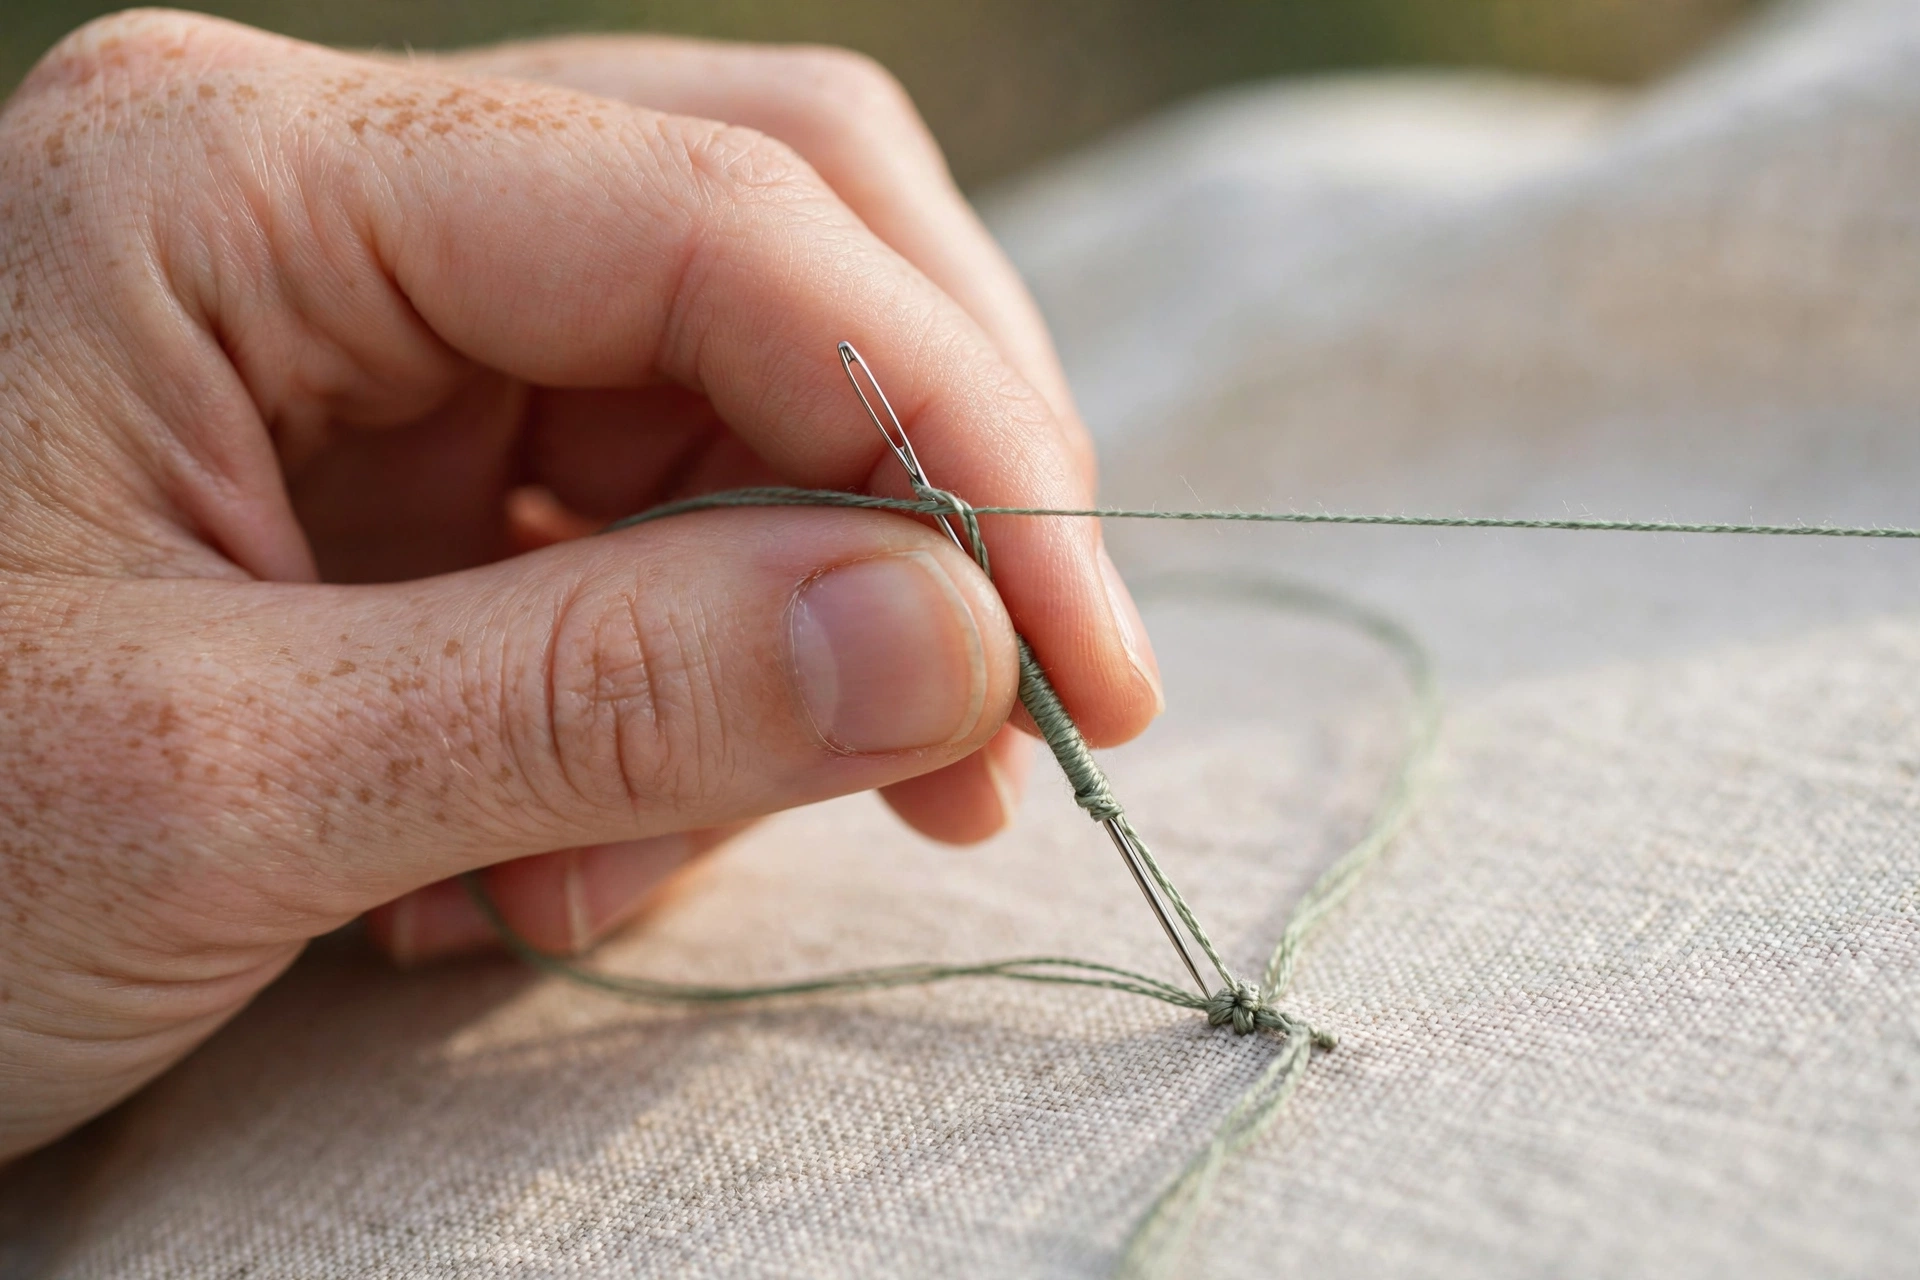
Short thread, always
Twelve inches maximum for knots. Long thread twists on itself as you work, and twisted thread wraps unevenly around the needle, which is where nests come from. If your thread starts looking like a corkscrew, let the needle dangle and unwind before your next knot. This one habit fixed about half of my bad knots overnight.
When to use a colonial knot instead
Here is my strong take: for anything bigger than a peppercorn, I use the colonial knot (sometimes called the French colonial knot) instead. It is formed with a figure-eight around the needle rather than straight wraps, and it makes a rounder, more raised, more reliable bump. It almost never tangles, it almost never pulls through, and it looks better at larger sizes.
The french knot remains my choice for tiny dots and dense textures, like the center of a small flower or a scattering of seed-like accents. Use the right knot for the size. Insisting on french knots for everything is like using a paring knife to carve a turkey. 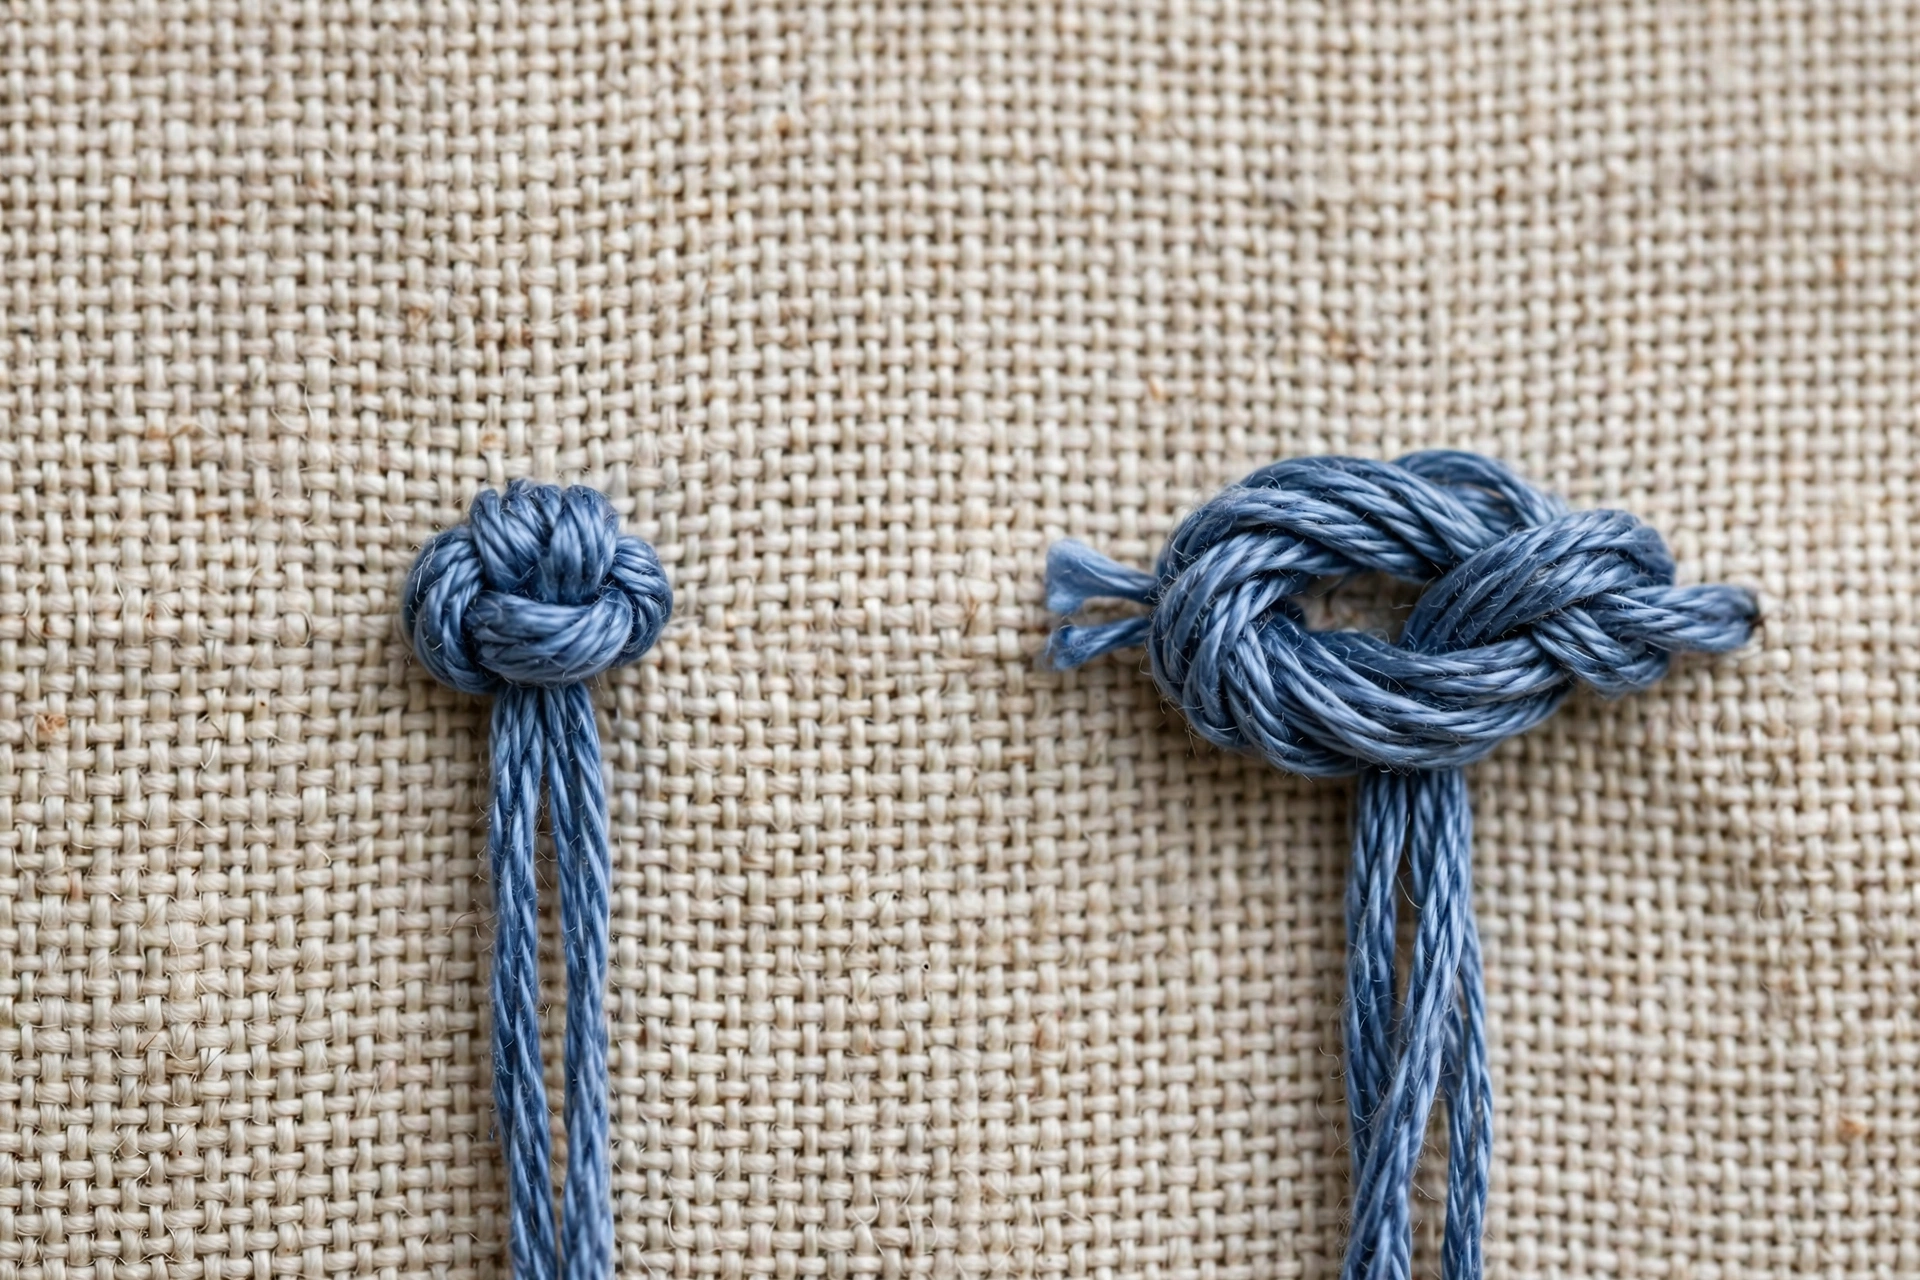
Troubleshooting the usual disasters
The knot pulls straight through. You went down in the exact same hole you came up. Go down one or two fabric threads away. On loosely woven fabric, add a tiny anchor: take a minuscule straight stitch first and build the knot on top of it.
You get a nest instead of a bead. Thread too long, thread twisted, or you let go of the tension. Shorten to 12 inches, dangle the needle to unwind, and keep that non-dominant hand taut until the knot seats.
The knots are all different sizes. Inconsistent wrap count or inconsistent tension. Count your wraps out loud for the first twenty knots. I am serious. “One, two” under your breath builds muscle memory faster than silent hoping.
The knot sits crooked. The wraps slid down the needle unevenly. Keep them snug against each other on the shaft before you go back down. A little beeswax on the thread helps the wraps grip, though I only bother with that on silk.
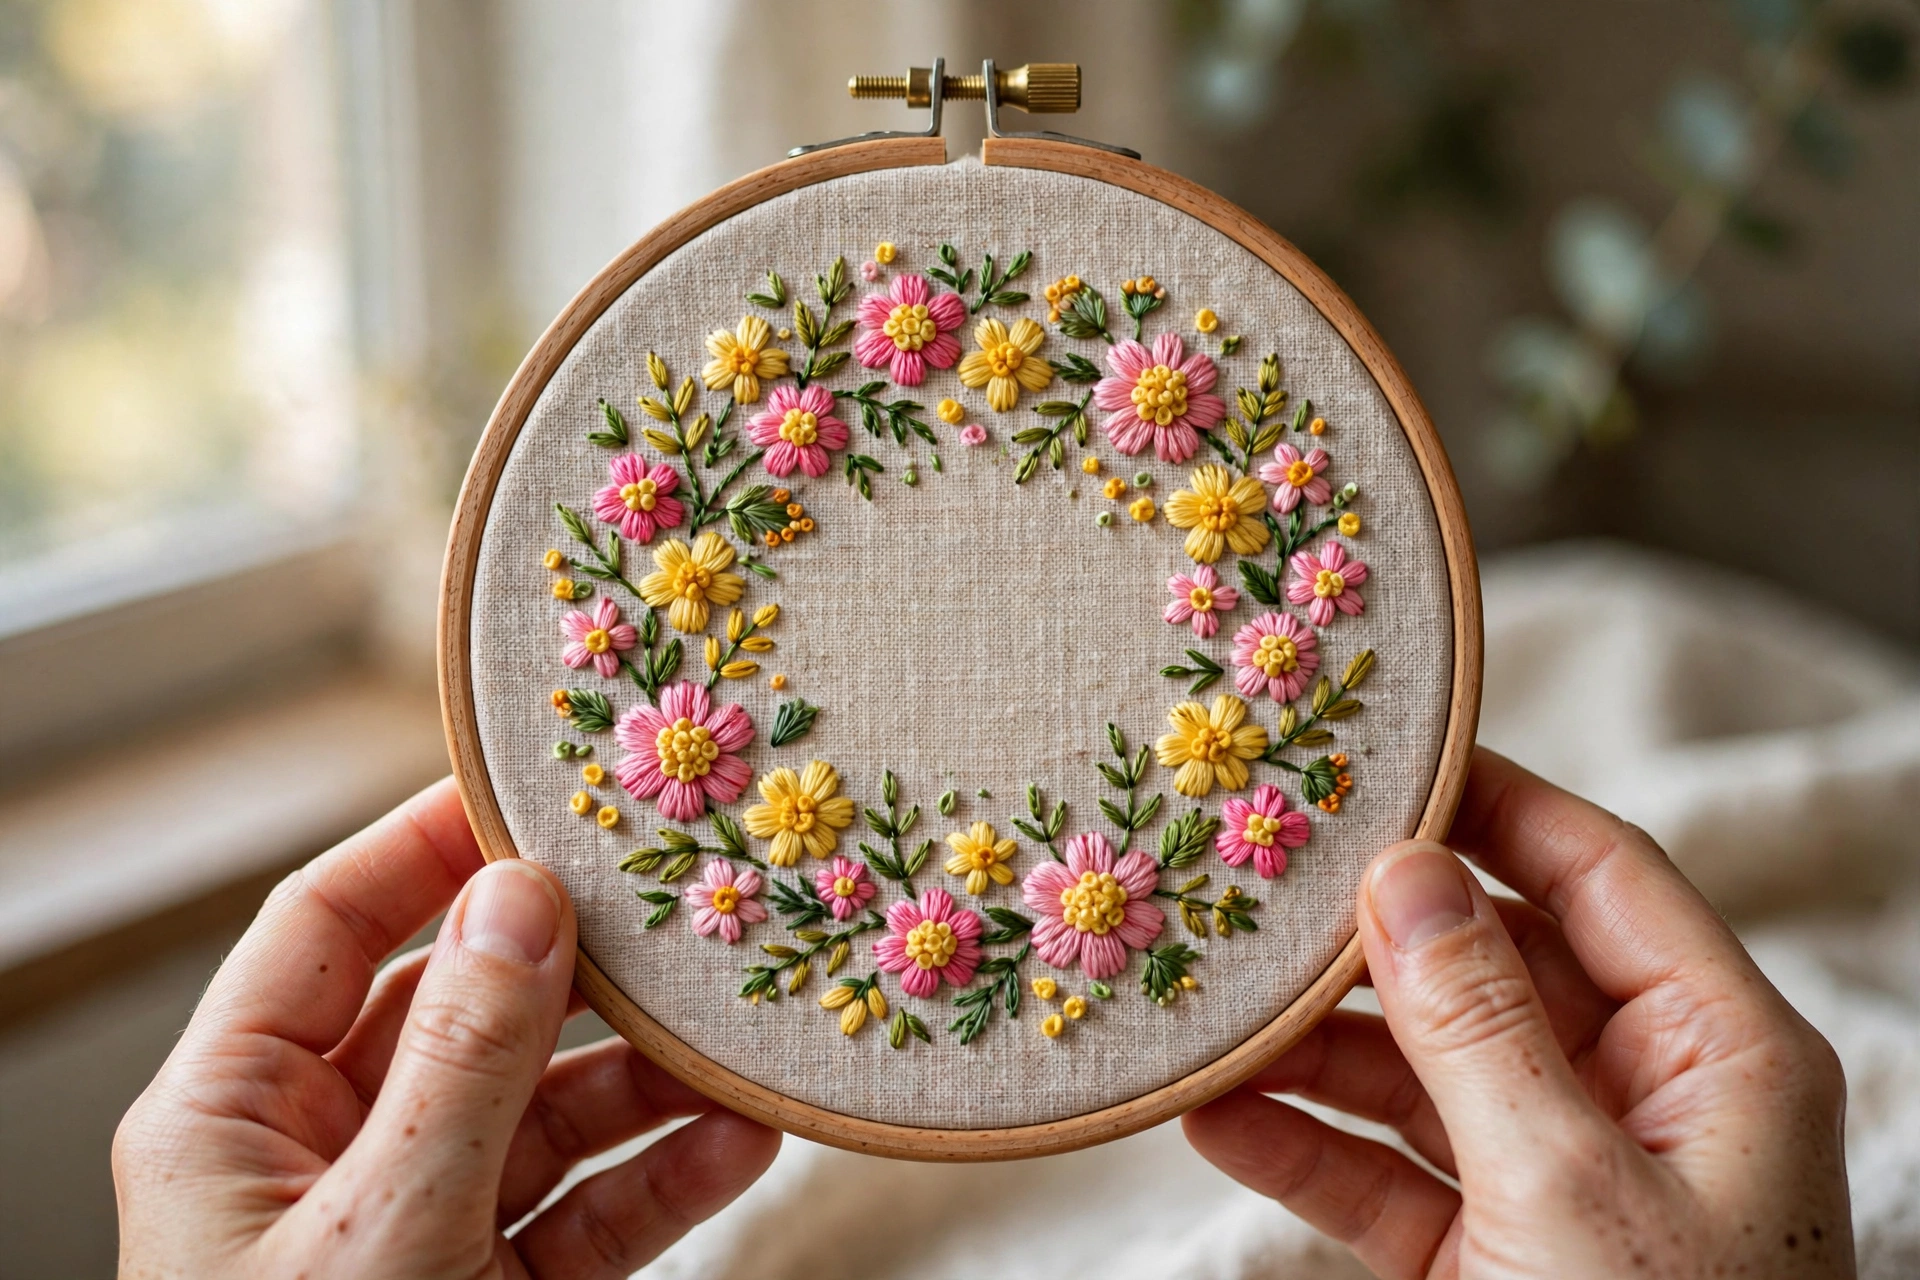
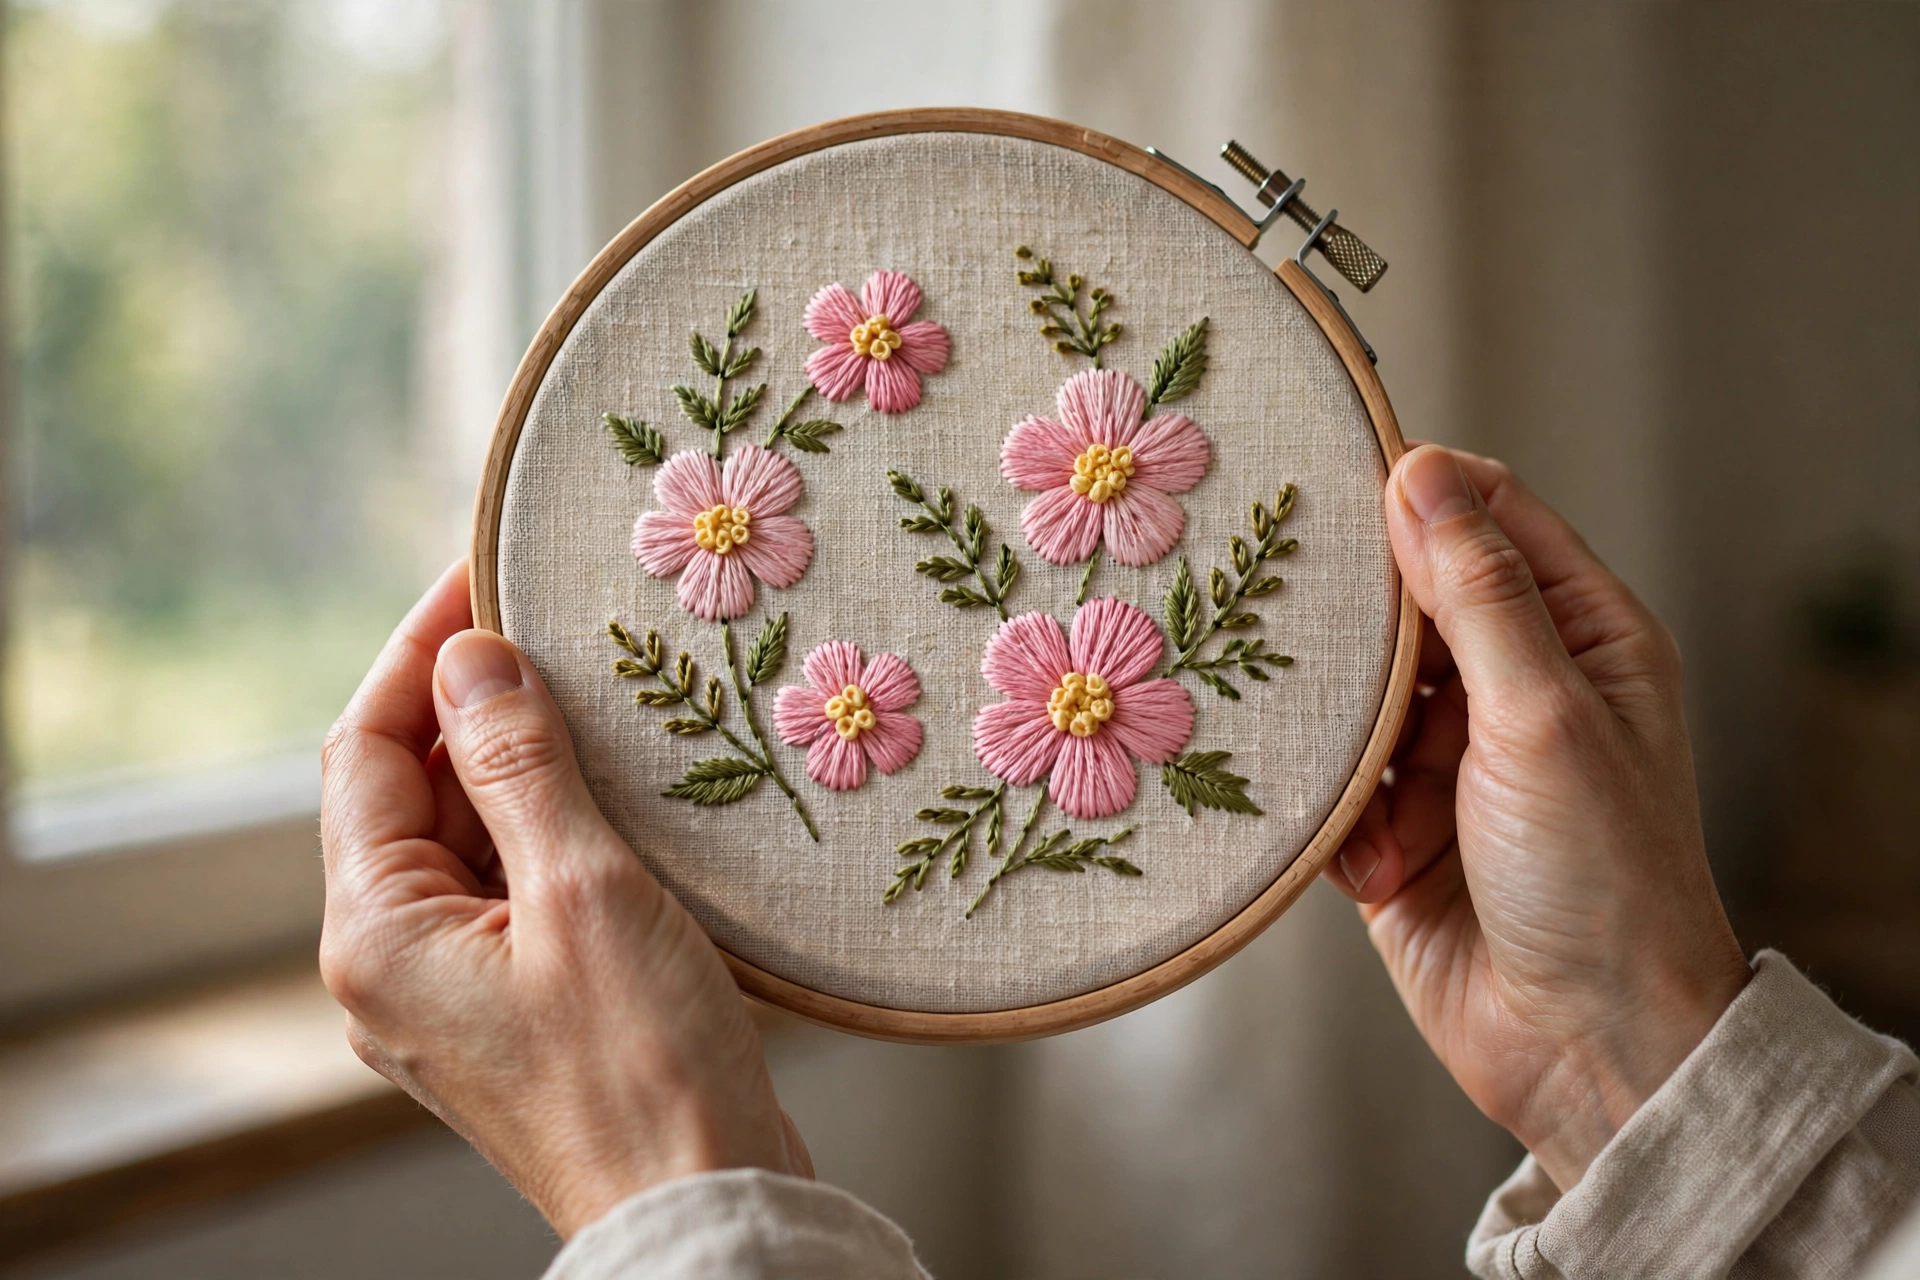
Two wraps, taut thread, short length. That is the whole religion. Stitch a row of twenty on scrap fabric before you touch your real project, and the twenty-first will look like it came from someone who knew what they were doing all along. For the rest of the beginner arsenal, my 10 basic embroidery stitches guide puts the knot in context, and DMC’s stitch library has a slow-motion diagram if you want a second angle on the wrap.
One comment