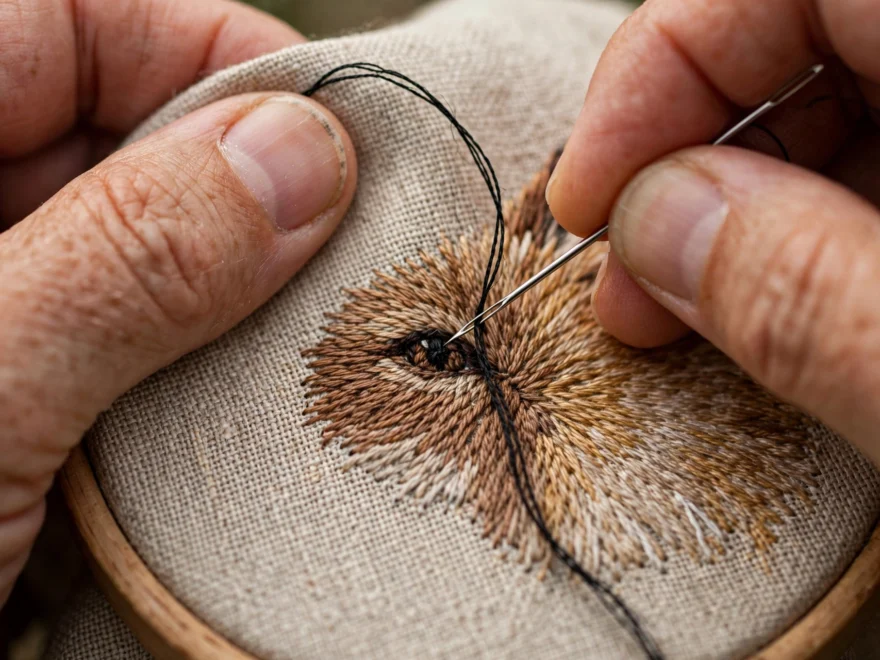
I stitched a fox for a nursery hoop in 2022, all soft oranges and cream, and it was lovely until I added the eyes. Two tiny stitches of DMC 310, and my needle split the working thread on both of them. The fox looked like it had seen things. Unspeakable things. I frogged the eyes four times before I figured out that to embroider small details cleanly, the rules change: different needle, fewer strands, different motion. Everything below is what I wish someone had told me before the fox.
The needle is half the battle
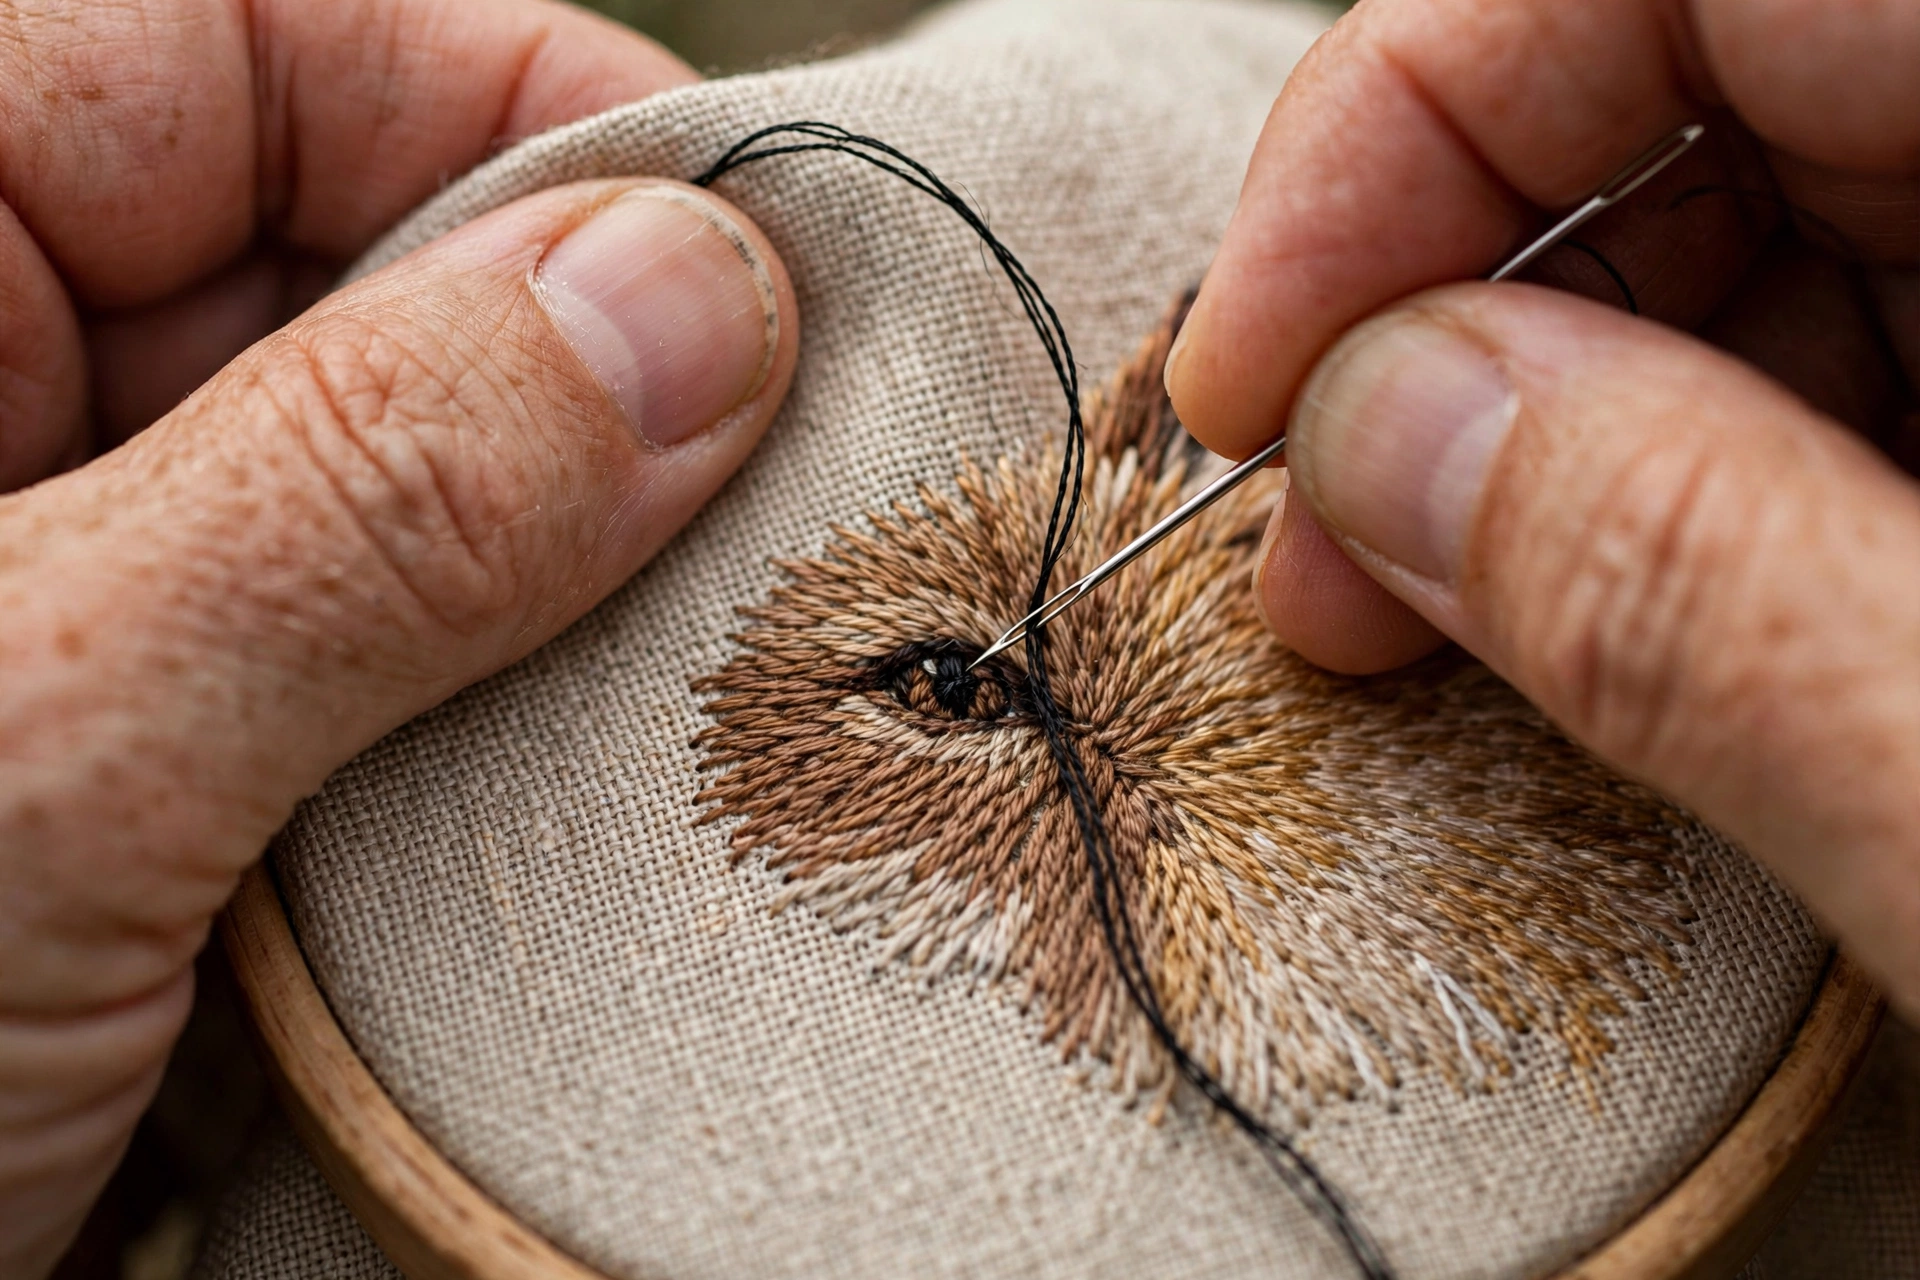
Big stitches want a crewel needle with its long eye and slightly rounded point. Small details want a sharp. Sharps, also sold as applique needles, have a fine point that pierces exactly where you aim instead of wedging between threads. At detail scale, that precision is everything. A size 9 or 10 sharp with a single strand of floss will go exactly where you put it, which is the entire job.
The other half of the needle equation is the eye. Small details mean fewer strands, and fewer strands mean a thinner needle, because a fat needle dragging one strand through fabric stretches the hole and puckers the surroundings. Match the needle to the strand count, not to your habits. My needle and fabric guide has the full chart, but the principle is simple: the needle should be the smallest one you can still thread without swearing.
Fewer strands, shorter stitches
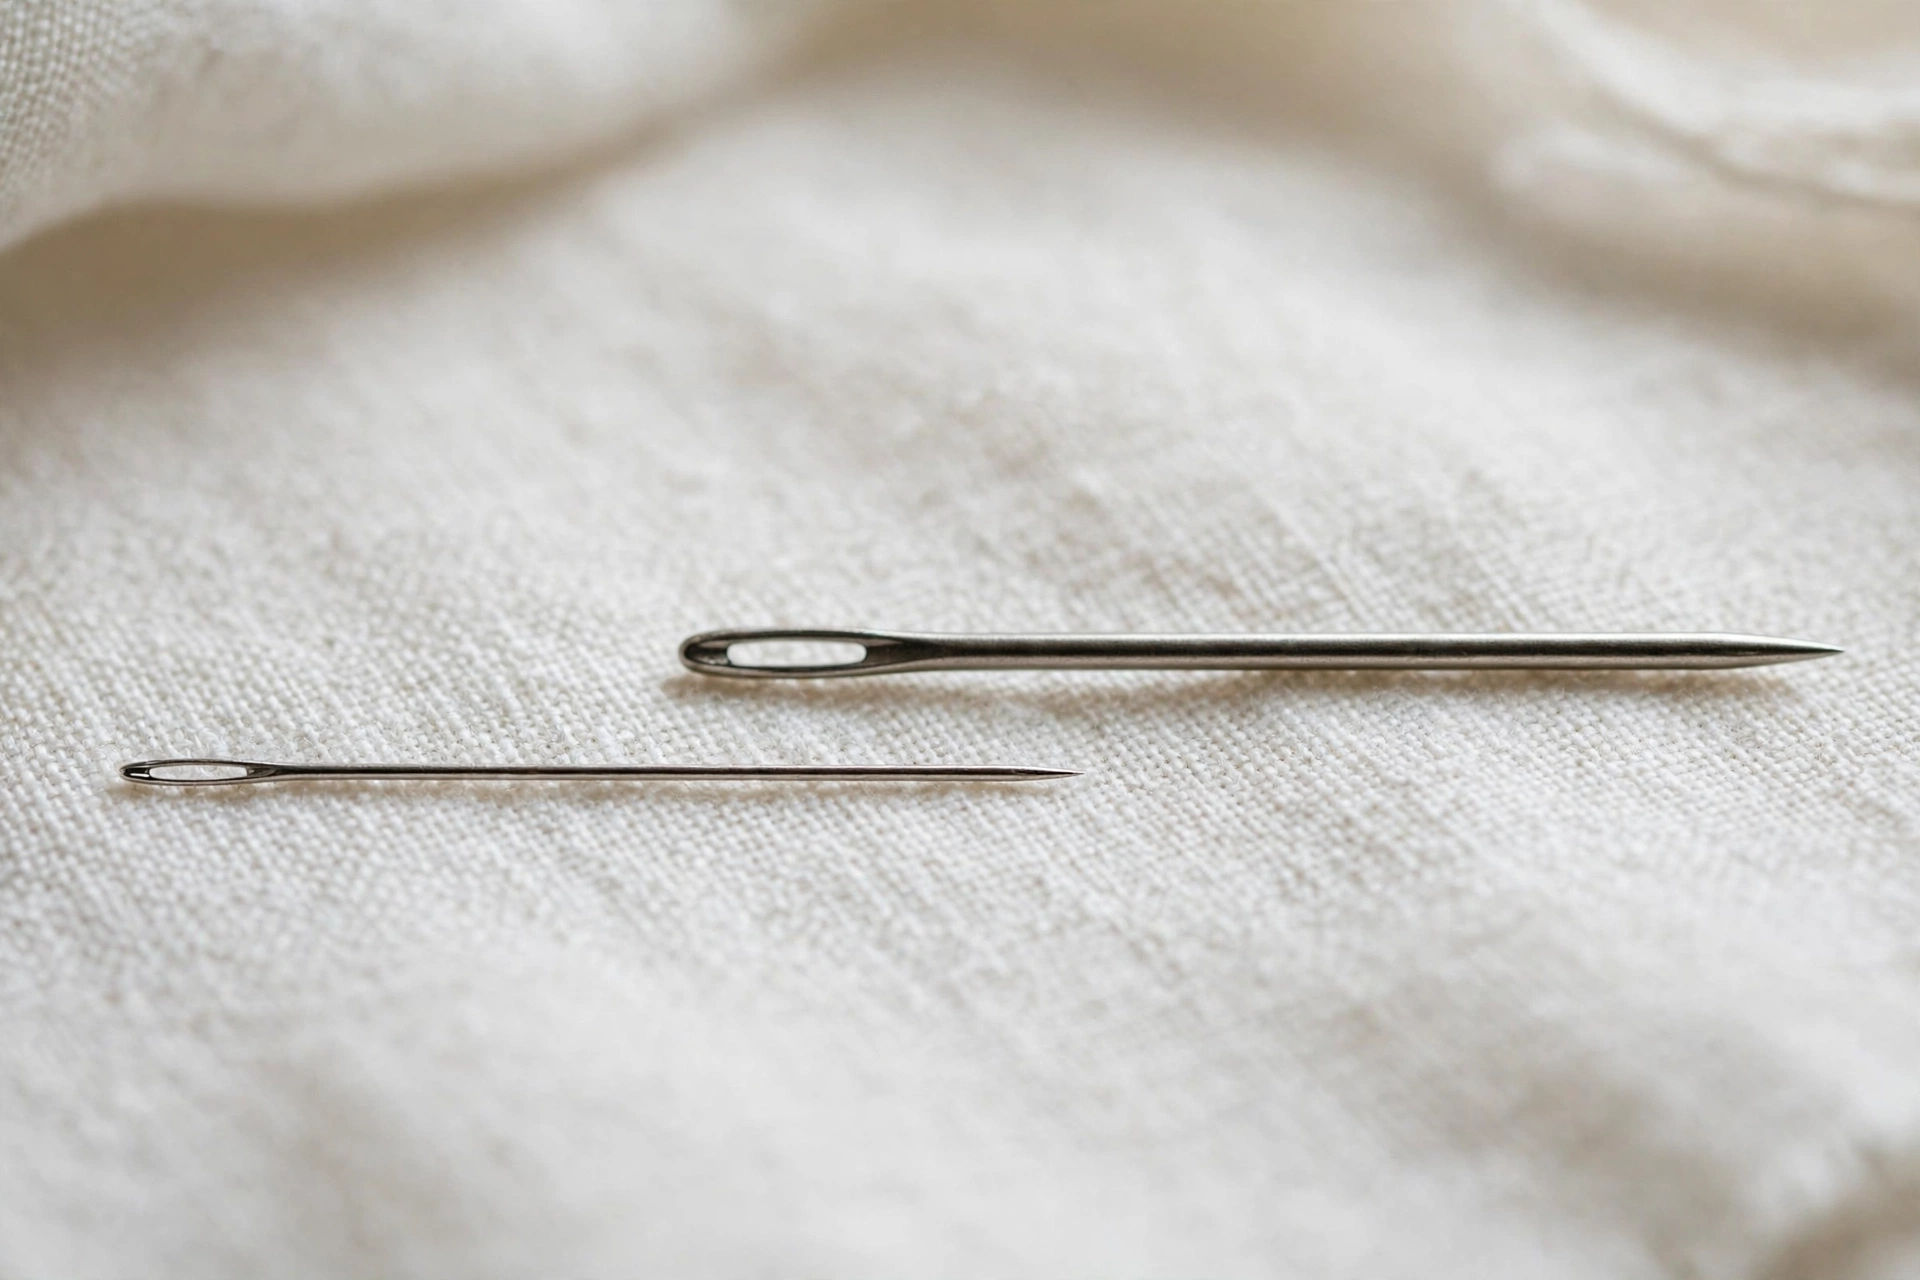
Drop to one strand for anything under a quarter inch. Two strands at most. More than that and the detail turns into a blob, because each stitch has a minimum physical size and you cannot negotiate with physics. Shorten your stitches too: a detail stitched in long passes looks crude no matter how fine the thread, while the same detail in short, careful stitches looks refined.
This is also where strand math pays off. One strand of six-strand floss is dramatically finer than the two or three you normally stitch with, and most beginners never try it because it feels insubstantial in the hand. Trust it. On the fabric it reads as precision.
Stab, do not sew
At normal scale, the sewing method, scooping the needle in and out in one motion, is fast and fine. At detail scale, switch to the stab method: push the needle straight down through the fabric, then bring it up separately for the next stitch. It is slower. It is also the difference between landing exactly on your mark and landing near it, and at detail scale “near it” is a different detail entirely.
Keep the fabric drum-tight while you do this. Stabbing on slack fabric distorts everything around the stitch, and small details have no margin for distortion. If your hoop loosens, re-seat it before continuing. The ninety-second re-seat is worth it every single time.
The laying tool trick
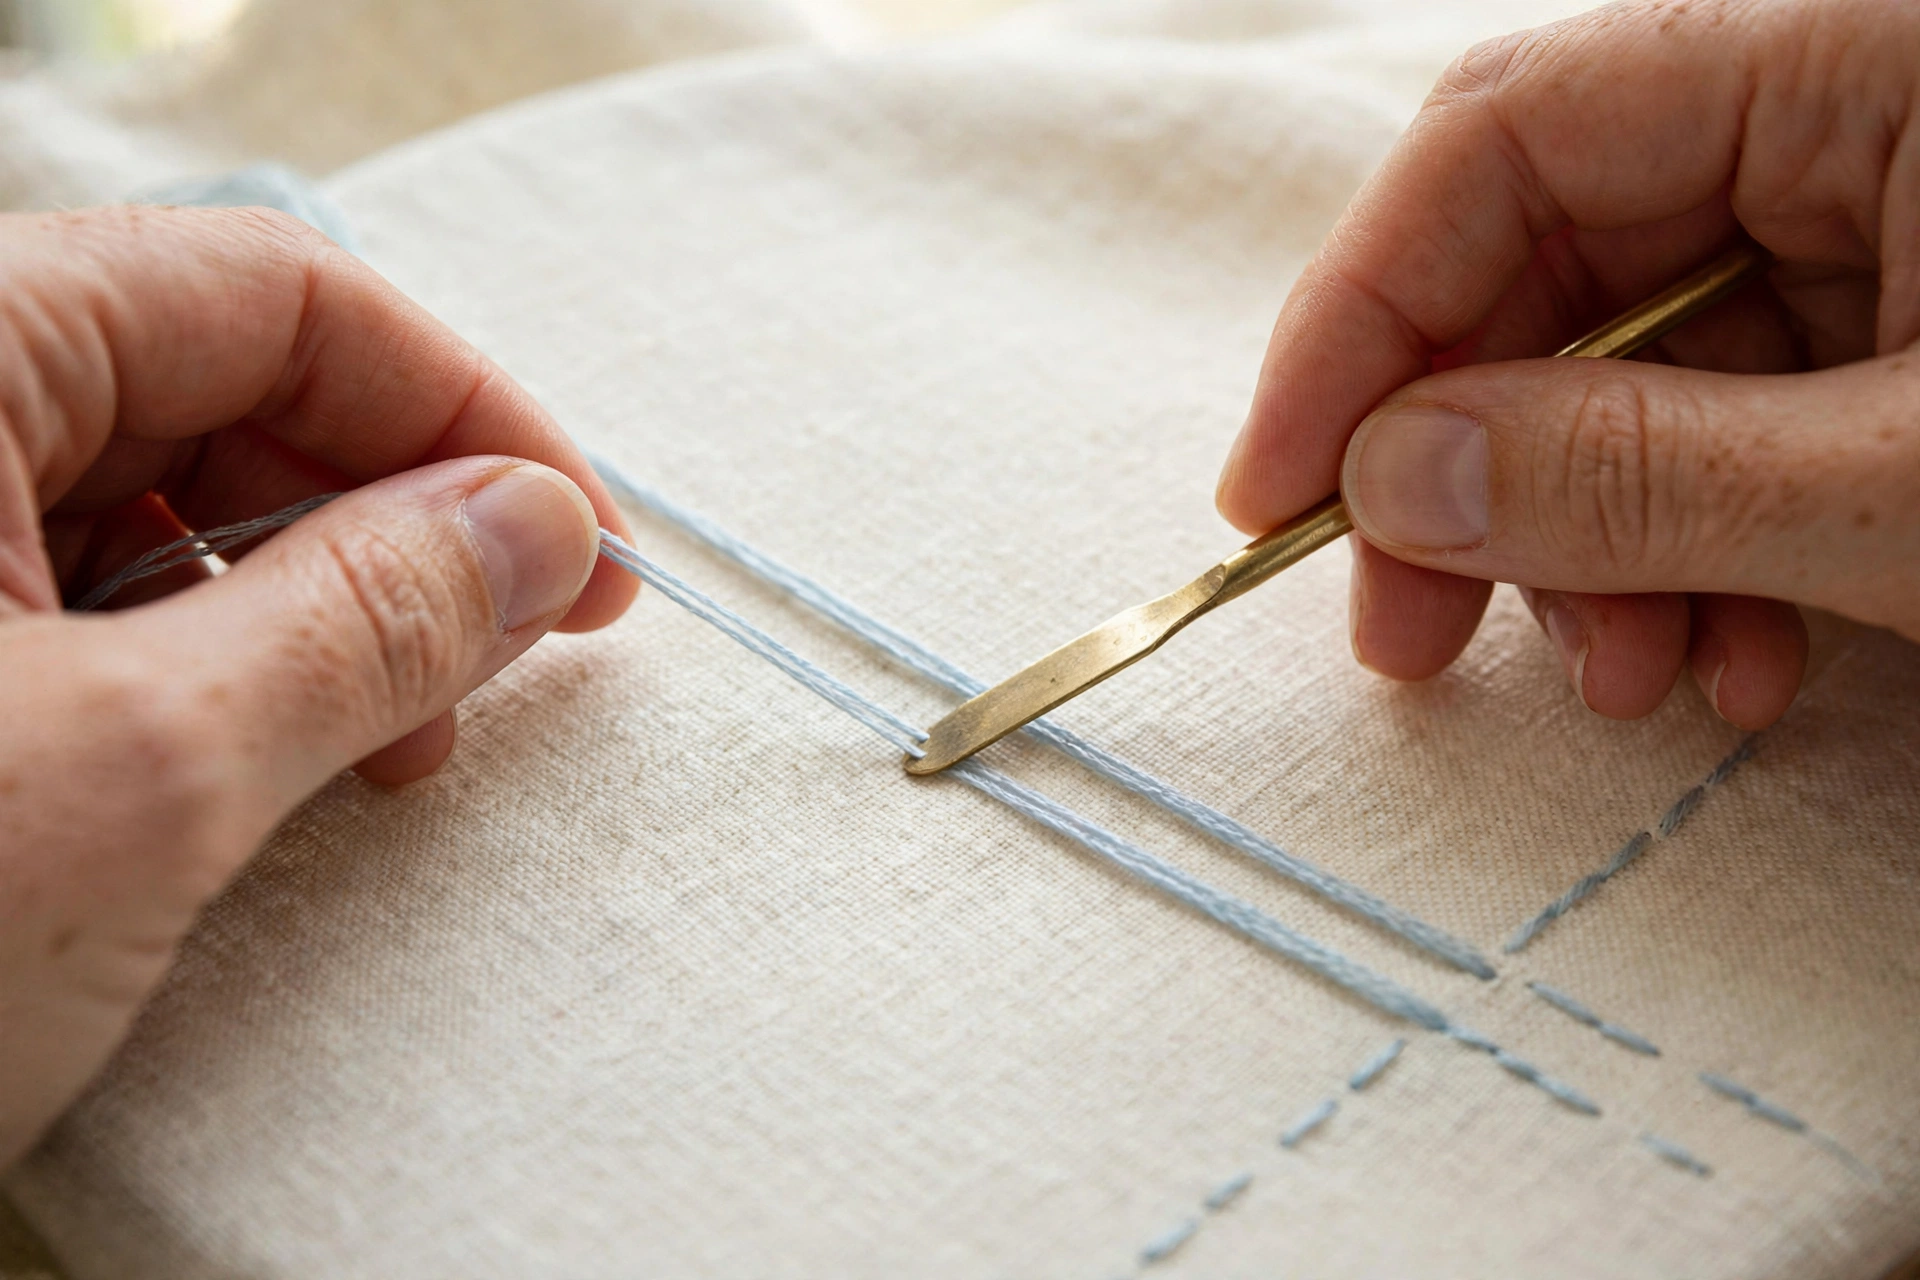
Split threads happen when the needle pierces the working thread instead of passing beside it. A laying tool, which is a fancy name for a smooth pointed stick, prevents this. You hold it in your non-dominant hand and use it to stroke the working thread flat and slightly aside as the needle goes in. The needle then passes cleanly instead of spearing the thread.
You do not need to buy one. A spare tapestry needle, a wooden toothpick, even a chopstick will do the job. I used a bamboo skewer for a year before buying a proper trolley needle, and honestly the skewer worked fine. The technique matters, not the tool. Stroke, guide, stitch. After a dozen details it becomes automatic.
Magnification is not cheating
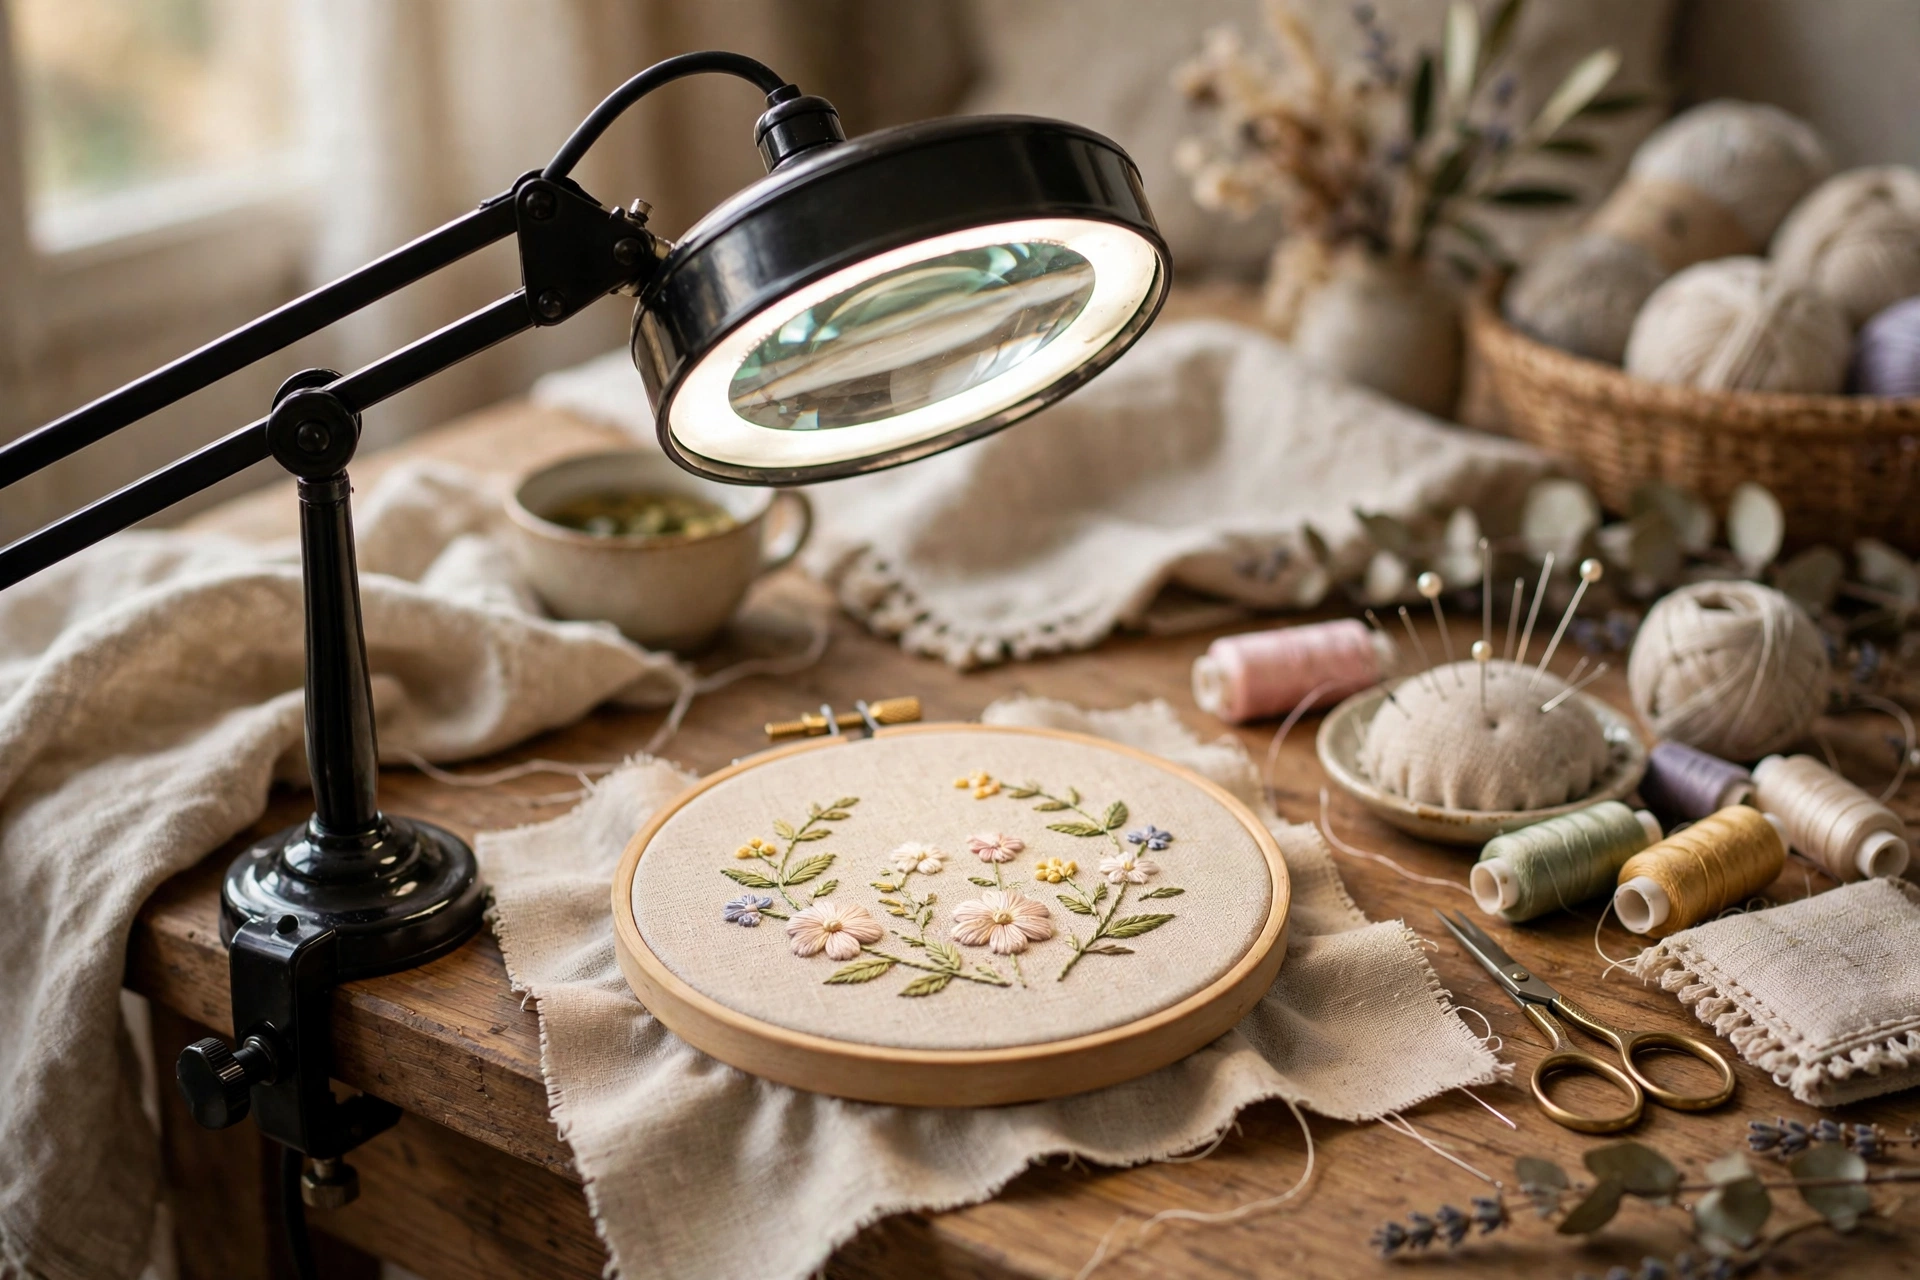
Here is permission you may need: use magnification. A clip-on magnifier, a magnifying lamp, reading glasses one strength up from your prescription. Small details are genuinely hard to see, and stitching what you cannot see is how eyes end up looking like the fox’s. I stitch all details under a daylight magnifying lamp now, and my small work improved more in one month than in the previous year. My workspace setup guide covers lamp placement, because light angle matters as much as magnification.
Pick the right stitch for the size
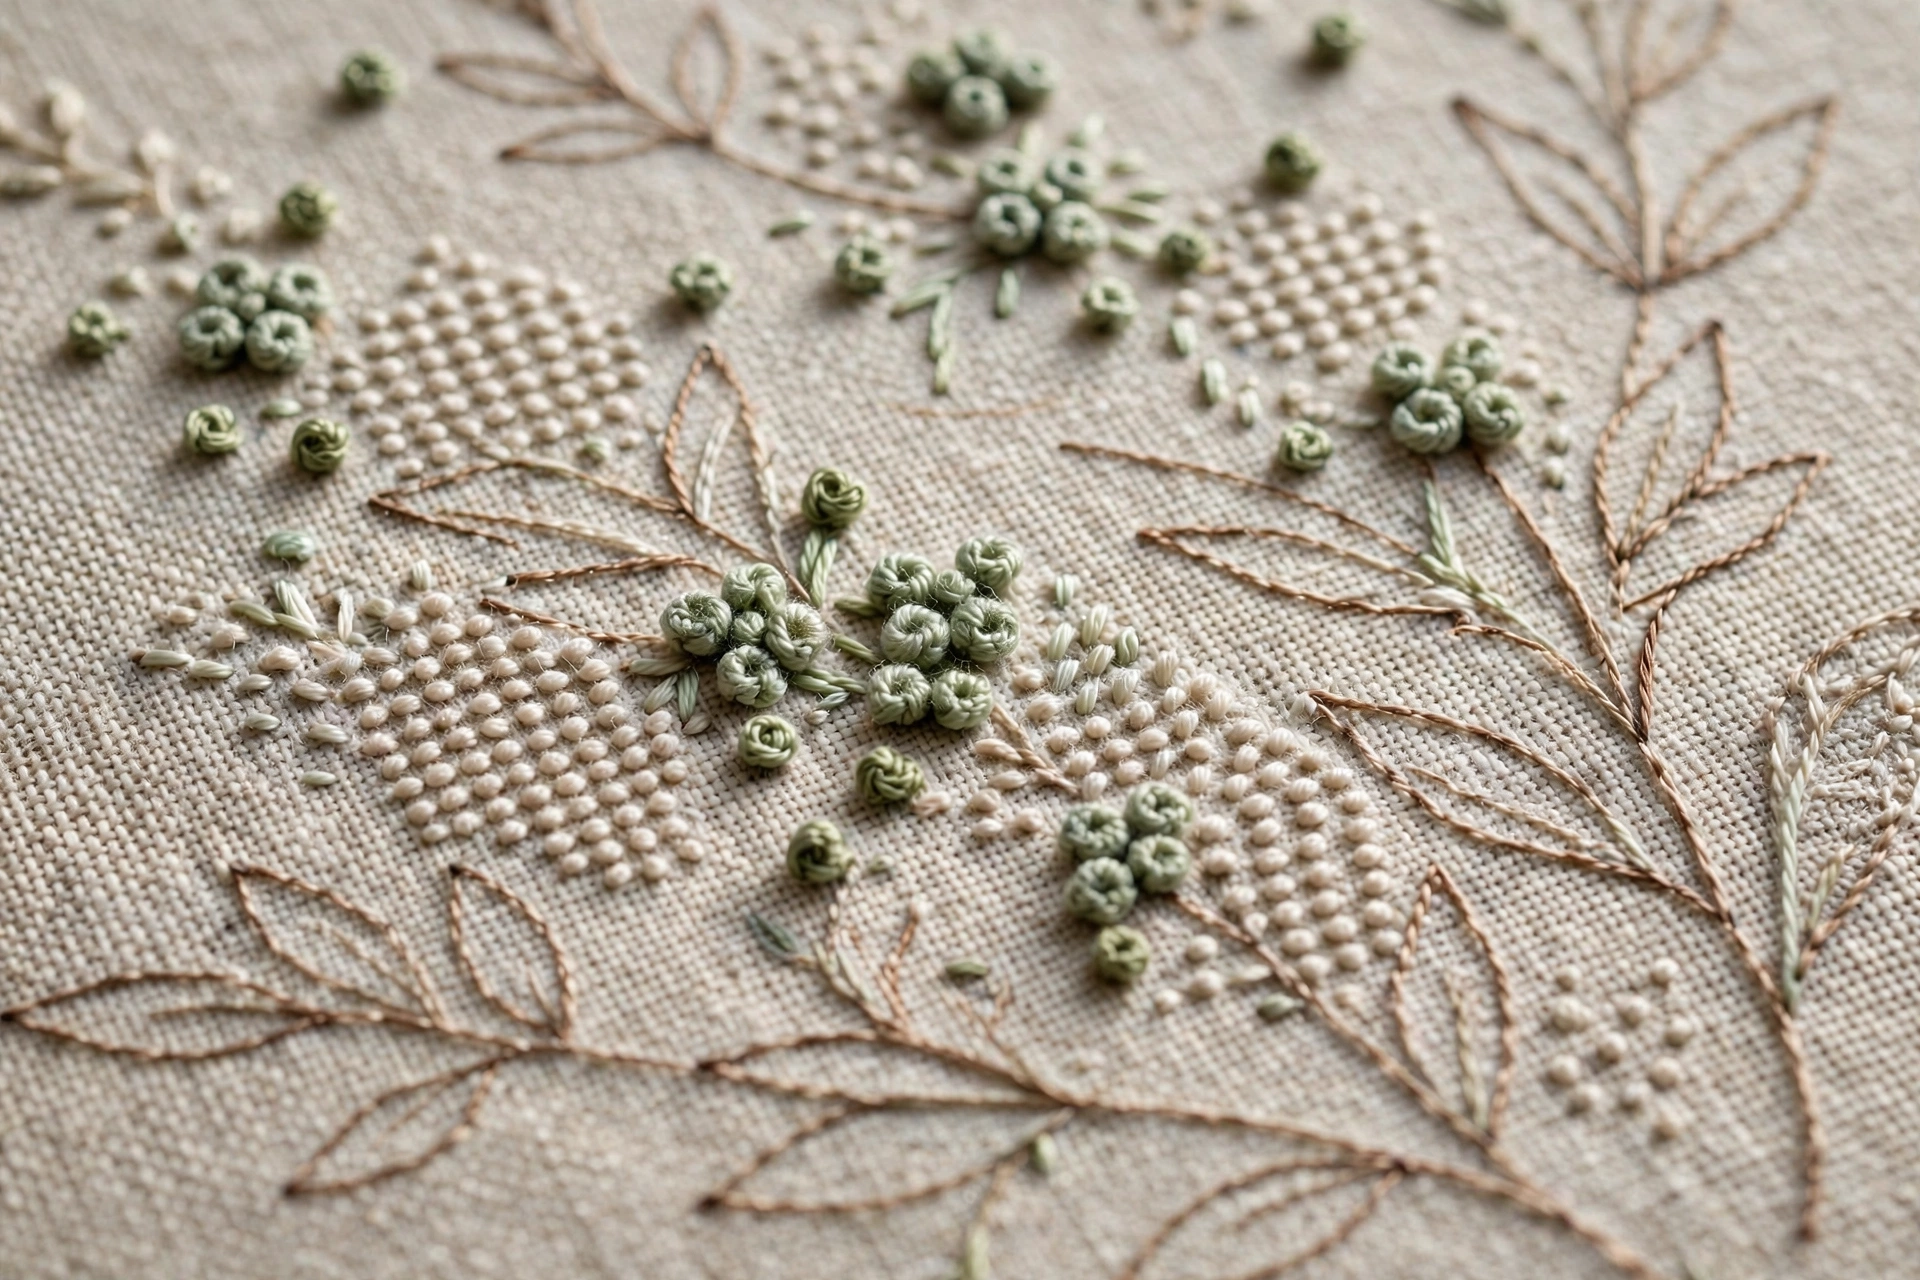
Some stitches scale down gracefully and some do not. Seed stitches, tiny straight stitches scattered like sprinkles, are perfect at any size. French knots work beautifully small: one wrap instead of two, single strand, and you have a dot with dimension. My French knot tutorial covers the small-knot adjustments. Single-strand backstitch outlines stay crisp down to absurdly small sizes.
What does not scale: satin stitch under an eighth of an inch wide turns to mush, and stem stitch that small loses its twist and just looks lumpy. When a detail is too small for the stitch you wanted, switch stitches instead of forcing it. The design will not mind. Nobody ever looked at a finished piece and wished the nostrils had been satin stitched.
The order of operations
Stitch small details last, after the big shapes around them are done. This is partly practical, big stitching can distort or cover nearby details, and partly psychological: details placed last sit exactly where the finished composition needs them. I also recommend stitching details in good light at the start of a session, not at midnight when your eyes are tired. The fox eyes that survived were stitched at 10 a.m. on a Saturday. The four failed attempts were all after 11 p.m. Correlation is not causation, but I know what I believe.
Small details are where embroidery goes from craft to art, and they reward patience more than talent. Sharp needle, single strand, stab method, laying tool, magnification. That is the whole system. And once your details land cleanly, even stitch sizing is the next skill that makes everything look professional.