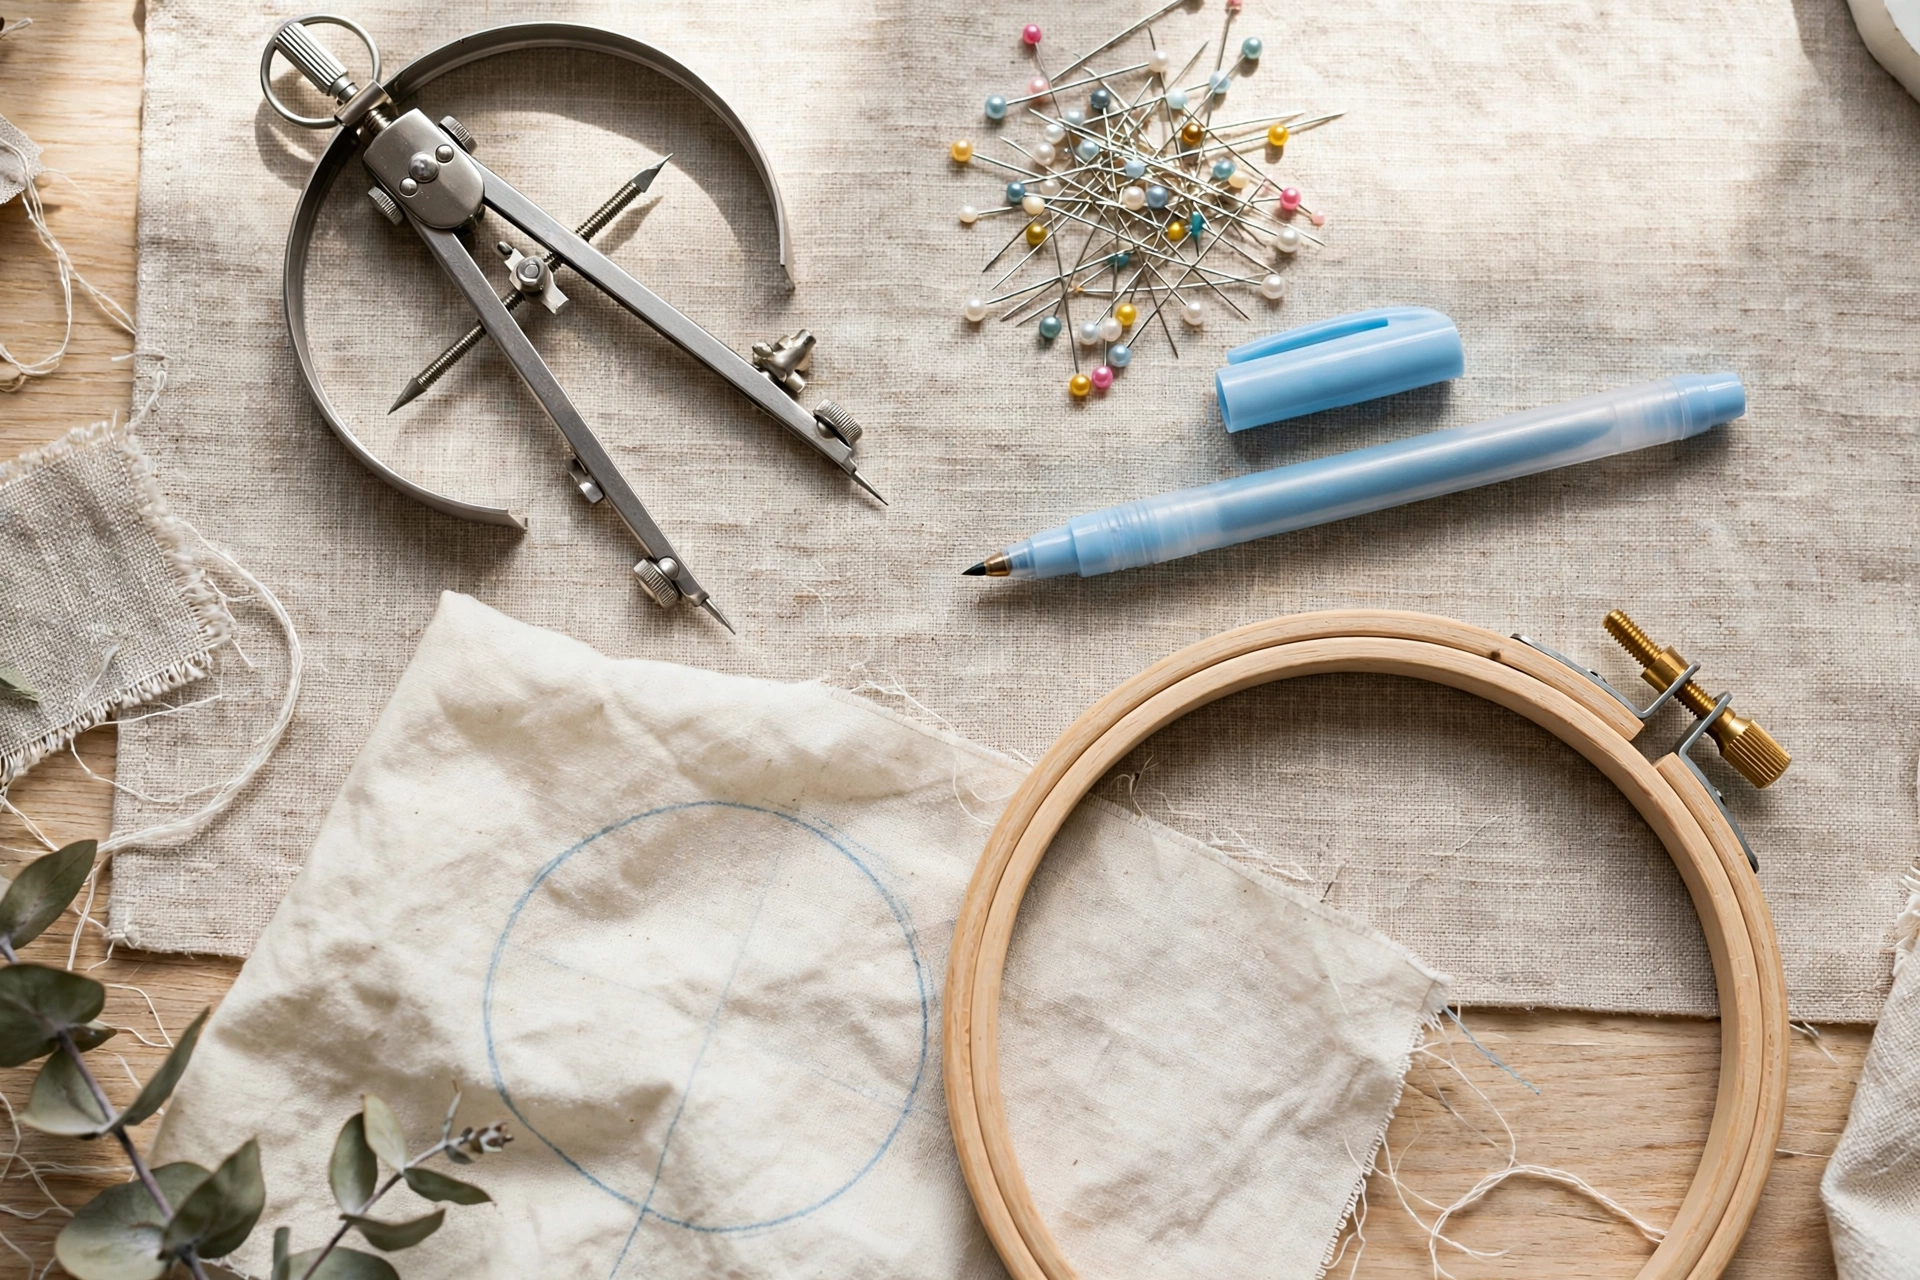
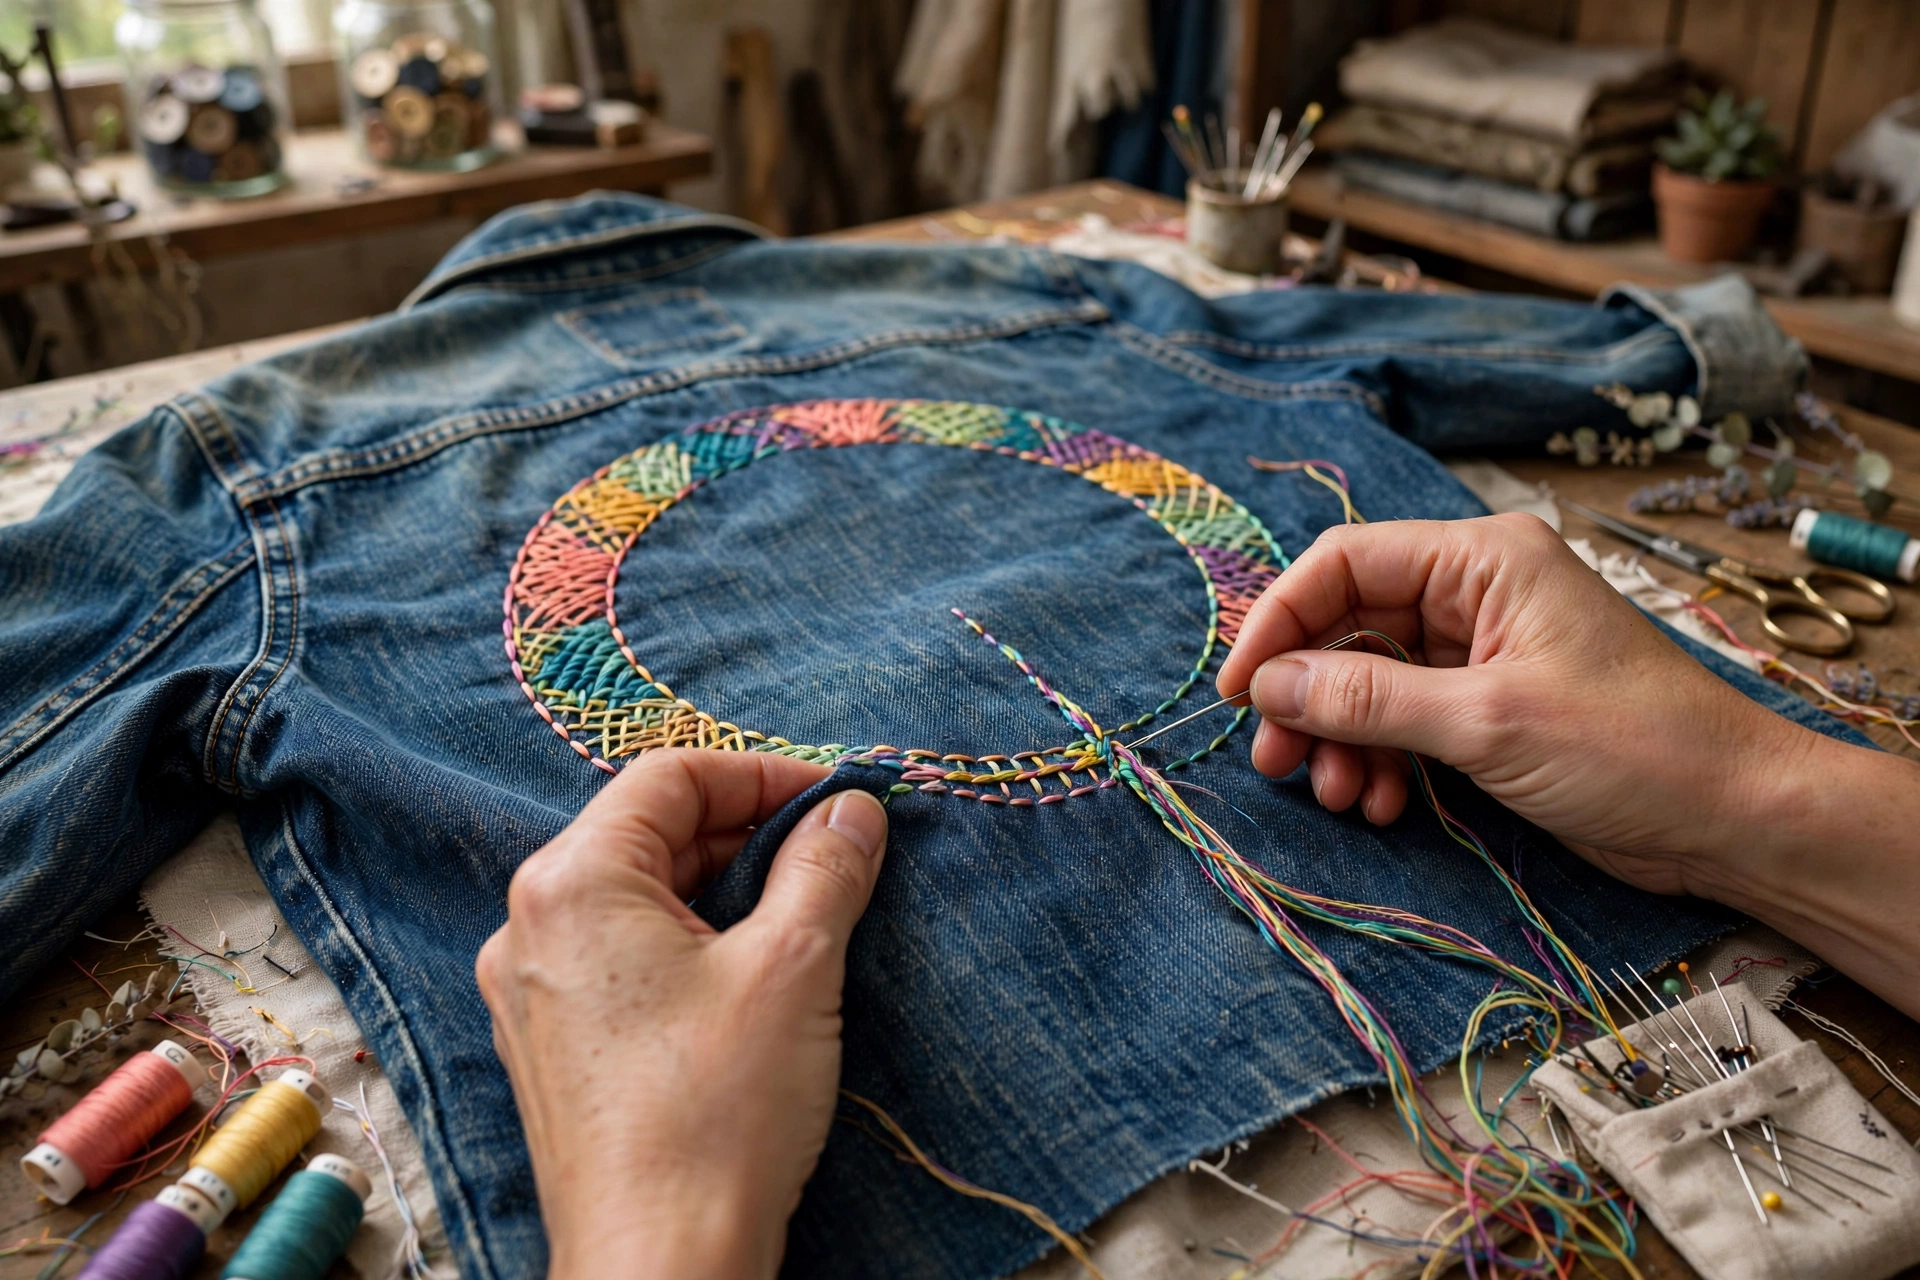
I needed a three-inch circle on the back of a denim jacket, and I owned no compass, no template, and no patience for driving to the craft store. So I stuck a pin in the fabric, tied floss to it, and drew the steadiest circle of my life with what was essentially a string compass. It took four minutes. The circle came out rounder than anything I had ever traced from a plate. That was the day I stopped believing you need special tools to stitch perfect circles. You need three methods, and you probably own everything for all of them already.
Method 1: The two-pin string compass (best for large circles)
This is the denim jacket method, and it works for any circle from two inches up to the size of your hoop. Stick a pin straight into the fabric at your center point. Tie a length of floss to the pin, measure out your radius along the floss, and tie a water-soluble marking pen at that point. Keep the floss taut and walk the pen around the pin. You get a perfect circle because the physics does the work, not your hand.
Two details matter. First, keep the floss taut the whole way around. Any slack and your radius shrinks mid-circle, which is how you get eggs. Second, mark lightly. A heavy pen line is hard to cover with stitching, and nothing ruins a perfect circle like a visible wobble of blue ink peeking out from under your stem stitch. I use a water-soluble pen and test it on a scrap first, every time, because I have been burned by a ghost line exactly once and that was enough.
Method 2: The running-stitch ruler (best for small precise circles)
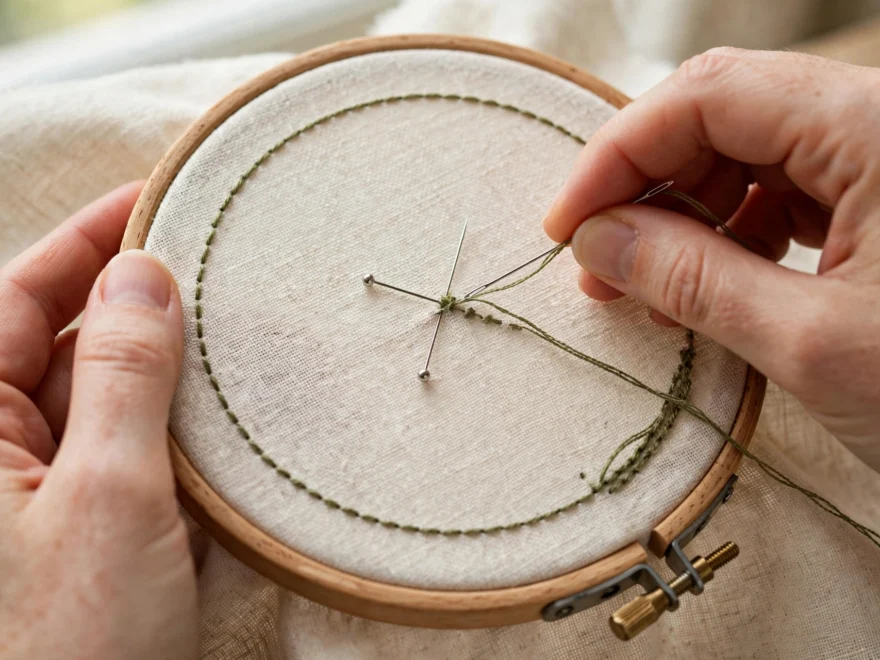
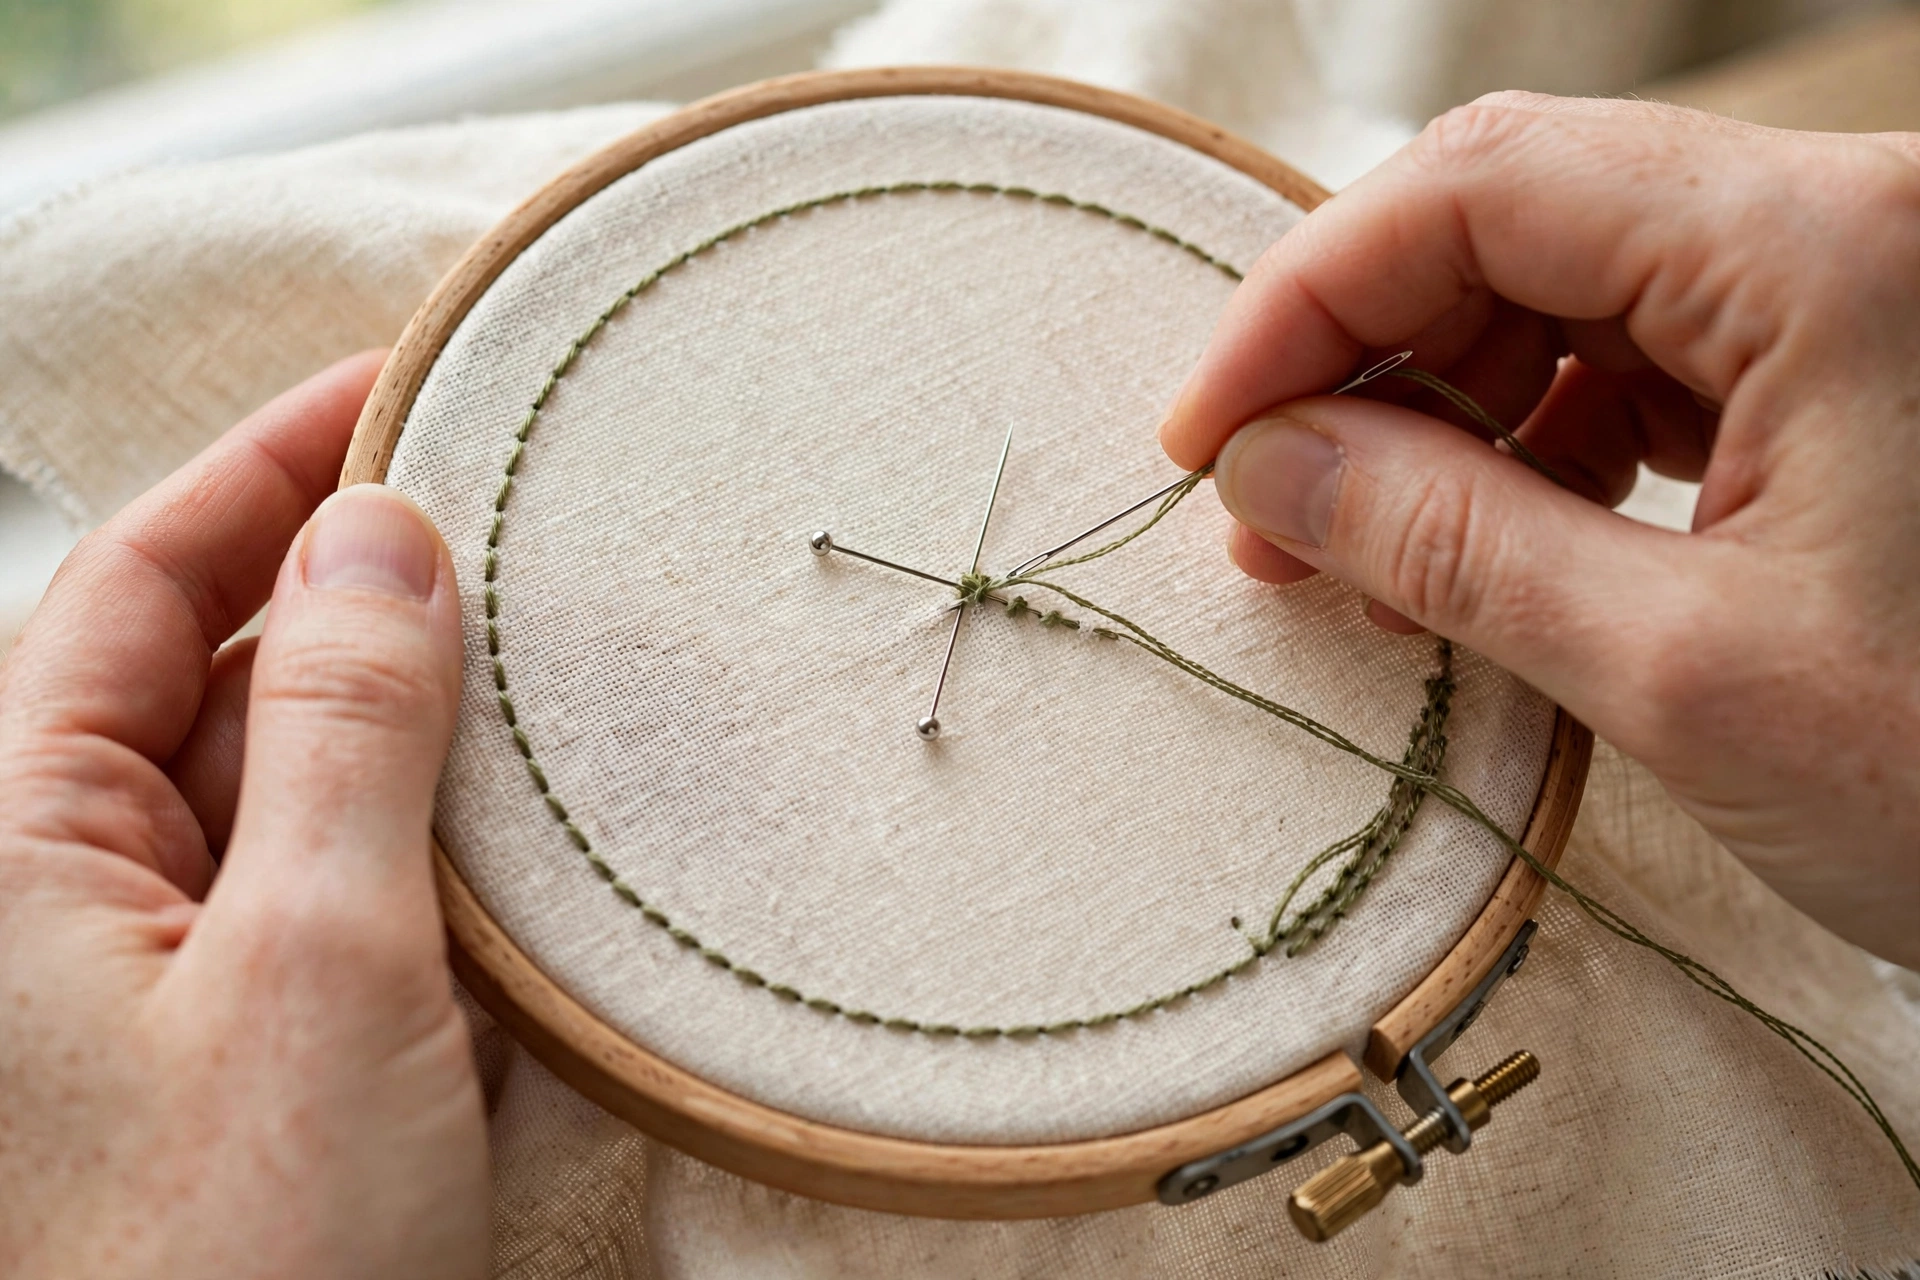
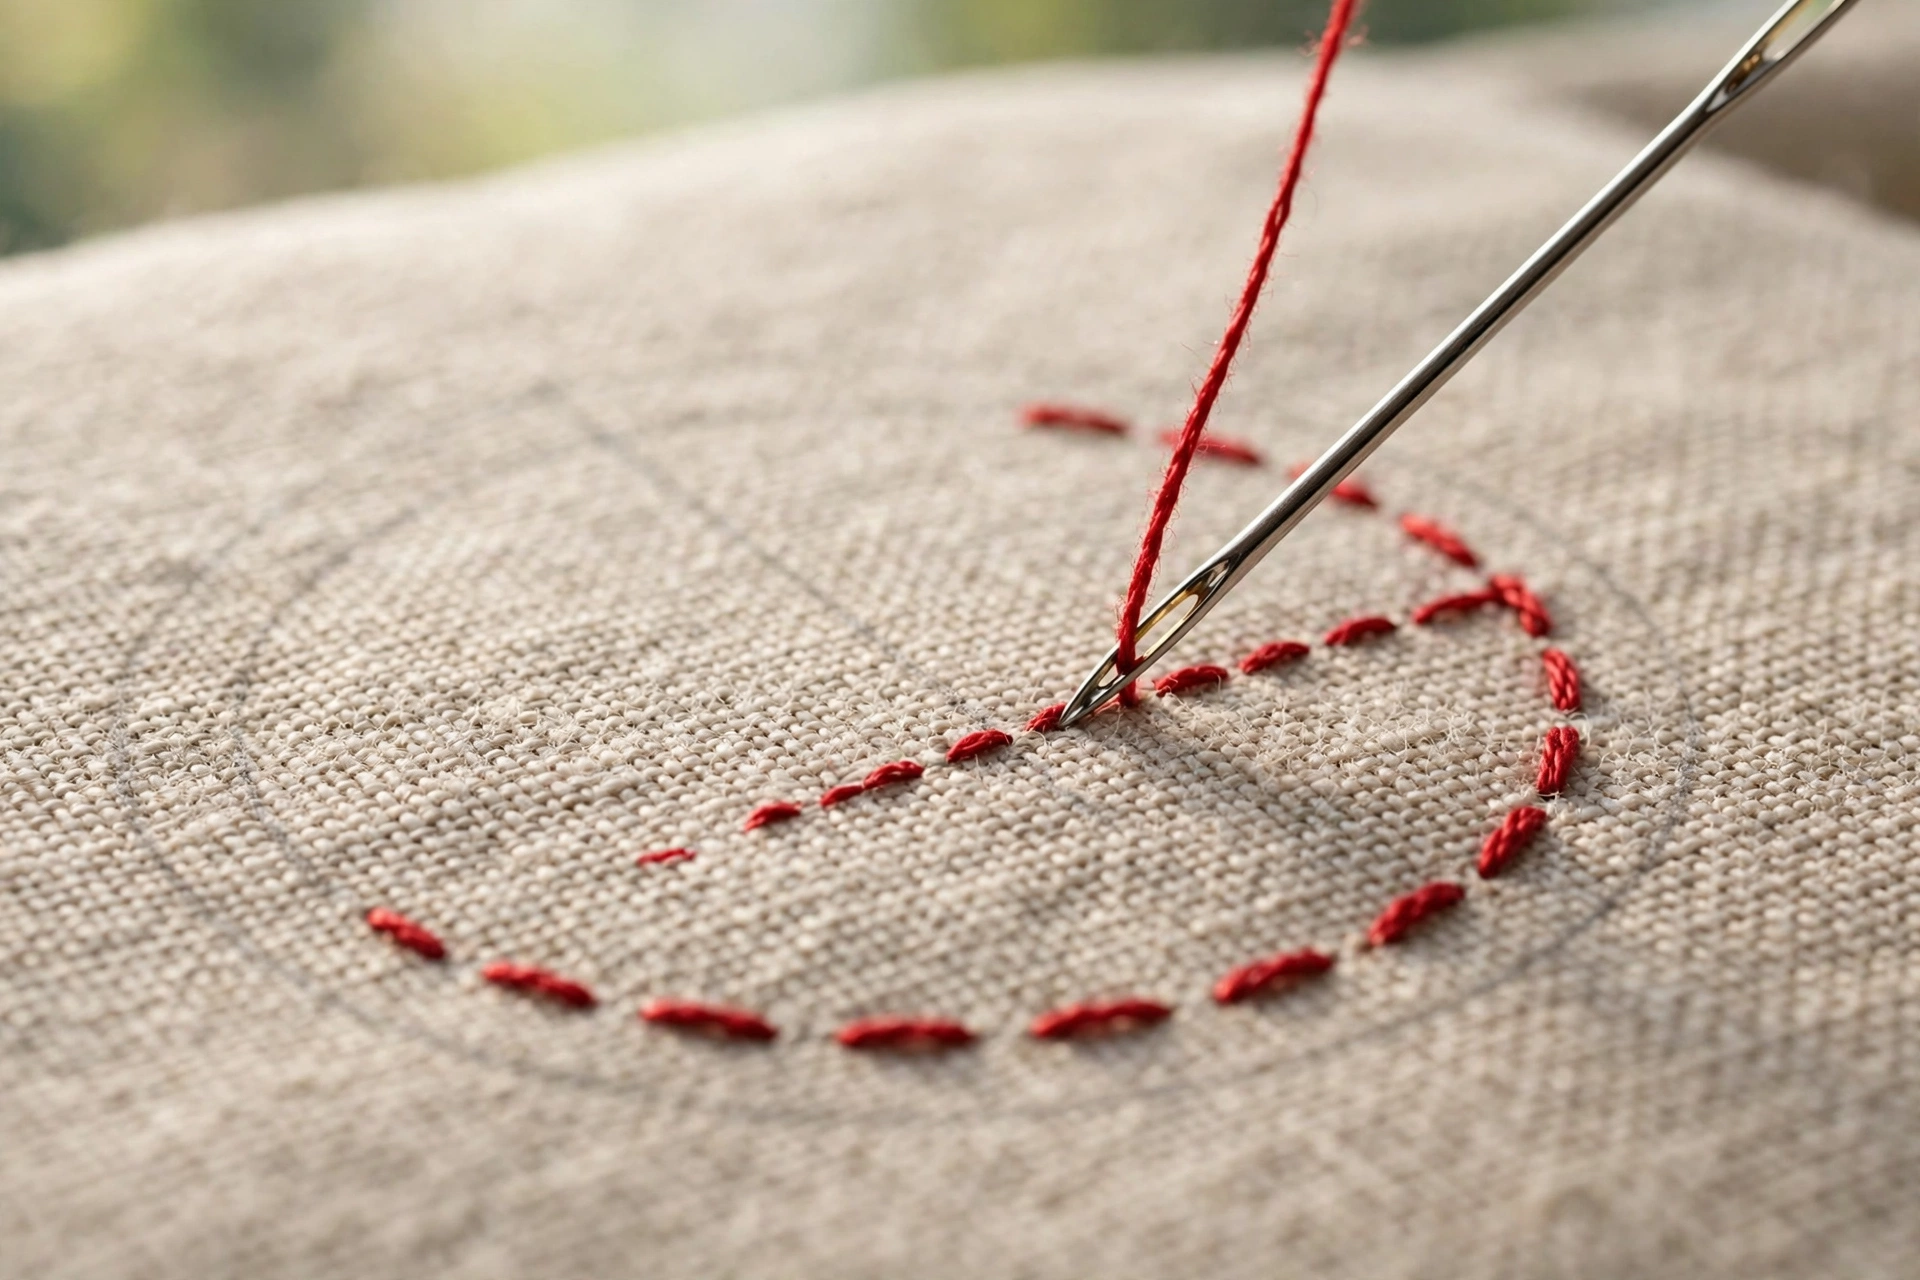
For circles under two inches, forget drawing entirely. Mark your center with a pin, then work a ring of running stitch around it, keeping every stitch the same distance from the center by eye. This sounds imprecise and works shockingly well, because your eye is excellent at judging radial distance once you give it a center point to measure from.
The trick is stitch length. Keep your running stitches short, no more than an eighth of an inch, and the ring reads as a smooth curve. Long stitches make a polygon, and twelve long stitches make a very obvious dodecagon, which I learned while making what was supposed to be a moon and turned out to be a stop sign. Once the running-stitch ring is in place, stitch over it with your final stitch, backstitch or stem stitch, using the running stitches as a raised guide rail. Your needle naturally follows the ridge.
Method 3: Stitch perfect circles freehand (yes, really)
Here is the part nobody tells beginners: your hand is steadier than you think, and circles under an inch across are genuinely easier freehand than traced. The traced line makes you nervous. The nervousness makes you slow. The slowness makes you wobble. Freehand, you just go.
The technique: anchor your wrist. Plant the heel of your stitching hand on the table or on the hoop edge and pivot from the wrist, not the fingers. Work the circle in one continuous motion if you can, or in four quarter-arcs with the needle pausing at twelve, three, six, and nine o clock. Check each quarter before moving on. A circle is just four matching curves, and matching one quarter to the last is much easier than judging a whole circle at once.
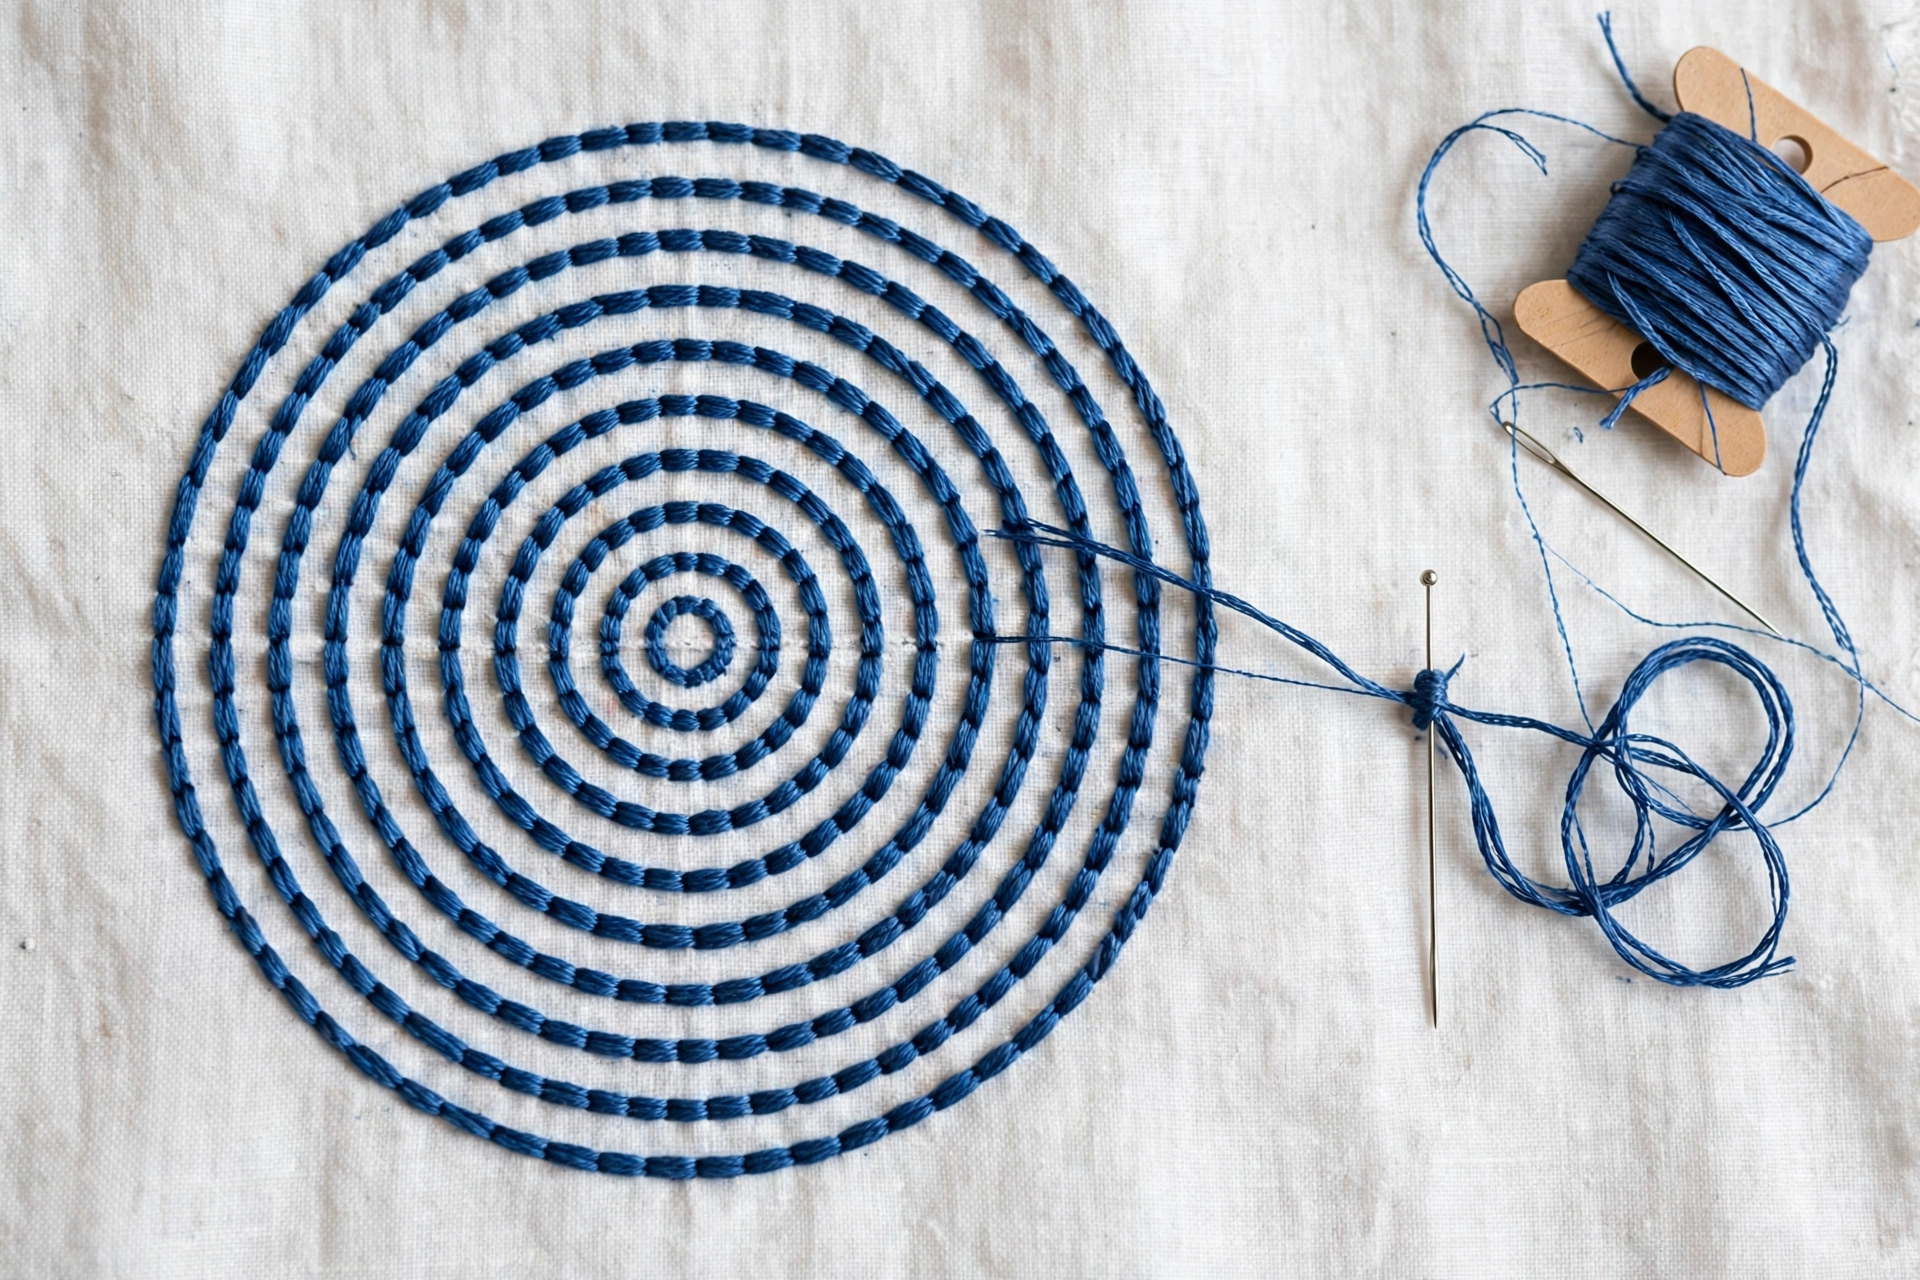
I stitch all my woven wheel outlines freehand now, and they come out rounder than my traced ones ever did. Start on scrap fabric, stitch twenty freehand circles, and watch what happens around number twelve. Something clicks. It clicked for me during a boring phone call, and I have the phone bill of thread to prove it.
Which stitch to use on your circle
The outline stitch changes how perfect the circle looks more than the marking method does. Backstitch gives the crispest line and forgives small wobbles, because each stitch is independent. Stem stitch gives a beautiful roped line but magnifies wobbles, since the slant makes every deviation visible. Chain stitch sits between the two: forgiving, textured, and excellent for bold graphic circles.
My ranking for beginners: backstitch first, chain stitch second, stem stitch once you are showing off. Whatever you choose, keep your stitch length consistent. Inconsistent stitch length is the actual cause of most “imperfect” circles, not shaky hands. Five even stitches beat ten uneven ones every time.
The mistakes that make circles look wrong
Starting and stopping in the visible zone. Begin your circle at the top, where the eye lands last, and bury your starting knot there. A knot at three o clock on an otherwise perfect circle is all anyone will see.
Pulling some stitches tighter than others. Uneven tension puckers the fabric inside the curve and the circle goes wavy. This is a tension and hooping issue wearing a circle costume. Drum-tight fabric, relaxed hands.
Marking with something permanent. Said above, saying again, because I still see pencil circles on finished pieces at every craft fair. Pencil does not wash out of linen. Use the water-soluble pen or the string-and-pin with no marking at all.
When you actually need a template
Honesty corner: sometimes you do want one. Concentric circles that must be exactly evenly spaced, like a mandala with eight rings, are miserable to do by eye. For those, I trace around coins, jar lids, and the plastic rings from mason jars, which come in beautifully graduated sizes and cost nothing. A set of circle templates from the drafting aisle, about eight dollars, lives in my drawer for mandala days. But that is a specialist need. For the ordinary circles of ordinary stitching, the pin, the running stitch, and your own wrist are plenty.
The history of embroidery is full of perfect circles stitched centuries before anyone owned a compass. Your great-great-grandmother did this by eye, by feel, by doing it ten thousand times. You get to skip to the good part with a pin and some floss. Try the string compass first. It takes four minutes, and I promise the result will surprise you.