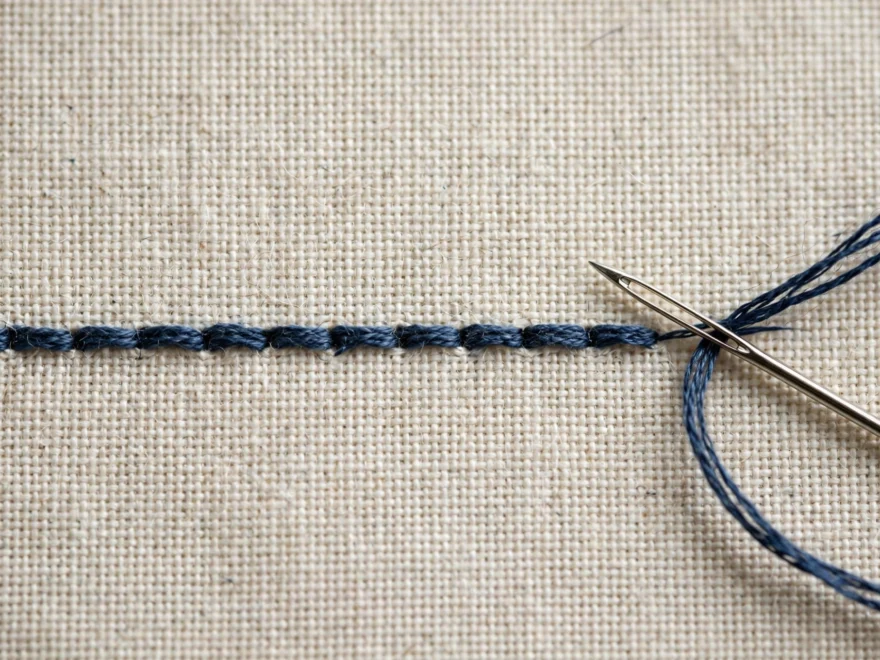
I outlined an entire botanical print in backstitch once, every stem, every leaf vein, every curling tendril. It looked like a coloring book page. Precise, flat, and somehow lifeless. Then I restitched just the stems in stem stitch and the whole piece woke up. Same thread, same fabric, completely different drawing. That afternoon taught me the real lesson of backstitch vs stem stitch: they are not interchangeable, they are not rivals, and picking the wrong one is the reason outlines sometimes look amateurish for no obvious reason.
How backstitch works
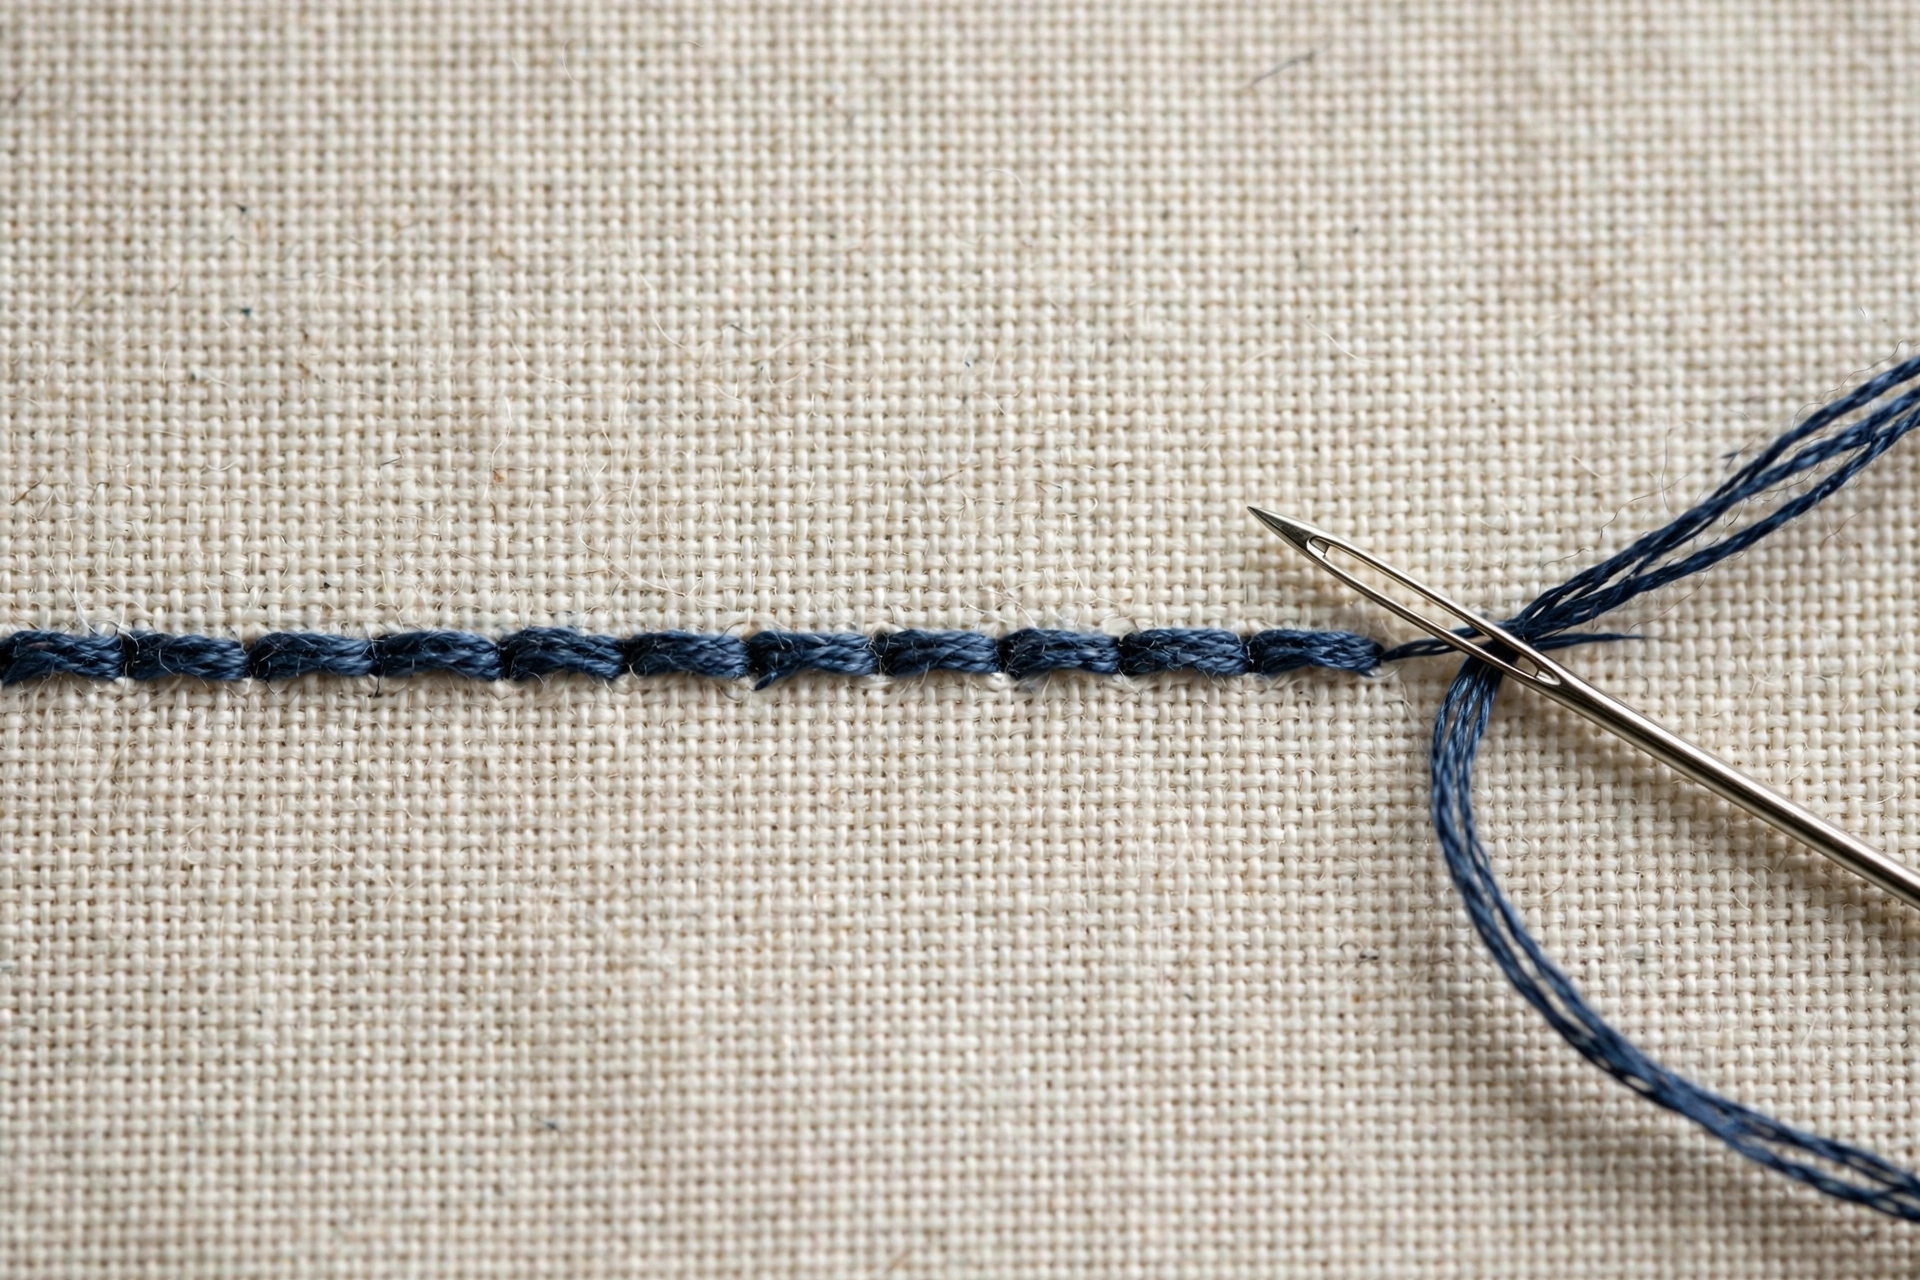
Backstitch is the stitch you probably learned first, and its mechanics are dead simple. Come up one stitch-length ahead of your line, go down at the end of the previous stitch, come up another stitch-length ahead. Each new stitch doubles back to meet the last one, which is where the name comes from. The result is a solid, unbroken line with a subtly segmented texture, like a row of neat dashes fused together.
It is the most honest stitch in embroidery. What you see is exactly what you get, and it behaves the same on straight lines, corners, and tiny details. That reliability is why it dominates lettering, and my lettering guide leans on it heavily. If you are still building your foundation, it is also one of the basic stitches every beginner should learn first.
How stem stitch works
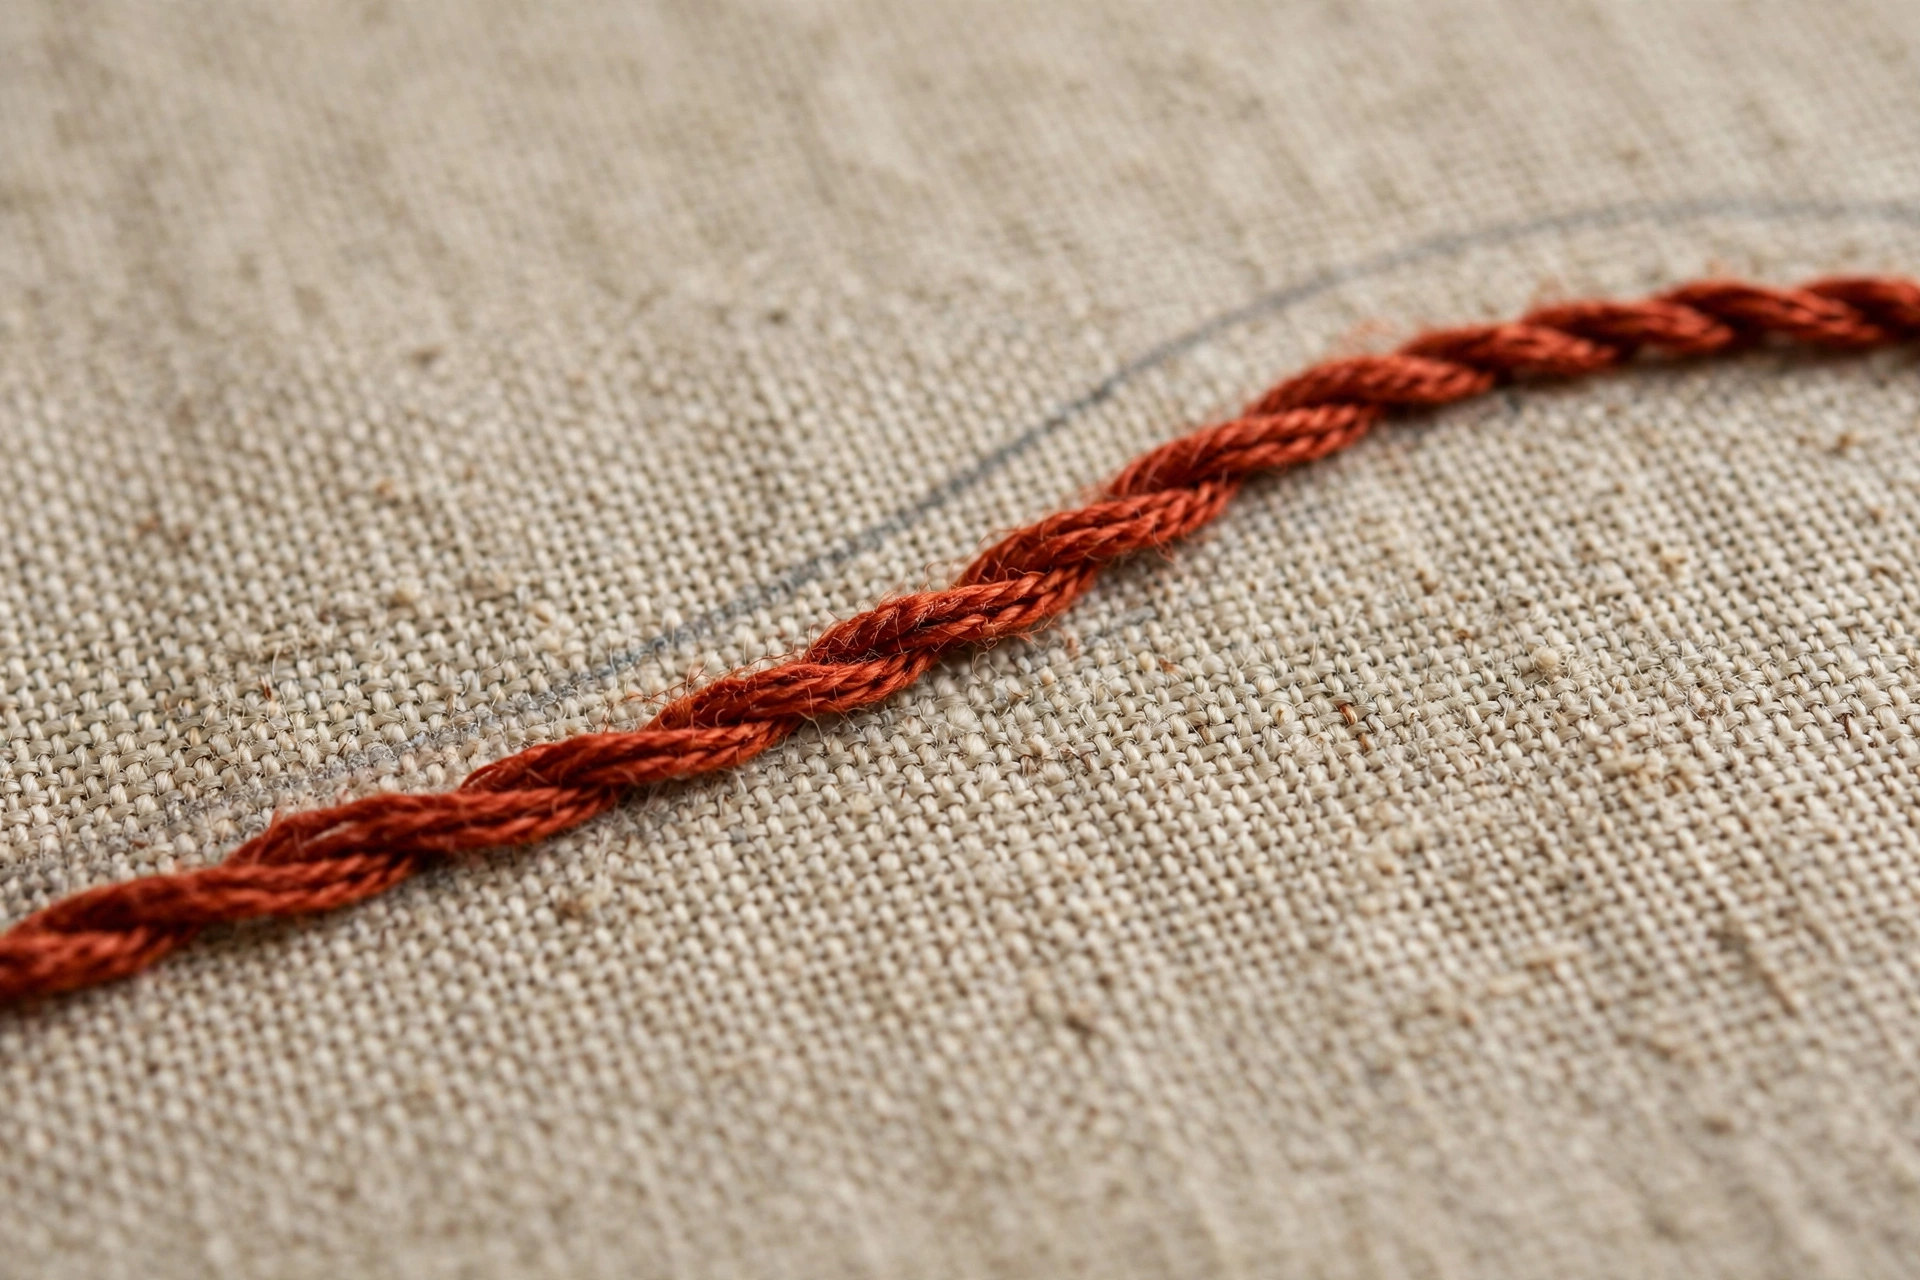
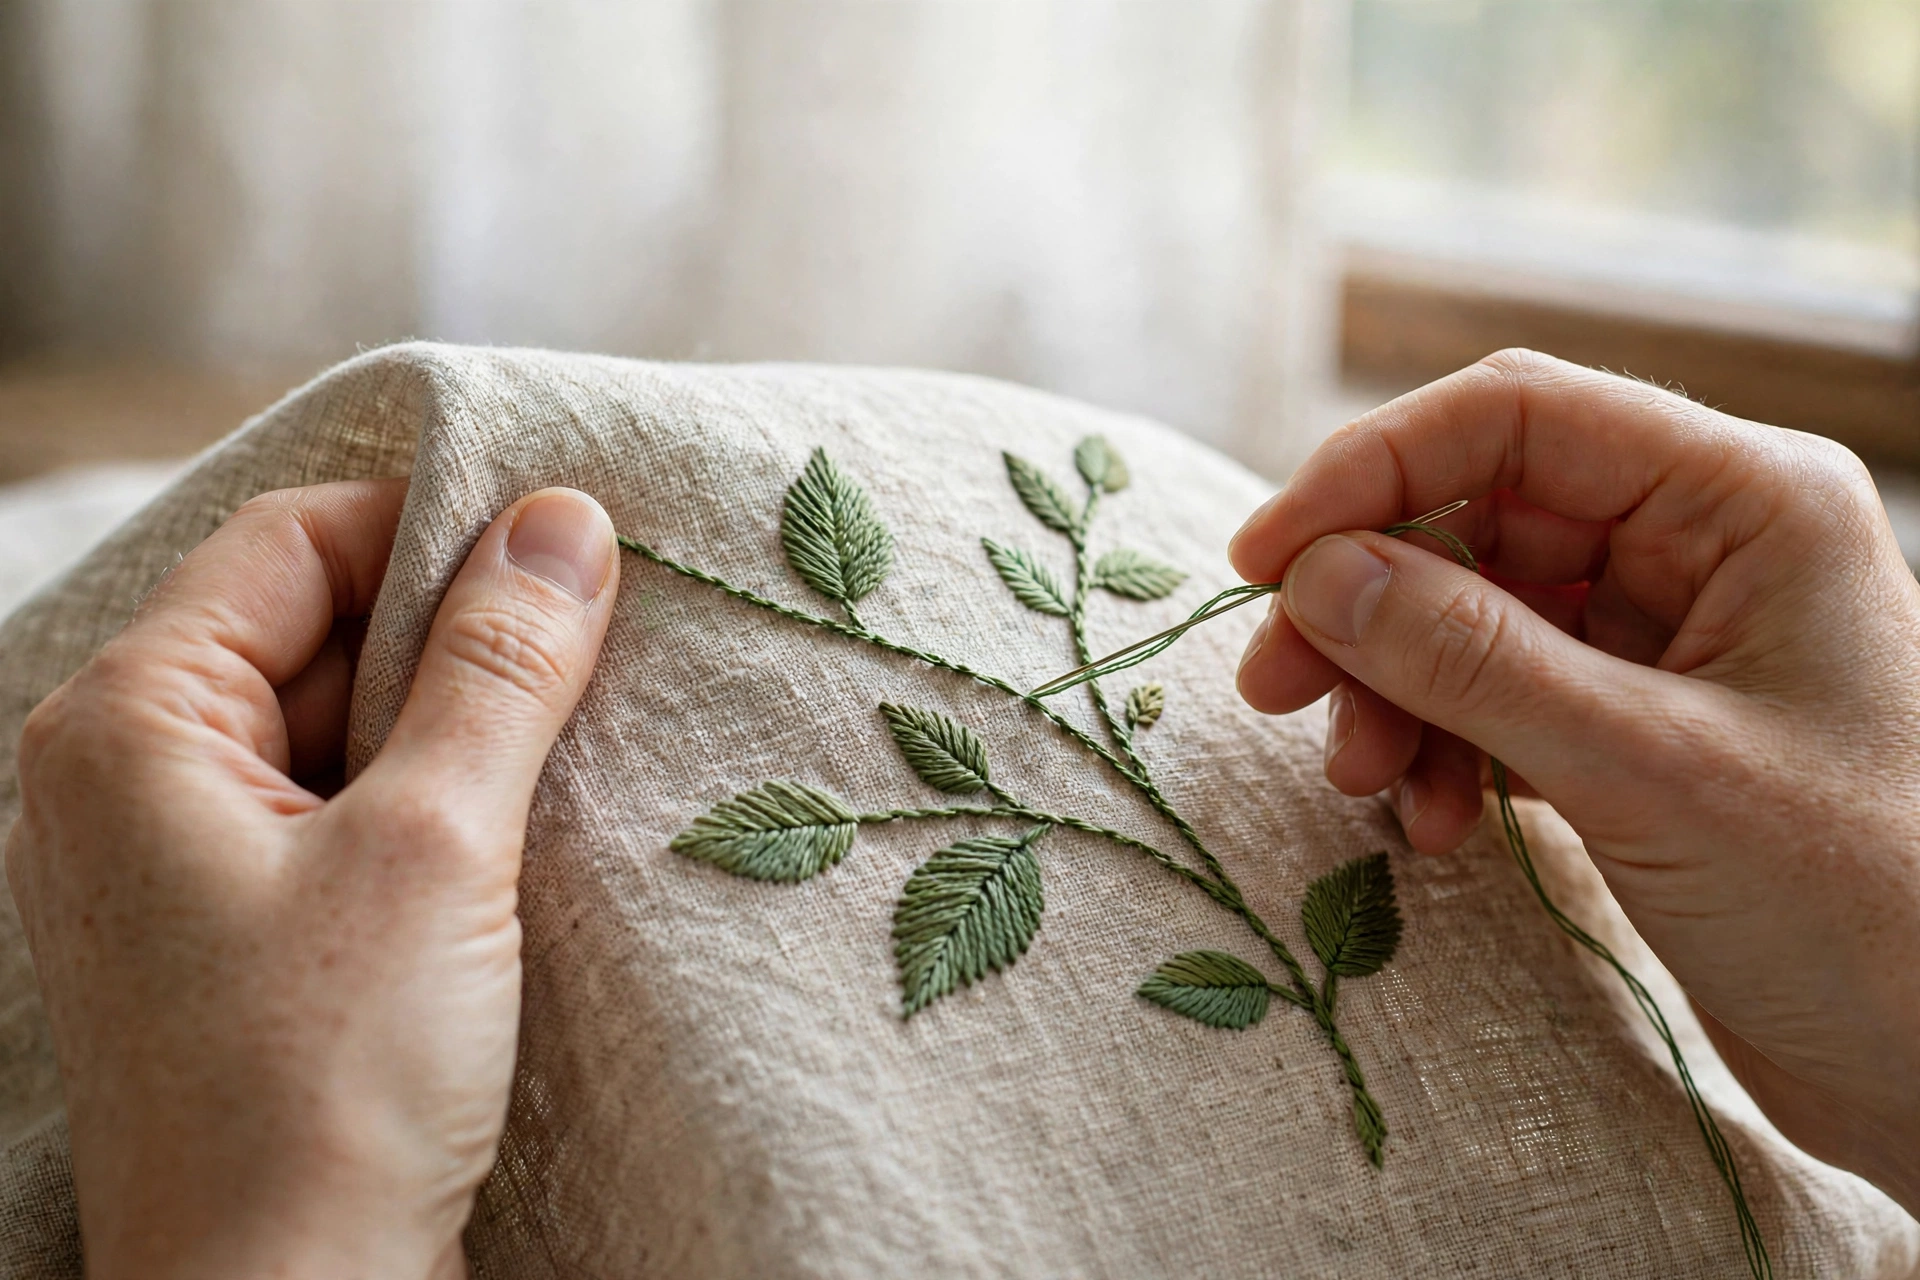
Stem stitch looks similar from across the room and could not be more different up close. You work it along the line with the thread always held to the same side, below the line if you are right-handed and stitching left to right. Each stitch overlaps the last at a slant, and the stitches twist together into a rope-like cord. That twist is the whole character of the stitch: it has dimension, it catches light, and it looks hand-drawn in a way backstitch never will.
The one rule that matters: keep the working thread on the same side for the entire line. The moment it flips to the other side, the twist reverses and you get a visible kink. I mark the “thread side” with a tiny arrow on my pattern for long curves. It feels fussy. It prevents the kink.
Backstitch vs stem stitch: the texture difference
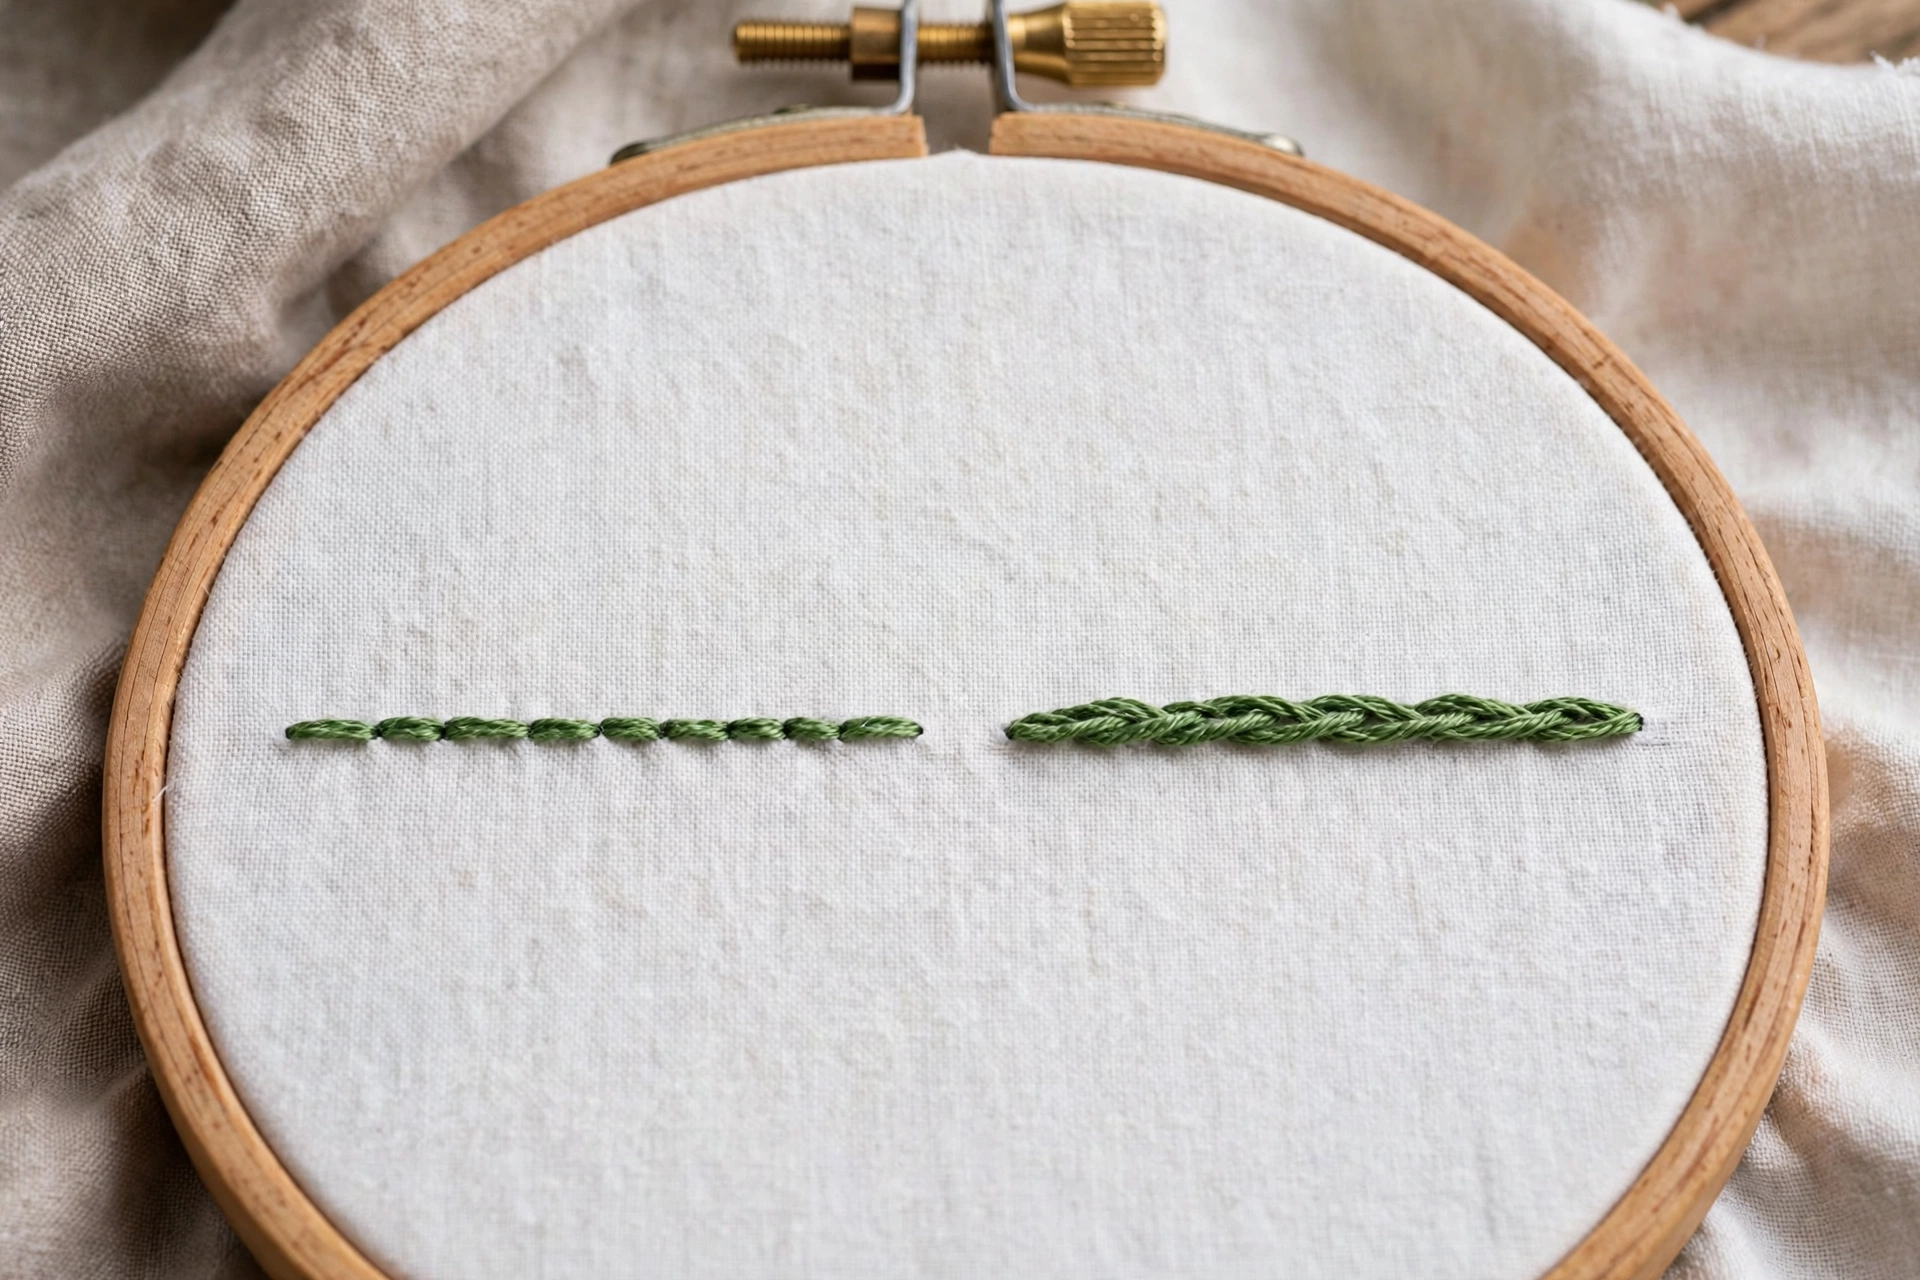
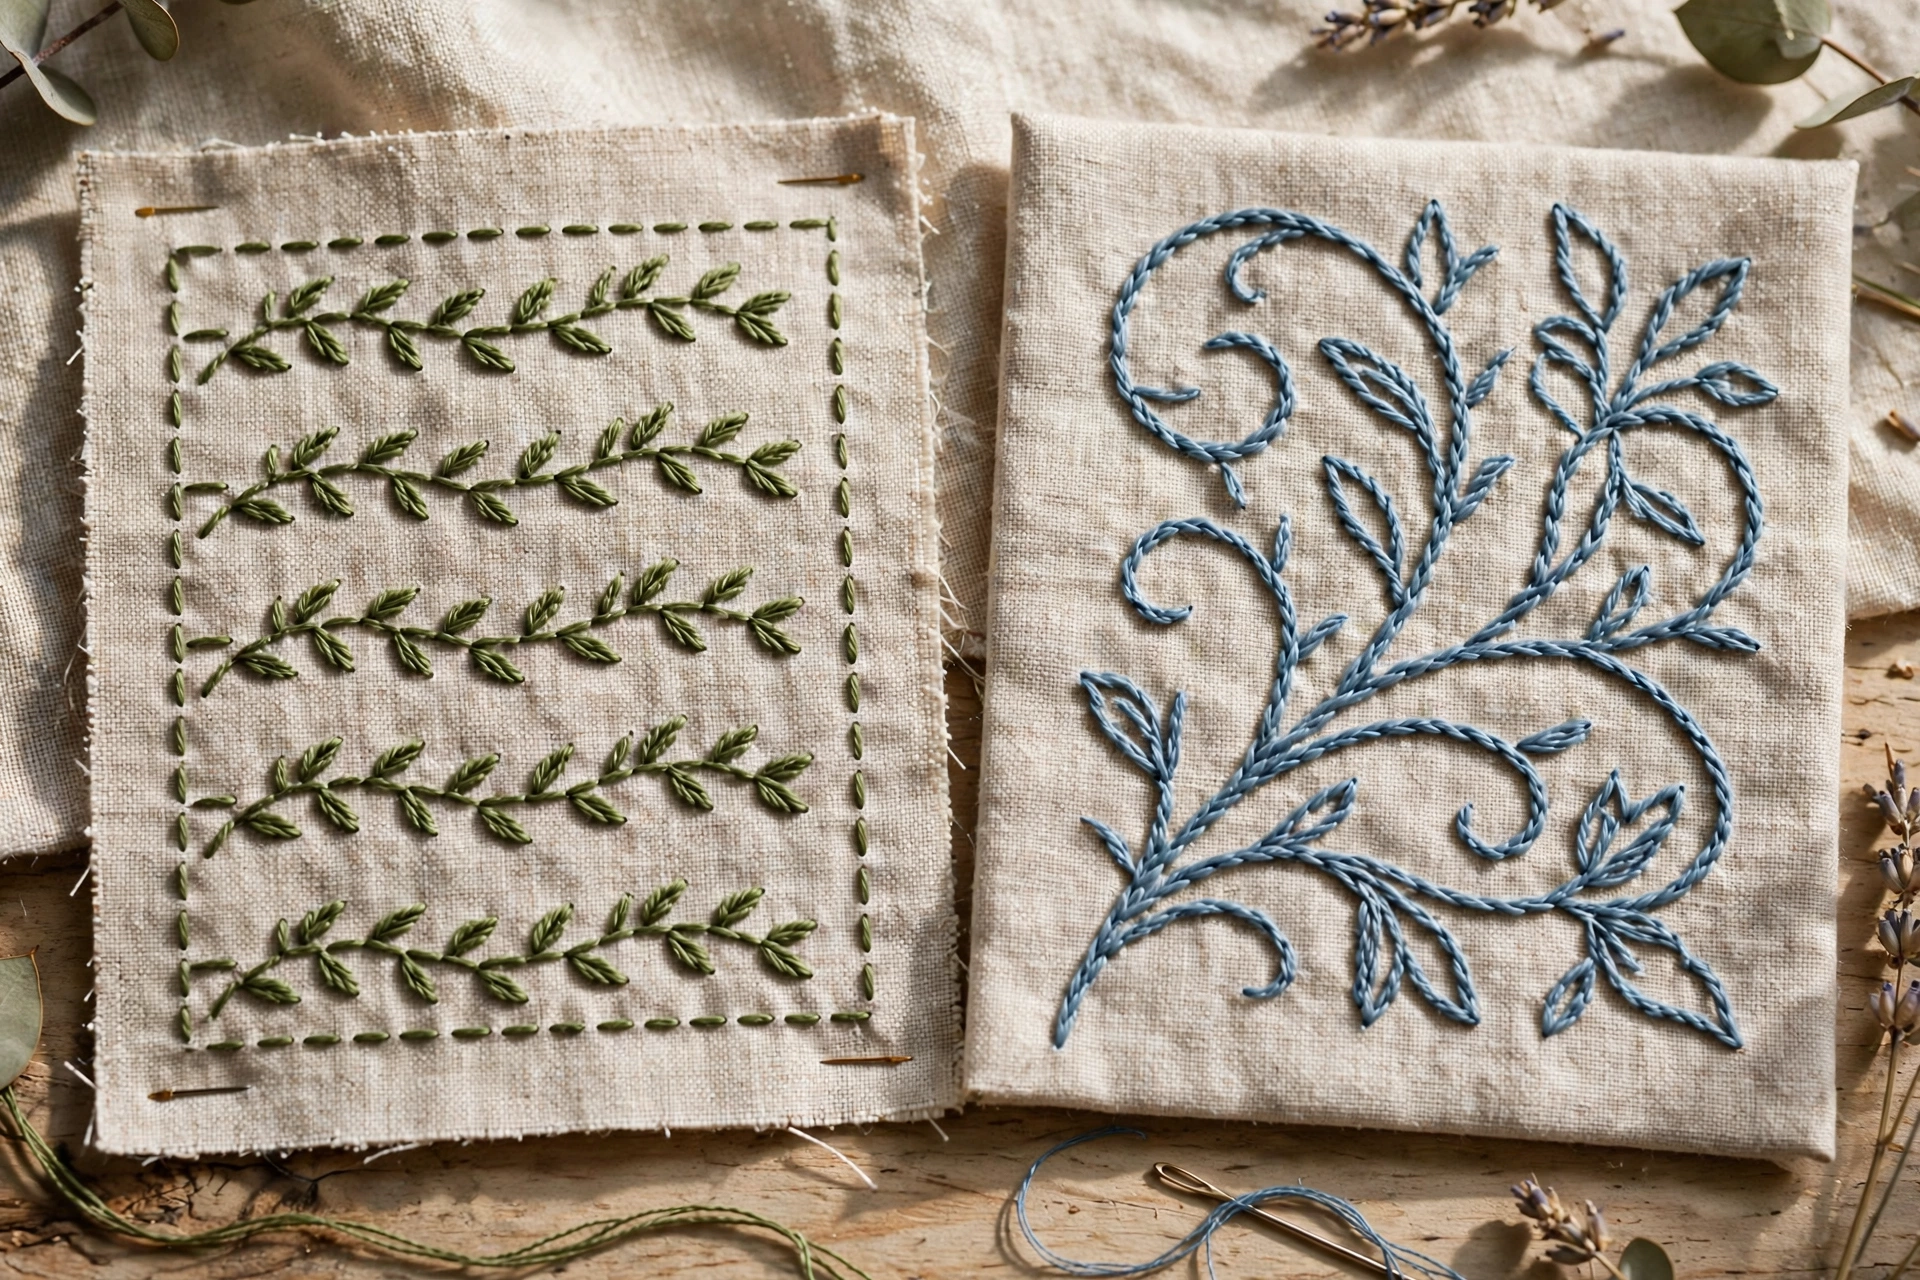
Put them side by side in the same thread and the difference is obvious. Backstitch gives you a flat, even, slightly mechanical line. Every segment is identical, which reads as crisp and modern. Stem stitch gives you a rounded, organic cord with visible twist. It reads as soft and traditional, and it has actual relief you can feel with a fingertip.
Neither is better. They are different drawing tools, like a technical pen versus a brush. The technical pen draws the architect’s plan. The brush draws the illustration. Most good embroidery uses both, and knowing which is which is what separates deliberate work from default work.
Curves belong to stem stitch
This is the least controversial take in embroidery: stem stitch owns curves. Because each stitch slants and overlaps, the line bends smoothly around any curve without faceting. Vines, tendrils, flower stems, scrollwork, hair, waves. Anything that flows should probably be stem stitch.
Backstitch on a curve is a polygon pretending to be a circle. On gentle curves with short stitches it can pass, but on anything tighter it facets visibly, and no amount of wishing fixes geometry. I learned this outlining a nautilus shell in backstitch. Up close it looked like a stop sign had a baby with a seashell.
Lettering and fine detail belong to backstitch
Flip it around and backstitch wins just as clearly. Lettering needs crisp corners, consistent weight, and legibility at small sizes, and backstitch delivers all three. Stem stitch letters look lovely at large, flowing script sizes, but shrink them down and the twist turns to mush. For anything under half an inch tall, backstitch every time.
Fine detail follows the same logic. Facial features, tiny outlines, geometric borders, anything where precision matters more than softness. Backstitch is also the better choice when the line has sharp corners, because you can pivot exactly at the corner point. Stem stitch rounds corners whether you want it to or not.
Outlines around filled shapes: my rule
Here is where people actually get stuck, so here is my rule. If the filling is smooth and the shape is organic, outline in stem stitch: it continues the softness. If the filling is textured or the shape is geometric, outline in backstitch: the crispness frames it. A satin-stitched petal gets a stem stitch outline. A cross-stitched motif gets a backstitch outline. There are exceptions, but this rule has never steered me wrong in six years.
Thread weight changes the answer
One more variable that shifts the choice: strand count. Backstitch stays crisp and legible down to a single strand, which is why it owns fine detail work. Stem stitch needs at least two strands to show its twist; worked in a single strand, the rope effect nearly disappears and you get a lumpy line with no character. Going the other direction, stem stitch in four to six strands makes a gloriously chunky cord that backstitch cannot imitate, while backstitch in six strands just looks heavy. So when the design calls for bold lines, stem stitch scales up beautifully. When it calls for hairline precision, backstitch is the only candidate.
When I break my own rules
Rules are for knowing when to break them, so here are my sanctioned exceptions. I use backstitch for stems when I want a modern, graphic look, like on minimalist line-art hoops where the flatness is the aesthetic. I use stem stitch for lettering when the letters are big, loose script, at least an inch tall, where the rope texture becomes a feature. And I mix them in one piece constantly: backstitch for the precise bits, stem stitch for the flowing bits, each doing what it does best.
The embroidery stitch repertoire is huge, but these two do most of the outlining work in most pieces. Learn both properly and you will stop defaulting to one for everything, which is the real upgrade here. Pick the stitch that draws the line you actually want, not the one your hands remember first.
One comment