I learned my first five stitches from a library book with diagrams drawn in the 1970s, and my next five from unpicking other people’s work at the stitch group to see how the magic was done. These 10 basic embroidery stitches are the ones I would teach a beginner in order, because each one builds on the last and together they cover about 90 percent of everything you will ever want to stitch.
Work through them in order on a single piece of cotton with 2 strands of DMC floss. If you are unsure which floss to buy, my floss versus thread guide sorts it out. By stitch ten you will have a sampler worth keeping.
1. Running stitch
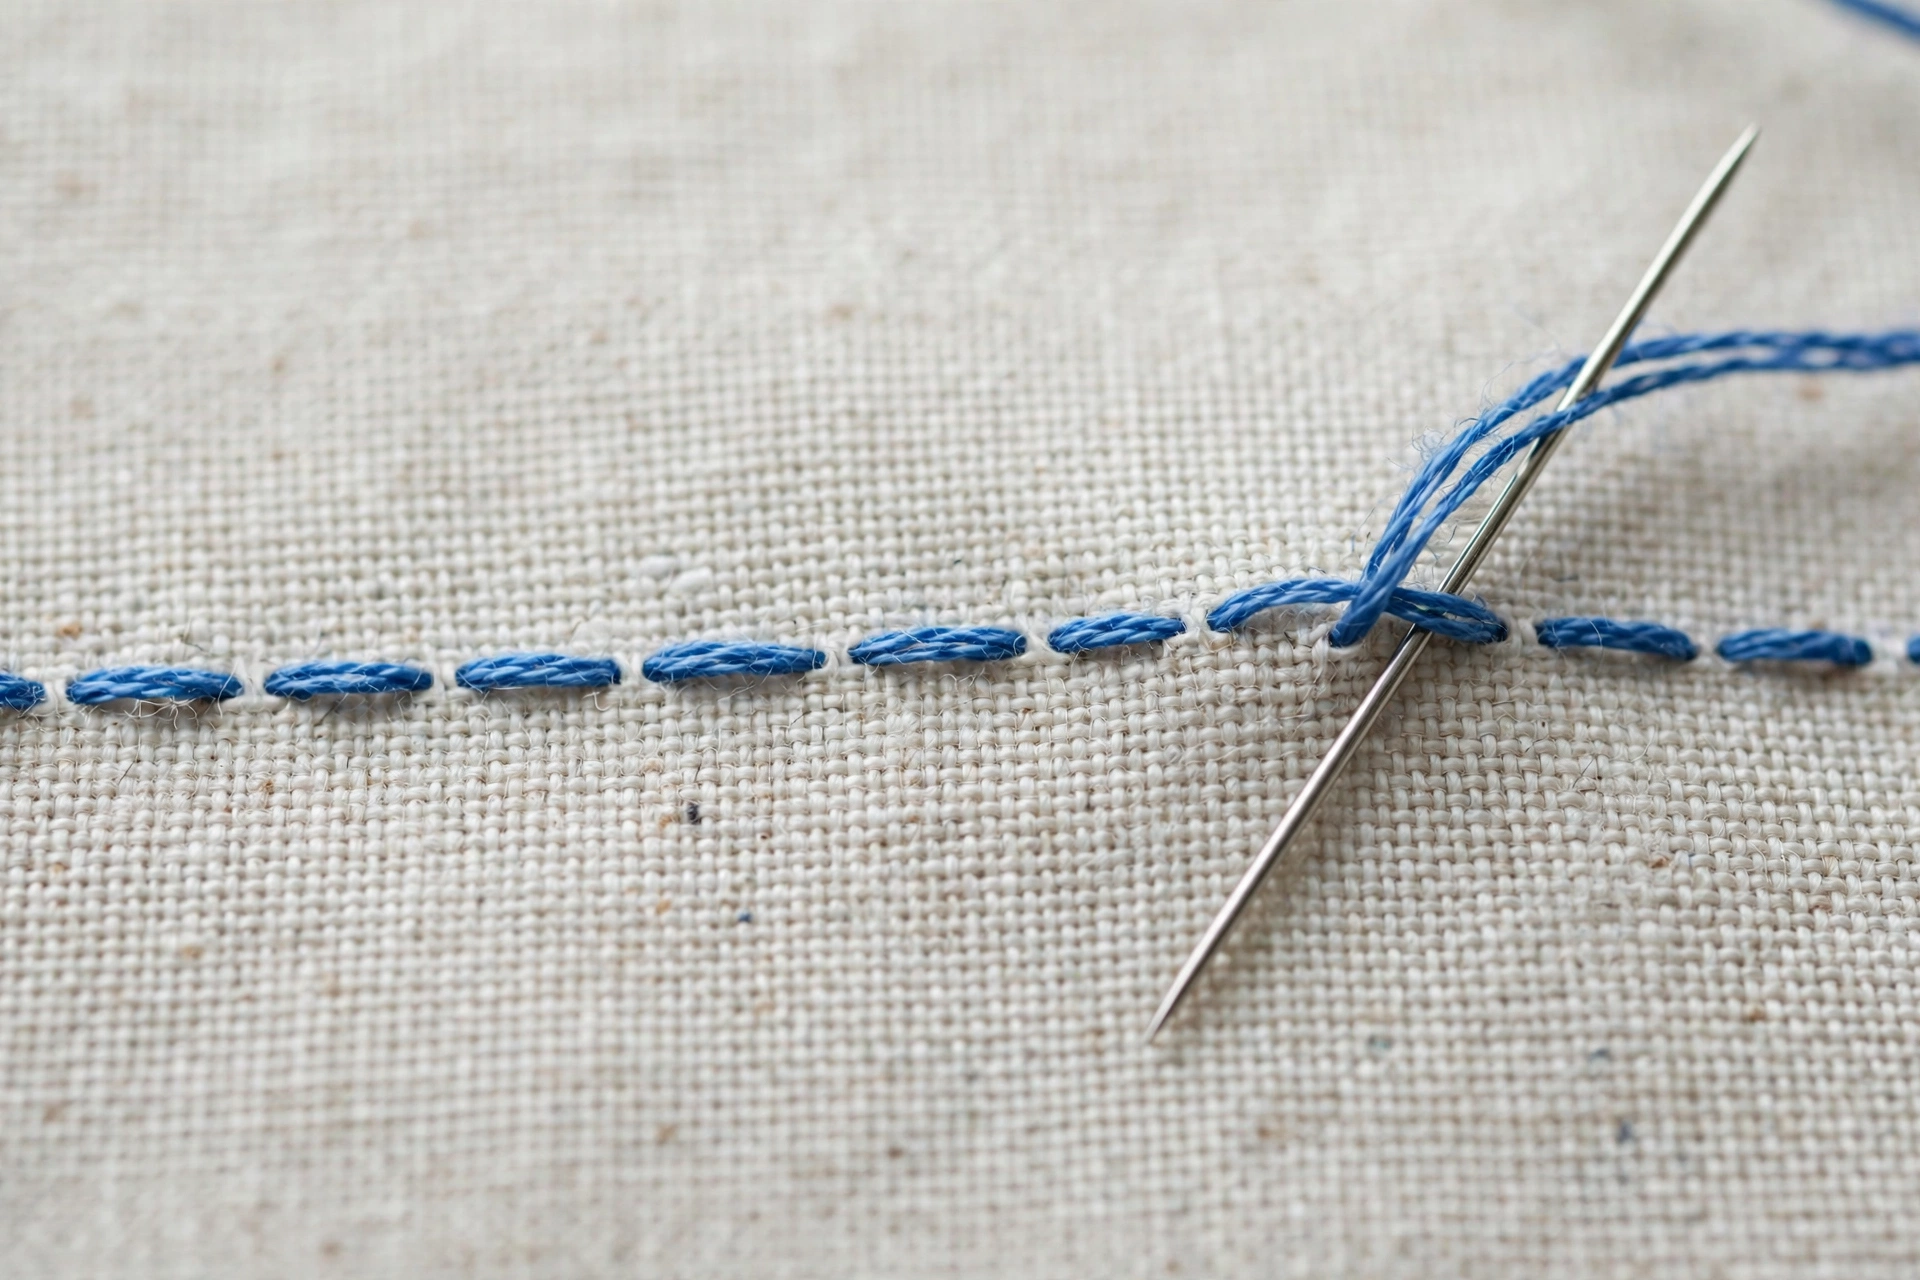
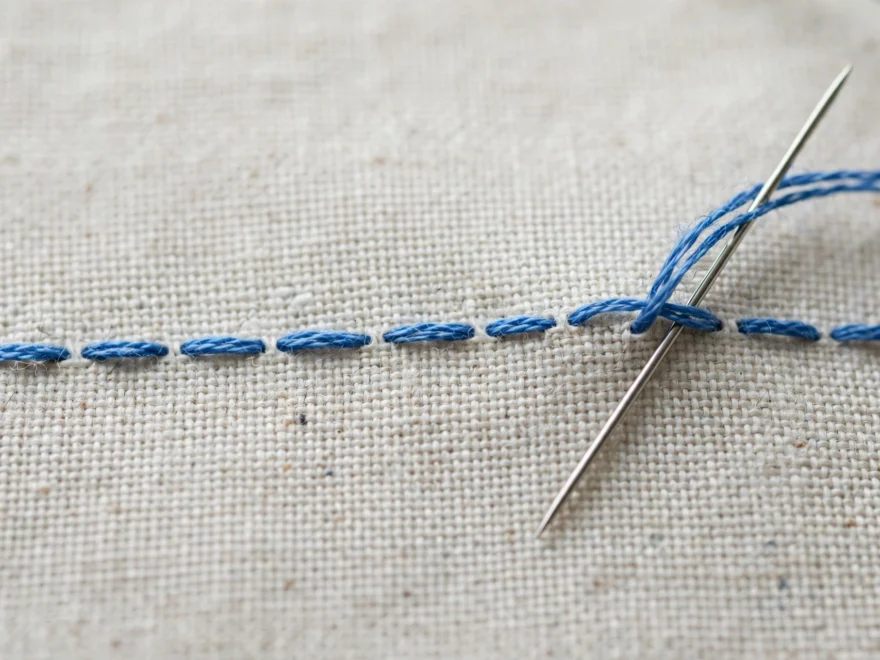
What it is for: the simplest stitch in existence. Basting fabric layers together, dashed outlines, and the foundation of Japanese sashiko. If you can sew a straight line with a needle, you already know this one.
How to do it: bring the needle up through the fabric, go back down a stitch-length ahead, and repeat, keeping the gaps roughly equal to the stitches. That is the whole technique. There is nothing else to learn.
Fern’s take: do not skip it because it looks too easy. Even, confident running stitch is the difference between handmade and homemade-looking, and it teaches your hands the rhythm every other stitch borrows. I still baste every applique with it before the real stitching starts.
2. Backstitch
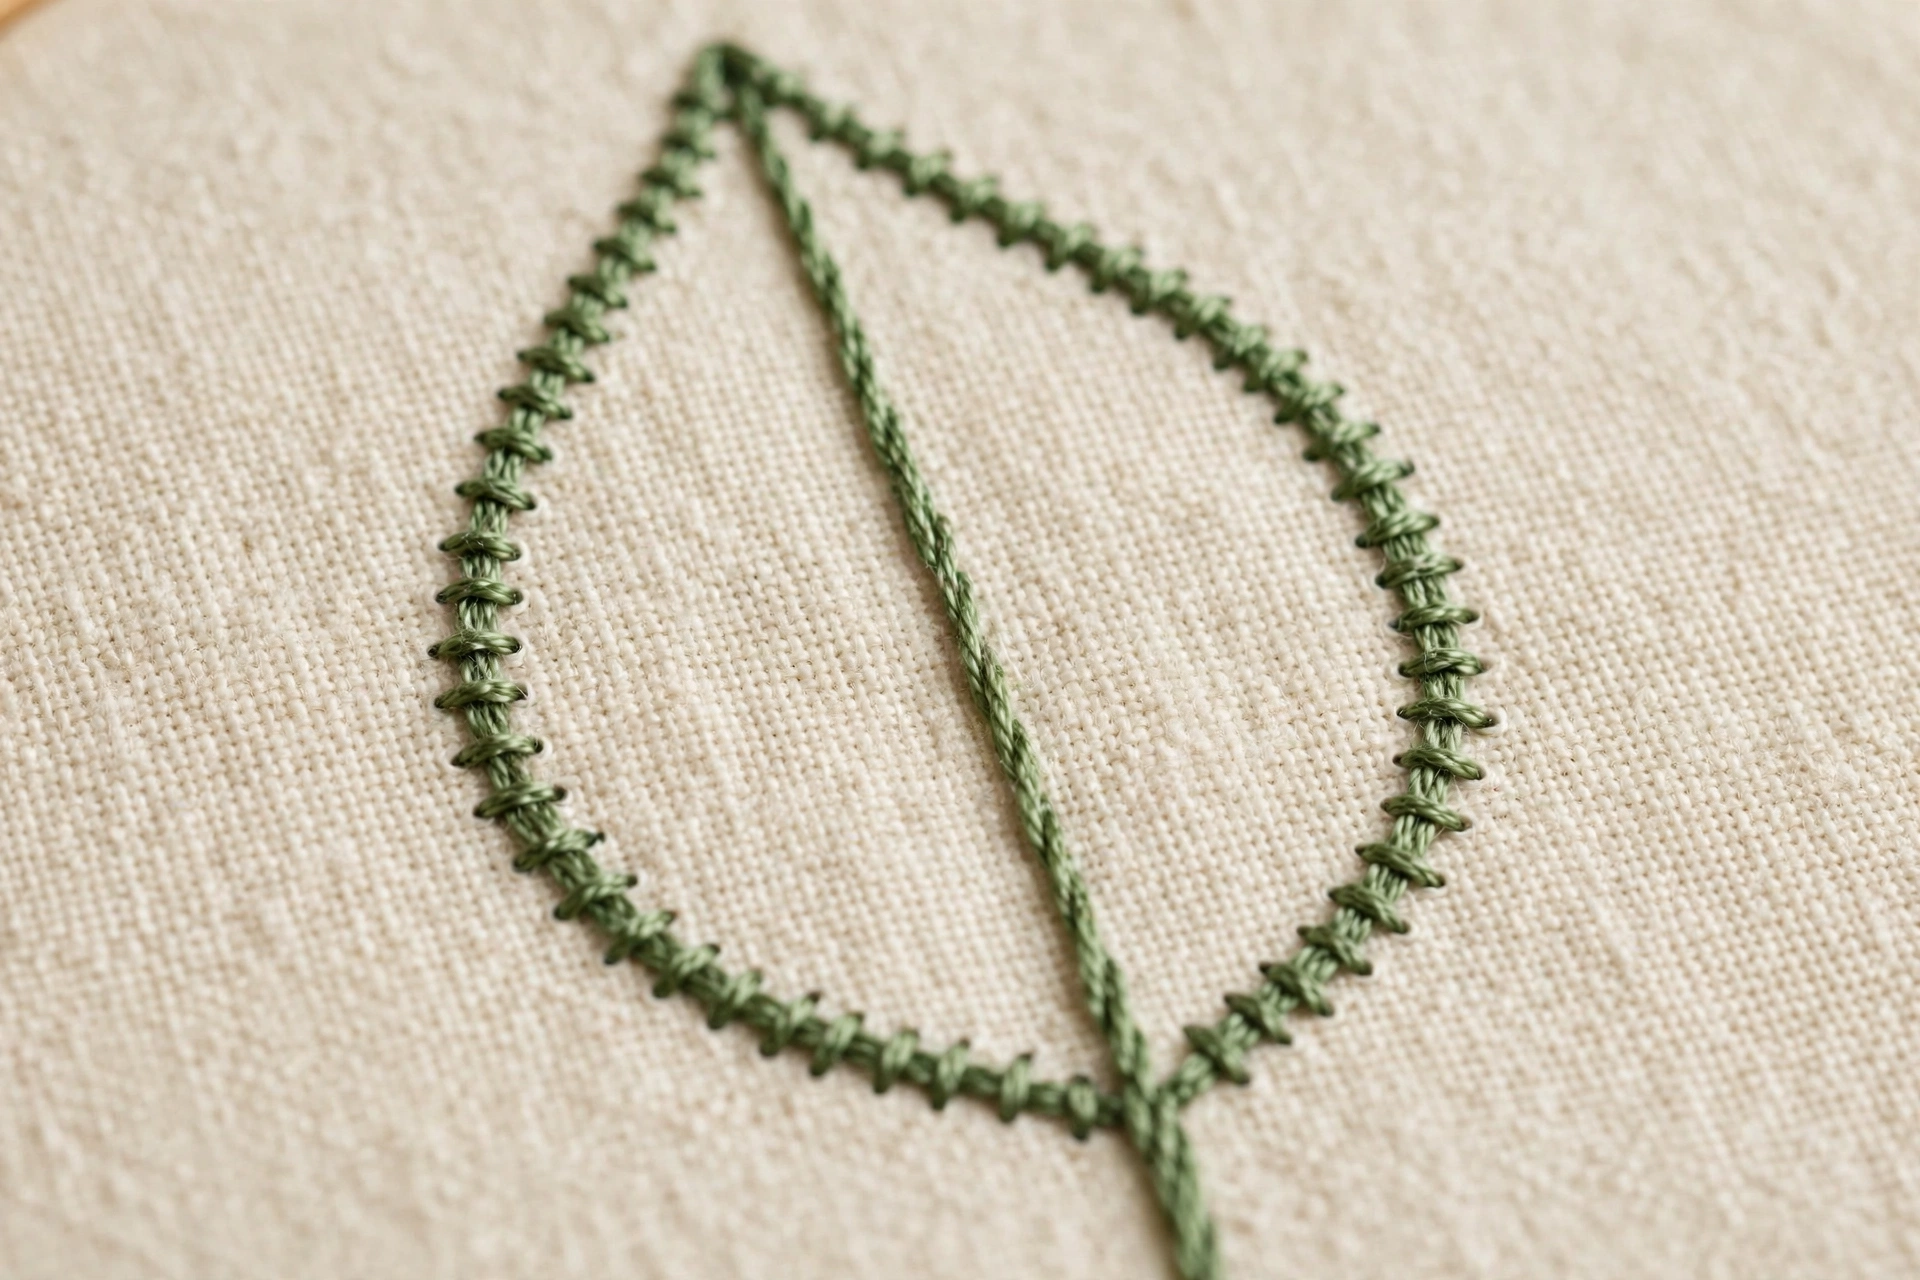
What it is for: the workhorse outline. Crisp lines, lettering, and anywhere you need a solid unbroken line that actually looks solid.
How to do it: bring the needle up one stitch-length ahead of your line, then go back down at the end of the previous stitch. Each new stitch starts ahead and lands back where the last one ended, so the line builds backward. Keep every stitch the same length and the line will look machine-made.
Fern’s take: this is the stitch behind most of the lettering I do, and it is far more forgiving than it looks. Uneven backstitch is still readable, which is more than I can say for some of its fancier cousins. My full guide to embroidering neat letters leans on it heavily.
3. Stem stitch
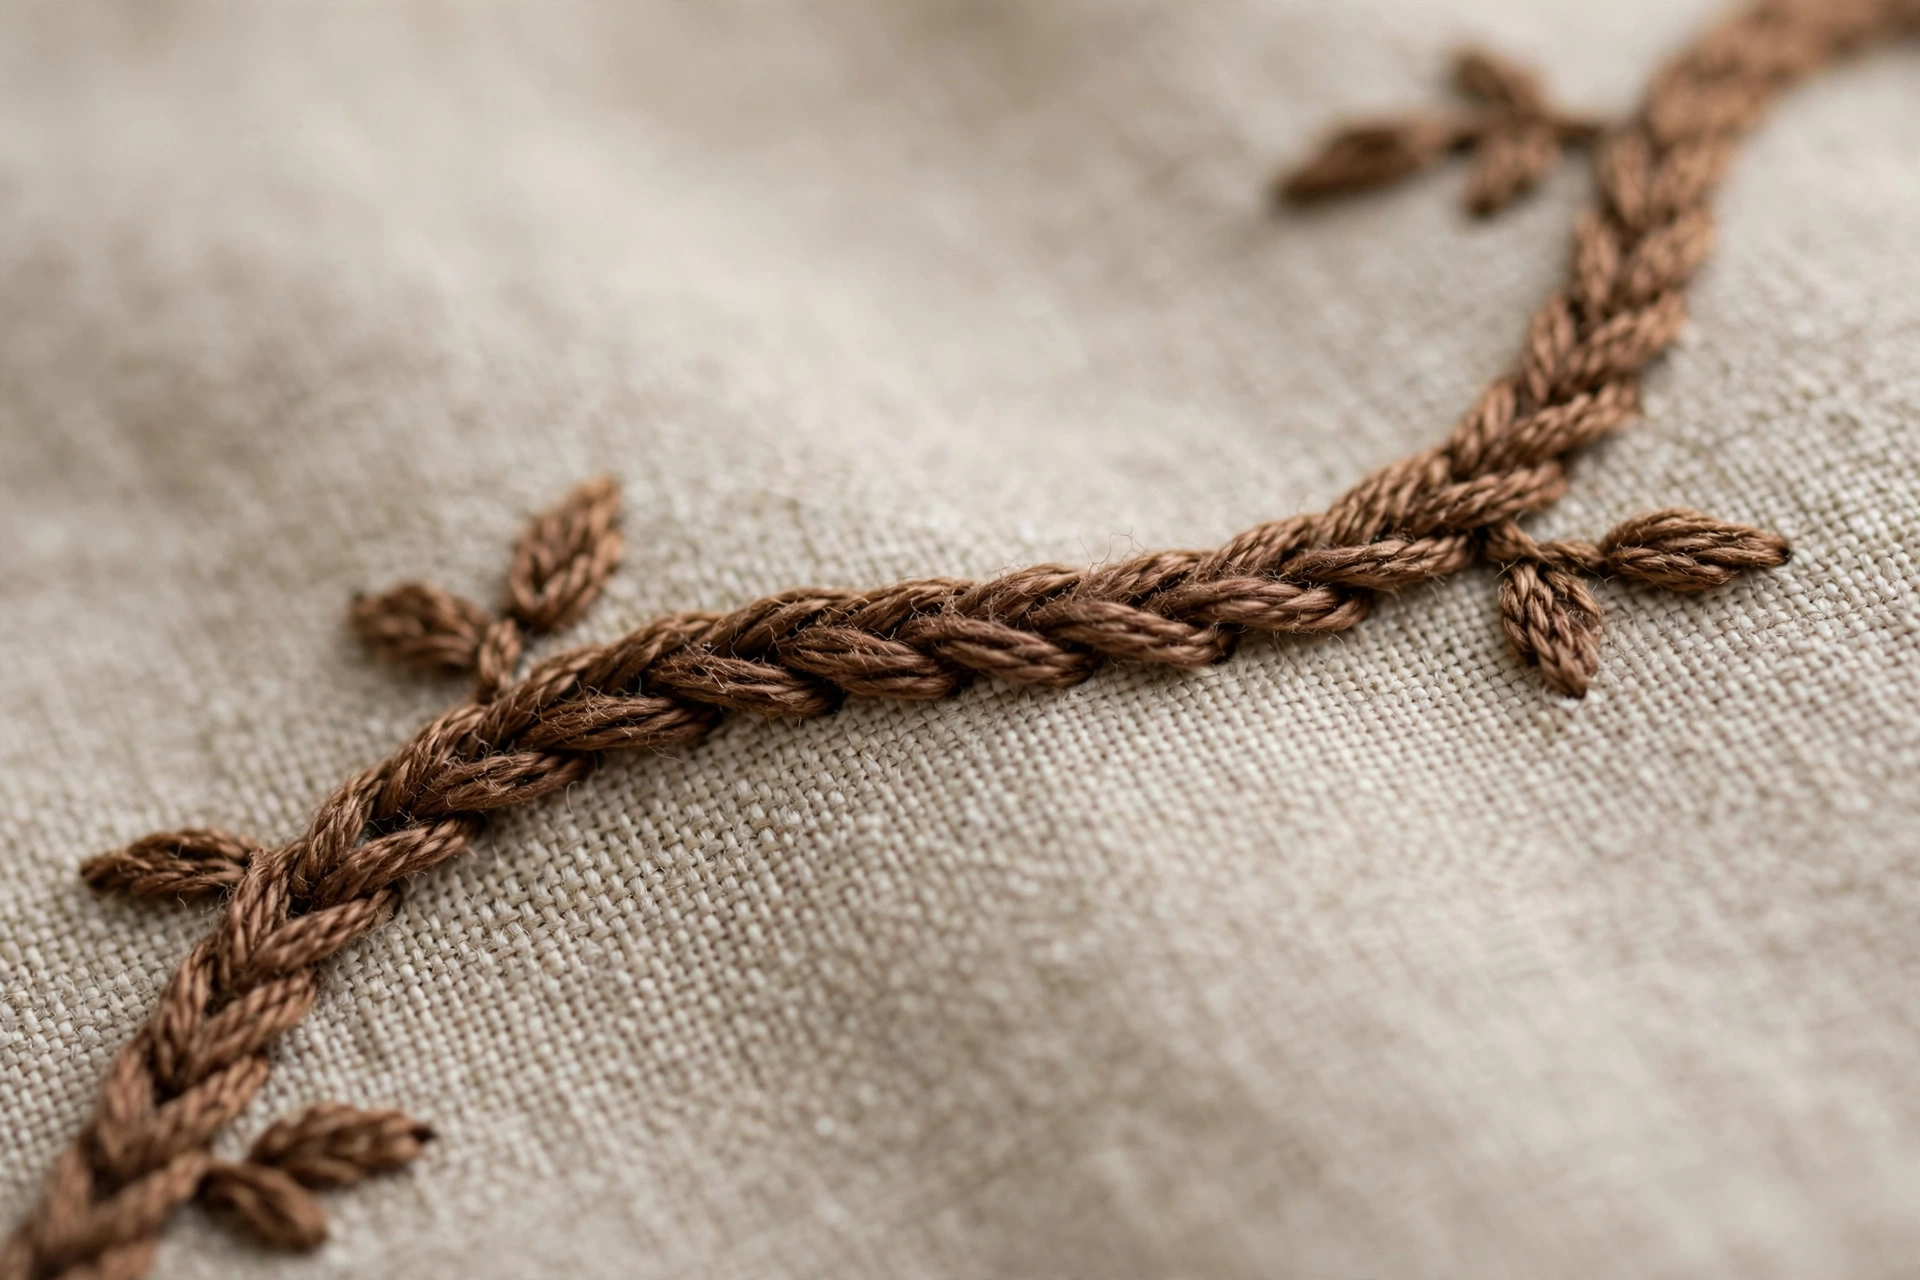
What it is for: stems (obviously), but also any curving line. Outlines with a slight rope-like twist, script lettering, vines.
How to do it: work left to right, bringing the needle up and taking a stitch forward, but keep the working thread below the needle every single time. That “thread below” is the entire secret. It makes each stitch overlap the last at a slight angle, creating the twisted rope effect.
Fern’s take: the prettiest line of the beginner set, and the one most people mess up by letting the thread wander above and below randomly. Pick a side and commit. I keep mine below the line always, and my stems have thanked me since 2019.
4. Split stitch
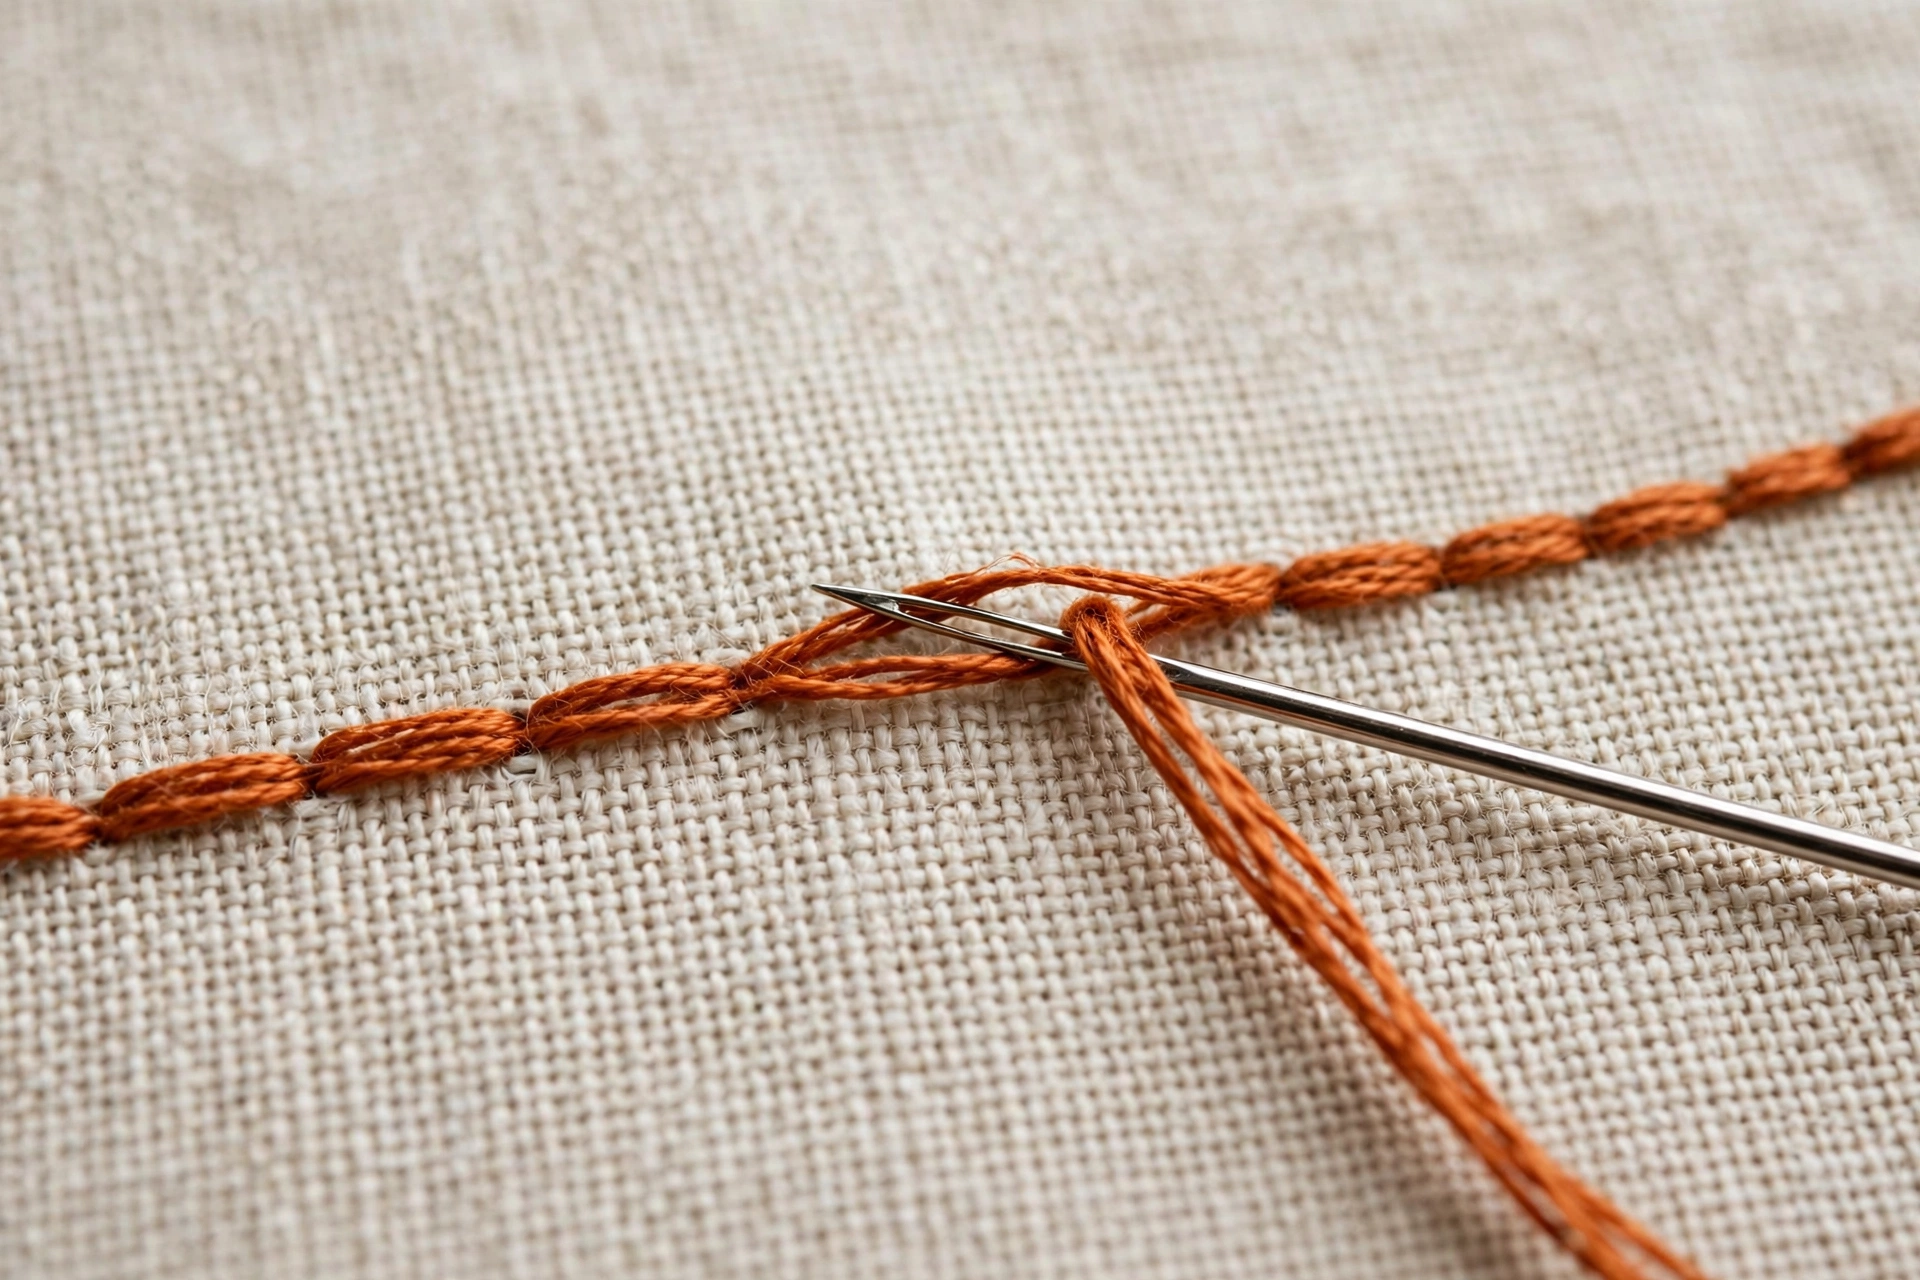
What it is for: outlines with a braided, textured look. Lovely for lettering, animal fur, and anywhere you want a line with some body to it.
How to do it: make a small straight stitch, then bring the needle up through the middle of that stitch, splitting its threads, and take the next stitch forward. You are literally spearing your own previous stitch each time.
Fern’s take: split stitch is my secret weapon for outlining shapes before I fill them with satin stitch. The textured edge gives the satin something to grip and hides any wobble in the border. Two stitches for the price of one lesson.
5. Satin stitch
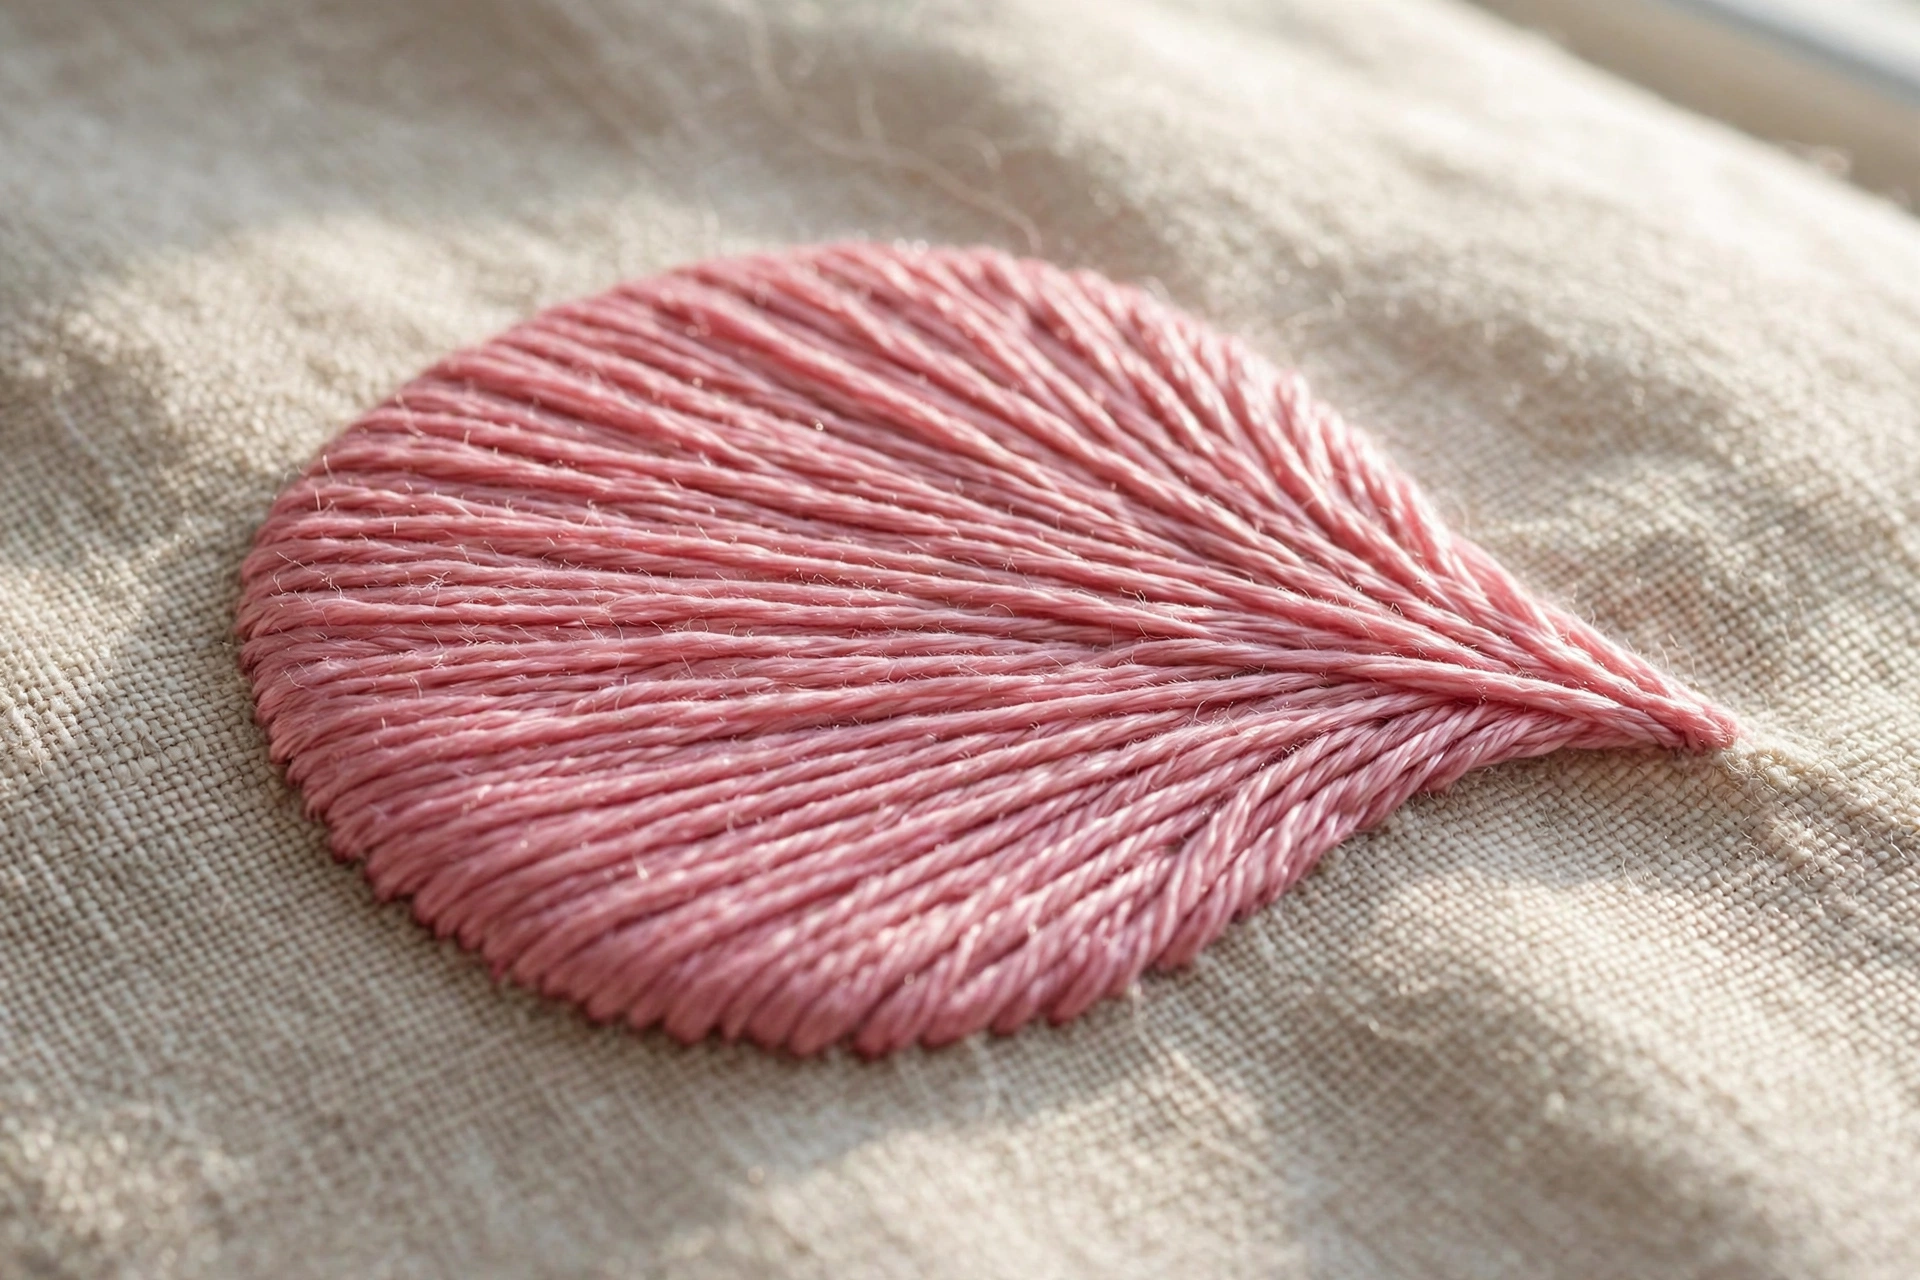
What it is for: filling shapes solid. Petals, leaves, monogram letters, anything that should look like a flat patch of color.
How to do it: bring the needle up on one edge of the shape and down on the opposite edge, laying straight parallel stitches side by side until the shape is full. Keep every stitch at the same angle and snug against its neighbor.
Fern’s take: easy to learn, genuinely hard to master. Gaps and lumps are the classic beginner complaints, and I wrote a whole step-by-step guide to gap-free satin stitch after frogging my tenth puckered leaf. Start with small shapes. Your patience will thank you.
6. Chain stitch
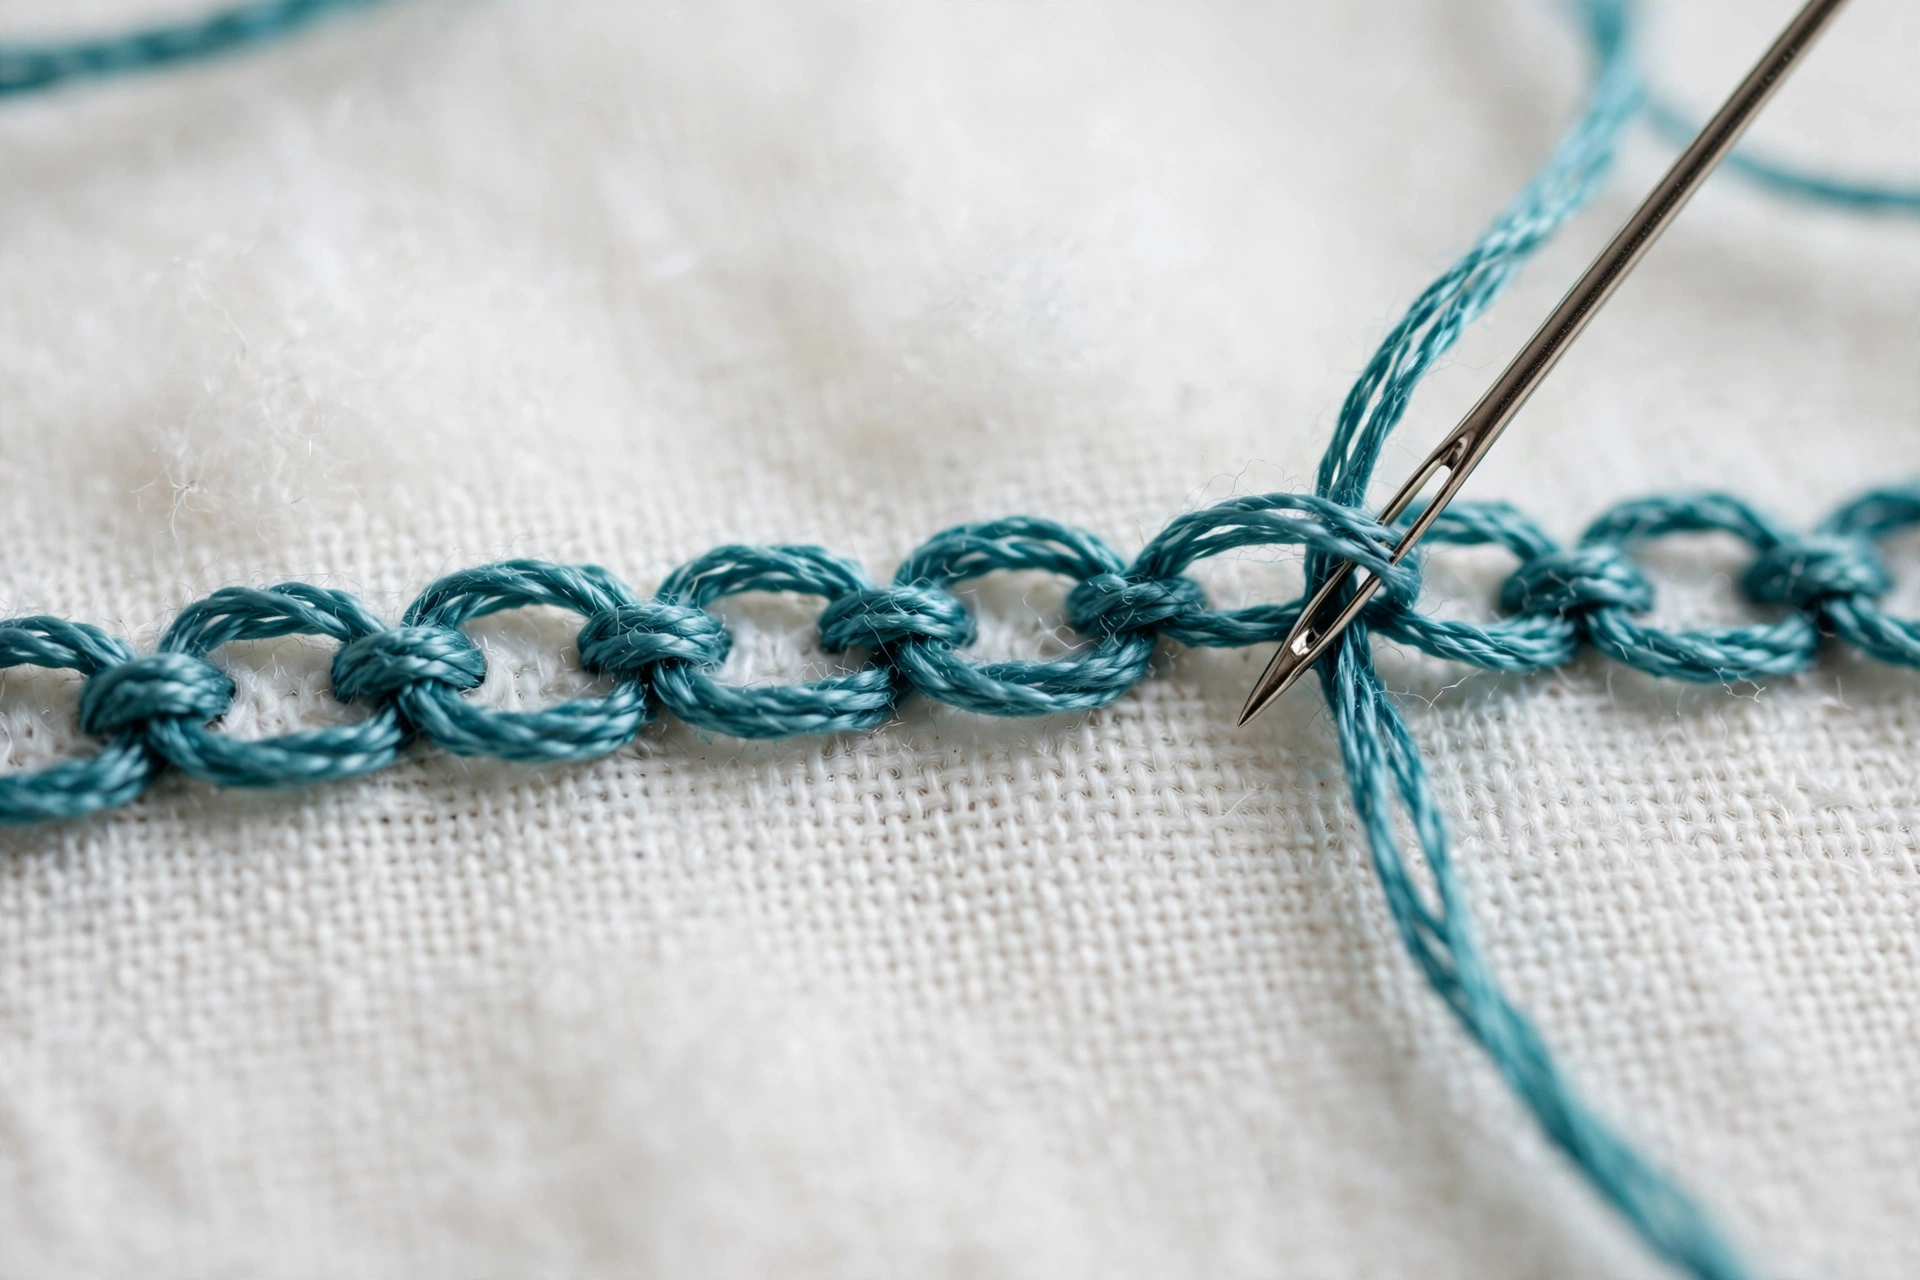
What it is for: bold outlines, filled bands, and decorative lines with real presence. Heavier than backstitch, more casual than satin.
How to do it: bring the needle up, then go back down in the same hole, leaving a loop on the surface. Bring the needle up a stitch-length ahead, catching the loop under the needle tip, and pull through. Each stitch anchors the previous loop and forms the next one.
Fern’s take: the most satisfying stitch to work, full stop. There is something deeply pleasing about a growing chain, and it is fast. My only warning: keep your loop sizes consistent, because a chain with random loop sizes looks like it is having an identity crisis.
7. Lazy daisy
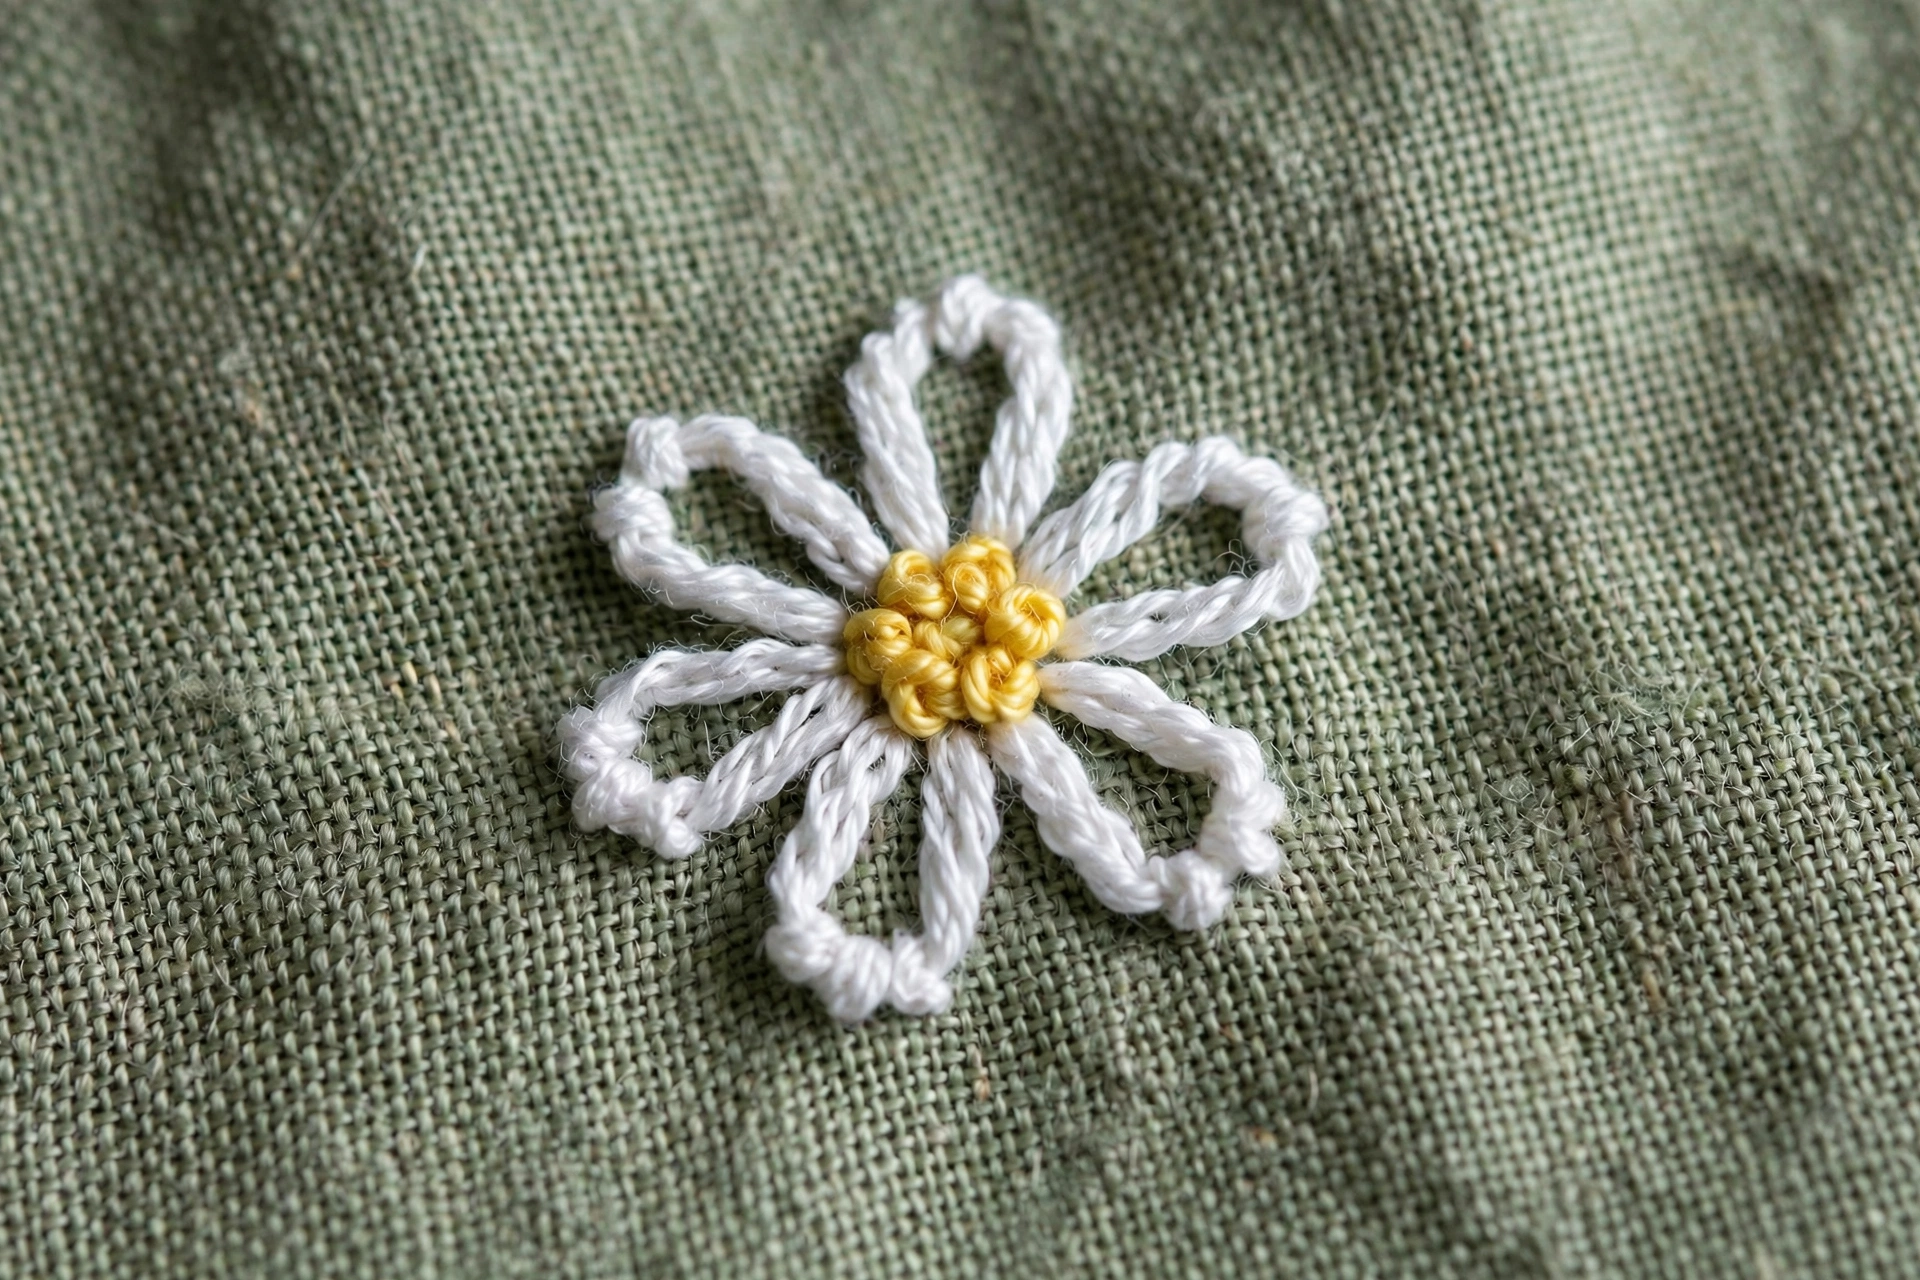
What it is for: detached chain stitches forming petals and leaves. The fastest flower in embroidery.
How to do it: it is a single chain stitch, not joined to the next. Make one loop, anchor it with a tiny straight stitch over the end of the loop, and move on. Arrange five or six around a center and you have a daisy in under two minutes.
Fern’s take: the highest cuteness-to-effort ratio in the craft. Five lazy daisies and a french knot center make a flower a total beginner can stitch in an evening. I have made approximately four hundred of them and I am not slowing down.
8. French knot
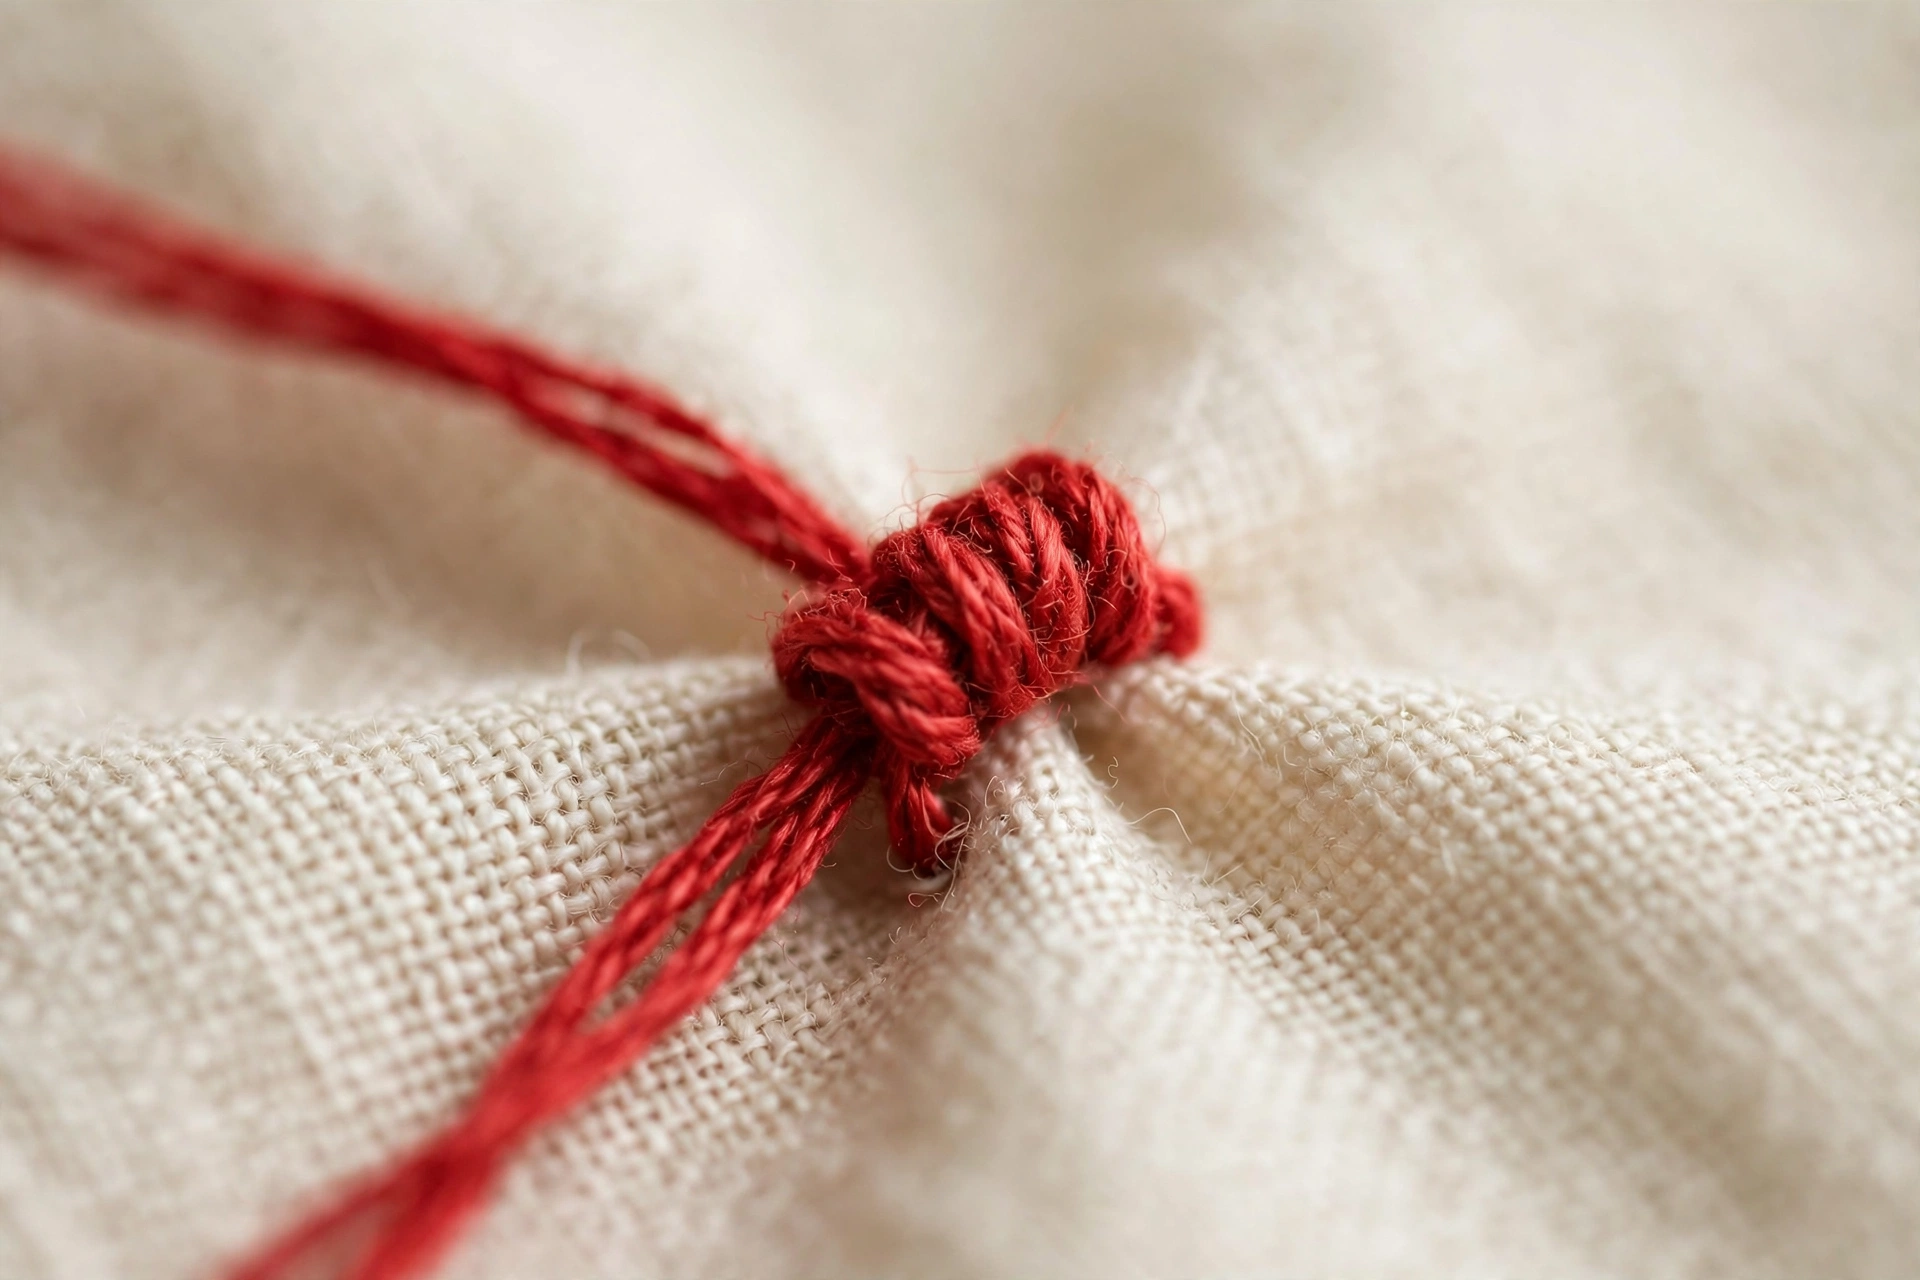
What it is for: dots, flower centers, textured accents, eyes on tiny stitched animals. The little knot that launches a thousand forum threads.
How to do it: bring the needle up, wrap the thread around the needle twice, hold the working thread taut with your other hand, and slide the needle back down very close to where it came up. Do not let go of the thread until the knot is seated.
Fern’s take: the wrap count is two. Not three, not “a few.” Two wraps, thread held taut, short thread. Everything else is commentary, and I have a full french knot troubleshooting guide for when they still misbehave.
9. Feather stitch
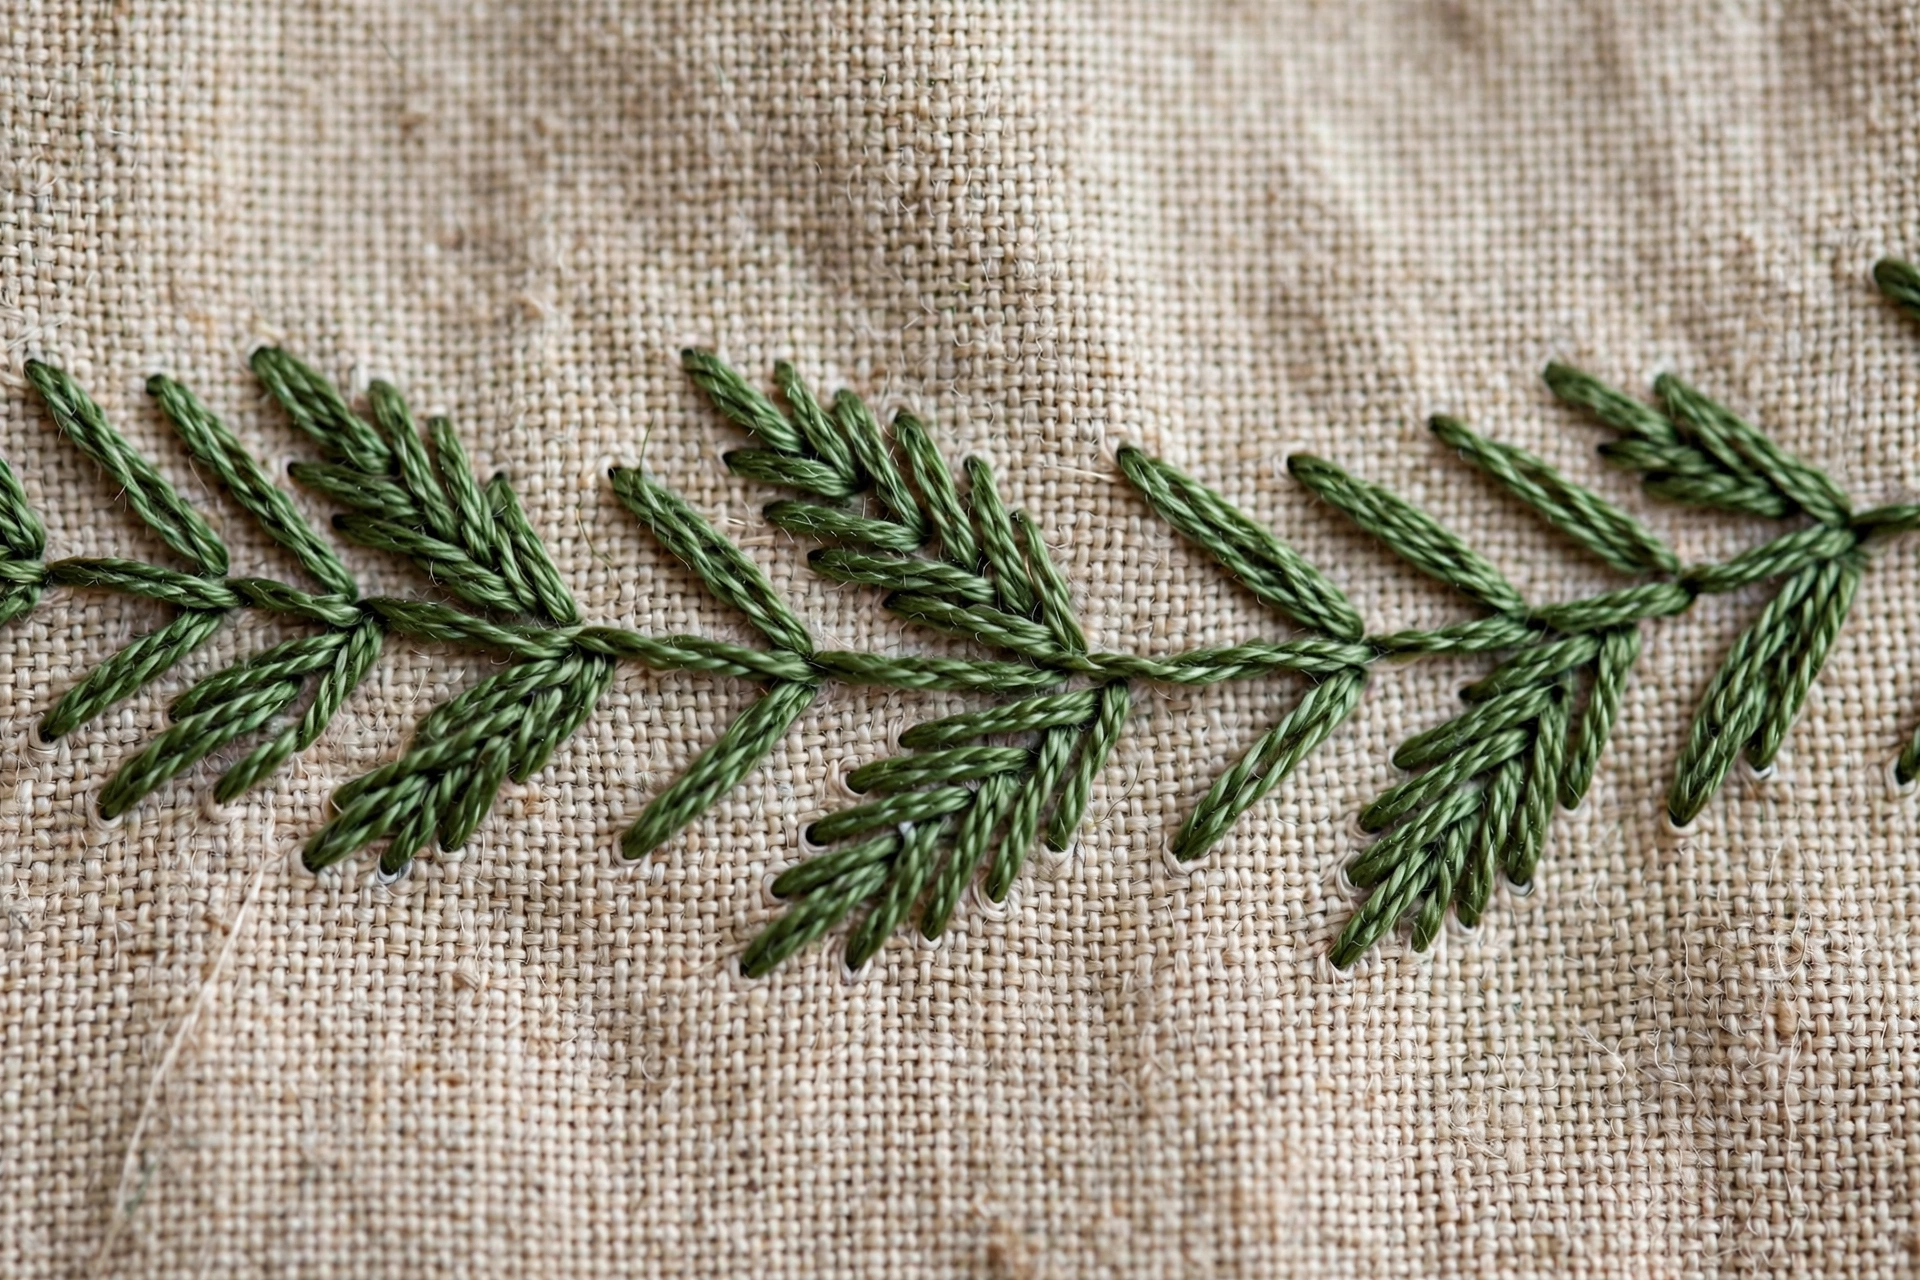
What it is for: vines, borders, crazy-quilt seams, seaweed, fern fronds. An open, airy stitch with lovely movement.
How to do it: work top to bottom. Bring the needle up on the center line, then take a stitch to the right and slightly down, looping the thread under the needle before pulling through. Alternate sides as you go down, like a zigzag of loops.
Fern’s take: criminally underused by beginners because the name sounds advanced. It is not. It is just alternating loops, and it makes the best seaweed I know. Try it on a border and watch a plain edge turn interesting.
10. Woven wheel rose
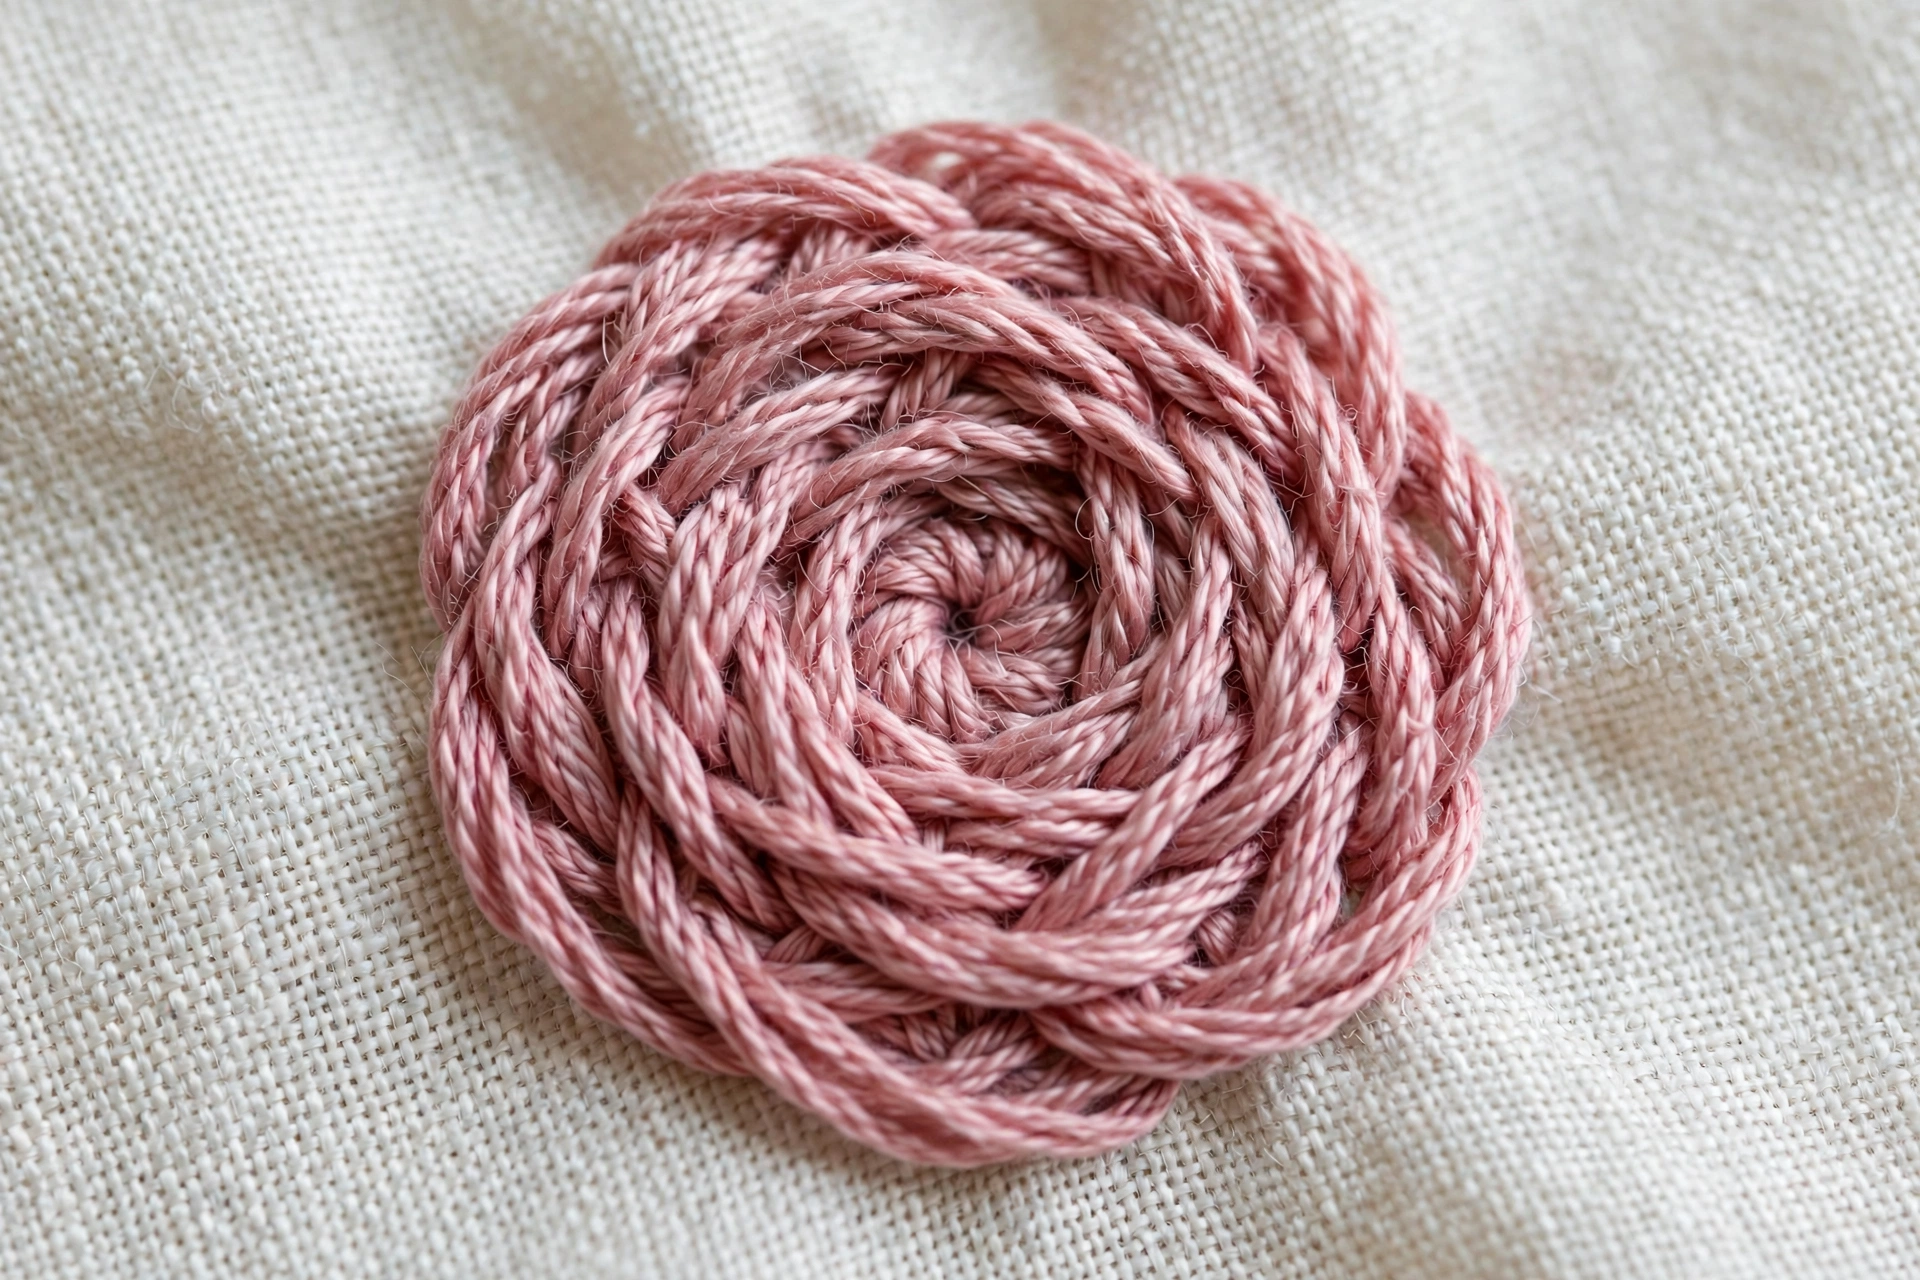
What it is for: roses. Just roses. Glorious, dimensional, stupidly impressive roses.
How to do it: stitch five straight spokes radiating from a center point, like a tiny asterisk. Then weave the needle over and under the spokes in a spiral, never piercing the fabric, until the wheel is full. The weaving does all the work.
Fern’s take: the party trick stitch. It looks like advanced stumpwork and takes about three minutes once you see it done. Five spokes, weave over-under, done. Stitch one on your sampler and sign it like you mean it.
What to do with your 10 basic embroidery stitches now
Ten stitches, one sampler, and you are past the technique hurdle. Everything from here is practice and thread. If you want to go deeper, the french knot guide, the satin stitch guide, and the lettering guide each take one stitch and wring it dry. And if you want the full visual library, DMC’s stitch guide has diagrams for hundreds more, though I maintain these ten will carry you further than you think.
2 comments