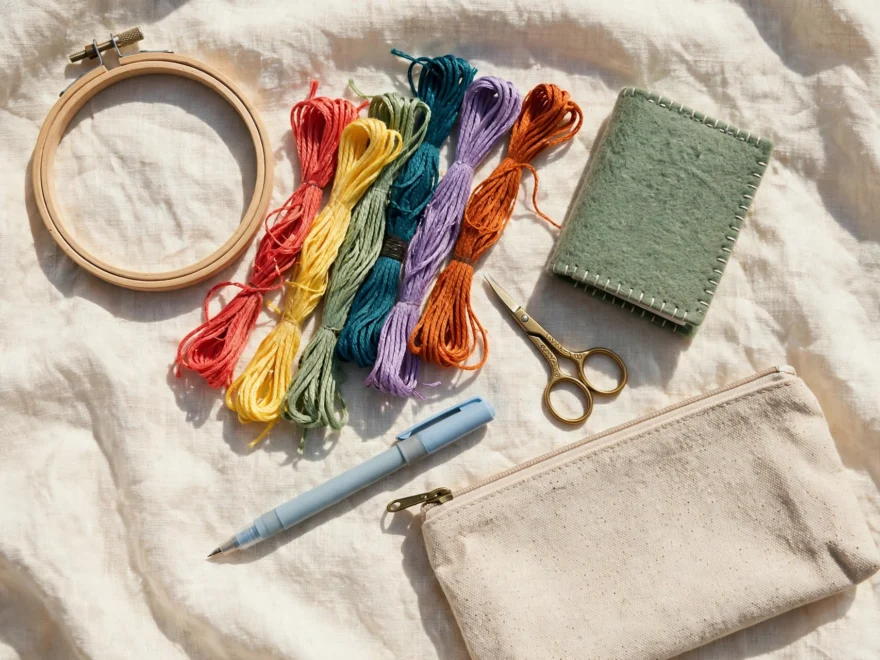
Denver airport took my stork scissors in 2021. No drama, just a tired TSA agent sliding my $28 Dovo gold storks into a bin while I stood there doing the mental math. I have packed my travel embroidery kit differently ever since, and I have stitched on fourteen flights since without losing another tool.
A good travel embroidery kit fits in a bag you already own, holds exactly one project, and contains nothing you would cry over at a security checkpoint. Here is what goes in mine, what stays home, and the rules I learned the expensive way.
What goes in my travel embroidery kit
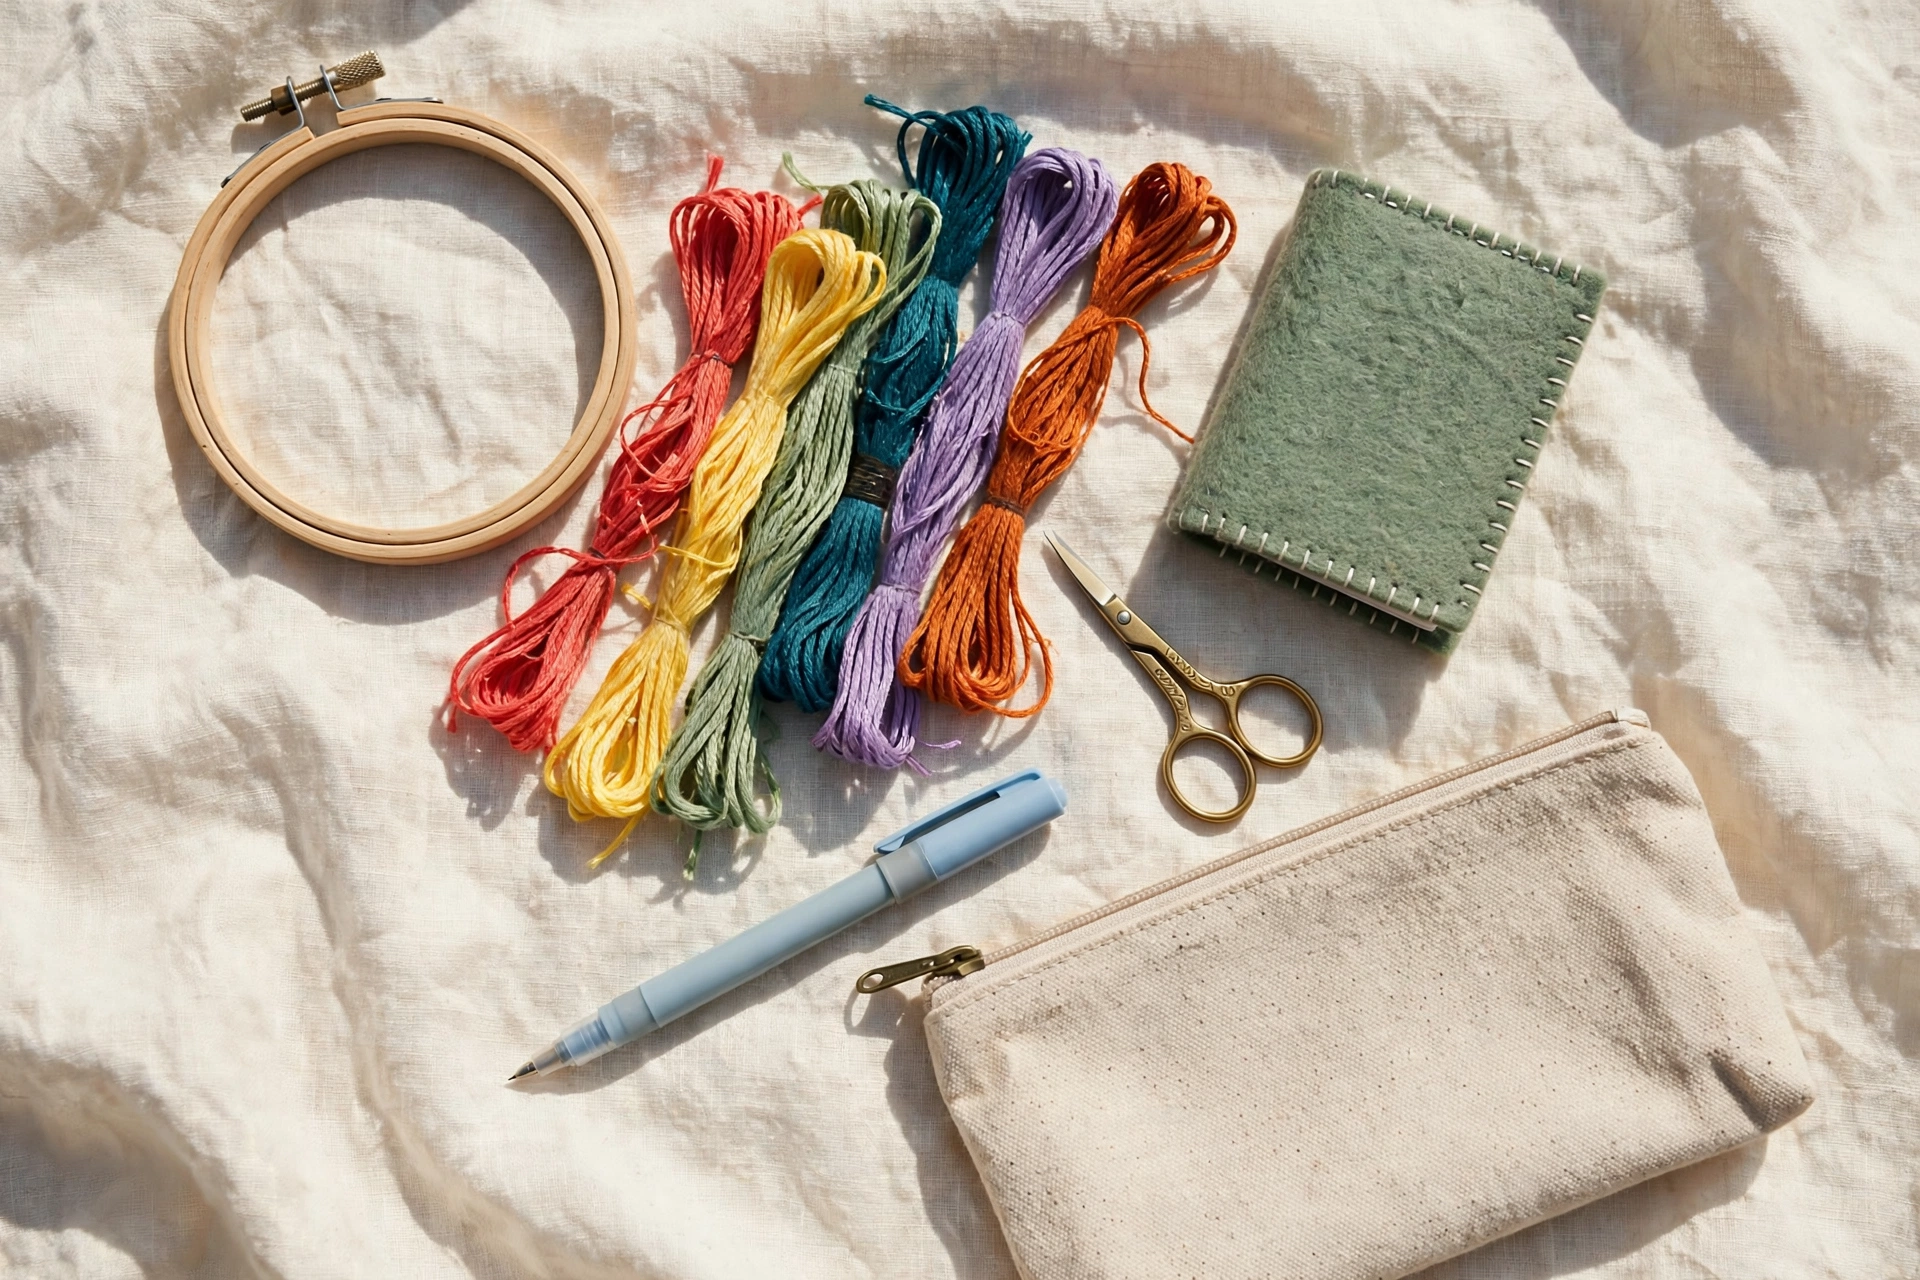
Everything below fits in a zippered pouch roughly the size of a paperback. Mine is a $12 canvas pouch from a craft fair, but any flat zippered bag works. The flat shape matters more than the brand. It slides into a tote next to a book and does not bulge.
1. One project, already in the hoop
Never pack loose fabric and good intentions. Pack a project that is already hooped, tensioned, and mid-stitch, so you can pull it out and start within thirty seconds of sitting down. I use a 4-inch wooden hoop for travel. It is the biggest size that disappears into a tote, and most of my travel projects are small motifs I can finish in a few sittings. If you are still deciding on sizes, my guide on which hoop size to buy explains why the 4-inch earns its keep.
2. Needles in a needle book, never loose
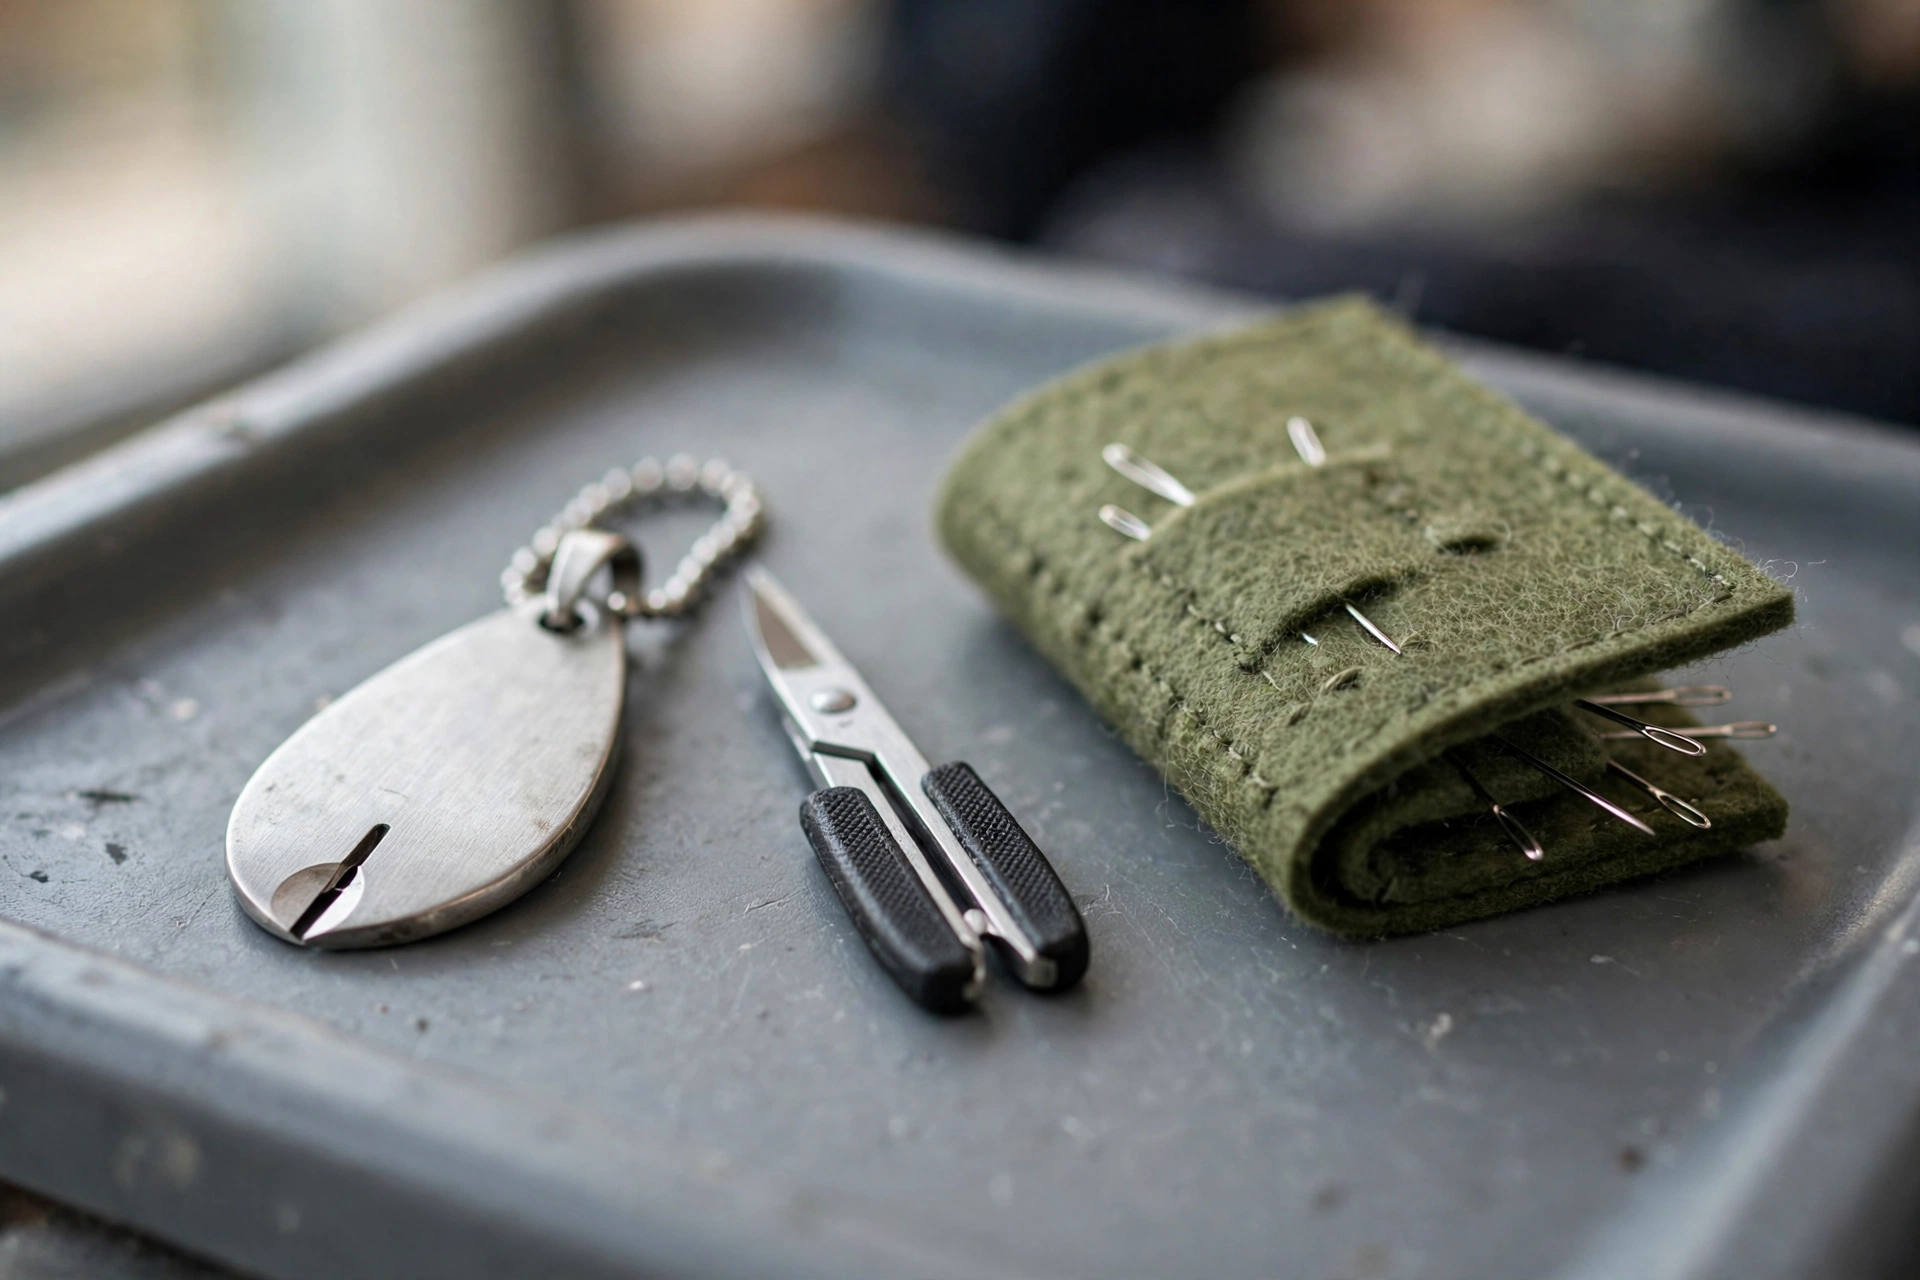
Three John James crewel needles in a felt needle book. Not loose in the pouch, ever. I once spent forty minutes of a Chicago layover patting down an airport chair for a runaway size 7, and the people across from me definitely thought I was unwell. A needle book costs about $6 and ends that particular nightmare.
3. Only the floss this project needs
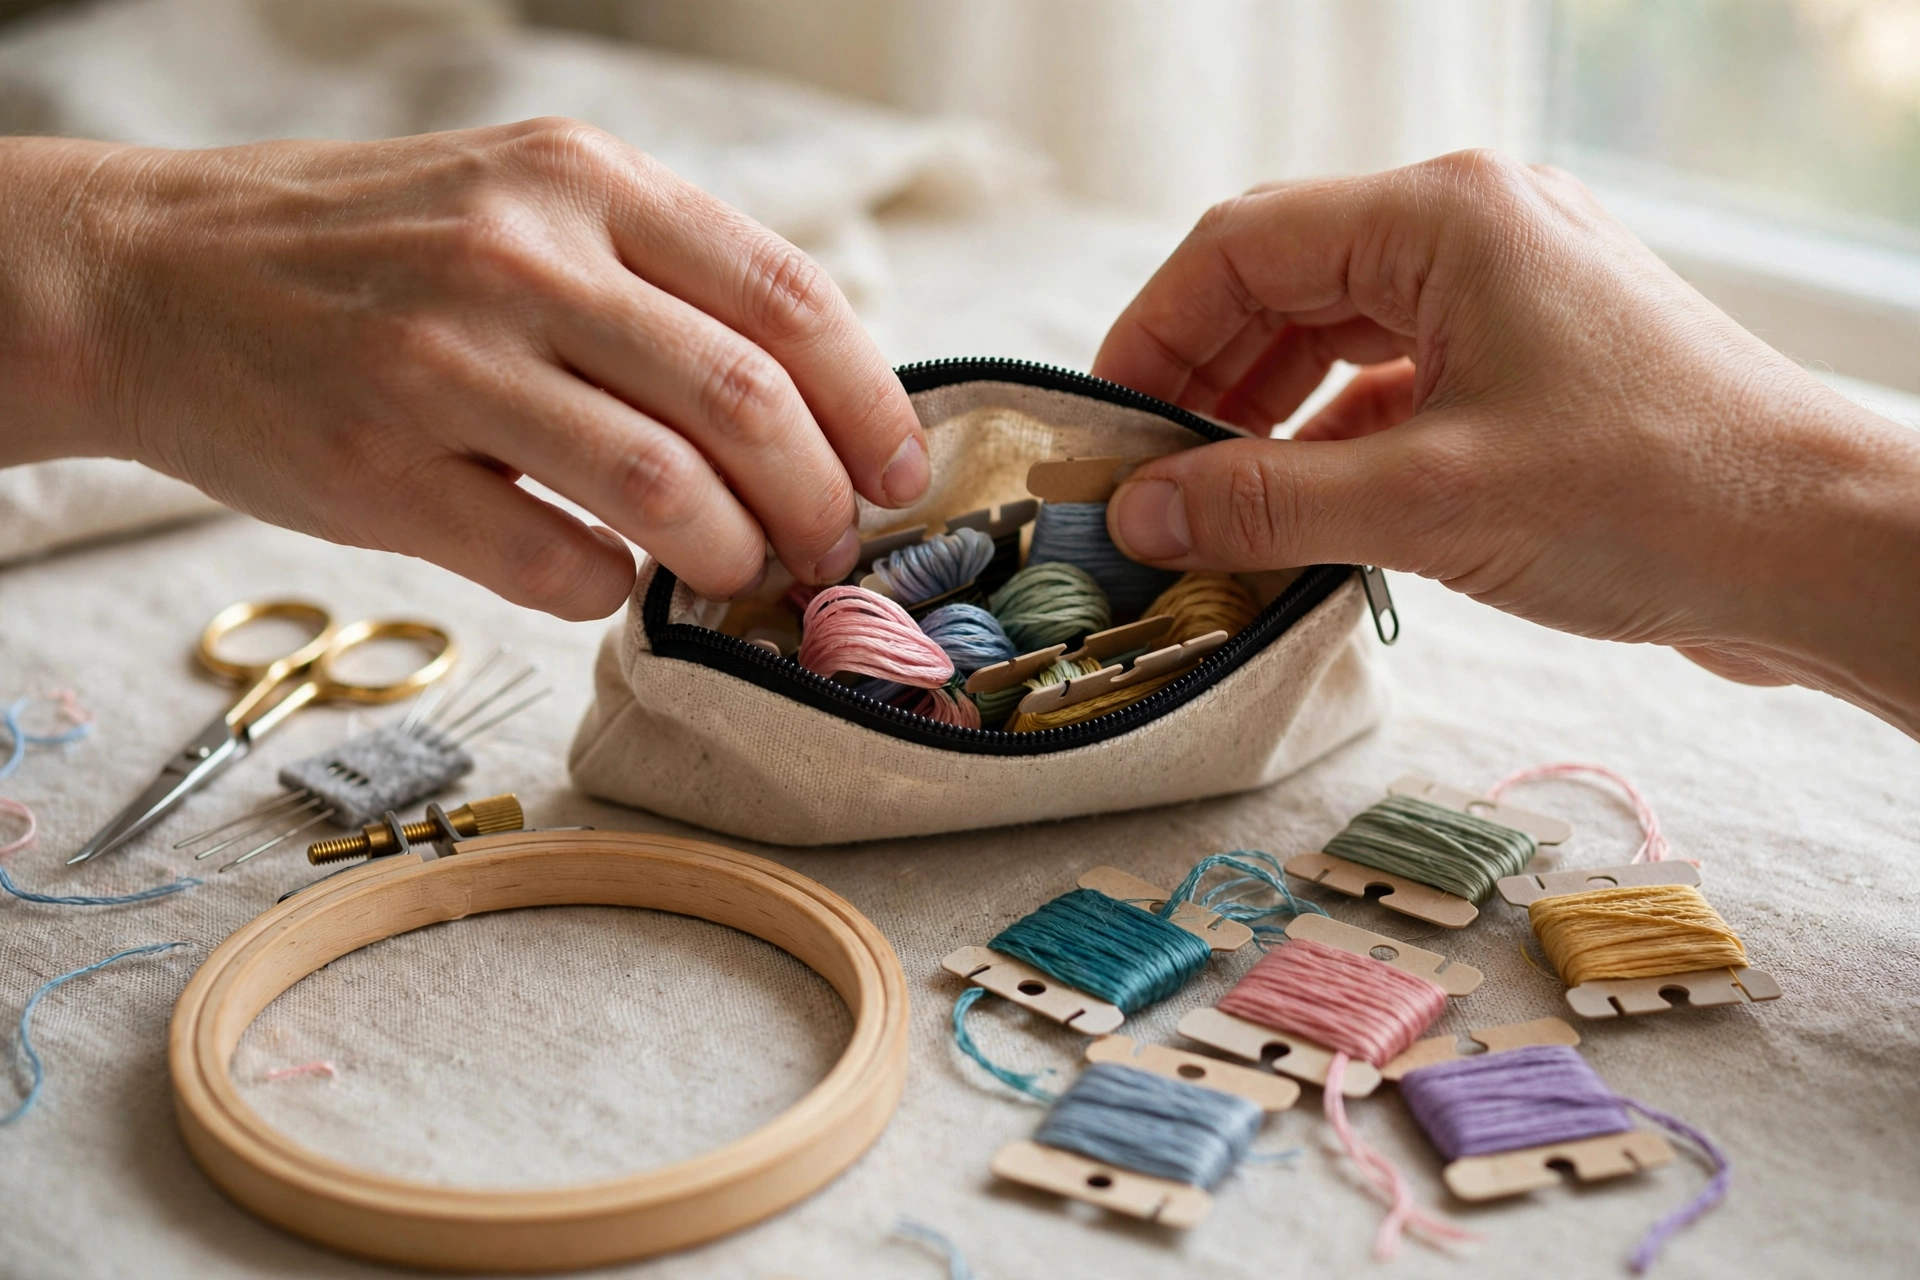
This is where travelers overpack. You do not need your full 200-color collection for a weekend trip. Wind the five or six colors for your current project onto small cardboard bobbins or tuck the skeins into a snack-size zip bag. Label them with the DMC numbers on masking tape if you are the organized type. I am not, and I have paid for it. My system for the full collection lives in my floss organization guide, but the travel version is just ruthless editing.
4. A cutting tool that survives security
Here is the thing about scissors and flights. The TSA officially allows scissors with blades under 4 inches in carry-on bags, and my 3.5-inch embroidery scissors qualify on paper. In practice, individual agents have wide discretion, and Denver proved that discretion does not always favor the stitcher. So my good scissors stay home now.
What I pack instead: a Clover thread cutter pendant, about $8, worn around my neck. It is a small metal disc with a recessed blade that cuts floss cleanly and has never raised an eyebrow at any checkpoint on three continents. Backup option: an empty dental floss container. The little metal cutter on top handles embroidery floss fine in a pinch, and nobody has ever questioned dental floss. For the full rundown of what is worth buying, see my beginner tools guide.
5. The pattern, already transferred
Transfer your design before you leave. Tracing a pattern on a wobbling tray table with a water-soluble pen is a recipe for a crooked motif and a stained shirt. I transfer at home, then pack the pen anyway for touch-ups, because lines fade and plans change.
6. A needle threader and a thimble
Two cheap wire threaders and, if your project involves denim or canvas, a thimble. Mine is a $4 leather one that has molded to my middle finger over two years. Airport lighting is terrible for threading needles, and you will thank yourself for the threader at 30,000 feet. If you have never worn one, my thimble guide covers finding your fit.
What stays home in my travel embroidery kit
My daylight lamp. My Q-snap. My full floss collection. Anything I would mourn. Travel stitching is about the pleasure of the work, not the perfect setup, and every extra item is something to lose, forget, or explain to security. The Q-snap versus hoop comparison notwithstanding, the hoop wins for travel on portability alone.
Stitching in transit without annoying everyone
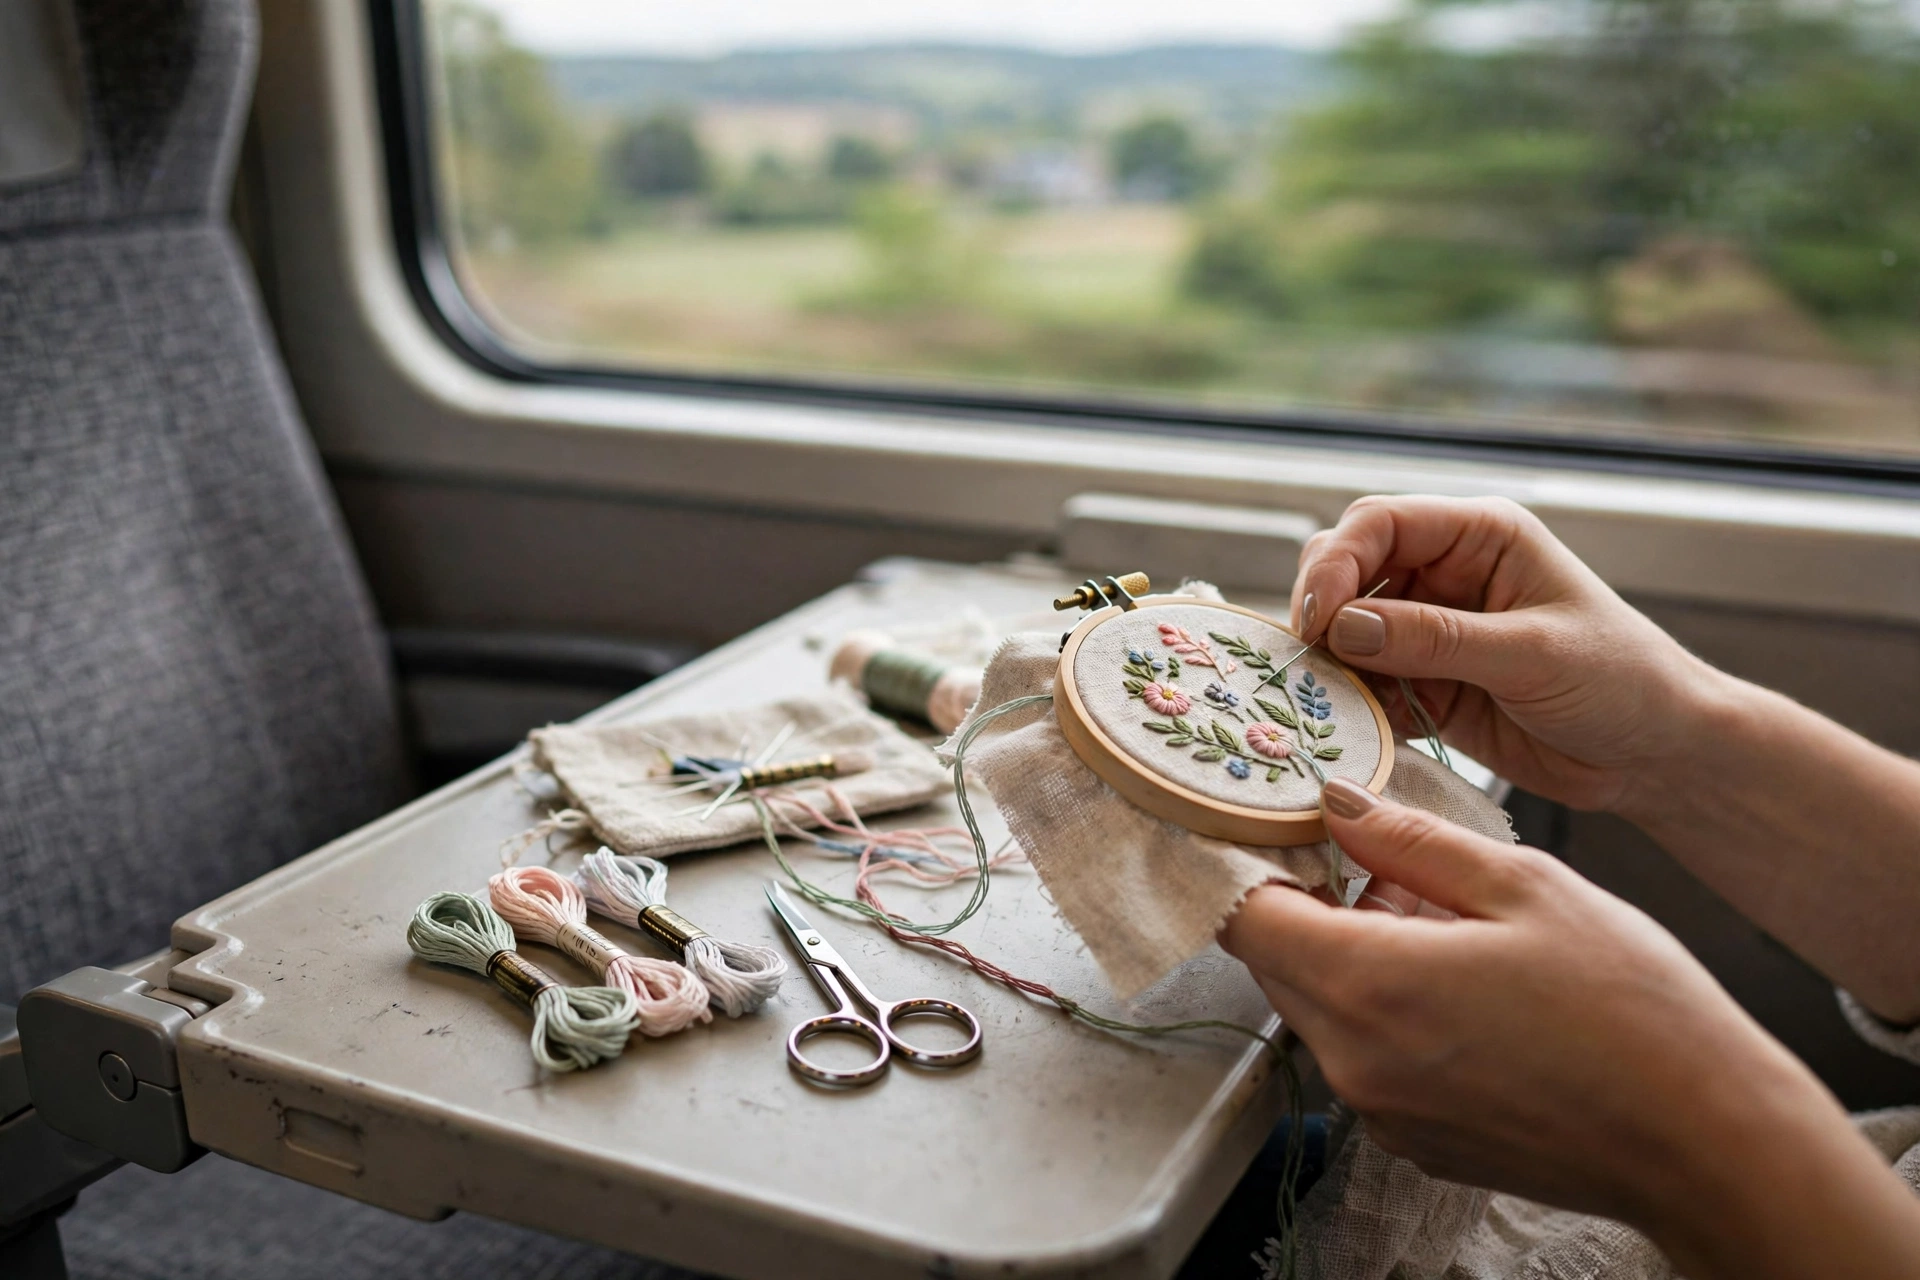
A few etiquette notes from fourteen flights. Keep your elbows in. A 4-inch hoop has a small footprint, which is the point. Work with shorter thread than usual, about 12 inches, because long thread in a cramped seat tangles on armrests, tray latches, and your neighbor’s jacket. Ask before you switch on the overhead light after dark. And if the person next to you asks what you are making, that is a compliment, not an interruption. I have converted two seatmates into stitchers. One of them now out-stitches me, which I choose to take as a compliment.
Trains are the superior stitching vehicle, by the way. More elbow room, better light, no security theater. If you ever get to pick, pick the train.
The projects that travel best
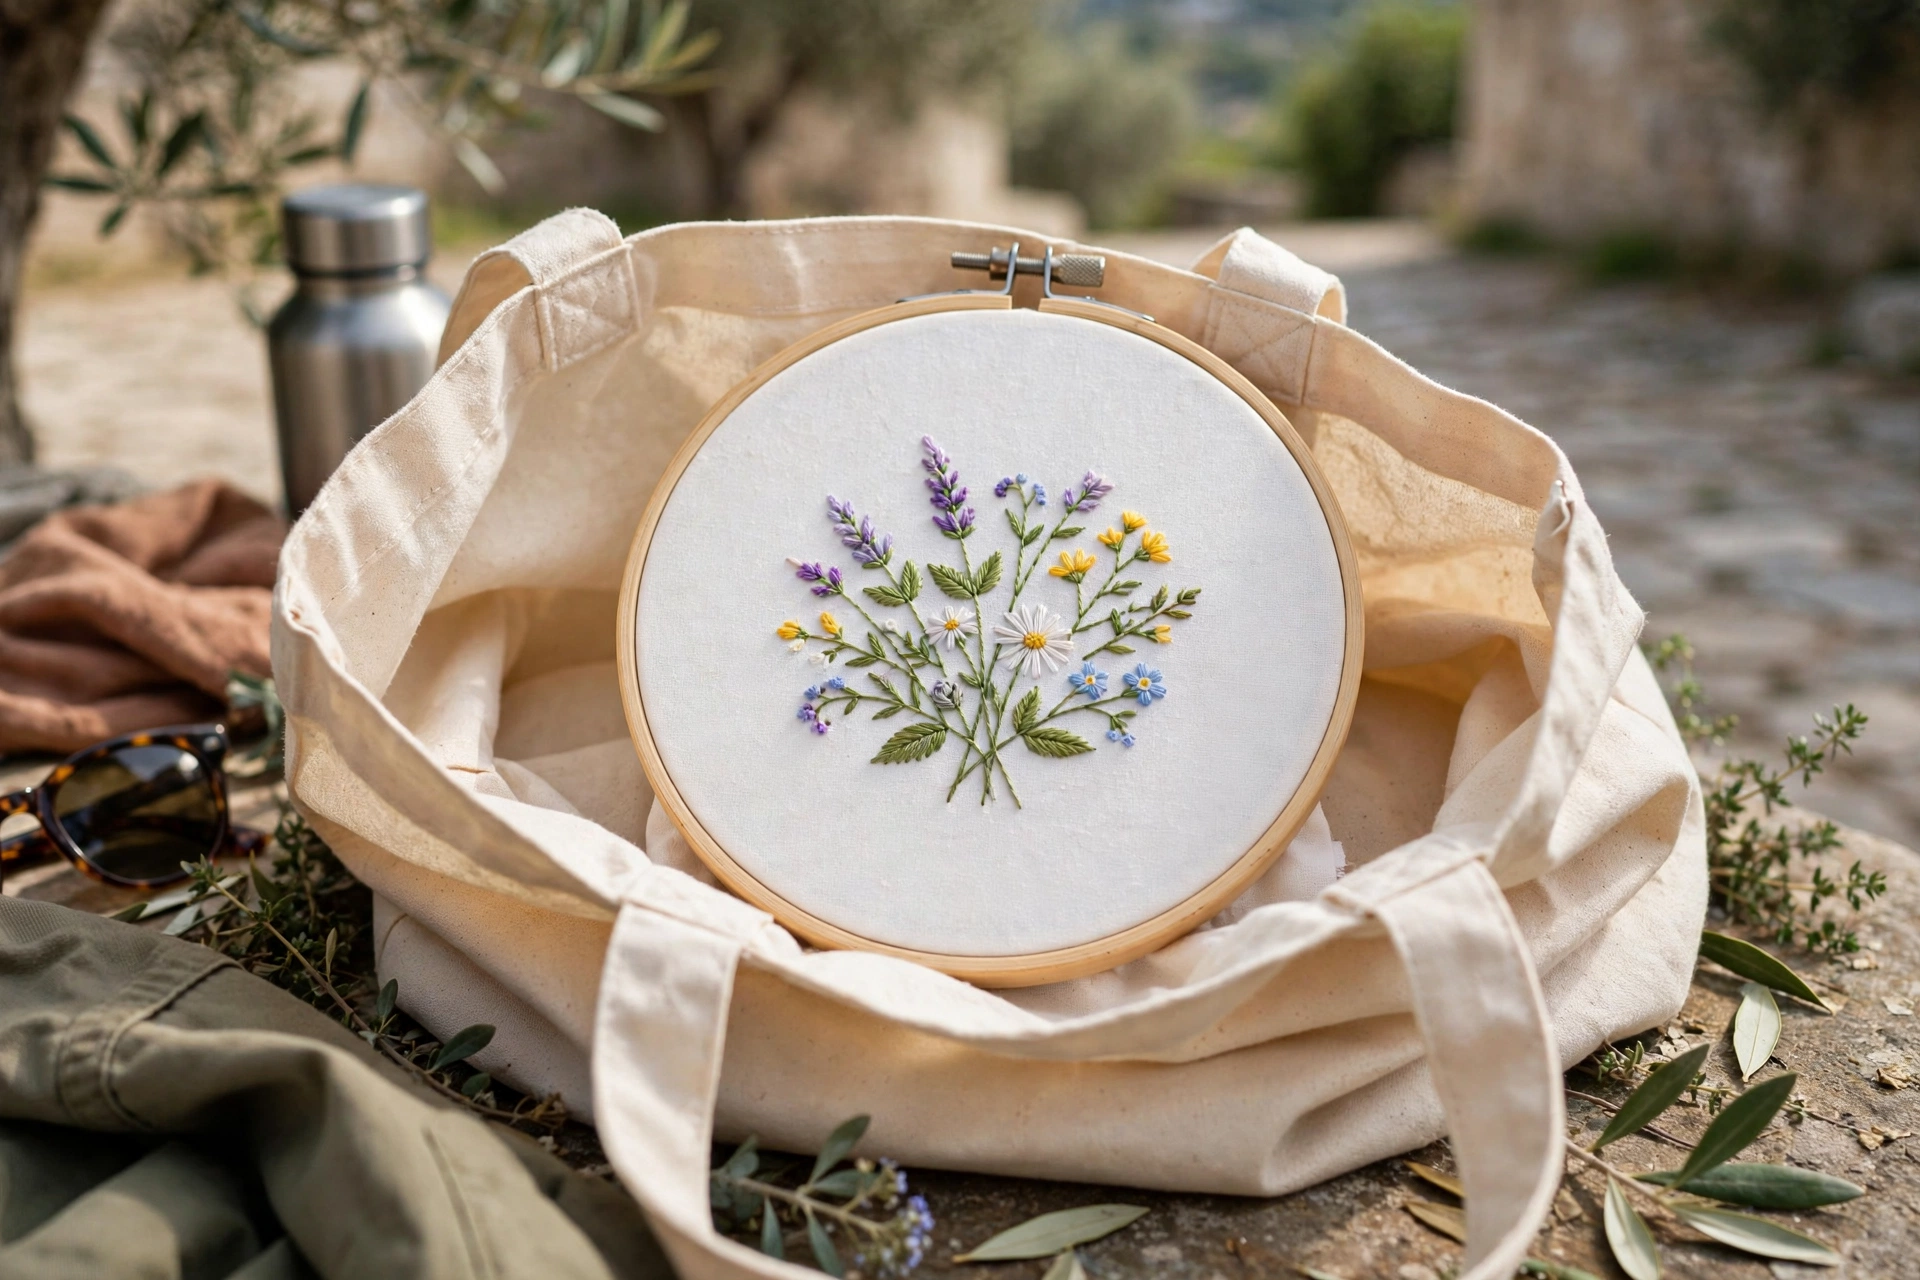
Small, self-contained, and forgiving. Monograms, tiny florals, and rows of basic embroidery stitches for practice. Save the 8-inch satin-stitch showpiece for home. My favorite travel project is a running series of 4-inch wildflower hoops, one per trip, each labeled with the destination on the back. Fourteen flights, eleven finished, three frogged beyond rescue. Embroidery itself does not care where it happens, but your blood pressure does.
Pack light, stitch often, and leave the good scissors at home. The Denver bin probably still has my storks. I hope whoever ended up with them appreciates a sharp blade.