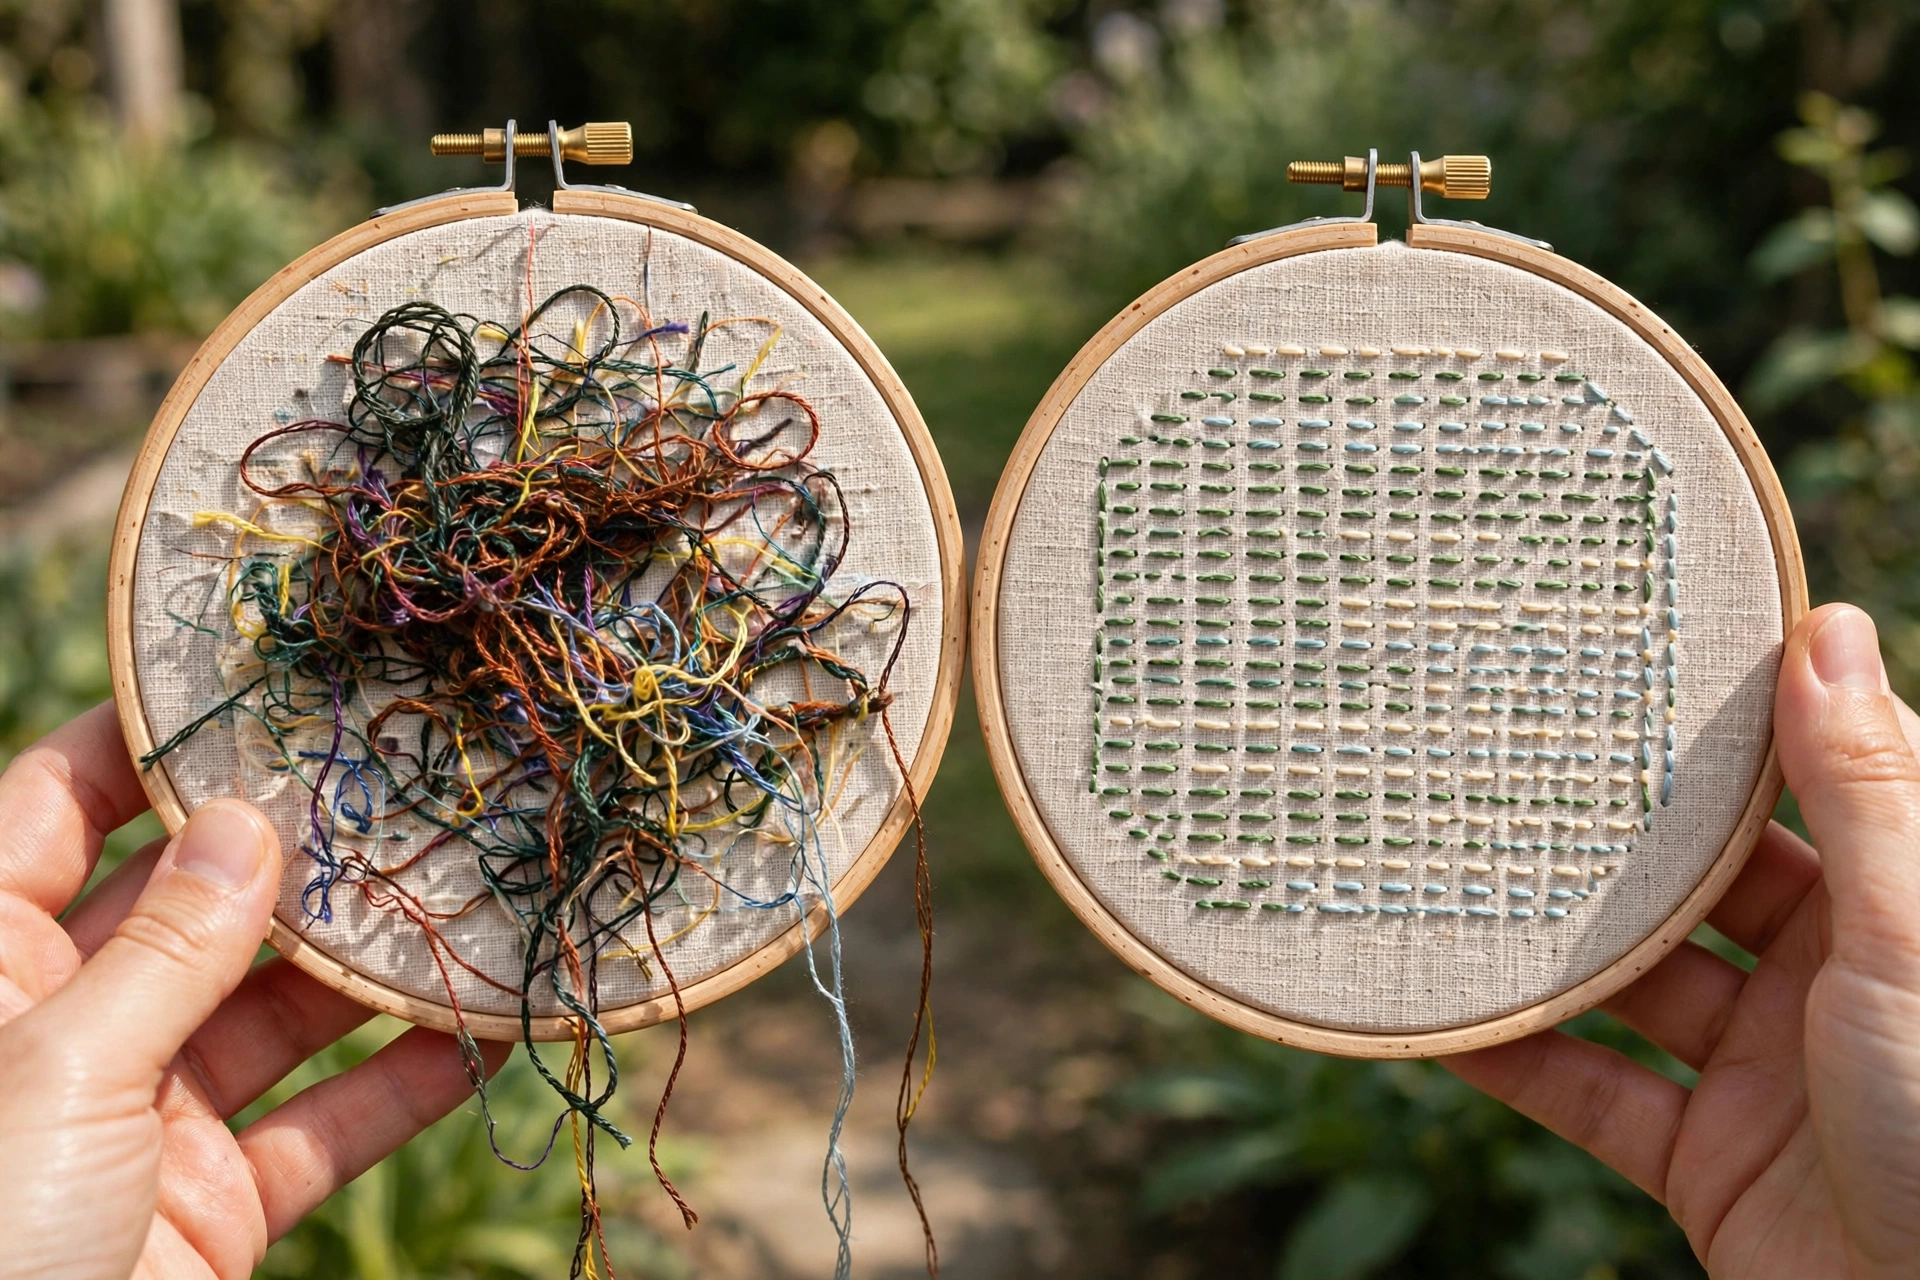
Nobody compliments the back of your embroidery until you sell a piece, enter it in a show, or hand it to a framer, and then the back is suddenly the entire conversation. I learned this when a framer flipped over a hoop I had brought in and went quiet in the specific way that means she was revising her opinion of me downward. The front was fine. The back looked like a bird had nested in it. This is my complete system for neat back embroidery: not museum perfection, just five habits that keep the reverse clean enough that it never sabotages the front or embarrasses you in public.
Myth: nobody sees the back
People say this the way they say nobody reads terms and conditions. Sometimes true, sometimes expensive. The back shows on tote bags, jacket backs, anything reversible, and anything you sell, because buyers absolutely flip work over. Judges at fairs flip work over. It also matters structurally: a lumpy back means uneven tension on the front, threads carried across the back snag and distort stitches, and long floats show through light fabric like veins. The long history of embroidery includes reversible traditions where the back was the whole point, which tells you this standard is not new fussiness. It is old professionalism.
Habit 1: start without knots
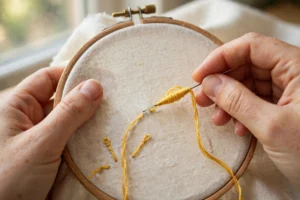
Knots are the biggest lumps on most backs, and they are also the least necessary. Use a waste knot: knot the thread a couple of inches from your start point, stitch toward it, then snip it off and weave the tail under three or four stitches on the back. Or use the pin stitch, two tiny stitches worked in the same hole, which locks the thread with zero bulk. I switched to knotless starts in year two and my backs flattened overnight. The front did not change at all, which told me everything about how much of my earlier “tension problem” was actually a knot problem wearing a costume.
Habit 2: never carry thread across a gap
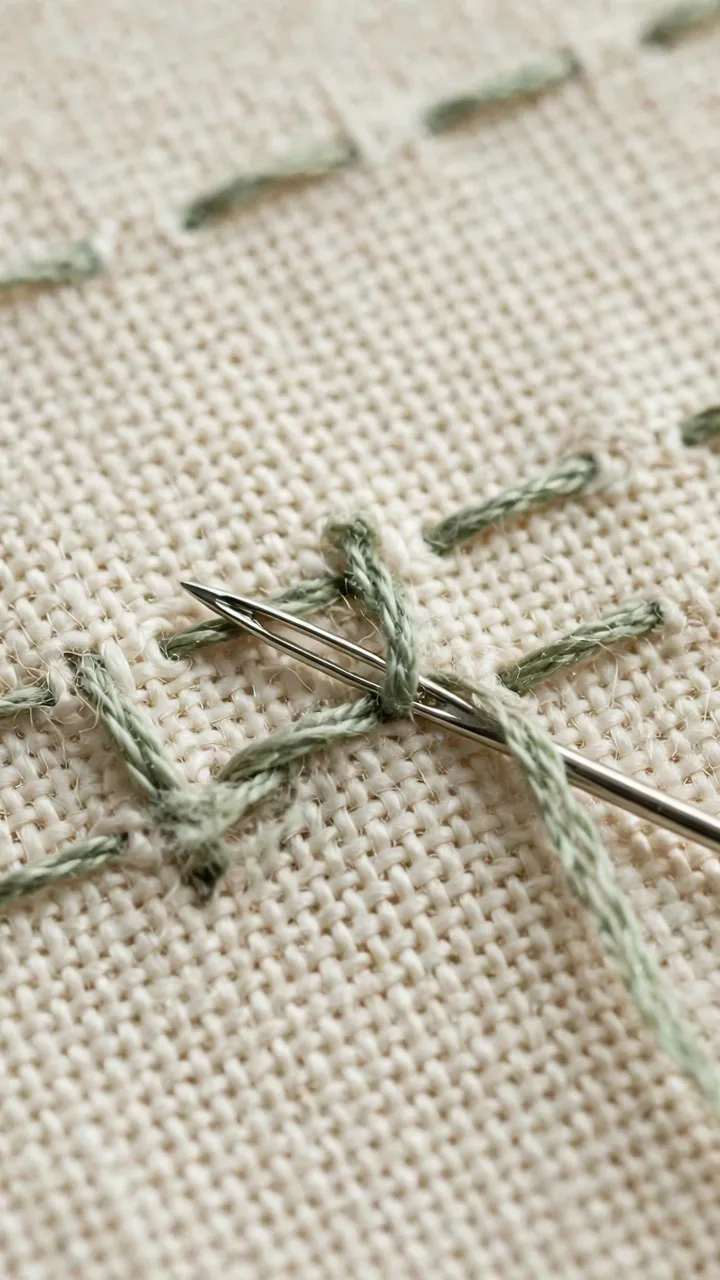
The classic messy-back signature is a long float of thread spanning an inch of empty fabric between two motifs. On white linen it shows through as a gray shadow. On anything it snags. My rule: if the jump is longer than half an inch, end the thread and start fresh. Ending and restarting takes forty seconds. A snagged float takes ten minutes to fix and sometimes takes the front with it. Weave the tail under existing stitches on the back, trim to an eighth of an inch, move on.
Habit 3: trim as you go
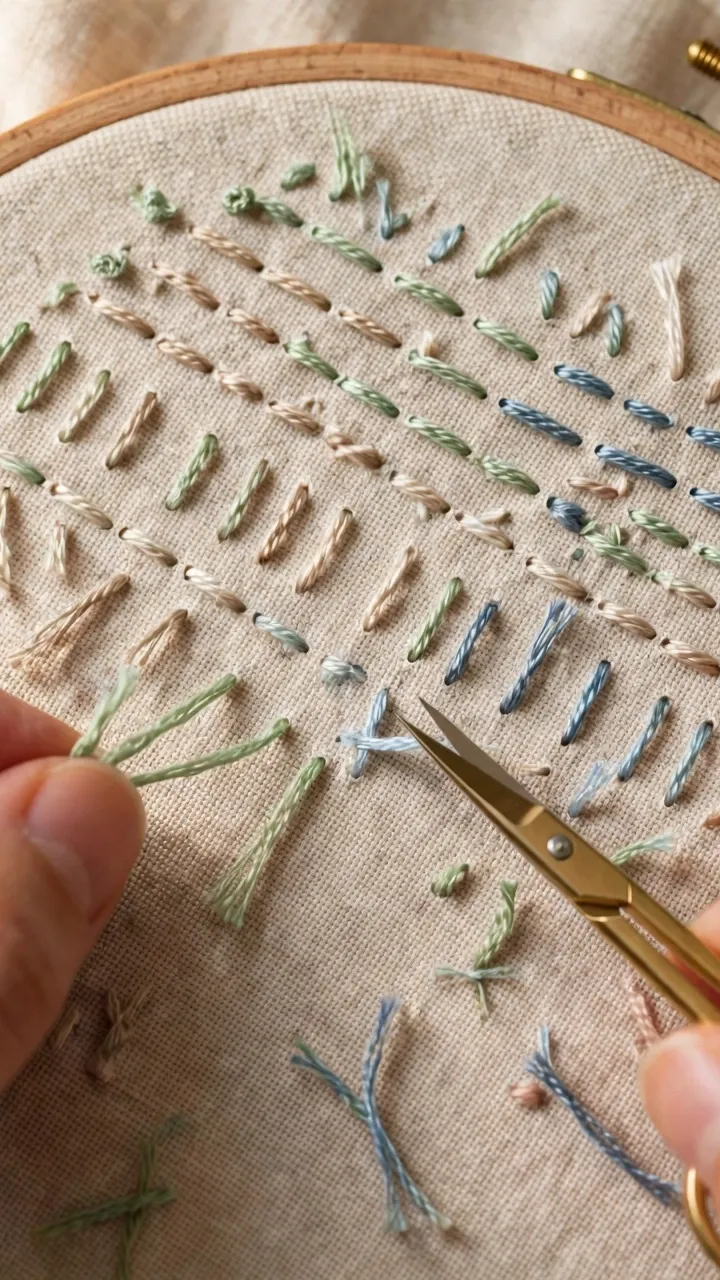
Tails longer than a quarter inch on the back will find each other and tangle. They always do. It is one of the laws of stitching, like dropped needles landing eye-down. Trim every tail to about an eighth of an inch the moment you finish with it, using small sharp scissors, not your teeth, not the big shears. I keep a pair of four-inch embroidery scissors within reach of my hoop hand specifically so trimming never feels like an errand. The basic stitches guide covers the weave-under finish that makes short tails stay put.
Habit 4: finish one area before moving on
Jumping between five motifs on one long thread leaves a spiderweb on the back and a color-flecked mess on the front. Complete each element, end the thread, then start the next. This also keeps your stitch direction consistent within each shape, which is half of what makes stitches look even on the front. Slow is smooth, smooth is neat.
Habit 5: audit the back every twenty minutes
Flip the hoop. Look at it. This takes six seconds and catches everything: the float you forgot, the tail you meant to trim, the knot that migrated. I do it every time I re-seat the hoop or change thread, which works out to roughly every twenty minutes. Problems caught early are forty-second fixes. Problems caught at the end are why people learn to say “nobody sees the back” with feeling.
Neat back embroidery: when it genuinely does not matter
Pillow fronts that get sewn into a sham. Anything with a solid backing applied. Your practice sampler, which exists to be ugly. In these cases, still avoid knots the size of peas, because bulk distorts the front. Everything else is negotiable.
When it absolutely does
Anything you sell: buyers flip, and a clean back reads as professional the way a pressed shirt reads as professional. Competition pieces and guild shows, where some judges score the reverse. Garments and tote bags, where the back is the inside and the inside gets handled daily. And gifts for stitchers, who will flip it over before they say thank you. Ask me how I know.
The habits compound. After a month they stop being habits and become the way you stitch, and then the back takes care of itself while your attention stays on the front, which is where it belongs. If your fronts need the same discipline, my guide to making stitches land evenly is the companion piece. Your framer will never know what hit her.
Rescuing a back that is already a mess
Sometimes you inherit the mess, usually from your past self. A half finished project with a bird’s nest on the reverse is not doomed. Flip it over and do triage. First, snip every tail longer than a quarter inch down to an eighth, because long tails are what tangle into everything else. Second, find any floats spanning more than half an inch and deal with them: slide your needle under nearby stitches to tack the float down in two or three places, which anchors it without unpicking anything. Third, if a knot is sitting like a pebble under your work, leave it. Cutting it out risks the front. Just make sure no new knots join it.
Then change how you finish the piece. If the back will show, cover it honestly: a felt backing cut to the hoop size and blanket stitched around the edge hides a multitude of sins and looks deliberate. Nobody at the craft fair lifts the felt to audit your past. They see a clean finish and assume the discipline was there all along. Let them.