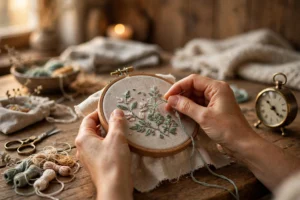
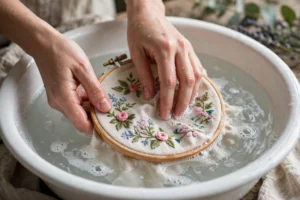
In April 2019, two weeks after my disastrous Michaels supply run, I chose my first real project at 11:40 pm on a Tuesday: a free PDF called “Wildflower Wreath” from a craft blog, printed at the downtown Columbus library the next morning for twelve cents a page. It was eight inches across, packed with satin stitch leaves and French knots, and I abandoned it after four evenings with one lopsided petal and a knot the size of a pea. My second attempt was a three-inch daisy in a four-inch hoop, stitched in a single sitting. It still hangs on my bookshelf. The difference was not talent. It was the choice. If you are trying to pick your first embroidery project, the pattern you choose matters more than your supplies, your stitches, or your patience, because the wrong project teaches you that embroidery is miserable, and the right one teaches you that you can do this.
Most beginners choose the way I did: they pick the prettiest thing on Pinterest. This is a terrible method. Pretty correlates strongly with complicated, and complicated correlates strongly with the UFO drawer. UFO stands for Unfinished Object, and every stitcher has a drawer or basket of them. Mine contains the Wildflower Wreath, a half-stitched fox, and a monogram I started for a wedding gift in 2021 that would now be three years late. The goal of your first project is not to make something impressive. The goal is to finish something. Finishing is a skill, and like every skill, you build it by succeeding at the easy version first.
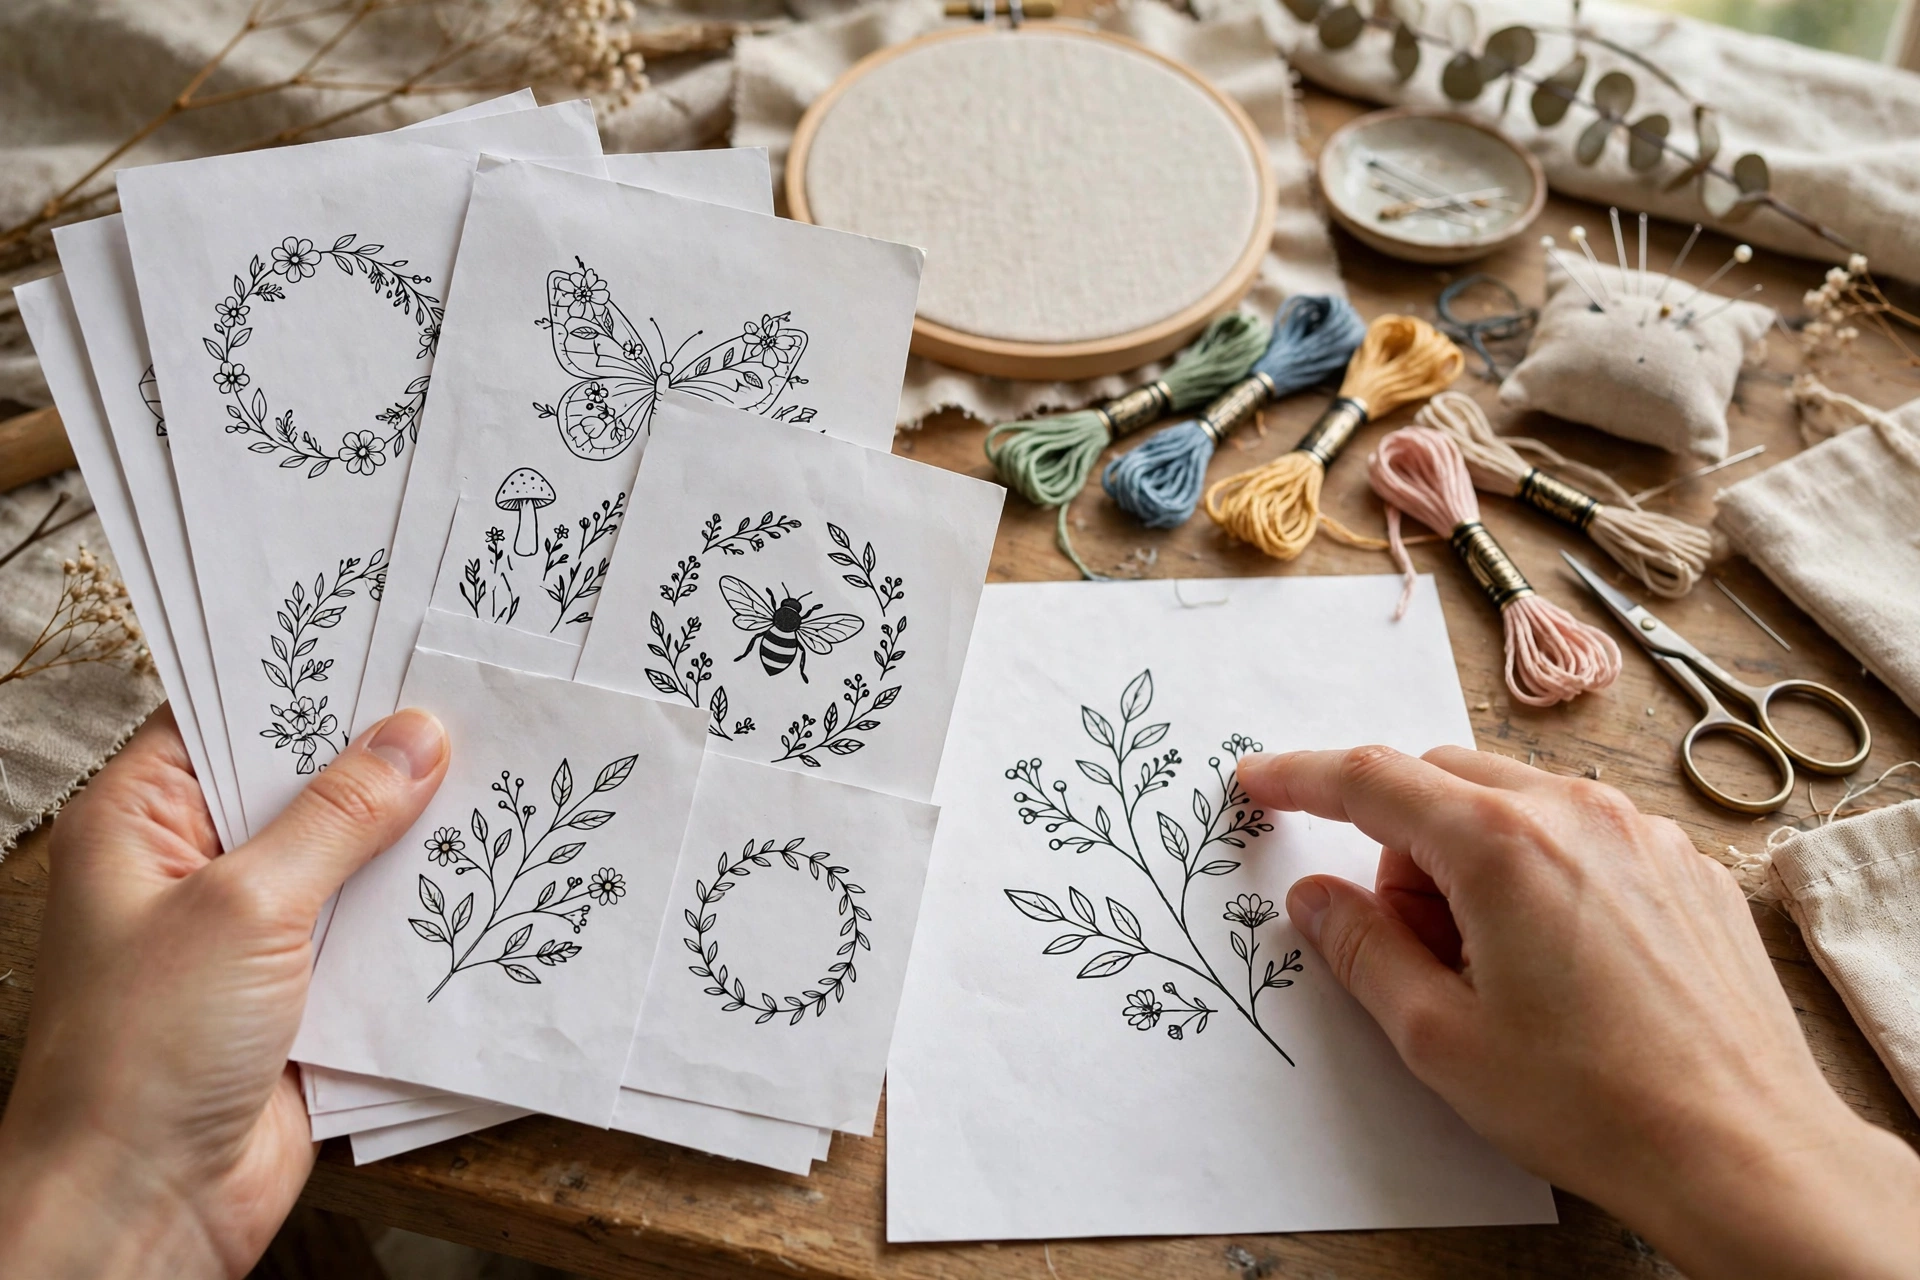
The 5-question framework for choosing your first embroidery project
Run every candidate pattern through these five questions before you commit a single stitch. If it fails more than one, keep looking. There are thousands of free beginner patterns. You are not settling by being picky. You are protecting your future enjoyment of the hobby.
Question 1: Can I see myself finishing this in under six hours? Be brutally honest. A beginner stitches slowly, and that is fine, but a project that takes twenty hours is not a first project. It is a third or fourth project wearing a disguise. Small hoop art, three to five inches across, is the sweet spot. A simple floral sprig, a word in backstitch, a little mushroom. If the pattern photo shows something that clearly took a weekend, it took a skilled stitcher a weekend, which means it will take you three.
Question 2: Does it use three stitches or fewer? Count the distinct stitches in the pattern, not the colors. Backstitch plus French knots plus lazy daisies is a perfect first-project trio. Backstitch plus satin stitch plus French knots plus stem stitch plus woven wheels is a class curriculum, not a project. Every new stitch has a learning curve, and stacking four learning curves on your first outing is how you end up crying over a hoop at midnight. Two or three stitches. That is the rule.
Question 3: Is the design mostly lines, not filled areas? Outlines are forgiving. Filled areas are not. A backstitch outline that wobbles slightly still reads as charming. A satin-stitched leaf with gaps and lumps reads as a mistake, because filling shows every inconsistency. Your first project should be at least seventy percent line work. Save the big filled shapes for project four or five, when your tension has settled down. This single question would have saved my Wildflower Wreath, which was roughly ninety percent satin stitch. I never stood a chance.
Question 4: Do I actually like looking at it? This sounds obvious and it is the question people skip most. Do not stitch a pattern because it is labeled “beginner” if you find it boring or ugly. You will not finish something you do not like. You will find excuses. Pick something you would happily hang on your wall or give to a friend, within the constraints of the other four questions. Motivation is a supply, same as floss, and it runs out.
Question 5: Can I find the stitches explained somewhere I trust? If the pattern calls for a stitch you have never done, make sure you have a tutorial you understand before you start. Not a vague diagram. A real step-by-step. My French knot tutorial exists because the knot is the number one project-killer for beginners, and most patterns just write “add French knots” as if that were self-explanatory. It is not. Verify your stitch resources first, stitch second.
Red flags: patterns to walk away from (for now)
Some patterns are wonderful and completely wrong for a first project. Learn to spot them. The biggest red flag is dense satin stitch filling, especially on leaves, petals, or animal bodies. Satin stitch looks simple in photos and is genuinely one of the harder stitches to make look good. It demands even tension, parallel stitches, and clean edges, none of which a beginner has yet. If the pattern’s main technique is satin stitch, it is a fifth project, not a first.
The second red flag is fine detail at small scale. Tiny lettering under half an inch tall, intricate mandalas, realistic animal faces. Small work magnifies every wobble. Beginners do better slightly larger, where a millimeter of imperfection disappears. If you have to squint at the pattern photo to see what is going on, your needle will not know what is going on either.
The third red flag is the phrase “some embroidery experience recommended” or “intermediate.” Believe it. Pattern designers are usually honest about difficulty because they do not want bad reviews from frustrated beginners. “Beginner friendly” should appear somewhere in the description. If the difficulty is unmarked, assume it is harder than it looks. Pattern photos lie by omission. They show the finished piece, not the forty hours.
The fourth red flag is a project with a deadline attached. Do not make your first project a gift with a date. The pressure turns every mistake into a crisis and every slow evening into guilt. Your first project is for you. The gifts come later, when you know how long things take, which brings us to the math.
Green flags: signs a pattern was made for you
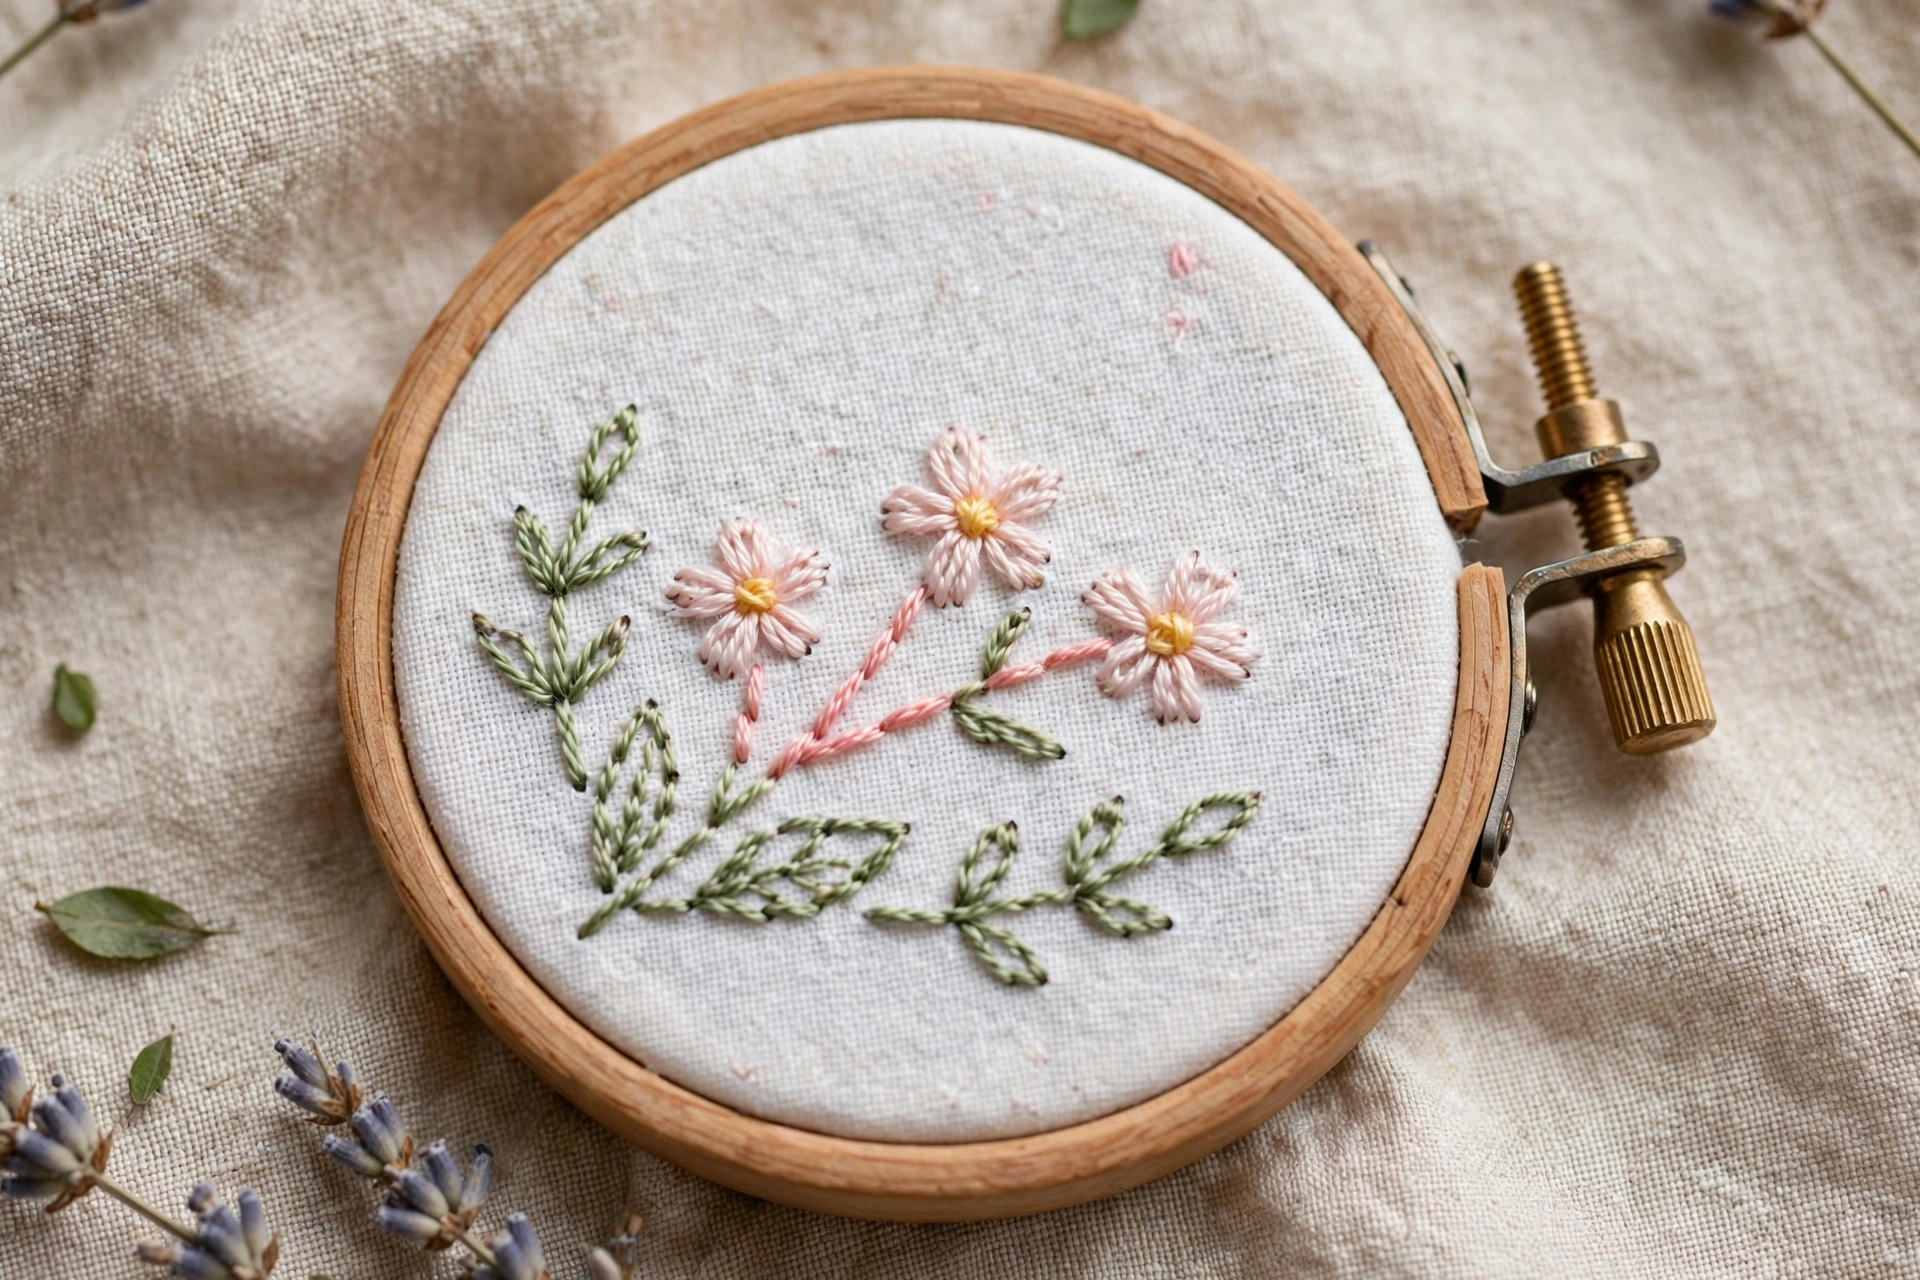
Now the good news. Beginner-safe patterns have a recognizable shape. Look for designs built on backstitch outlines with a few simple accents. A wreath of backstitched stems with lazy daisy flowers. A word or short quote in backstitch with French knot dots. A simple botanical sprig. These patterns look genuinely lovely finished, and they teach you the three stitches you will use in half of everything you ever make.
Another green flag is a pattern that tells you the finished size, the stitch list, and the approximate time. Designers who include this information are thinking about beginners, and their patterns tend to be tested on actual humans. A pattern with a materials list that matches what you own is also a good sign. If it calls for pearl cotton, metallic thread, or seventeen DMC colors, it was not designed with your twelve-skein starter set in mind.
The strongest green flag of all is a pattern with a stitched sample photo that looks handmade rather than perfect. Slightly uneven stitches in the sample photo mean a real person tested it and it still looked good. That is the pattern telling you it forgives. My daisy, the one that survived, came from a pattern whose sample had visibly wobbly French knots. I found that reassuring. It still hangs on my bookshelf, wobbles and all.
Do the time math before you commit
Beginners wildly underestimate how long embroidery takes, and I include myself. Here is the honest math. A simple three-inch floral design in backstitch takes a practiced beginner roughly four to six hours of actual stitching. That is not four to six hours in one go. That is three or four evenings of ninety minutes, with threading, re-hooping, and staring thoughtfully at the pattern included.
So when you look at a pattern, estimate the stitching area and multiply your optimism by three. A design that “looks like an evening” is three evenings. A design that “looks like a weekend” is two weeks of evenings. This is not a complaint. Slow stitching is the point. But you need to know the real number before you start, because nothing kills motivation like a project that was supposed to take two days and is entering week three.
The practical rule: your first project should fit in a 4-inch or 5-inch hoop, use no more than six DMC colors, and contain mostly outline stitching. Anything meeting those three constraints will land in the four-to-eight-hour range, which is finishable in a week of casual evenings. Finishing in a week gives you the single most valuable thing a beginner can own: proof that you can finish. That proof carries you through project two, which can be a little bigger.
And build in a buffer for learning. Your first French knot will take ten minutes and look like a tiny bird’s nest. Your twentieth will take ten seconds. The learning is front-loaded, which means the first quarter of any project is the slowest. Do not judge your speed on day one. Judge it on day four.
Five first-project types that almost never go wrong
If you want specific directions instead of abstract rules, here are the five project types I recommend to every beginner who asks, ranked by how reliably they get finished.
1. A single botanical sprig. One stem, a few leaves, maybe three small flowers. Backstitch for the stem, lazy daisies for petals, French knots for flower centers. Three stitches, four hours, endlessly giftable. This is the canonical first project for a reason. It teaches line work, curves, and spacing, and it looks like real embroidery instead of practice.
2. A word in backstitch. Your name, “hello,” a short quote, a kid’s name for a nursery. Lettering in backstitch is just careful line-following, and words have a built-in advantage: you cannot get lost. You always know what comes next. Keep it under eight letters and at least half an inch tall per letter. Tiny letters are a red flag, remember.
3. A simple wreath. A circle of backstitched stems with lazy daisy leaves and French knot berries. Wreaths look impressive and are secretly easy, because a circle forgives asymmetry. If one side is slightly fuller than the other, it looks organic. Nature does not do symmetry either.
4. A mini landscape. A three-inch scene: a backstitched hill line, a French knot sun, a few lazy daisy trees. Minimal, modern, and very forgiving, because “stylized” is doing a lot of work in your favor. Nobody can tell you your minimalist hill is wrong.
5. A monogram letter. One big letter, outlined in backstitch or stem stitch, with a few floral accents. Personal, giftable, and structurally simple. The letter gives the design a skeleton, so you are decorating rather than composing, which is much easier for a first-timer.
Notice what is not on the list: portraits, animals with fur, anything photorealistic, and full-coverage designs. Those are wonderful fifth-through-tenth projects. They are terrible first projects. For a bigger menu of ideas once you have finished number one, my easy embroidery ideas collection is organized by difficulty, and the hoop art tutorial walks through a complete small project start to finish.
What to do when you have picked wrong (it happens)
Despite all this, you might still pick wrong. I did, and I had no framework at all. Here is the honest protocol. First, diagnose early. If you have spent three sessions on a project and you dread picking it up, that is data, not failure. Dread is your brain correctly identifying a bad fit.
Second, you are allowed to quit, but quit strategically. Put the project in a bag with the pattern and the floss you were using, write the date on a scrap of paper, and shelve it. Do not throw it away in frustration. Half of my UFOs became finishable six months later when my skills caught up. The fox I abandoned in 2019 got finished in 2021 and it is genuinely good. The project was not bad. The timing was.
Third, and most important, start the replacement immediately. Do not take a “break from embroidery” to recover. Breaks become months. Pick the smallest, easiest pattern that passes the five questions, something you can finish in two evenings, and stitch it right away. You need a win on the board quickly. The hobby survives on momentum, and momentum comes from finishing.
One more honest note: some beginners pick wrong three times in a row because they keep choosing with their eyes instead of the framework. If that is you, the problem is not your hands. It is the selection method. Print the five questions and tape them to your craft table. I am serious. Externalize the decision until the instincts build.
The part nobody tells you about finishing
Here is what actually happens when you finish your first project. It will not look like the pattern photo. Your French knots will be lumpy. Your backstitch will wobble in at least one place. You will see every flaw because you made every stitch, and your brain has a high-resolution map of all of them. Nobody else will see any of it. Show it to a friend and watch their face. They will see a handmade thing, made by a person they like, and they will be impressed in a way that has nothing to do with stitch quality.
Keep that first finished piece. Do not give it away, no matter how tempted you are. Put it somewhere you will see it. In a year, when you are stitching things you currently cannot imagine, you will look at that lumpy daisy or wobbly wreath and feel something between affection and disbelief. That object is proof of the most important transition in any craft: from someone who wants to embroider to someone who does.
So run the five questions, pick the small boring-beautiful thing, and finish it. The Wildflower Wreath is still in my UFO basket, by the way. I keep it as a reminder that ambition is a fine trait in a stitcher, just not on day one. Your day-one job is one small finished thing. Everything else in this hobby is built on top of that.