A wall hanging is embroidery with presence. Where hoop art is small and sweet, a wall hanging makes a statement. It fills that empty space above your sofa, adds warmth to a hallway, and tells visitors something about who you are before you have said a word. The good news is that making one is not much harder than making hoop art. It is just bigger, and bigger means more room for your creativity to stretch out.
In this guide, you will learn how to make an embroidered wall hanging from start to finish. We will talk about choosing the right fabric and size, planning a design that looks good at scale, the stitches that work best for larger pieces, and three ways to hang your finished work. Let us make something beautiful for your wall.
What Makes a Wall Hanging Different From Hoop Art?
The main difference is scale and structure. Hoop art lives inside a rigid hoop that holds the fabric taut. A wall hanging is a piece of fabric that hangs freely, usually from a wooden dowel, a branch, or a metal rod. This means your fabric needs to be sturdy enough to hang without sagging, and your design needs to work at a larger size.
Wall hangings also give you compositional freedom. You are not limited to a circle. Rectangles, squares, and even asymmetric shapes all work. You can combine embroidery with other elements like tassels, fringe, or woven sections. Think of it as a canvas where embroidery is the star.
Planning Your Wall Hanging
Before you buy anything, decide on three things: size, design, and where it will hang.
Size
For a first wall hanging, aim for something in the range of 12 by 16 inches to 16 by 20 inches of stitched area. This is large enough to make an impact but small enough to finish without losing motivation. Measure the wall space where you plan to hang it. A good rule of thumb is that your hanging should fill about two thirds of the width of the furniture below it.
Design
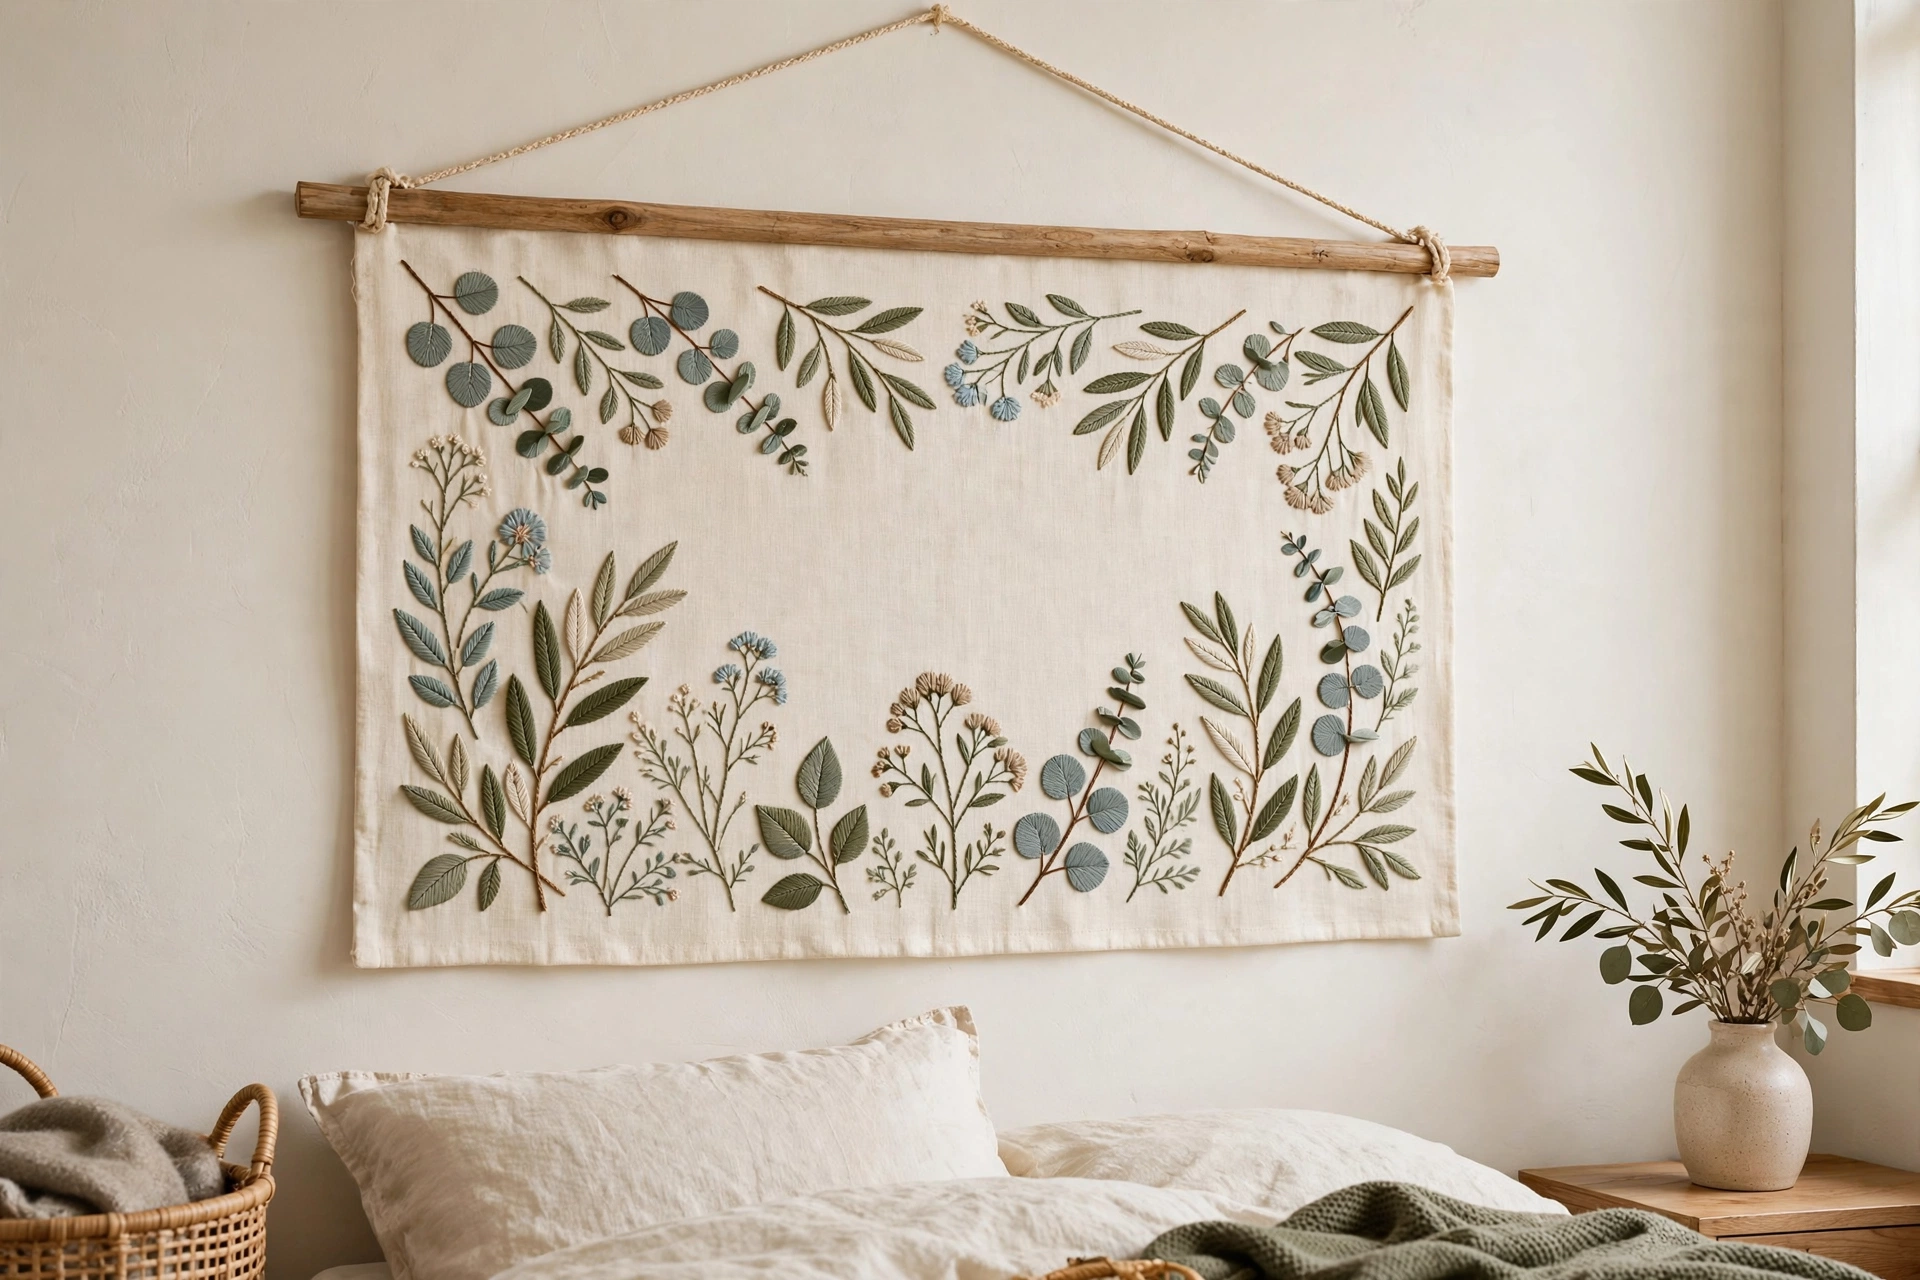
Designs that work well at wall hanging scale include botanical arrangements, landscapes, geometric patterns, meaningful quotes in beautiful lettering, and abstract thread paintings. Whatever you choose, sketch it on paper first at roughly the size you plan to stitch. This is where you discover whether your design actually fills the space or leaves awkward empty areas.
A helpful trick is to plan your design in thirds. Divide your rectangle into a simple grid and place your main elements along those lines rather than dead center. This creates a composition that feels balanced and intentional, even in a simple design.
Placement
Think about lighting. Embroidery has texture, and texture needs light to show it off. A wall that gets soft natural light during the day will make your stitches glow. Avoid walls that get harsh direct sun all afternoon, since prolonged sunlight fades floss over time.
Choosing Fabric for a Wall Hanging
Fabric choice matters more for wall hangings than for hoop art because the fabric has to support its own weight. Your best options:
- Medium weight linen. The classic choice. It has beautiful texture, holds stitches well, and drapes nicely. Look for something in the 7 to 10 ounce range.
- Cotton canvas or duck cloth. Sturdy and affordable, with a clean modern look. Great for geometric and contemporary designs.
- Quilting cotton backed with fusible interfacing. If you fall in love with a quilting cotton print, iron fusible interfacing to the back to give it the body it needs to hang well.
Avoid lightweight or stretchy fabrics. They will sag between the hanging points and distort your design over time. If you are unsure, hold the fabric up by two corners. If it drapes in a deep curve, it is too light. If it holds a gentle shape, it will work.
Supplies List
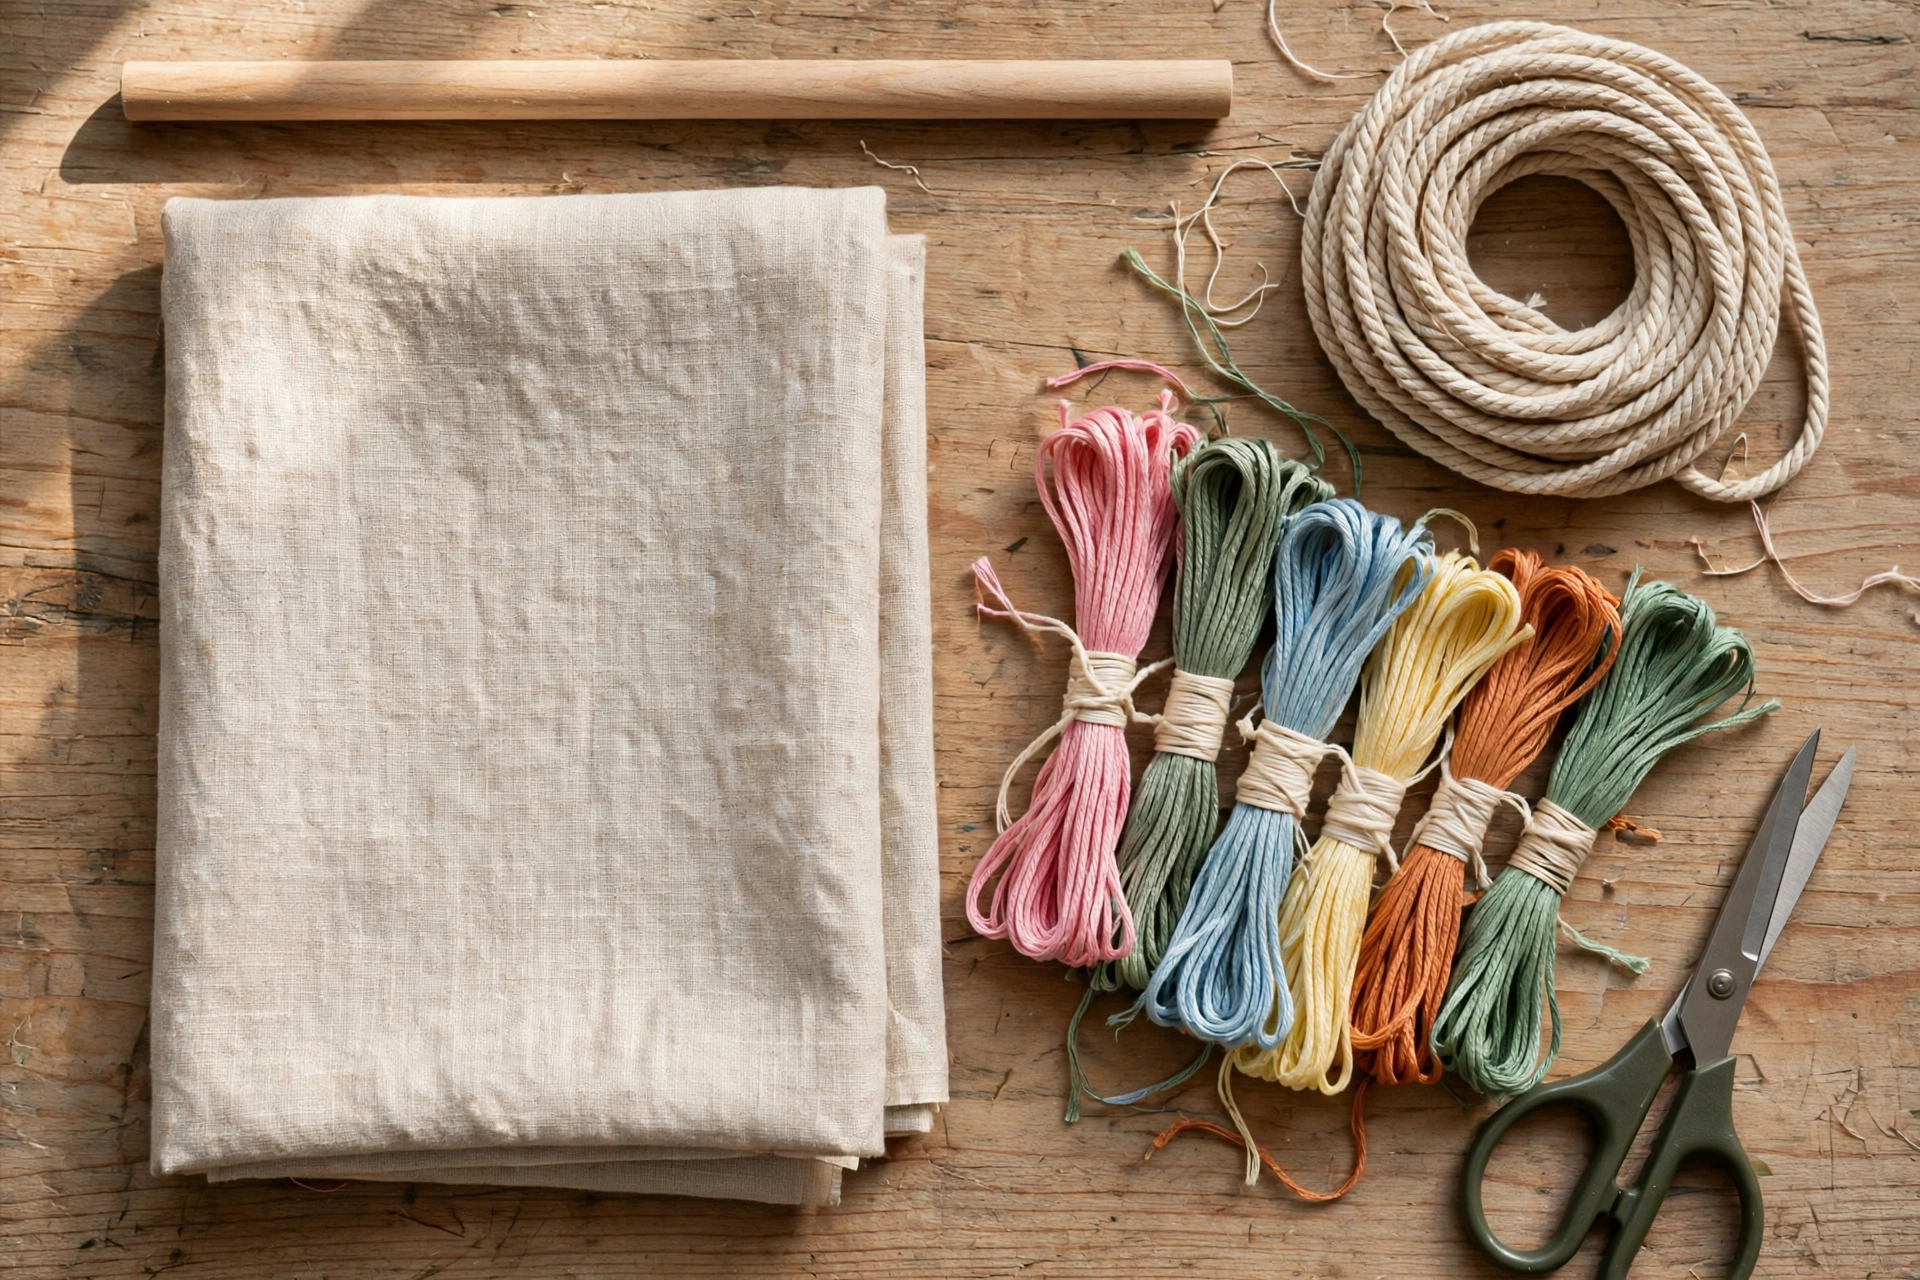
- Fabric cut to your planned size plus 2 inches on every side for hemming
- Embroidery floss in your chosen colors (buy more than you think you need for large pieces)
- Embroidery needles, size 7 or 8
- A large embroidery hoop or frame to hold sections taut while stitching (a 10 inch hoop works well, or use a floor stand if you have one)
- Water soluble fabric marker for transferring your design
- Small sharp scissors
- A wooden dowel, branch, or copper pipe for hanging, cut about 4 inches wider than your finished piece
- Cotton cord, leather cord, or yarn for the hanging string
- Sewing machine or needle and thread for hemming (or iron on hem tape for a no sew option)
Preparing Your Fabric
Start by cutting your fabric to size, adding 2 inches on each side for hems. Finish the raw edges first to prevent fraying while you work. You can zigzag stitch the edges on a sewing machine, apply fray check liquid, or simply fold and press the hems right away.
For the top hem, which will hold your dowel, fold over 2 inches and press, then stitch it down to create a rod pocket. For the side and bottom hems, fold over half an inch, press, fold another half inch, and stitch. Clean hems make the difference between a project that looks handmade in the best way and one that looks unfinished.
Transfer your design to the fabric using your preferred method. For large designs, the window tracing method works well. Tape your printed design to a bright window, tape the fabric over it, and trace with your water soluble marker. Work in sections if your design is larger than the window.
Stitching a Large Piece: Strategy Matters
Stitching a wall hanging is a marathon, not a sprint. A little strategy keeps you motivated and your work consistent.
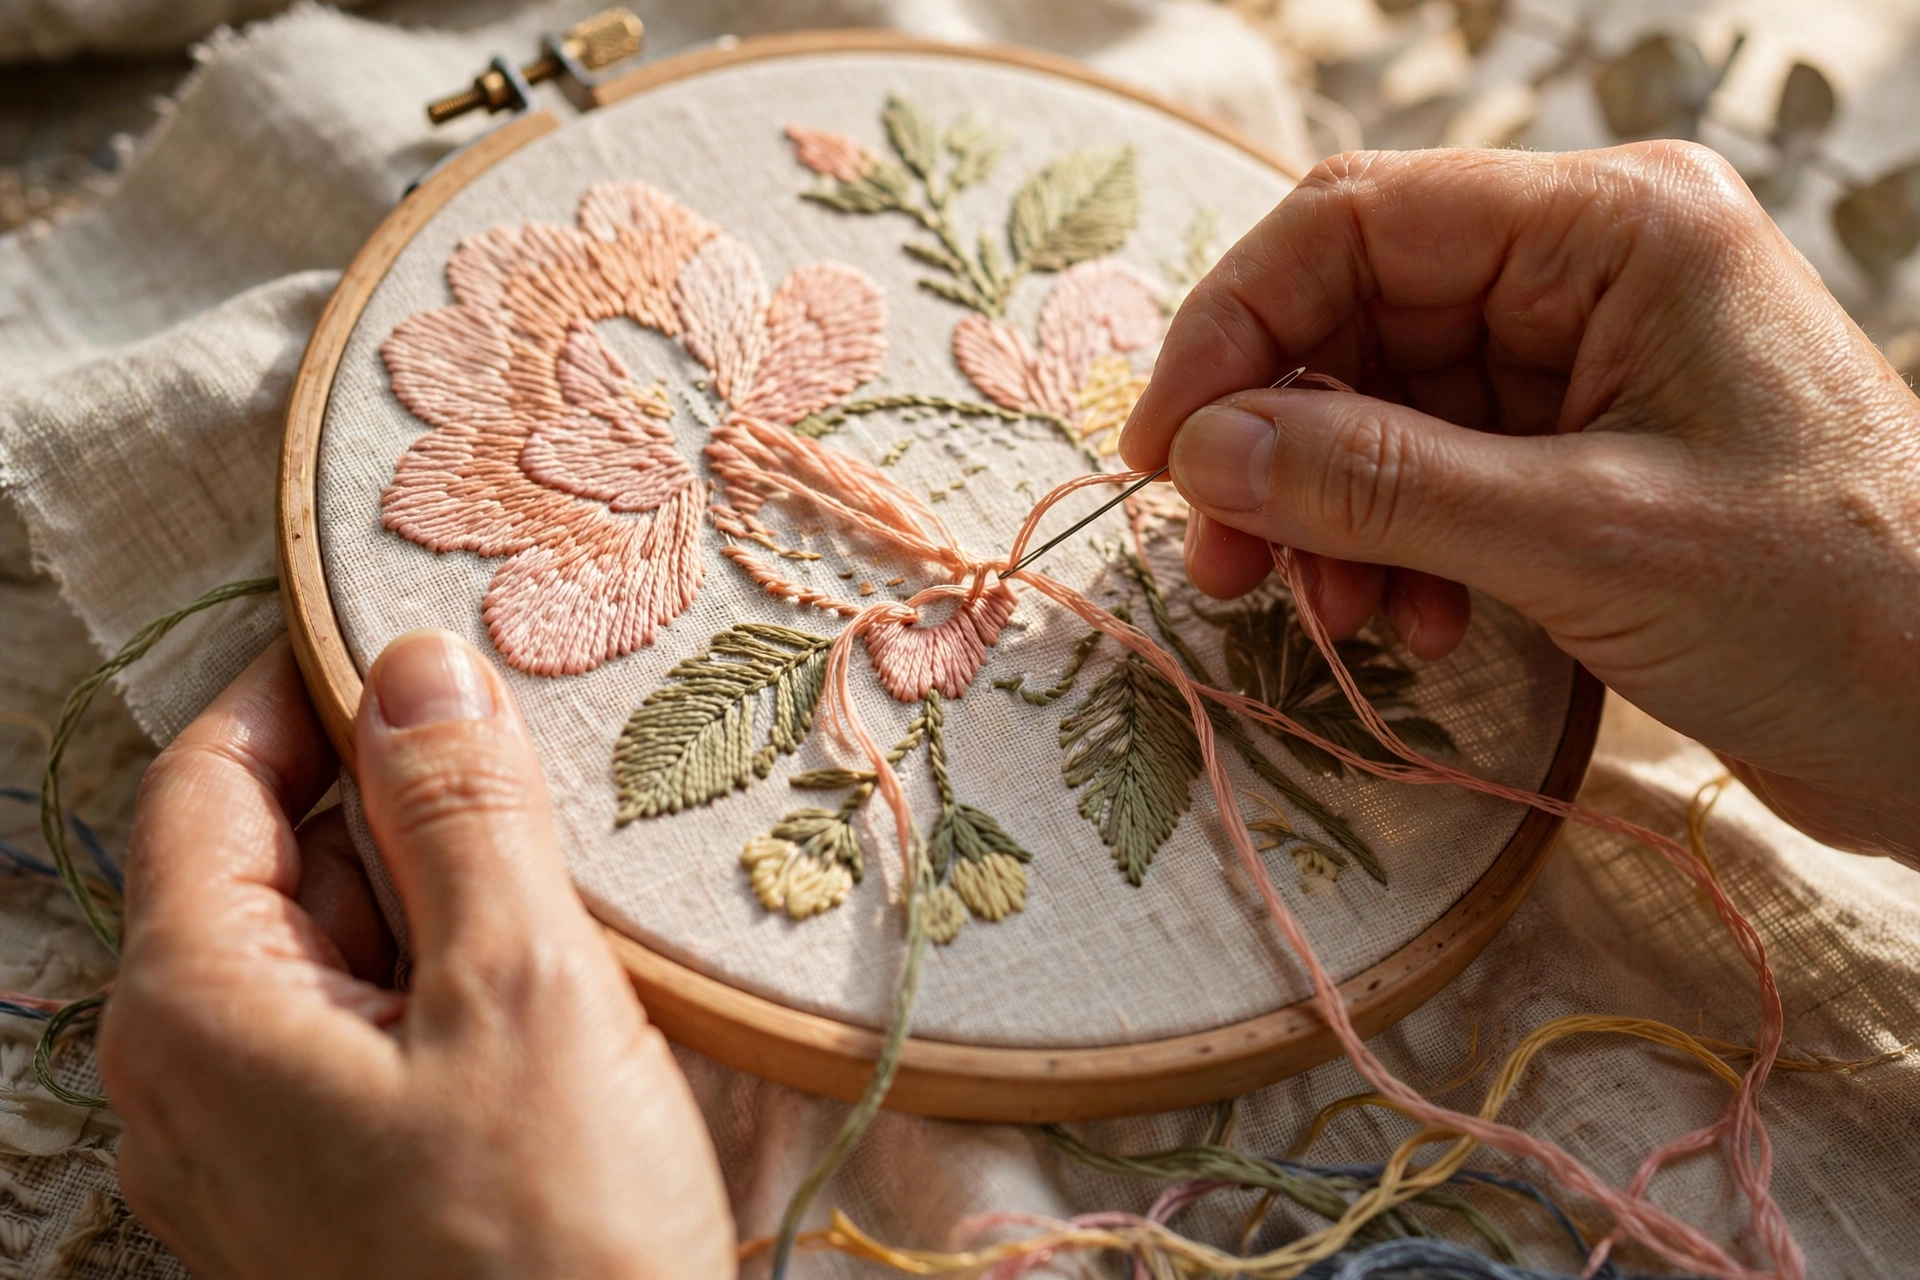
Work in sections
Do not try to stitch the entire piece with the fabric loose. Use a large hoop to hold one section taut at a time, and move the hoop as you complete each area. This keeps your tension even across the whole piece.
Start with the background elements
Stitch the elements that sit furthest back in your design first, then layer forward elements on top. For a botanical design, this means stitching background leaves before foreground flowers.
Keep a consistent stitch direction
On large filled areas, pick a stitch direction and stick with it. Inconsistent direction is one of the things that makes large satin stitched areas look amateur. If your petals all flow the same way, the whole piece looks more polished.
Take breaks and check from a distance
Pin your work to a wall or drape it over a chair every few sessions and look at it from across the room. This is how it will actually be seen, and it helps you spot balance issues while there is still time to adjust.
Best Stitches for Wall Hangings
All your favorite stitches work at larger scale, but a few are especially useful:
- Satin stitch for filling petals, leaves, and shapes. On large areas, consider breaking the fill into sections with subtle direction changes to avoid a flat look.
- Long and short stitch for shaded areas and thread painting effects. This is the stitch that makes embroidered landscapes look like paintings.
- Stem stitch and backstitch for outlines, stems, and lettering.
- French knots and colonial knots for texture and dimension. A cluster of French knots makes a wonderful flower center or a field of tiny blossoms.
- Couching for bold lines and metallic threads. Lay a thicker thread on the surface and tack it down with tiny stitches. It is perfect for outlines that need to stand out at a distance.
Adding the Hanging Hardware
Once your stitching is complete and you have pressed your piece gently from the back, it is time to hang it. Here are three methods, from simplest to most polished:
Method 1: Dowel in a rod pocket
Slide your wooden dowel through the rod pocket you sewed at the top. Tie your cord to each end of the dowel, leaving enough slack to hang. This is the classic method and it works beautifully. Sand the dowel lightly and rub it with a little beeswax or wood oil for a finished look.
Method 2: Clips or rings
Sew small fabric tabs or attach curtain rings with clips along the top edge, then thread your dowel through them. This creates a lovely gathered effect and works well for a more casual, bohemian look.
Method 3: Mounted on a branch
For a natural, organic feel, use a sturdy branch instead of a dowel. Fold the top of your fabric over the branch and stitch it down, or use leather cord to lash the fabric to the branch at intervals. Sand any rough spots on the branch first and make sure it is fully dry.
Finishing Touches
Consider adding tassels or fringe to the bottom edge for extra texture. You can make simple tassels from embroidery floss in matching colors and attach them along the bottom hem. Beads stitched sparingly into the design can catch the light beautifully, but use them with restraint. A few well placed beads elevate a piece. Too many overwhelm it.
Give your finished hanging a final gentle press from the back with a cool iron and a pressing cloth. Then hang it, step back, and enjoy the moment. You made that.
Caring for Your Wall Hanging
Keep your wall hanging out of direct sunlight to prevent fading. Dust it occasionally with a soft brush or a cool hairdryer on the lowest setting. If it ever needs cleaning, spot clean gently with a damp cloth rather than submerging it. With basic care, your wall hanging will bring warmth to your home for many years.
What to Stitch Next
Now that you know how to make a wall hanging, the possibilities are wide open. Try a seasonal design you can swap throughout the year, a large scale quote for your home office, or a set of three smaller hangings in coordinating colors for a gallery effect. Each one teaches you something new about working at scale, and your walls will thank you.
You have got this. Pick up that needle and make something big and beautiful.