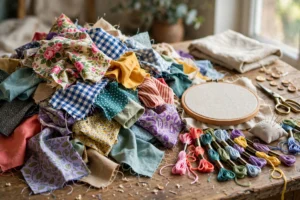
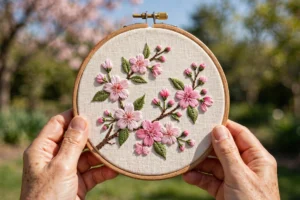
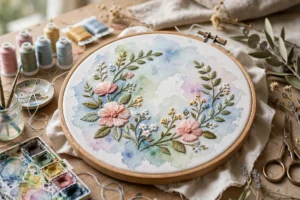
The first piece of embroidered home decor I ever made was a disaster of ambition. I decided my living room needed a 10-inch hoop with a full garden scene, and six weeks later I had a half-stitched bush and a new understanding of my limits. Here is what I wish someone had told me then: the best embroidered home decor is not the biggest or the most impressive. It is the small, well-placed piece that makes a room feel like someone who loves it lives there. A single stitched pillow in the right chair does more than a gallery wall of unfinished ambition.
This guide walks through the house room by room, with projects that actually suit each space. Every idea includes the fabric to use, the stitches that work best, and the honest time commitment, because a “quick afternoon project” that takes three weekends is how decor dreams die.
Living room: the showcase space
The living room is where your stitching gets seen, so this is the place for finished, framed, intentional pieces. It is also the room with the most wall space, which is convenient, because hoops love walls.
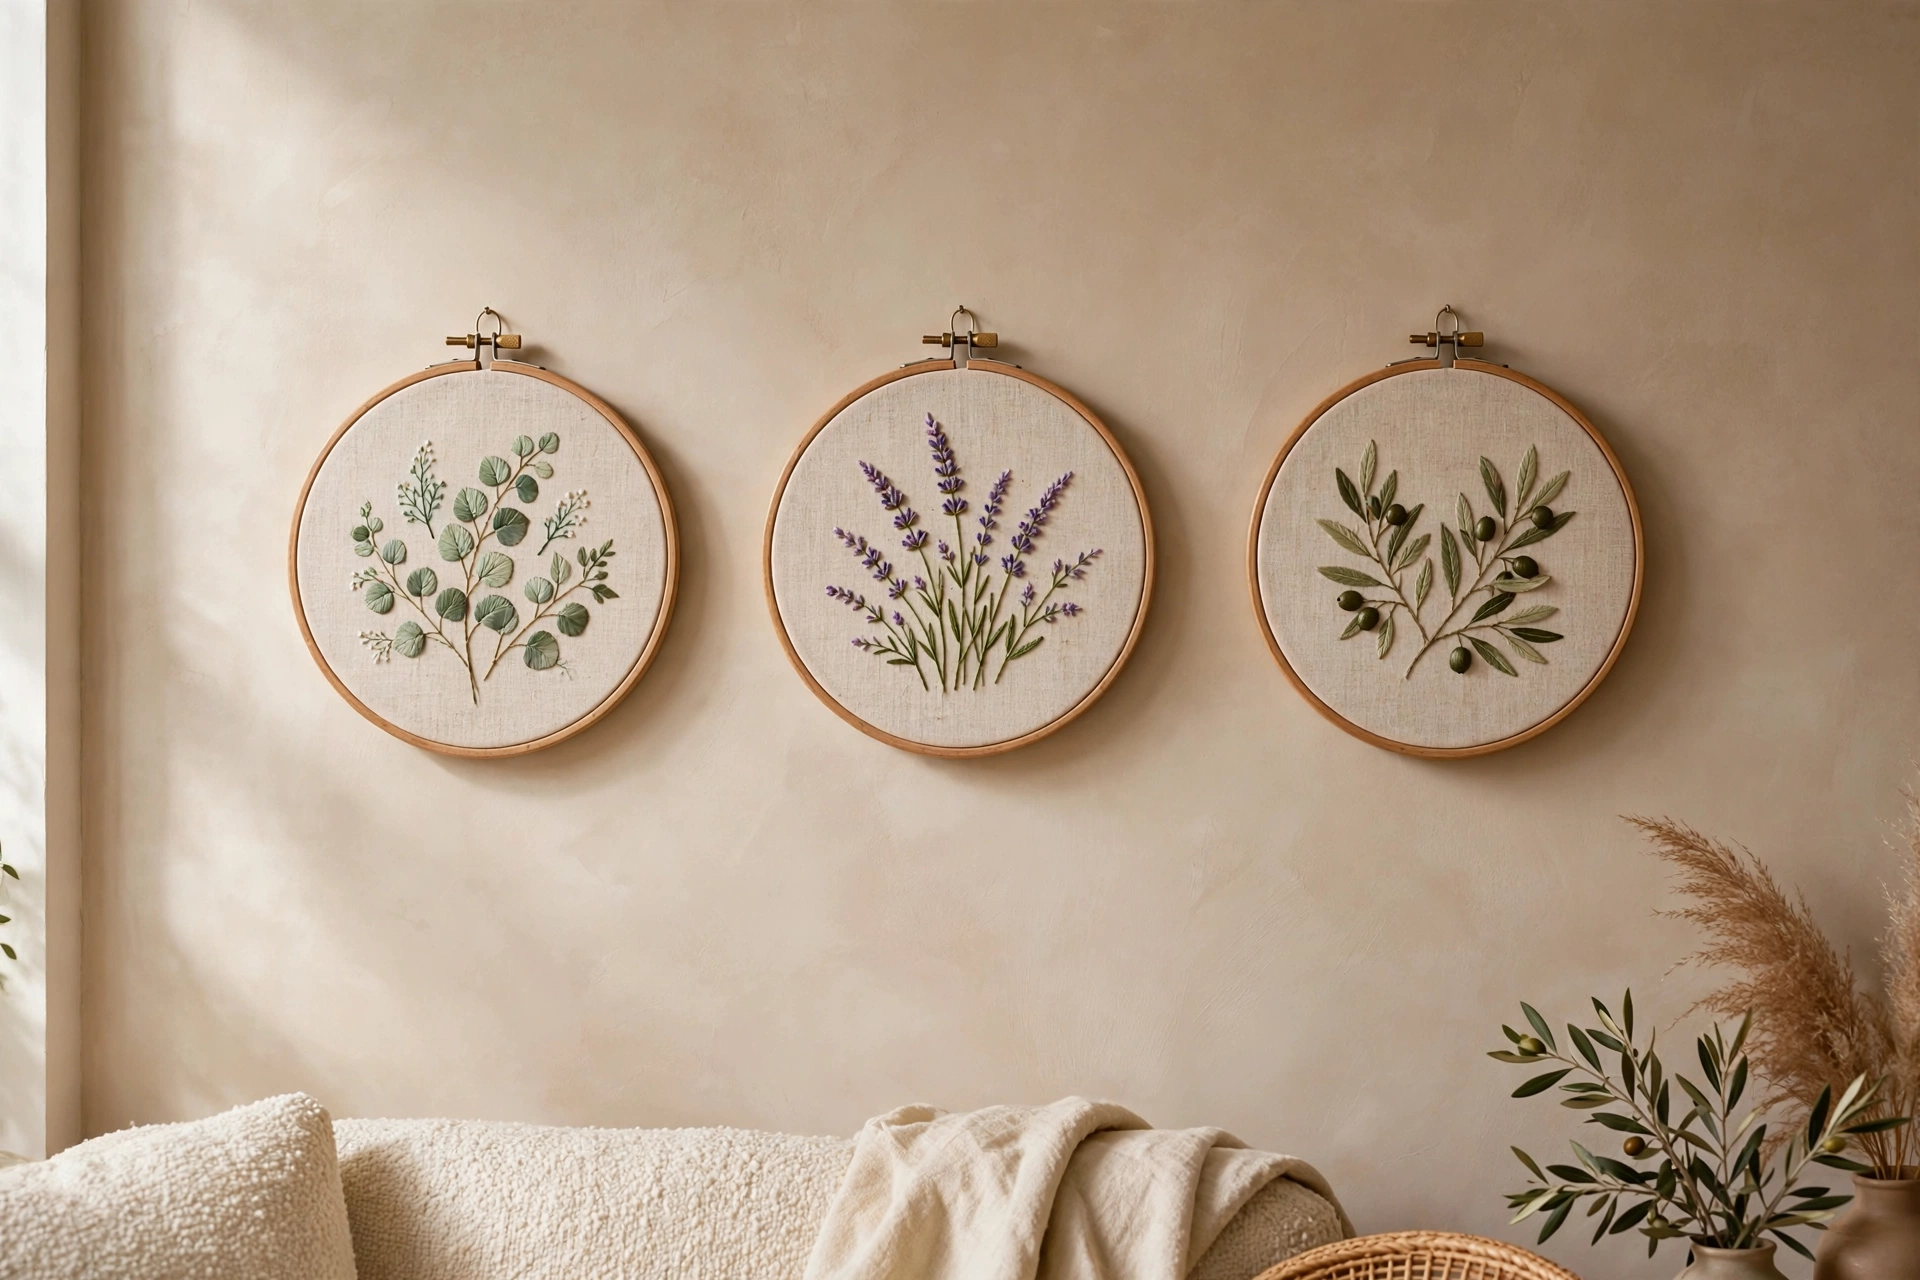
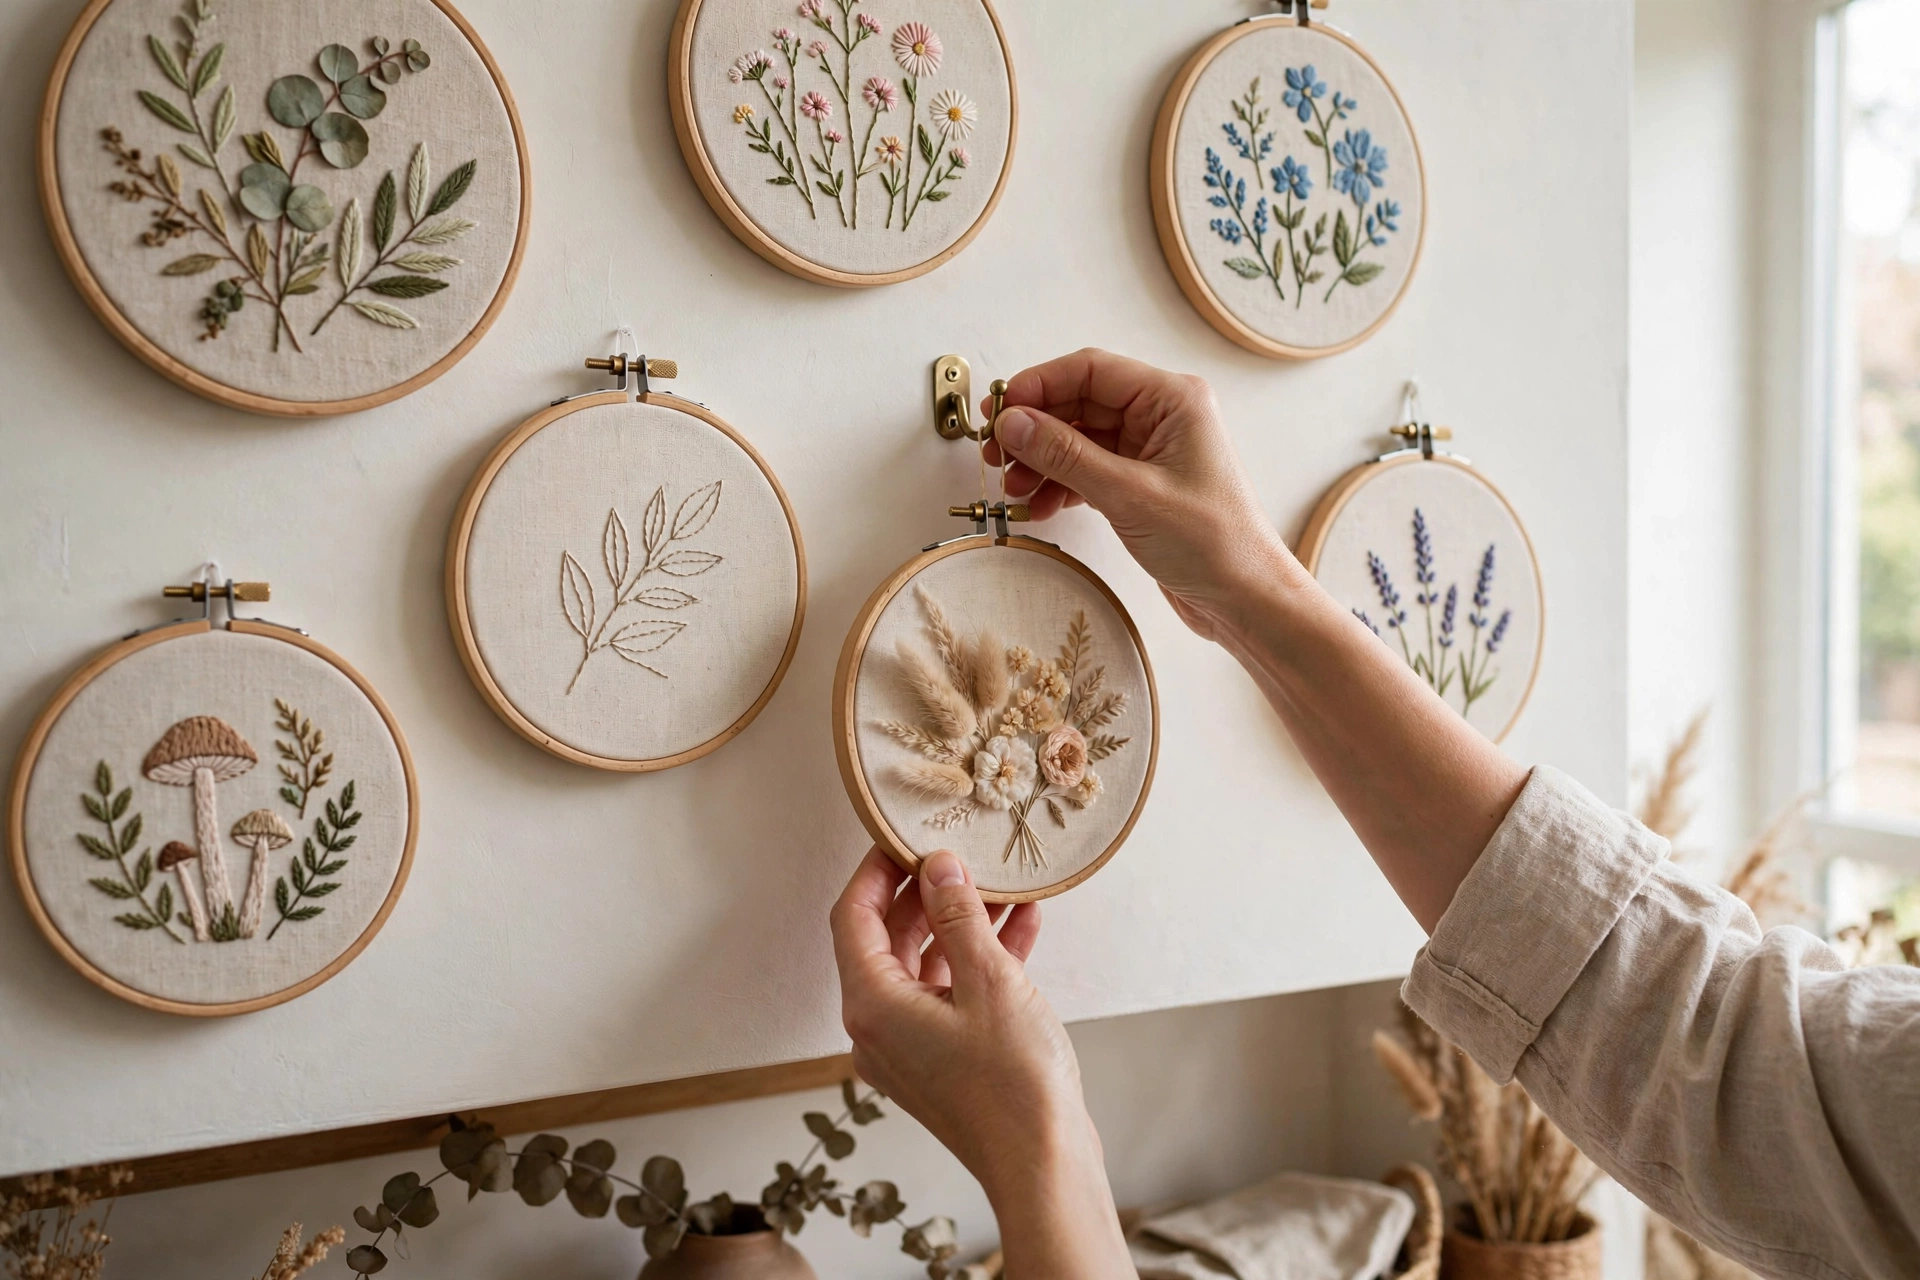
Botanical hoop trios. Three 5-inch hoops, one motif each: a eucalyptus sprig, a monstera leaf, a dried-flower bunch. Work them in the same palette, sage green and dusty pink on cream linen, and hang them in a row or a triangle. Trios look designed in a way single hoops do not, and three small finishes are psychologically easier than one big one. Each hoop takes about four hours. The whole trio is a long weekend, and it is the single highest-impact living room project on this list.
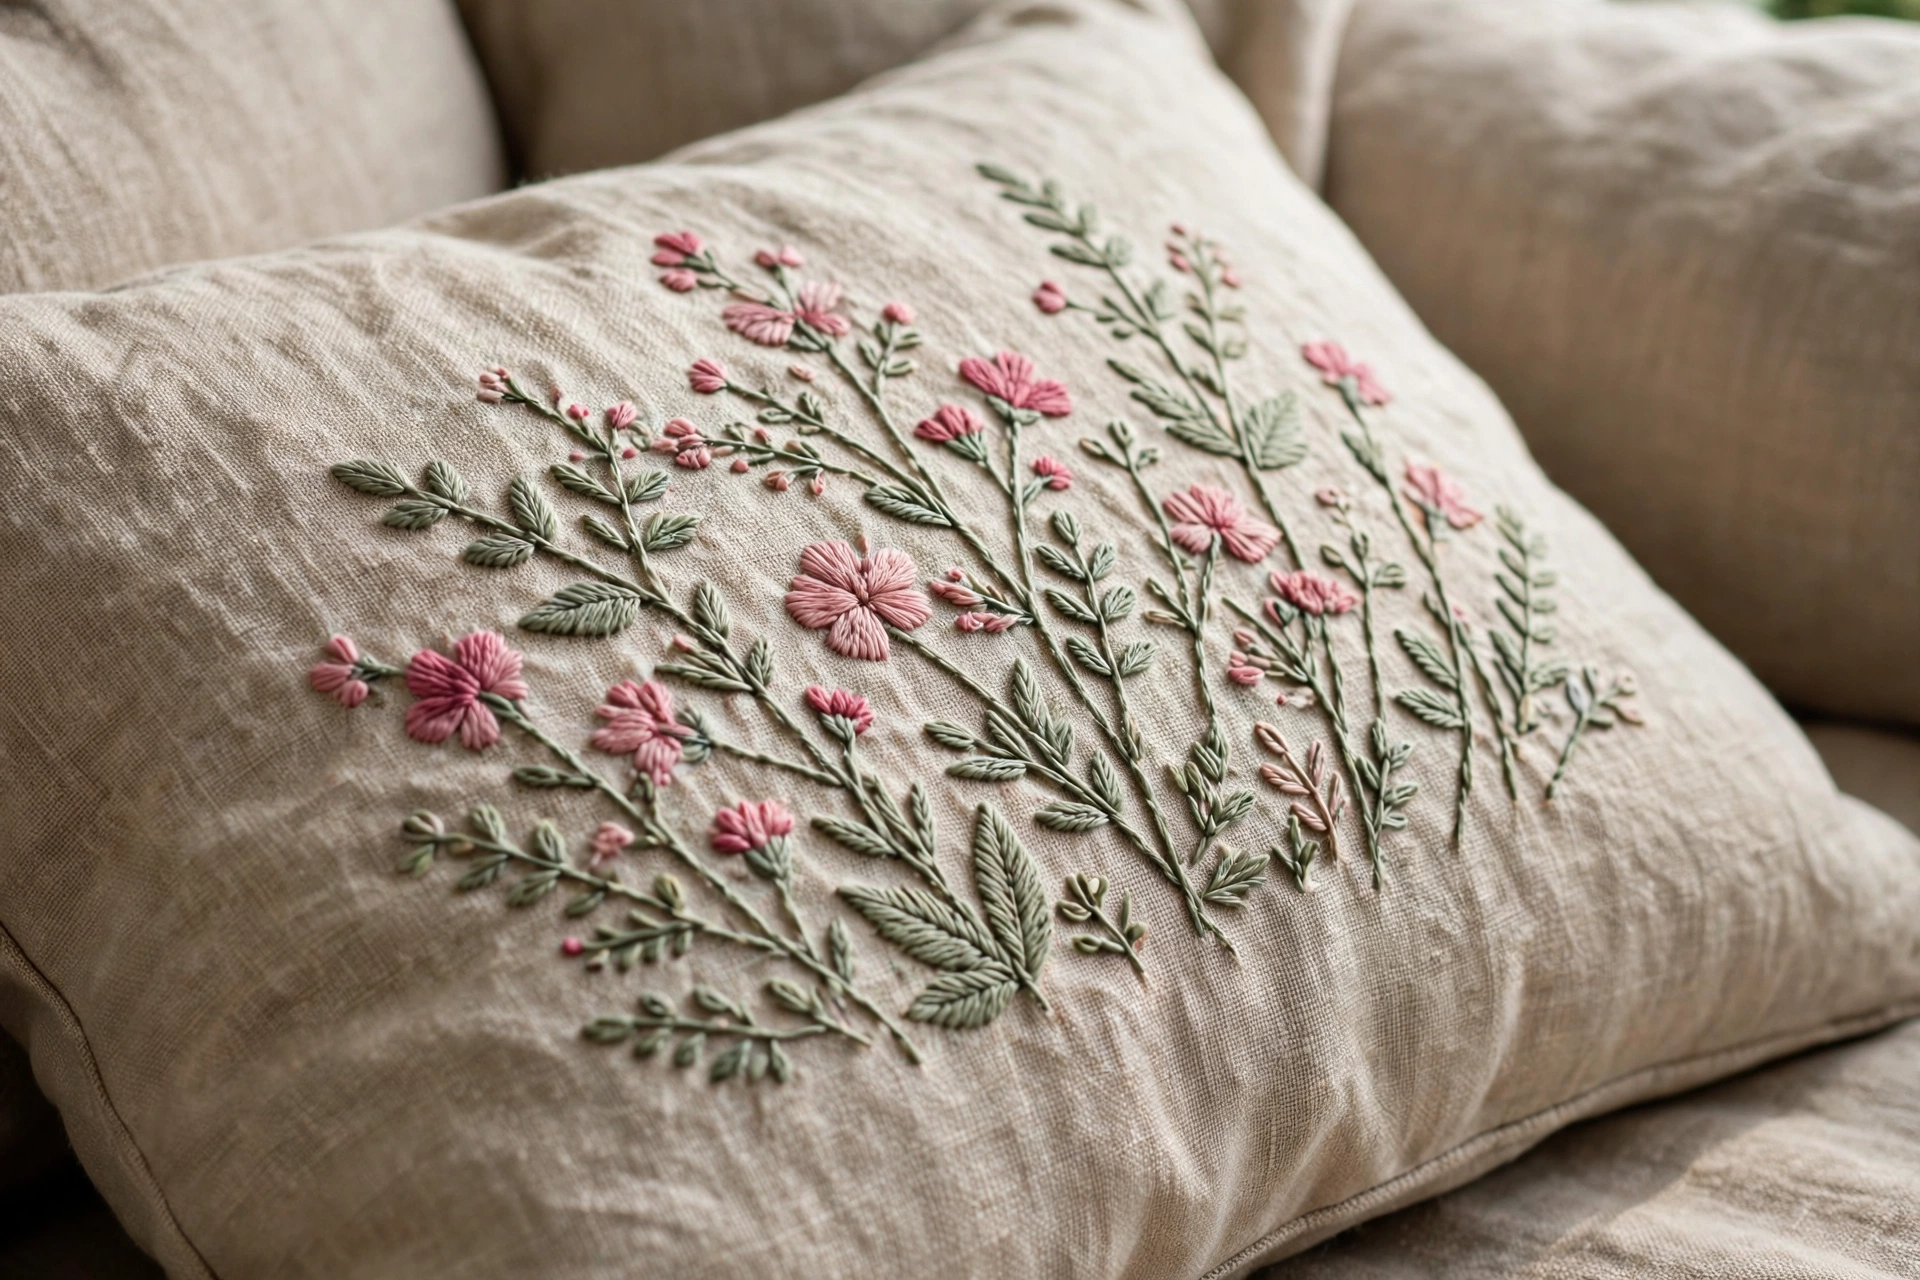
Embroidered cushion covers. A wildflower spray on the front of a plain linen cushion cover, worked in 3 strands for bold coverage. Use a removable cover, never stitch directly onto a filled cushion, because you will want to wash it eventually and hand-washing a whole cushion is miserable. I stitched a poppy design on an 18-inch cover in about eight hours spread over a week, and it is still the first thing guests comment on.
A stitched throw blanket border. This one is ambitious but spectacular: a running vine along the edge of a plain throw, worked in stem stitch with lazy daisy flowers. Use a lightweight throw, not a chunky knit, because you need to get a needle through it without a thimble and a prayer. Budget fifteen to twenty hours. It sounds like a lot, but a stitched throw becomes an heirloom, and heirlooms are allowed to take time.
Bedroom: soft, personal, calm
Bedroom stitching should be quieter than living room stitching. Muted colors, simple motifs, things you see half-asleep that make you smile instead of demanding attention.
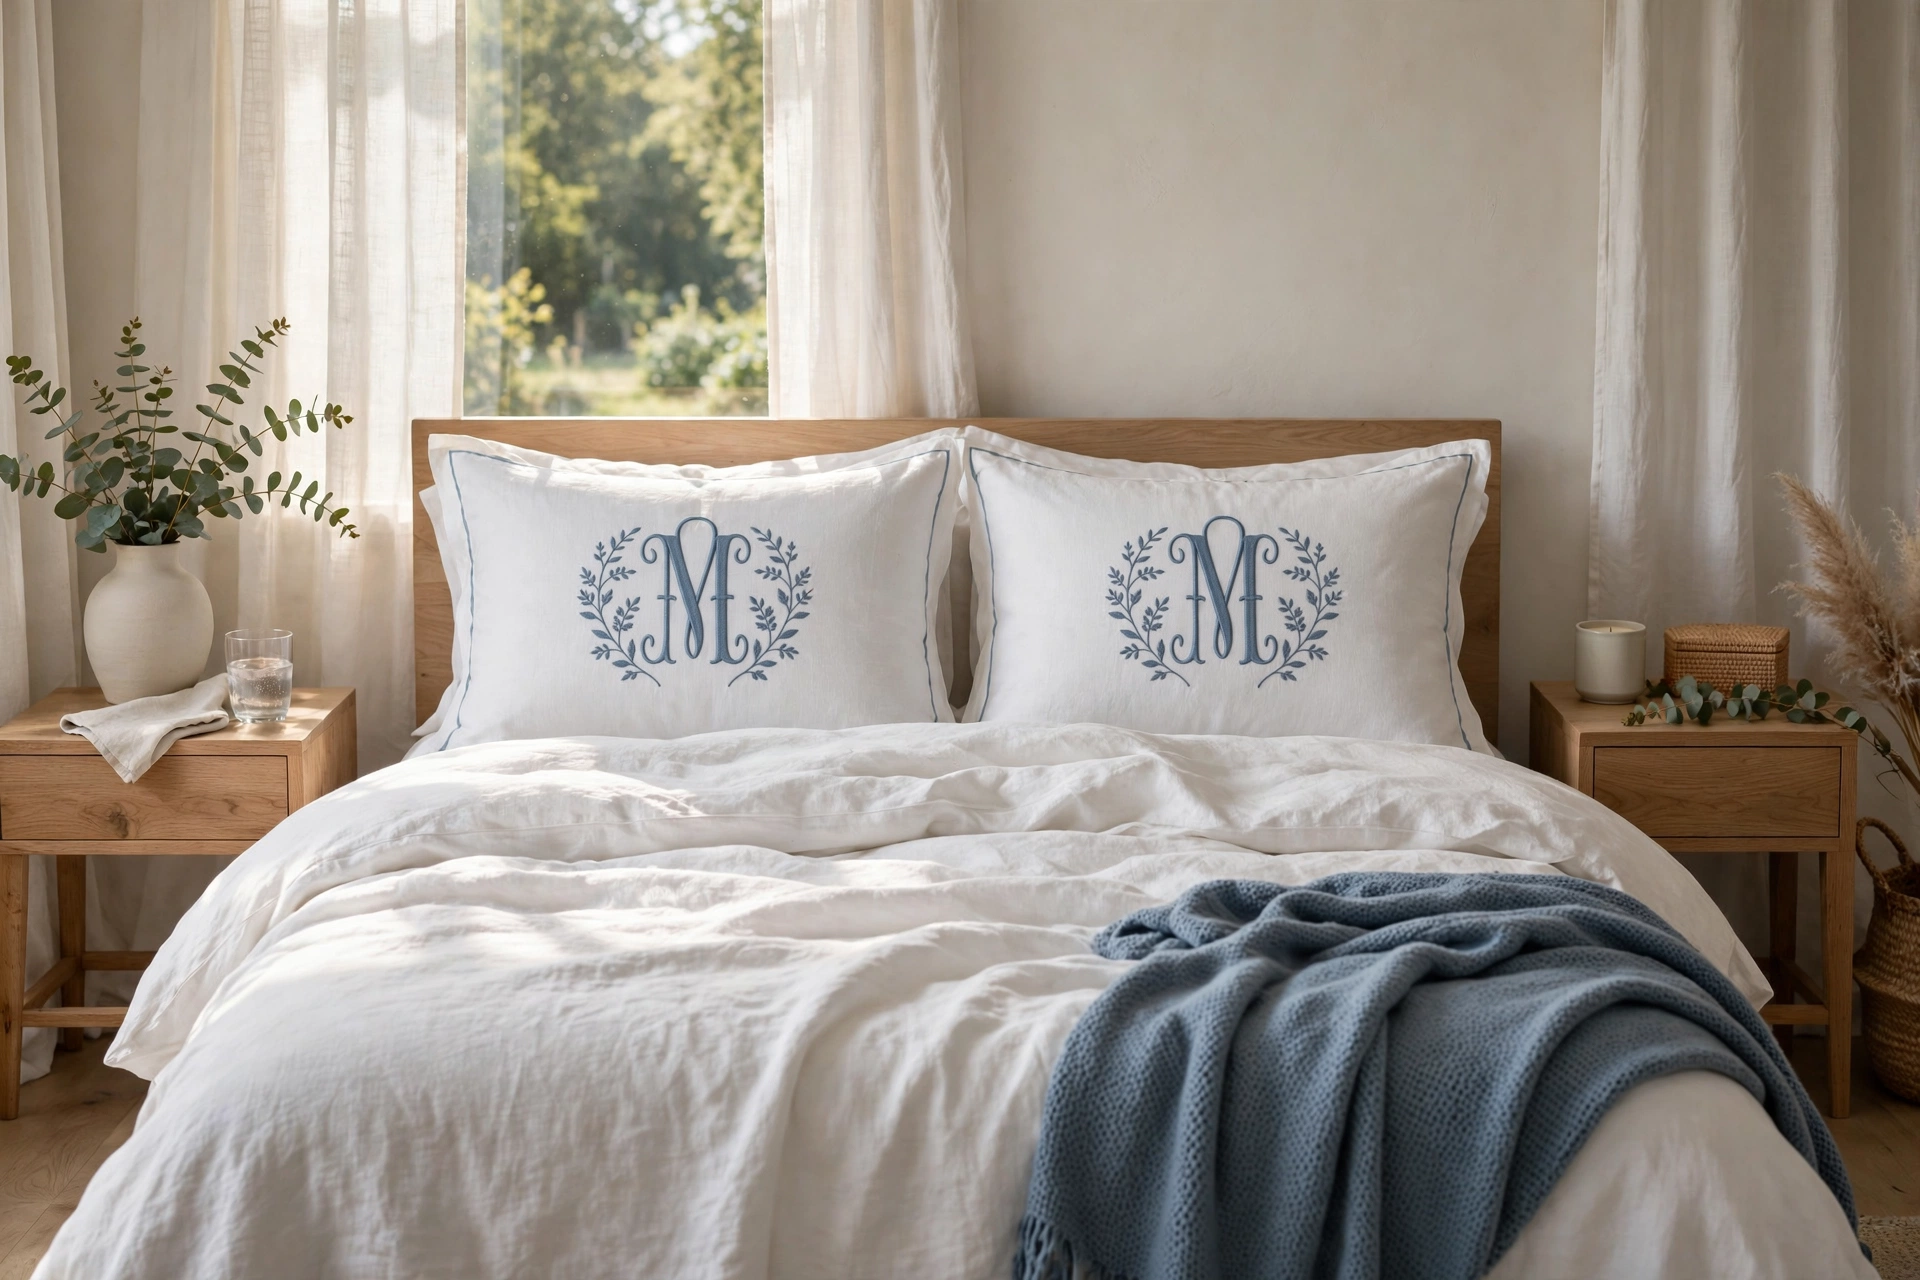
Monogrammed pillowcases. One initial on each pillowcase corner, in backstitch or stem stitch, 2 strands, about 2 inches tall. Use a soft color like dusty blue or sage on white cotton. This is the classic for a reason: it takes two hours per case, it looks like a boutique hotel, and you see it every single night. Buy good pillowcases. Cheap ones pill after three washes and take your stitching down with them.
A moon-phase wall hanging. Seven small circles in a row, each showing a moon phase in satin stitch or French knots, on navy or deep green linen. Mount on a dowel. Moon phases are perfect bedroom decor because they are rhythmic and calm, and the repetition means you learn the stitch once and repeat it seven times. Four to five hours total.
Stitched lavender sachets. Small linen squares, a sprig of lavender in stem stitch and French knots, filled with dried lavender and tied shut. Tuck them in drawers and under pillows. They make the whole room smell like a garden, and each one takes about an hour. Make a batch of six in a weekend and you have gifts for the next three birthdays sorted.
Kitchen and dining: hardworking stitching
Kitchen textiles get washed, stained, and abused. Stitch accordingly: bold designs, sturdy fabric, and floss that can survive the laundry. This is not the room for delicate whitework.
Embroidered tea towels. A row of herbs along the bottom edge: basil, thyme, rosemary, each with its name in backstitch underneath. Use flour-sack towels, the thin kind, because thick terry eats needles. Work in 3 strands of colorfast DMC, and tell everyone in the house they are decorative until you say otherwise. Mine lasted two years of actual use before the basil started looking tired.
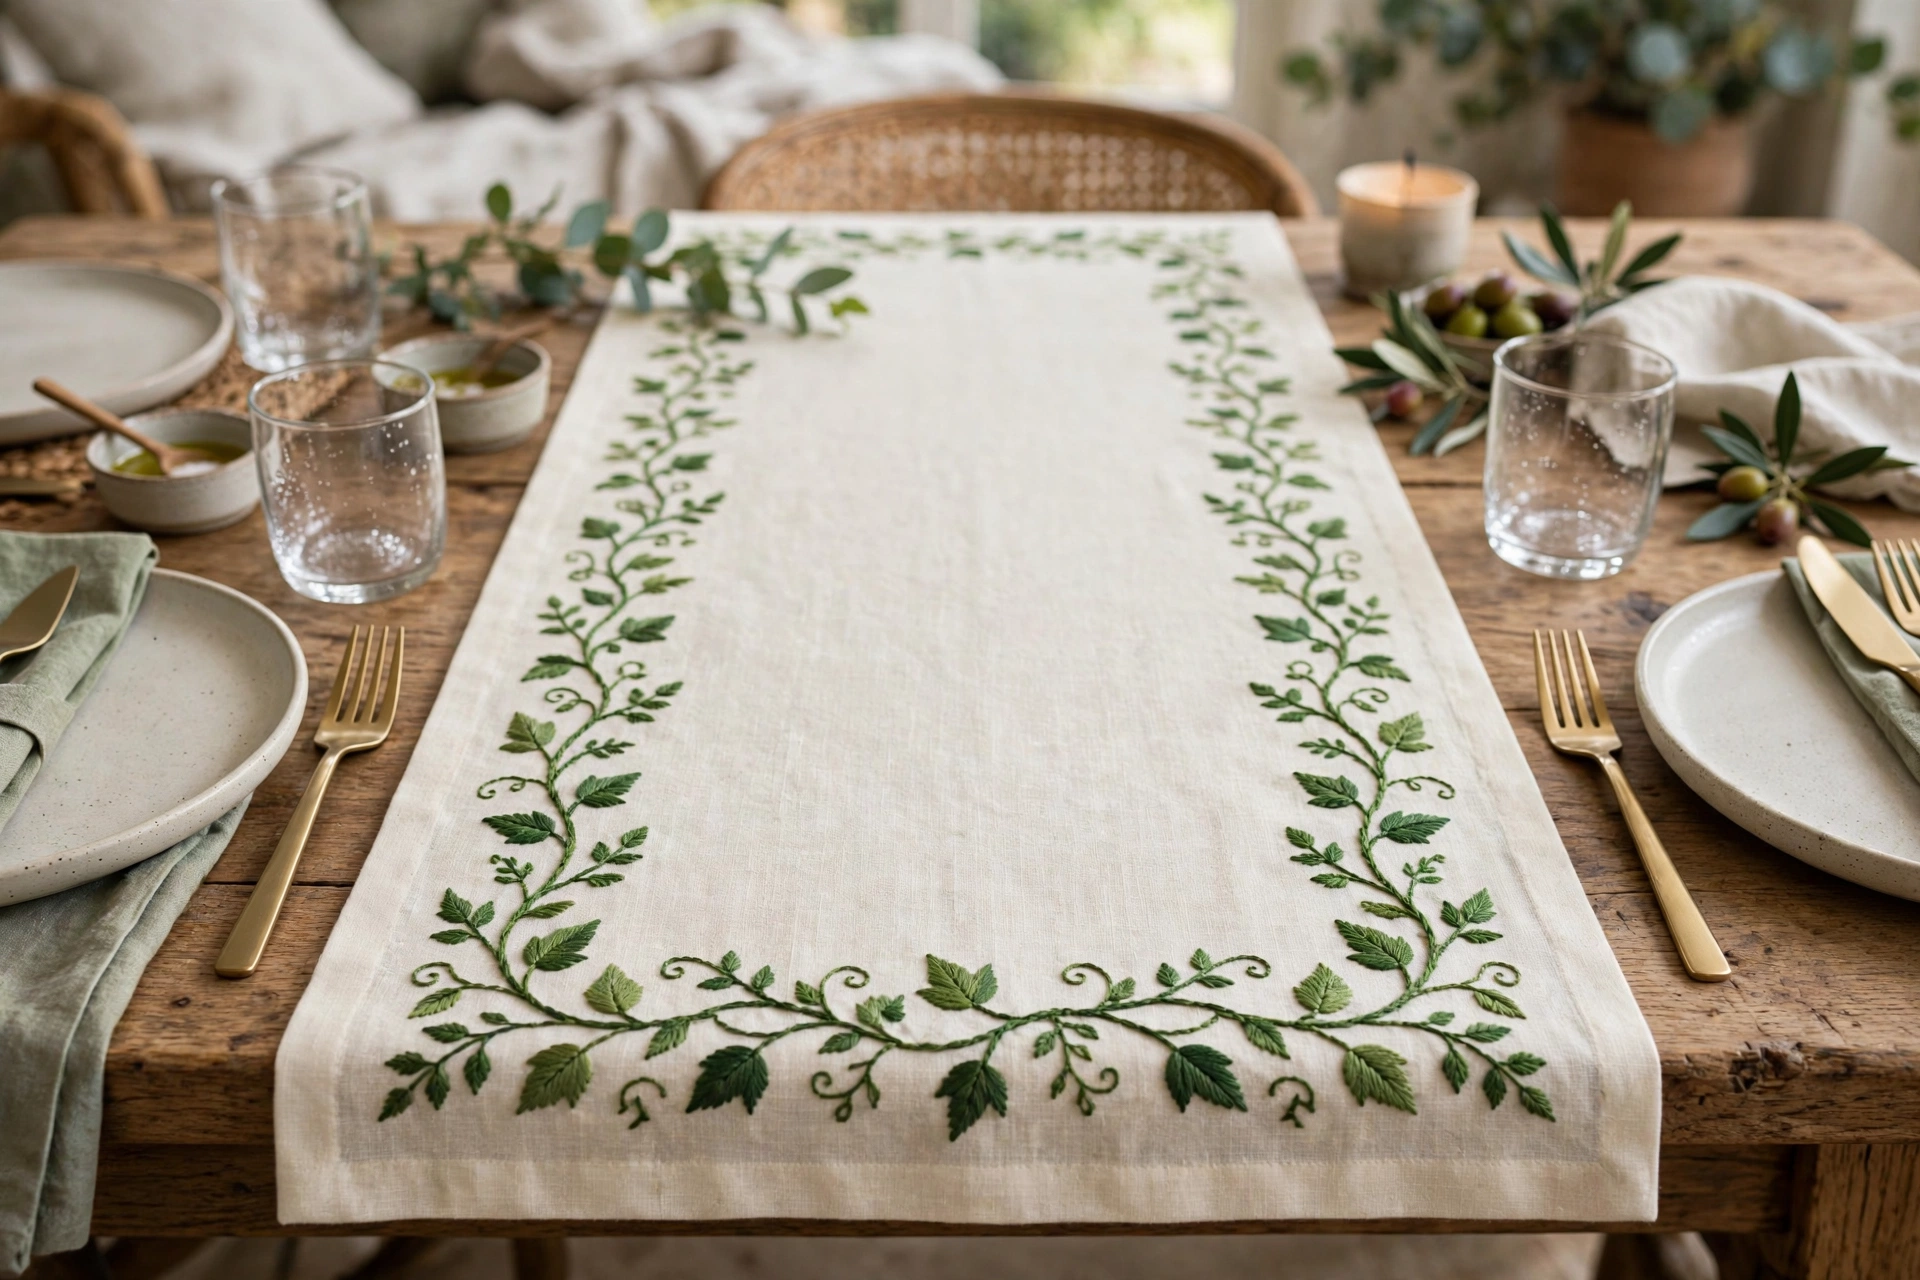
A table runner with a vine border. A running stem-stitch vine with leaves down both long edges of a linen runner. This is a bigger project, ten to twelve hours, but a stitched runner transforms a dining table the way nothing else can. I made one with a grapevine pattern for autumn and I swear our Tuesday dinners felt fancier.
Stitched jar covers. Circles of gingham or linen with a blanket-stitched edge and a small motif in the center, tied over jam jars or storage canisters with ribbon. Ten minutes of stitching per cover, and your pantry looks like a farmhouse magazine. These are also the ideal use for those tiny motifs you stitch as practice and do not know what to do with.
Entryway and hallway: first impressions
The entryway gets about three seconds of attention per visitor, so the stitching here needs to read fast: bold words, simple shapes, high contrast.
A “hello” or “welcome” hoop. The word in stem stitch or backstitch, 3 strands, with a small floral sprig underneath. Four-inch hoop, two hours, hung at eye level by the door. It is the stitched equivalent of a friendly wave, and it sets the tone for the whole house.
A key-holder panel. A strip of heavy linen or canvas with stitched labels and hooks: keys, dog leash, sunglasses. The stitching is minimal, just words in backstitch, but it turns a cluttered entryway into an organized one. Function first, pretty second, and somehow it ends up being both.
Bathroom: small, humid, often forgotten
Most people never think to put stitching in the bathroom, which is exactly why you should. Small pieces, simple motifs, and keep them away from direct shower steam.
A small shell or botanical hoop. A 4-inch hoop with a simple shell, leaf, or wave motif in blues and greens. Hang it on the wall opposite the mirror where it will not get splashed. Bathrooms need softness, and a little hoop delivers it for about two hours of work.
Embroidered hand towels. One small motif on the corner of a hand towel: a wave, a leaf, an initial. Use the same rules as kitchen towels, sturdy fabric, colorfast floss, and accept that bathroom textiles have a shorter life. Stitch them knowing they are temporary, and enjoy them while they last.
Home office or craft room: stitching about stitching
This is your space, so this is where the personal, slightly weird projects live. The ones that would confuse guests but make you happy every time you see them.
A stitch reference wall. Small hoops or framed squares, each demonstrating a stitch you love: one perfect French knot cluster, one smooth satin stitch leaf, one row of seed stitch. Label them. It is decor and a reference library in one, and every stitcher who visits will stand in front of it for ten minutes.
An embroidered pin board border. Stitch a decorative border around a fabric-covered pin board: vines, stars, geometric patterns. You look at your pin board every day. It might as well be pretty.
A “finished” tally hoop. This is my favorite. A hoop where you add one small motif for every project you finish: a star, a flower, a dot. Over a year it becomes a visual diary of everything you made. Mine has forty-three motifs now, and it is the piece I would save in a fire.
What to avoid: the home decor mistakes I made so you do not have to
Do not stitch on stretched canvas the way you would on linen. I tried to embroider directly onto a pre-stretched artist canvas for a “modern” look. The weave is too tight, the needle fought me for six hours, and the back looked like a bird’s nest. If you want the canvas look, stitch on linen and mount it on the canvas afterward.
Do not hang unframed hoops in direct sunlight. The wooden hoop is fine, but floss fades. That gorgeous deep red becomes a sad pink within a year in a south-facing window. Hang stitched pieces on walls that get indirect light, or accept the fade as patina. I have one faded piece I now love precisely because it looks vintage, but I did not plan it that way.
Do not skip the backing. Every hoop on display needs a felt backing circle glued or stitched over the back. It takes five minutes, it hides the messy back, and it keeps dust out of the stitches. A hoop without backing looks unfinished from every angle except straight-on, and people do look from angles.
Do not use non-colorfast floss on anything washable. Test by soaking a snippet in hot water for ten minutes. If the water colors, that floss is display-only. DMC cotton is reliably colorfast. The gorgeous hand-dyed skein from the craft fair might not be. Ask before you buy, or test before you stitch.
How to hang and place it all
Placement matters as much as the stitching. A few rules I follow: hang hoops at eye level, which is 57 inches from the floor to the center for most rooms. Group odd numbers, threes and fives look intentional while pairs look like you ran out. Leave more space between pieces than feels right, white space is what makes a gallery wall look curated instead of cluttered. And use proper picture-hanging strips or small nails, not the hoop’s tightening screw, which was never designed to bear weight and will eventually loosen and drop your work at 2 a.m. Ask me how I know.
Start with the room you spend the most time in. For most of us that is the living room or the bedroom, and one well-chosen piece there will bring you more daily joy than five pieces scattered everywhere. Stitch it, back it, hang it at eye level, and then stand in the doorway and look at it. That moment, when your stitching becomes part of your home, is the entire point.