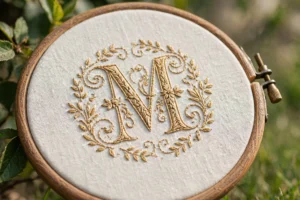
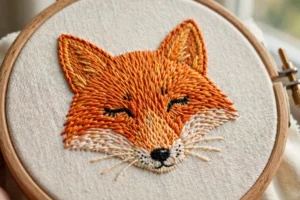
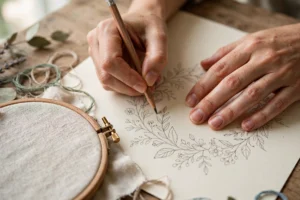
One of the most exciting moments in an embroiderer’s life is realizing that any photo you love can become a stitched piece of art. Your grandmother’s garden, your dog asleep in a sunbeam, the skyline from your favorite trip: all of these can be turned into embroidery patterns you designed yourself. It sounds advanced, but the process is really just a series of small, learnable steps: choose the right photo, trace the important lines, simplify the details, and test before you commit.
In this guide I will walk you through exactly how to create your own embroidery pattern from a photo, including two methods you can use today with things you already own. By the end you will have a repeatable process for turning memories into stitchable designs.
Choosing the Right Photo
Not every photo makes a good embroidery pattern, and picking the right one is honestly half the battle. What works beautifully in pixels does not always work in thread, so look for photos with these qualities:
- High contrast. Clear light and dark areas translate well into stitch shapes. A flower against a dark background, or a pet with dark fur on a light blanket, gives you natural boundaries to trace.
- A simple subject. One clear focal point works best: a single flower, one animal, a simple building. Busy scenes with dozens of small details are frustrating to stitch and hard to read at hoop size.
- Sharp, clear lines. Crisp edges where shapes meet are your friends. Blurry or hazy photos force you to guess, and guessing shows in the stitching.
- Bold, uncluttered backgrounds. A plain sky, a simple wall, or soft blur behind your subject means you can stitch the subject and leave the background as bare fabric. Plain backgrounds stitch faster and look more elegant.
- Good lighting. Well-lit photos reveal the shapes you need to trace. Dark, murky photos hide the very lines you are looking for.
For your first attempt, pick something genuinely simple: a single bloom, a leafy branch, your cat’s face in profile. Portraits of people are possible but genuinely difficult, so save those for later.
Method 1: Trace and Simplify by Hand
This is the most satisfying method, and it requires nothing but a printer or a phone screen, paper, and a pencil. It also builds your drawing confidence, which pays off in every future design.
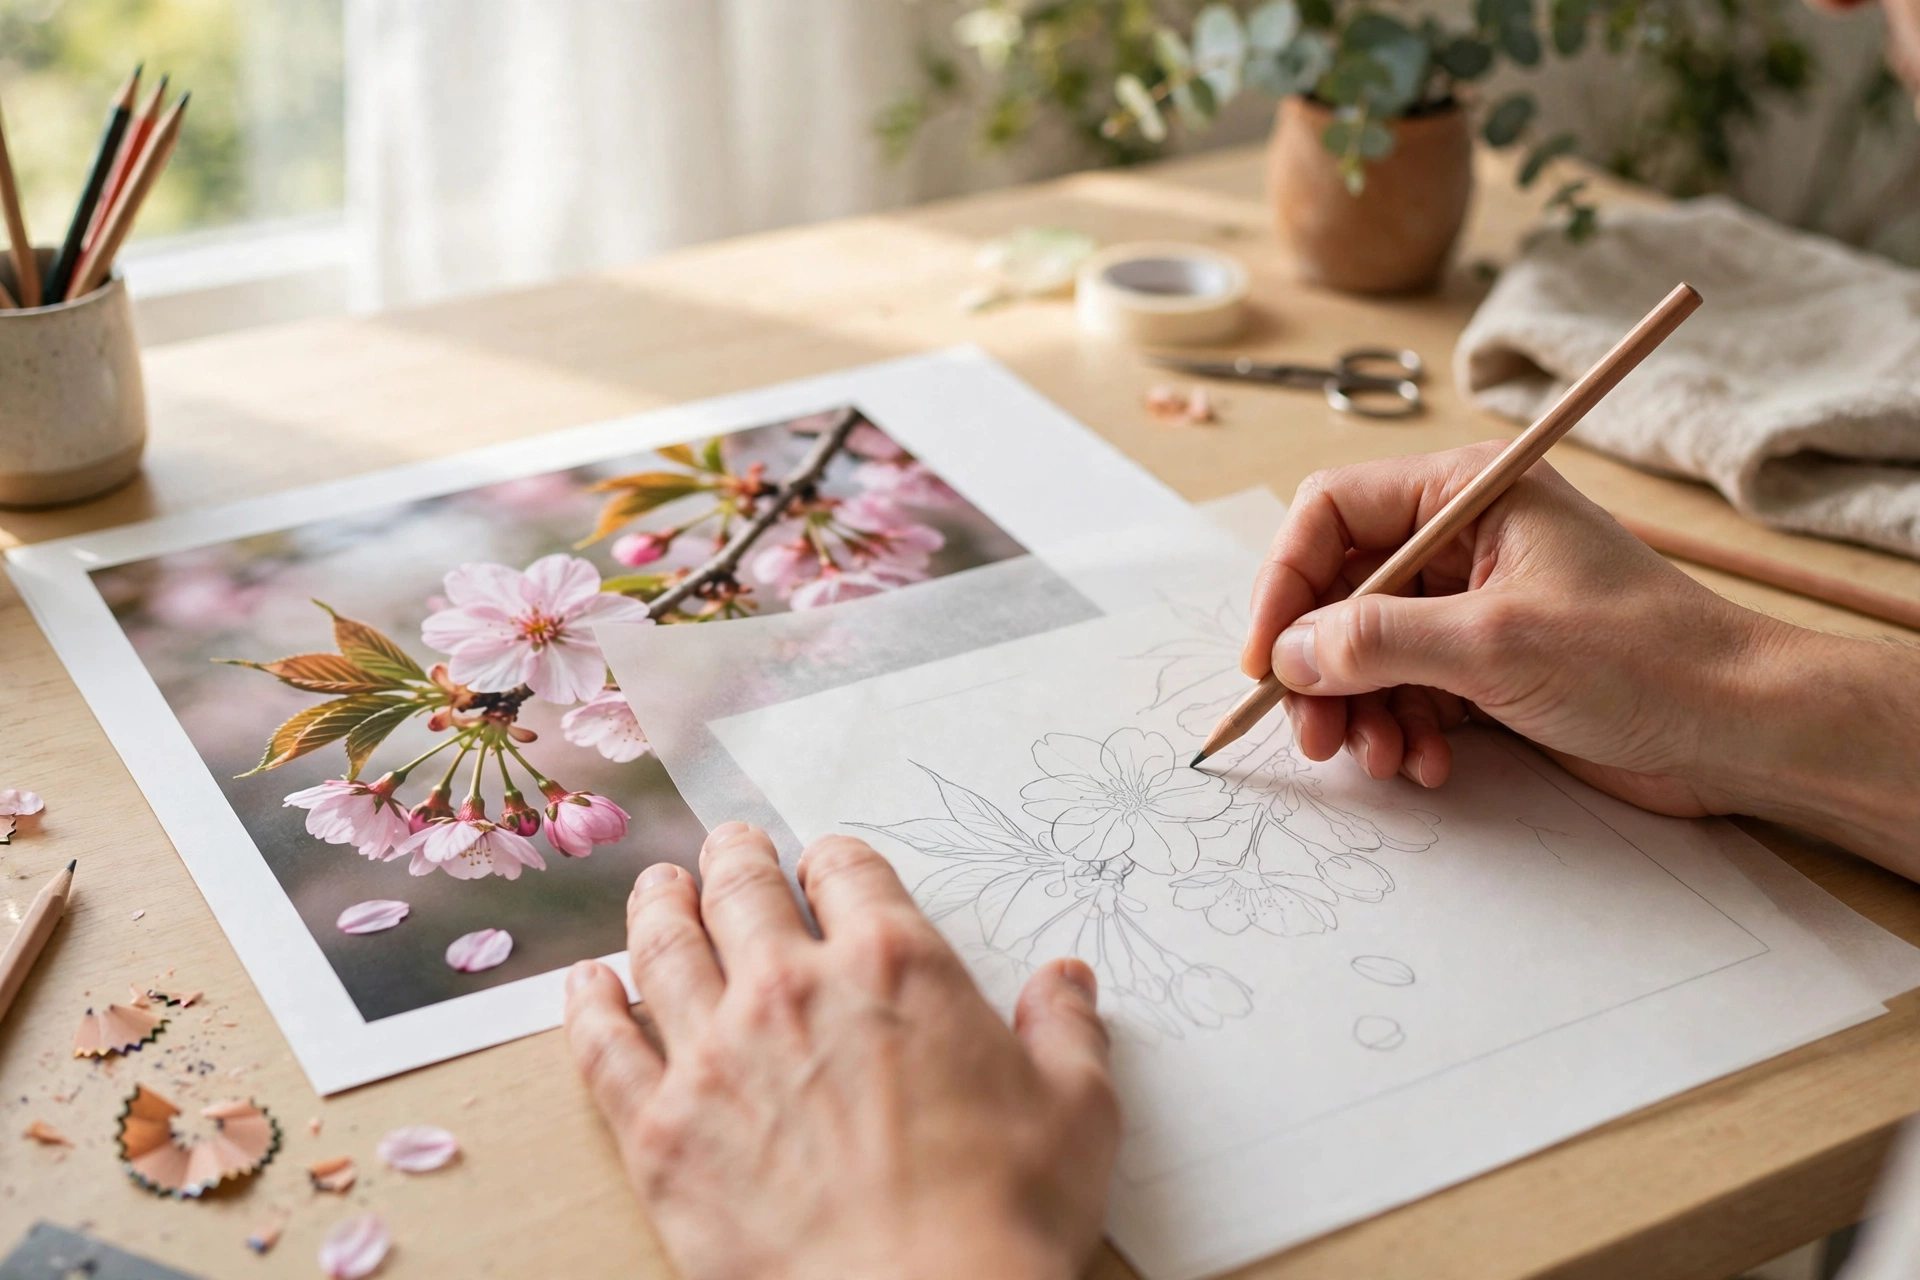
Step 1: Print or display the photo
Print the photo at the size you want to stitch, or display it full-screen on a tablet or phone. Bigger is easier to trace, so aim for at least the size of your hoop. If your printer has a black-and-white or high-contrast setting, use it: removing color helps you see shapes instead of shades.
Step 2: Lay tracing paper over the photo
Tape the photo down, then tape tracing paper, baking paper, or even thin printer paper over it. If you are tracing from a screen, dim the room slightly so the image glows through the paper.
Step 3: Trace only the main shapes
Here is the key skill: do not trace everything. Trace the outline of the main subject, the boundaries between major shapes (petals, leaves, the edge of a face against a background), and two or three important interior lines, like the center vein of a leaf or the curve of a petal fold. Ignore small textures, background clutter, and tiny shadows. You are making a map, not a photocopy.
Step 4: Simplify with a second tracing
Now trace your tracing, but even simpler. Smooth out wobbly lines. Merge fussy little shapes into bigger ones. Ask yourself of every line: would I stitch this, or would it be a tiny thread speck nobody can see? Remove anything that would be smaller than a grain of rice at your stitching size. What remains is your pattern.
Step 5: Mark your stitch plan
Lightly label each shape with the stitch you intend to use: satin stitch for solid petals, long and short for shaded areas, French knots for texture. This turns your drawing into a real working pattern instead of just a nice sketch.
Method 2: Using Free Phone and Computer Tools
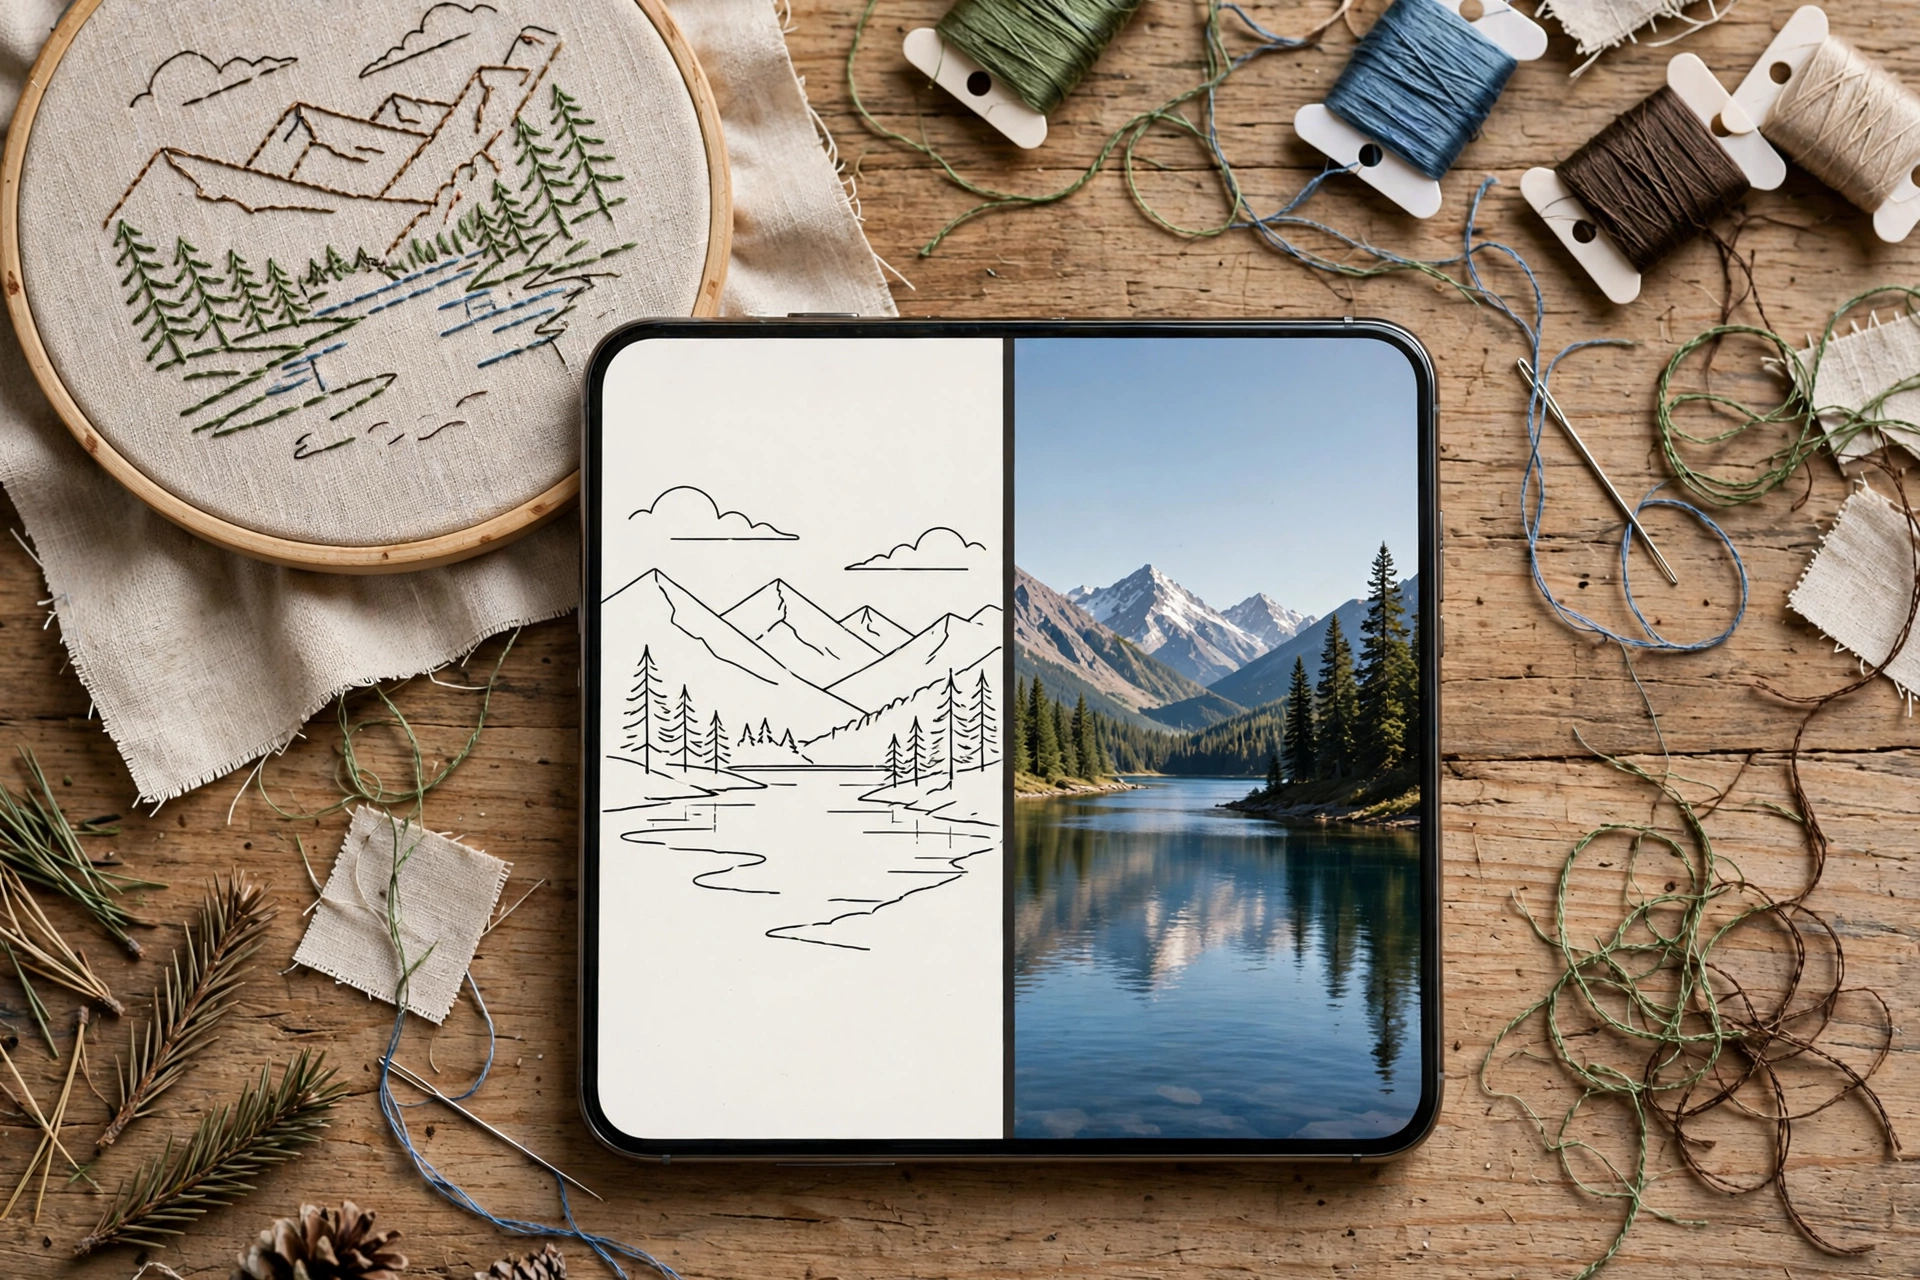
If drawing by hand feels intimidating, free digital tools can do the heavy lifting of turning your photo into a clean line drawing.
Phone apps
Several free apps convert photos into outlines or coloring-book style drawings. Look for apps with names like “photo to sketch” or “line art” converters in your app store. The trick is in the settings: turn the detail or sensitivity down until you get bold, simple lines rather than a fussy mess of tiny marks. Save the result and print it at your hoop size.
Desktop options
Free image editors like GIMP or the web-based Photopea can help. A simple workflow: increase the contrast, apply an edge-detection or “photocopy” filter, then clean up the result by erasing stray marks. Some free vector tools can also trace a bitmap into smooth lines, which gives you beautifully clean curves to print and transfer.
Combining both methods
My favorite approach is a hybrid: generate a rough line version digitally, print it, and then trace over it by hand with your own simplifications. The app does the tedious tracing, and your hand does the artistic judgment. You get the best of both worlds.
How to Simplify Details Into Stitchable Shapes
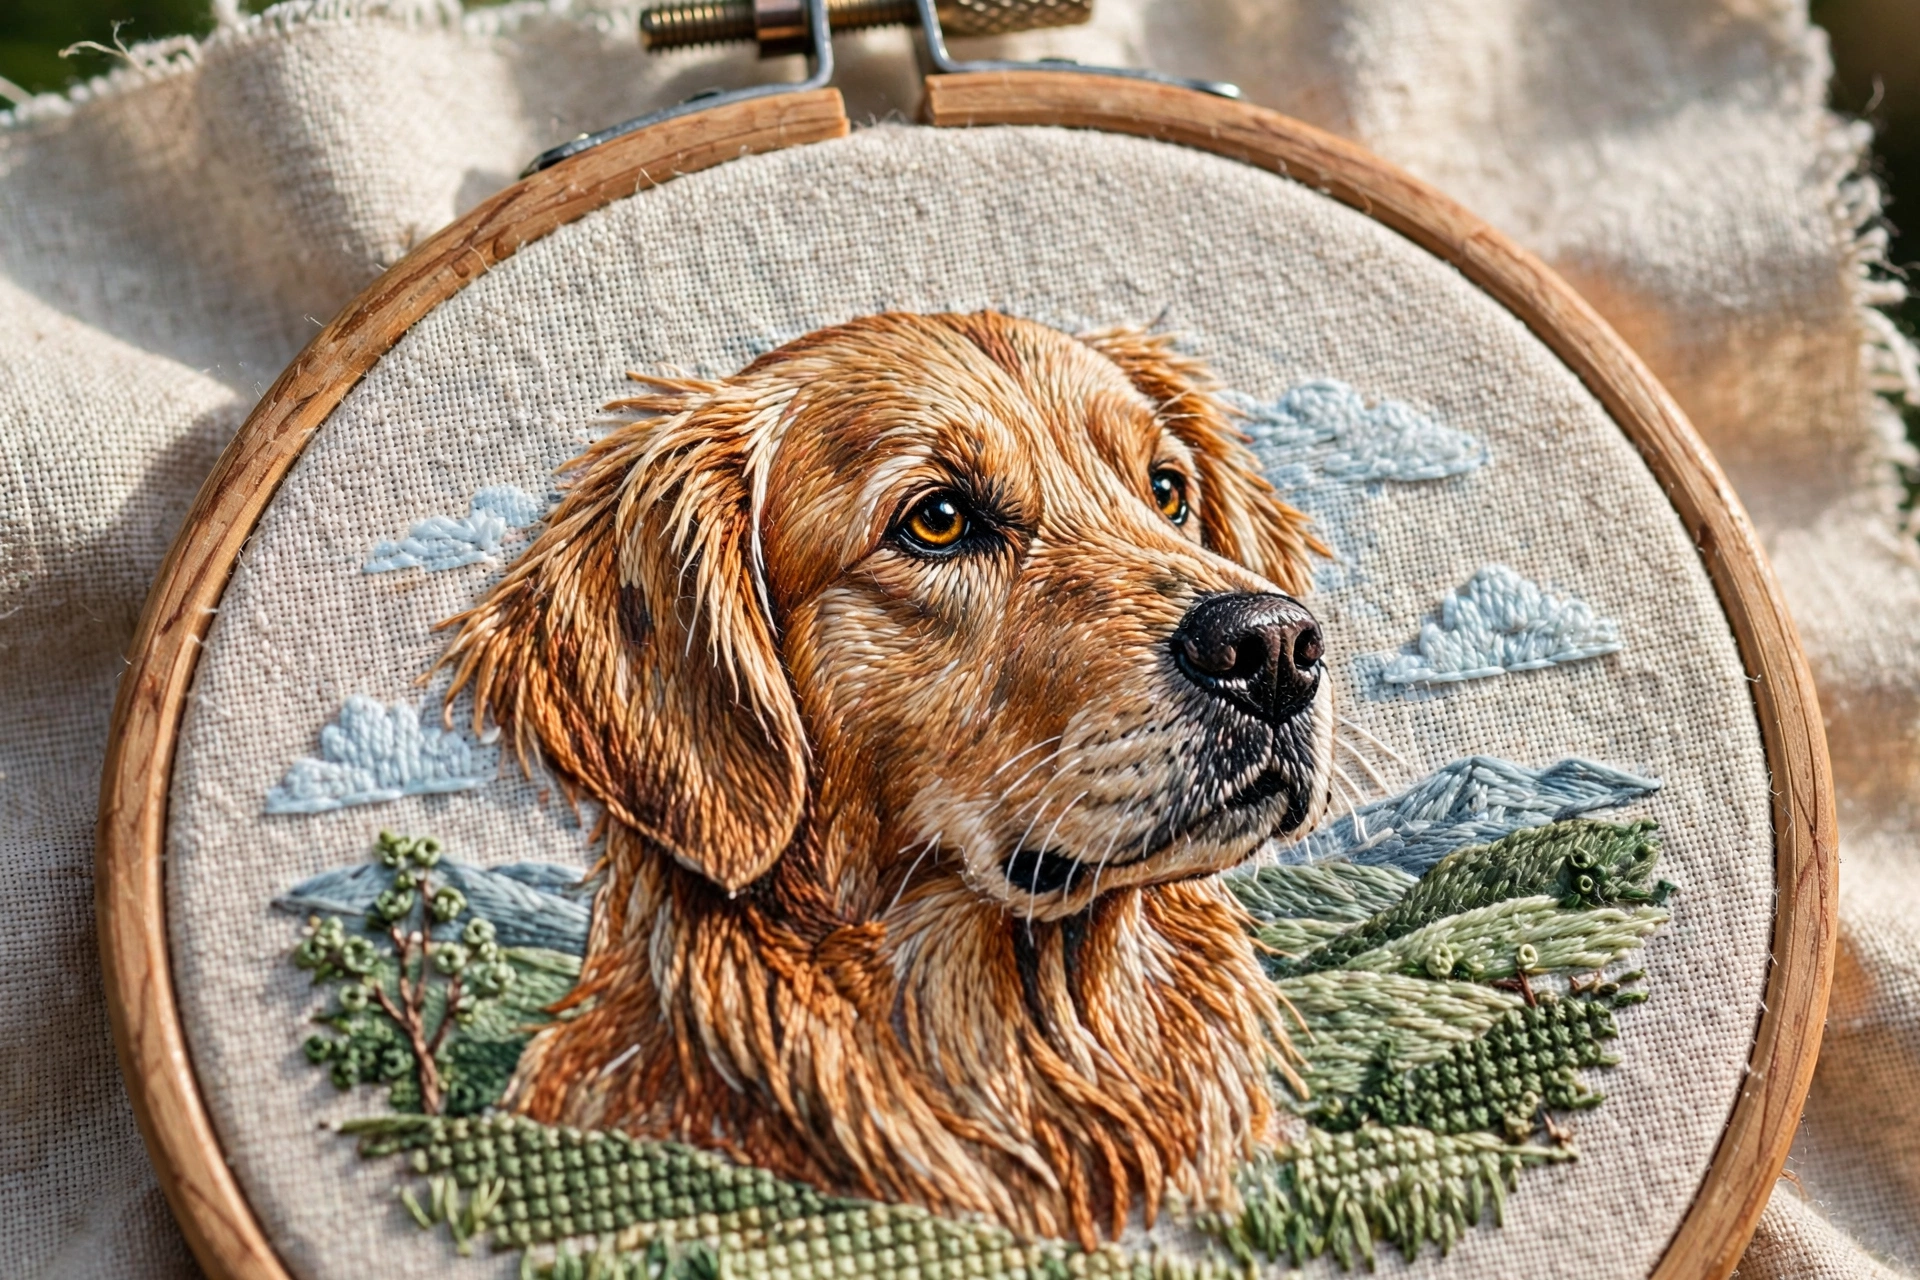
This is where photo-to-pattern work succeeds or fails. Thread cannot render every pixel, so you must translate the photo into the language of stitches. Here is how to think about it:
- Find the 5 to 8 main shapes. Every good pattern can be reduced to a handful of large shapes. A rose is an outer petal ring, an inner swirl, and a leaf or two. Everything else is decoration.
- Merge tiny details. Individual strands of fur become one smooth shape filled with long and short stitch. Freckles or small spots become French knots. Raindrops become seed stitches.
- Replace gradients with bands. A photo fades smoothly from light to dark, but thread changes in steps. Divide shaded areas into two or three bands and assign a floss shade to each: light, medium, dark.
- Exaggerate the important lines. The line that makes a photo recognizable, the curve of a smile, the angle of a leaf, should be the boldest line in your pattern. Strengthen it.
- Drop what will not read. At hoop scale, details smaller than about 3 millimeters become mud. A distant fence, tiny text on a sign, individual eyelashes: leave them out or suggest them with a single stitch.
Testing Your Pattern on Scrap Fabric
Never stitch a new pattern directly onto your good fabric. A test run on scrap takes an hour and saves heartbreak.
- Transfer to a scrap of similar fabric using your usual method. Mark which floss colors you plan to use.
- Stitch the main shapes first, one stitch type at a time. Do not add details yet.
- Step back and look. Hold the hoop at arm’s length. Does it read as your subject? If yes, the structure is sound. If not, the shapes need adjusting, not the details.
- Add details and shading, then evaluate again. Check your color choices in daylight, not lamplight.
- Note your changes directly on the paper pattern: adjust a line here, swap a shade there. Your pattern is now a tested, working design.
Keep your tested patterns in a folder or binder. Over time you will build a personal library of designs that are proven to stitch well, which is a genuine treasure.
Tips for Great Photo Patterns
- Start with plants and animals, not people. Flowers, trees, and pets are forgiving subjects. Human faces magnify every small error, so build your skills first.
- Work larger than you think. A six-inch hoop is much friendlier for a first photo pattern than a three-inch one. Details need room.
- Limit your palette. Choose four to six floss colors: two or three for the subject, one or two for accents, one for outlines. A limited palette looks cohesive and is easier to manage.
- Outline everything. A thin backstitch or stem stitch outline around each main shape makes the design crisp and readable, even if the fills are imperfect.
- Photograph your progress. A phone photo of your stitching reveals proportion problems your eyes miss up close. It is the same trick painters use.
Mistakes to Avoid
- Keeping too much detail. The most common failure: trying to stitch the whole photo. If your pattern has more than about a dozen shapes, simplify again.
- Choosing a low-contrast photo. If you cannot clearly see where one shape ends and another begins, your needle will not know either. Pick a punchier photo.
- Skipping the test stitch. It is tempting to dive straight into the final piece. Resist. The test always reveals something worth fixing.
- Using too many colors. Twelve shades of green for one leaf sounds rich but usually reads as muddy. Three well-chosen shades beat twelve random ones.
- Forgetting the background. Decide what happens behind your subject: plain fabric, a simple stitched sky, a border. An undecided background makes the piece look unfinished.
- Tracing copyrighted photos without permission. Photos you did not take belong to someone. Use your own photos or images with clear permission, especially if you ever plan to sell or share the finished piece.
Your first photo pattern will not be perfect, and that is exactly how it should be. The second one will be noticeably better, and by the fifth you will wonder why you ever found this intimidating. Pick a photo you love, trace the big shapes, simplify bravely, and test on scrap. The moment you see a memory emerging in thread under your hands, you will be hooked. Happy stitching.