You found the perfect embroidery pattern. The only problem is that it is completely the wrong size. It is too small for the hoop you want to use, too big for the pocket of the denim jacket you planned to decorate, or just slightly off for the gift you have in mind. This happens to every stitcher, and the good news is that resizing a pattern is far easier than it looks. You do not need fancy software, an expensive printer, or a maths degree. You just need to know a few simple methods and when to use each one.
In this guide, you will learn three easy ways to resize embroidery patterns: using a printer or photocopier, drawing it up by hand with the grid method, and tracing from a phone or tablet screen. You will also learn how resizing should change the stitches and threads you choose.
Why You Would Resize a Pattern
There are plenty of reasons to change a pattern’s size, and understanding your reason helps you pick the right method and the right final size. The most common reason is fitting a hoop. A design that is 4 inches wide will look lost in a 7-inch hoop and crowded in a 3-inch hoop, so you resize until the proportions feel right for the frame you have.
Garment embroidery is another classic reason. A pattern that looks lovely at 6 inches across your chest will overwhelm a baby onesie or a shirt pocket, so you shrink it down. On the other hand, a small motif that you want to place on a tote bag or a table runner might need to be enlarged to make the impact you are imagining.
Sometimes resizing is about matching a set. If you are stitching a pair of pillowcases or a series of kitchen towels, you may want the same design at two or three different sizes so the finished pieces feel coordinated but not identical. And sometimes you simply love a pattern but want to use it as part of a bigger composition, stitched smaller so it sits nicely alongside other elements.
Before You Resize: What to Check
Take a moment before you start to note the pattern’s original dimensions. Measure the width and height of the design area, or look for a size note if the pattern includes one. Knowing your starting size matters because it lets you work out the percentage you need, and it gives you a reference to check against later.
Also take stock of the detail level. Count the small elements: tiny French knots, fine outlines, narrow satin stitch areas. These are the features that suffer most when you shrink a design. A pattern with very fine detail can usually be enlarged beautifully, but shrinking it below about 60 to 70 percent of its original size means you will need to simplify some of those details. This is completely normal, and we will cover exactly how to handle it below.
Method 1: Printer or Photocopier Scaling
This is the fastest and most accurate method when you have access to a printer or photocopier. Most machines let you scale a copy to any percentage, which means you can enlarge or shrink with real precision.
How to do it
- Measure your pattern’s original width. Then decide on your target width. Divide the target by the original and multiply by 100 to get your percentage. For example, if your pattern is 4 inches wide and you want it 6 inches wide, divide 6 by 4 to get 1.5, then multiply by 100 to get 150 percent.
- On a photocopier, place your pattern face down and find the zoom or scaling setting. Enter your percentage and copy. On a printer, open the image in any basic program, choose print, and set the scale percentage in the print dialog.
- Measure the printed result. Check that the width matches your target. If it is slightly off, adjust the percentage and print again. Paper and ink are cheap, so do not be shy about a test print.
Tips for best results
- Work in small steps when enlarging beyond 200 percent. Enlarging in two passes, for example 150 percent then 140 percent, gives cleaner lines than one giant jump.
- If your printer enlarges only to a set maximum like 200 percent, you can tile: enlarge in sections and tape the pages together.
- Photocopiers often scale from the glass edges rather than the pattern centre, so check that nothing important is cut off at the margins.
Method 2: The Grid Method by Hand
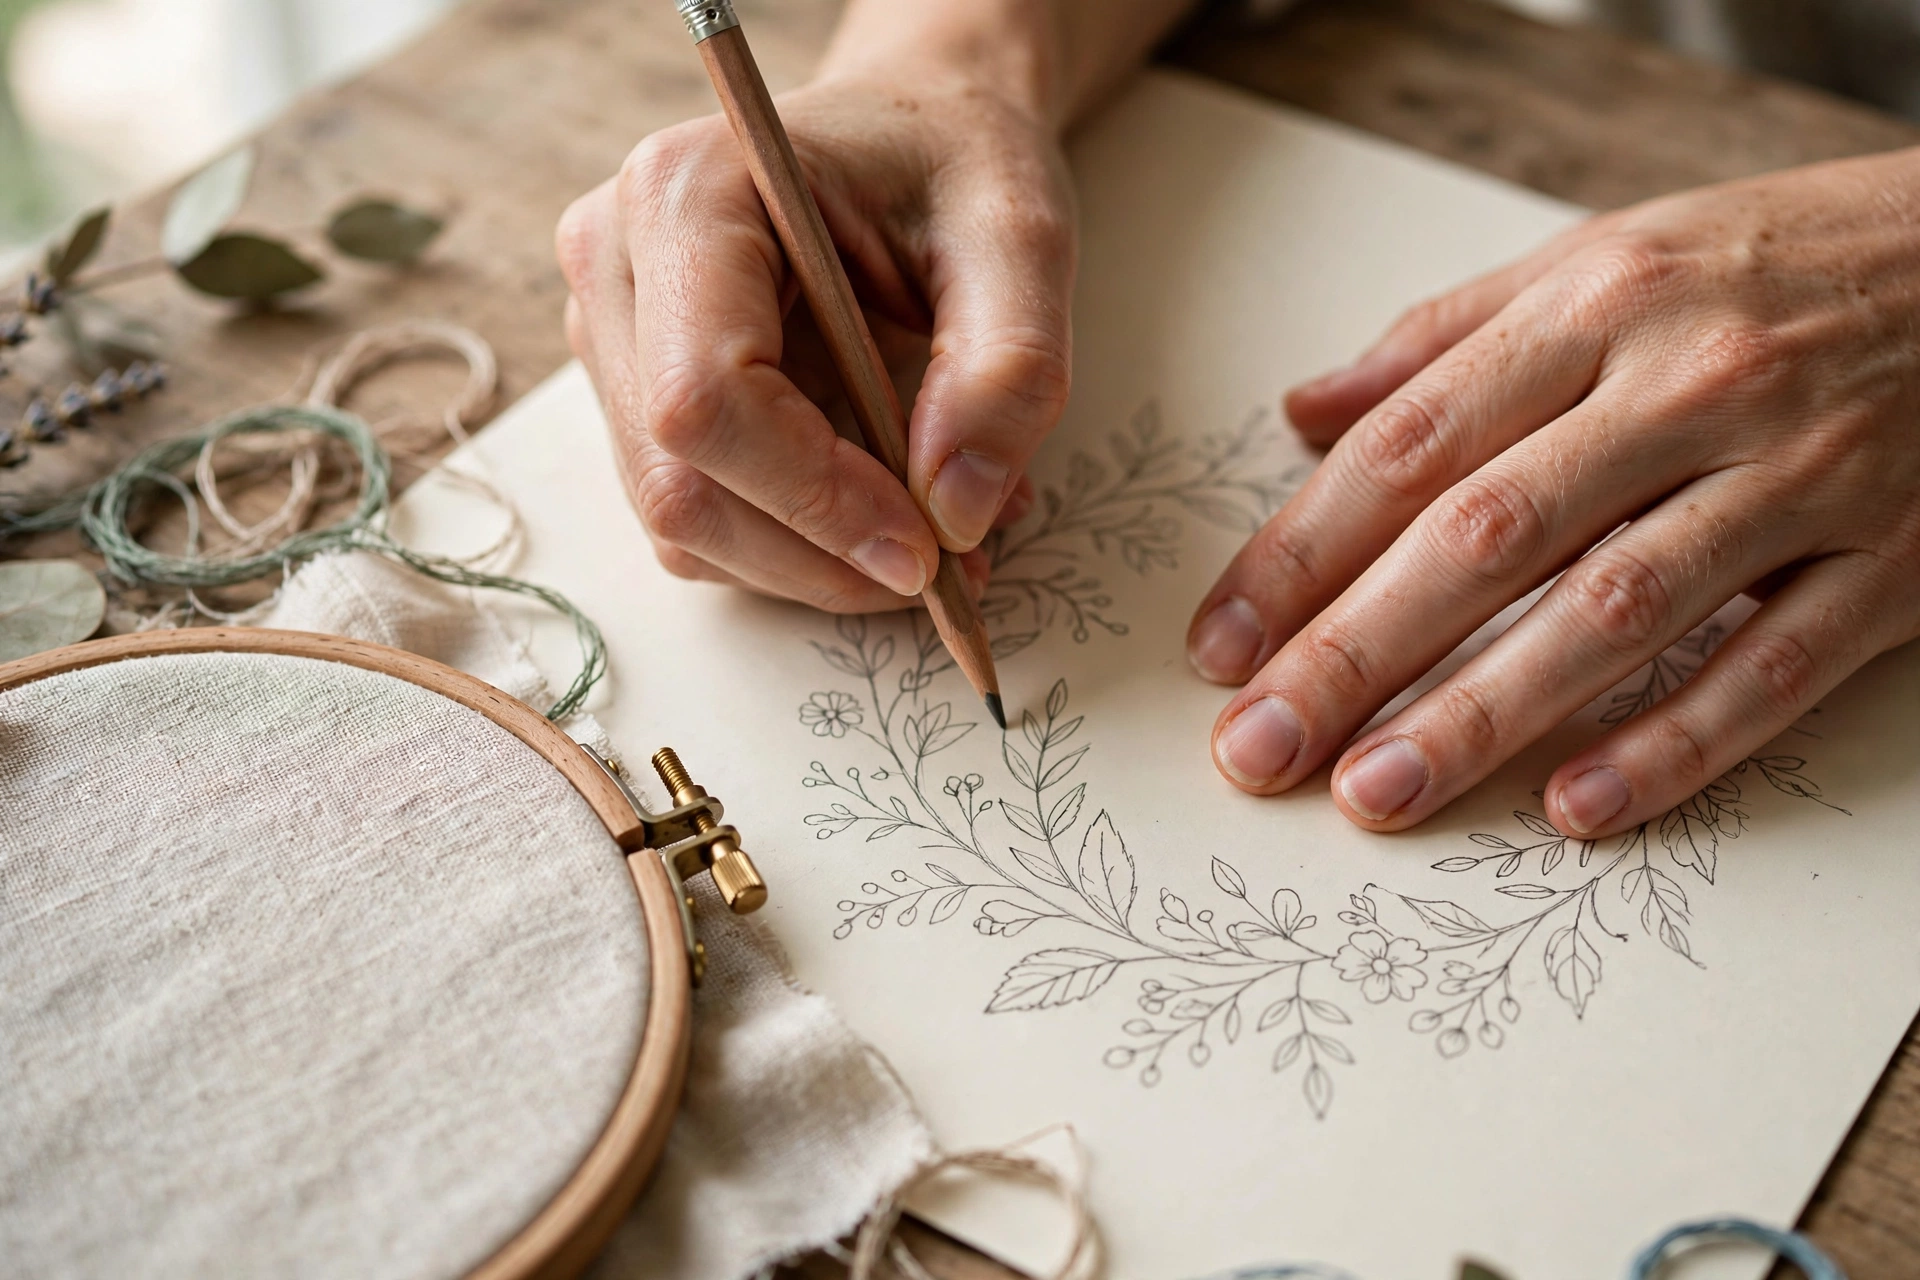
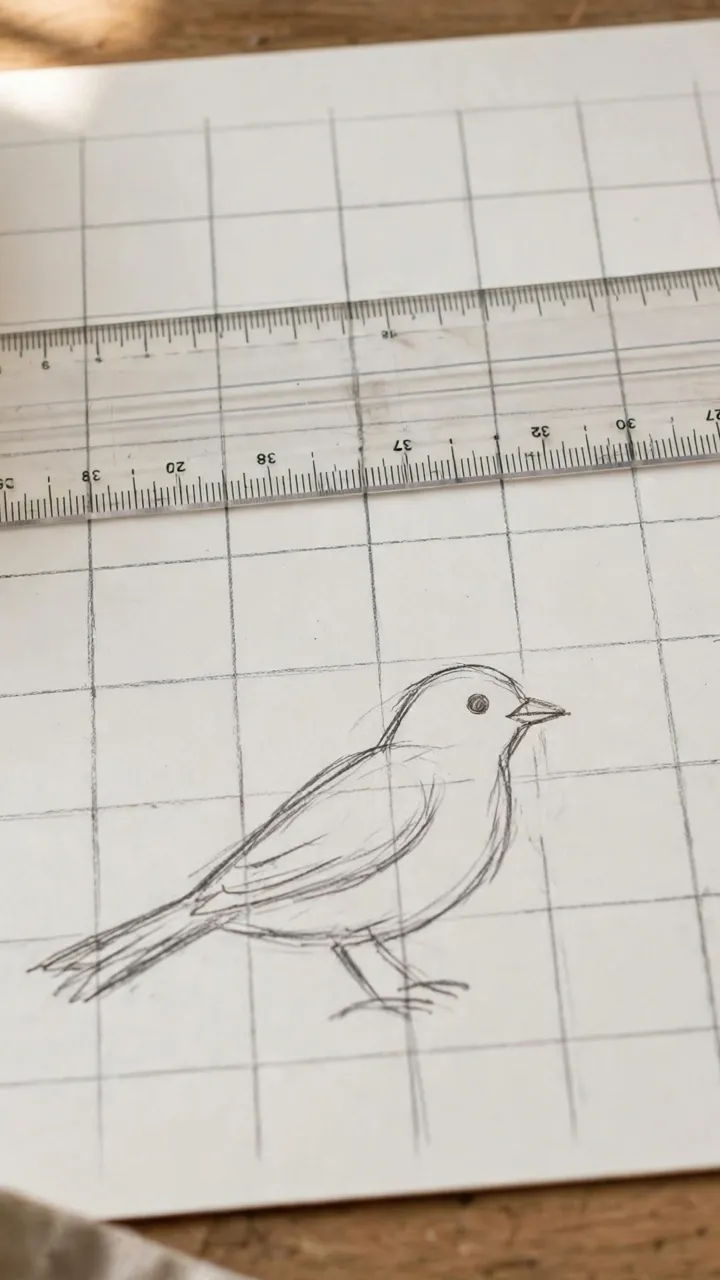
The grid method is the old-fashioned, wonderfully reliable way to resize a drawing. It works with nothing but a ruler, a pencil, and paper. It is also the best method when you want to redraw a pattern in your own hand, because the grid keeps every part in proportion as you go.
How to do it
- Draw a grid of equal squares over your original pattern. A square size of half an inch or 1 centimetre works well. If the pattern is printed, use a photocopy or printout rather than the original, and draw the grid lightly in pencil on top.
- On a fresh sheet of paper, draw a second grid with the same number of squares, but make each square the size you need. To double the pattern, double the square size. To halve it, halve the square size. For a 150 percent enlargement, multiply the square size by 1.5.
- Copy the pattern square by square. Look at one square on the original, and draw what you see inside the matching square on your new grid. Focus on where lines cross the grid borders, because those crossing points are what keep your drawing accurate.
- When you have copied every square, step back and look at the whole drawing. Smooth any wobbly lines, erase the grid, and darken your final lines.
When the grid method shines
- You do not own a printer, or you are working away from home.
- You want to change more than the size, for example simplifying a section or redrawing a flower in your own style while keeping the layout.
- You are enlarging a small motif for a wall piece and want to feel the shapes in your own hand.
Method 3: Tracing from a Phone or Tablet Screen
If your pattern is digital and you do not have a printer, your phone or tablet can do the job. You simply display the pattern on the screen, zoom it to the size you want, and trace it onto paper held against the screen. It sounds odd, but it works surprisingly well.
How to do it
- Open the pattern image on your phone or tablet. Turn the screen brightness up as high as it will go, and lock the screen rotation so the image stays still.
- Pinch to zoom until the pattern is the size you want. Hold a ruler or tape measure against the screen to check the width matches your target.
- Place a sheet of thin paper, like printer paper or tracing paper, gently against the screen. Trace the main lines with a soft pencil, using a light touch. Do not press hard on the screen.
- Lift the paper, refine any wobbly lines on a flat table, and you have your resized pattern ready to transfer to fabric.
Tips for screen tracing
- Tracing paper works best because it is thin enough to see through clearly. Standard printer paper works too, especially with brightness at maximum.
- Set the device to not auto-lock, or wake it gently without moving the paper if it does.
- Trace only the essential lines at this stage. Fine texture marks are easier to add directly on the fabric later.
How to Keep Proportions Correct
The number one rule of resizing is simple: change the width and height by the same amount. If you enlarge the width by 150 percent, enlarge the height by 150 percent too. Stretching a pattern in one direction only is how you get tall skinny flowers and squat wide cats. Every method above preserves proportions automatically as long as you scale evenly.
When you are unsure, measure twice. Mark the target width and height on your fabric with pins or a water-soluble pen before you transfer the design, and hold the resized pattern over the fabric to check the fit. It takes thirty seconds and saves you from transferring a design that is perfect but wrong-sized for its spot.
How Resizing Changes Your Stitch and Thread Choices
This is the part most beginners miss, and it makes the biggest difference to your finished piece. When you resize a pattern, you should rethink how you will stitch it, because stitches behave differently at different scales.
When you shrink a pattern
- Simplify tiny details. A cluster of five French knots that reads beautifully at full size becomes a blob when shrunk. Reduce it to two or three knots, or replace it with a single seed stitch.
- Use fewer thread strands. Where the original used three strands, try two or even one for the smallest elements. Finer thread keeps small stitches crisp.
- Swap fussy stitches for simple ones. Tiny areas of satin stitch are hard to keep neat. A simple backstitch outline or a few straight stitches often reads more cleanly at small sizes.
- Merge or drop the finest lines. If two outline lines sit very close together after shrinking, keep one and drop the other rather than stitching a muddy pair.
When you enlarge a pattern
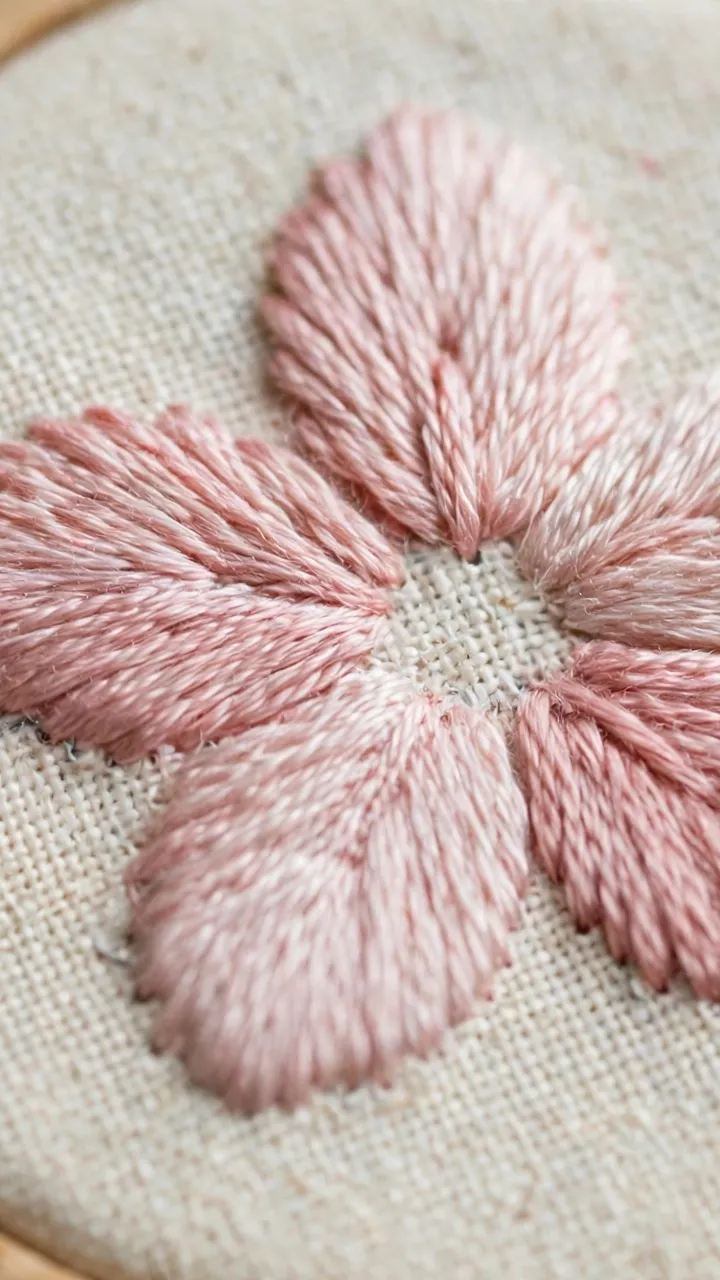
- Fill larger areas thoughtfully. An area that was a quick fill at small size becomes a big empty space when enlarged. Plan fills like long and short stitch, or add texture stitches such as French knots or seed stitch to keep it interesting.
- Consider more strands or thicker thread. Three to six strands in large satin stitch areas gives the smooth coverage that one strand never could.
- Long stitches need anchoring. A stem stitch line that was fine at 4 inches can sag or snag at 8 inches. Keep individual stitches shorter, around a quarter inch or less, and take more of them.
- Add detail you did not have room for before. Enlarging gives you space for shading, extra petals, or texture that the small version could not hold.
Mistakes to Avoid
- Stretching in one direction only. Always scale width and height together, or your design will look warped. If it must fit a narrow space, choose a different pattern rather than squashing this one.
- Stitching the resized design exactly like the original. A shrunken pattern needs simpler stitches and fewer strands. A blown-up pattern needs planned fills. Copying the stitch plan blindly is the fastest route to disappointment.
- Guessing the percentage instead of measuring. “About twice as big” is rarely twice as big. A quick measurement and the target-divided-by-original calculation takes a minute and gets you an accurate result.
- Transferring before test-fitting. Always hold the resized pattern against your hoop or garment first. Moving a transferred design is not possible, but moving a paper pattern is free.
- Enlarging a low-resolution image too far. A blurry printout gives blurry lines to trace. If the enlarged lines are fuzzy, switch to the grid method and redraw the shapes cleanly instead.
- Forgetting the seam or hoop margin. Size the design for the visible area, not the full fabric. Leave at least half an inch of clear fabric around your design inside the hoop, and keep garment designs clear of seams and edges.
Resizing patterns is one of those skills that feels technical until you do it once, and then it becomes second nature. Start with the printer method if you can, try the grid method on a simple motif for fun, and keep the screen-tracing trick in your pocket for travel stitching. Before long, you will stop worrying about whether a pattern comes in “your” size, because every pattern will be your size. Happy stitching.