Minimalist wall art is everywhere right now: clean lines, simple shapes, calm colors. What many people do not realize is that this modern aesthetic is one of the easiest styles to stitch. Geometric embroidery patterns are built from straight lines, repeated shapes, and satisfying symmetry, which means they look crisp and contemporary while asking very little of your stitch vocabulary. If you can stitch a straight line, you can make geometric art worth hanging.
In this post you will find simple geometric embroidery patterns perfect for modern decor, along with practical guidance on drawing them accurately, choosing contemporary color palettes, and turning them into finished pieces for your home. Whether you love Scandinavian minimalism, boho modern, or bold mid-century shapes, there is a geometric pattern here for you.
Why Geometric Shapes Suit Beginners
Geometric patterns are secretly the most beginner-friendly designs in embroidery. Every shape is made of lines you can measure and repeat, so there is no guesswork about where your needle goes next. Repetition is the teacher here: stitch the same triangle twenty times and your twentieth will be beautifully even, and your first nineteen will look fine anyway because the pattern absorbs small inconsistencies.
There is another advantage: geometric designs need almost no stitches. Straight stitch, backstitch, and stem stitch cover the vast majority of geometric work. You will spend your energy on design and color instead of wrestling with complicated techniques, which makes geometric pieces relaxing, meditative stitching. Many embroiderers keep a geometric project going as their “evening” piece for exactly this reason.
Pattern Ideas to Try
Start with one shape family and explore it fully before moving on. Each of these can be a complete piece on its own.
Triangles
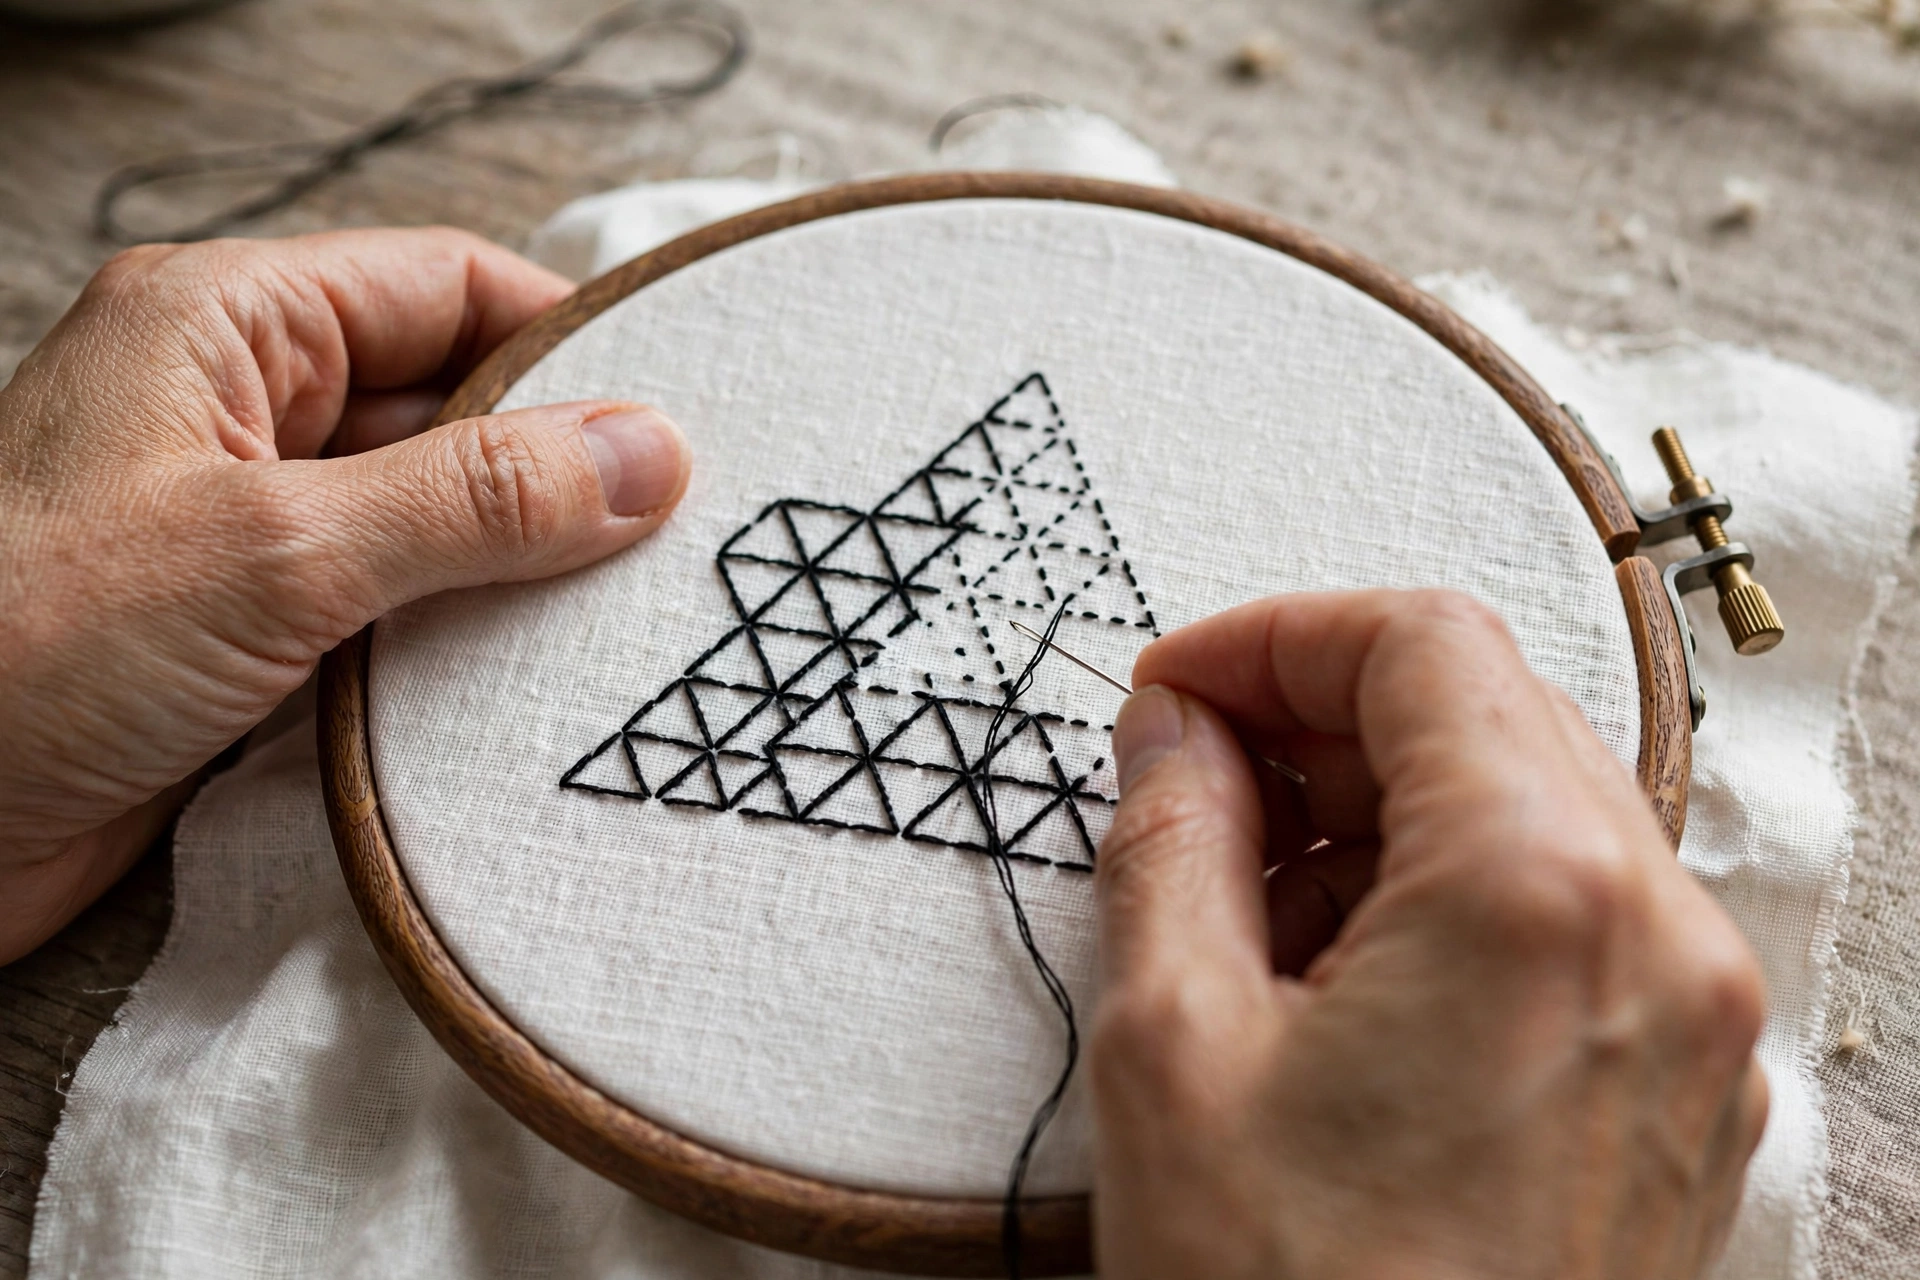
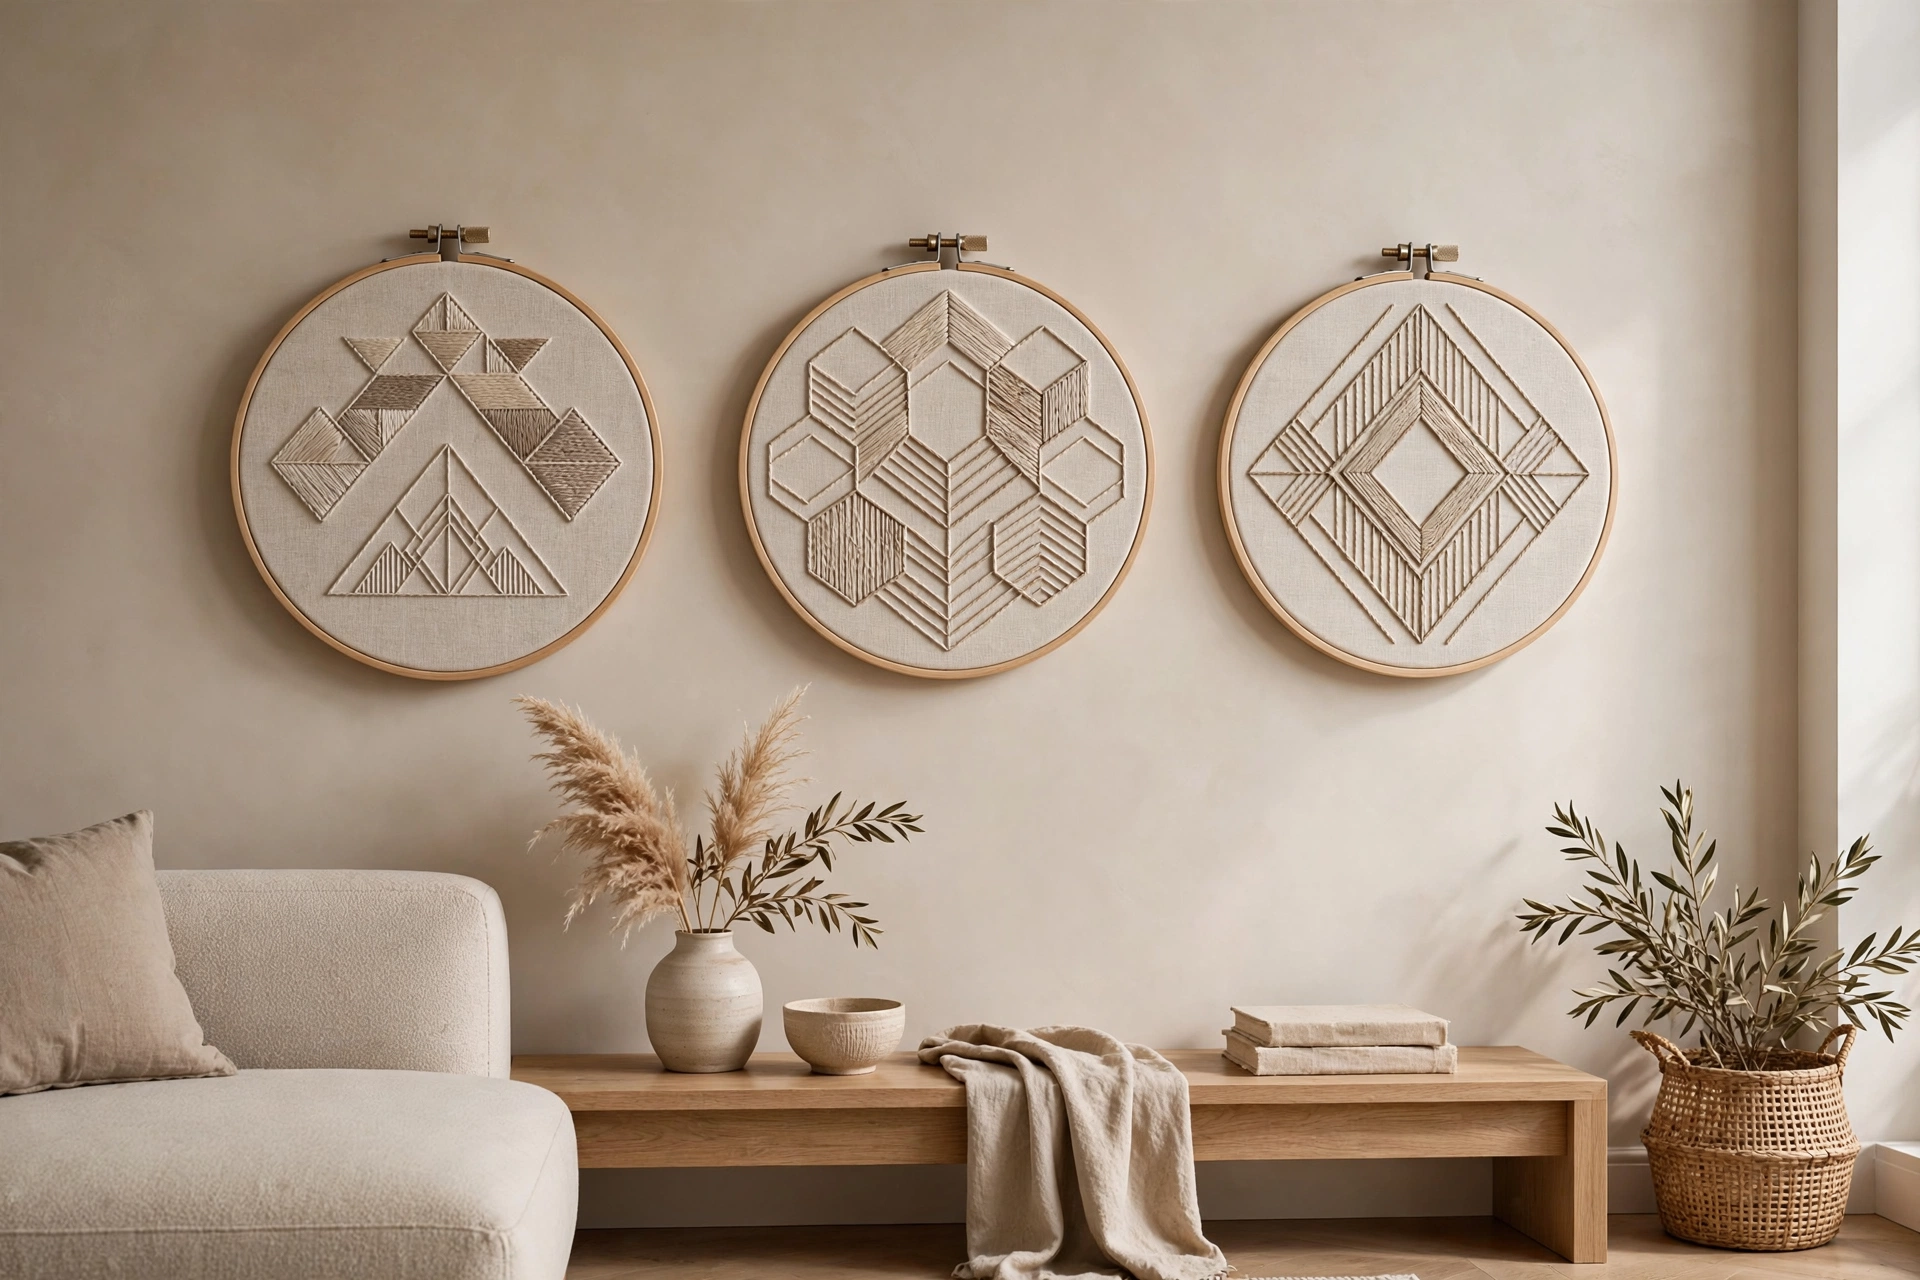
Draw a row of triangles in a zigzag band, a single large triangle filled with smaller ones, or scattered triangles in varying sizes. Outline each triangle in backstitch for crisp edges, or fill alternating triangles with rows of straight stitch for a woven texture. Triangles arranged point-to-point make striking diamond bands.
Hexagons
Hexagons have a natural honeycomb rhythm that is deeply satisfying to stitch. Draw a cluster of connected hexagons and outline them in backstitch, fill some with satin stitch, and leave others empty. A honeycomb of three to seven hexagons makes a perfect small hoop piece.
Diamonds and Rhombuses
Nested diamonds, one inside another with even spacing, create a hypnotic effect with almost no effort. Stitch each nested outline in a different shade of the same color for an ombre look, or alternate two contrasting colors. Diamond grids also make excellent borders.
Chevrons
The classic zigzag. Draw parallel chevron lines across your fabric and stitch them in stem stitch for smooth curves at the points, or backstitch for sharp corners. Chevron bands in three or four colors are a staple of modern embroidery for good reason: they always look good.
Concentric Circles
Draw circles inside circles, spaced evenly. Stitch each ring in a different stitch or color: backstitch rings, French knot rings, straight stitch spokes between rings. Concentric circles are wonderfully forgiving because slight wobbles read as handmade charm rather than mistakes.
Line Work and Grids
Sometimes the simplest pattern is the most modern: parallel lines, crosshatch grids, or radiating lines from a central point. A grid of evenly spaced straight stitches in a muted color on natural linen is pure Scandinavian calm. Vary the spacing or angle of one section for subtle visual interest.
Drawing Them Accurately: Ruler and Compass Basics
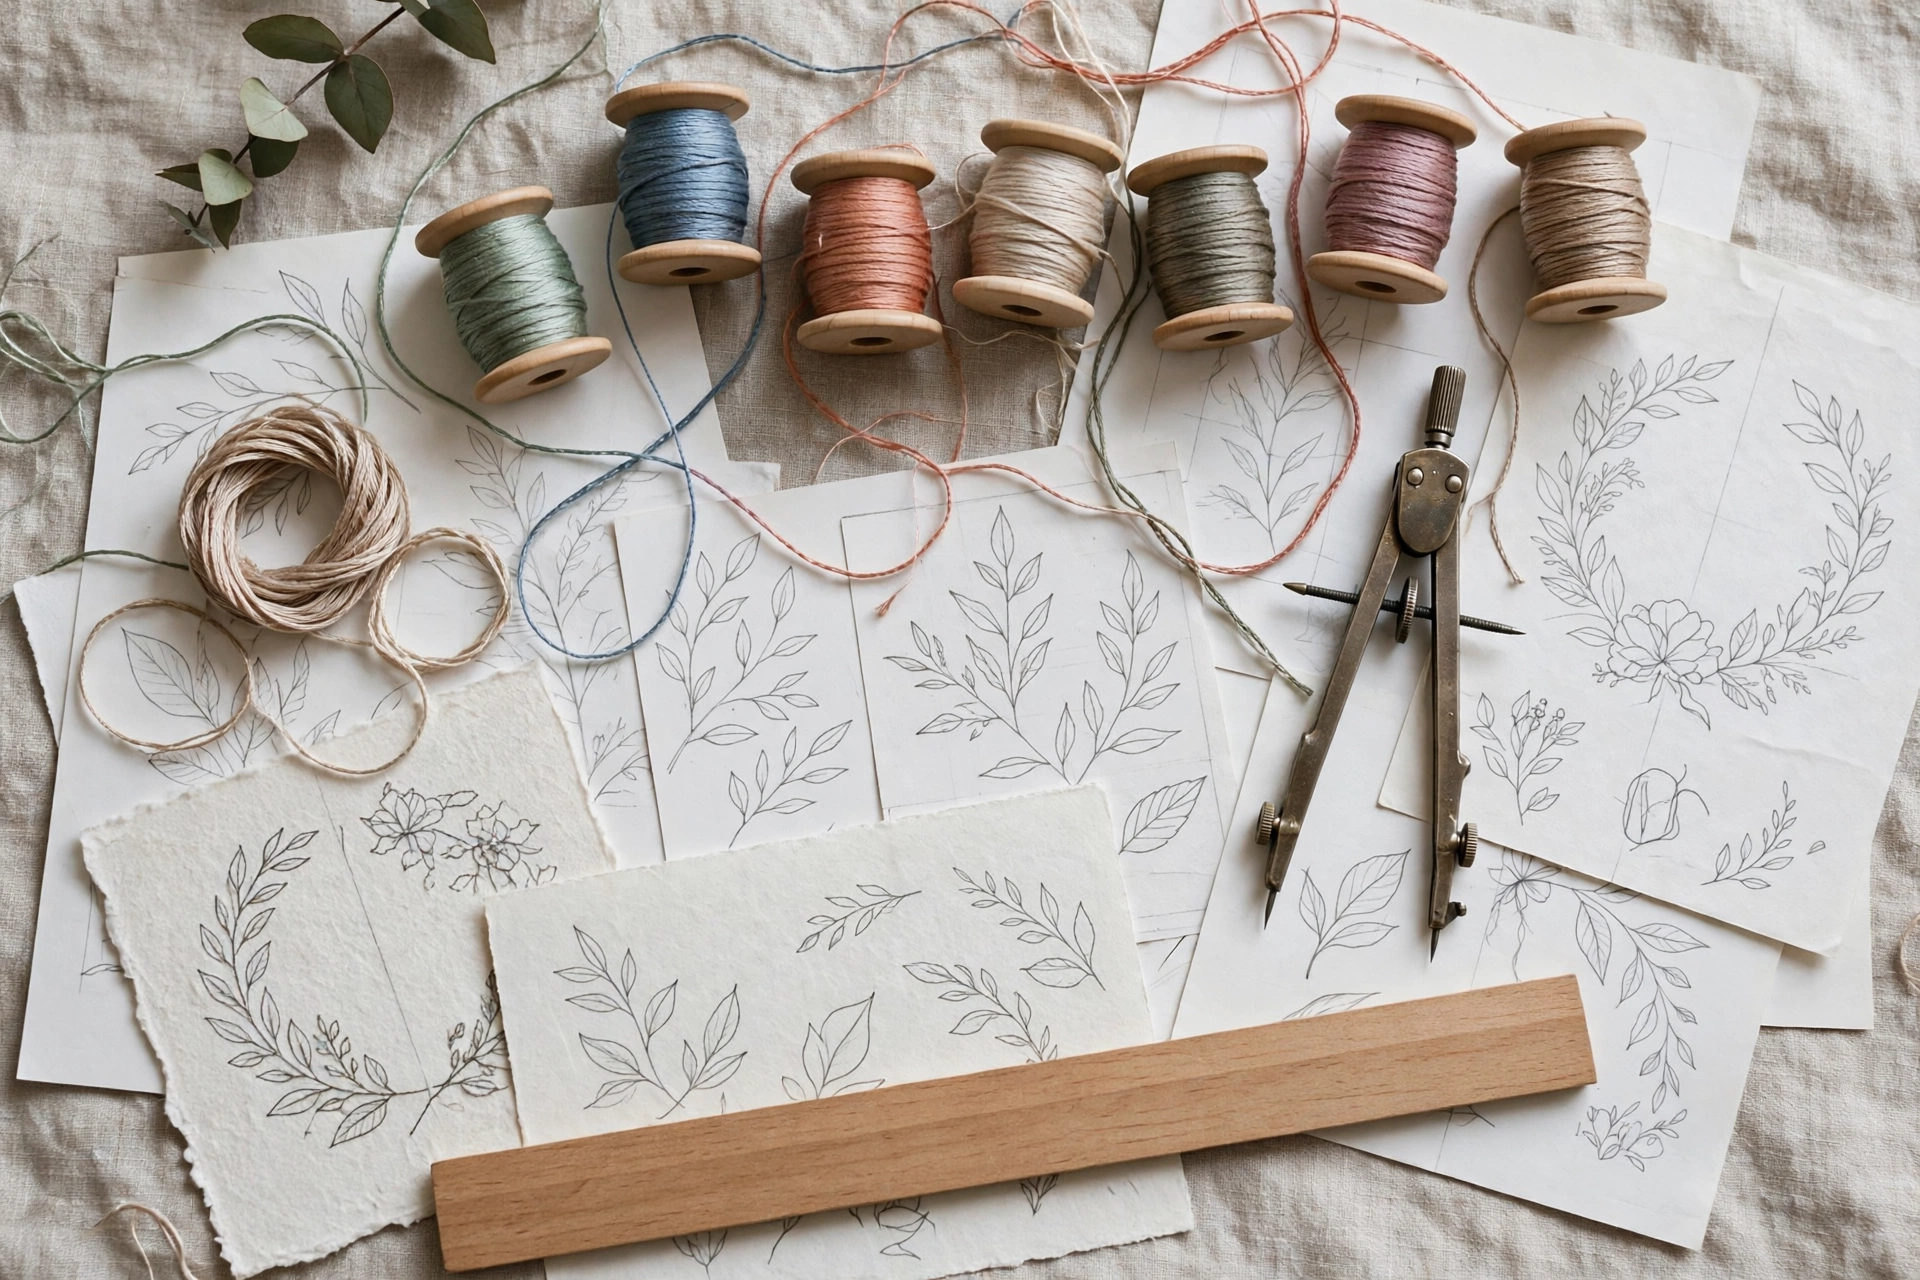
Clean geometry starts with clean drawing. You do not need drafting skills, just two humble tools and a little patience.
- Use a ruler for every straight line. Even confident drawers get wobbly lines freehand. A small clear ruler and a water-soluble pen give you edges worth stitching.
- Learn the compass. A basic school compass draws perfect circles and, with a little practice, perfect hexagons too: draw a circle, then mark six points around it using the same compass width, and connect them. It feels like magic the first time.
- Mark your grid lightly first. For repeating patterns, sketch a light pencil grid on the fabric (or on paper to transfer later) so your shapes stay evenly spaced. Erase or wash the grid lines away when the stitching is done.
- Work from the center outward. For concentric and radial designs, find the exact center of your hoop or fabric first and build outward. Centered designs look intentional; off-center ones look accidental.
- Use painter’s tape as a guide. For perfectly parallel lines, lay thin strips of tape on the fabric and stitch along the edges. Peel the tape away when finished.
Modern Color Palettes
Color is what makes geometric embroidery feel modern rather than old-fashioned. The current trend leans toward restrained, sophisticated palettes rather than rainbow brights. Try these combinations:
- Warm minimal: terracotta, warm beige, charcoal, and cream on natural linen. Timeless and cozy.
- Scandi calm: sage green, soft gray, dusty blue, and white on undyed linen. Quiet and fresh.
- Desert modern: mustard, rust, sand, and deep brown. Warm and earthy, beautiful in living rooms.
- Monochrome: three shades of one color, from pale to dark, on a contrasting neutral. Strikingly elegant and very forgiving.
- Bold accent: mostly neutrals (gray, cream, black) with one vivid accent like emerald or coral in a single shape. The accent becomes the star.
Limit yourself to three or four colors per piece. Restraint is the whole point of the modern look, and fewer colors mean fewer decisions while you stitch.
Combining Shapes Into Original Designs
Once you are comfortable with individual shapes, the real fun begins: combining them. Geometric design follows a few simple composition rules that make almost any combination look intentional.
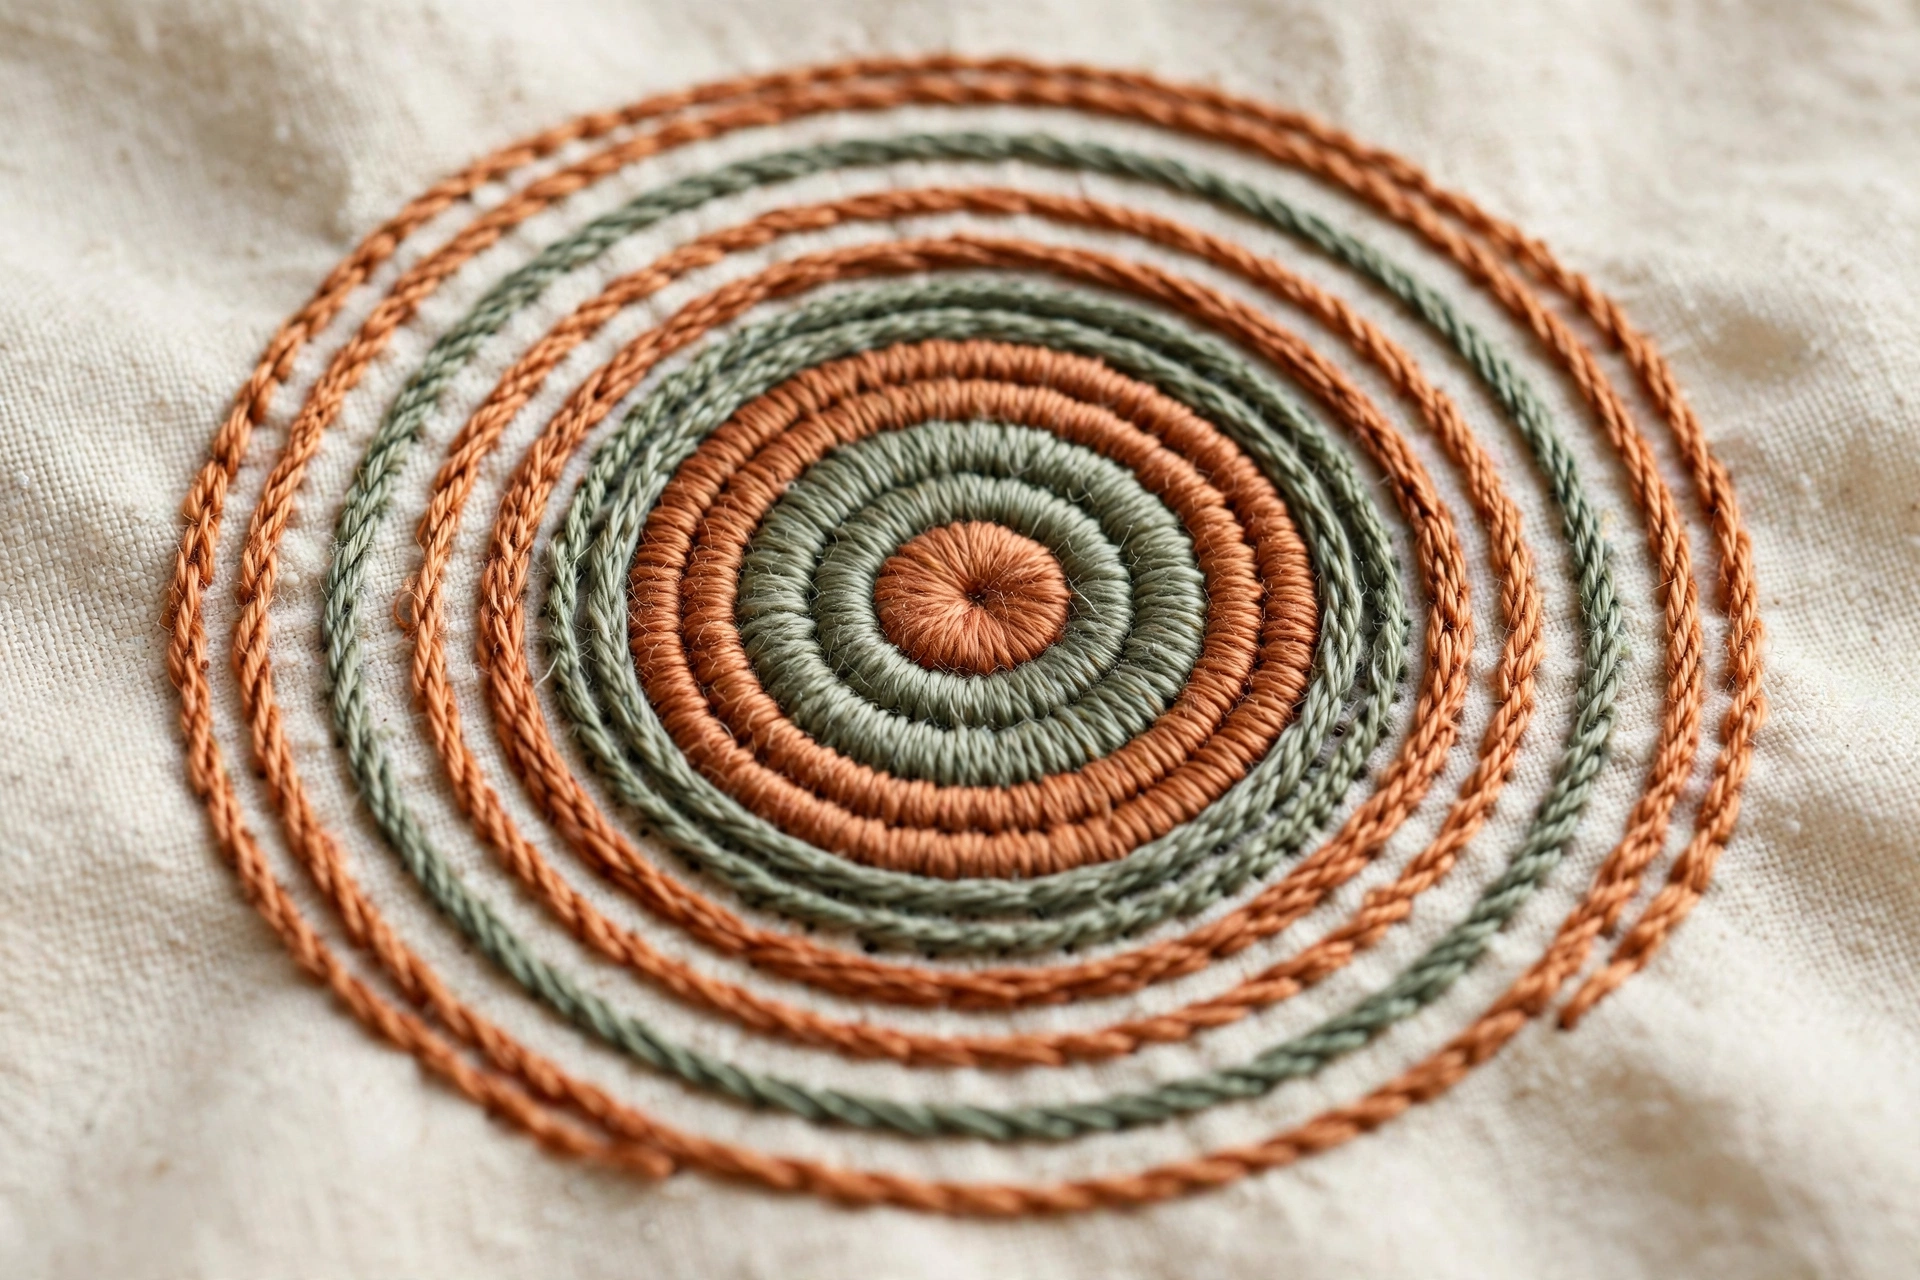
- Repeat one shape, vary one thing. A row of identical triangles where only the color changes, or concentric circles where only the stitch changes, looks designed rather than random. Change one variable at a time.
- Use the rule of thirds. Place your focal shape off-center, roughly one third of the way across the hoop, instead of dead center. Asymmetric placement feels modern; perfect symmetry feels traditional. Both are valid, but know which effect you are choosing.
- Pair a bold shape with a quiet one. A large filled hexagon beside a field of tiny outline triangles creates contrast that keeps the eye moving. If everything is bold, nothing stands out.
- Build in sets. Plan a trio of hoops that share a palette and one repeated motif, with each hoop featuring a different shape family. Sets of three sell beautifully as gifts and look far more impressive on a wall than a single piece.
Sketch every combination on paper first, even a rough thumbnail. Ten minutes of sketching saves hours of unpicking, and you will often discover a better arrangement while doodling than the one you first imagined.
Project Ideas: From Hoop to Home
Geometric patterns shine as finished decor because their clean shapes suit modern frames and textiles.
- Hoop wall art: The classic. Finish your hoop with a felt backing, trim the fabric neatly, and hang a set of three in coordinating palettes. Odd numbers of hoops look best in a group.
- Cushion covers: A chevron band or a single bold hexagon stitched on the front of a plain cushion cover transforms an ordinary pillow. Use a sturdy cotton or linen canvas that can handle daily use.
- Framed minis: Small geometric motifs in three-inch hoops or simple frames make lovely shelf decor and genuinely good handmade gifts.
- Table runners: A repeating diamond or triangle border along both edges of a linen runner is a longer project but a stunning result for dining tables.
- Tote bags: A single geometric motif on a canvas tote is quick to stitch and gets seen everywhere you go.
Tips for Crisp Geometric Stitching
- Keep every stitch the same length. In geometric work, uneven stitch lengths are the main thing that looks messy. Slow down and measure with your eyes.
- Stitch outlines before fills. Define every shape with backstitch first, then fill inside the lines. The outline hides the fill edges and keeps everything sharp.
- Use a laying tool or your needle to keep threads flat and untwisted in satin-stitched areas. Flat threads reflect light evenly, which makes fills look professional.
- Count threads for perfect spacing. On even-weave linen, you can count fabric threads to space parallel lines exactly. It is slow but the results are flawless.
- Block your finished piece. Lightly dampen the finished embroidery, pin it square while damp, and let it dry. This straightens any slight warping and makes geometric pieces look crisp.
Mistakes to Avoid
- Eyeballing instead of measuring. Geometric patterns punish guesswork. Take the extra two minutes with the ruler; your future self will thank you.
- Too many colors. Six bright colors in one geometric piece usually looks chaotic rather than modern. Edit your palette down.
- Skipping the center mark. Starting a radial design without finding the true center is the fastest way to a lopsided piece.
- Pulling outline stitches unevenly. In geometric work the outlines are the design, so keep tension consistent around every shape.
- Choosing fussy fabric. Slubby or heavily textured fabric fights against clean lines. Smooth linen or cotton gives geometric stitching its best stage.
- Overfilling the design. Modern geometric style needs negative space. If every inch is stitched, it stops looking modern. Leave room to breathe.
Geometric embroidery is proof that simple can be stunning. Pick one shape that appeals to you, choose a calm three-color palette, draw it carefully with your ruler, and stitch slowly and evenly. Before long you will have a piece of modern wall art that looks like it came from a boutique, made entirely by your own hands. That feeling never gets old. Happy stitching.