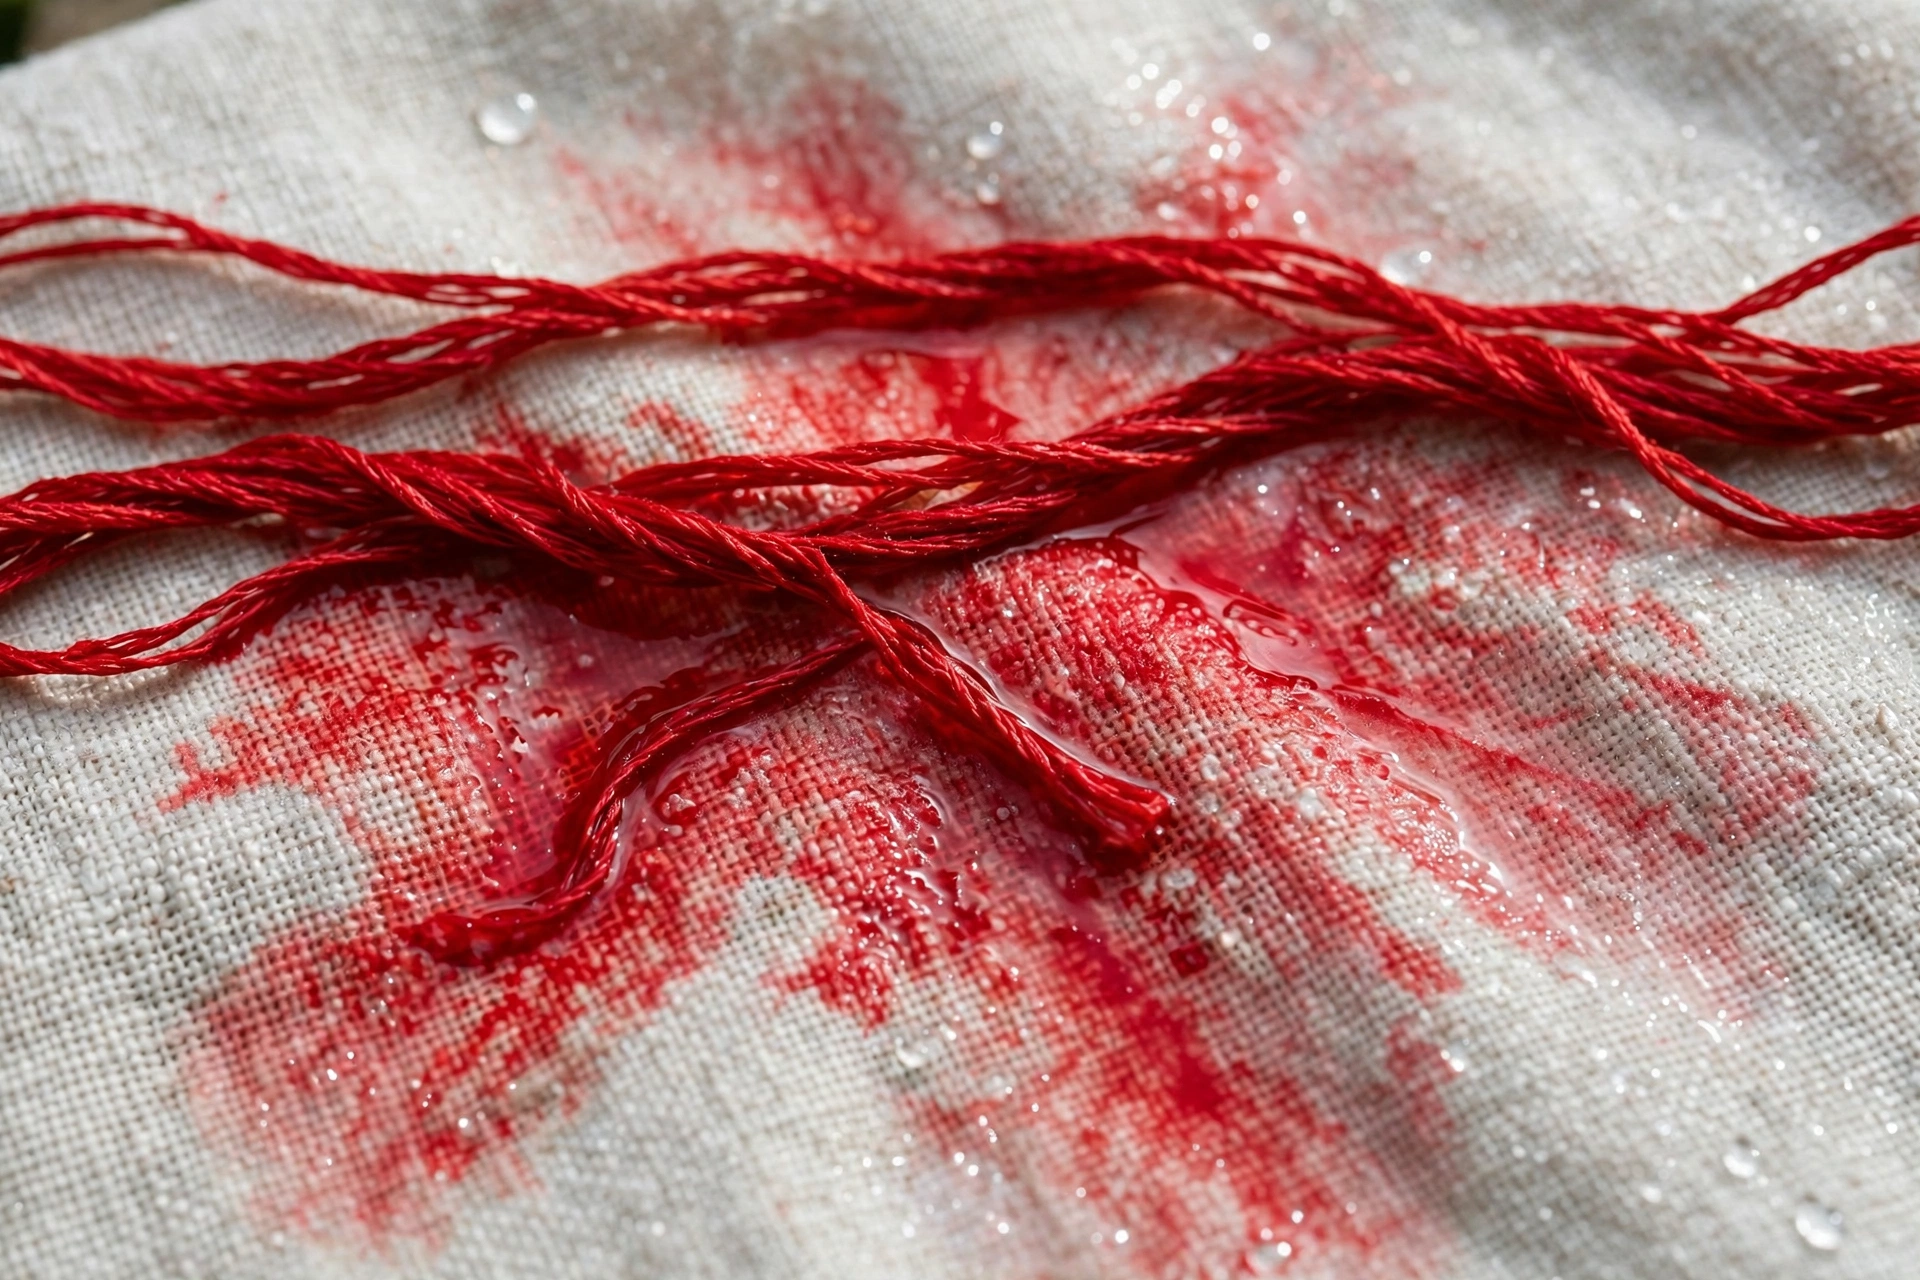
I own a hoop that hangs in my laundry room as a warning to others. It’s a 6-inch hoop of red poppies on white Kona cotton, stitched for my mother-in-law’s birthday with DMC 321, the classic Christmas red. It took me nine evenings. When I finished, I did what seemed obvious: I filled the sink with hot water, squirted in a confident glug of dish soap, and plunged it in. Within ninety seconds the water turned faintly pink. Within five minutes every poppy wore a pale pink halo on the white fabric around it, like the flowers were blushing with shame. I then made it worse by scrubbing at a halo with my thumbnail, which frayed two satin-stitched petals. The piece still hangs in my laundry room, halos and all, because some lessons need to be visible. Here’s everything I learned, so your finished work never has to live above a washing machine.
The short version first: yes, you can wash embroidery, and you usually should. Hoops collect hand oils, dust, and the faint gray film of existing in a house. Fabric marked with water-soluble pens needs a wash to remove the marks. But embroidery is not laundry, and treating it like laundry is exactly how poppies end up blushing.
When to wash embroidery, and when to leave it alone
Wash a piece when it’s visibly grubby, when you can see hoop grime or handling marks, when you’ve used a water-soluble marking pen, or when puckering needs relaxing. A lukewarm soak does lovely things for fabric that puckered under your stitches; the fibers swell, settle, and often lie dramatically flatter after drying. I wash nearly every finished hoop before I back it or gift it, because “clean and crisp” reads as “made with care” in a way no one can quite articulate but everyone notices.
Don’t wash when the piece can’t survive it. Anything with glued elements, beads, or sequins should be spot-cleaned, not soaked. Pieces stitched on non-washable fabric, like some silks or wools, need a dry cleaner’s advice, not a sink. Vintage or antique embroidery with unknown thread should be left to a textile conservator, because old dyes are unpredictable and old fibers are fragile. And if your color test fails badly, which I’ll explain in a moment, skipping the wash is smarter than gambling. A slightly dusty hoop beats a pink-streaked one every time.
The 30-second color test that saves everything
This is the step I skipped with the poppies, and it’s the entire difference between my laundry-room warning and every piece I’ve washed since. Before any finished piece touches water, test the darkest, brightest threads. Dampen a white cloth or cotton ball, press it firmly against the red or navy or black stitching for about 30 seconds, and check the cloth. Any color transfer means that thread will bleed in a soak.
The usual suspects are reds, dark blues, and blacks. DMC 321 red, DMC 798 navy, and DMC 310 black are the three I always test, even though DMC floss is colorfast under normal conditions. “Colorfast” means the dye survives normal use; it doesn’t mean it survives hot water plus aggressive soap plus a long soak. Cheap no-name floss fails this test constantly, which is one more reason I stick to brands I trust. I wrote about choosing embroidery floss brands in detail, but the short version is that a dollar DMC skein is cheaper than a ruined project.
If the test shows light transfer, you have options. You can skip washing and spot-clean instead. You can wash with a color-catcher sheet, the kind sold for laundry, which absorbs loose dye in the water. Some stitchers swear by a pre-soak in cool water with a splash of white vinegar to set dyes; I’ll be honest that the evidence for vinegar is mostly anecdotal and I don’t bother with it myself. What I do: test, and if anything bleeds more than a whisper, the piece doesn’t get soaked. No exceptions. The poppies taught me that.
How to wash embroidery, step by step
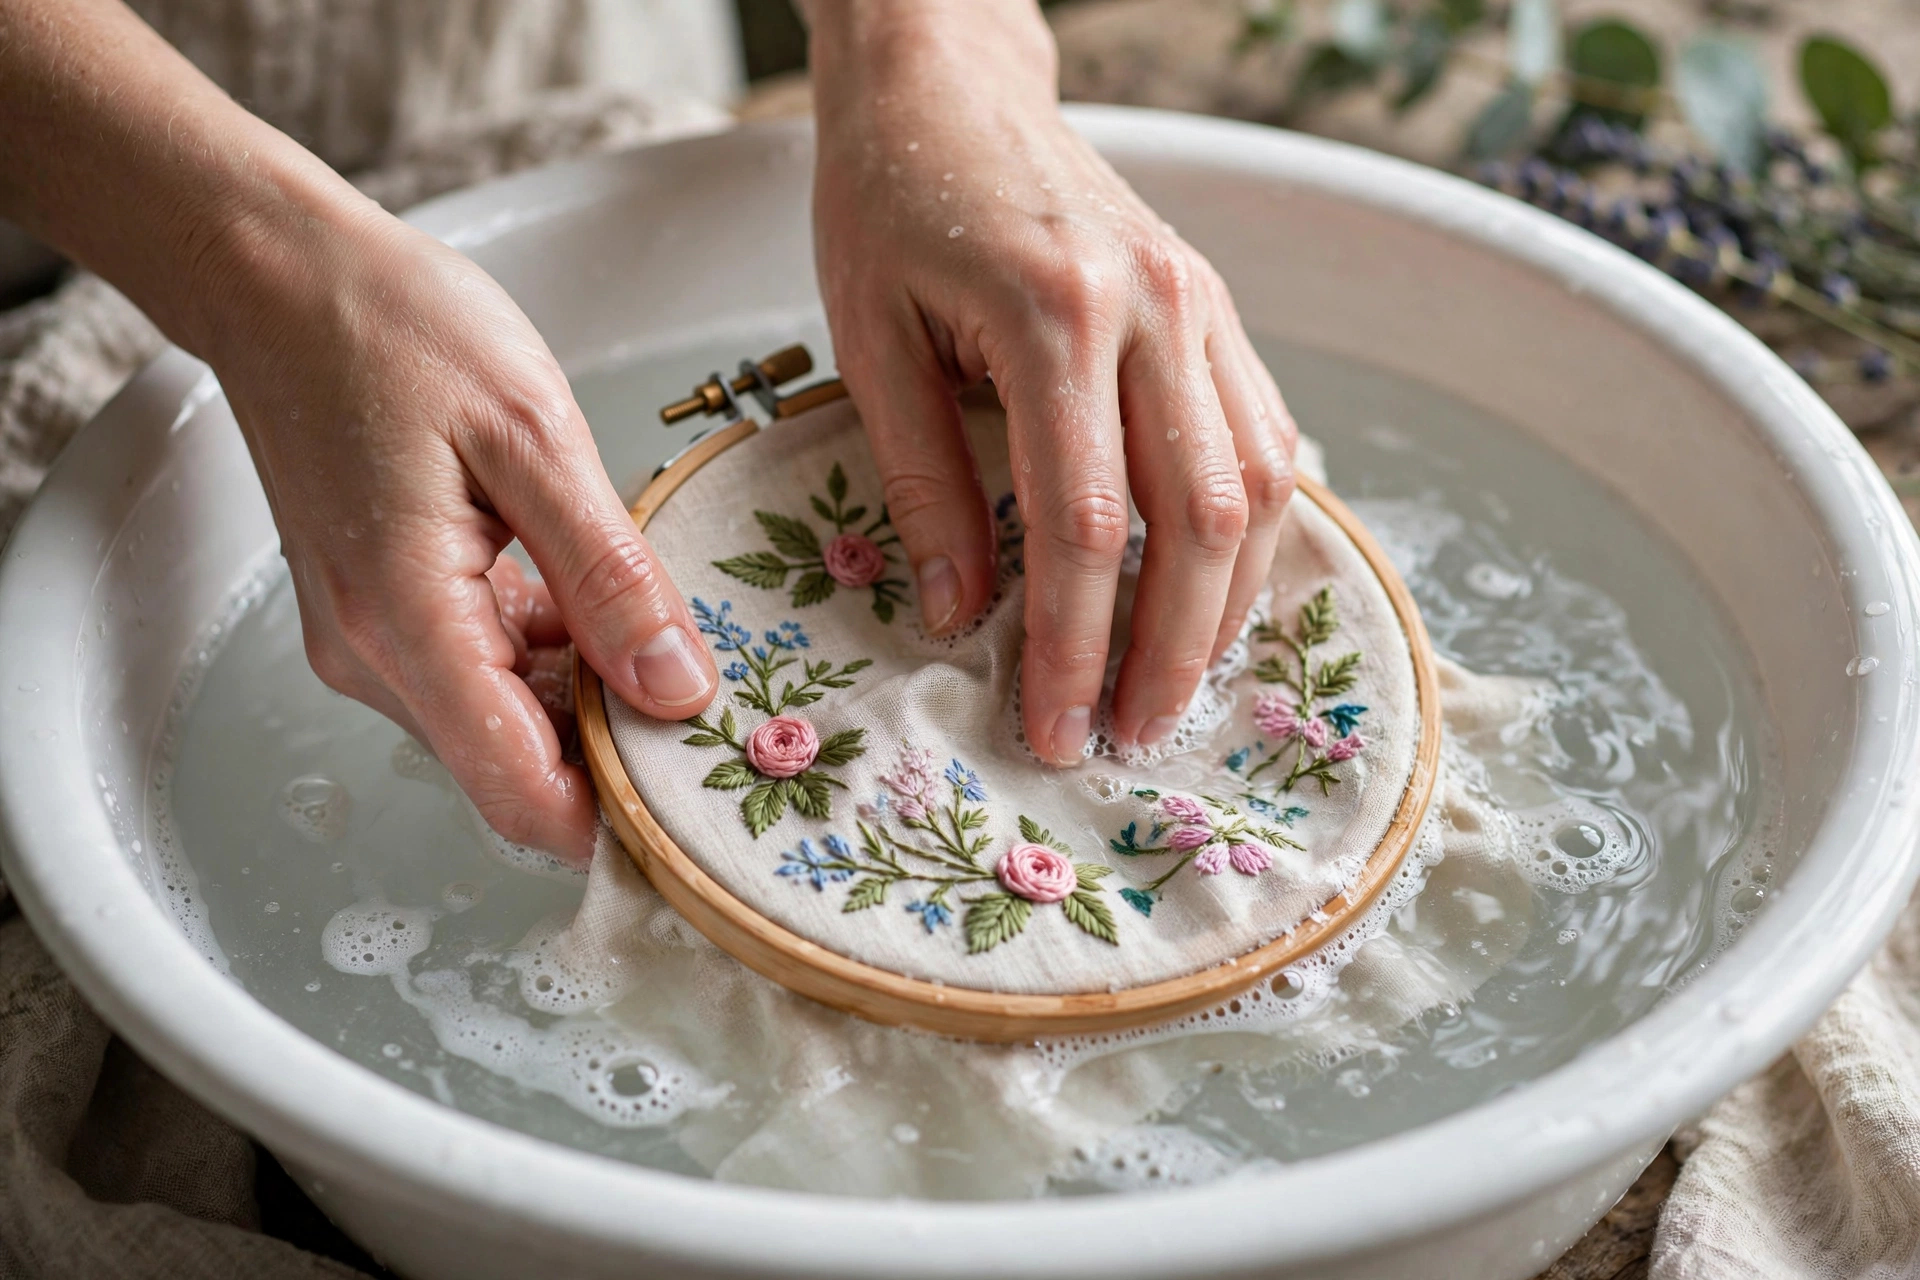
Set up at the sink or a clean basin. You’ll need lukewarm water, a mild soap, two clean white towels, and about twenty unhurried minutes. White towels matter: colored towels can transfer dye right back onto your damp piece, which would be a particularly stupid way to ruin things.
Step 1: Fill with lukewarm water. Aim for 85 to 100°F (30 to 38°C), comfortably warm on the inside of your wrist, never hot. Hot water is the number one dye-bleeding trigger and it can also shrink cotton fabric unevenly. If you don’t have a thermometer, “baby bath” temperature is the target. Fill the basin enough to submerge the piece fully.
Step 2: Add a drop or two of mild soap. A tiny squirt of plain dish soap like Dawn, a dab of baby shampoo, or quilters’ favorite Orvus paste all work. What you’re avoiding: bleach, “oxy” cleaners, detergent with optical brighteners, and anything scented within an inch of its life. You need barely any soap. If the water feels slippery, you’ve used too much, and excess soap is a pain to rinse out of dense stitching.
Step 3: Submerge and soak for 10 to 15 minutes. Lower the piece in gently and let the water do the work. Swish it slowly a few times, lifting and turning it, but never scrub the stitches, never rub one area against another, and never wring or twist. Wringing distorts stitches and can snap threads. French knots are especially vulnerable to rough handling when wet; they go from plump to sad with surprisingly little provocation. If you used a water-soluble pen, you’ll see the blue marks dissolve within the first few minutes, which is deeply satisfying.
Step 4: Rinse in the same temperature water. Drain the basin, refill with clean lukewarm water at the same temperature, and swish gently until the water runs clear and no soap remains. Don’t run the piece directly under a hard faucet stream; the pressure can distort satin stitch. Two rinse fills is usually enough. Press the piece gently against the side of the basin to encourage water out, still no wringing.
Step 5: Roll it in a towel. Lay a clean white towel flat, place the embroidery face-down on it, roll the whole thing up like a jelly roll, and press firmly along the roll. The towel wicks out an astonishing amount of water. Unroll, move the piece to the dry section of the towel or a fresh one, and reshape it gently with your hands, smoothing the fabric square and plumping any flattened stitches back into shape with a fingertip.
Drying: the part everyone rushes
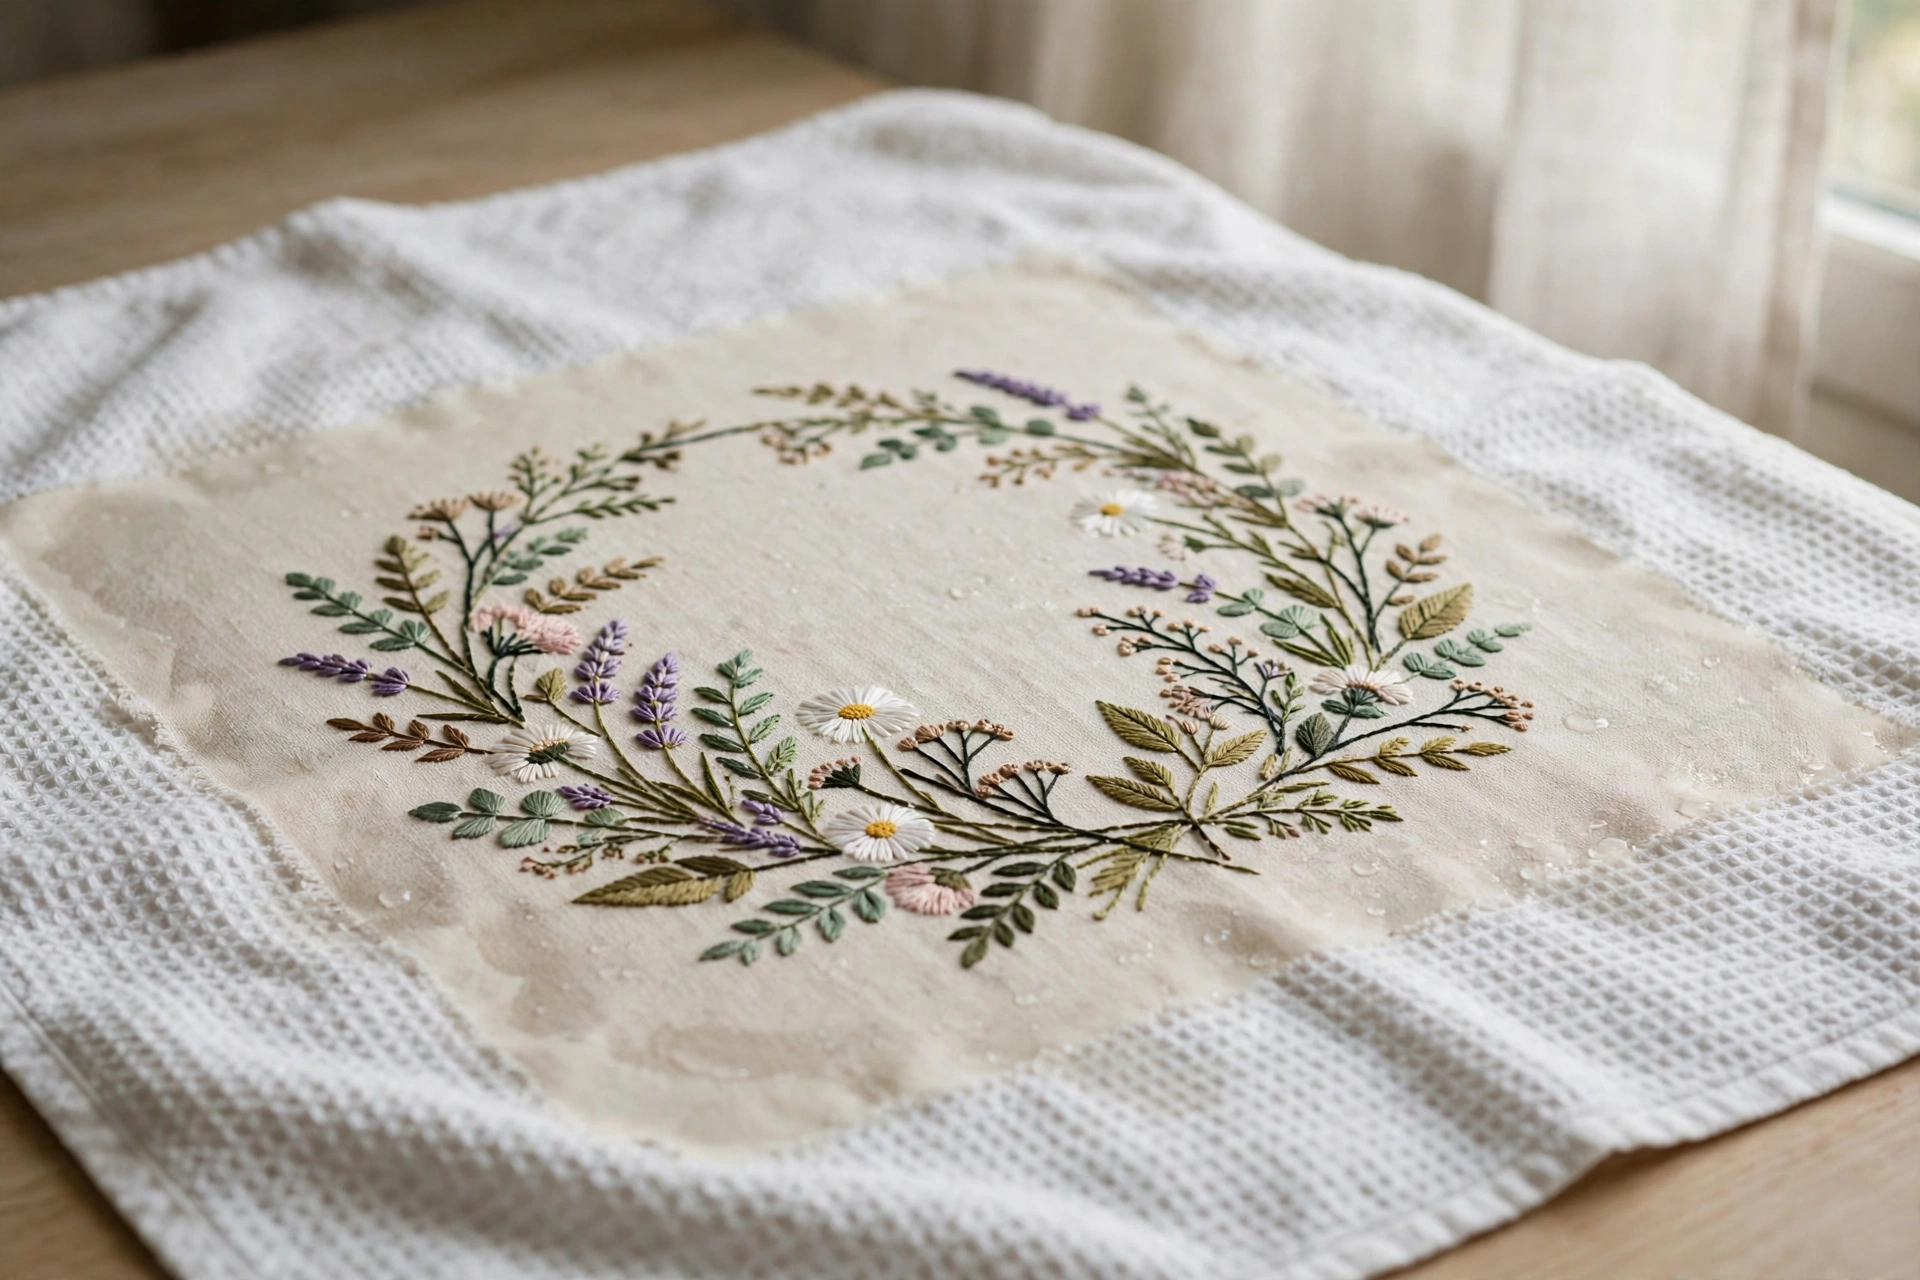
Always dry embroidery flat. Lay it on a dry white towel in a room with good airflow, away from direct sunlight and away from radiators. Sunlight fades thread faster than you’d think, even through a window, and direct heat can set wrinkles permanently or shrink the fabric around your stitches. Depending on the fabric weight and stitch density, drying takes anywhere from 4 to 12 hours. A dense satin-stitch piece on linen can still feel cool and damp at the back after six hours. Give it the full time. Patience here is free and failure is permanent.
Two hoop-specific notes. First, if the piece is still in its hoop, loosen the hoop screw while it’s damp. A tightened metal screw sitting on wet fabric can leave a rust ring, and I’ve seen it happen on a cream linen piece that was otherwise perfect. Second, never hang a wet piece by its fabric to “drip dry.” Gravity plus water weight stretches fabric unevenly, and your careful square will dry into a sad parallelogram.
While it dries, you’ll notice the smell. Wet linen has a distinctive earthy, almost grassy scent that I secretly love. It’s the smell of the fibers relaxing. If the piece smells musty rather than grassy after a full day, it dried too slowly in a damp room; move it somewhere airier and it’ll be fine.
Ironing without squashing your stitches
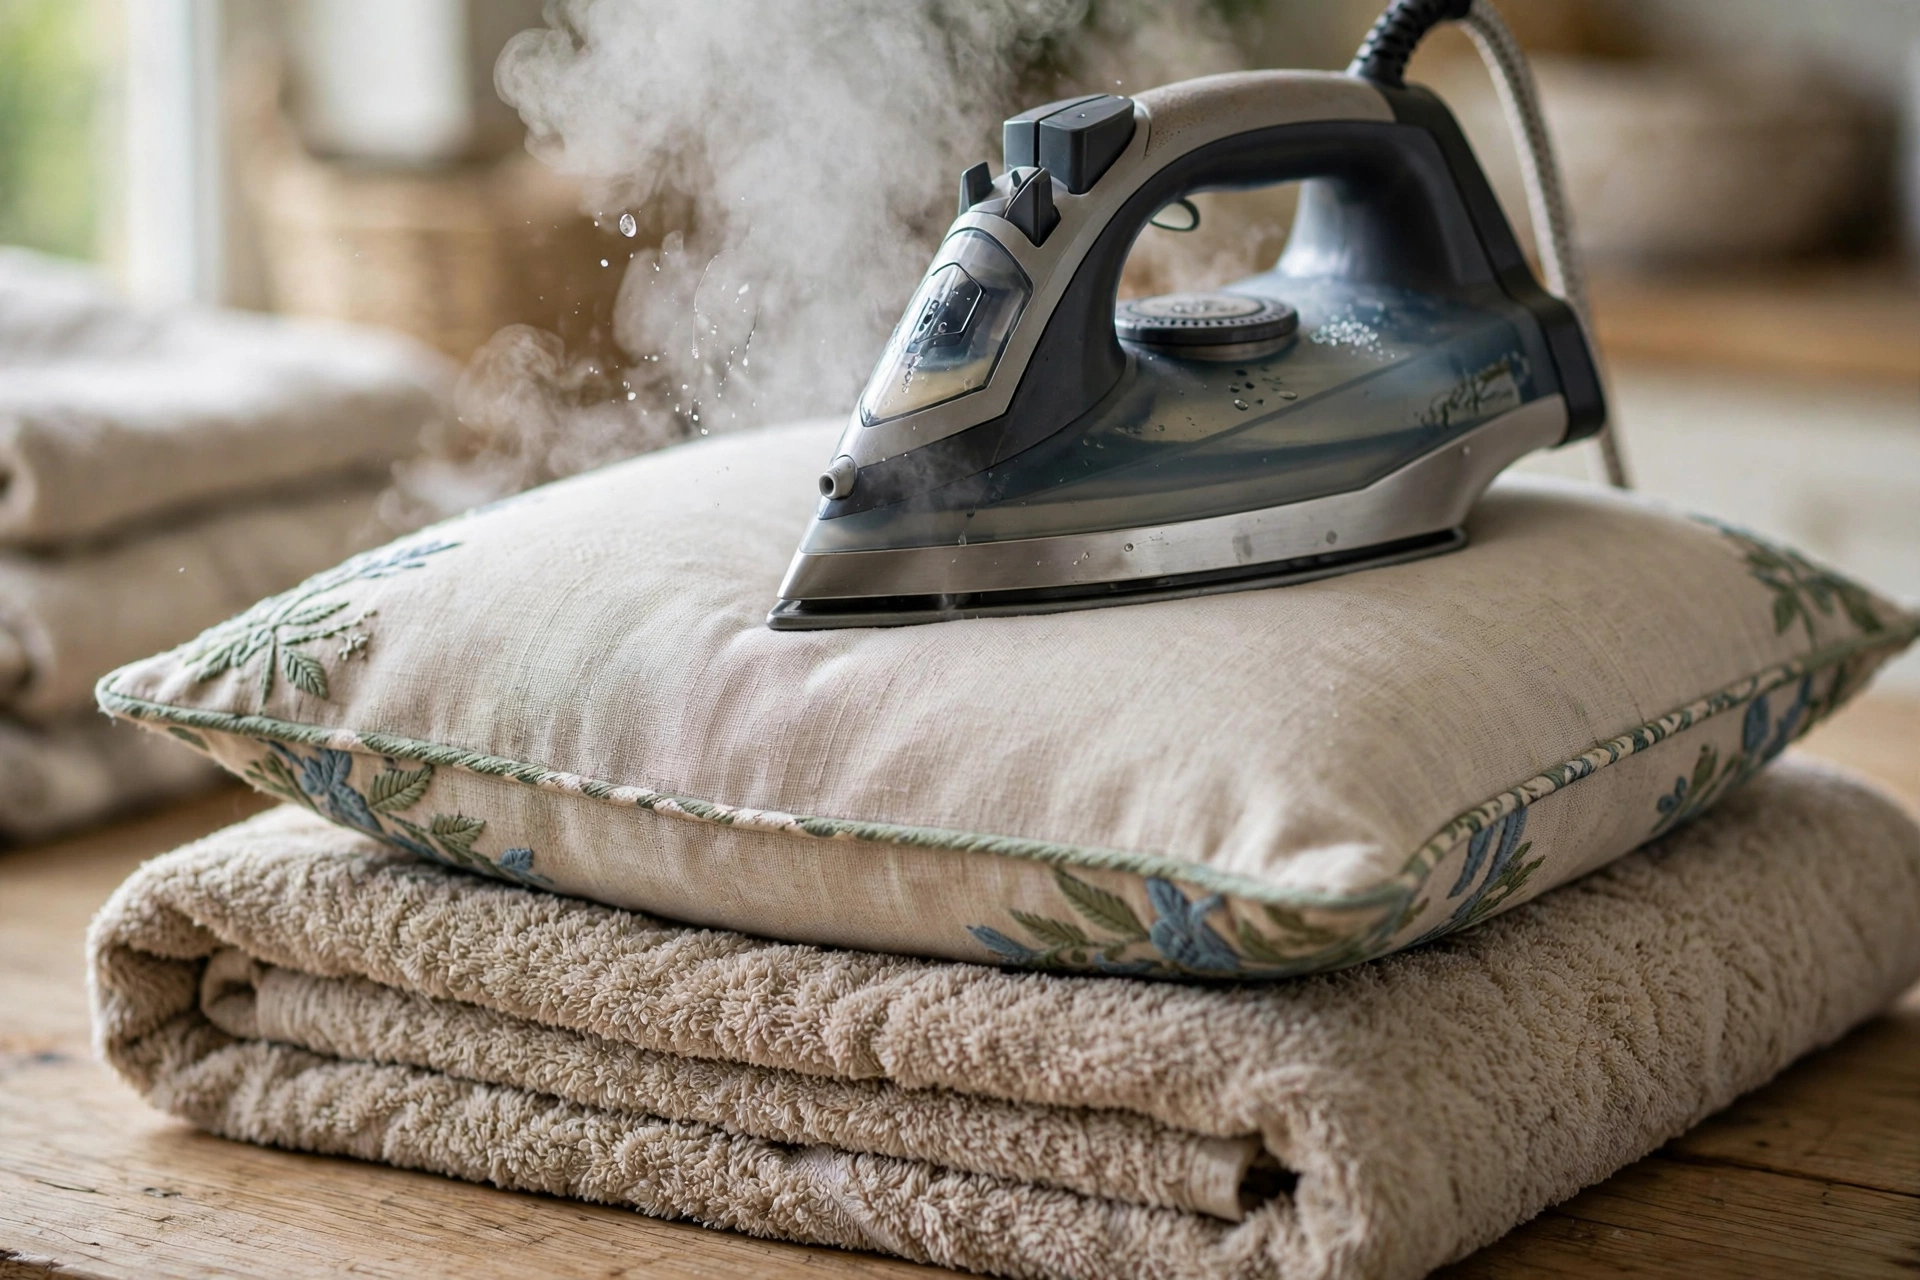
Once the piece is fully dry, it will probably need pressing. The golden rule: iron from the back, never the front. Lay a thick, clean white towel on your ironing board, place the embroidery face-down on the towel, and press with a medium or cotton heat setting. The towel’s pile cushions the stitches so your French knots and satin fills keep their dimension instead of being flattened into the fabric. Use a pressing cloth between the iron and the fabric if you’re cautious, a thin cotton pillowcase works perfectly.
Go easy on the steam. A blast of steam directly onto padded satin stitch or stumpwork can collapse the padding and leave your raised work looking deflated. If a section needs serious wrinkle removal, steam the fabric around the stitching, not through it. For hoop art, take the piece out of the hoop to press it flat, then re-hoop it afterward; trying to iron around a hoop is how scorch marks happen. If you want the full finishing routine for display pieces, my hoop art tutorial covers backing and framing after the wash.
Five ways to ruin embroidery in the wash
Consider this the wall of shame, each entry earned by me or by a stitcher who confessed to me.
1. Hot water. Anything above about 110°F (43°C) dramatically increases dye bleeding and can shrink cotton unevenly. The poppies died in hot water. Lukewarm is not a suggestion.
2. Bleach and harsh cleaners. Bleach weakens cotton thread, yellows white fabric over time, and will eat some dyes while leaving others, giving you a chemically tie-dyed disaster. “Oxy” powders are nearly as risky on colored floss. Mild soap or nothing.
3. The washing machine. Agitation tangles and abrades stitches, zippers and buttons in the same load snag threads, and the spin cycle is a centrifuge of regret. Hand wash only for hoop art and framed pieces. The one exception is embroidered clothing: a t-shirt or sweatshirt you’ve stitched can go in the machine inside-out, in a mesh laundry bag, on a cold delicate cycle. That’s the garment rule, and it lives in my guide to embroidering on t-shirts. Never the dryer, though. Hang dry, always.
4. Wringing and scrubbing. Twisting a wet piece distorts every stitch it touches and can snap thread. Scrubbing at a stain with a nail or brush frays the floss surface and leaves a fuzzy bald patch that’s visible forever. Blot, soak, repeat. Never attack.
5. Drying in direct sun or on heat. Sunlight fades even colorfast dyes over hours, and a hot radiator can bake wrinkles in permanently. Shade and airflow. Boring, effective, free.
Keeping it clean after the wash
A washed and pressed piece deserves a decent afterlife. Hoop art displayed on walls collects dust; a soft dry brush or a cool hairdryer pass every few months keeps it fresh. If you’re framing behind glass, the glass protects against dust, kitchen grease, and curious cat paws, but keep framed pieces out of direct sun or the colors will fade over the years regardless of glass.
For storage, never fold embroidered pieces if you can avoid it; folds press creases through stitching that ironing can’t fully remove. Roll pieces around a cardboard tube with the stitching facing outward, or store flat with acid-free tissue between layers. And for embroidered garments, the care label you write matters: inside-out, cold, delicate, mesh bag, hang dry. Tell the recipient, because someone will absolutely throw your hand-stitched sweatshirt in a hot dryer with a load of jeans if you don’t.
So wash your embroidery, but wash it like it matters. Test the reds. Keep the water lukewarm. Never wring. And if you ever find yourself standing at a sink thinking “a little hot water won’t hurt,” picture my poppies, blushing pink above my washing machine, judging you. They’ve been judging me for two years. They’re very good at it.