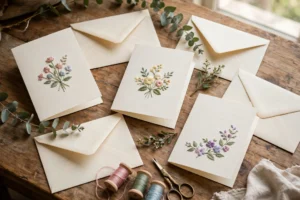
You have spent hours, maybe weeks, stitching something beautiful. The last thing you want is for it to live in a drawer because you do not know how to frame it. Framing embroidery feels intimidating, but it does not have to be. With the right method, you can take your finished stitching from hoop to wall worthy in under an hour.
In this guide, I will show you five methods for framing embroidery, from the simplest to the most professional. Whether you want a quick display solution or a gallery quality finish, there is a method here for you. Let us give your stitching the presentation it deserves.
Before You Frame: Preparing Your Embroidery
No matter which framing method you choose, proper preparation makes all the difference. Do not skip these steps.
Clean your piece if needed
If your embroidery has handling marks or transfer lines, wash it gently before framing. Fill a basin with cool water and a drop of mild soap, submerge the piece, and let it soak for 15 minutes. Rinse thoroughly. Never wring embroidery. Instead, roll it in a clean towel and press gently to remove water, then lay flat to dry.
Press carefully
Once dry, press your embroidery from the back side using a warm iron and a pressing cloth. Place a thick towel underneath to cushion the stitches so they do not get flattened. Work gently. You are smoothing the fabric, not ironing the stitches flat.
Trim thoughtfully
How much fabric to leave depends on your framing method, but as a general rule, leave at least two inches of fabric beyond your stitched design on all sides. You can always trim more later, but you cannot add fabric back.
Method 1: Leave It in the Hoop
Difficulty: Easy | Time: 15 minutes | Cost: Almost nothing
The simplest framing method is no reframing at all. Finish the back of your hoop neatly, and hang it as is. This works beautifully for pieces designed for hoops and has a charming, crafty aesthetic that suits botanical designs, quotes, and small motifs.
To finish the back, trim excess fabric to about an inch and a half, run a gathering stitch around the edge, pull tight, and secure. Cover with a felt circle for a polished look. You can paint or stain the wooden hoop to match your decor, or wrap it with ribbon or fabric for extra personality.
Best for: Small designs, gifts, gallery walls with mixed hoop sizes, and anyone who wants instant gratification.
Method 2: The Floating Frame
Difficulty: Easy | Time: 30 minutes | Cost: Low
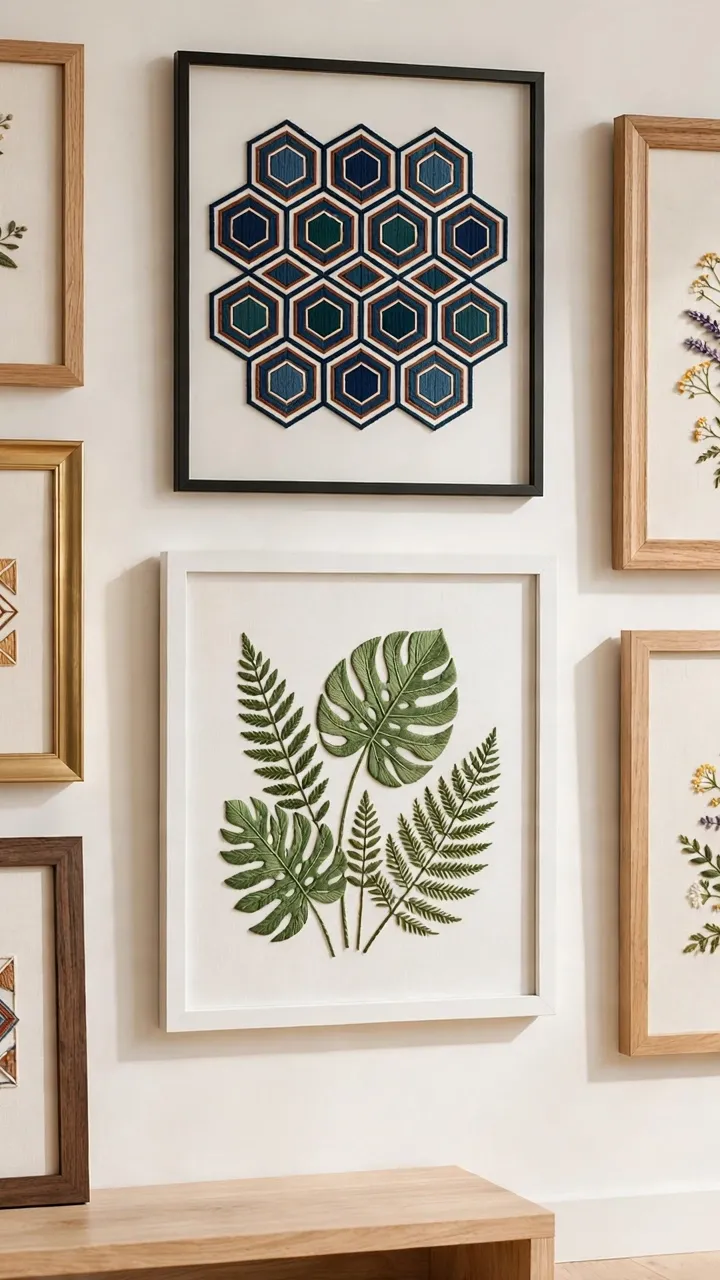
A floating frame, also called a float frame, holds your embroidery between the frame edges without a mat, so the fabric appears to float. This modern look is perfect for contemporary designs.
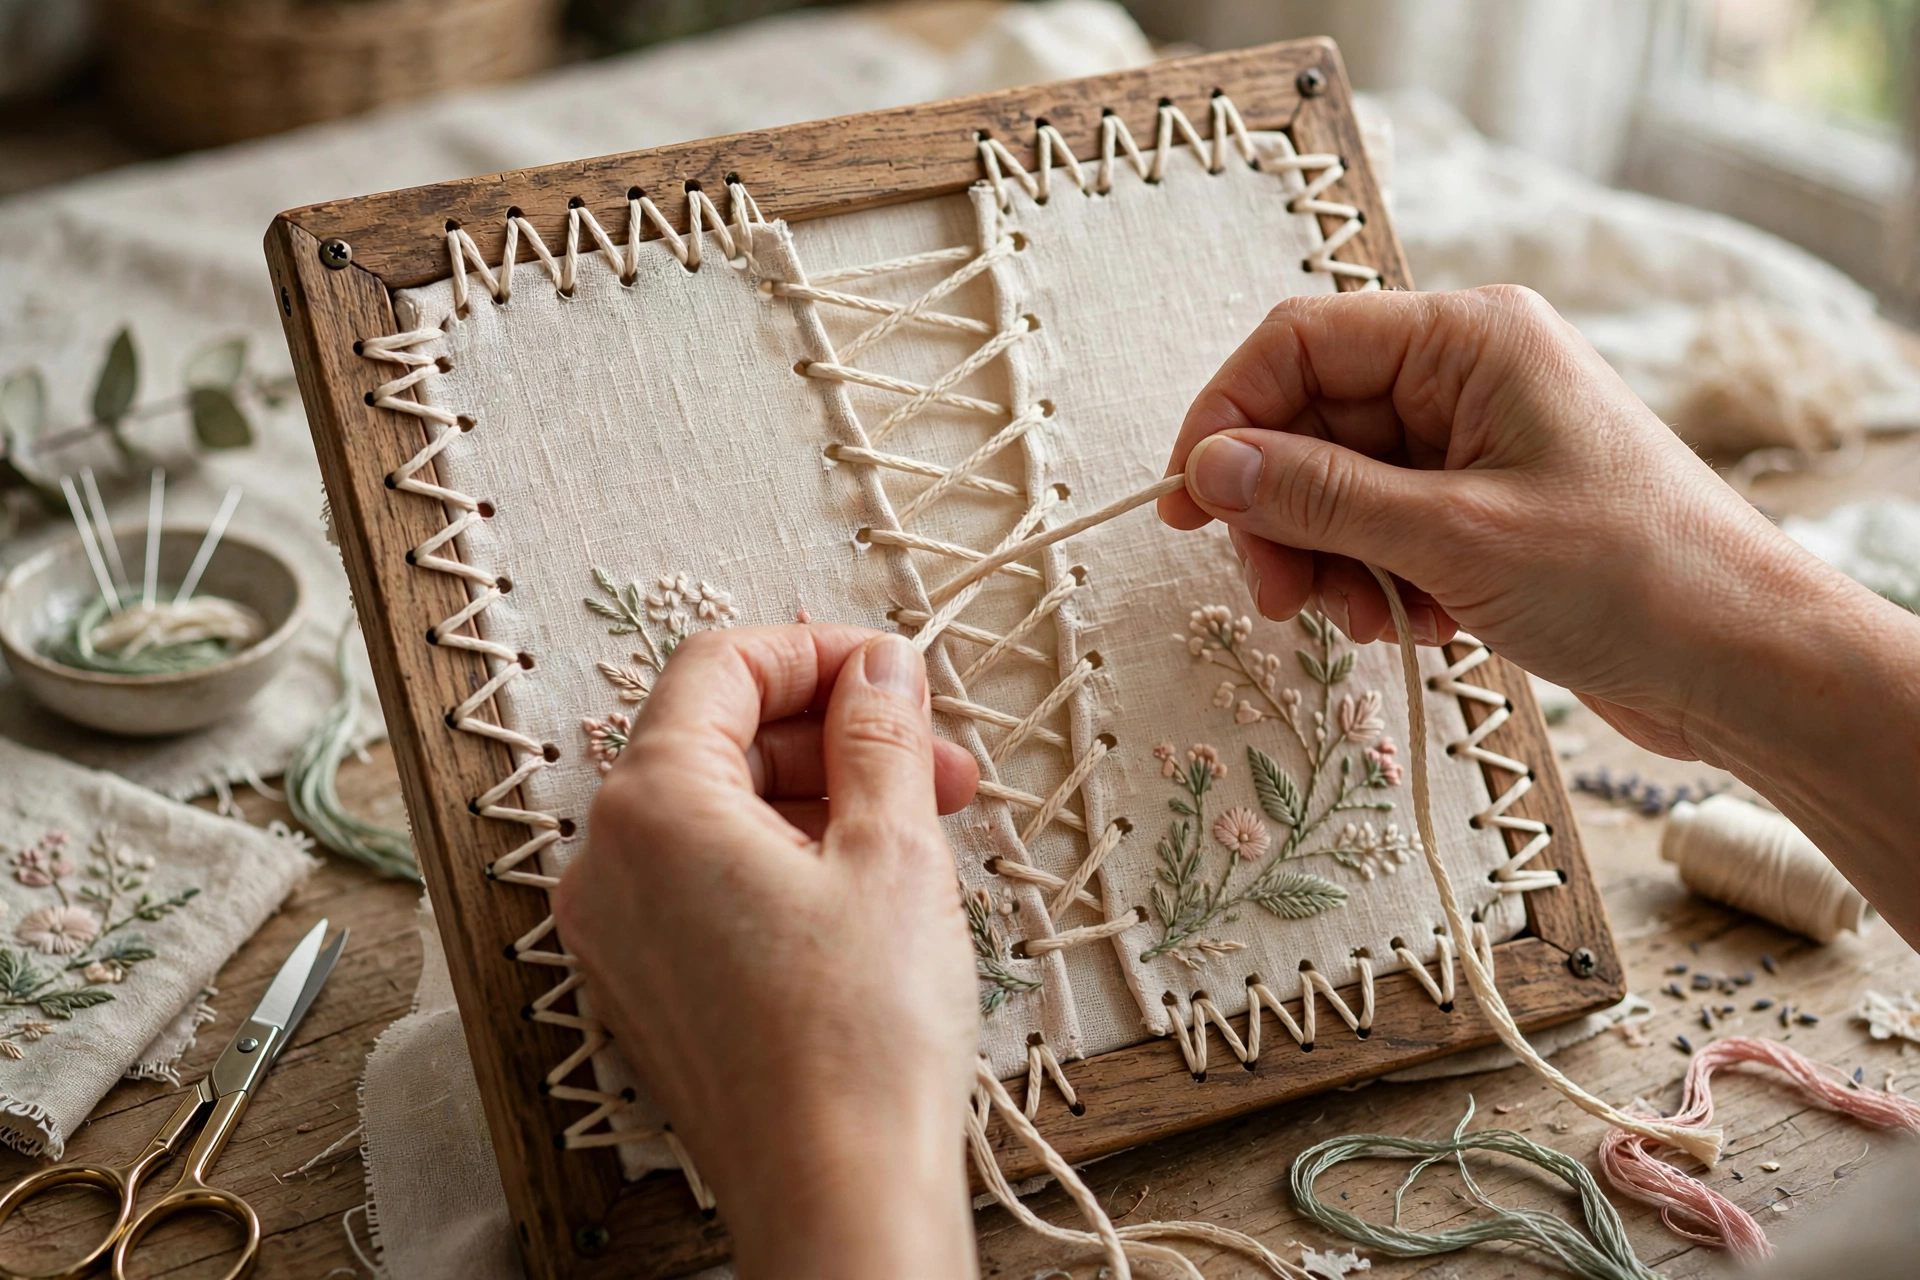
To use one, mount your embroidery on a piece of acid free foam board cut to fit the frame. Center your stitched piece on the board, then lace the back using the method described below, or use stainless steel pins around the edges. Drop the mounted board into the float frame and secure the backing.
Best for: Modern and minimalist designs, square pieces, and anyone who loves clean lines.
Method 3: Lacing on a Mount Board (The Professional Standard)
Difficulty: Medium | Time: 45 to 60 minutes | Cost: Low to medium
This is how professional framers mount embroidery, and once you learn it, you will use it forever. Lacing stretches your embroidery drum tight over an acid free mount board, giving a perfectly flat, gallery quality result.
You will need: acid free foam board or mount board cut to your frame size, strong thread like buttonhole thread or dental floss, a sharp needle, and pins.
Step 1: Center your embroidery. Place your pressed embroidery face down on a clean surface. Center the mount board on top of it. Fold the fabric edges over the board and pin them temporarily to check positioning. Your design should be perfectly centered and straight. Use a ruler to measure from the design to each edge.
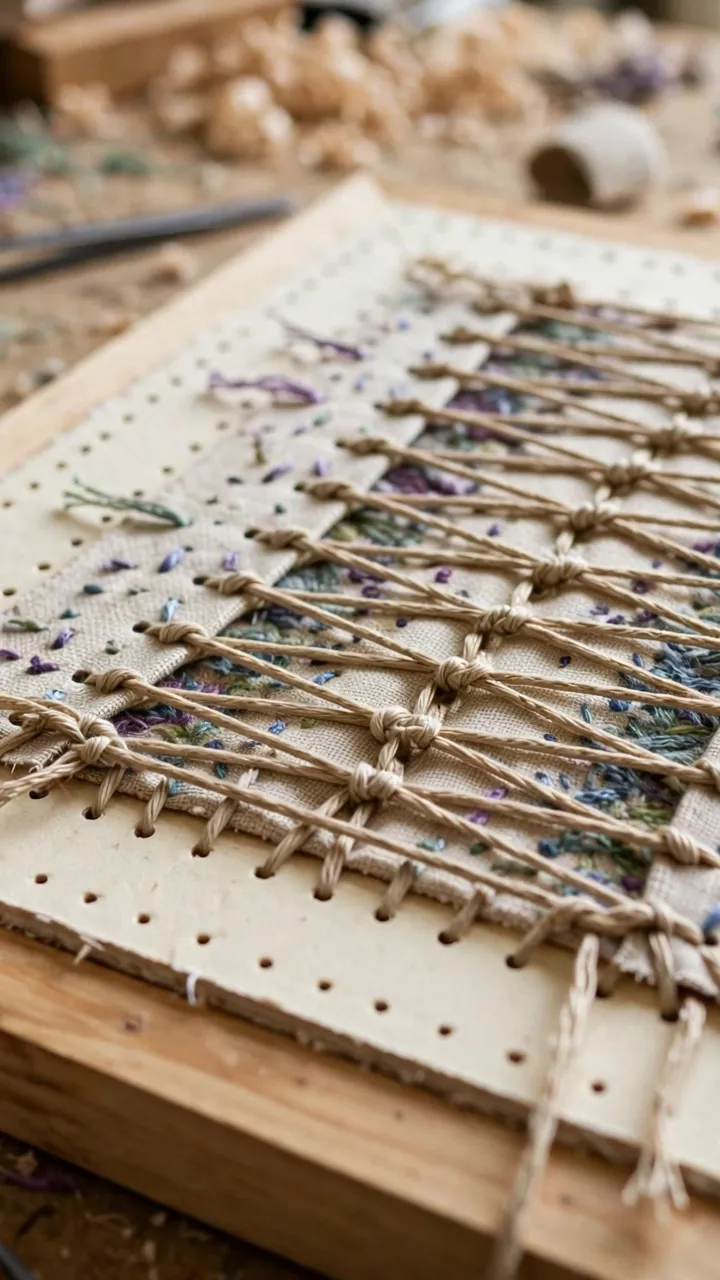
Step 2: Lace the long sides. Thread your needle with a long length of strong thread. Starting at one end, make long straight stitches back and forth across the back, catching the folded fabric edges on each side. Pull each stitch snug but not so tight that the board bows. Work your way down the full length, keeping even tension.
Step 3: Lace the short sides. Fold in the corners neatly, like wrapping a present, and repeat the lacing process on the remaining two sides. Tuck corner fabric flat before lacing over it.
Step 4: Check the front. Flip the board over frequently to make sure your design stays centered and the fabric stays smooth. Adjust tension as needed before you finish.
Once laced, your embroidery is mounted flat and secure. Drop it into any standard frame. The lacing method works with frames with or without glass.
Best for: Any rectangular or square piece you want to look professionally finished. This is the method to learn if you only learn one.
Method 4: Stretched Over a Canvas Frame
Difficulty: Medium | Time: 30 to 45 minutes | Cost: Medium
Stretching embroidery over a wooden canvas stretcher frame, the kind used for paintings, creates a modern, frameless look with depth. The embroidery wraps around the edges of the thick frame, giving it a contemporary gallery feel.
Center your embroidery face down and place the stretcher frame on top. Starting from the center of each side and working outward, staple the fabric to the back of the frame using a staple gun. Pull firmly as you go to keep the fabric taut, alternating opposite sides to maintain even tension. Fold the corners neatly and staple them down.
This method works best with designs that have enough background fabric to wrap around the frame edges, at least two inches on each side. It is not ideal for pieces where the stitching goes right to the edge.
Best for: Contemporary designs, large pieces, and a modern frameless aesthetic.
Method 5: The Shadow Box
Difficulty: Medium | Time: 30 minutes | Cost: Medium
A shadow box is a deep frame that gives your embroidery room to breathe. It is especially beautiful for textured pieces with French knots, raised stitches, or dimensional elements that would be crushed under glass in a regular frame.
Mount your embroidery on foam board using the lacing method, then place it in the shadow box without glass, or with the glass set deep enough to clear your stitches. The depth creates lovely shadows that emphasize the texture of your work.
Best for: Heavily textured embroidery, pieces with beads or dimensional elements, and statement pieces.
Should You Use Glass?
This is one of the most common framing questions, and the answer depends on your piece. Glass protects embroidery from dust and fading, but it can also flatten the appearance of textured stitches and create glare.
- Use glass for pieces in dusty or sunny locations, heirloom pieces, and work you want to preserve long term. Choose UV protective or museum glass if your budget allows, and always use spacers so the glass does not touch your stitches.
- Skip the glass for heavily textured pieces where you want the dimension to show, and for casual pieces in protected indoor spots. Without glass, dust your embroidery occasionally with a soft brush.
Choosing the Right Frame
The frame should complement your embroidery, not compete with it. Simple wooden frames in natural, white, or black work with almost everything. For traditional floral designs, a classic wood frame feels right. For modern geometric work, try a thin metal frame or a float frame.
When it comes to mats, a mat can elevate your embroidery by giving it breathing room, but it is optional. If you use one, choose acid free mat board. White or cream mats are timeless. Colored mats can work but should be chosen carefully to complement, not clash with, your thread colors.
Common Framing Mistakes to Avoid
- Framing before washing. Always clean and press your piece first. Dirt and wrinkles do not improve with framing.
- Using non acid free materials. Regular cardboard and cheap foam board contain acids that yellow fabric over time. Always use acid free mount board for anything you want to last.
- Pulling lacing too tight. Over tensioned lacing warps the mount board and distorts your design. Snug is enough.
- Centering by eye alone. Measure. A design that is off center by even a quarter inch is noticeable once framed.
- Touching the glass to the stitches. Always use spacers with glass. Condensation and pressure damage stitches over time.
You Did the Hard Part Already
Here is the truth about framing. The stitching was the hard part, and you already did that. Framing is just the victory lap. Pick the method that suits your piece and your patience level, take your time with the preparation, and enjoy seeing your work presented the way it deserves.
Your walls are about to get a lot more interesting.