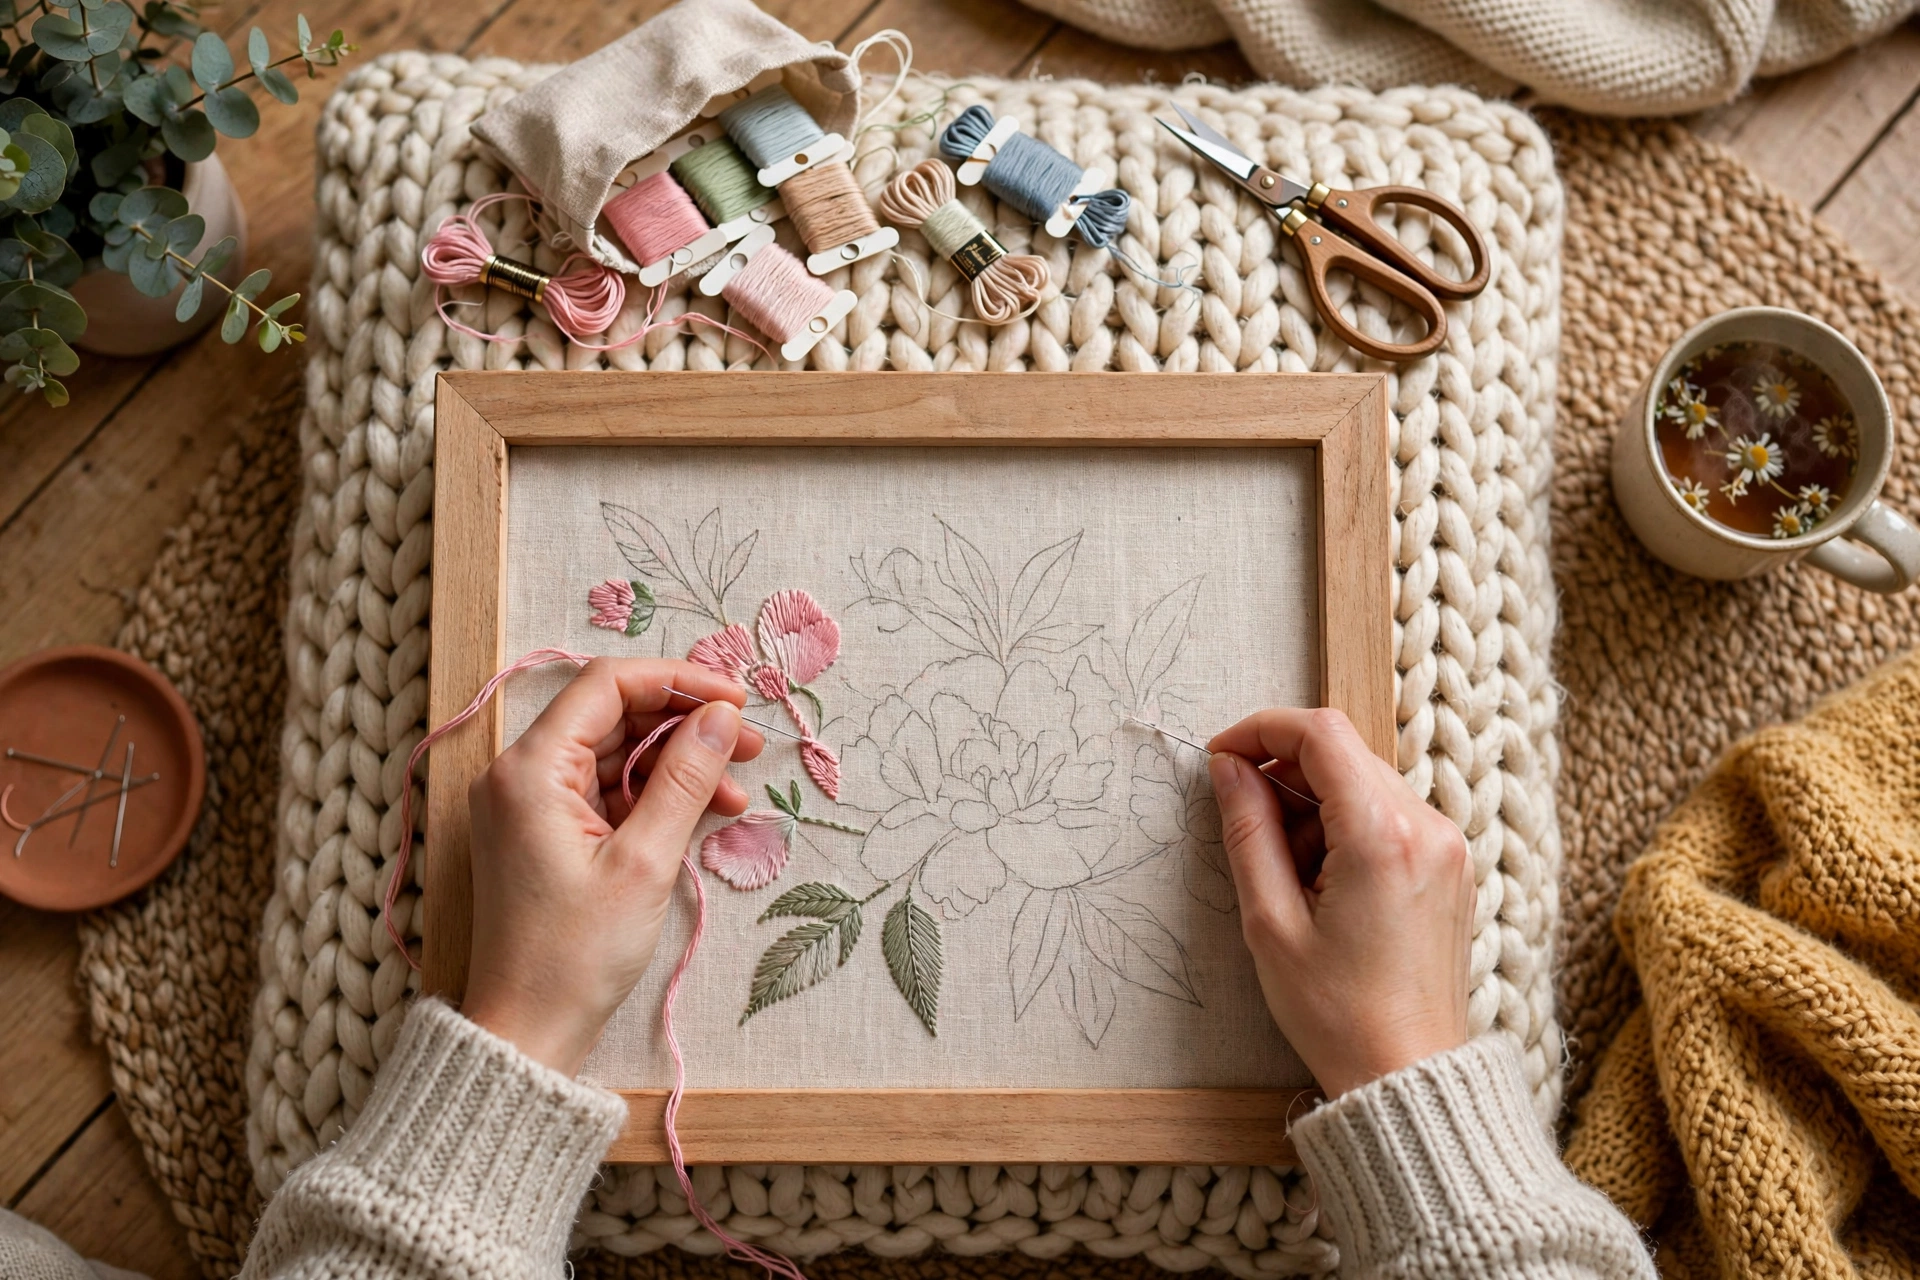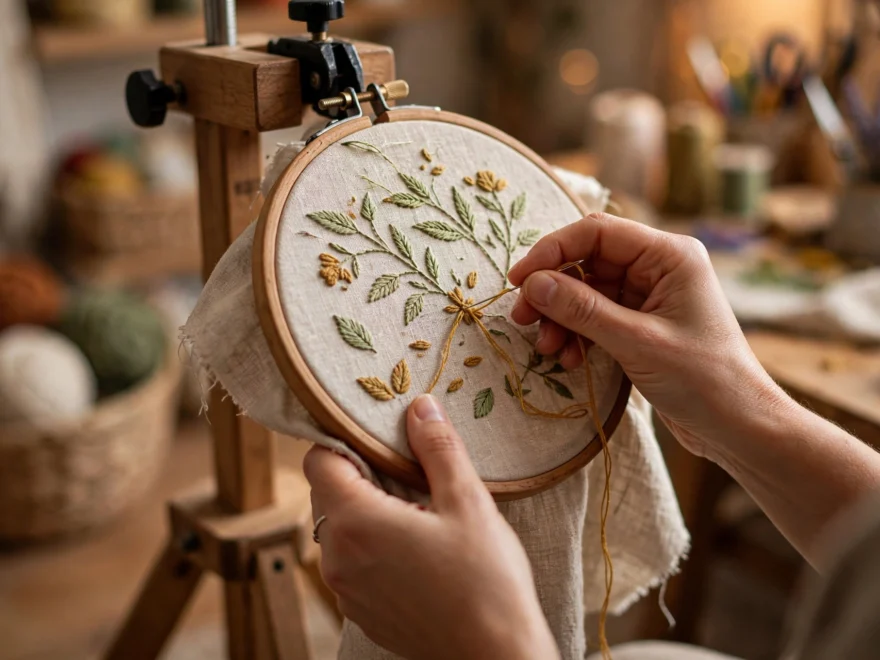
Last spring I stitched a blue tit panel, six inches of satin stitch on Zweigart linen, and by the third evening my right shoulder clicked every time I lifted the hoop. I actually counted during one session: I pick up and reposition my hoop roughly 200 times in two hours. No wonder my neck filed a complaint. An embroidery stand or lap frame holds your work at the right height so your body can stop doing the holding, and it frees both hands, which makes starting and ending threads about twice as fast. Here is how I would shop for one, knowing what I know now.
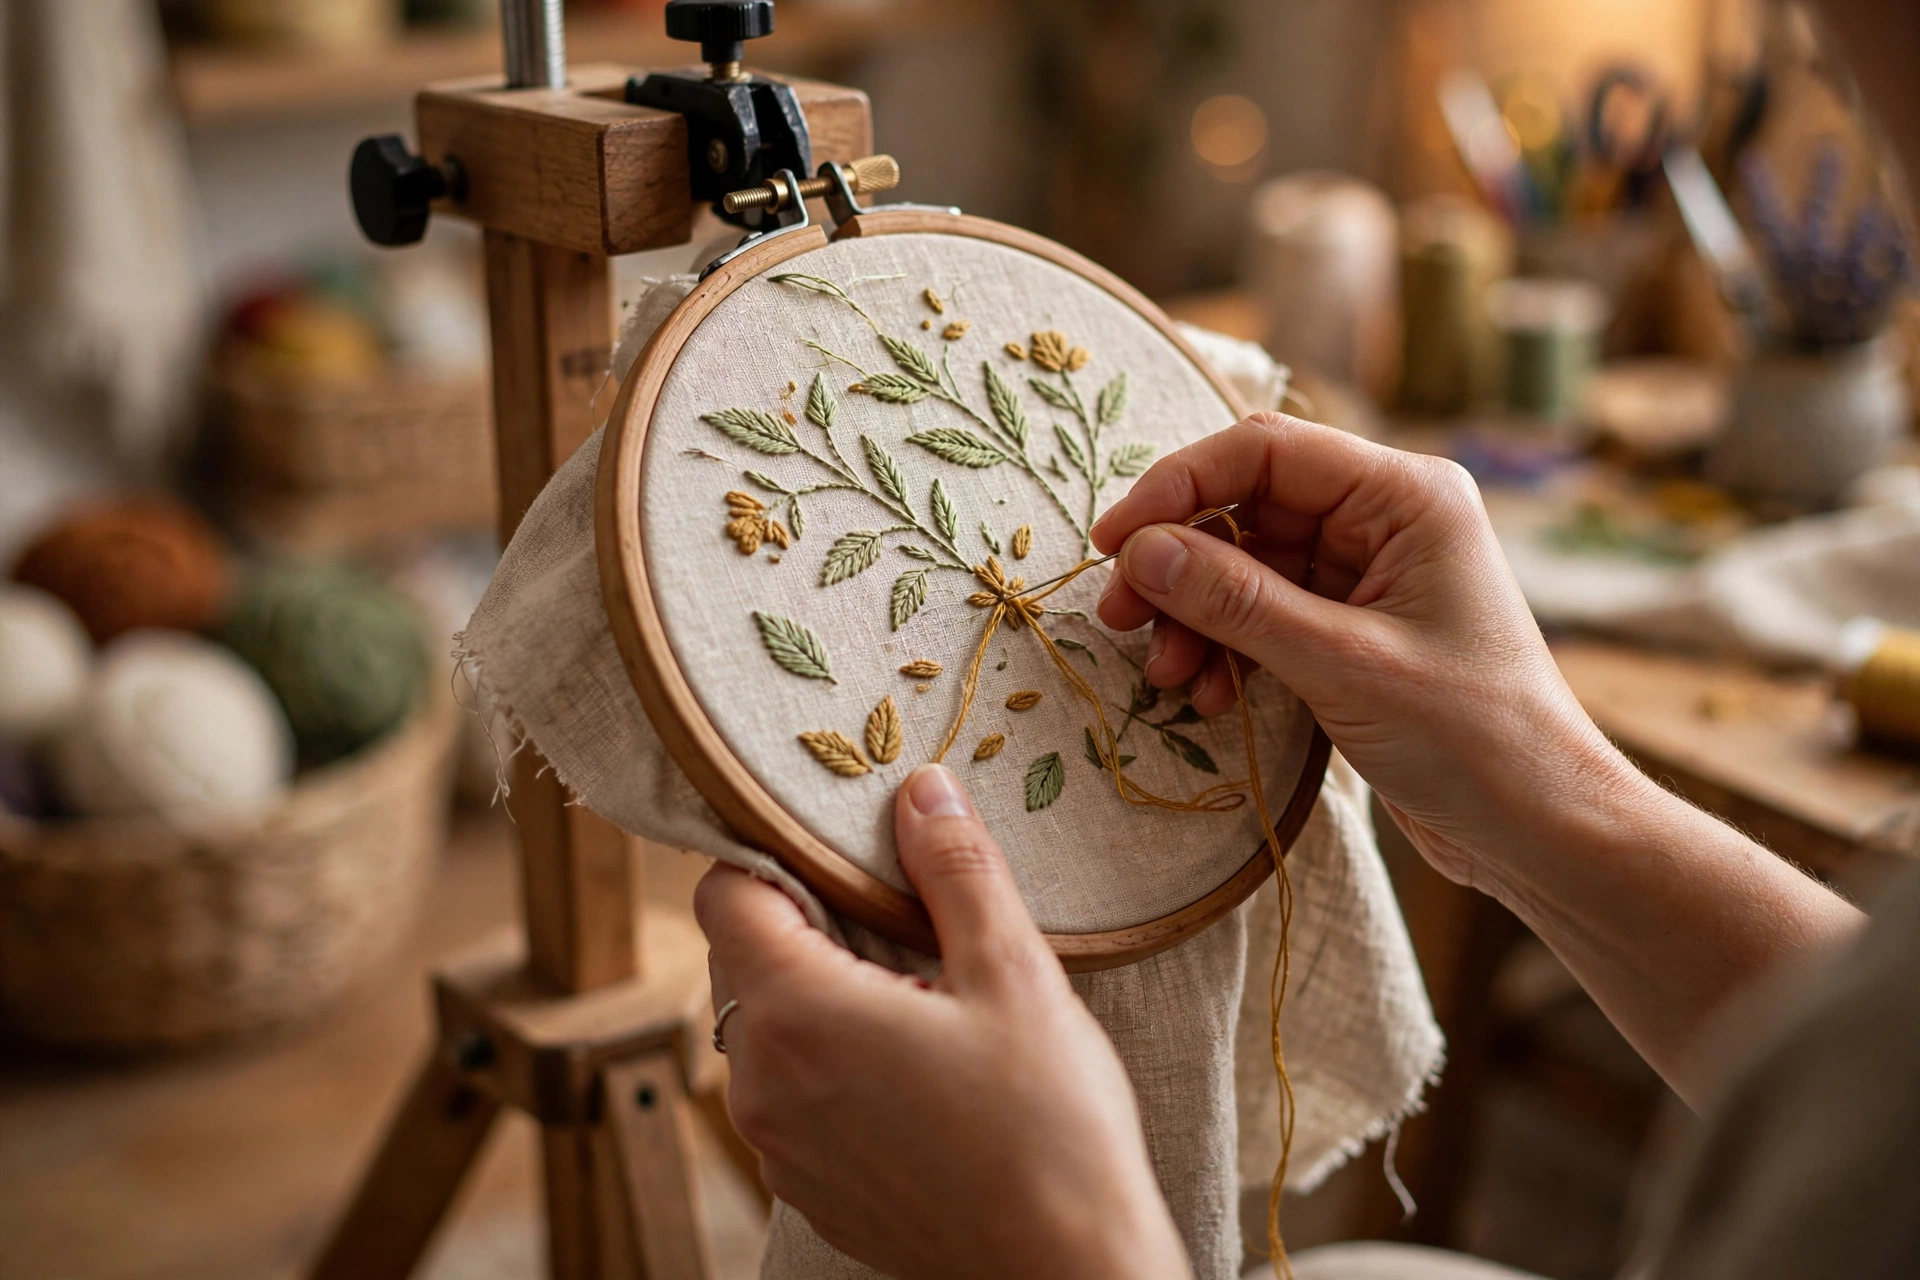
The four kinds, and who each one is actually for
Floor stands
The armchair throne. A floor stand sits beside your chair with an arm that holds your hoop or frame at chest height. Rock solid, fully adjustable, handles big scroll frames without complaint. Also the bulkiest thing you will ever own, the priciest (decent ones run $60 to $120, hardwood ones sail past $150), and it permanently claims a corner of your room. Buy one when you already stitch for hours every week in the same chair, not before.
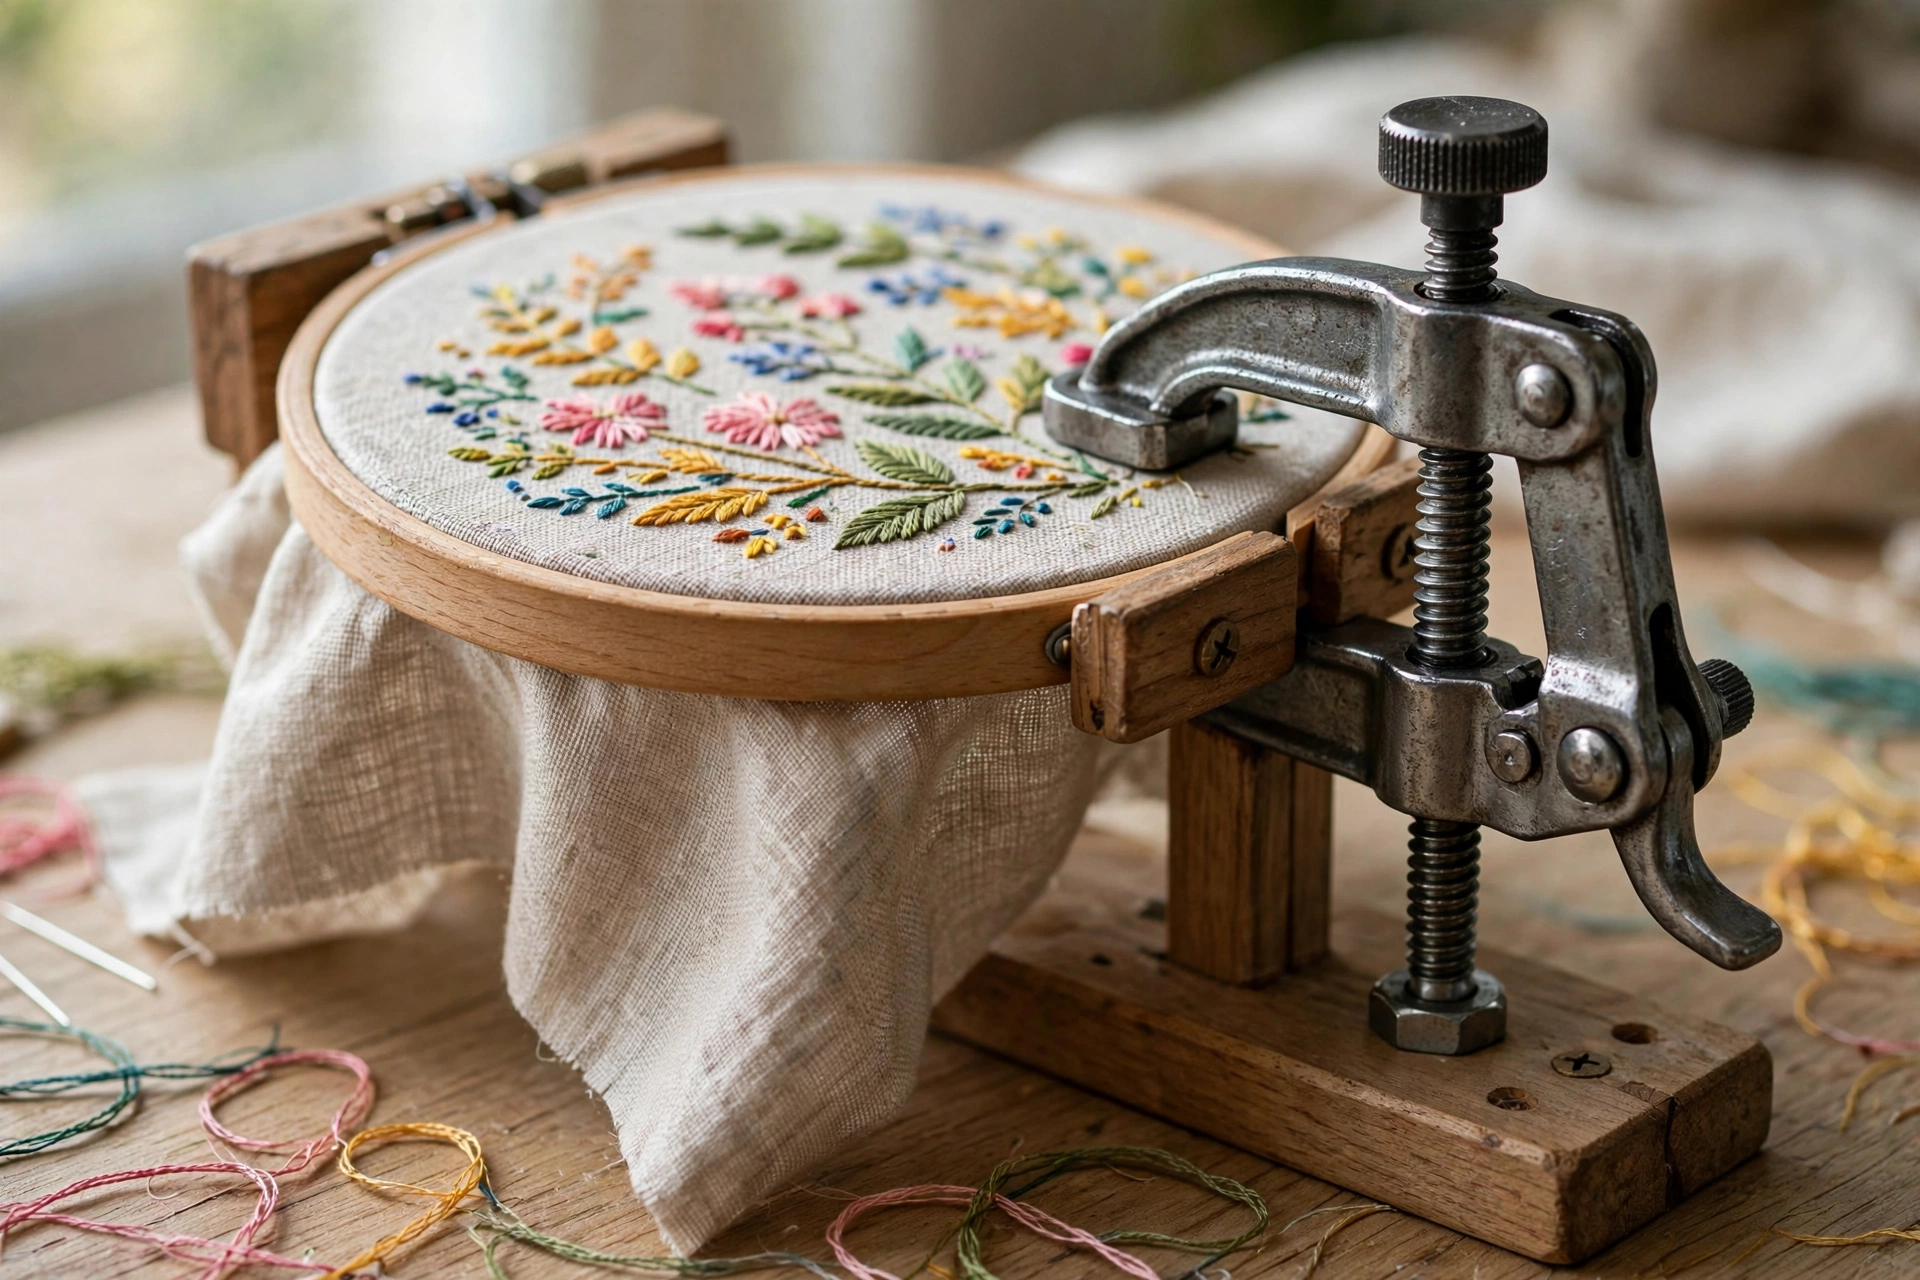
Tabletop and clamp stands
These clamp to a table edge or sit on a weighted base. My first was a $32 clamp stand from Amazon, and it taught me everything I needed to know before spending real money. Great for desk stitchers and small rooms. Two caveats: cheap clamps can dent soft wood, so slide a folded tea towel under the jaw, and you need a table edge that is actually reachable from your chair. Measure that before ordering.
Lap frames
Two bars, some fabric or a hoop holder, resting across your lap, ideally on a cushion. The cheapest way to feel the difference a stand makes, usually $25 to $40. Portable, no furniture required. The honest downside: almost no adjustability, and your posture still depends entirely on your chair. Perfect for sofa stitching and for finding out whether you even like working hands-free.
Sit-on frames
You sit on one end to anchor it; the working end tilts up in front of you. Weirdly stable for the price and very portable. The catch is you cannot get up mid-session without dismantling your setup, and they prefer firm chairs over deep sofas. I have never owned one, so take this with salt, but stitchers I trust swear by them for travel.
What to check before you buy an embroidery stand
Brand names matter less than this checklist. Run through it and you will dodge 90 percent of bad purchases.
- Compatibility first. What is the biggest hoop or frame it accepts, and how does it grip: screw knobs, spring clamps, or slots? Measure your favorite hoop before you click buy. My 10-inch Q-snap did not fit my first clamp stand, and I found out the annoying way.
- Adjustability. Height, tilt angle, and ideally full rotation so you can flip the work to check the back without unclamping. Rotation is the feature people underestimate and miss the most.
- Stability. A wobbling stand is worse than no stand. Wide feet and weighted bases beat narrow ones every time. Read reviews and search them for the word “wobble” specifically.
- Grip padding. Bare metal jaws dent wooden hoops. Felt or rubber lining is a tiny detail that saves your tools. If yours lacks it, wrap the jaws with strips of shelf liner.
- Your actual chair. Armchair people want floor or lap options; desk people want clamps. Buy for where you sit on a Tuesday night, not the studio of your dreams.
- Honest portability. If you take projects to a stitching group, that 12-pound hardwood floor stand will live at home. Be real about this.
My setup ritual, refined over three years
Comfort is tuned, not guessed. This is the exact sequence I use whenever I set up in a new spot.
- Sit in your chair first, feet flat, back supported. The chair comes before the stand, always.
- Mount the hoop and tighten everything finger-tight, then give each knob one extra quarter turn. Finger-tight alone slips within an hour.
- Set the height so the top edge of your work sits near chest level. Your elbows want a relaxed 90-degree bend, not chicken wings.
- Tilt the frame toward you about 15 degrees. Flat like a table cranes the neck; vertical like an easel punishes the wrists.
- Rotate the frame fully to confirm you can reach the back for starting and ending threads.
- Stitch for 20 minutes, then freeze. Shoulders down or creeping toward your ears? Neck straight or craned? Change one thing, stitch 20 more. Two rounds of this beats any ergonomic diagram.
When a stand will not save you
A stand fixes holding, not everything. If your fabric keeps going slack, the problem is hooping technique, not furniture. If your eyes ache, you need better light, not a better clamp. And if you stitch in 20-minute bursts on the bus, a stand would be genuinely silly. Tools solve the problems they are built for; the trick is diagnosing the right problem.
Start cheap, learn what bothers you, then spend once on the right thing. My $32 clamp stand still lives on my desk for small projects, three years and one wobbly knob later.