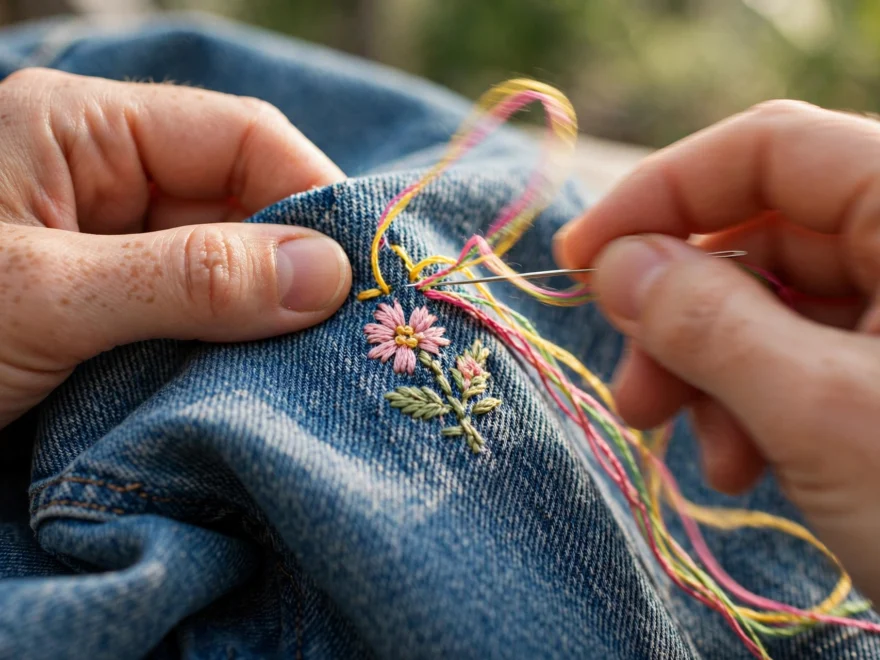
My first garment project was a plain white tee with a sunflower in DMC 725. I treated it exactly like a square of quilting cotton: hooped it drum tight, stitched away, unhooped it. The sunflower looked great for about ten seconds, then the fabric relaxed and the whole thing puckered into something resembling a prune. Embroidering on clothes is a different sport. Garments stretch, shift, and hide seams in the worst places. This is the kit that finally made garment stitching enjoyable for me, item by item, with what each one actually does.
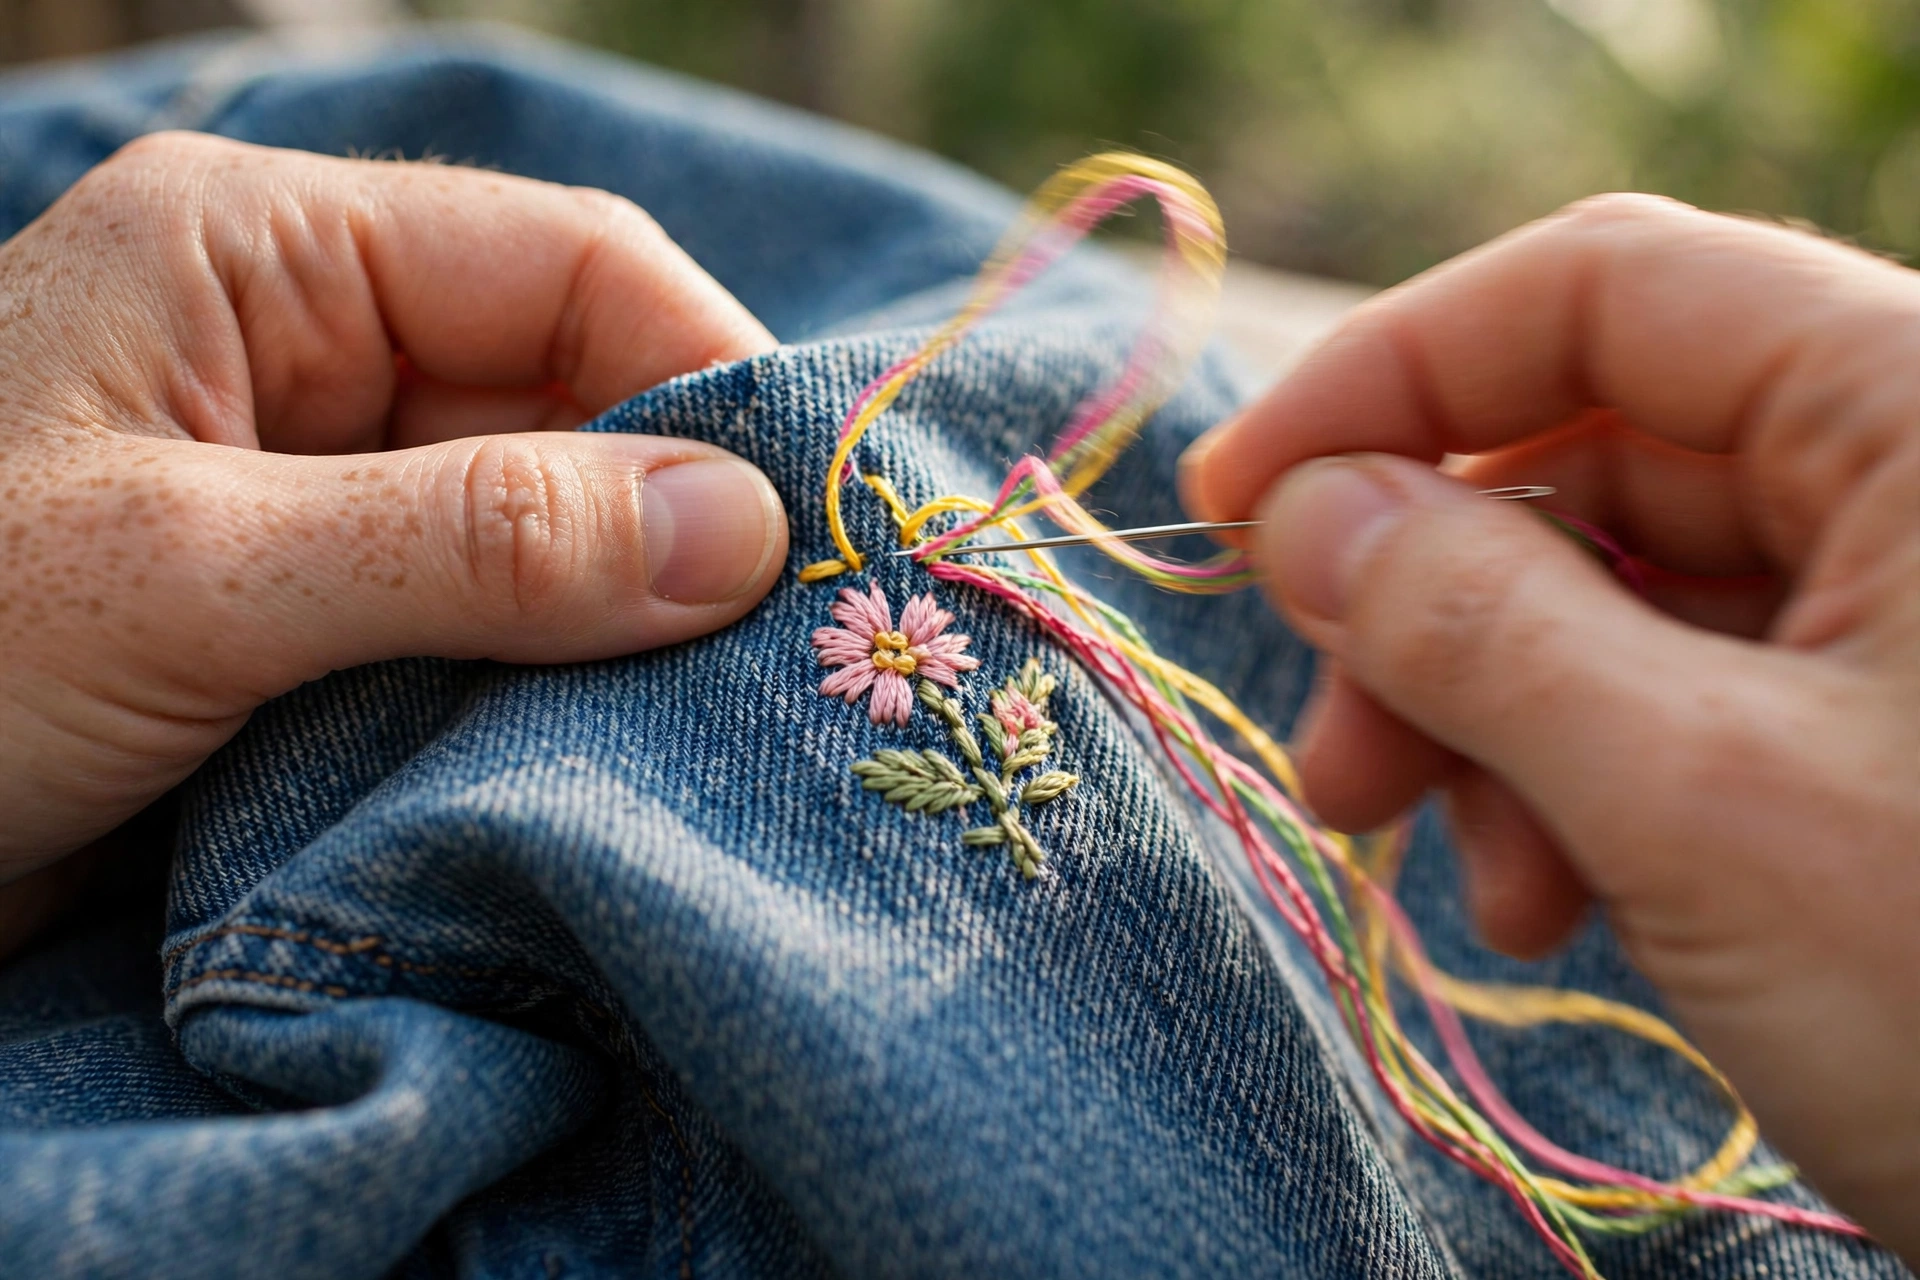
The kit for embroidering on clothes, and why each piece earns its place
- Stabilizer, matched to the fabric. The single most important item here. Cut-away stabilizer for stretchy knits, because it stays in the garment permanently and stops distortion. Tear-away for stable wovens like shirt cotton. Water-soluble on top of textured fabrics like toweling, so stitches sit on the surface instead of sinking in. I use Pellon SF101 for light interfacing jobs and Sulky Sticky Fabri-Solvy when I want a traced design that rinses away. Skip the stabilizer on a t-shirt and you will get my prune sunflower. Guaranteed.
- The right needles. John James embroidery needles in sizes 5 to 10 cover most wovens. For knits, switch to ballpoint or jersey needles in size 5; they slide between the knit loops instead of piercing them, which prevents holes and runs. For denim, use a Schmetz jeans needle, 90/14. Your regular embroidery needle will bend on a thick seam, and I have the snapped ones to prove it.
- Small sharp scissors. You trim thread ends constantly on garments, often inside a neckline or cuff where big shears are clumsy. My 3.5-inch storks live in my shirt pocket during garment projects. Never the kitchen scissors. Never.
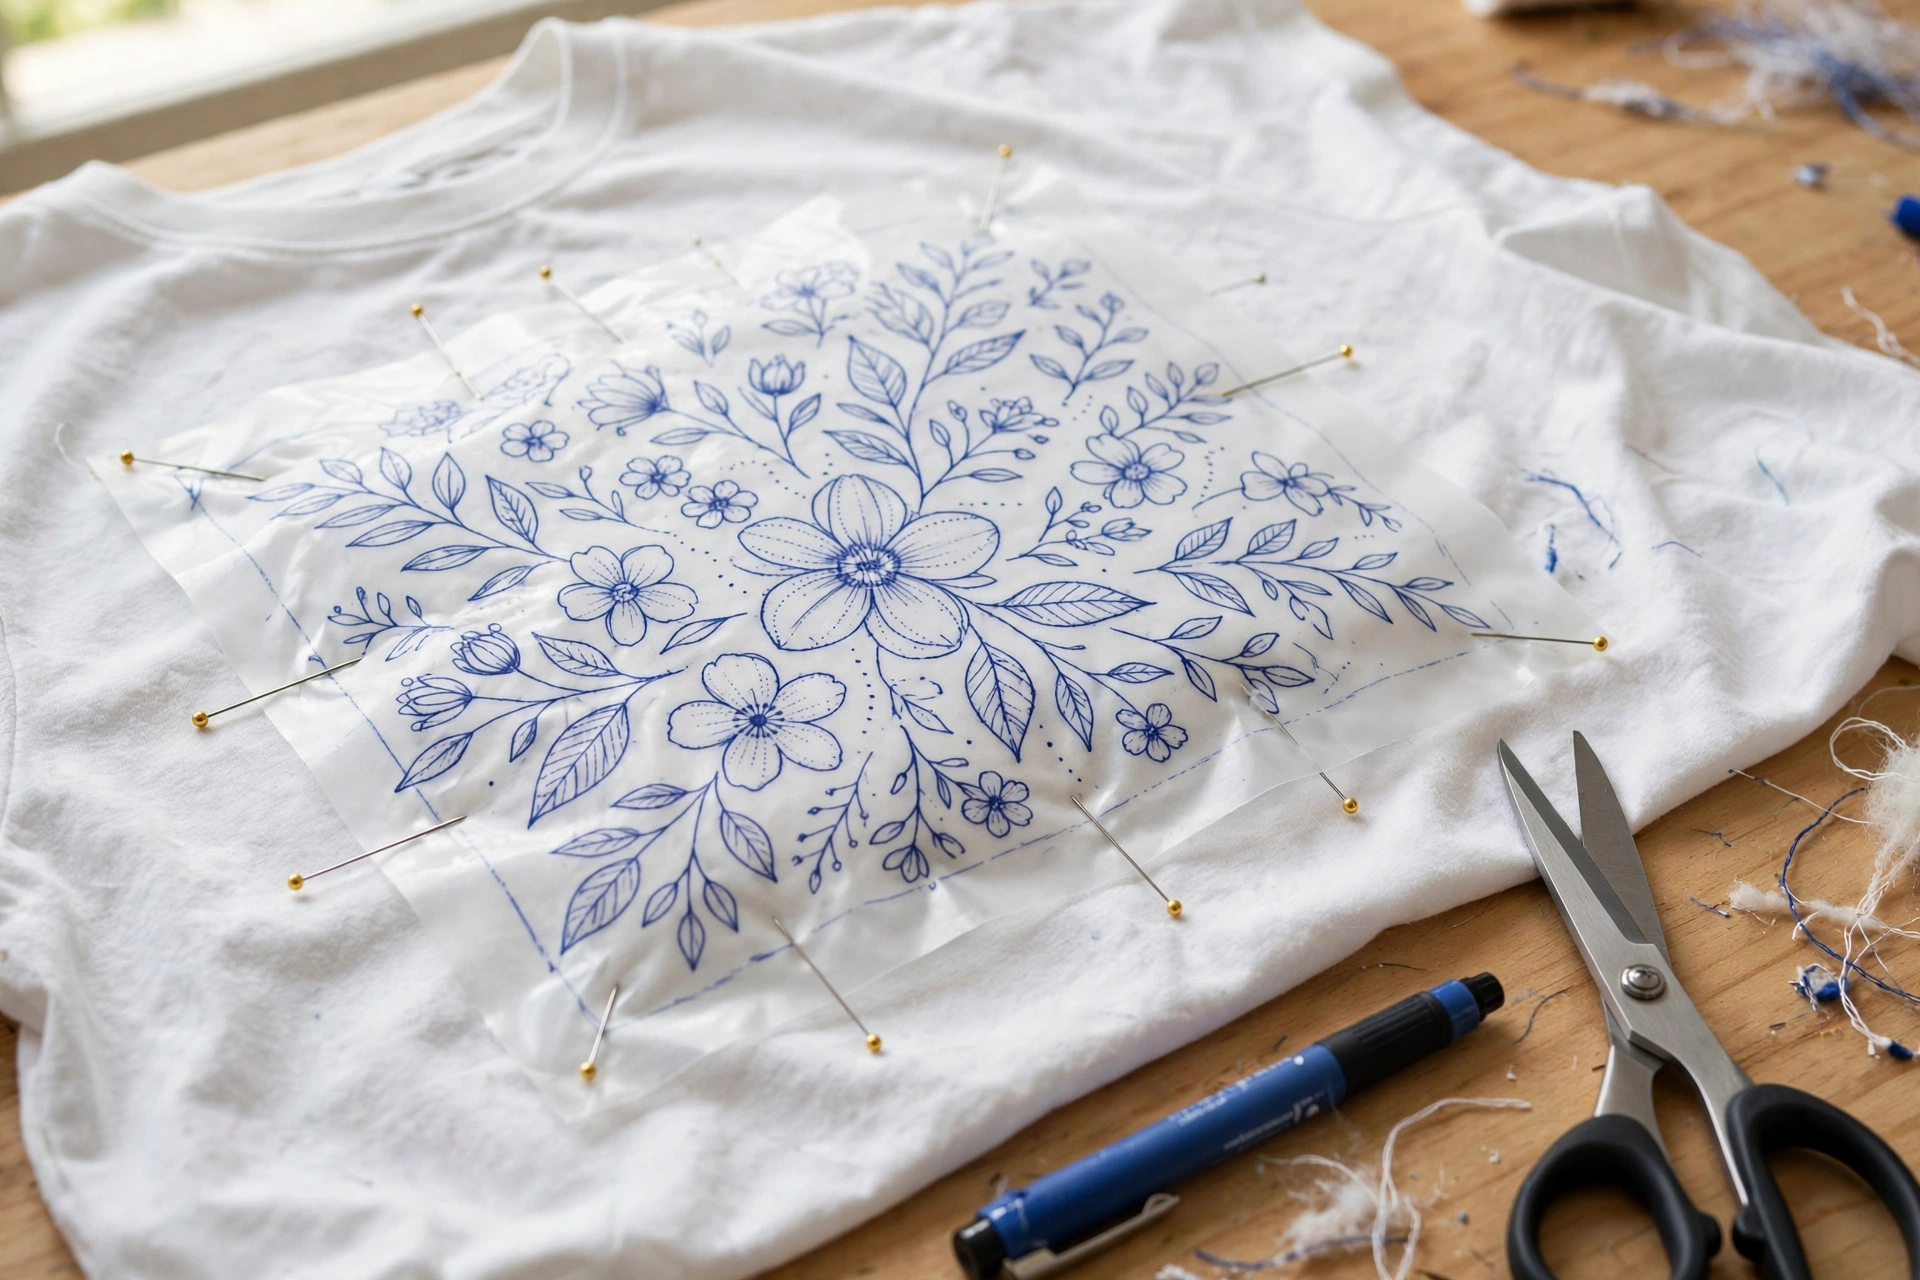
- Transfer tools for any fabric color. Water-soluble blue pen for light fabrics, white chalk pencil for dark ones. One strong opinion: I do not use heat-erasable pens on anything I will gift or sell. The marks can ghost back in cold weather, and I learned that from a winter coat with faint blue outlines reappearing in December.
- A small hoop, not a big one. Big hoops distort garments. Use the smallest hoop that fits your design plus an inch of margin, and never hoop over a seam if you can avoid it. My 4-inch wooden hoop does 80 percent of my garment work.
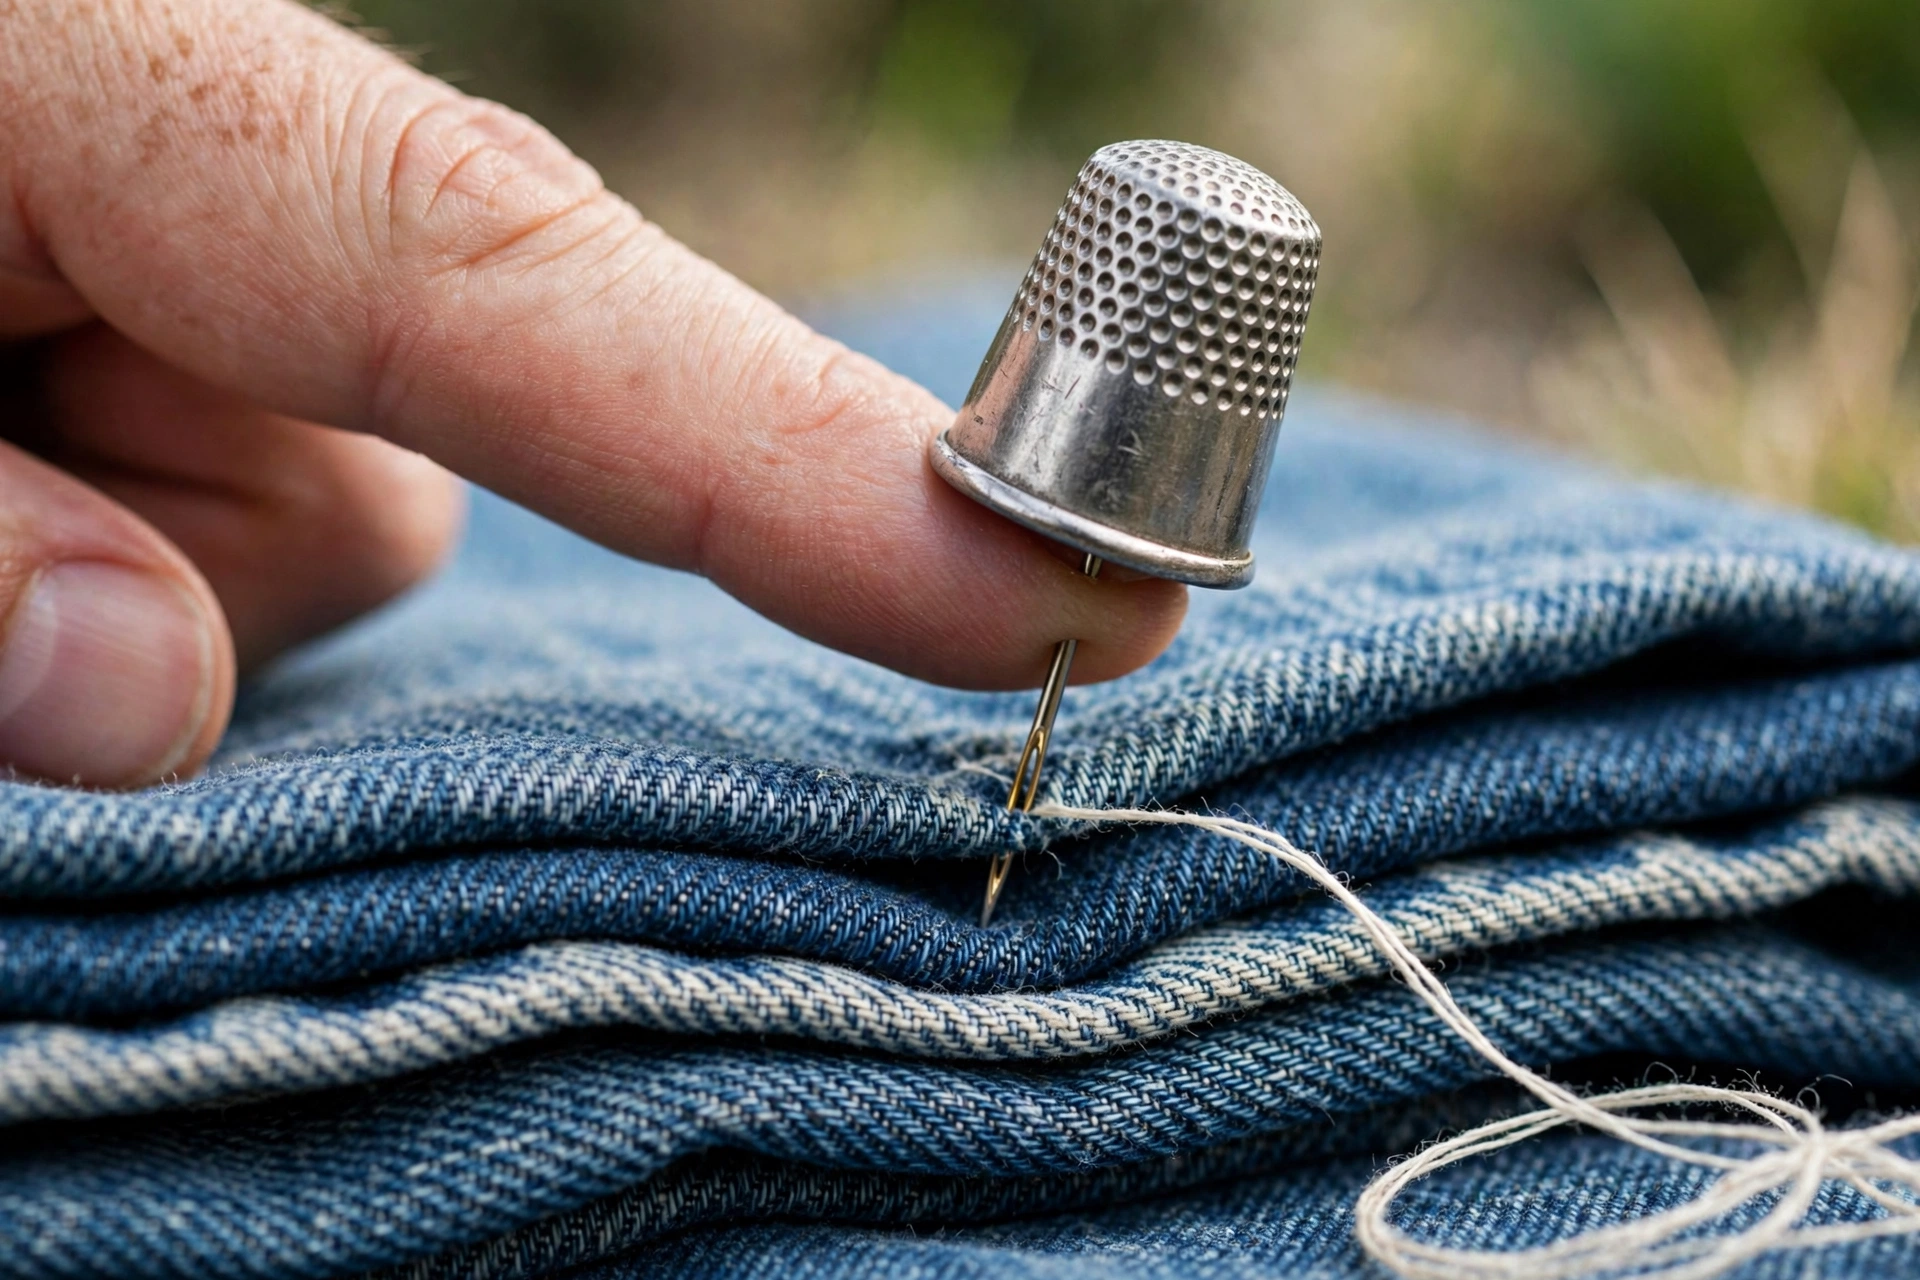
- A thimble. Non-negotiable on denim and canvas. By the second hour your middle finger will file a formal complaint without one.
- The unglamorous trio. A needle threader for tired eyes, a measuring tape to keep motifs centered (nothing sadder than a crooked pocket flower), and glass-head pins to hold stabilizer exactly where you want it.
Three things I disagree with the internet about
“Just hoop it tight like normal fabric.” On knits, hooping drum-tight is exactly how you get puckering. Let jersey lie relaxed in the hoop. The stabilizer does the stabilizing; the hoop just holds.
“Heat-erasable pens are fine.” They are fine on practice cloth. On a gift, that December ghost-outline story above is all the evidence I need.
“You can skip prewashing.” Wash and press the garment first, every time. Fabric shrinks, and you want that to happen before your stitches lock everything in place. This one step prevents more heartbreak than any tool on this list.
Match the kit to the fabric
Denim jacket: jeans needles, thimble, tear-away stabilizer, chalk pencil. T-shirt: ballpoint needles, cut-away stabilizer, water-soluble pen, smallest hoop that fits. Linen shirt: regular embroidery needles, light tear-away, water-soluble pen. Dark blouse: white transfer pencil, tear-away stabilizer, a sharp size 8 needle. Silk: fine size 10 sharp, no heavy stabilizer, and test everything on a hidden seam allowance first, because silk forgives nothing.
What my garment pouch actually holds
After all the experimenting, my grab-and-go kit for embroidering on clothes fits in one zip pouch: a 4-inch hoop, John James ballpoints in size 5, Schmetz jeans needles, a folded square each of cut-away and tear-away stabilizer, a water-soluble pen and a chalk pencil, my stork scissors, a leather stick-on thimble, a needle threader, and six glass-head pins. Total value under $40, and it has handled everything from onesies to a canvas tote without a single prune incident since the sunflower tee.
A warning before you start
Garment embroidery has a learning tax, and mine was that sunflower tee. Expect your first project to teach you more than it decorates. Stitch a test motif on a scrap or a hidden hem first, check your tension and colors, then commit to the real thing. The second garment is where the fun starts.
2 comments