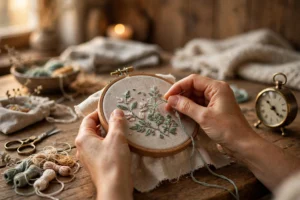
My first real lesson in embroidery hoop tension arrived on a rainy Tuesday in March, at my kitchen table, halfway through a sunflower I was stitching for my sister’s birthday. I’d hooped a square of quilting cotton in a 6-inch beechwood hoop, cranked the screw until my thumb ached, and started the petals in DMC 725. By petal nine the fabric had gone slack as a hammock, the petals rippled like potato chips, and I sat there staring at eleven hours of work that looked seasick. I re-hooped that sunflower three times that night. The fourth time, at nearly midnight with cold tea and a crick in my neck, I finally figured out what I’d been doing wrong. I’ve hooped fabric the same way ever since, and my stitches have never rippled again.
Here’s the thing nobody tells beginners: your hoop is doing half the stitching for you. Good tension holds every thread exactly where you put it. Bad tension lets the fabric shift under your needle, and no amount of careful stitching can fix a foundation that’s moving. If your satin stitch looks lumpy, your French knots lean sideways, or your outlines wobble like they were drawn on a boat, the problem probably isn’t your hands. It’s your hoop.
What good embroidery hoop tension actually feels like
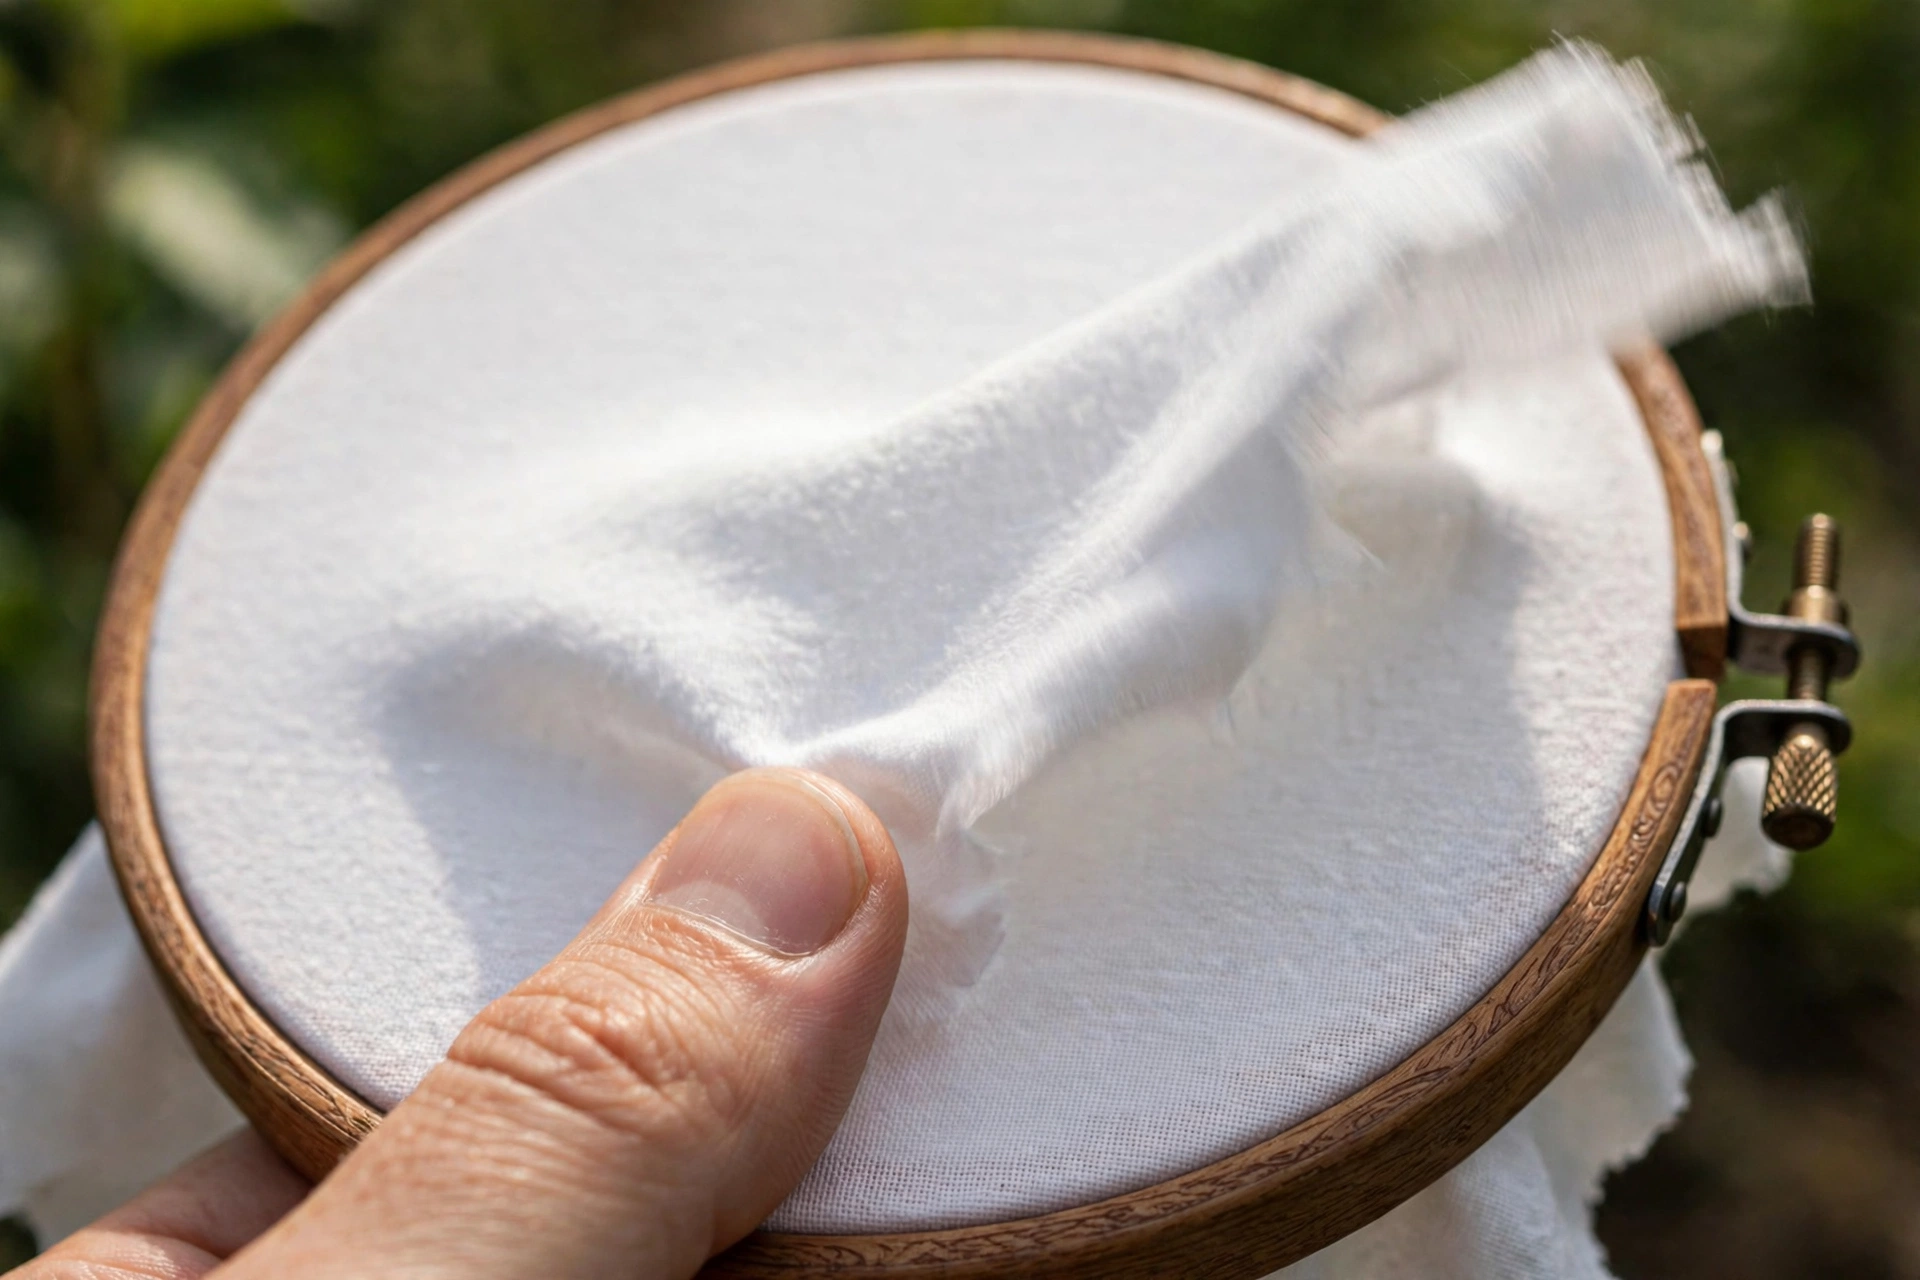
Forget everything complicated. Good hoop tension passes two tests, and both take about three seconds. First, the twang test: flick the hooped fabric with your fingertip, right in the center. It should make a soft, high thwip, like a tiny drum. Not a dull thud, not silence, a clear little note. If it sounds like tapping a pillow, it’s too loose. Second, the press test: push your thumb gently into the middle. The fabric should dip maybe a quarter inch and spring straight back the moment you lift your thumb. If it stays dented, it’s too loose. If it barely gives at all and the weave looks stretched and shiny, you’ve gone too far the other way.
That stretched-shiny look matters more than people think. Cotton and linen have a visible weave, a little grid of threads. When you overtighten, that grid distorts into diamonds instead of squares, and your stitches will follow the distortion. I learned this stitching a geometric border on Essex linen, pulled the fabric drum-tight-plus, and watched my perfectly measured diamonds come out as drunken rhombuses. Drum-tight means the weave stays square. Taut, not tortured.
Why your fabric keeps slipping out of the hoop
Slipping is the most common hoop complaint I hear, and it’s almost never one single cause. Usually it’s a conspiracy of small things. The biggest culprit is the two-pass mistake: most beginners tighten the screw once, pull the fabric, and call it done. Wood compresses, fabric relaxes, and twenty minutes later everything’s loose again. You have to tighten, pull, and tighten again.
Other usual suspects: cutting your fabric too small (you want at least 2 inches of excess beyond the hoop on every side, or there’s nothing to grip), a hoop with a rough or warped inner ring, and stitching in a humid room where cotton fibers swell and relax. Cheap bamboo hoops are repeat offenders here. The inner ring on a $3 hoop is often slightly oval instead of round, so no amount of screw-tightening grips evenly. A cheap hoop is a false economy. You’ll spend more in ruined fabric than you saved.
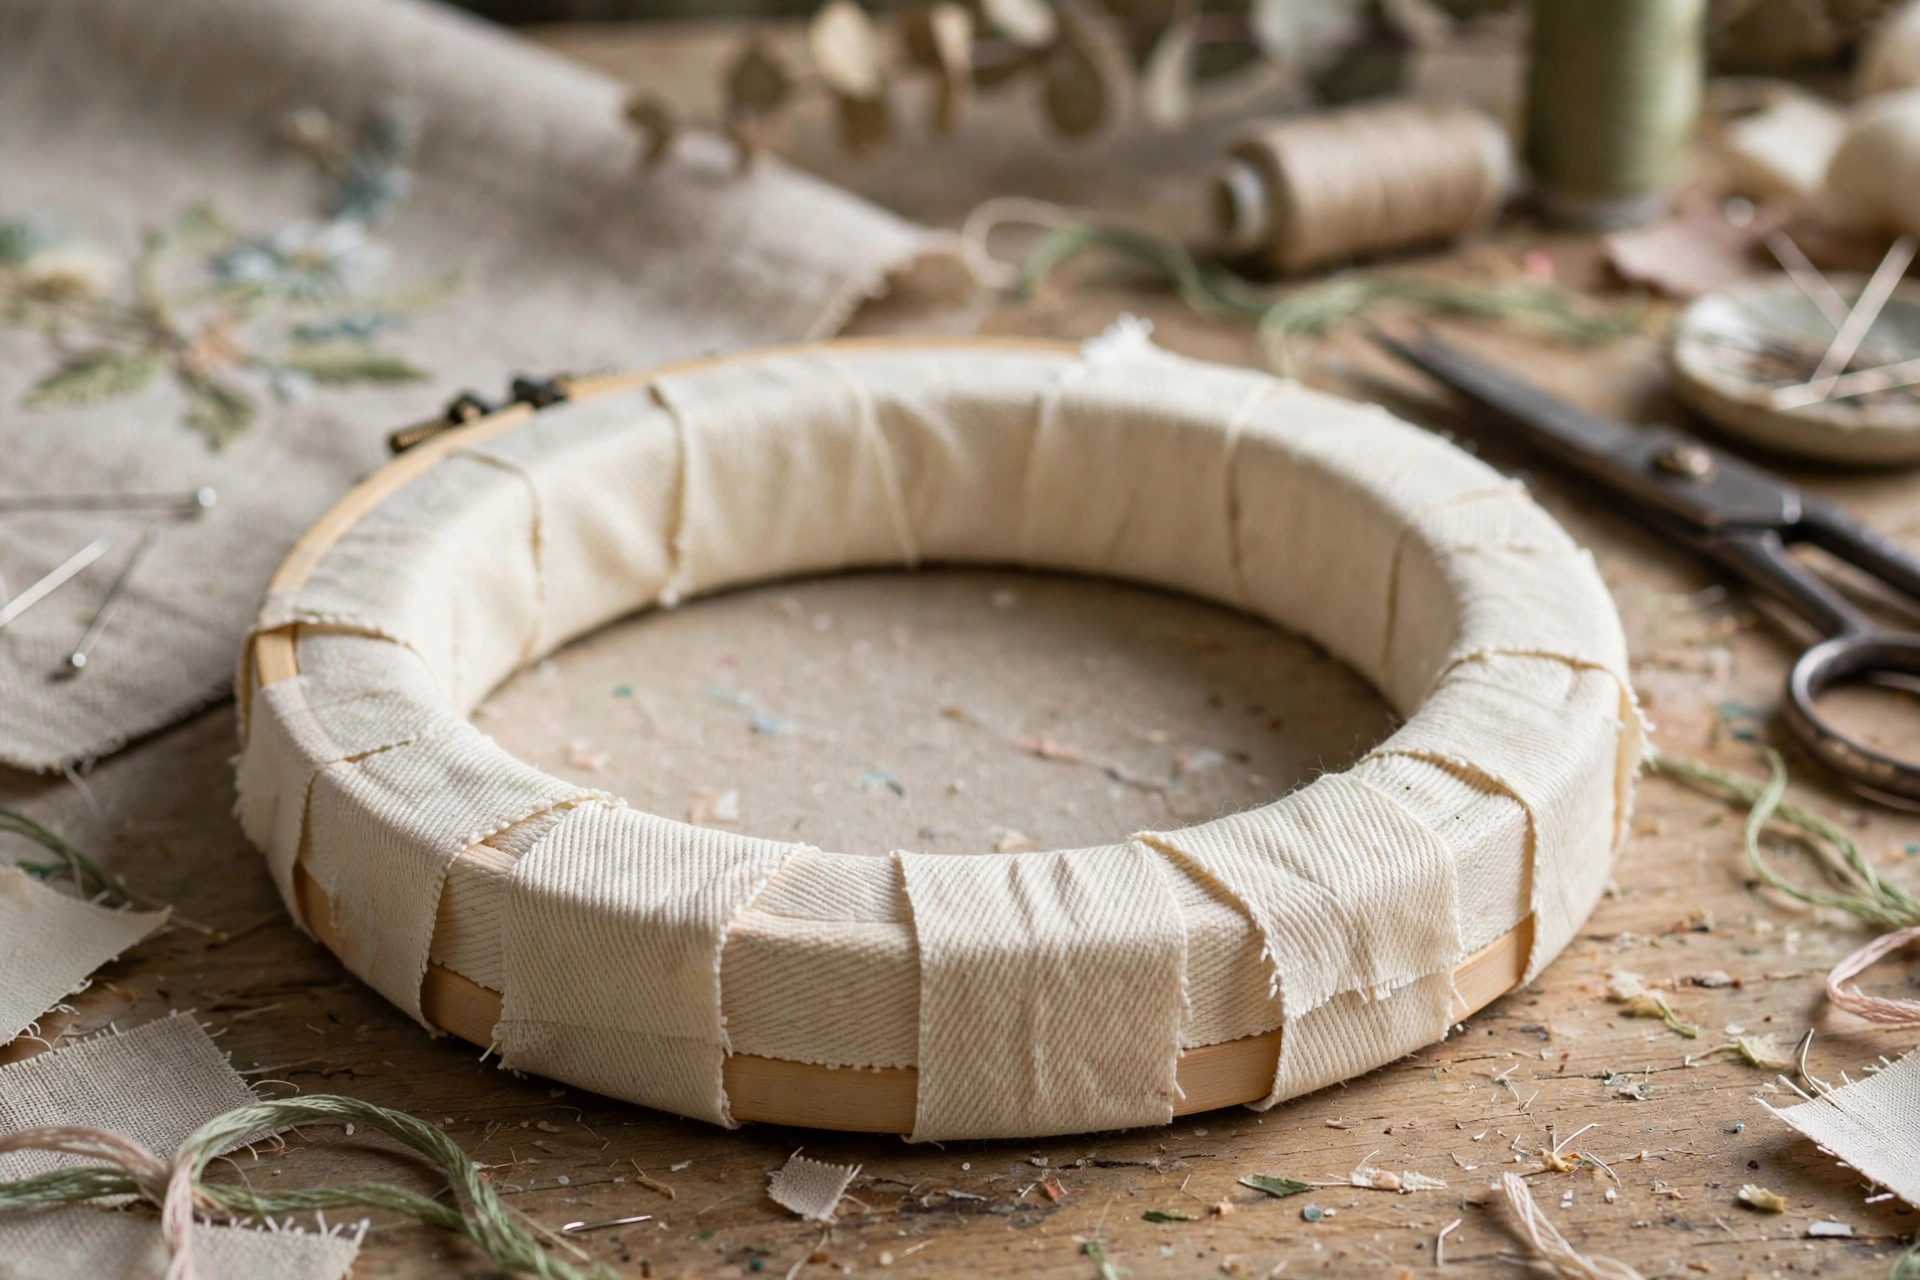
My favorite fix costs about fifty cents: bind the inner ring. Take cotton twill tape or bias tape, about half an inch wide, and wrap the inner hoop ring in a tight spiral, overlapping slightly, securing the end with a dab of fabric glue or a few whip stitches. The tape gives the smooth wood something to bite into, and slipping drops to nearly zero. I bind every wooden hoop I own the day I buy it. It takes ten minutes, and no bound hoop has slipped on me since.
My 90-second hooping method (the one from that midnight sunflower)
This is the exact routine I worked out at midnight over that sunflower, refined over hundreds of hoops since. It takes about ninety seconds once you’ve done it a few times.
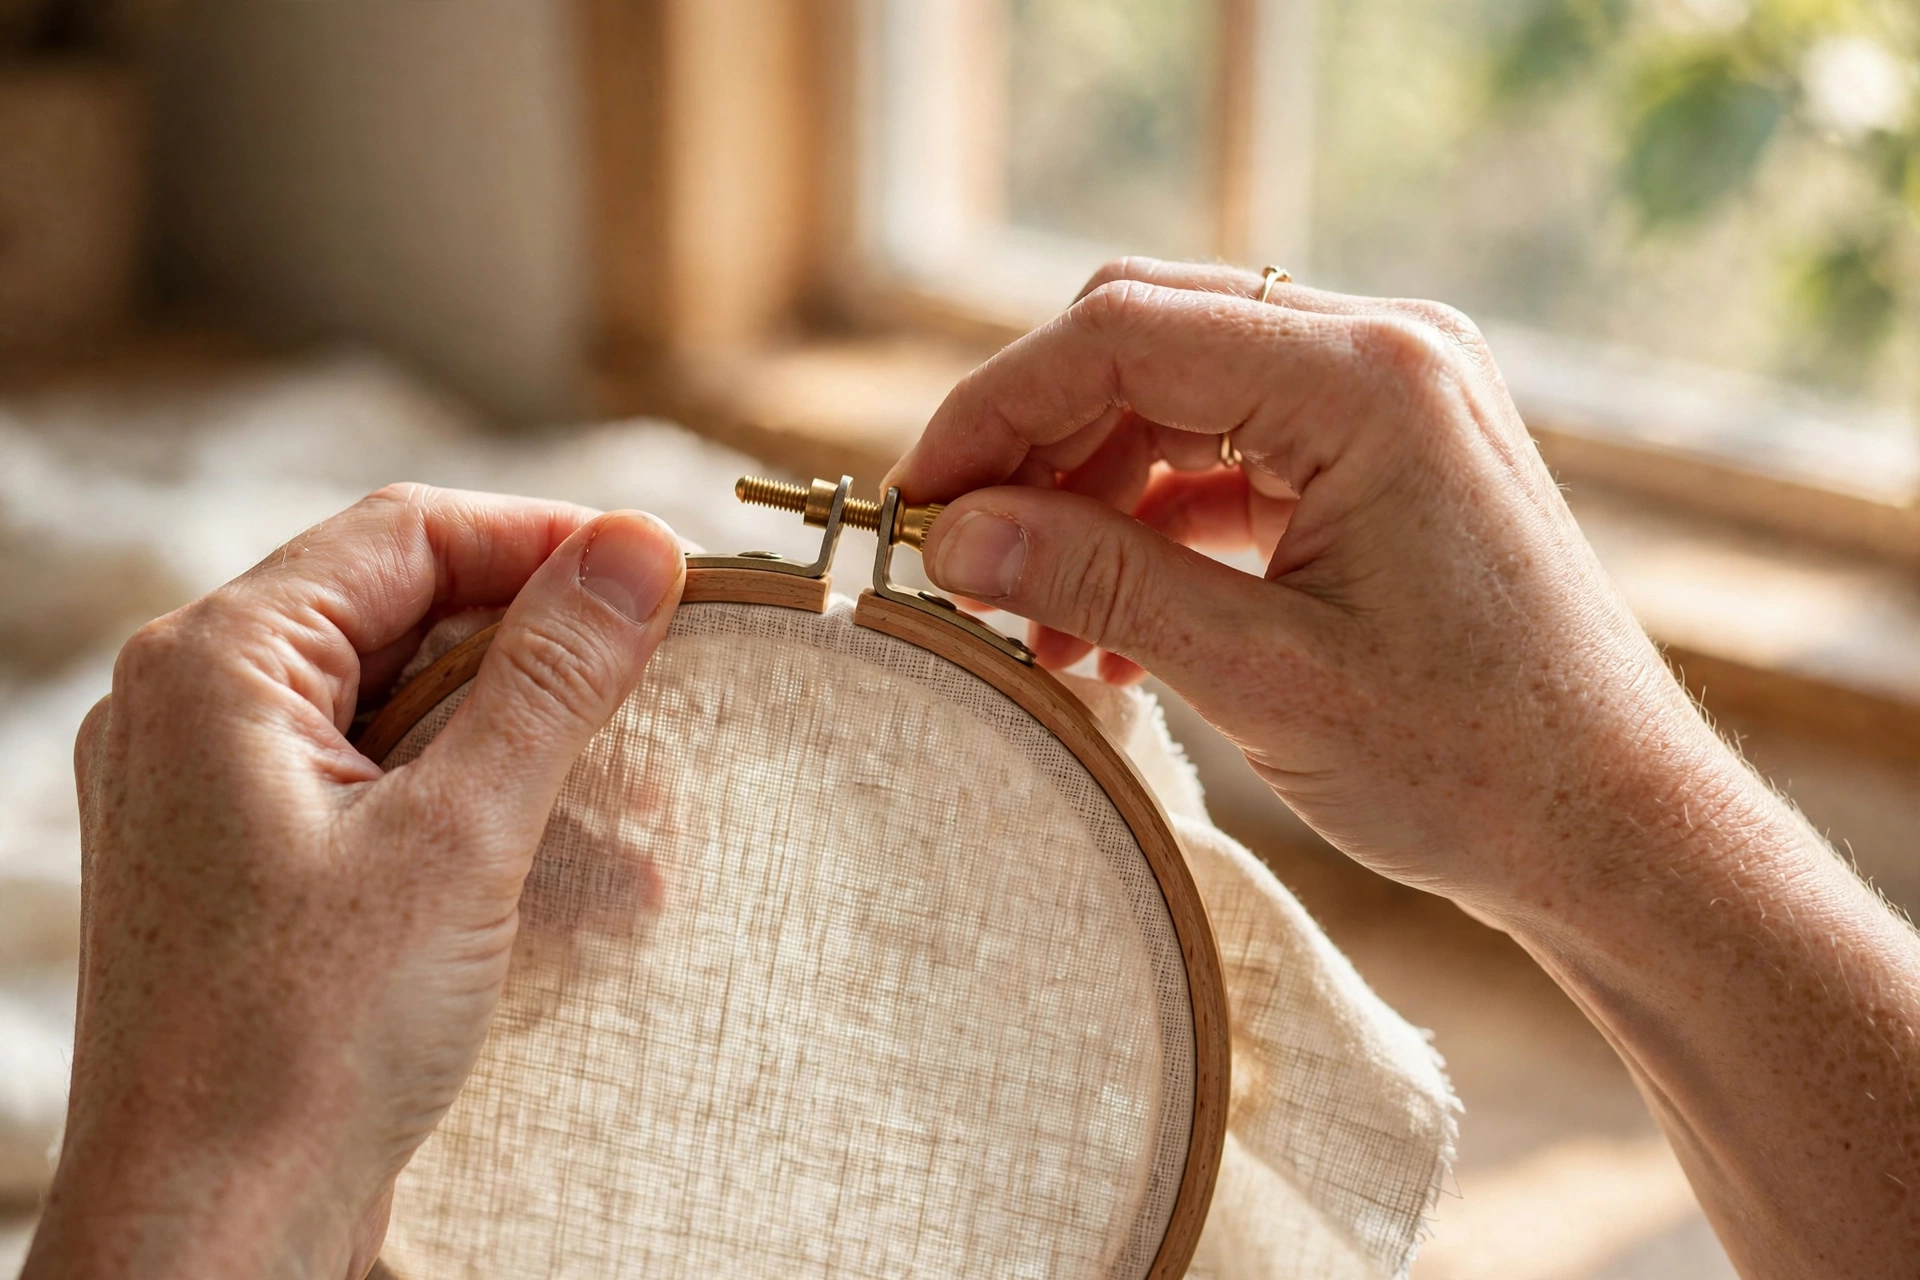
Step one: set the stage. Loosen the screw until the rings separate easily. Lay the outer ring flat on the table with the screw at the top. Press the fabric over the inner ring first if you like, or lay the fabric over the outer ring and press the inner ring down into it. Either order works. What matters is that the fabric’s grain runs straight, warp and weft at right angles to the hoop’s edge. Crooked grain now means crooked stitches later.
Step two: the first pull. With the outer ring seated, tighten the screw about halfway. Now pull the fabric gently in four directions: north, south, east, west, using small even tugs. Don’t yank one side like you’re starting a lawnmower. Think of smoothing a bedsheet. Check that the weave still looks square.
Step three: the second pass. Give the screw another half turn, then repeat the four-direction pull, a little firmer this time. Now tighten the screw fully, snug but not violent. Do the twang test. If it thuds instead of thwips, loosen the screw a quarter turn, pull the loosest edge, and retighten. That quarter-turn adjustment fixes 90 percent of problem hoops.
One more detail: keep the screw at the top of your work, the 12 o’clock position. It stays out of your stitching hand’s way, and when you need to retighten mid-session you can find it without looking. I stitch with the screw at the top the way some people always park facing out. It’s a habit now, and a useful one.
Reading your stitches like a tension diagnosis
Your finished stitches are constantly reporting on your hoop tension. You just have to learn the language. Here’s my field guide, built from every mistake I’ve made and watched others make:
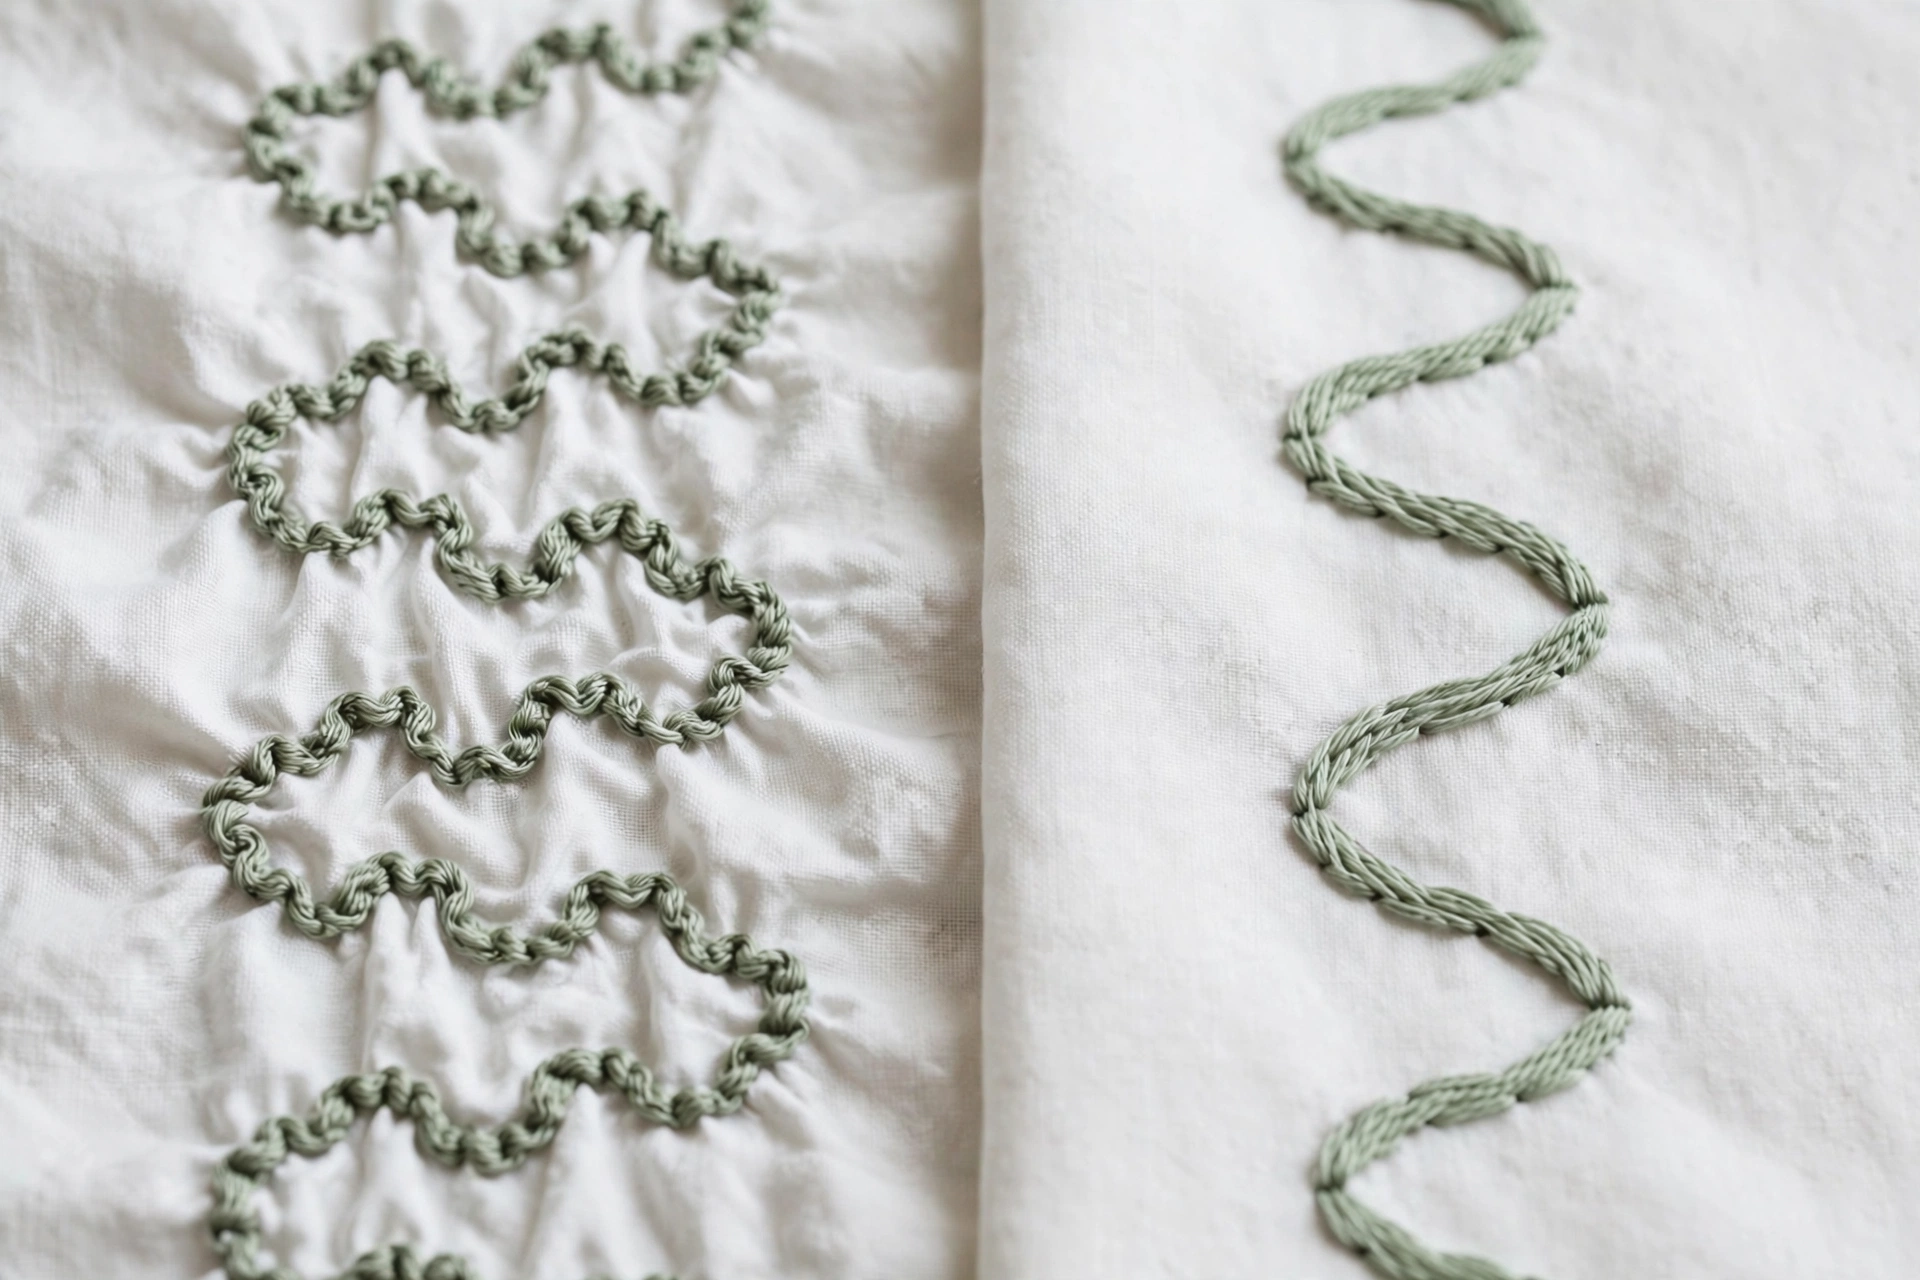
- Fabric puckers around each stitch, like tiny dimples. The classic sign of a loose hoop. The fabric shifted as you pulled the thread through. Re-hoop tighter, and check that you’re not also pulling your stitches too hard. If you’ve been fighting this one specifically, my embroidery fabric puckering fix walks through the full rescue in detail.
- Stitches sink into the fabric and disappear. Usually overtight stitching on a too-loose hoop, a double fault. The thread pulls the slack fabric down around itself. Tighten the hoop, loosen your stitching hand.
- Outlines wobble even though your hand felt steady. The fabric crept sideways mid-stitch. Retighten, and try the twill-tape binding trick on the inner ring.
- A visible ring crease after you unhoop. You left the project in the hoop too long between sessions, or the hoop was overtightened. Hoop creases usually steam out, but the habit that prevents them is better: unhoop when you put the work down for the day.
- The weave looks warped into diamonds. Overtightened. Loosen, let the fabric relax for a minute, and re-hoop with a gentler hand.
If the unevenness is in the stitches themselves rather than the fabric, the companion problem is usually thread tension, how hard you pull each stitch. I wrote a whole separate guide on fixing uneven tension in hand embroidery for exactly that, because hoop tension and thread tension get blamed for each other’s crimes constantly.
The mistakes I still catch myself making
I’ve been doing this for years and I still mess up hooping regularly. The difference is I catch it faster now. My greatest hits:
Hooping wrinkled fabric. If the fabric goes into the hoop with wrinkles, it comes out with wrinkles pressed in by your stitches. Thirty seconds with an iron first.
The set-it-and-forget-it. Fabric relaxes as you stitch. The warmth of your hands, the humidity of your breath, the simple passage of time, all of it loosens the hoop. Every thirty to forty-five minutes, give the screw a small tightening turn and a gentle pull on the slackest edge. It takes five seconds and saves hours of puckered regret.
Wrong hoop size for the job. Your hoop should be a bit bigger than your design, with the whole motif comfortably inside and an inch or two of margin. Cramming a 5-inch design into a 4-inch hoop means re-hooping mid-project, which means visible tension differences between the sections. For most of my work I reach for a 6-inch hoop. Small motifs get a 4-inch. Anything bigger than 7 inches and I switch to a lap stand, because holding a dinner plate of a hoop for three hours is how shoulders go on strike.
Tightening with the fabric bunched. If there’s a fold or gather caught under the ring, the tension will be perfect everywhere except that one spot, which will haunt you. Smooth the fabric flat under the ring before the first pull, every time.
Cheap hoops versus good hoops: my honest verdict
I’ve owned hoops from every price tier, and here’s my plain take. The $3 bamboo hoops from the bargain bin: the wood is soft, the screws strip, the rings warp within months. Fine for a kid’s first project, not for anything you care about. The mid-range beechwood or beech hoops at $8 to $12 with a real brass screw: this is the sweet spot, and it’s where 90 percent of stitchers should live. Mine have lasted years. Plastic hoops around $7, the kind with the lip that snaps over the inner ring: genuinely excellent grip, slightly less charming to hold, great for travel because they don’t care about humidity. Spring-tension metal hoops: wonderful for small work, fiddly for large.
Whatever you buy, check three things in the shop or the product photos: the inner ring should be smoothly sanded with no splinters or rough patches, the screw should turn smoothly through its full range, and the two rings should sit flush with no rocking when stacked. If you’re building your kit from scratch, my embroidery tools beginners checklist covers hoops alongside needles, floss, and everything else, with the exact products I’d buy again.
When to re-hoop and when to leave it alone
Re-hooping mid-project makes some beginners nervous, like the stitches will fall out if the fabric moves. They won’t. If your hoop has gone slack after an hour of stitching, just re-hoop: loosen, smooth, pull, tighten, carry on. The stitches you’ve already placed don’t care. What does cause visible problems is stitching half a motif on a tight hoop and half on a loose one, so re-hoop sooner rather than later when you feel it going.
The one time to leave it alone is when you’re nearly done with a section and the tension is only slightly soft. Finishing the last twenty stitches on a slightly relaxed hoop beats re-hooping and risking a tension change mid-motif. Judgment call, and you’ll develop the feel for it.
And the overnight rule: take your work out of the hoop when you’re done for the day. A hoop left tight on fabric for a week will press a crease ring into the weave that steaming only mostly removes. It takes ten seconds to loosen the screw and slip the fabric out. Your future self, the one blocking and framing the finished piece, will thank you.
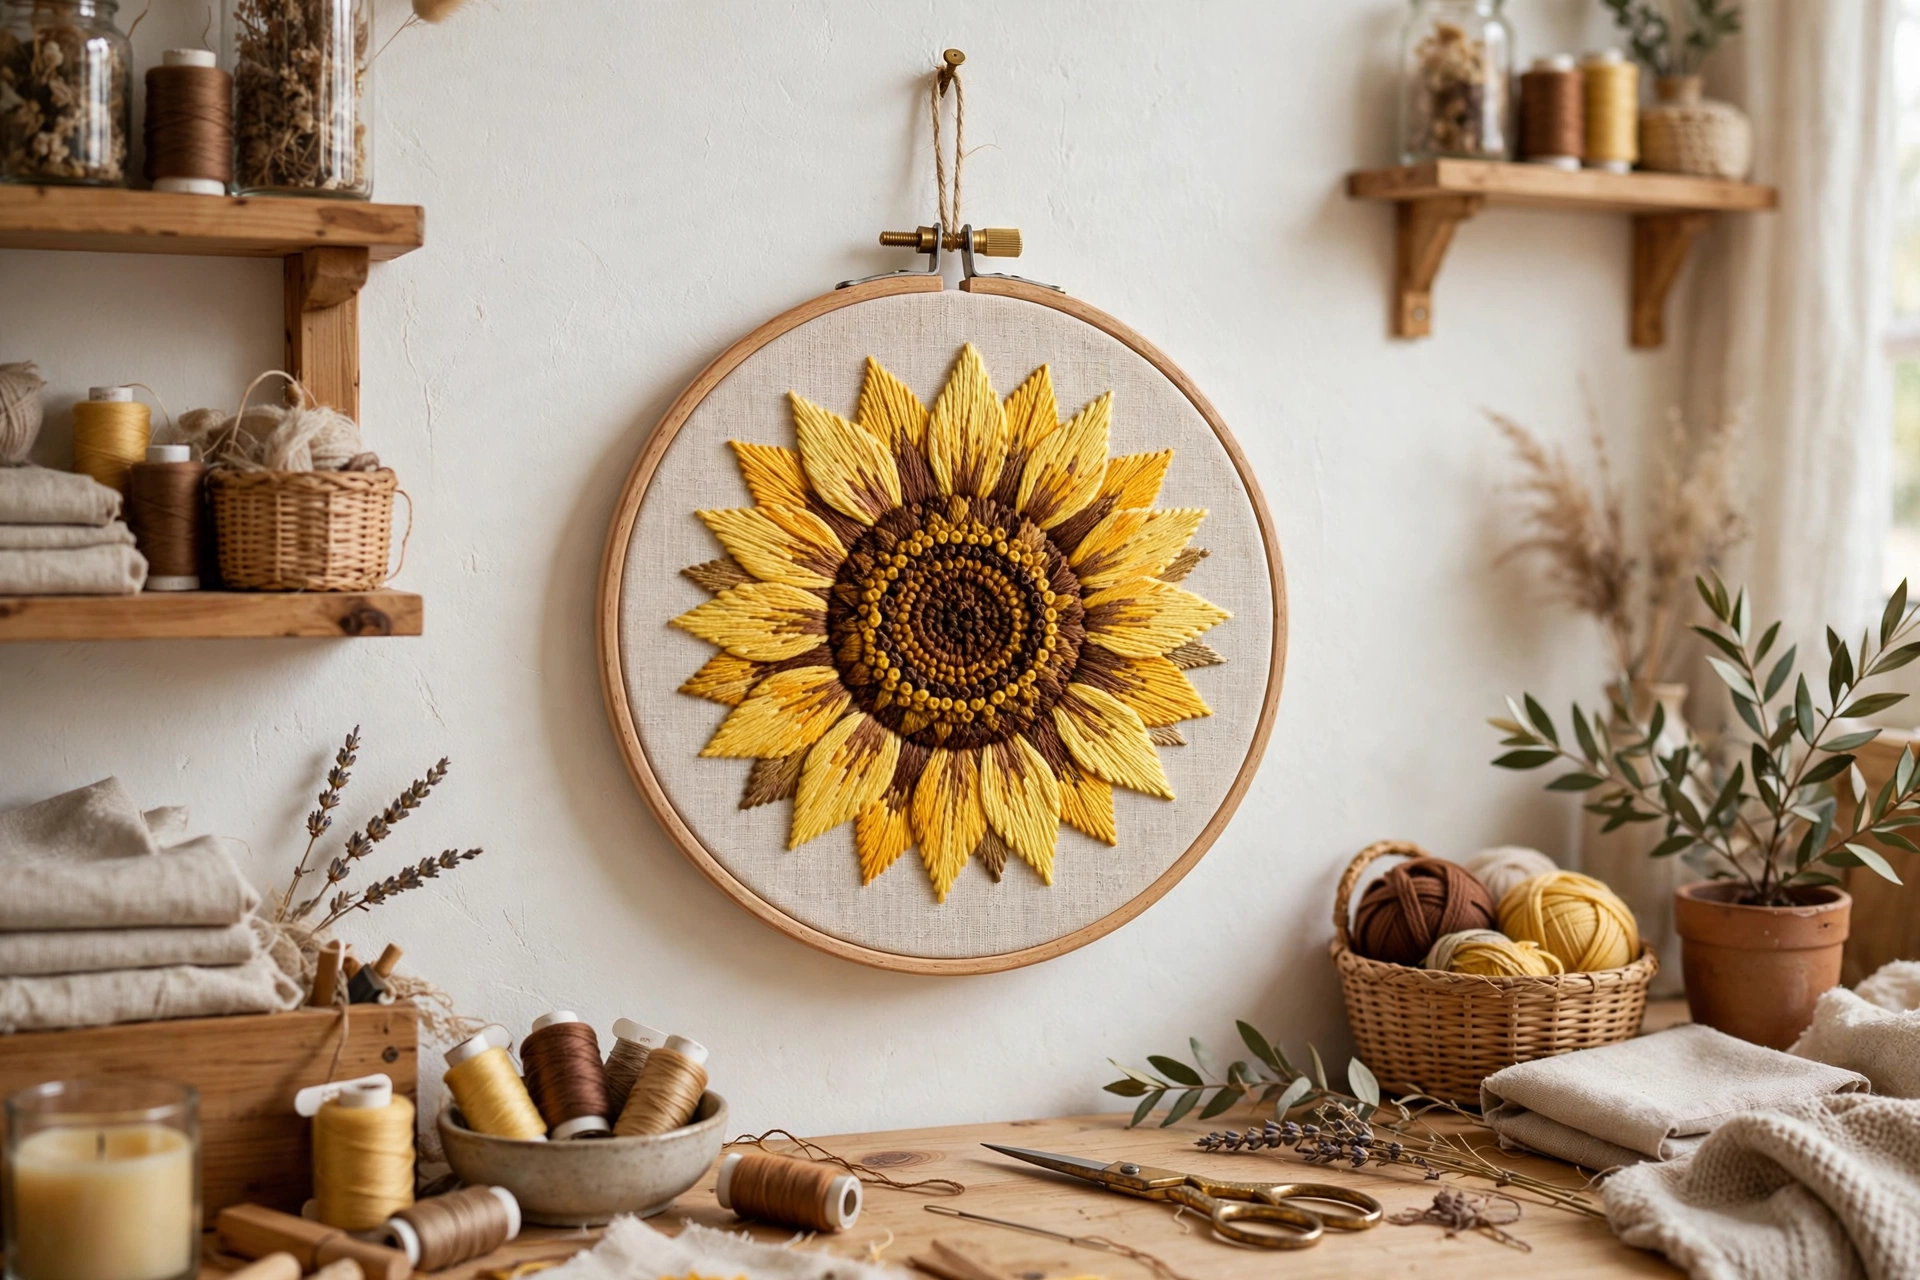
That birthday sunflower? I finished it at 1 a.m., re-hooped properly, petals smooth as butter. My sister still has it on her kitchen wall, and every time I see it I remember the midnight I learned that the hoop is half the craft. If you’re just starting out, by the way, my how to start hand embroidery for beginners guide covers the whole setup from zero. But for tonight, go grab a hoop and a scrap of fabric and practice the twang test. Flick it until it sings. Your stitches will thank you.