For my first year of stitching, my floss lived in a gallon Ziploc bag. Forty-seven skeins, one bag, and every project began with twenty minutes of digging. I bought DMC 321 twice because I could not find the first one. It was in the bag the whole time, obviously. Learning to organize embroidery floss was the single biggest upgrade to my actual stitching time. Bigger than any hoop. Bigger than any stand. When every color is visible and grabbable, you stitch more and hunt less.
You do not need an expensive system. You need one method, applied consistently, with labels you can read at a glance. I have tried three of the four methods below. Here they are, ranked honestly, plus the exact setup for the one I recommend.
The Four Systems, Ranked by Someone Who Tried Three of Them
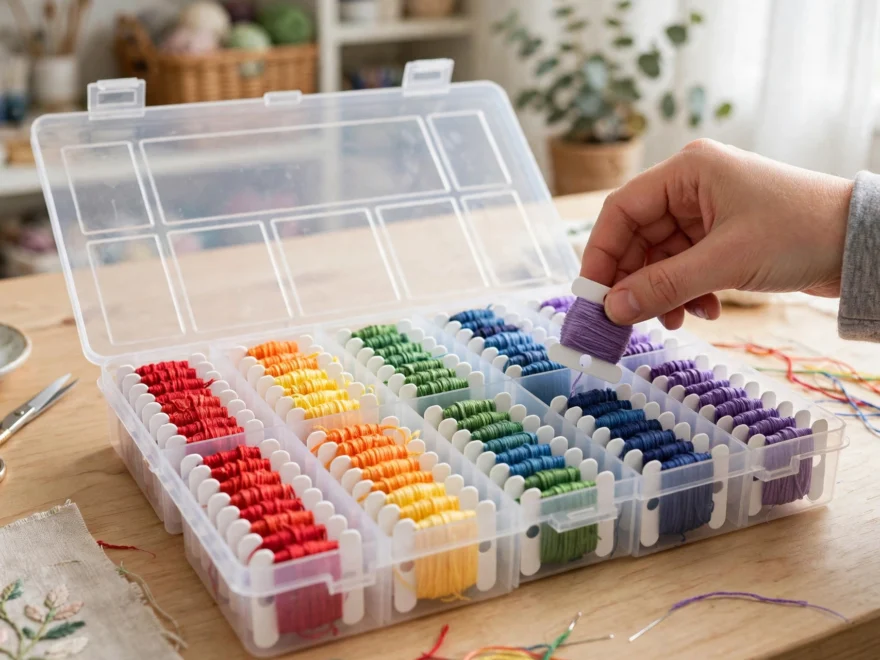
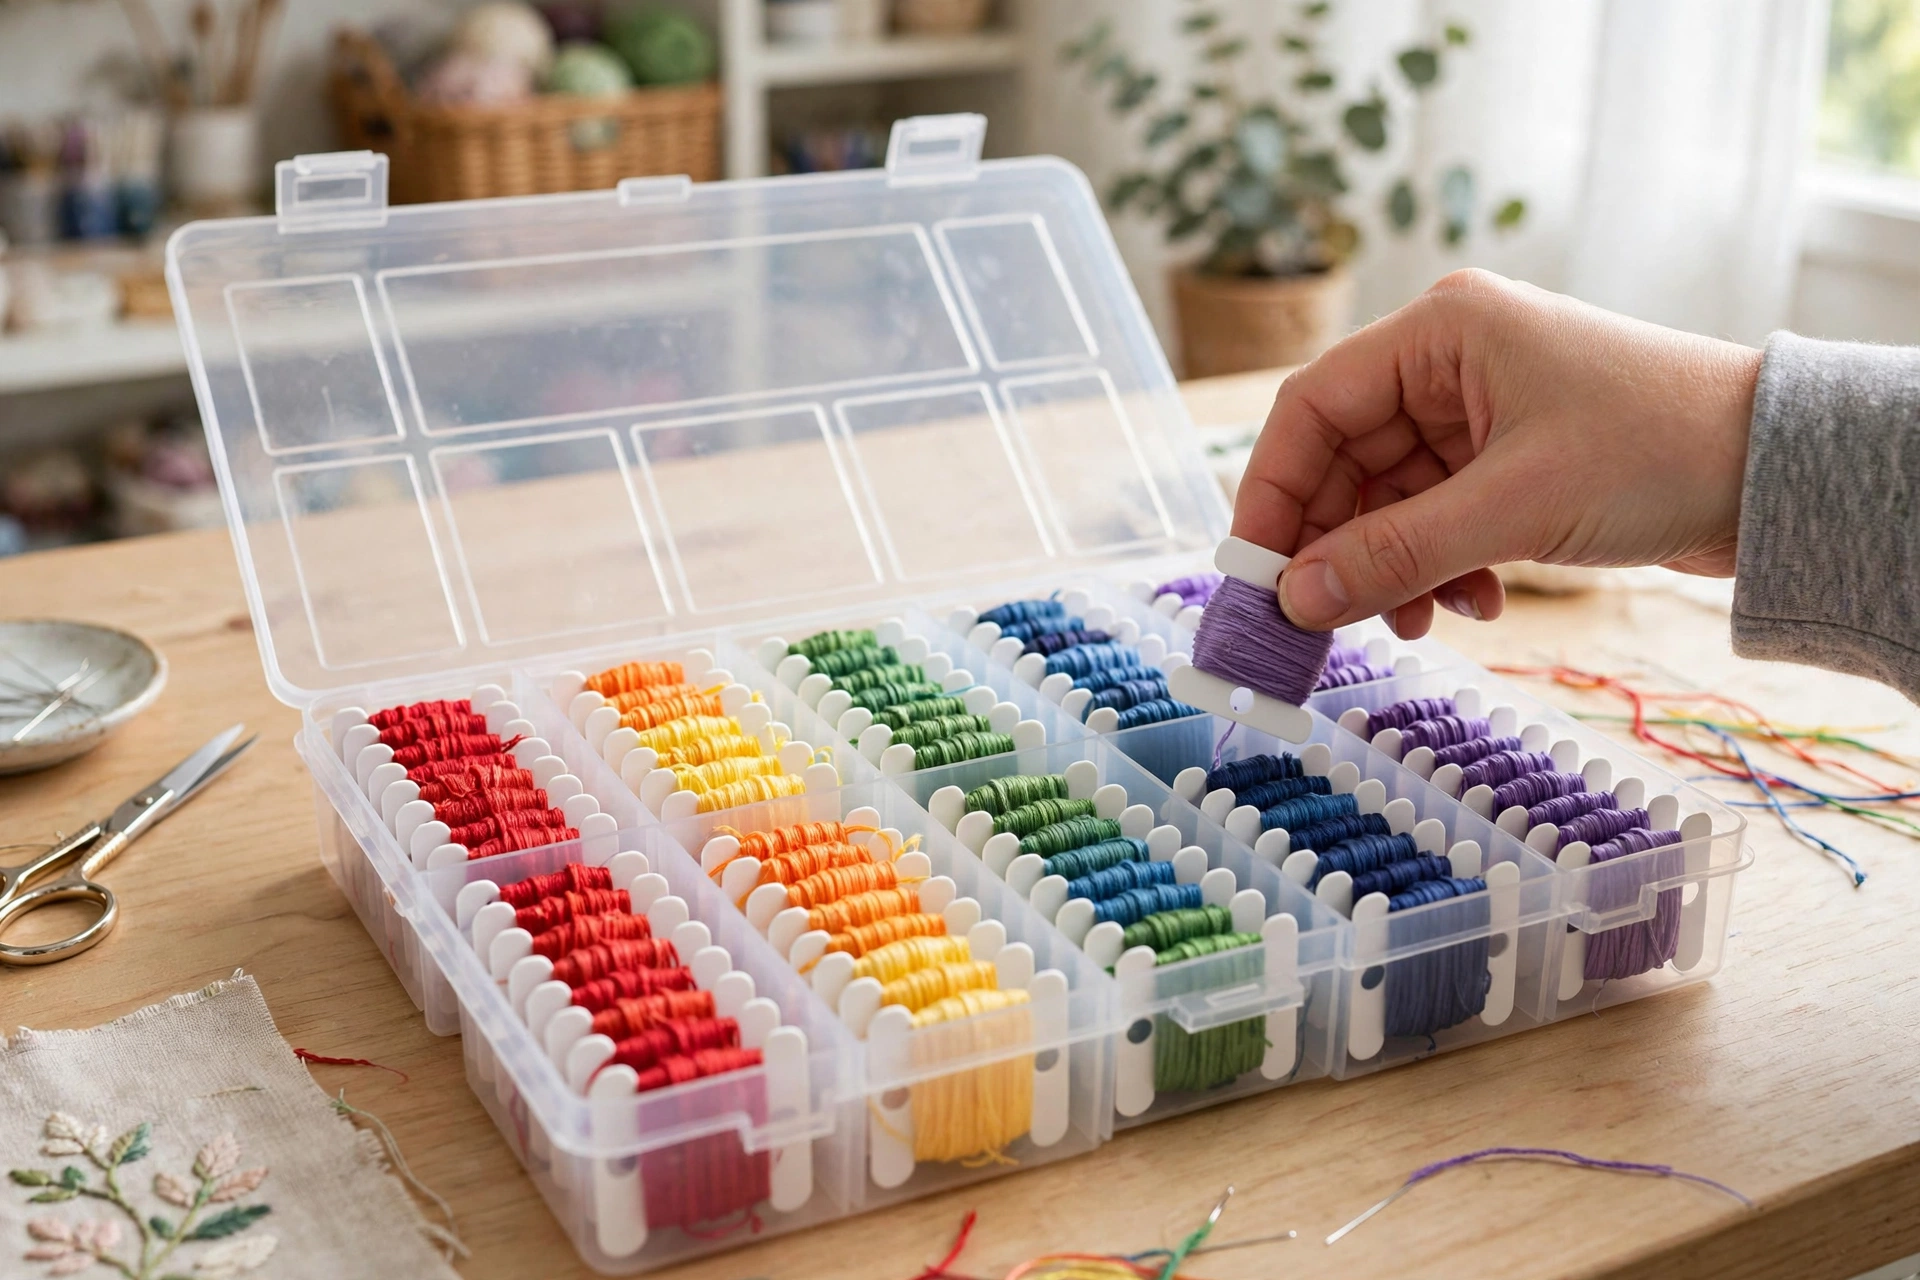
1. Bobbins in a compartment box. Best for most people. Wind each color onto a labeled card bobbin and file them upright in a plastic organizer box. Every color visible at a glance, nothing tangles, and the box stacks on a shelf. This is the system in most tutorial photos, and for once the tutorial photos are right. It scales from 20 colors to 200 without changing anything.
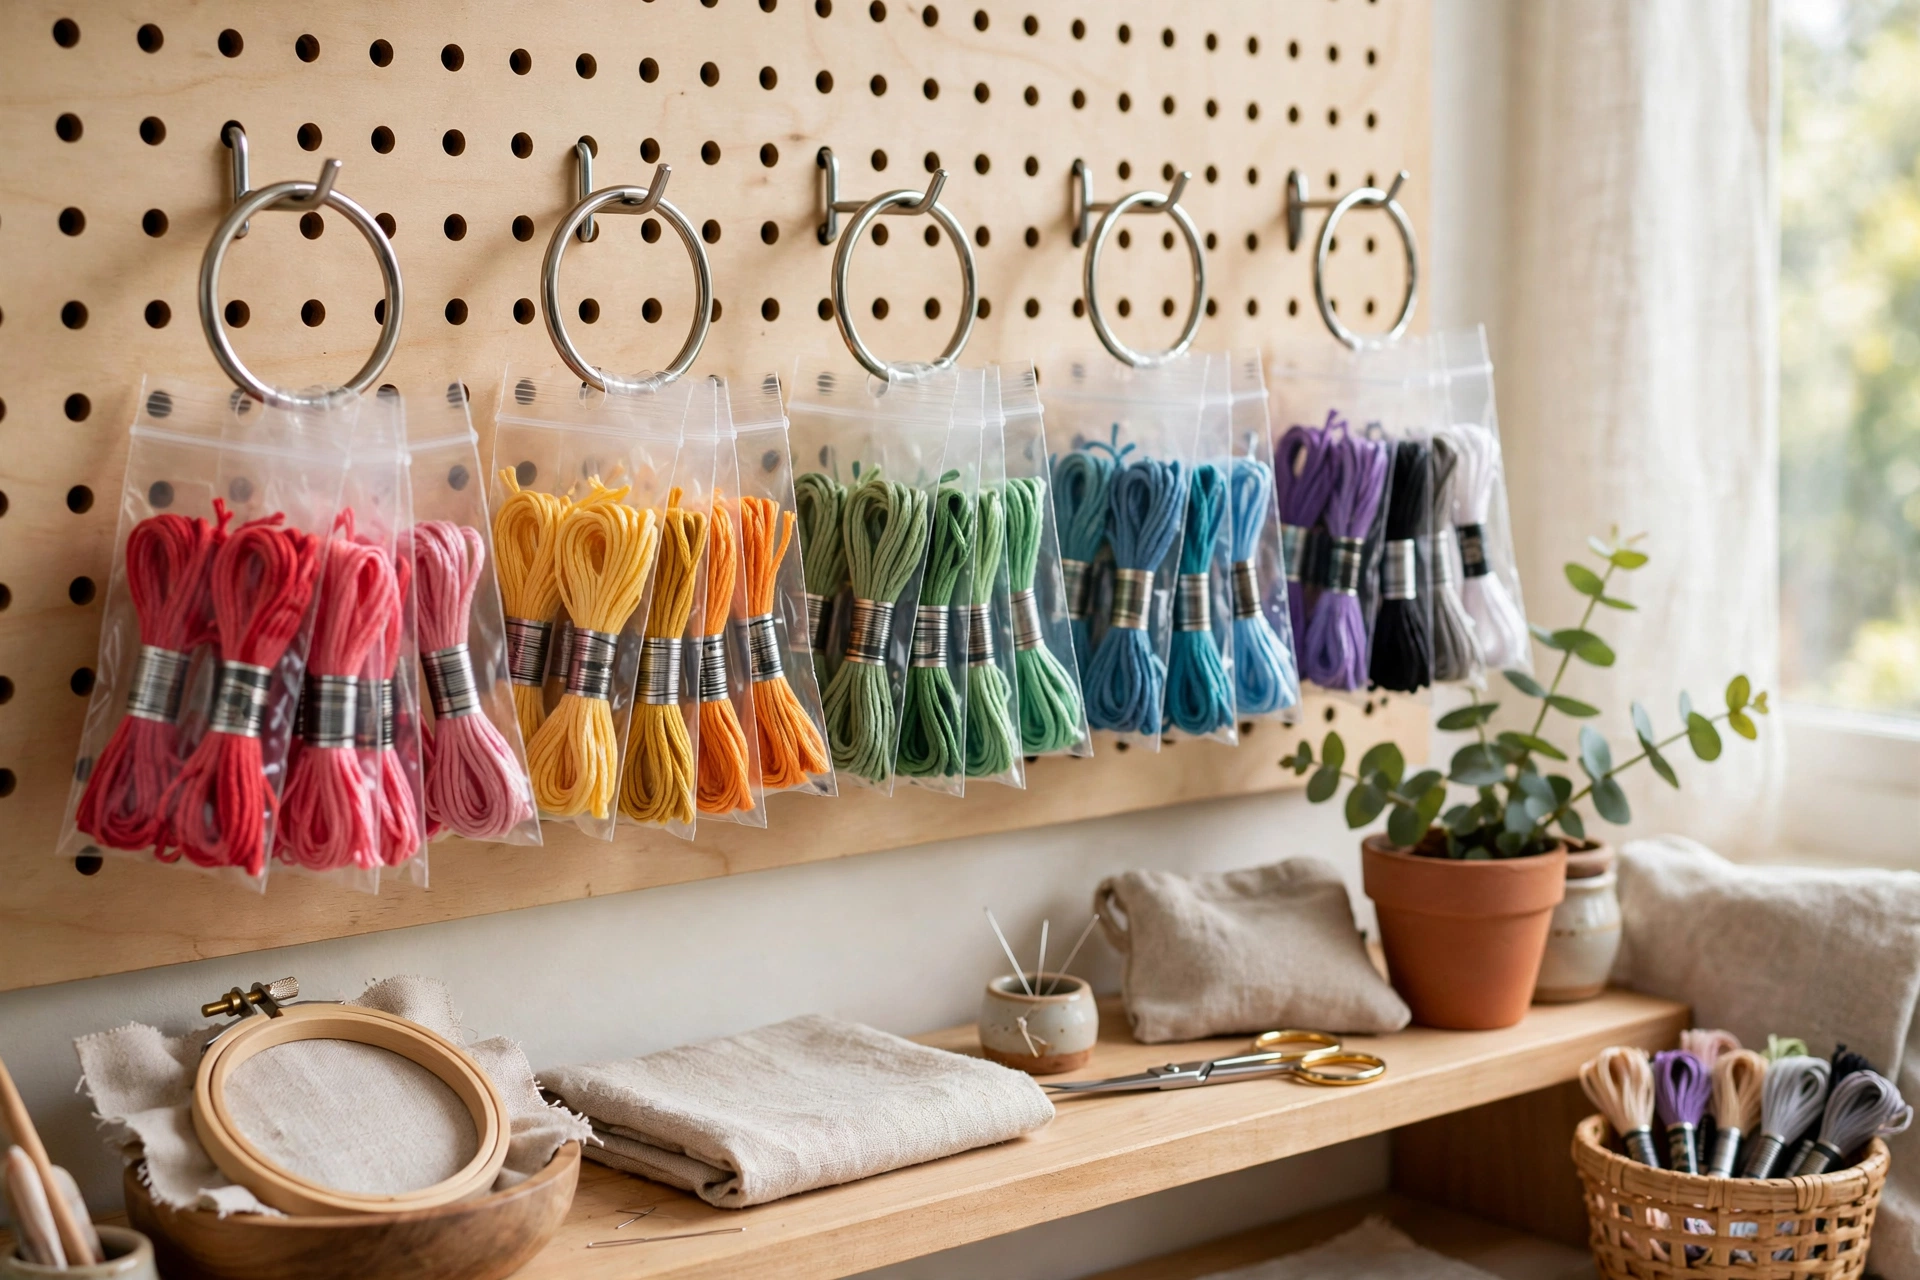
2. Floss bags on binder rings. Each skein goes in a small labeled bag, with bags grouped by color family on large metal rings. Zero winding, which is the entire selling point. Slightly bulky, and you will replace bags eventually, but setup takes ten minutes and nothing ever kinks.
3. Numbered envelopes in a card file. Small coin envelopes labeled with brand and color number, filed numerically like a library. Perfect if you stitch from patterns that list exact shades. Less visual, and I missed seeing the actual colors more than I expected. I lasted three weeks before switching back to bobbins.
4. Original skeins in a drawer. Fine until about 30 colors. Then it becomes the Ziploc bag of doom with extra steps. If this is you right now, pick method one or two this weekend and thank yourself next month.
The Bobbin Box: How I Organize Embroidery Floss
An hour of setup, then two minutes of upkeep per project. Worth it.
- Gather every skein into one pile. All of them. The drawer, the project bags, the one in your coat pocket. You cannot organize what you cannot see.
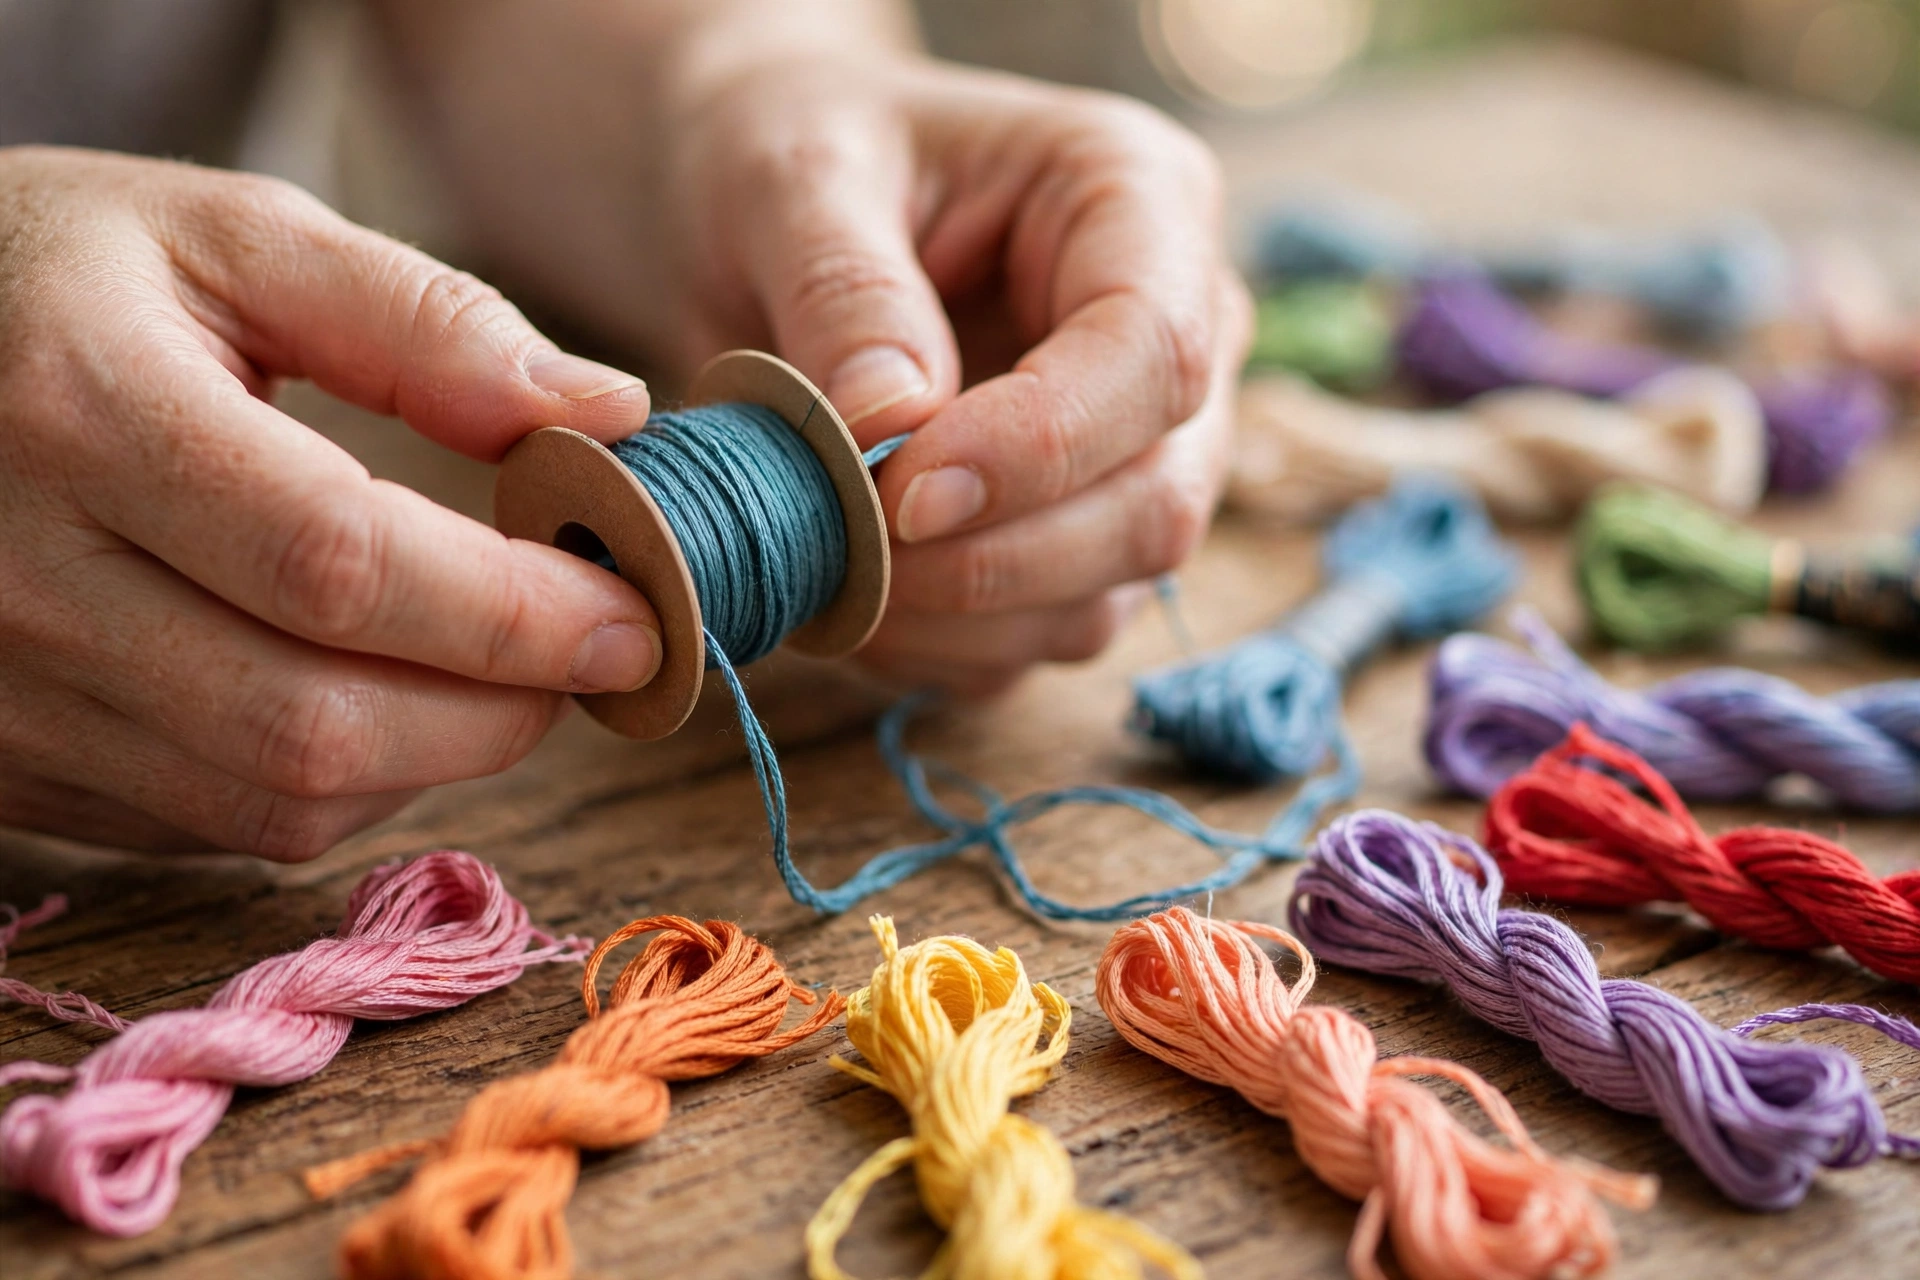
- Wind each color onto its own bobbin. Keep gentle tension: tight enough to stay neat, loose enough that the floss does not stretch. Stretched floss thins permanently and never quite recovers. Ask your satin stitch how it feels about that.
- Label every bobbin with brand and number in fine marker. DMC 310. Numbers beat names every time. “Dusty rose” means nothing when you need to rebuy the exact shade, and DMC’s site lists every number if you want to double-check one.
- Sort by color family, light to dark within each. Reds, pinks, oranges, yellows, greens, blues, purples, neutrals, then metallics. Your eyes find the family first and the shade second, so file the way you search.
- Leave empty slots at the end of each family. New colors arrive constantly. A system with no room to grow breaks within a month, and then you are back to the bag.
- Tuck scissors and a needle case into the lid. Now the box is a grab-and-go kit for the couch, the garden, or a friend’s house. It should live within arm’s reach of wherever you actually stitch, which is a workspace question more than a storage question.
How Every System Breaks
No system survives contact with real life unchanged. Here are the failure modes I have hit, and the fixes:
- Bobbins unwinding in the box: tuck the loose tail under the last few wraps, or snip a tiny slit in the bobbin edge to trap it.
- Marker rubbing off plastic bobbins: switch to cardboard bobbins, or cover each number with a strip of clear tape. The tape also makes them weirdly satisfying to handle.
- Colors lying under lamp light: always pull the bobbin into daylight before final color decisions. Evening lamps lie about every shade. Here is why, and how to test your bulbs.
- Metallics misbehaving: do not wind them. Bag them. Wound metallic kinks and never forgives, and life is too short.
- Running out mid-project: when a bobbin feels light, buy its replacement that day. Keep a running shopping list inside the box lid, or you will be the person stitching a border at midnight with half a strand left.
The real test is a Tuesday night with twenty minutes to stitch. If you can find the exact green in under ten seconds, your system works. If not, simplify until it does. Your future self, mid-project at 11pm, says thanks.
Two more skills that pair with this one: reading the color numbers you are writing on those bobbins, and making sure what you are winding is actually floss in the first place.
3 comments