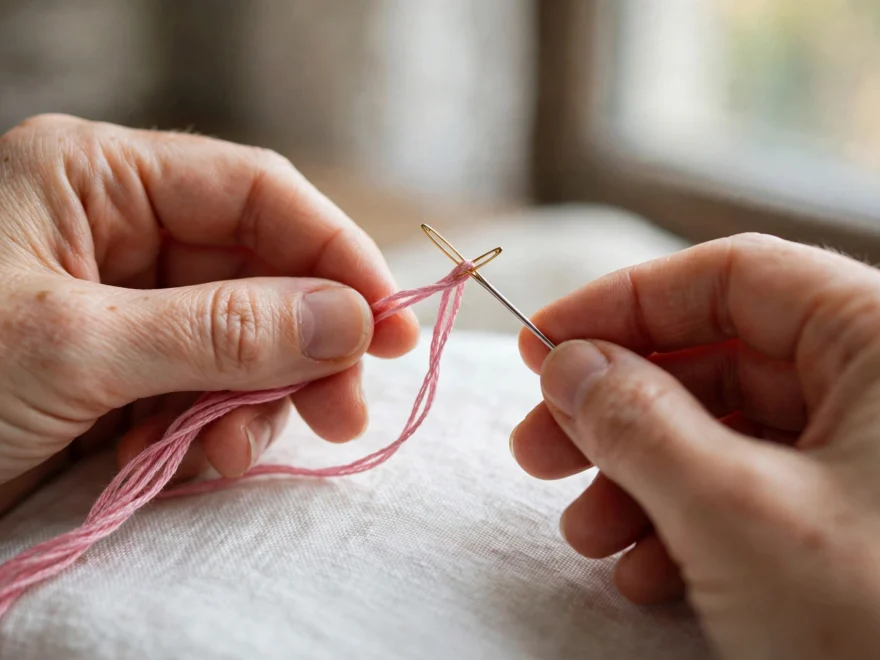
The tea towel was 28-count linen. The embroidery needle was a size 3 chenille I had fished out of a four-dollar kit. Every stem stitch I made sat in its own little crater, a whole border of them, like perforation marks down the edge. I blamed my tension for a week. Then a friend took one look, swapped in a size 7 crewel, and the next row came out clean. Fifteen seconds, problem gone.
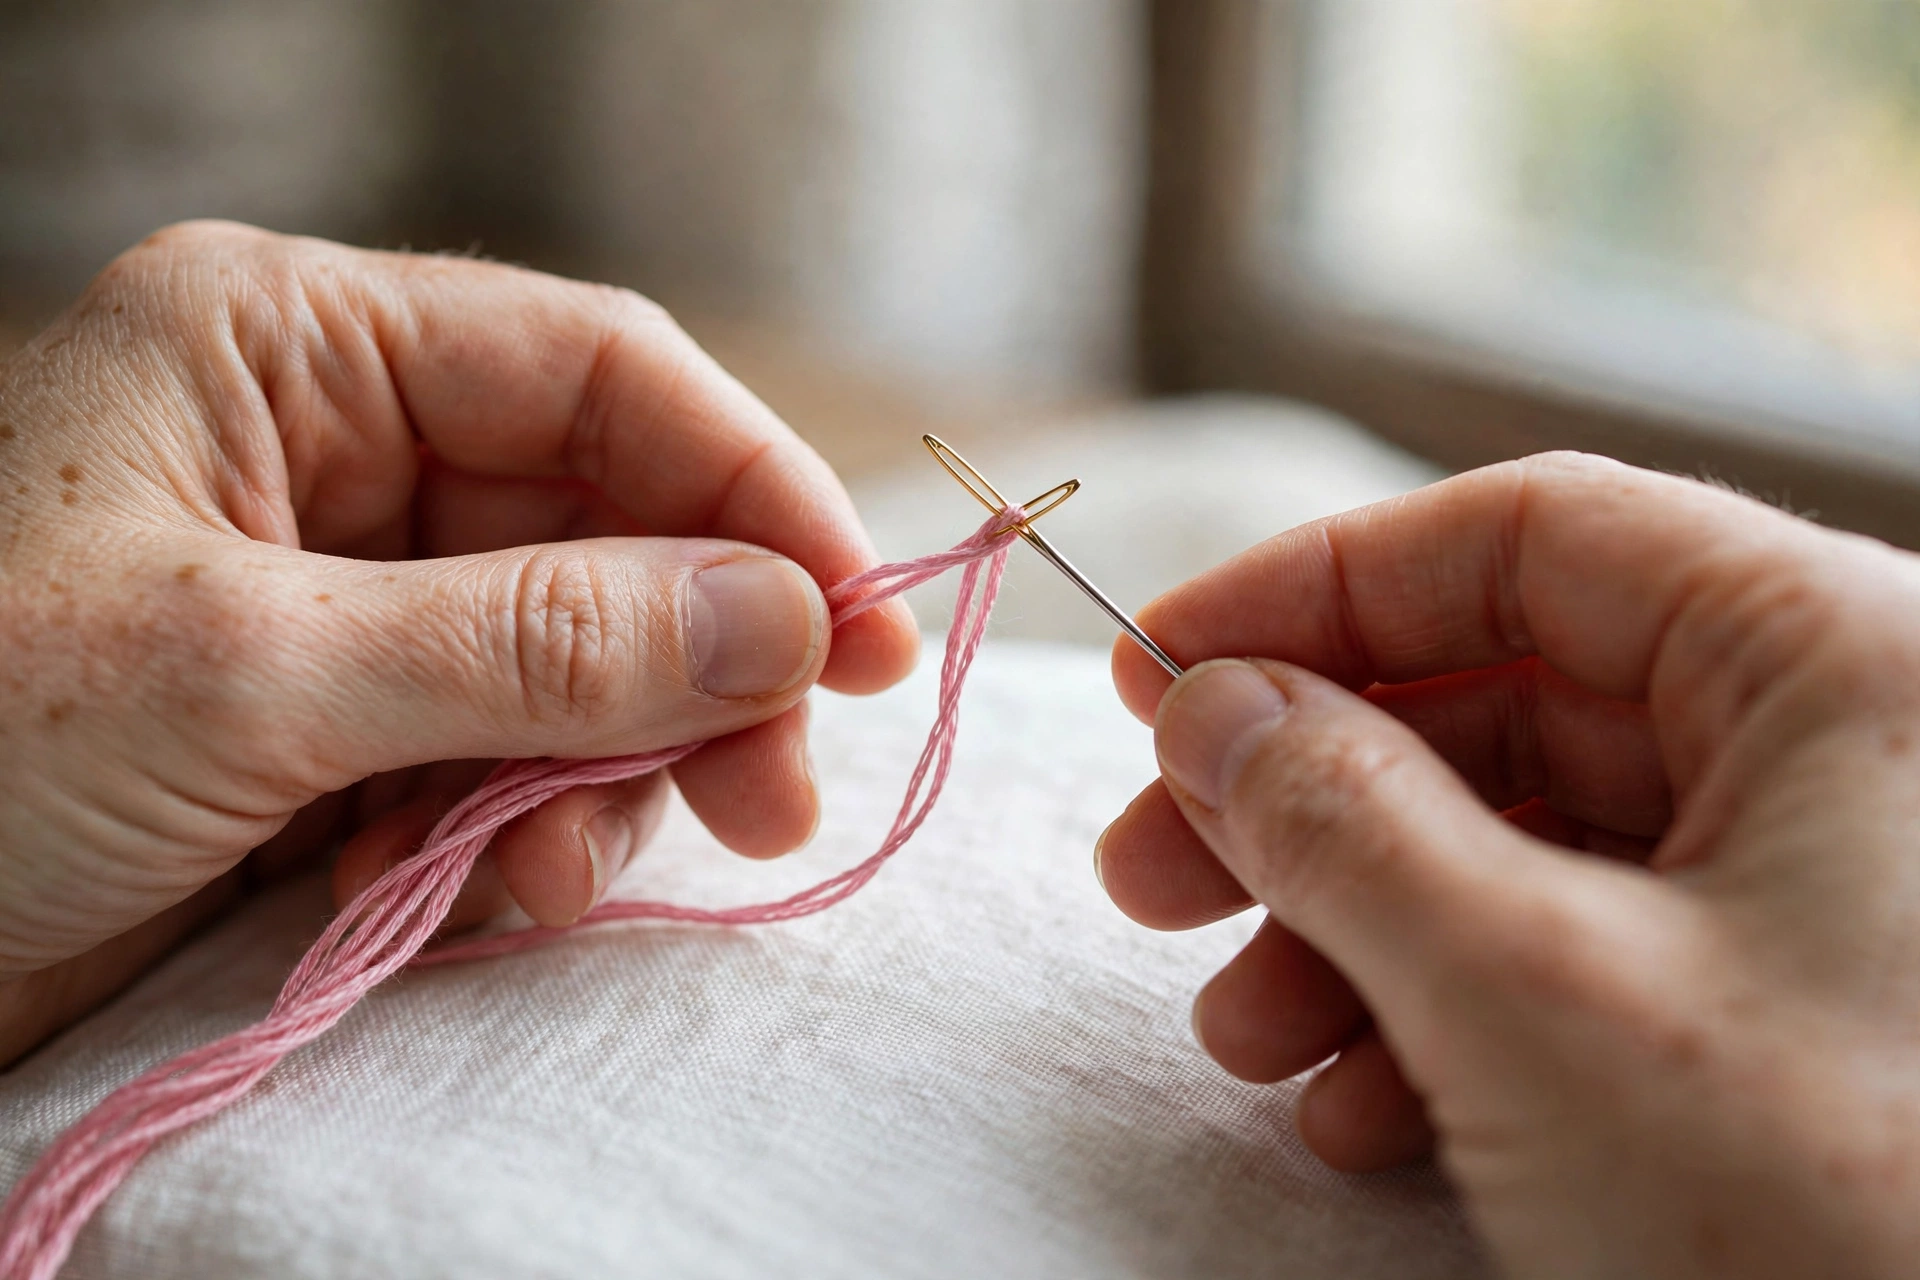
So here is my first strong take, and I will not be softening it: throw away the needle that came in the kit. Kit needles are an afterthought. Thick, blunt, and wrong for everything. A card of 16 John James embroidery needles costs about four dollars, and it will improve your stitching more than any hoop upgrade you could buy. This guide covers the three needles worth owning, what the numbers actually mean, and a fifteen-second test that ends the guessing for good.
The Only Three Needles Worth Owning
Forget the needle wall at the craft store. You need three types, and you will reach for one of them for nearly everything.
Crewel, also sold as embroidery needles. Sharp point, long eye, medium shaft. This is the default, and the long eye is the whole point: threading two or three strands of floss takes seconds instead of a wrestling match. My everyday needle is a John James size 7. It pulls two strands of DMC through quilting cotton like it was designed for exactly that job, because it was. If you buy one pack, make it an assortment of crewel needles in sizes 3 to 9.
Chenille. Sharp point like a crewel, but a bigger eye and a thicker shaft. This is the needle for heavy thread: wool, thick perle cotton, ribbon work. On anything lighter than denim it leaves holes you could poke a toothpick through, which is exactly the mistake I made on that tea towel.
Tapestry. Blunt, rounded tip, long eye. Built for Aida and evenweave, where the needle should slide through the existing holes in the grid instead of piercing fibers. A sharp needle on Aida splits the grid threads and ruins your counting. Blunt is a feature here, not a flaw.
Honorable mention: milliner needles, also called straws. Long shaft, tiny round eye, same thickness from eye to point, built for wrapped stitches like French knots and bullion knots where the wraps need to slide down smoothly. If your French knots keep collapsing into tangles, try a milliner before you blame your hands. And a confession: I have never gotten the hang of stumpwork, so take anything I say about wired ribbon with salt.
Embroidery Needle Sizes, Translated
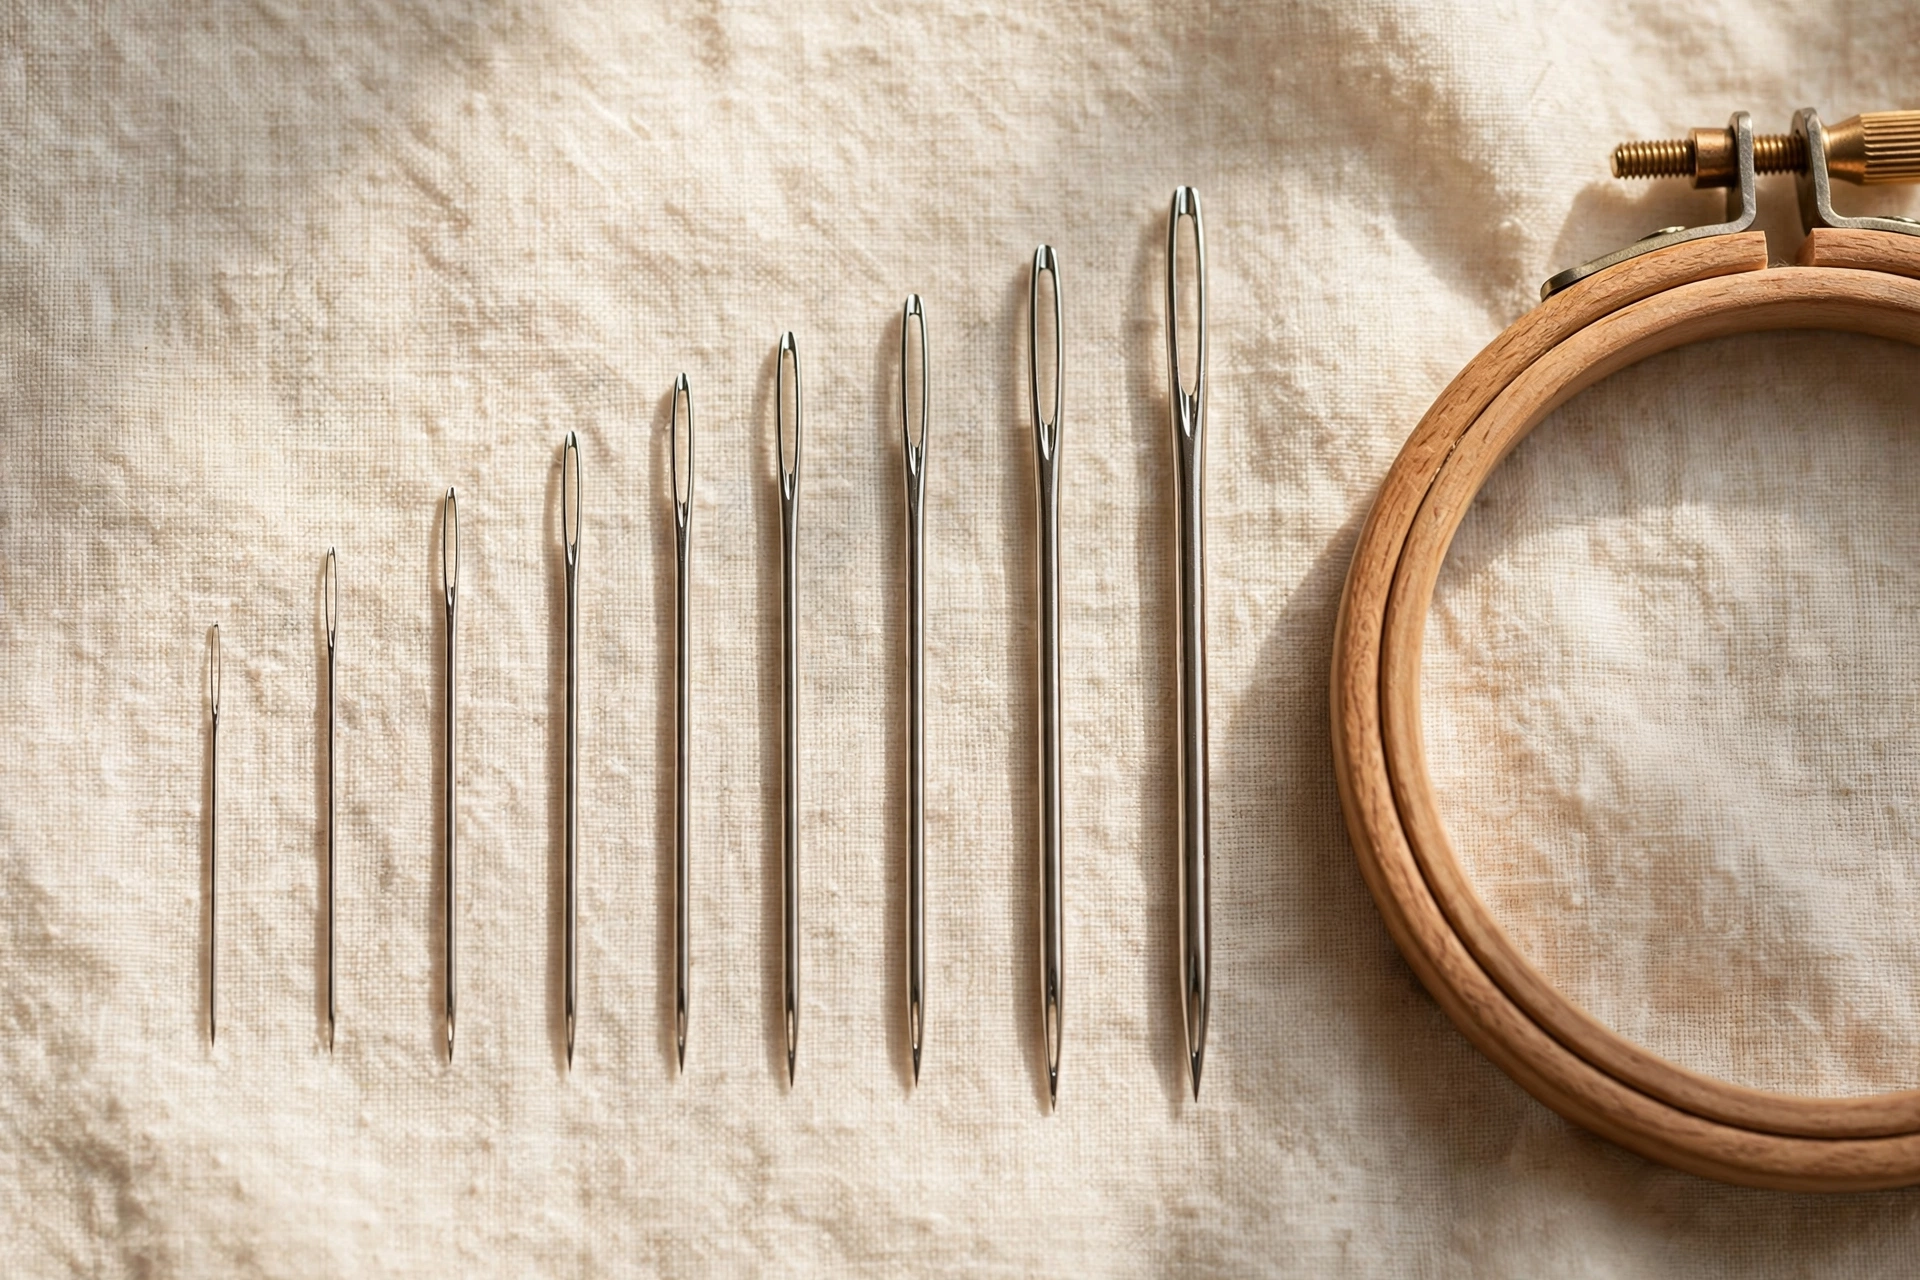
The numbering runs opposite to what you would expect. Bigger number, finer needle. Size 1 could stitch a sail. Size 12 could stitch a fairy’s handkerchief. Here is how the common sizes map to real projects:
- Sizes 1 to 3: the heavyweights. Denim, canvas, thick wool threads. You will almost never need these for standard floss work.
- Sizes 3 to 4: medium-heavy fabrics like linen twill and upholstery cotton, usually with perle cotton or four or more strands of floss.
- Sizes 5 to 6: the beginner sweet spot. Quilting cotton and mid-weight linen with two or three strands. Start here. A size 5 and a size 7 will carry you through your entire first year.
- Sizes 7 to 9: fine detail work. Lightweight cotton, lawn, single-strand outlines and lettering.
- Sizes 10 to 12: heirloom territory. Silk, batiste, miniature work. Gorgeous, and maddening until your hands learn control.
When in doubt, grab the 7. I keep a 5 and a 7 threaded and ready during every session, and I touch the rest of the pack maybe once a month. If you want the full official breakdown, John James publishes a needle guide covering every type they make.
The Fifteen-Second Match Test
Do this on a scrap before every project. It takes fifteen seconds and it ends the guessing.
- Hold the fabric up. Can you read through it? Lightweight, wants a 7 to 9. Does it stand up on its own? Heavy, wants a 1 to 4. Everything in between takes a 5 or 6.
- Check the weave. Open grid like Aida or evenweave gets a blunt tapestry needle. Tight plain weave gets a sharp crewel that parts the fibers cleanly.
- Thread it before you commit. The floss should slide through with slight resistance. If it squeaks, the eye is too small, and your floss will fray within the hour. That squeak is the sound of future frustration.
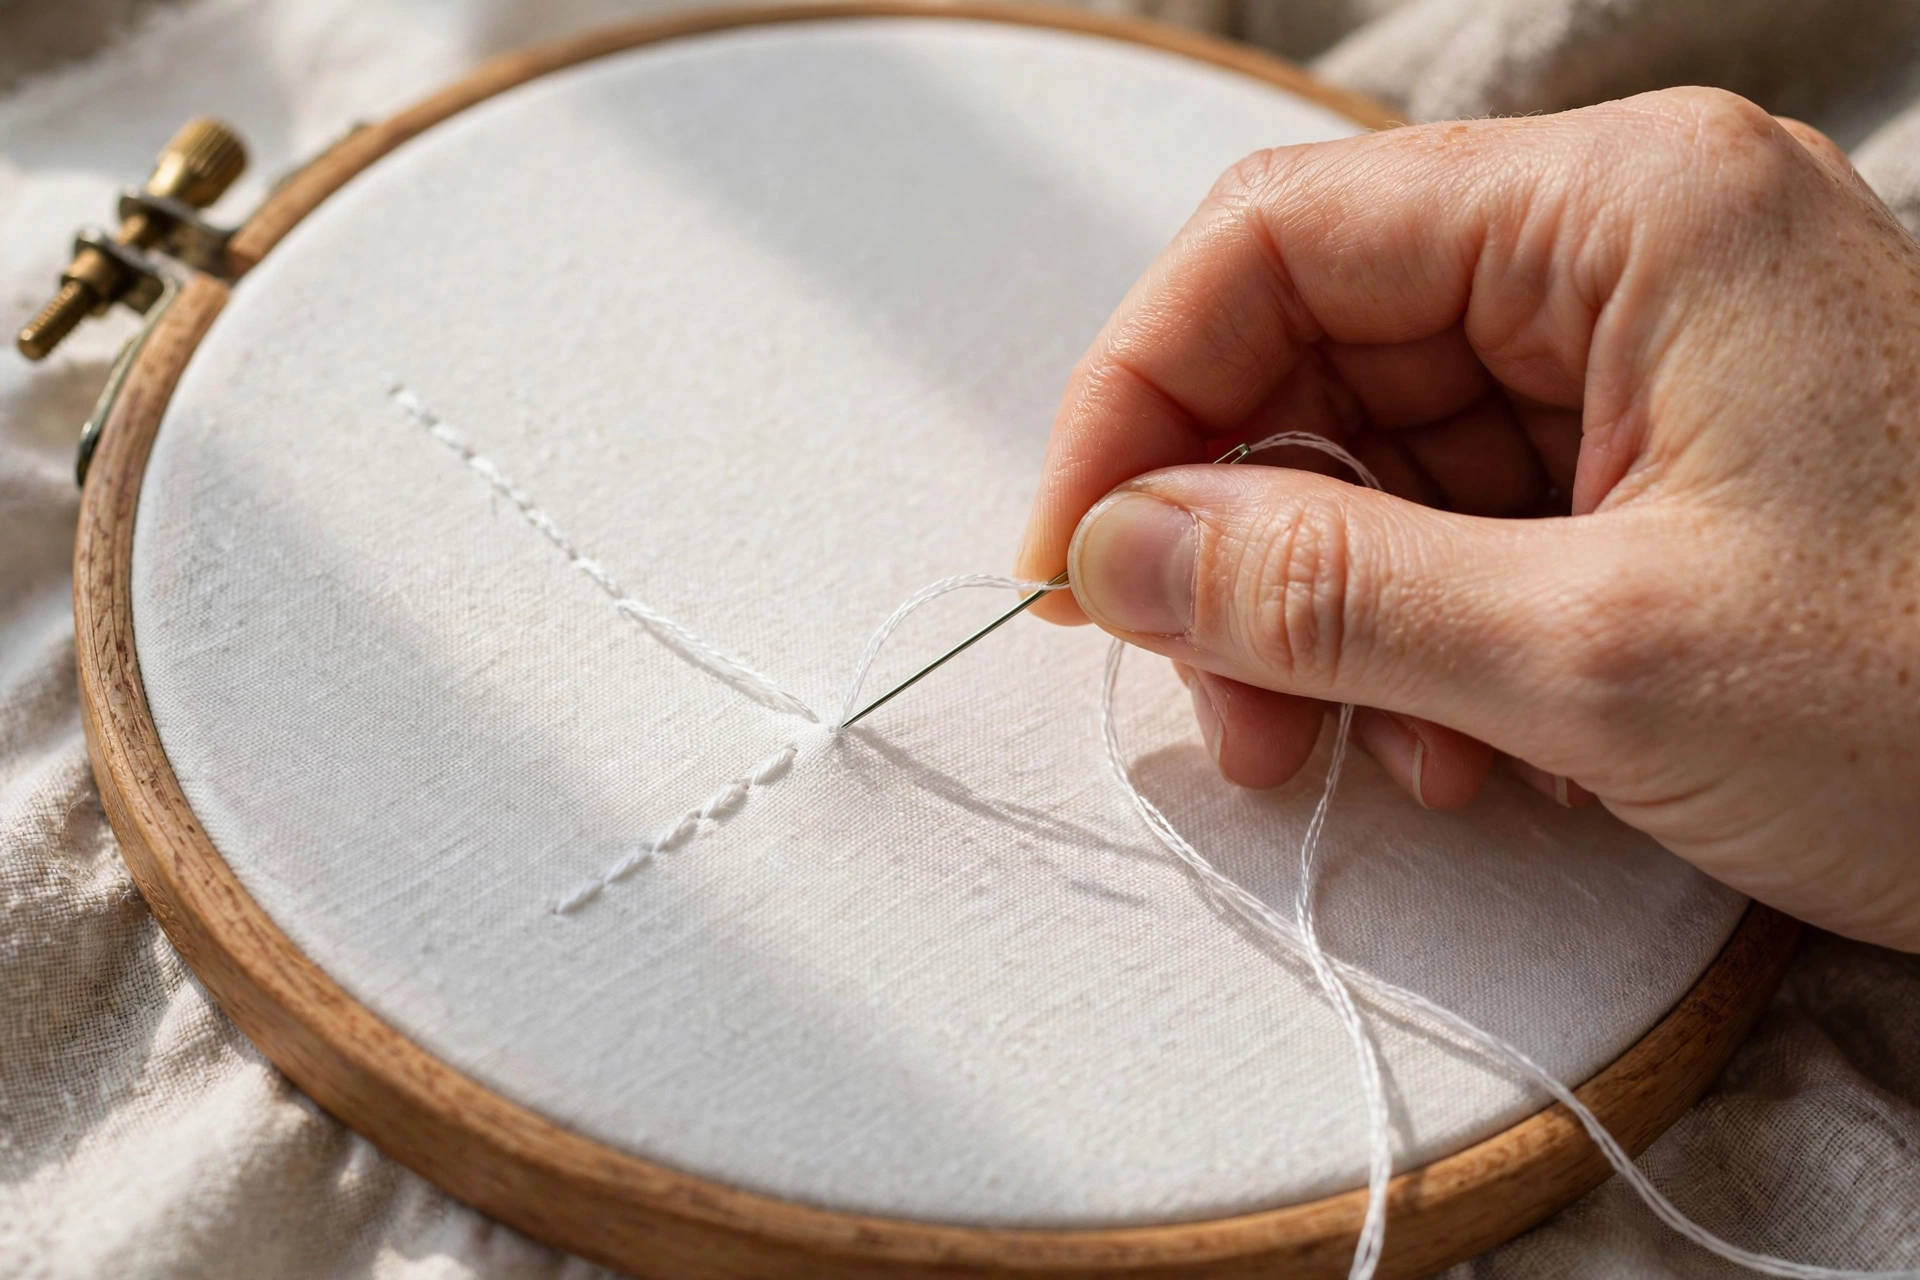
- Stitch ten stem stitches on the scrap, in a hoop. Pull the needle through slowly and look at the entry holes. Clean tiny punctures mean a good match. Visible craters mean the shaft is too thick. If you are unsure what size hoop the test scrap needs, here is how I pick hoop sizes.
- Stitch for five minutes and check your hand. Mild effort is normal. Cramping or constantly re-gripping is not. Thicker shafts suit beginners because they are simply easier to hold.
What the Damage Tells You
Your needle talks. Here is how to listen:
- Thread frays or shreds: the eye is too small for your strand count, or the old needle has developed a burr. Size up, or retire it. Needles are consumables, not heirlooms.
- Visible holes around every stitch: the shaft is too thick for the fabric. Drop to a finer size.
- Fabric puckers as you stitch: the needle is too fine to part the weave cleanly, so it drags fibers along. Go one size thicker. If the puckering survives the swap, it is a hooping problem, not a needle problem: fix your tension here.
- Needle bends mid-project: too fine for the fabric weight. Denim will fold a size 9 like a paperclip.
- Rust spots on stored needles: moisture got to them. Toss rusted needles, because they will stain your fabric the exact shade of regret. Store the rest with a silica packet in a closed tin.
The right needle disappears into the work. The wrong one announces itself on every single stitch. Go poke a scrap. Fifteen seconds of testing now beats an hour of frogging later. And seriously, throw away the kit needle. If you are building your starter kit from scratch, here are the tools actually worth your money.
3 comments