
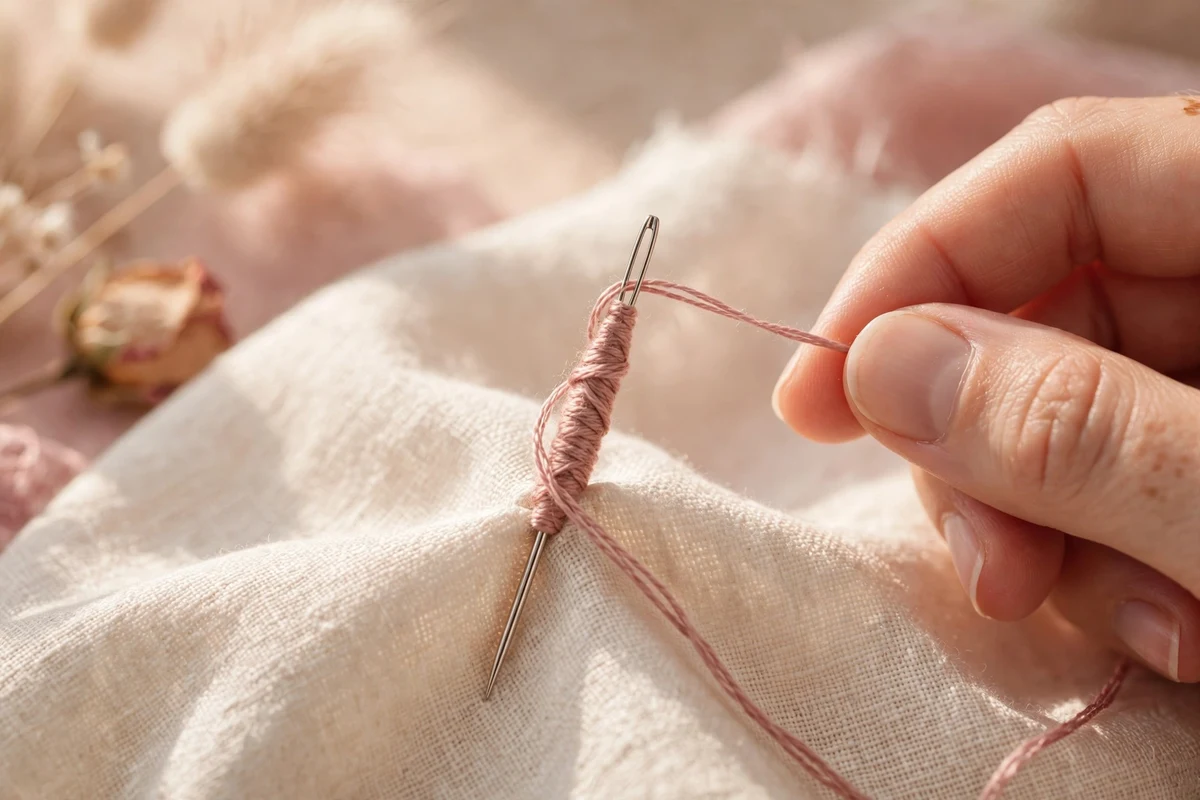
French knots are one of those stitches that look like magic but feel like a puzzle the first few times you try them. I remember my very first attempt: a lumpy little tangle that slid straight through to the back of my fabric. I almost gave up on them entirely. But once the steps click, French knots become the stitch you reach for again and again, and I promise yours will click too.
In this guide, you will learn exactly how to do french knot, even if you have never stitched before.
If you are brand new to hand embroidery, you may want to read my beginner embroidery guide first to get your hoop, needle, and thread sorted. Otherwise, grab a scrap of fabric and let’s make some knots together.
What Is a French Knot?
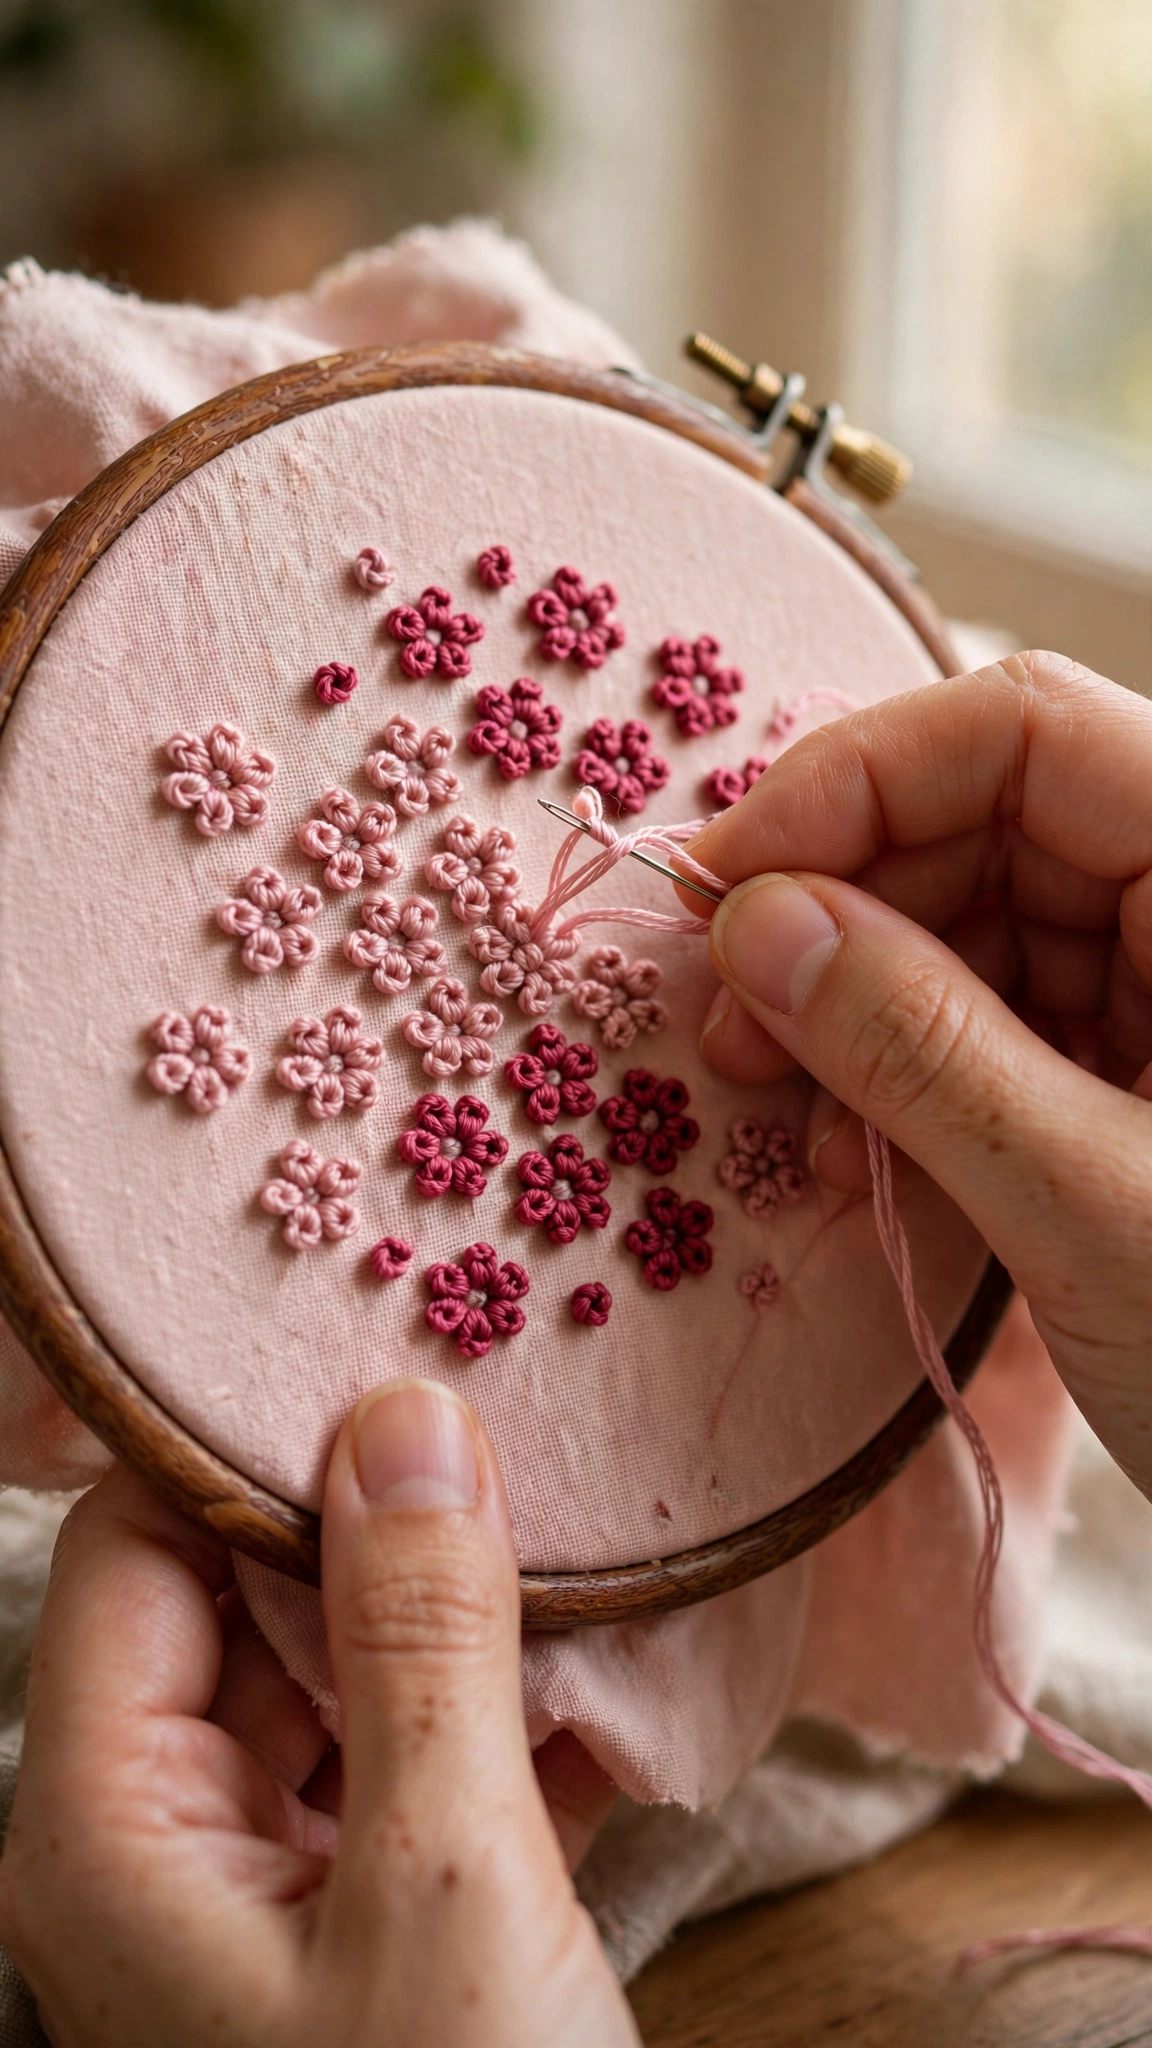
A French knot is a tiny raised knot that sits on the surface of your fabric, like a little bead of thread. It is made by wrapping the thread around your needle one, two, or three times, then taking the needle back down through the fabric right next to where it came up. The wraps slide off the needle and settle into a neat, round knot.
French knots are one of the most versatile stitches in hand embroidery. I use them constantly:
- Flower centers: A French knot makes the prettiest center for daisies, cherry blossoms, and wildflowers.
- Flower buds: A small cluster of knots reads instantly as a tiny bud.
- Eyes and details: Perfect for eyes on animals, dots on ladybugs, or berries on a branch.
- Texture and fill: Rows of knots can mimic snow, starry skies, pebbles, or sheep’s wool.
- Polka dots and accents: Scattered knots add playful texture to almost any design.
If you have learned the backstitch already, a French knot is the perfect next stitch to add to your repertoire.
What You Will Need
You do not need anything special for French knots beyond your usual hand embroidery supplies:
- An embroidery hoop (6 inches is a great practice size) with your fabric hooped firmly
- Embroidery floss, separated to 2 or 3 strands for practice
- An embroidery needle with a large enough eye to pass your strands comfortably
- A small scrap of fabric, ideally a medium-weight cotton or linen
Not sure what needle size to pick or which hoop to buy? My beginner embroidery tools checklist walks
through everything you need to get started.
How to Do French Knot Step by Step
Step 1: Come Up Where You Want the Knot
Thread your needle with about 18 inches of floss and knot the tail end. Bring your needle up through the fabric from back to front, right where you want the knot to sit. Let the working thread drape to one side. Hold the needle in your dominant hand, pointing it back toward the fabric, so the shaft is right above the spot where the thread came up.
One thing that matters a lot here: keep your fabric drum tight in the hoop. A saggy fabric is the number one reason knots misbehave before you even start.
Step 2: Wrap the Thread Around the Needle Once
With your other hand, take the working thread and lay it across the shaft of the needle. Wrap it around the needle exactly once, keeping gentle, even tension on the thread as you wrap. Do not let the thread go slack.
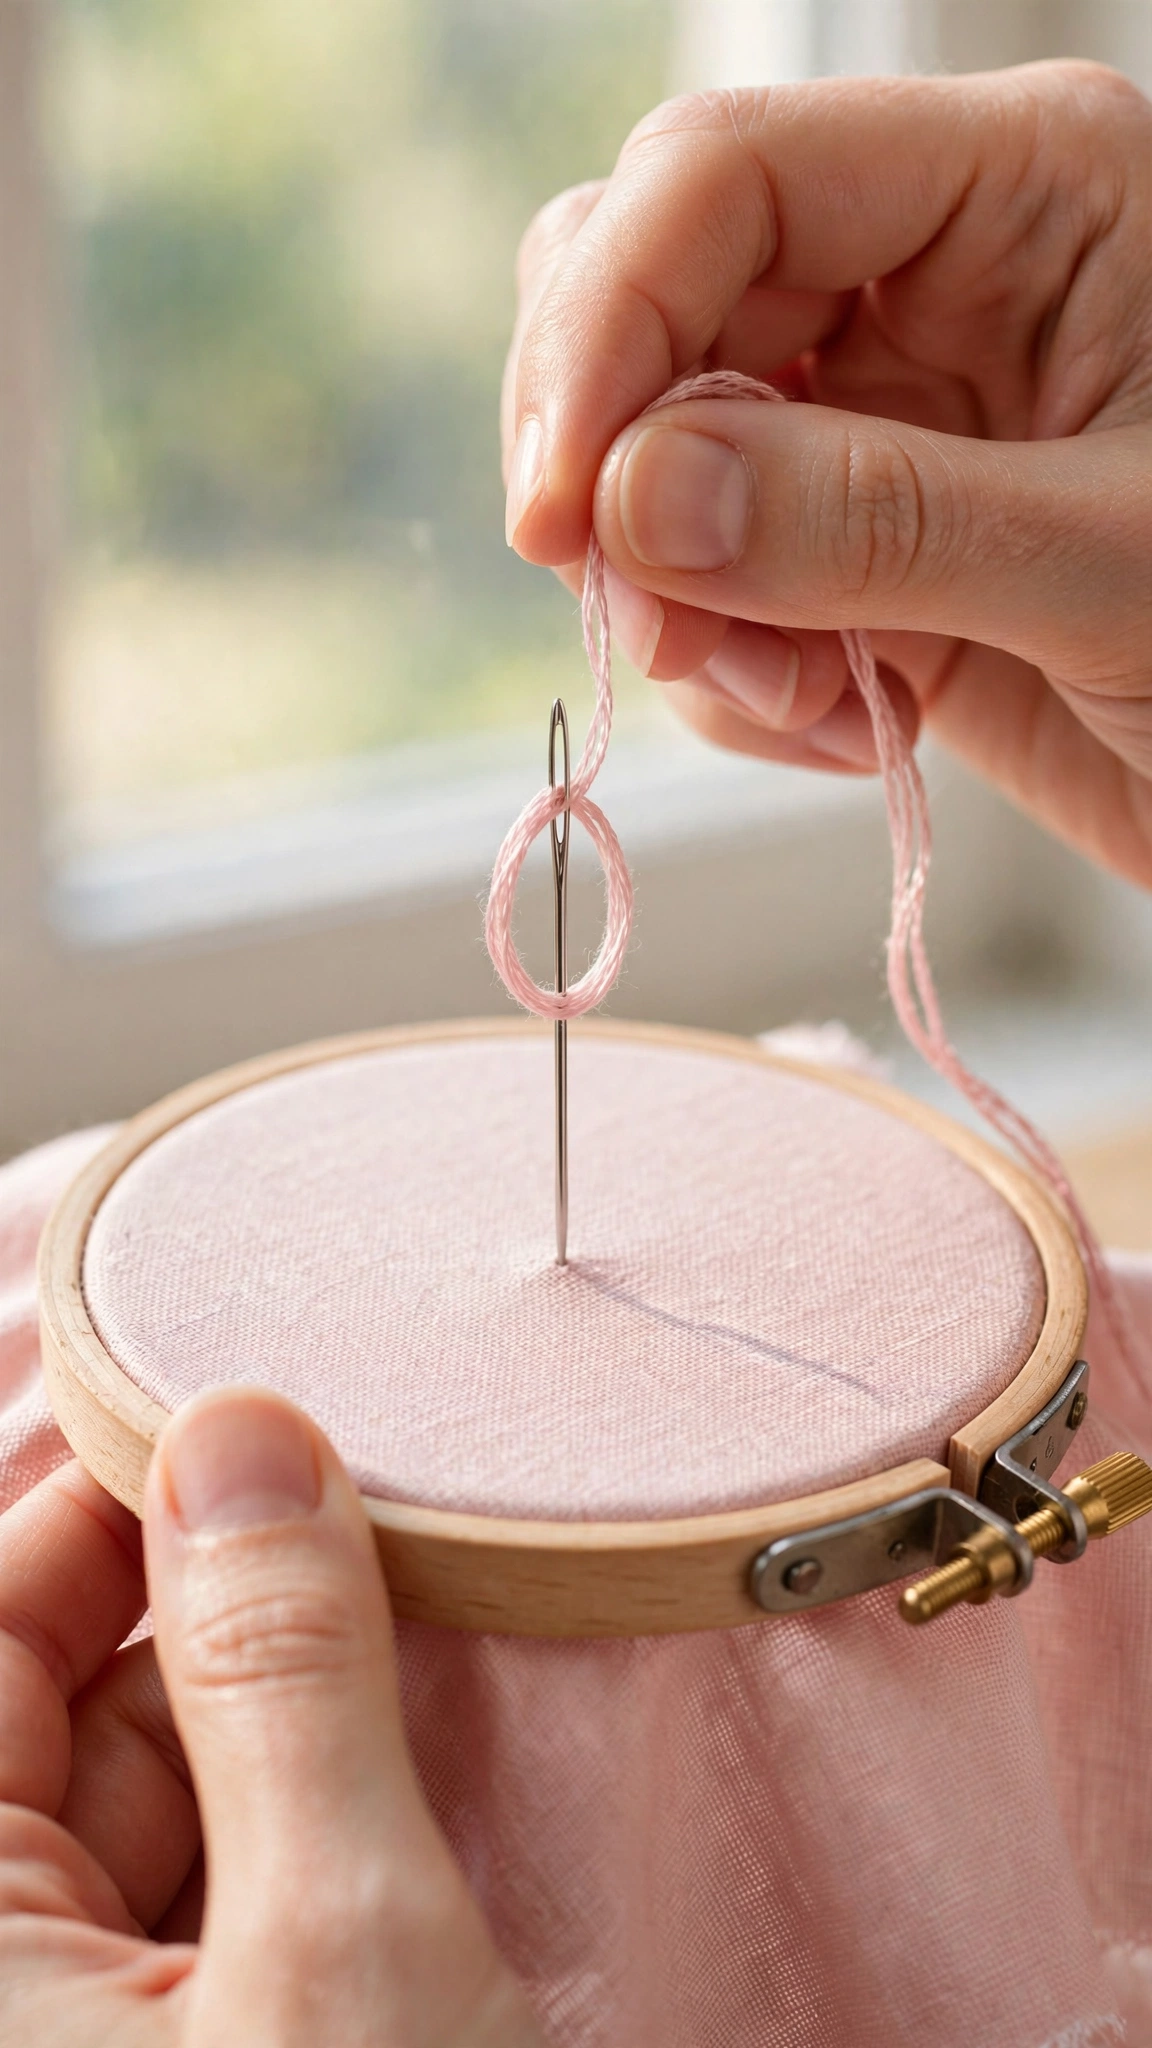
One wrap gives you a small, delicate knot. This is lovely for fine details like tiny flower buds or the centers of miniature blossoms.
Step 3: Wrap Twice or Three Times for Bigger Knots
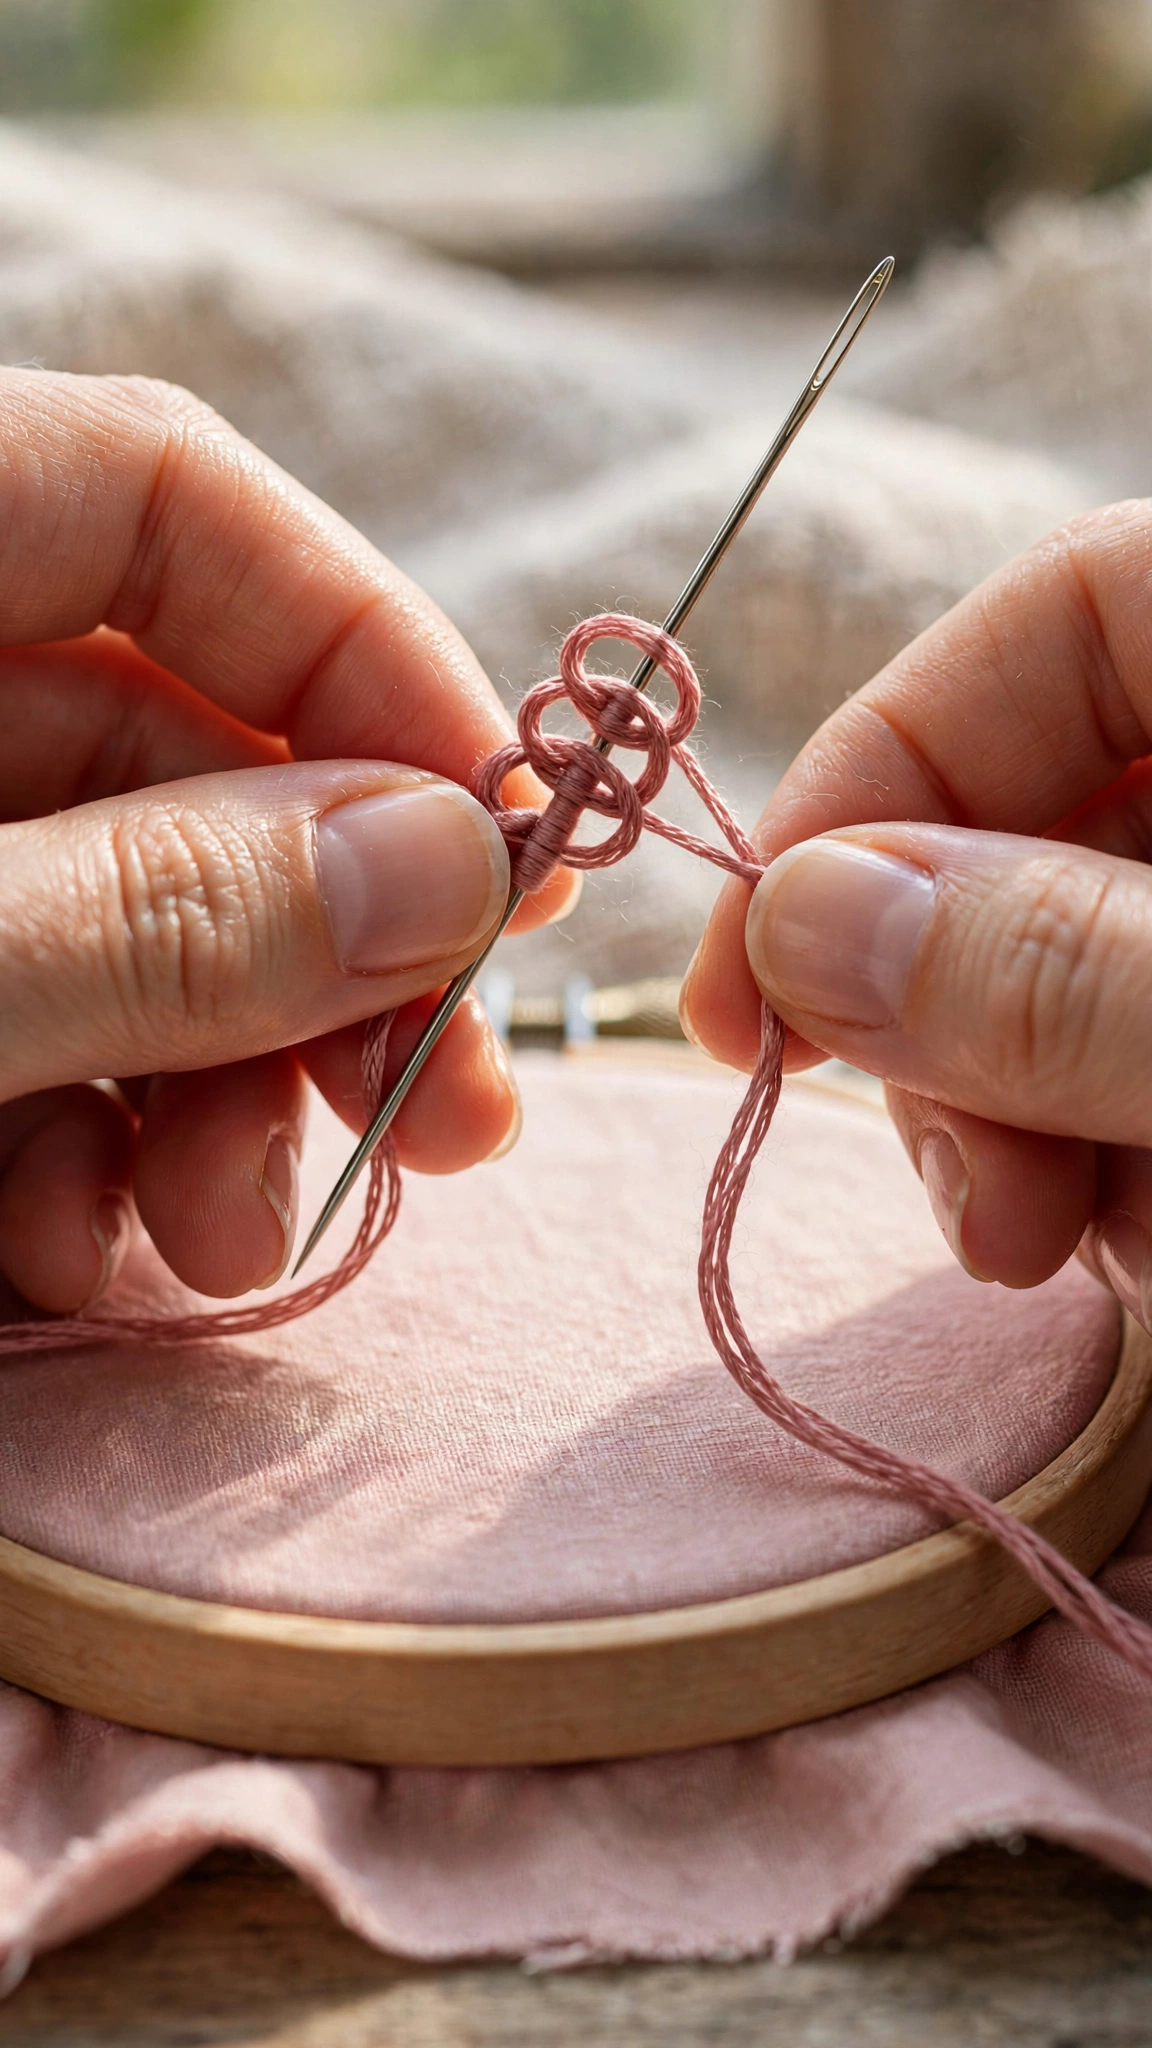
If you want a bigger knot, wrap the thread around the needle twice. For an even bolder knot, wrap it three times. Keep the wraps snug against each other, not overlapping in a jumble, and keep the thread taut while you wrap.
Two wraps is the sweet spot for most projects and is what I use about 80 percent of the time. Here is the important rule that trips up beginners: never wrap more than three times. With four or more wraps, the wraps cannot slide cleanly off the needle and you will end up with a lopsided tower instead of a round knot. If you need a bigger knot, use more strands of floss, not more wraps. Six strands with two wraps makes a beautifully fat knot.
Step 4: Go Back Down Right Beside the Hole
While still holding the thread taut with your non-stitching hand, poke the tip of your needle back down through the fabric, right next to the hole where it came up. Aim for one or two fabric threads away, not through the exact same hole. Going through the very same hole is the classic reason knots disappear to the back of the work.
Now here is the moment that makes or breaks the knot: pull the needle slowly through the fabric from the back while keeping the working thread gently taut the entire time. Let the wraps slide down the needle shaft and settle onto the fabric. Do not let go of the thread until the needle is fully through and the knot has formed on the surface.
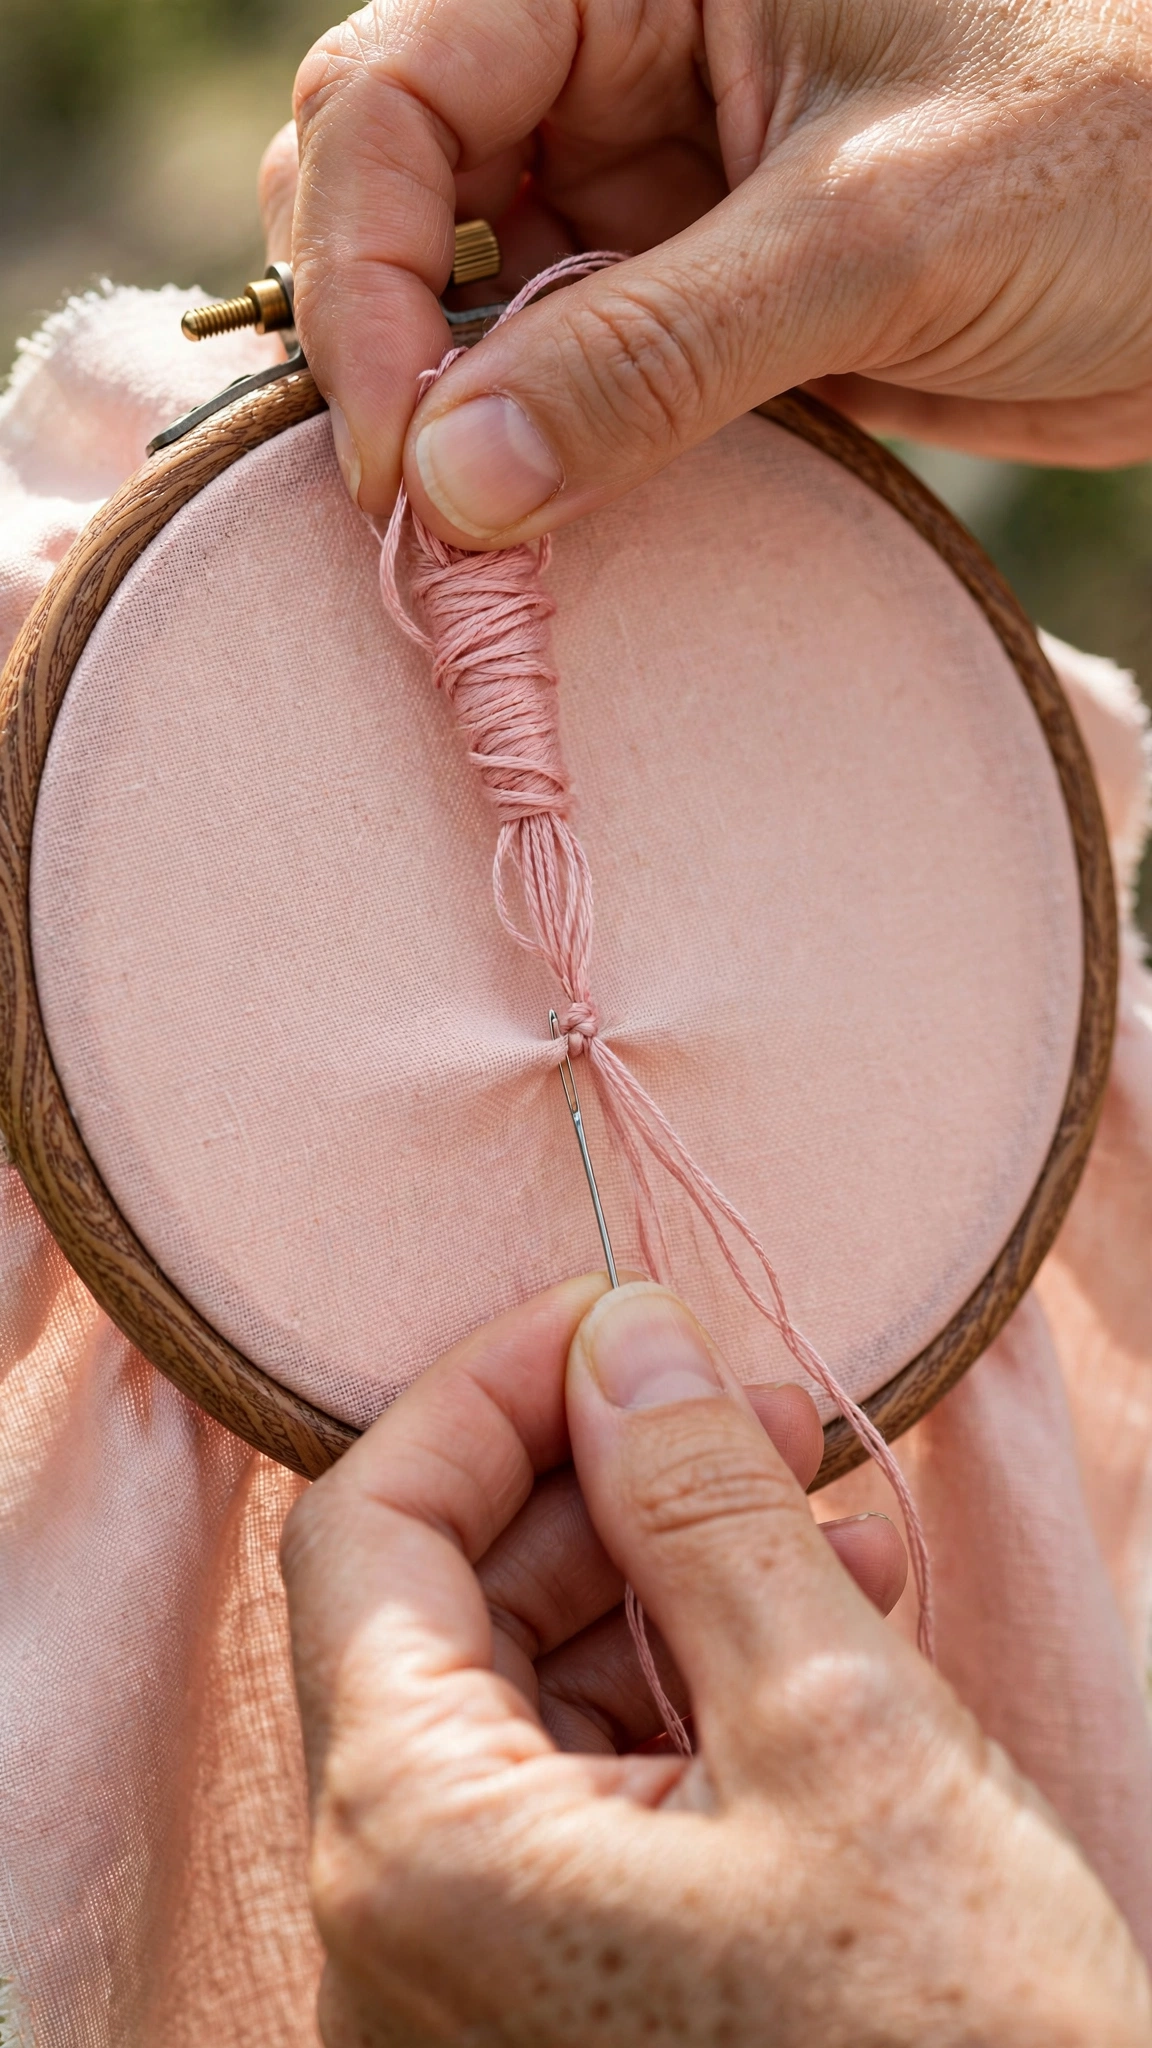
You may hear or feel a tiny “pop” as the last bit of thread passes through the wraps. That is completely normal, and honestly a little satisfying.
Step 5: Admire Your Finished Knot
Once the thread is all the way through, release it and give it one final gentle snug. Your knot should sit neatly on the fabric like a tiny raised bead. Repeat to make a row of them.
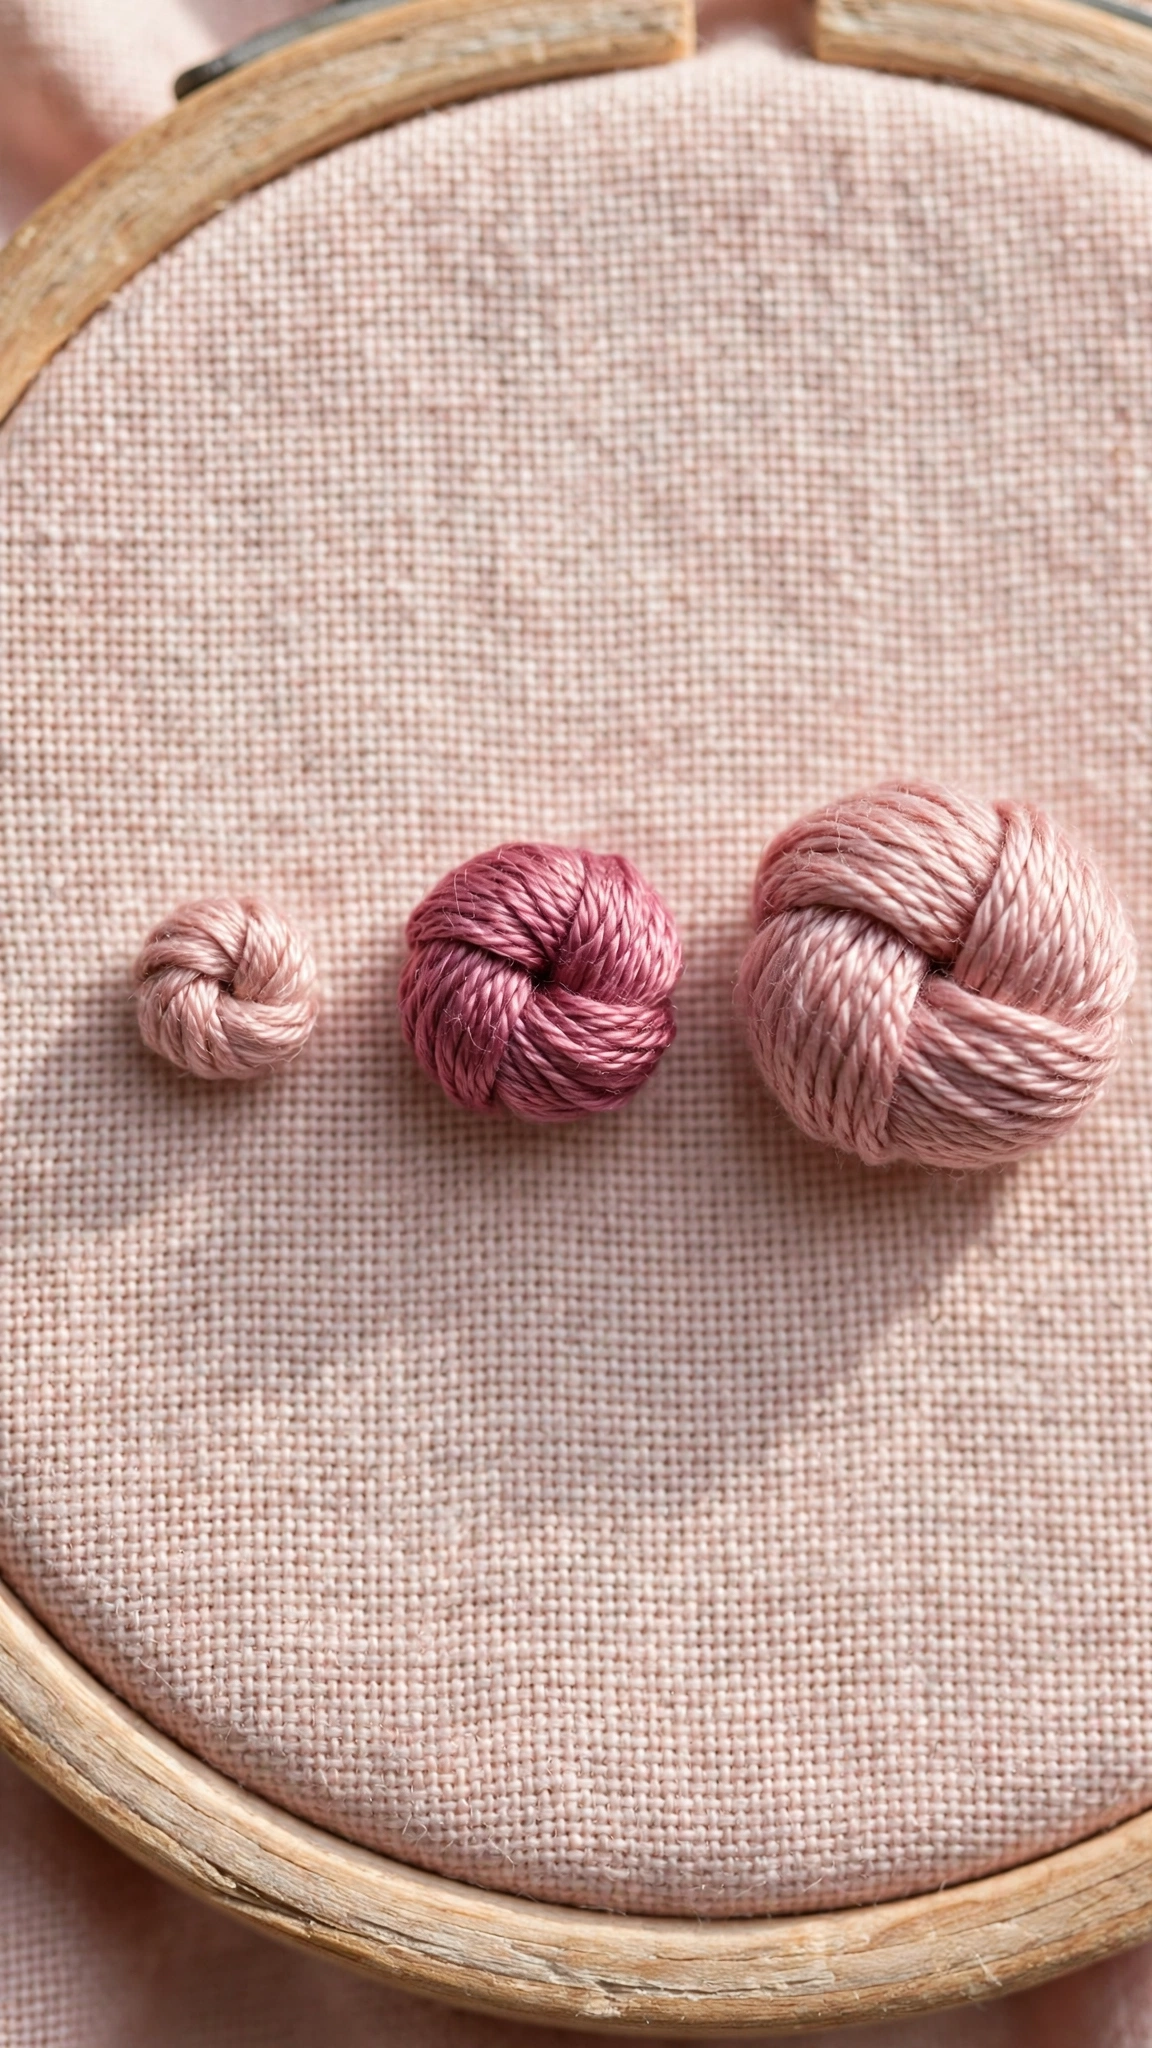
Practice a row of one-wrap knots, then a row of two-wrap knots, then three-wrap knots. You will quickly see how the size changes, and your hands will start to remember the motion.
French Knot Troubleshooting: Why Mine Keep Failing
Every single one of these problems happened to me in my first week. Here is what causes each one and how to fix it.
My knot disappeared to the back of the fabric
This is the most common French knot frustration. It almost always means one of two things: you put the needle back through the exact same hole it came up through, so the knot just followed it down, or you let the thread go slack while pulling through. Fix it by re-entering one or two fabric threads away from the exit hole and by keeping the thread gently taut until the very end.
My knot is a lumpy, lopsided mess
Too many wraps is the usual culprit. More than three wraps and the coils bunch up instead of settling into a round knot. Keep it to one, two, or three wraps. If the wraps still look messy, check that they are lying side by side on the needle, not crossing over each other.
My knot is loose and wobbly
You probably let the thread go slack at some point during the pull-through. Tension is everything with this stitch. Hold the working thread firmly (not white-knuckled, just steady) until the knot is fully formed. Also check that your fabric is tight in the hoop; saggy fabric gives knots nothing to sit against.
The thread tangles when I pull through
Long thread is tangly thread. Keep your working thread to about 18 inches or less. If the floss keeps twisting on itself, let the needle dangle and spin out the twist every few knots.
My knots all look different sizes
That is actually normal while you are learning, and it will even out with practice. Consistency comes from using the same number of strands and the same number of wraps every time, and from keeping the same gentle tension. Stitch twenty knots on a practice scrap and compare your first five to your last five. I bet you will see the difference.
Tips for Perfect French Knots
- Control size with strands, not wraps. For a big knot, use more strands of floss rather than adding a fourth or fifth wrap. Two wraps with six strands beats four wraps with two strands every time.
- Try a milliner needle if you struggle. Milliner (straw) needles have a shaft the same width as the eye, so wraps slide off them beautifully. Many stitchers find French knots dramatically easier with one.
- Anchor the tail well. A secure start keeps the knot from being tugged through. I weave my tail under a few existing stitches on the back instead of using a bulky knot.
- Keep the working thread short. About 18 inches is the sweet spot. Shorter thread means less twisting and fewer tangles.
- Practice on scraps first. Before you put knots on your real project, stitch a little sampler of knots with different strand counts and wrap numbers. Keep it as a reference for future projects.
- Make colonial knots as an alternative. If French knots just will not cooperate, the colonial knot (sometimes called the French colonial knot) is a close cousin made with a figure-eight motion around the needle. Many stitchers find it more reliable, and it looks nearly identical.
Where to Use French Knots in Your Projects
Once you can stitch a reliable knot, you will start seeing places for them everywhere. They are wonderful as snow in winter designs (my Christmas embroidery patterns use them for falling snowflakes), as sheep’s wool in pastoral scenes, as seeds on a strawberry, or scattered like stars across a night sky in a hoop art piece.
My favorite beginner project for practicing is a simple flower meadow: lazy-daisy petals with a single two-wrap French knot in the center of each bloom. By the time you finish the last flower, your knots will be beautifully consistent.
For more on how the Royal School of Needlework teaches this stitch, their French knot entry in the RSN Stitch Bank is a wonderful reference with step-by-step illustrations.
Conclusion
French knots have a reputation for being difficult, but they are really just a stitch that rewards slow hands and steady tension. Wrap, keep it taut, go back down beside the hole, and pull through slowly. That is the whole secret.
Stitch a practice row tonight, even if the first few knots look a bit wonky. By the tenth one, your hands will know what to do, and by the twentieth you will be wondering why you ever found them scary. I would love to hear how your knots turn out, so keep practicing and happy stitching.

1 thought on “How to Do a French Knot Step by Step (Beginner Tutorial)”