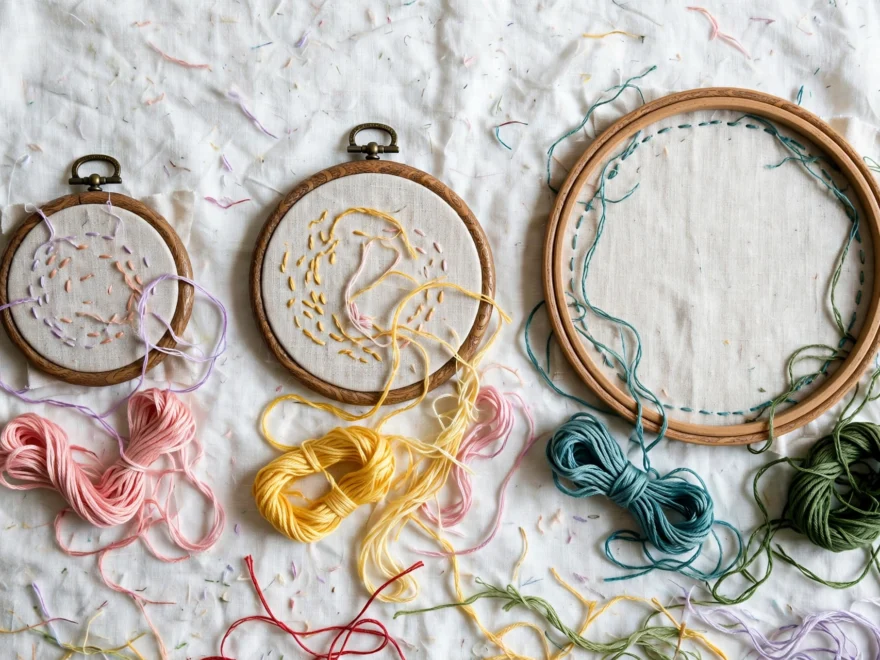
Buy a 6-inch hoop. That is the entire answer, and you can stop reading here if you like. But since you are still here: I own four 6-inch hoops, because I keep leaving projects in them, and that tells you everything about which size actually gets used. Here is the full reasoning on embroidery hoop size for beginners, including the only rule you need and the sizes you can ignore for now.
The only rule: design plus two inches
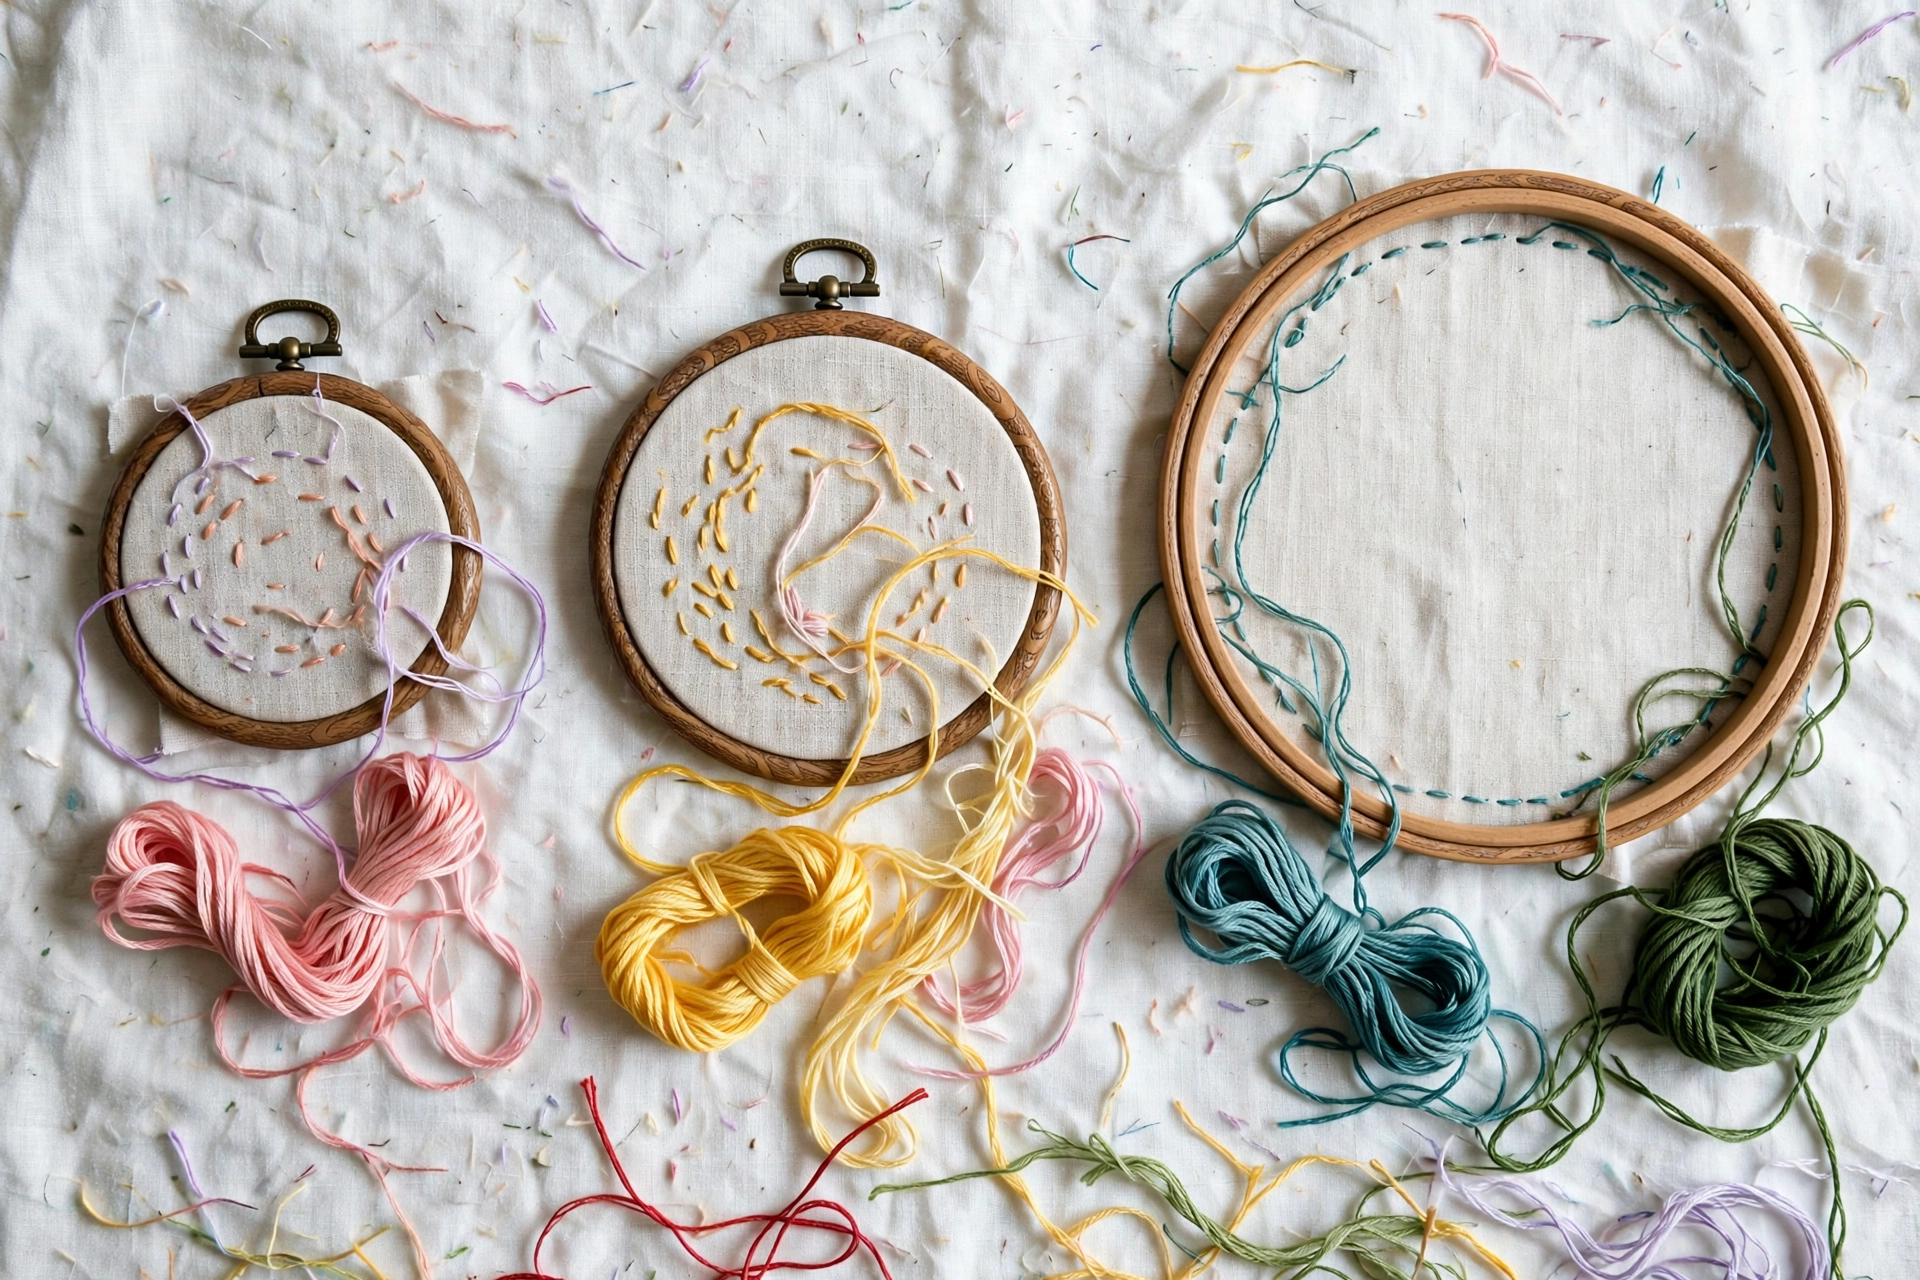
Hoop sizes measure the inner diameter in inches. To pick one, measure your design (or estimate it), add 2 inches to the largest dimension, and round up to the nearest standard size. A 3.5-inch motif needs a 6-inch hoop. A 2-inch flower needs a 4-inch. The extra two inches are not decoration: about an inch of fabric on every side gets gripped by the rings, and without that margin nothing holds.
That rule handles ninety percent of decisions. The rest of this post is the ten percent: what each size feels like, and when to break the rule.
Embroidery hoop size for beginners: what each size is for
3 to 4 inches: ornaments and tiny motifs
Single flowers, initials, patches. Adorable, very portable, and cramped. Re-hooping is constant on anything bigger than a coin. Lovely as a second hoop. Frustrating as your only one. My 4-inch comes out every December for ornaments and hibernates the other eleven months.
5 inches: the quiet overachiever
Handles designs up to about 3 inches across, comfortable to hold for long sessions, light enough for travel. If you mainly stitch small florals, this could honestly be your everyday hoop. The trade-off is that medium designs need re-hooping, which risks misalignment on anything with text.
6 inches: the one to buy
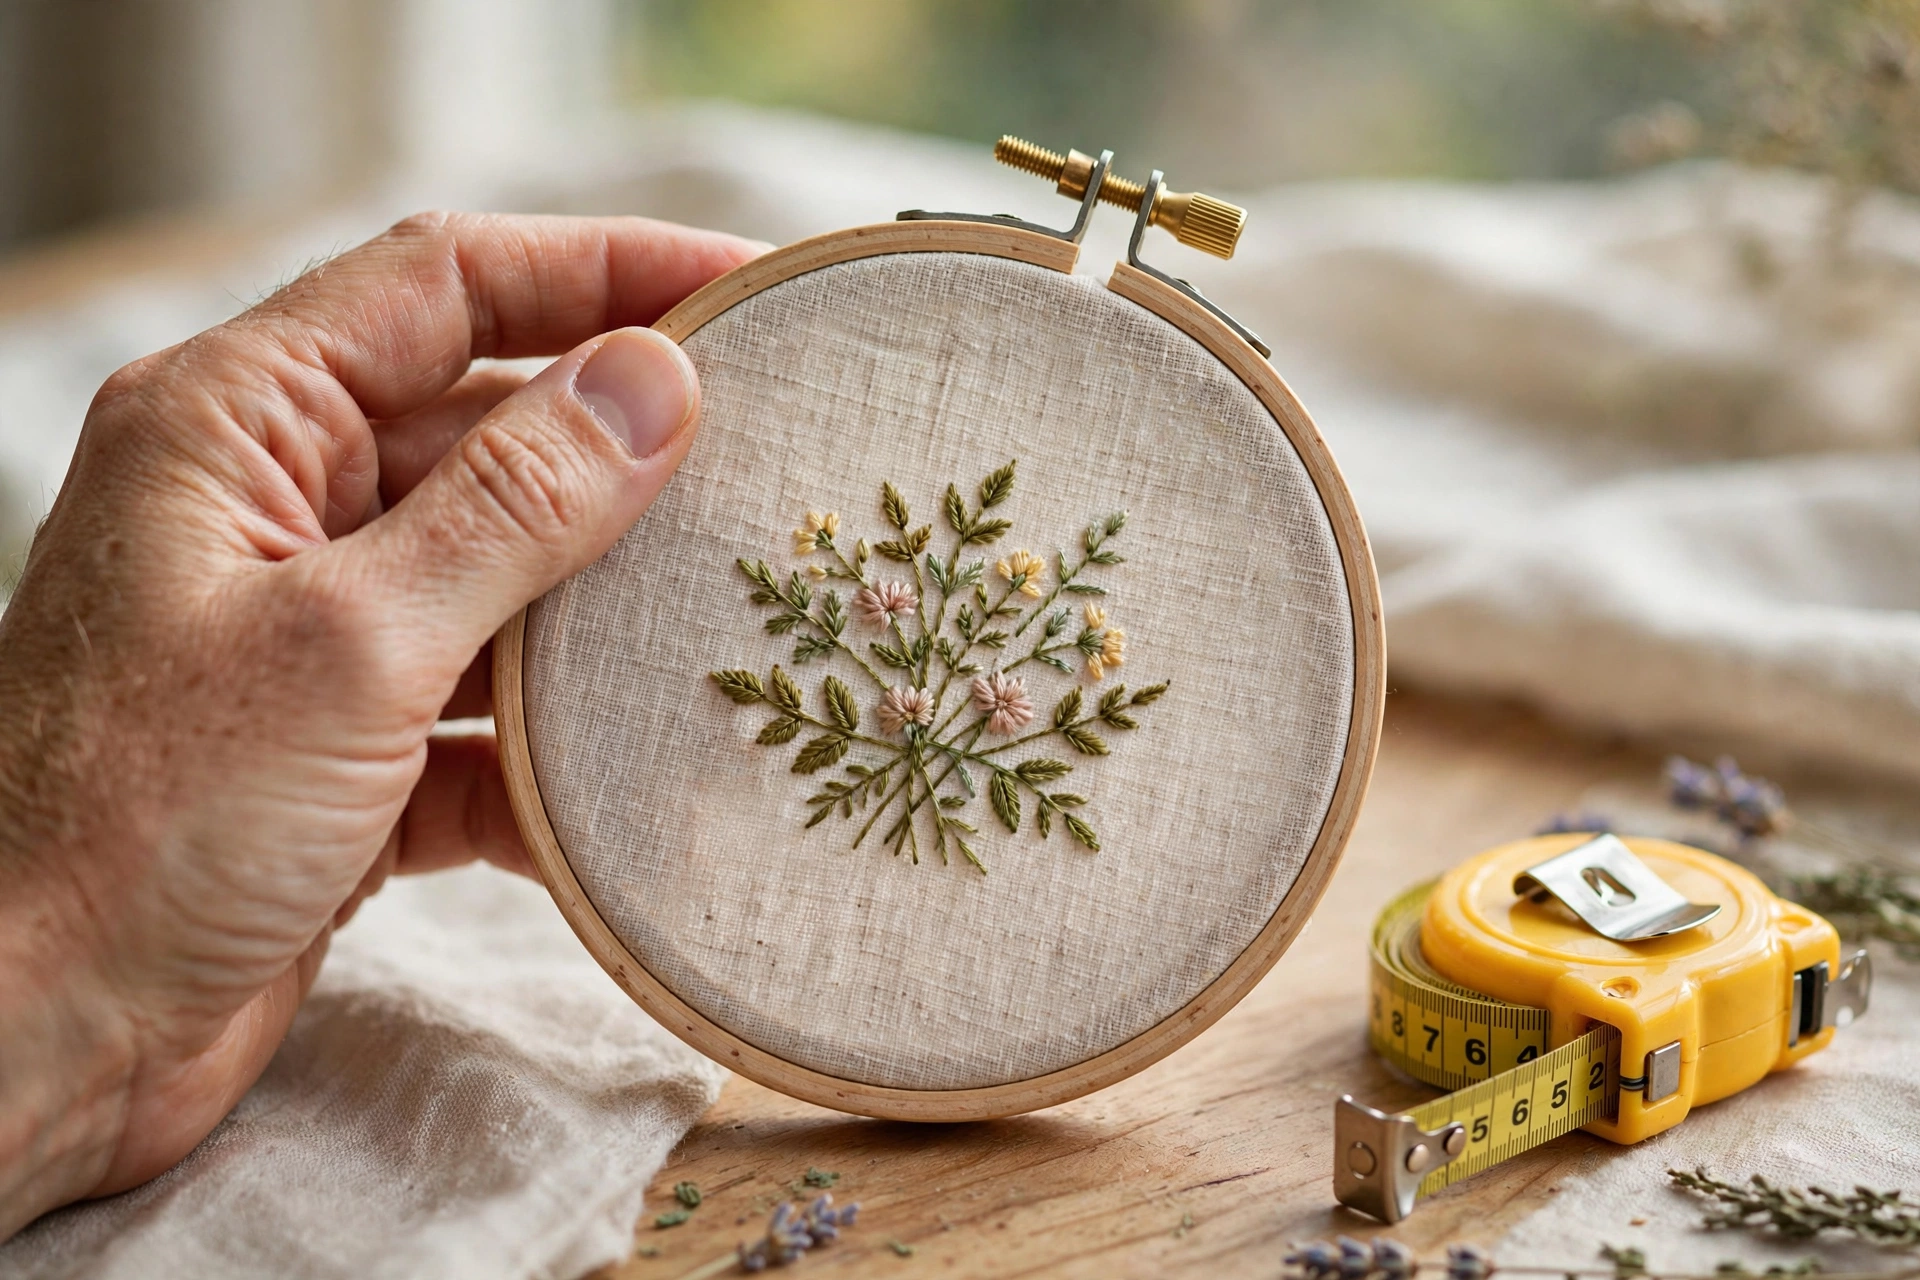
Fits designs up to about 4 inches comfortably, which covers the vast majority of beginner patterns. Large enough that you are not constantly re-hooping, small enough to hold in one hand for hours, and the finished hoop makes a perfect wall display. Mine has stitched dozens of projects and still holds tension like new. If you buy exactly one hoop in your life, make it this size, in decent beechwood with a brass screw, for about five dollars.
7 to 8 inches: medium pieces and wall art
For larger florals, quotes, and designs in the 5 to 6 inch range. These start feeling heavy during long sessions, which is why many stitchers pair them with a stand. The 8-inch is the most popular size for finished hoop art with real wall presence. Buy this as your second hoop, when your designs outgrow the 6-inch, not before.
10 inches and up: skip these for now
Large samplers and statement pieces only. Heavy, hard to hold, genuinely unpleasant without a stand. Beginners should not own one yet. When you eventually need one, buy the stand at the same time. Your wrist will thank you, and so will your tension.
Three ways beginners get this wrong
Buying the size of the design, not the size of the design plus two inches. A 6-inch design does not fit in a 6-inch hoop. It fits in an 8-inch hoop. This is the most common sizing mistake and it is pure arithmetic.
Assuming bigger is more versatile. An oversized hoop on a small design means most of your stitching hand’s travel is over empty fabric, and the weight tires you out. Match the hoop to the project, not to your ambitions.
Over-researching. Hoop size is one of those things beginners agonize over and experienced stitchers barely think about. The stitching matters far more than the ring around it. Make a decision in five minutes and go stitch something.
Buying a five-size set on day one. Those nested hoop bundles look like value, but four of the five sizes will sit in a drawer while you use the 6-inch for everything. Buy the single good 6-inch now. Let real projects tell you which size to add next.
How many hoops does a beginner really need?
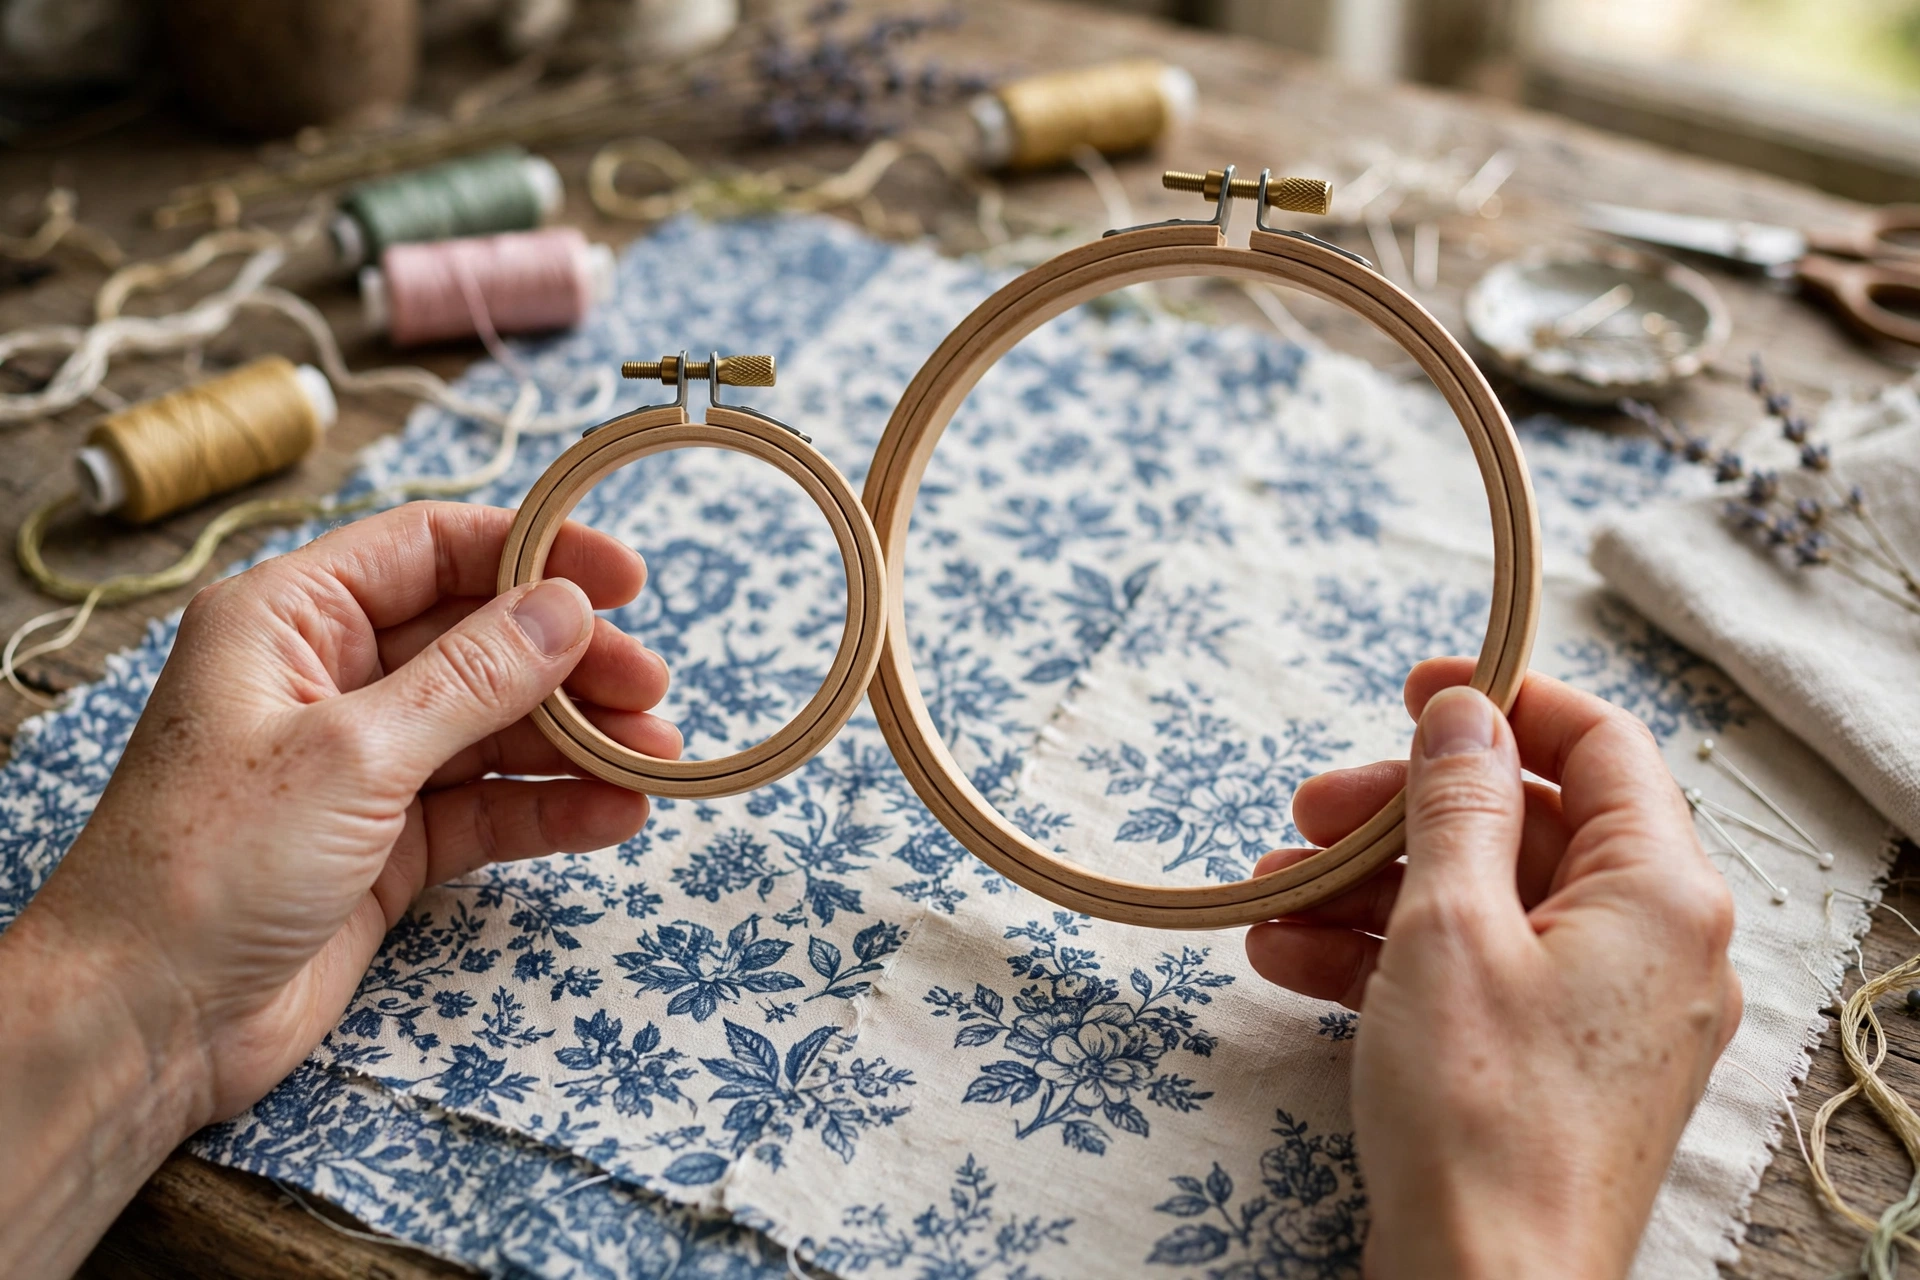
One. A 6-inch hoop. Truly. I stitched my first fifteen projects on a single 6-inch hoop before buying a second. Add a 4-inch when you start making ornaments or tiny gifts, and an 8-inch when your designs get ambitious. Three hoops, 4, 6, and 8 inches, cover essentially everything a hobby stitcher will ever make. Anything beyond that is specialization, not necessity.
Before you buy, hold the hoop if you can. Sizes feel different in the hand than they look on a screen. And once it is home, learn how to keep the fabric tight in it, because the best-sized hoop in the world still goes slack if you seat it badly. If you are weighing a hoop against the pricier options, my frame comparison lays out when each one earns its money.
5 comments