
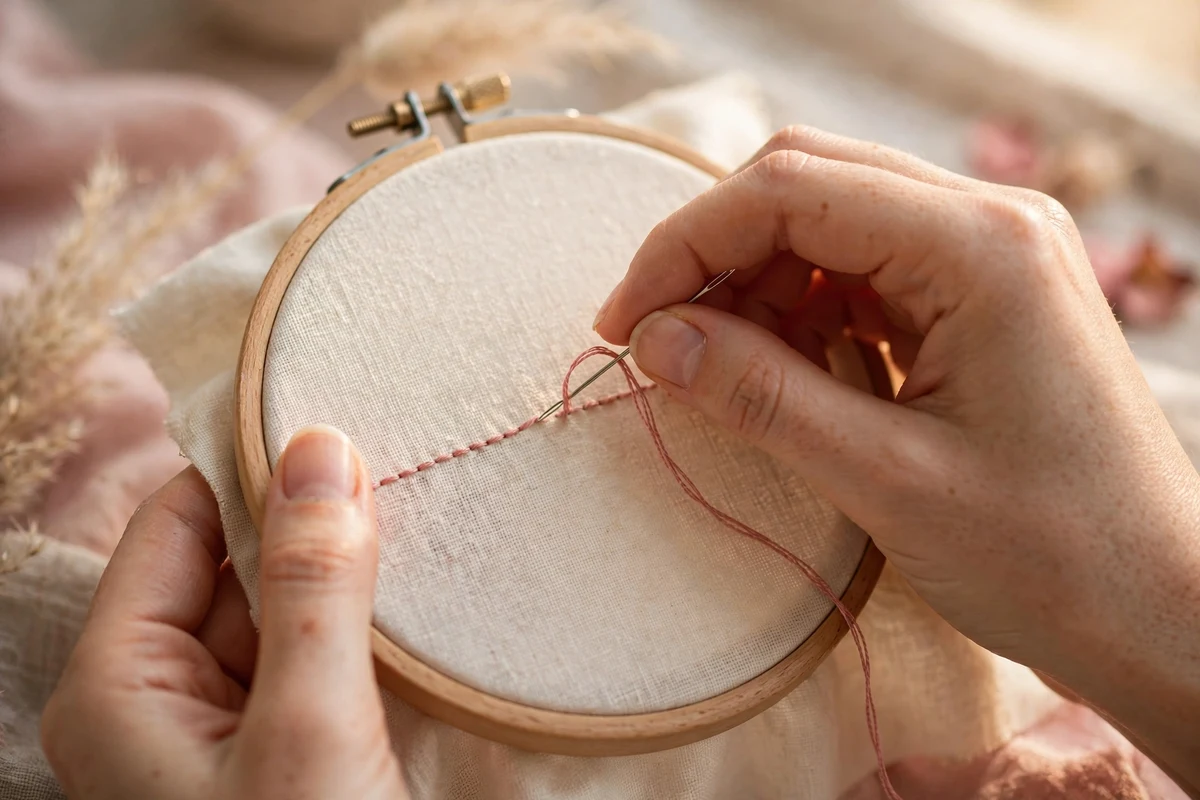
If you learn just one embroidery stitch, make it the backstitch. I say this with complete confidence, because the backstitch is the stitch I reach for most, in almost every project I make. It draws clean outlines, it writes beautiful lettering, it makes stems and vines and borders, and it is strong enough that the finished line looks almost machine-sewn. Best of all, it is simple. If you can make a straight stitch, you can learn the backstitch in about ten minutes.
In this complete beginner guide, I will show you exactly how to do backstitch embroidery step by step, share the tips that make your lines look crisp instead of wobbly, and walk through the mistakes beginners make most often. Grab your hoop and let us stitch.
What Is Backstitch Embroidery?
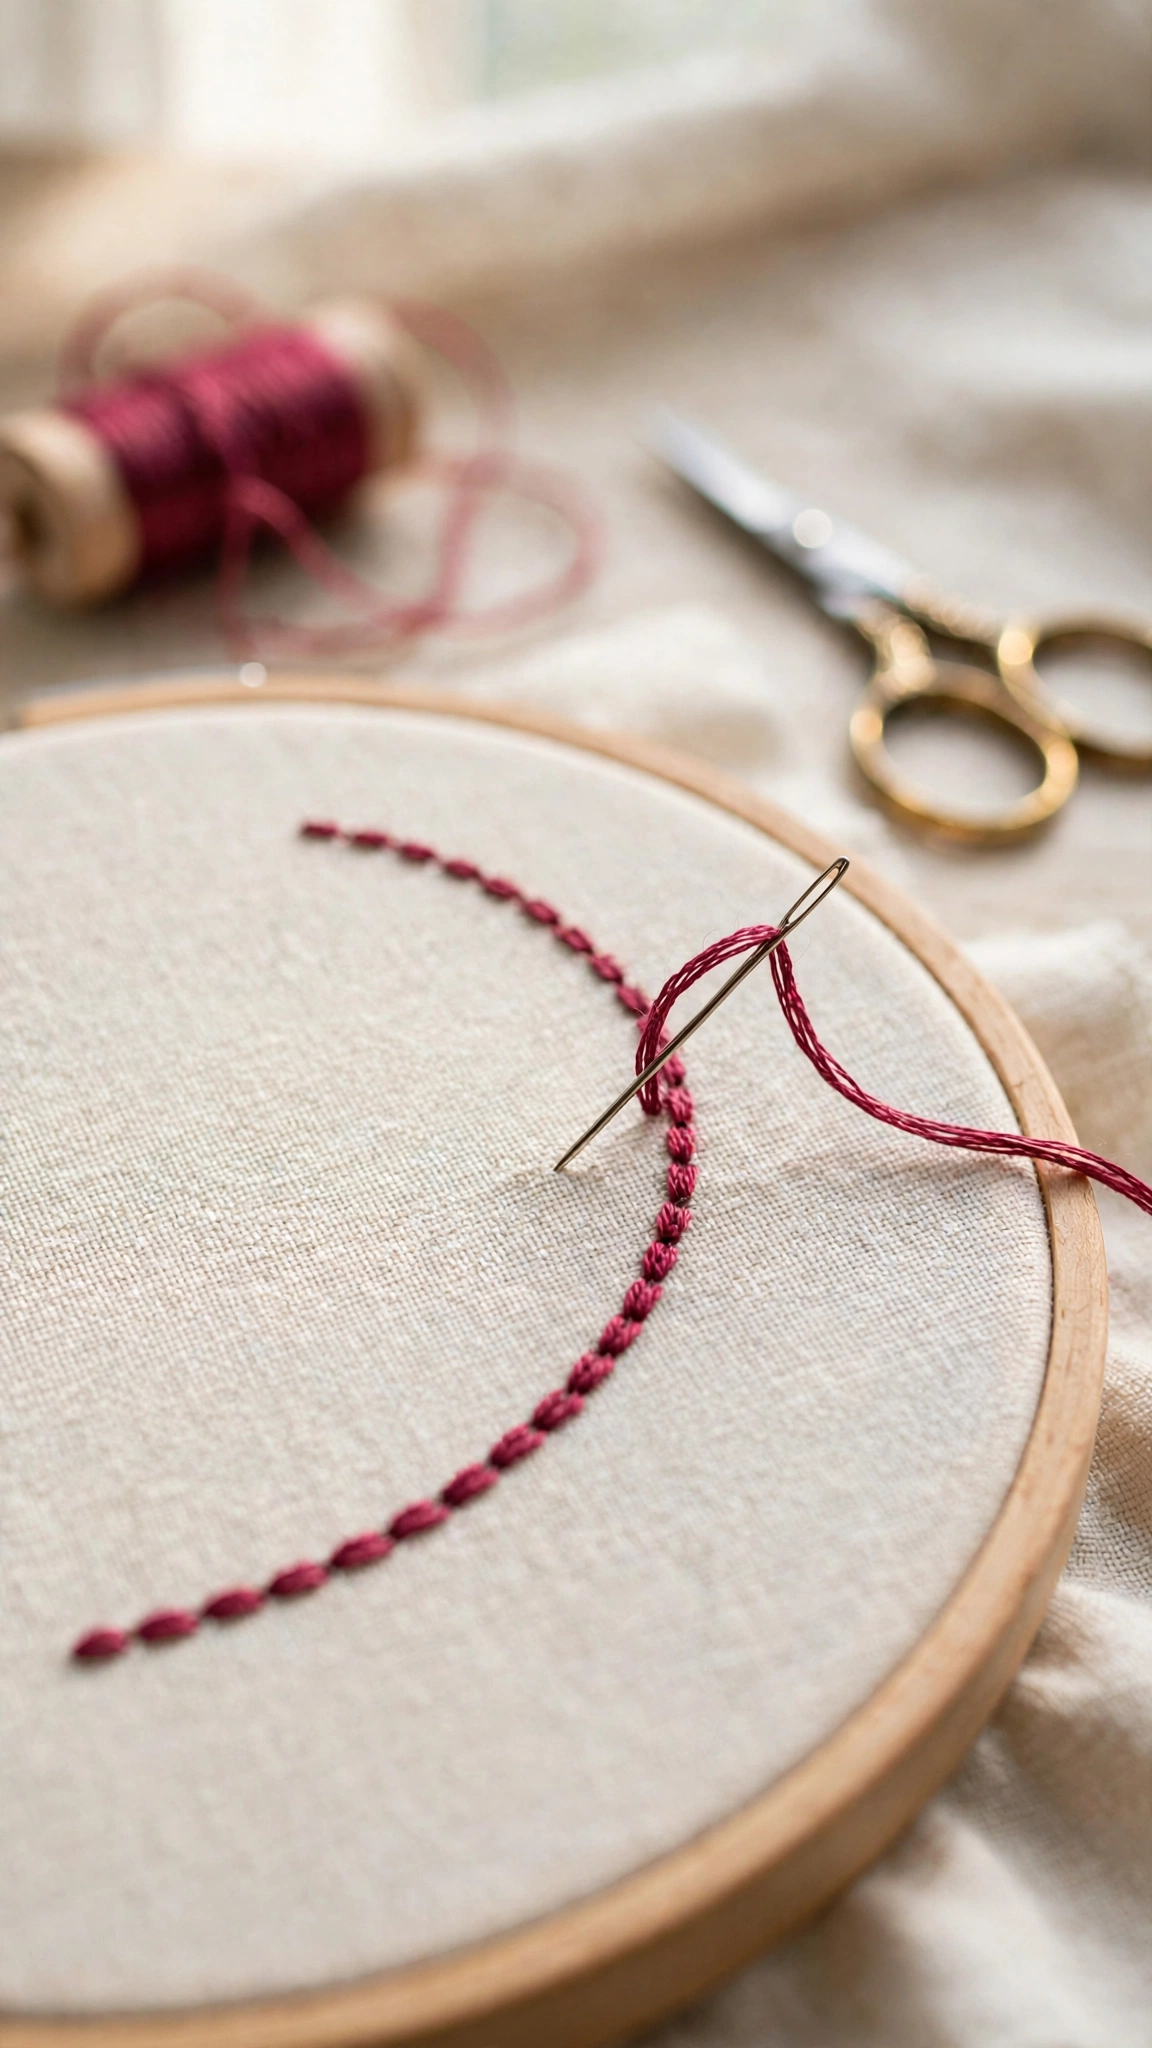
The backstitch is a linear embroidery stitch that creates a solid, continuous line. Each stitch loops back into the end of the previous one, so the individual stitches connect into an unbroken line with no gaps. On the back of your fabric, the stitches overlap, which makes the line extra secure.
It is one of the oldest stitches in the world. You will find it in folk embroidery from every continent, in cross-stitch patterns (where it adds outlines and facial features), in hand sewing (where it makes strong seams), and in modern hoop art, where it traces letters, outlines petals, and draws every fine detail. If embroidery had a Swiss Army knife, the backstitch would be it.
Backstitch vs. running stitch
Beginners sometimes confuse these two. A running stitch goes in and out of the fabric in one direction, leaving visible gaps like a dashed line. The backstitch moves forward, then stitches backward into the previous stitch, closing every gap. Running stitch is faster; backstitch is solid. When you want a clean outline or readable lettering, backstitch wins every time.
What You Need
You need nothing special beyond basic embroidery supplies:
- A 6-inch embroidery hoop with fabric pulled drum-tight
- Stranded cotton floss (2 strands for fine lines, 3 for bolder ones)
- A crewel needle, size 5 to 9
- A water-soluble marker or pencil to draw your guideline
- Small scissors
If you are starting completely from scratch, my beginner embroidery tools checklist has everything laid out with photos.
How to Do Backstitch: Step by Step
Draw a straight line on your fabric first. A guideline is not cheating; even experienced stitchers mark their lines. Keep each stitch about 1/8 inch long. Consistency matters more than length.
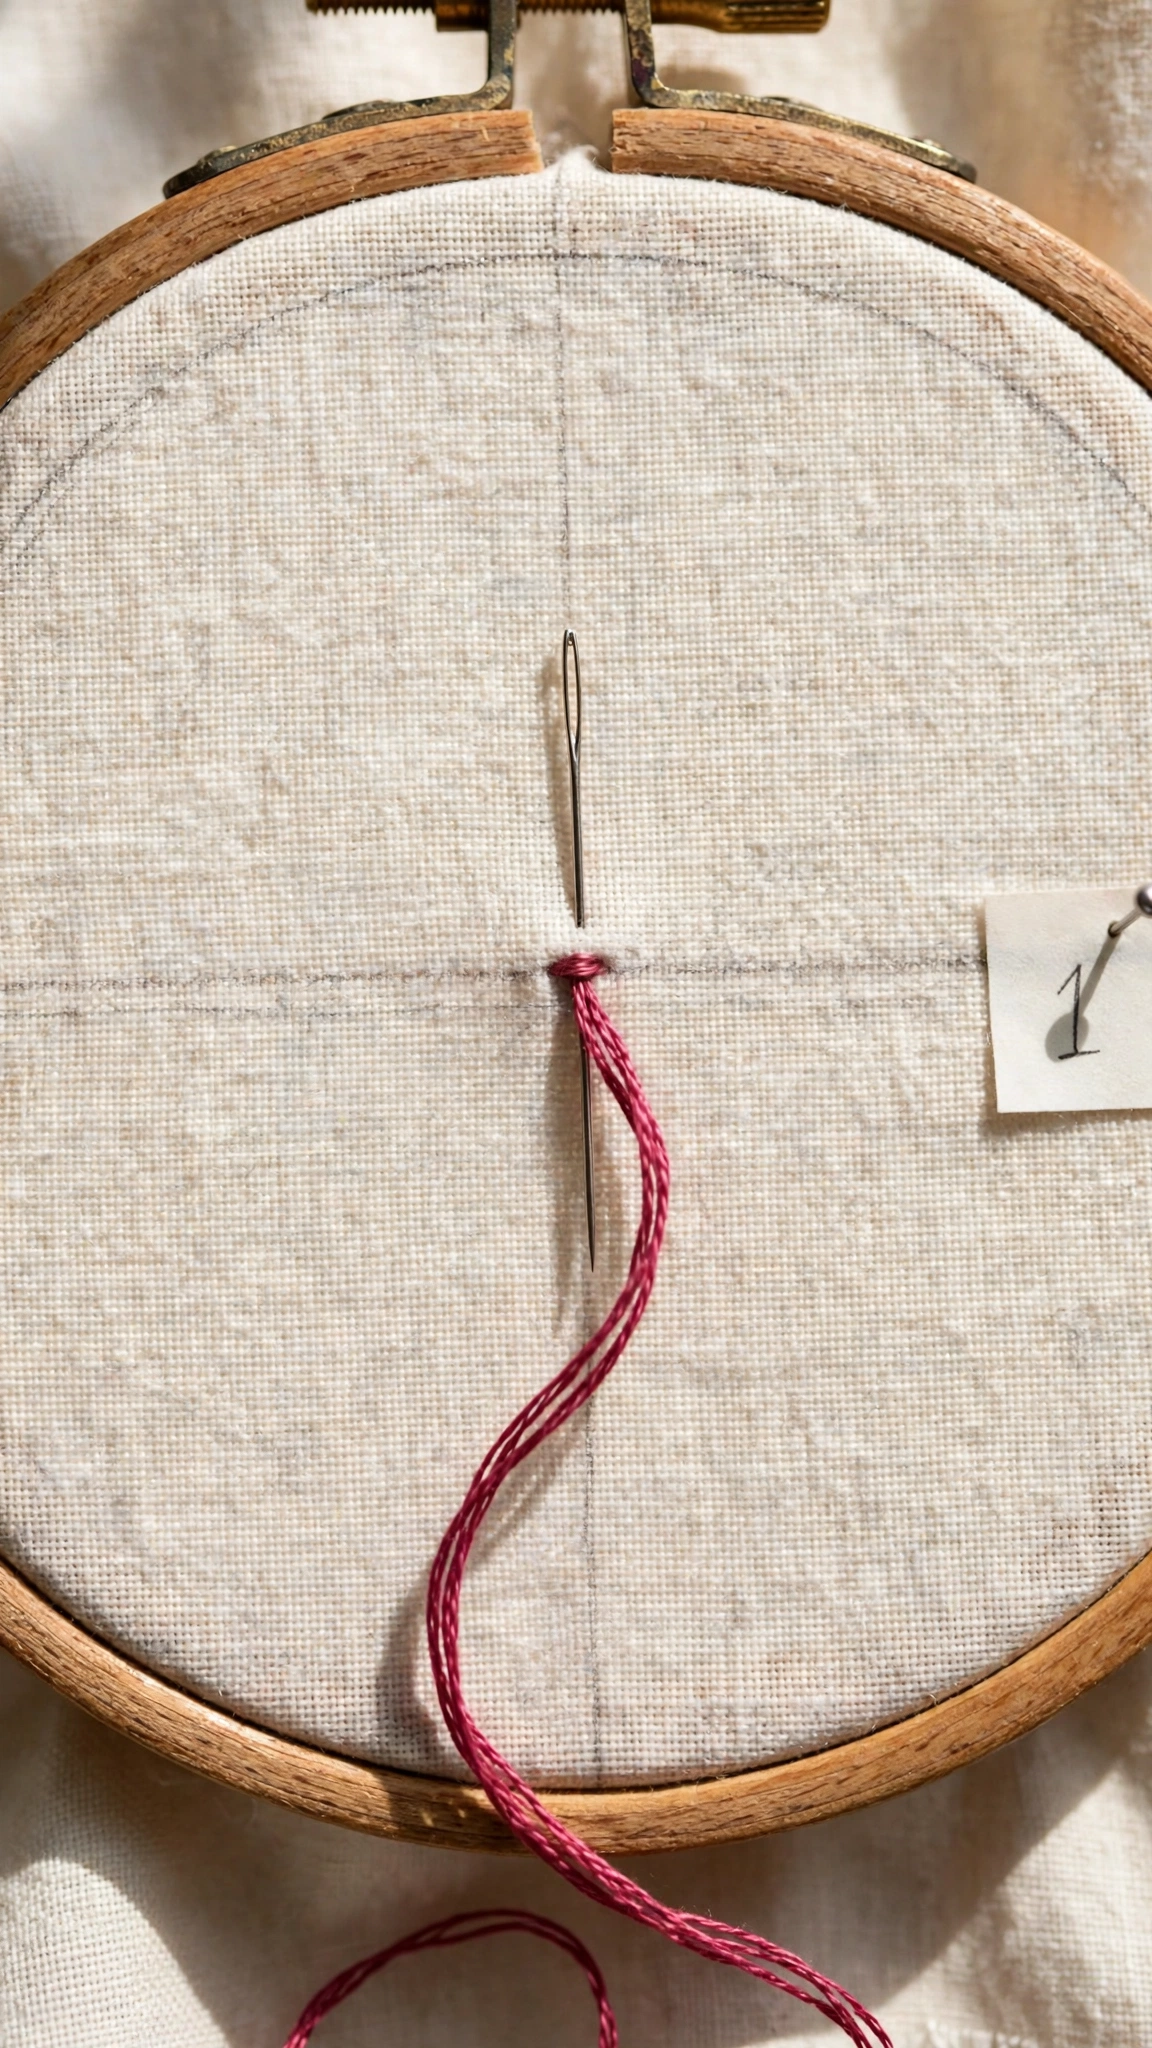
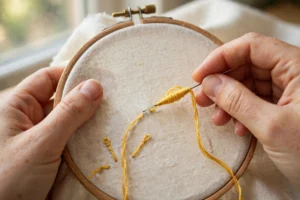
Step 1: Bring the needle up
Start at the right end of your line if you are right-handed (left end if you are left-handed), about one stitch-length in from the very start. Push your threaded needle up from the back of the fabric and pull the thread all the way through.
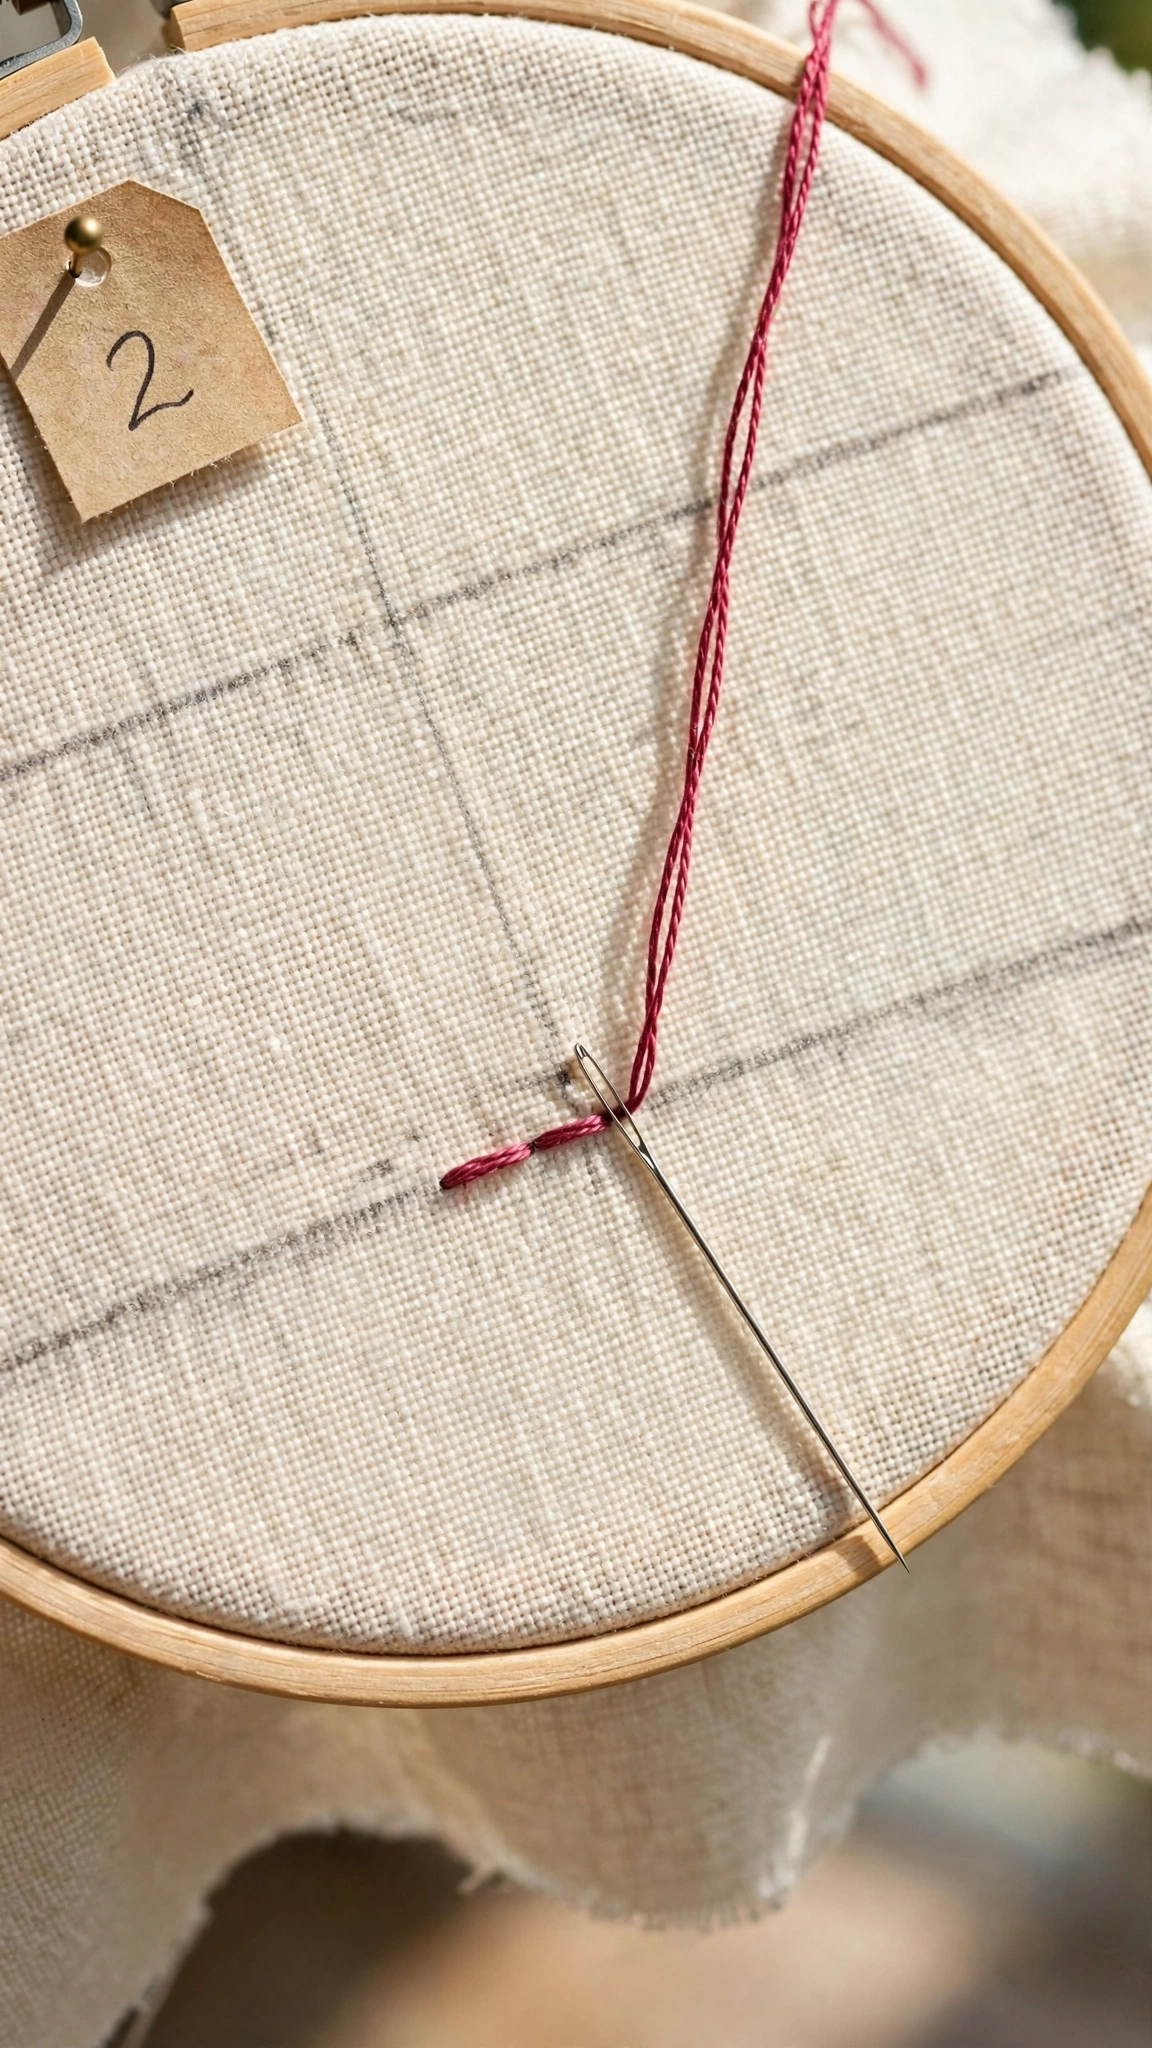
Step 2: Make your first stitch
Insert the needle back down through the fabric one stitch-length behind where you came up, right at the start of your line. Pull the thread through gently. You now have one small straight stitch on the front of the fabric.
Step 3: Come up ahead, then go back
Bring the needle up through the fabric one stitch-length ahead of your first stitch. Now insert the needle back down into the exact hole where your first stitch ended. This is the “back” in backstitch: you travel forward, then stitch backward to connect.
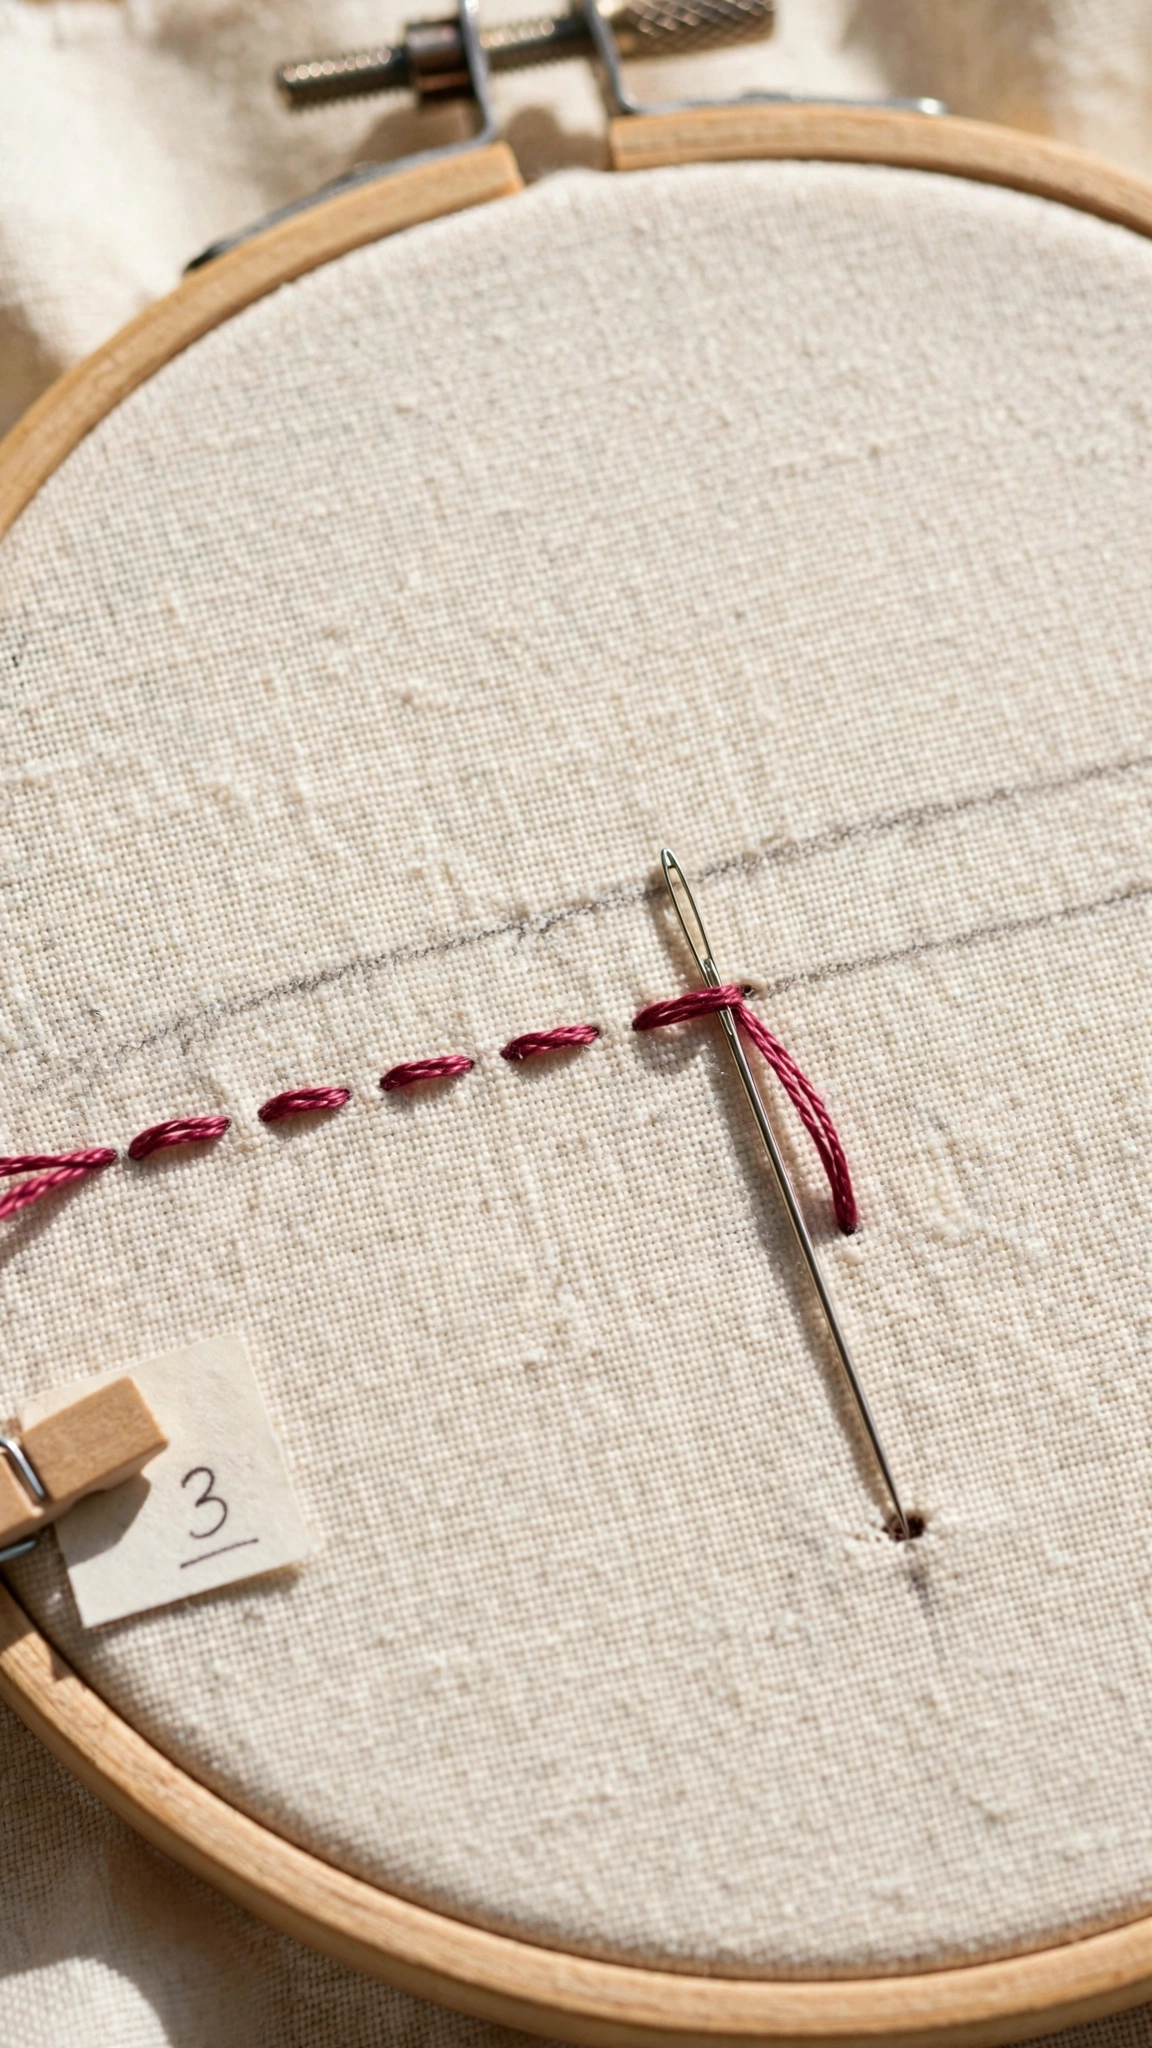
Step 4: Repeat to the end of the line
Keep going: up one stitch-length ahead, down into the end of the previous stitch. Each new stitch should share its starting hole with the end of the last one. When the stitches share holes perfectly, the line looks like one continuous thread.
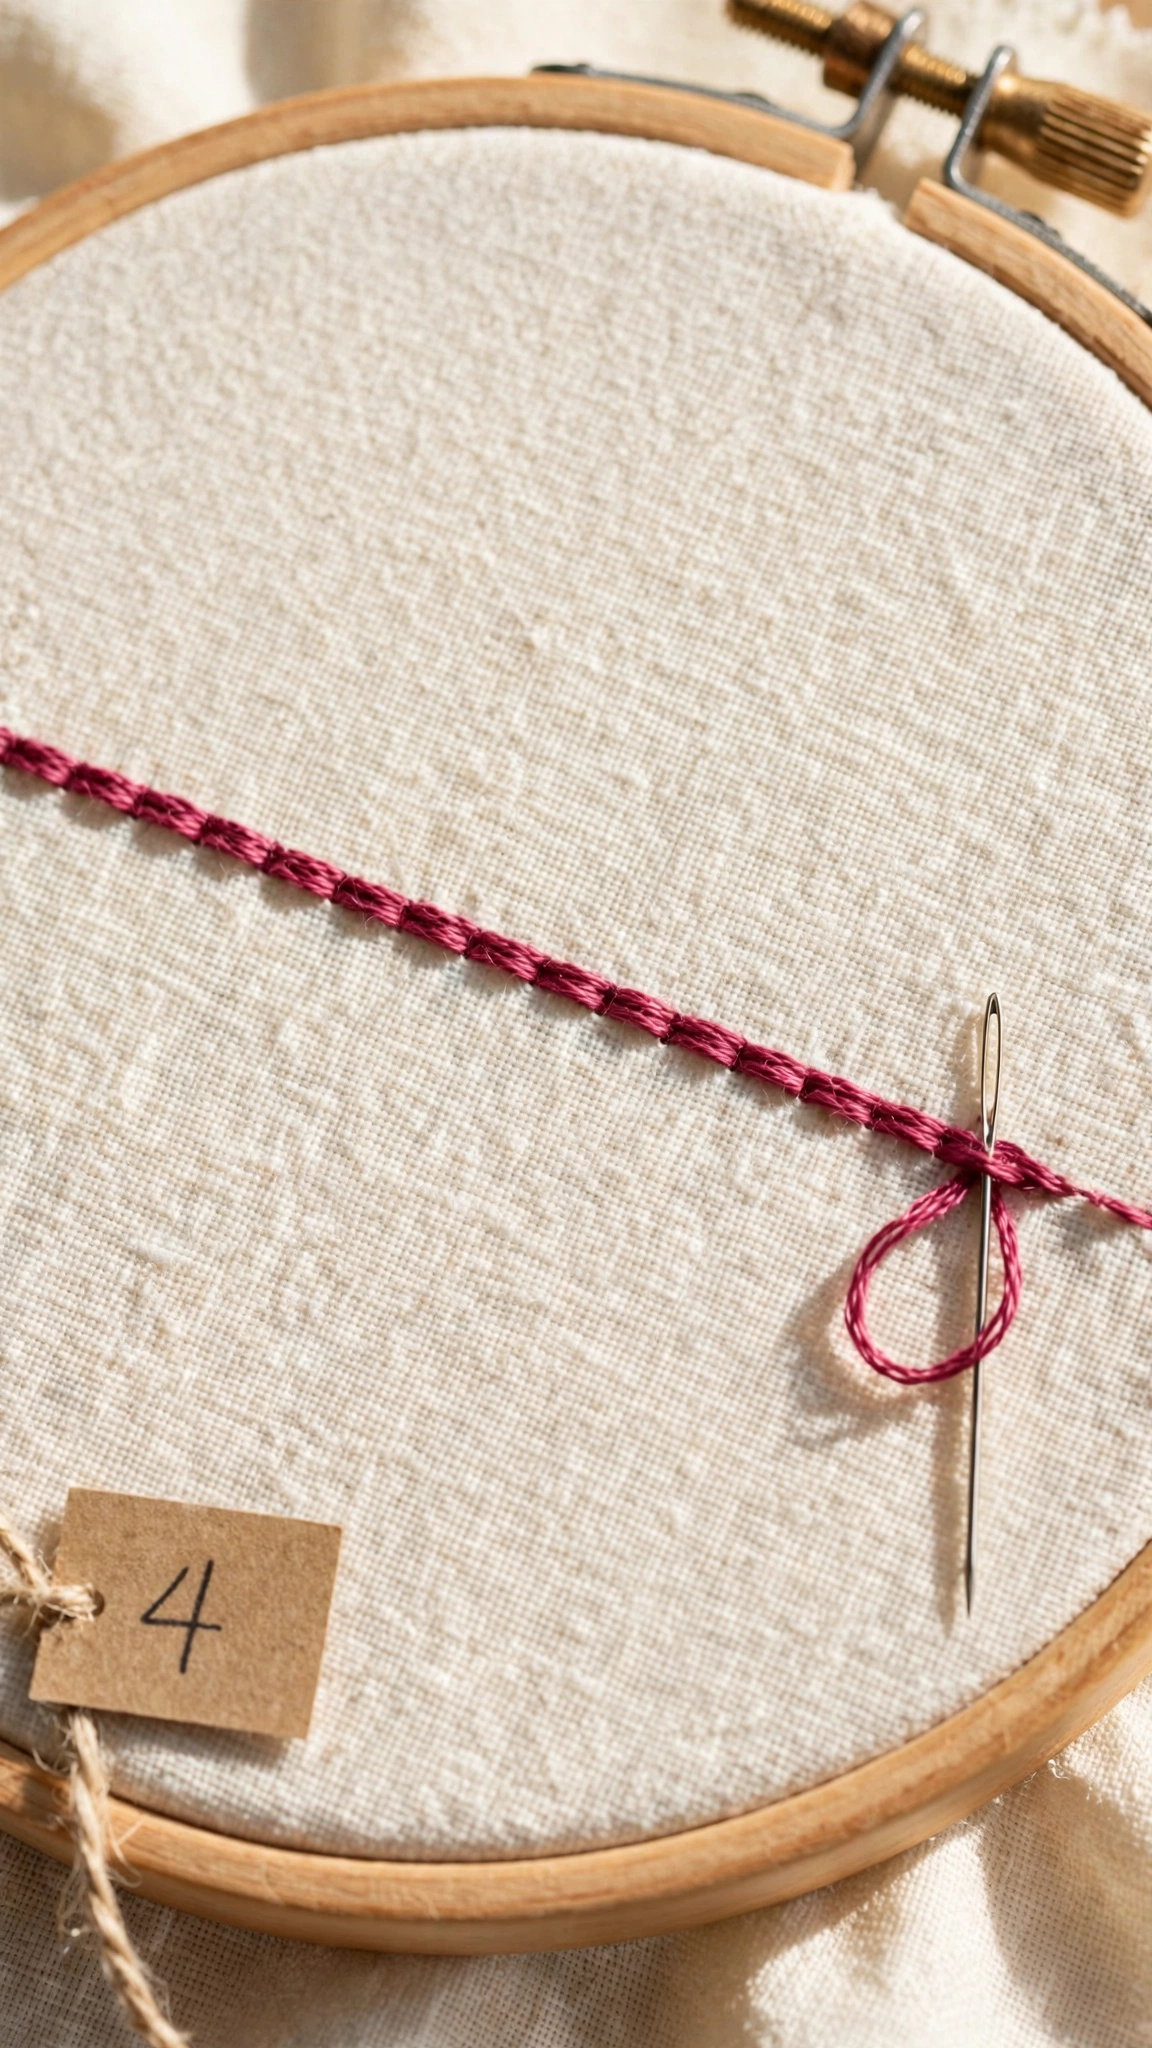
That is the whole stitch. Up ahead, back into the last hole, repeat. Your hands will memorize the rhythm quickly, and within a few rows you will not need to think about it at all.
Tips for Beautiful, Even Backstitches
Keep your stitch length consistent
Uneven stitch lengths are the biggest giveaway of beginner work. Use your guideline marks, or lightly dot your line at regular intervals with your fabric marker, and aim for each stitch to span the same distance. Short stitches (about 1/8 inch) look neater than long ones, especially on curves.
Share the holes
Every down-stitch should land in the exact hole where the previous stitch ended. If you see little gaps of fabric peeking through between stitches, you are not landing in the same hole. Slow down and aim carefully.
Do not pull too tight
Backstitch pulled too tight will pucker your fabric and make the line look thin and pinched. Lay each stitch down with gentle, even tension. The thread should rest on the fabric, not dig into it.
Shorten your stitches on curves
A long straight stitch cannot follow a tight curve gracefully. When your line bends, make your stitches shorter so they hug the curve. For very tight curves, tiny stitches, almost like seed stitches placed end to end, give the smoothest result.
Use two strands for fine lines, three for bold
Two strands of floss give delicate lettering and fine details. Three strands make outlines pop. Four or more gets chunky and can look messy in backstitch, so save thick coverage for other stitches.
Common Backstitch Mistakes and Fixes
Gaps between stitches
If your line looks dashed instead of solid, your down-stitch is landing beside the previous hole instead of in it. Fix it by slowing down and watching where the needle enters. You can also run your needle back through on the underside to check.
Wobbly or wandering lines
A wandering line usually means no guideline, or stitches of inconsistent length. Always mark your line first, and dot regular intervals along it. Precision in preparation means freedom in stitching.
Twisted, lumpy thread
If your thread twists as you stitch, let the needle dangle from the fabric every few stitches so the thread can untwist itself. This tiny habit keeps your stitches smooth. Stitching with thread no longer than 18 inches also prevents most twisting.
Puckered fabric
Tension again. Loosen your pull, and make sure your fabric was drum-tight in the hoop before you started. If puckering persists, my guide to fixing embroidery puckering covers every cause and cure.
Wonderful Ways to Use the Backstitch
Once the stitch feels natural, here is where it shines:
- Outlines: Trace around petals, leaves, and shapes to make them crisp. Nearly every piece in my DIY hoop art tutorial uses backstitch for its outlines.
- Lettering and monograms: Backstitch makes the clearest hand-embroidered letters. Write a name, a date, or a short quote in your own handwriting and stitch over it.
- Stems and vines: A slightly wavy backstitch line is the classic flower stem.
- Borders: Straight or scalloped backstitch borders frame a design beautifully.
- Details in cross-stitch: Cross-stitch patterns often call for backstitch to add outlines, faces, and fine details on top of the crosses.
- Clothing embroidery: Small backstitched motifs and words look wonderful on pockets and collars. See my guide to embroidering on a t-shirt before you stitch on knits.
Variations Worth Trying Next
Whipped backstitch
Stitch a normal backstitch line, then weave a second thread under each stitch without piercing the fabric. It creates a smooth, rope-like line with lovely dimension.
Threaded backstitch
Similar to whipped, but you weave the second thread in and out alternately for a braided effect. Gorgeous for borders.
Split stitch
A cousin of the backstitch where the needle comes up through the middle of the previous stitch, splitting its fibers. It makes a slightly textured, chain-like line that is wonderful for curved stems.
Practice Project: A Backstitch Sampler
Ready to put it all together? Draw five lines on a piece of hooped fabric: one straight, one gently curved, one wavy, one zigzag, and one circle. Backstitch each one, shortening your stitches on the curves. Then write your initial in script and backstitch over it. In twenty minutes you will have a sampler that proves you own this stitch, and you will have a reference for how it behaves on every kind of line.
When you are ready for a real design, my easy embroidery ideas for beginners includes several projects that are mostly backstitch, perfect for your second or third piece.
Learn More
The backstitch has been used for centuries, and there is always more to discover. DMC publishes free stitch guides and pattern libraries, and the Embroiderers’ Guild of America offers classes and resources for stitchers who want to go deeper.
Backstitch FAQs
How long should backstitches be?
For beginners, aim for about 1/8 inch per stitch. Shorter stitches look neater and follow curves better. As your control improves, you can lengthen them on straight lines, but most experienced stitchers still keep backstitches short for the cleanest finish.
How many strands of floss should I use?
Two strands give fine, delicate lines for lettering and details. Three strands make bolder outlines. I suggest starting with two strands while you learn, because thinner thread is more forgiving and your stitches will sit flatter.
Can I backstitch without a hoop?
You can, but I do not recommend it for beginners. The hoop keeps your fabric taut so your stitches stay even and your fabric does not pucker. Once the stitch feels automatic, try a small motif in hand if you like, but the hoop is your best friend while learning.
Why does the back of my work look messy?
A little mess on the back is normal and nothing to worry about. That said, starting and ending your threads neatly (knots tucked under, tails woven through existing stitches) keeps the back tidy enough that framed pieces look professional from any angle.
You Did It
The backstitch is one of those skills that pays you back forever. Every letter you monogram, every petal you outline, every border you frame will use it. Practice those even little stitches, be patient with the curves, and trust that your tenth row will look noticeably better than your first. That is the quiet magic of embroidery: progress you can hold in your hands.
Happy stitching,
Emily

2 thoughts on “Backstitch Embroidery: The Complete Beginner Guide (With Steps)”