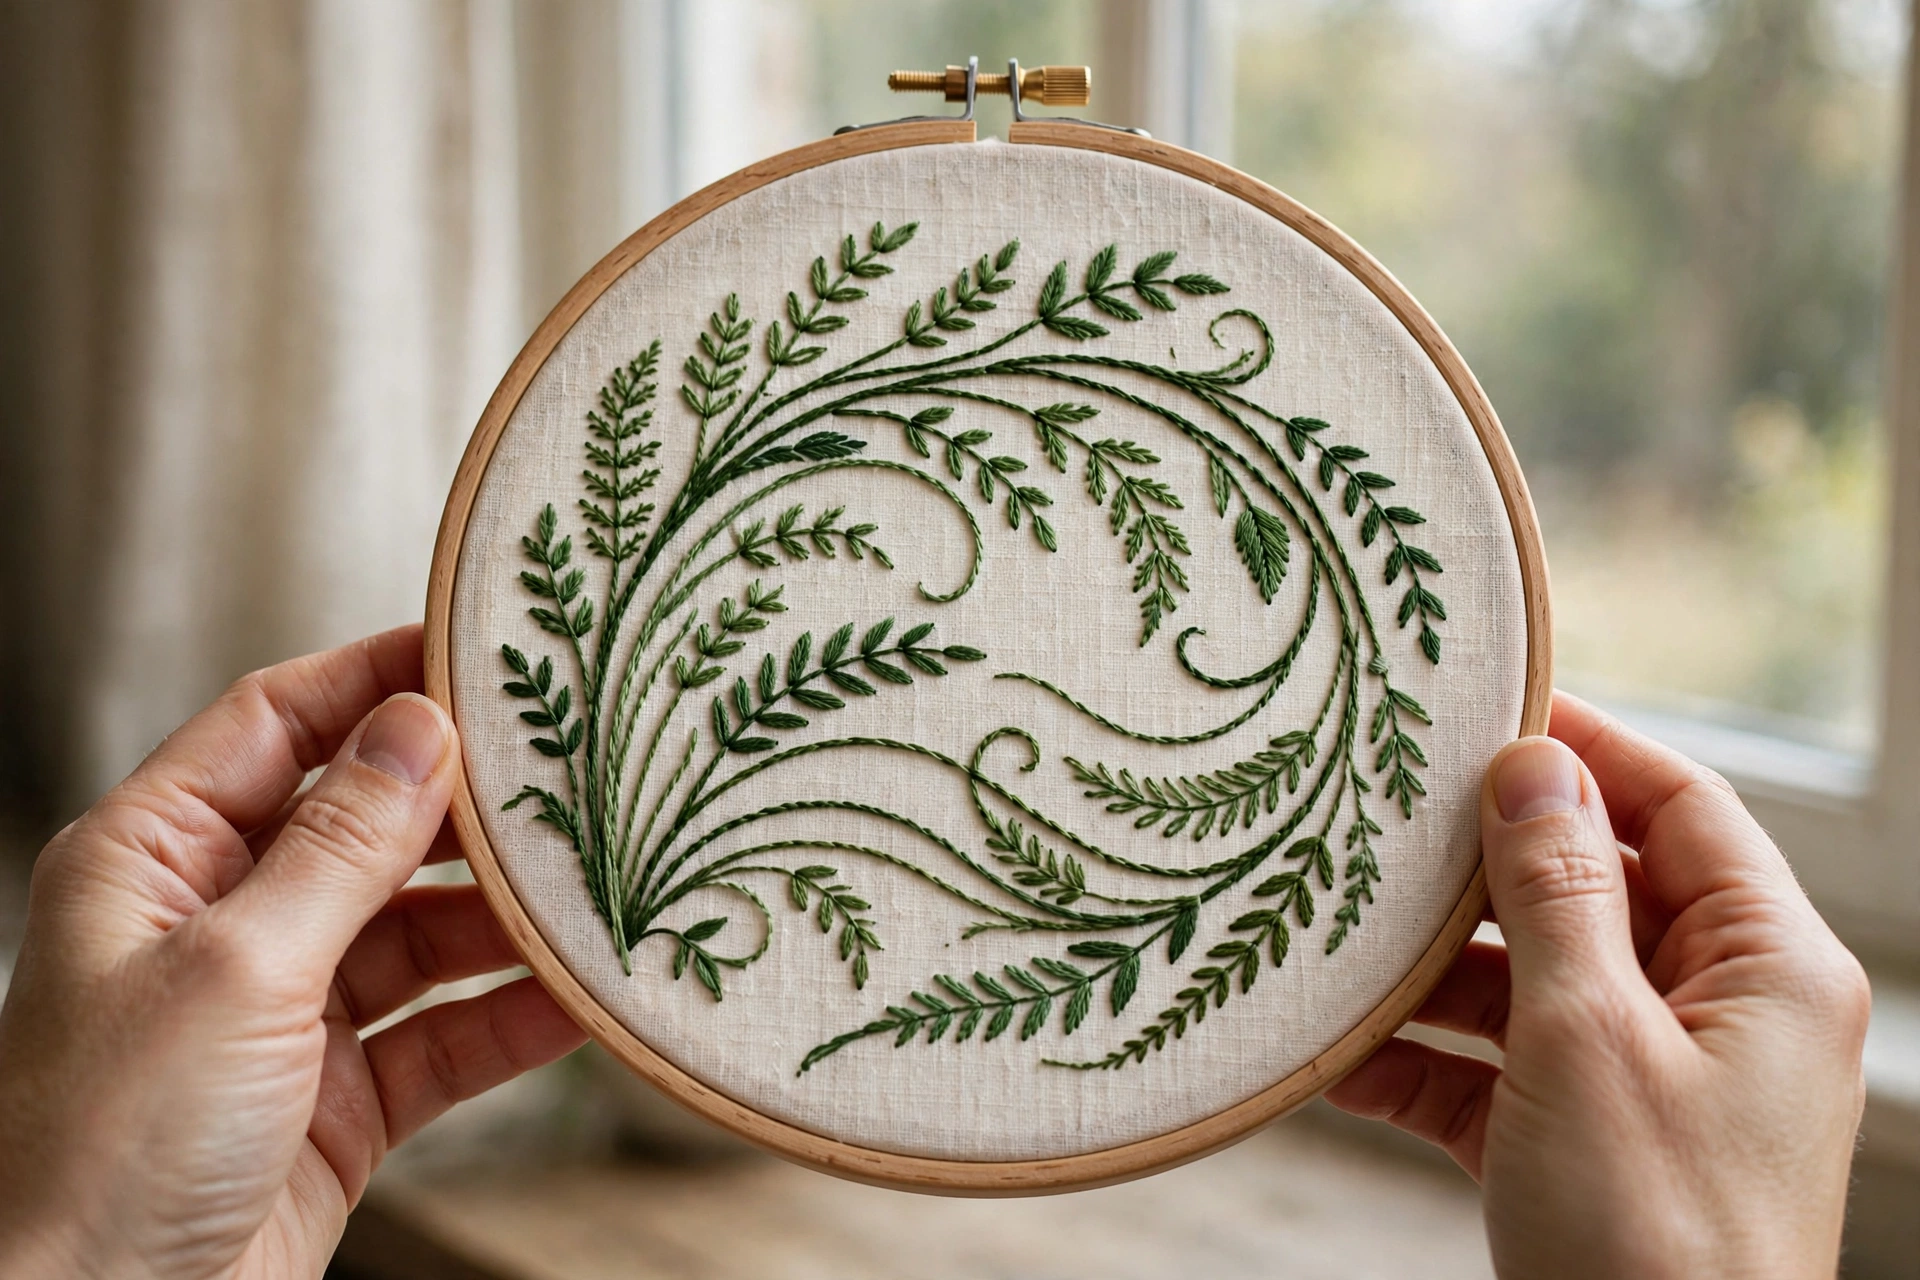
My first embroidered leaf looked like a crumpled napkin. I was stitching a birthday hoop for my sister, a simple sprig with four curved leaves, and every stem came out wavy and puckered, like the fabric was trying to escape the thread. I frogged the whole thing twice before I learned the truth: if you want to stitch smooth curves that lie flat and flow like a drawn line, the fix is almost never steadier hands. It is tension, stitch length, and hooping, in that order.
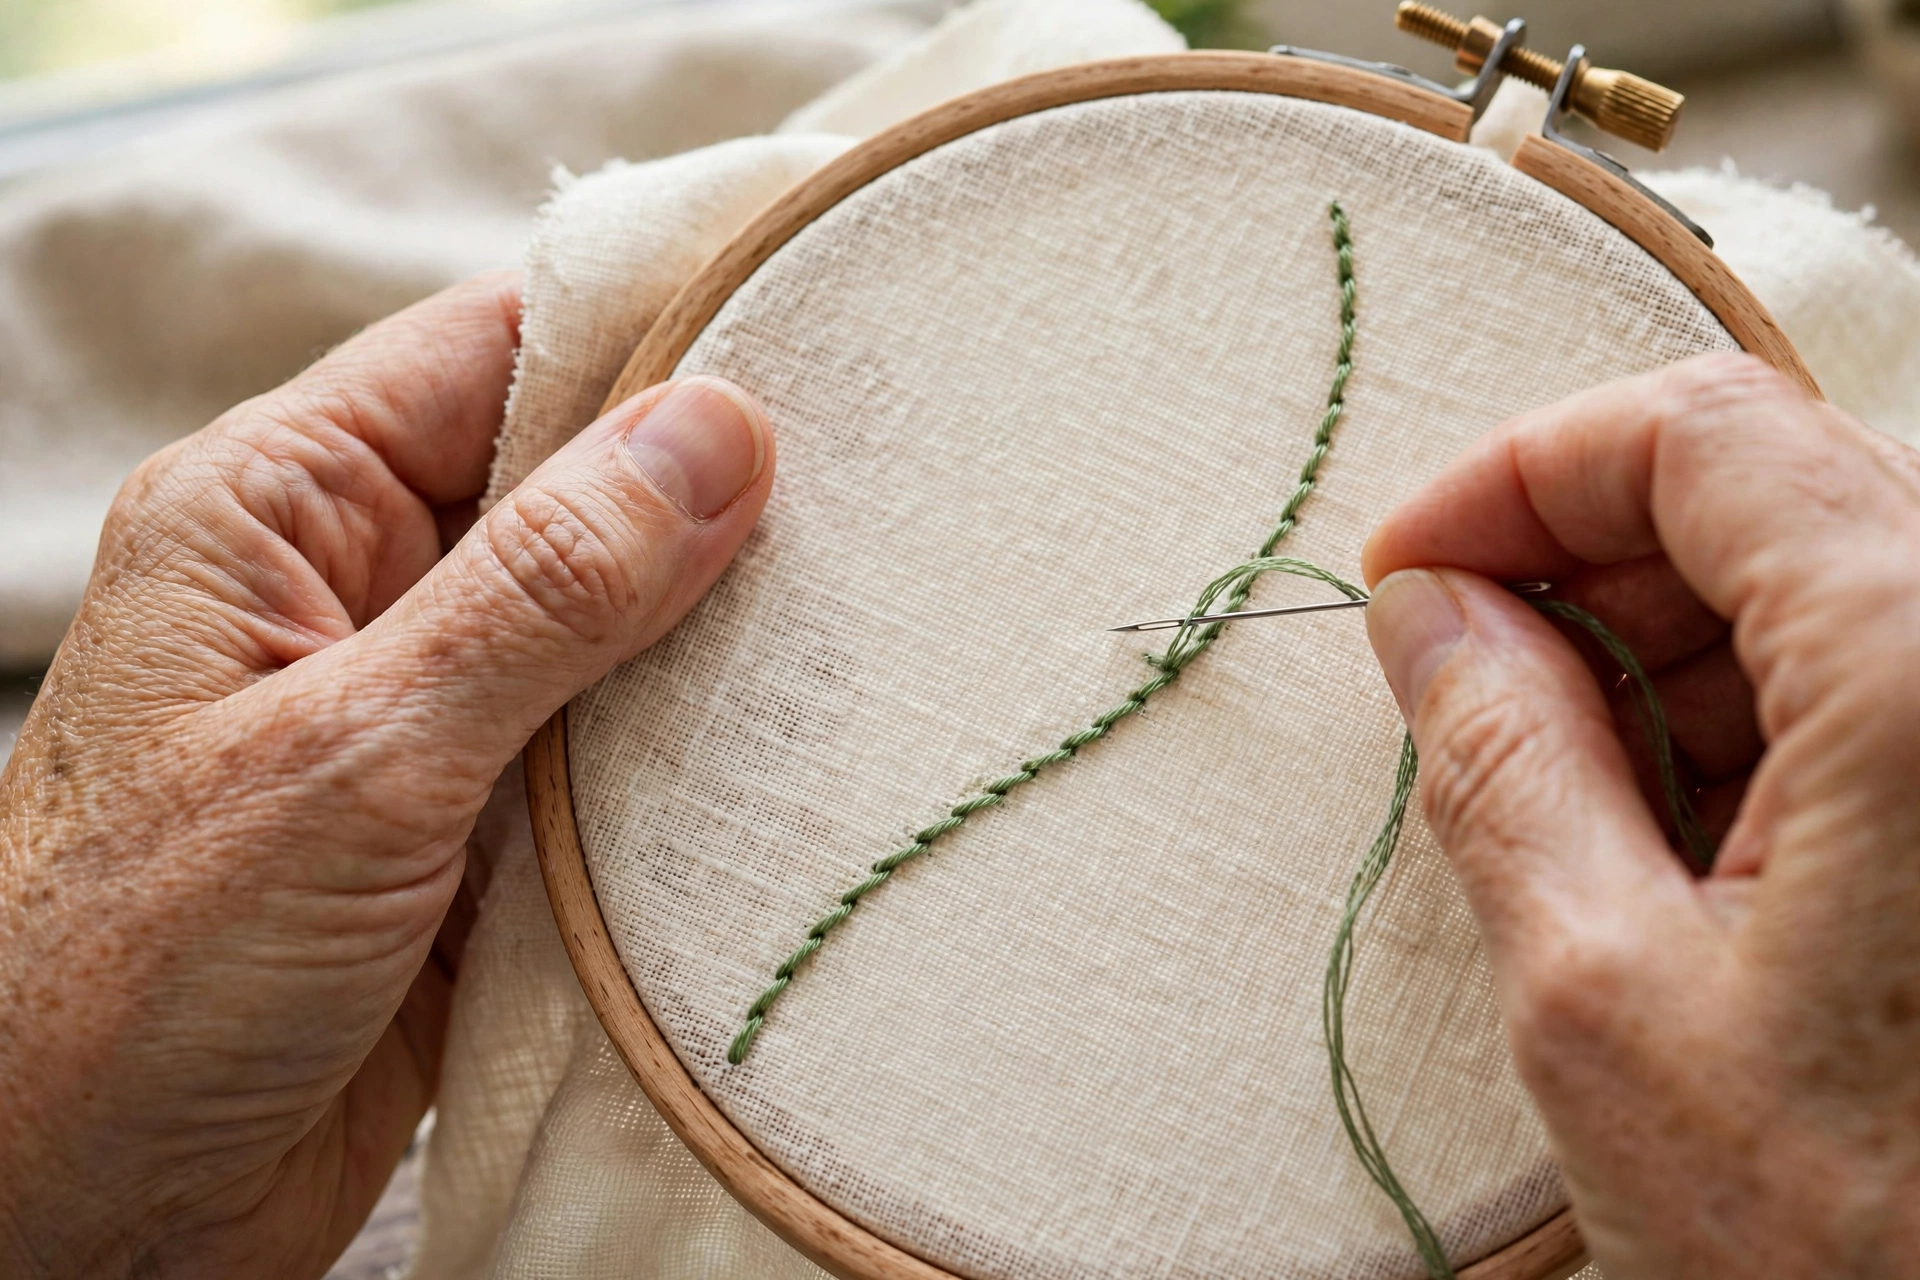
Curves pucker for one reason. A straight line distributes tension evenly along the thread path, but a curve concentrates it on the inside of the bend. Every stitch pulls the fabric a fraction tighter on the inner edge, and those fractions add up until the fabric gathers like a curtain. Knowing this changes everything, because it means you can stitch smooth curves by managing tension deliberately instead of hoping for the best.
How to stitch smooth curves: the three fixes
Do all three and your curves will lie flat. Skip one and you will get away with it on gentle arcs but not on tight curls. Skip two and you are back to crumpled napkins.
Fix 1: shorten your stitches on the curve. This is the big one. On a straight run I use stem stitches about a quarter inch long. On a curve I drop to an eighth of an inch, and on a tight curl I go down to a sixteenth. Short stitches turn the curve into many tiny straight segments, and tiny segments do not pucker. It takes longer. A four-inch curve at eighth-inch stitches is 32 stitches, roughly ten minutes of stitching. That is the price of smooth, and it is worth paying.
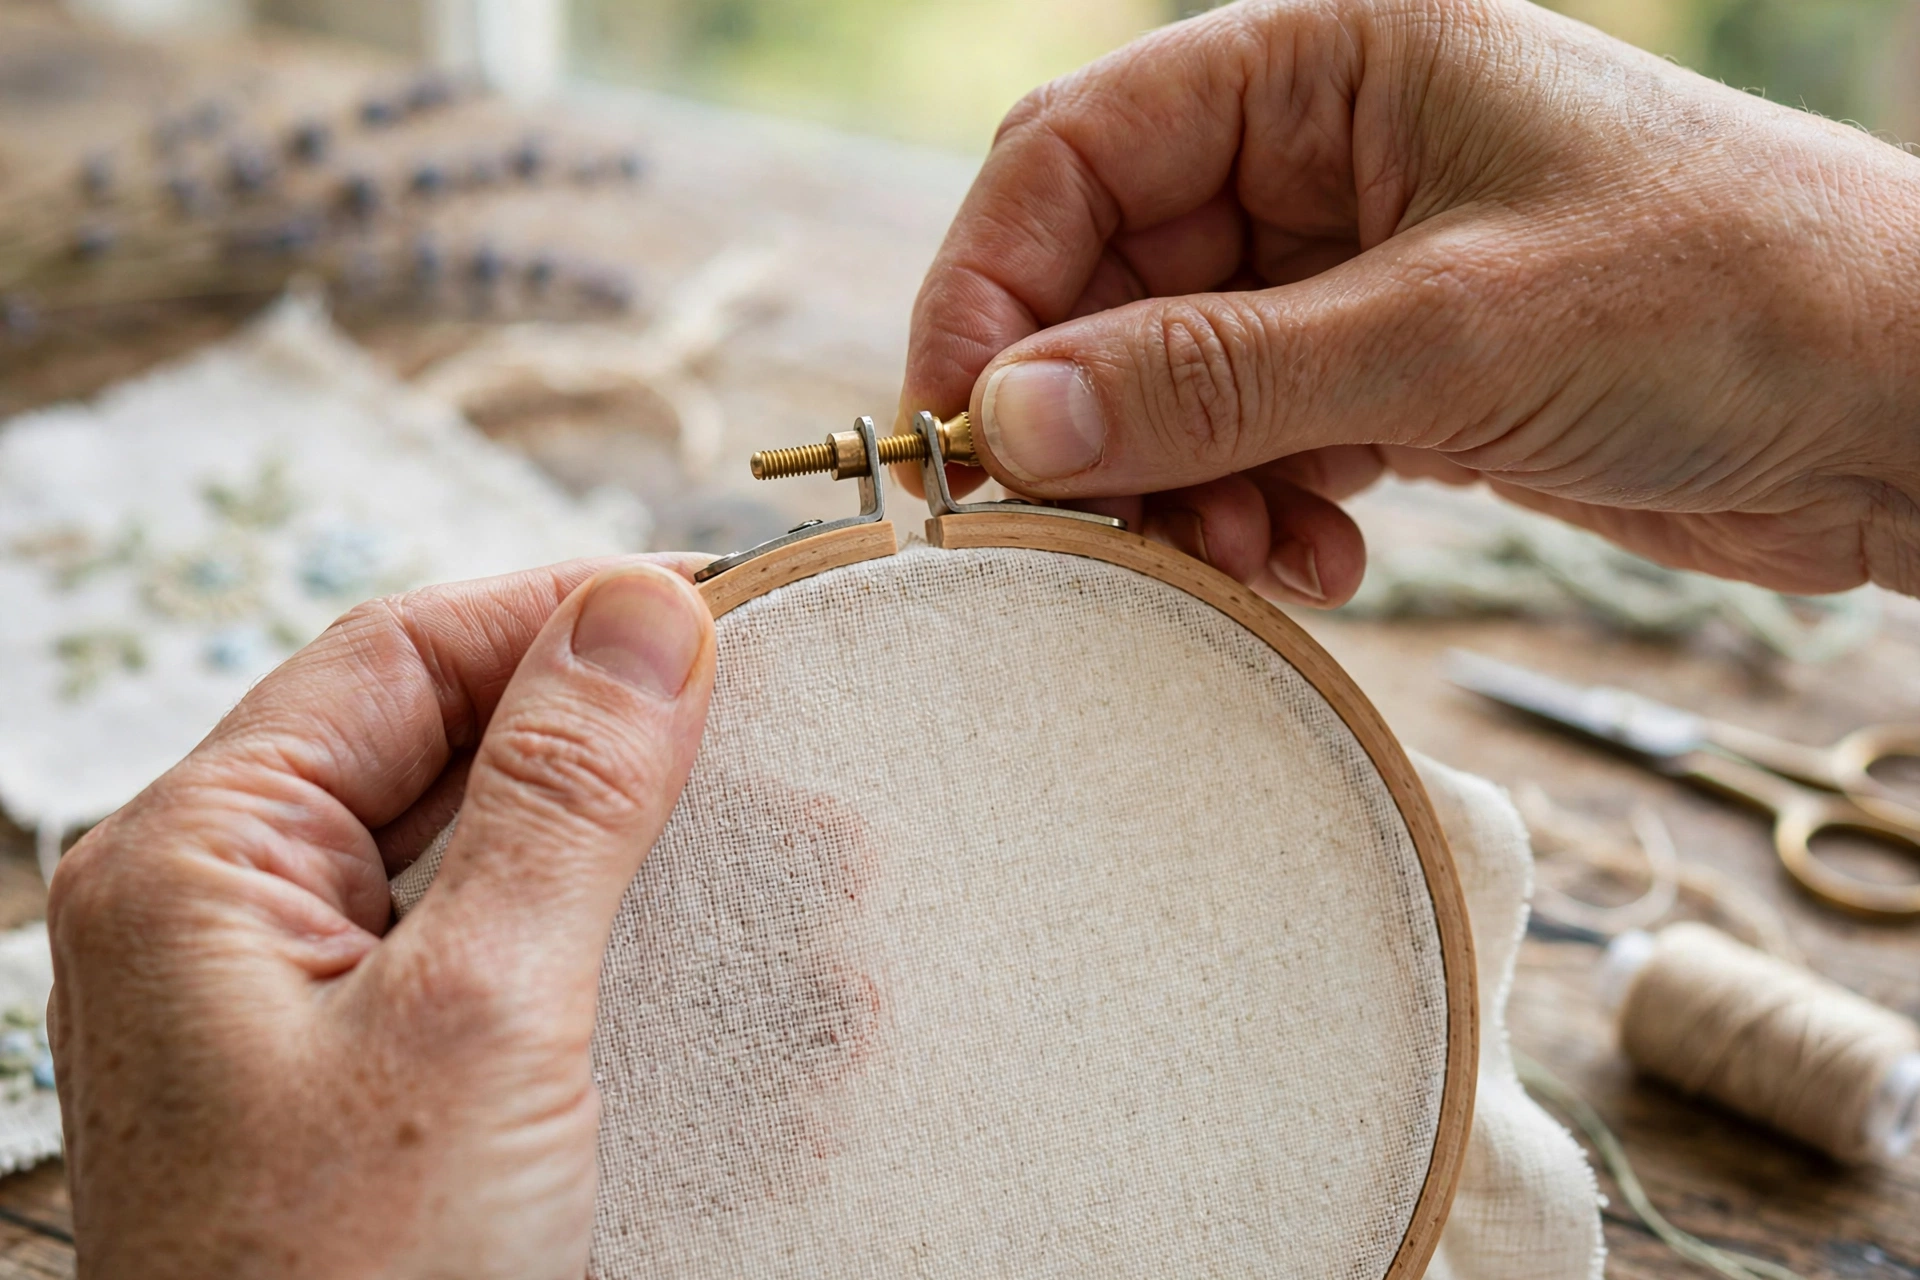
Fix 2: hoop drum-tight, stitch loose-handed. The fabric should be as tight as a drum skin before you start, which means re-tightening the hoop screw after the first five minutes of stitching, because fabric relaxes. But your hands must do the opposite: hold the needle loosely and pull each stitch through with just enough tension to lie flat. Most puckering comes from compensating for loose fabric by yanking the thread tighter, which gathers the inner edge of every curve. Tight fabric, loose hands. Say it like a mantra.
Fix 3: lay the thread, do not drag it. On curves, pull the needle straight up through the fabric and let the thread settle along the curve before you take the next stitch. If you drag the thread sideways into position, you add lateral tension that pulls the curve off its line. I learned this watching my own stitches under a magnifying lamp: every dragged stitch sat a hair off the marked line, and thirty hairs make a wobble. This is covered in more depth in my guide to making stitches look even, but the one-sentence version is: the needle travels, the thread rests.
Which stitch to use on a curve
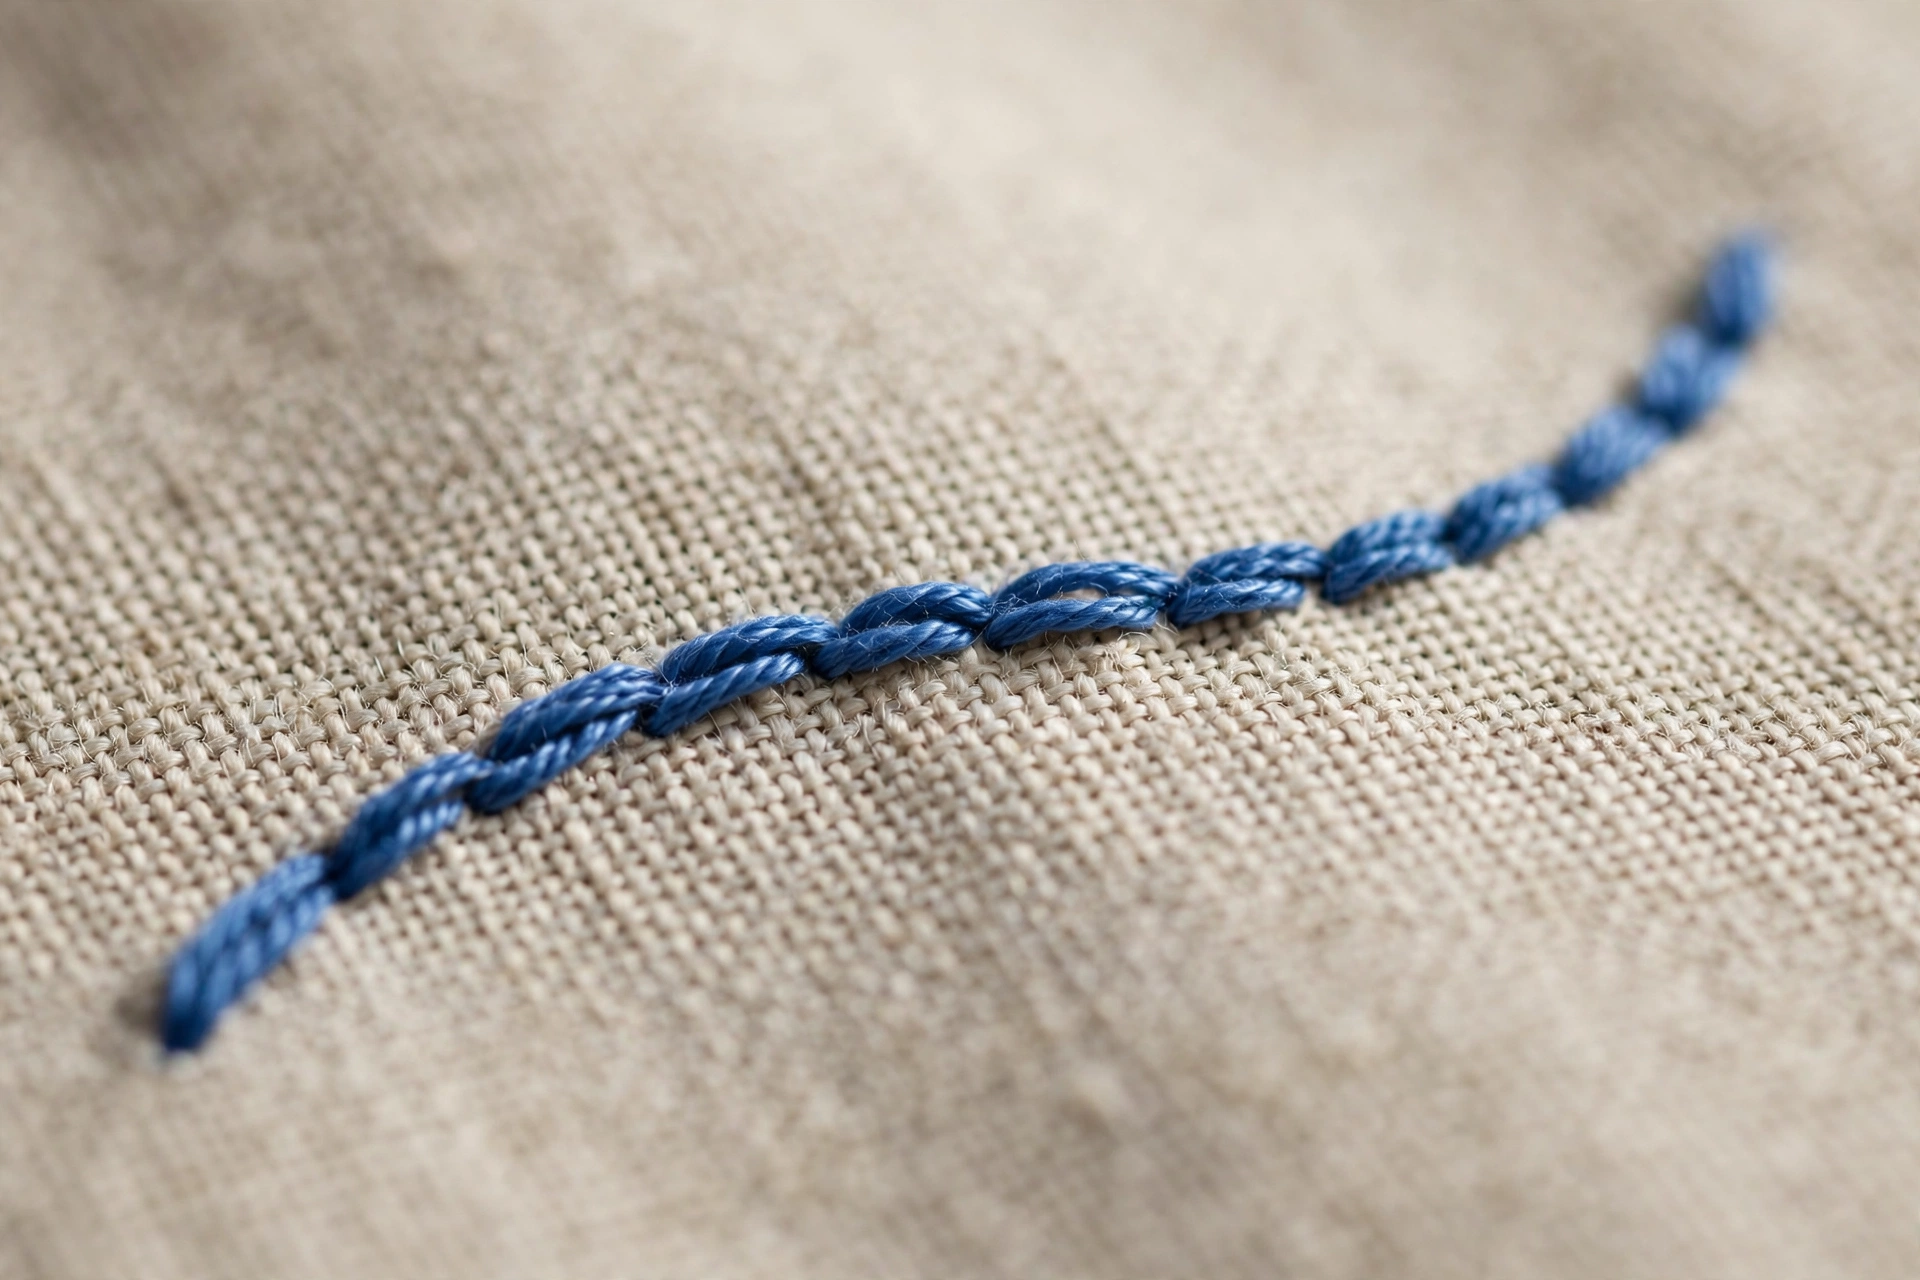
Stem stitch is the classic curve stitch because its slant hugs the line, but it also magnifies wobbles, so only use it on curves once your stitch length is consistent. Backstitch is the forgiving choice: each stitch is independent, so a slightly off stitch does not drag its neighbors with it. Split stitch sits between the two and gives a lovely textured line. I have a full comparison in backstitch vs stem stitch if you want the deep dive, but for curves the ranking is simple: backstitch while learning, stem stitch when showing off.
How to rescue a curve that is already puckered
Sometimes you only notice the puckering after the fact. Do not frog it immediately. First, remove the work from the hoop and let the fabric relax for an hour; some puckering is just hoop distortion and it settles on its own. If it is still gathered, press the back of the work with a steam iron through a pressing cloth. The steam relaxes the fibers and I have saved maybe a dozen pieces this way.
If the pucker survives the steam, the stitches themselves are too tight, and no amount of pressing will fix tension that is locked into the thread. Frog the worst section, shorten your stitches, loosen your hands, and redo it. It stings for ten minutes and then you forget it ever happened.
The curve test I give every beginner
Draw three curves on scrap linen: a gentle arc, a tight S, and a full circle. Stitch all three with eighth-inch stem stitches in 2 strands of DMC 321, about ten minutes total. If the S puckers, your hands are pulling too tight. If the circle wobbles, your stitch length is drifting. If all three lie flat, you are done worrying about curves forever. Mine took four tries. The fourth one hangs in my hallway, and nobody believes it was practice.
Smooth curves are not a talent. They are short stitches, tight fabric, and loose hands, repeated until your fingers do it without asking. That is the whole recipe, and it works on every curve from a daisy stem to a monogram flourish. Keep your fabric tight in the hoop with the method in my hooping guide, shorten up on the bends, and the puckering stops.