I once stitched an entire monogram in DMC 321 when the pattern called for DMC 320. Three hours of satin stitch, in the wrong red. A slightly brighter, slightly wronger red that I noticed the moment I stepped back. I considered keeping it. I considered burning it. Then I spent the next evening learning to remove embroidery stitches properly, because the piece was linen I had already paid good money for, and the monogram was a gift. Frogging is not failure. It is editing. Here is how to do it without taking the fabric down with the thread.
First, decide whether frogging is worth it
Not every mistake deserves removal. Ask three questions. One: is it visible in the finished piece, or only to you because you know where to look? Stitchers are legally required to over-notice their own flaws. Two: how many hours of stitching are we talking about? Frogging a two-inch motif is an evening. Frogging a full border is a weekend. Three: will the fabric survive? Delicate silk and loosely woven linen forgive less than quilting cotton. If the answer to question one is “only I can see it,” leave it. Perfectionism has ruined more projects than bad stitches.
But if you see it every time you look at the piece, frog it. The mistake will bother you more on day thirty than on day one. I have finished pieces with known flaws, telling myself I would stop noticing. I never stopped noticing.
The frogging toolkit
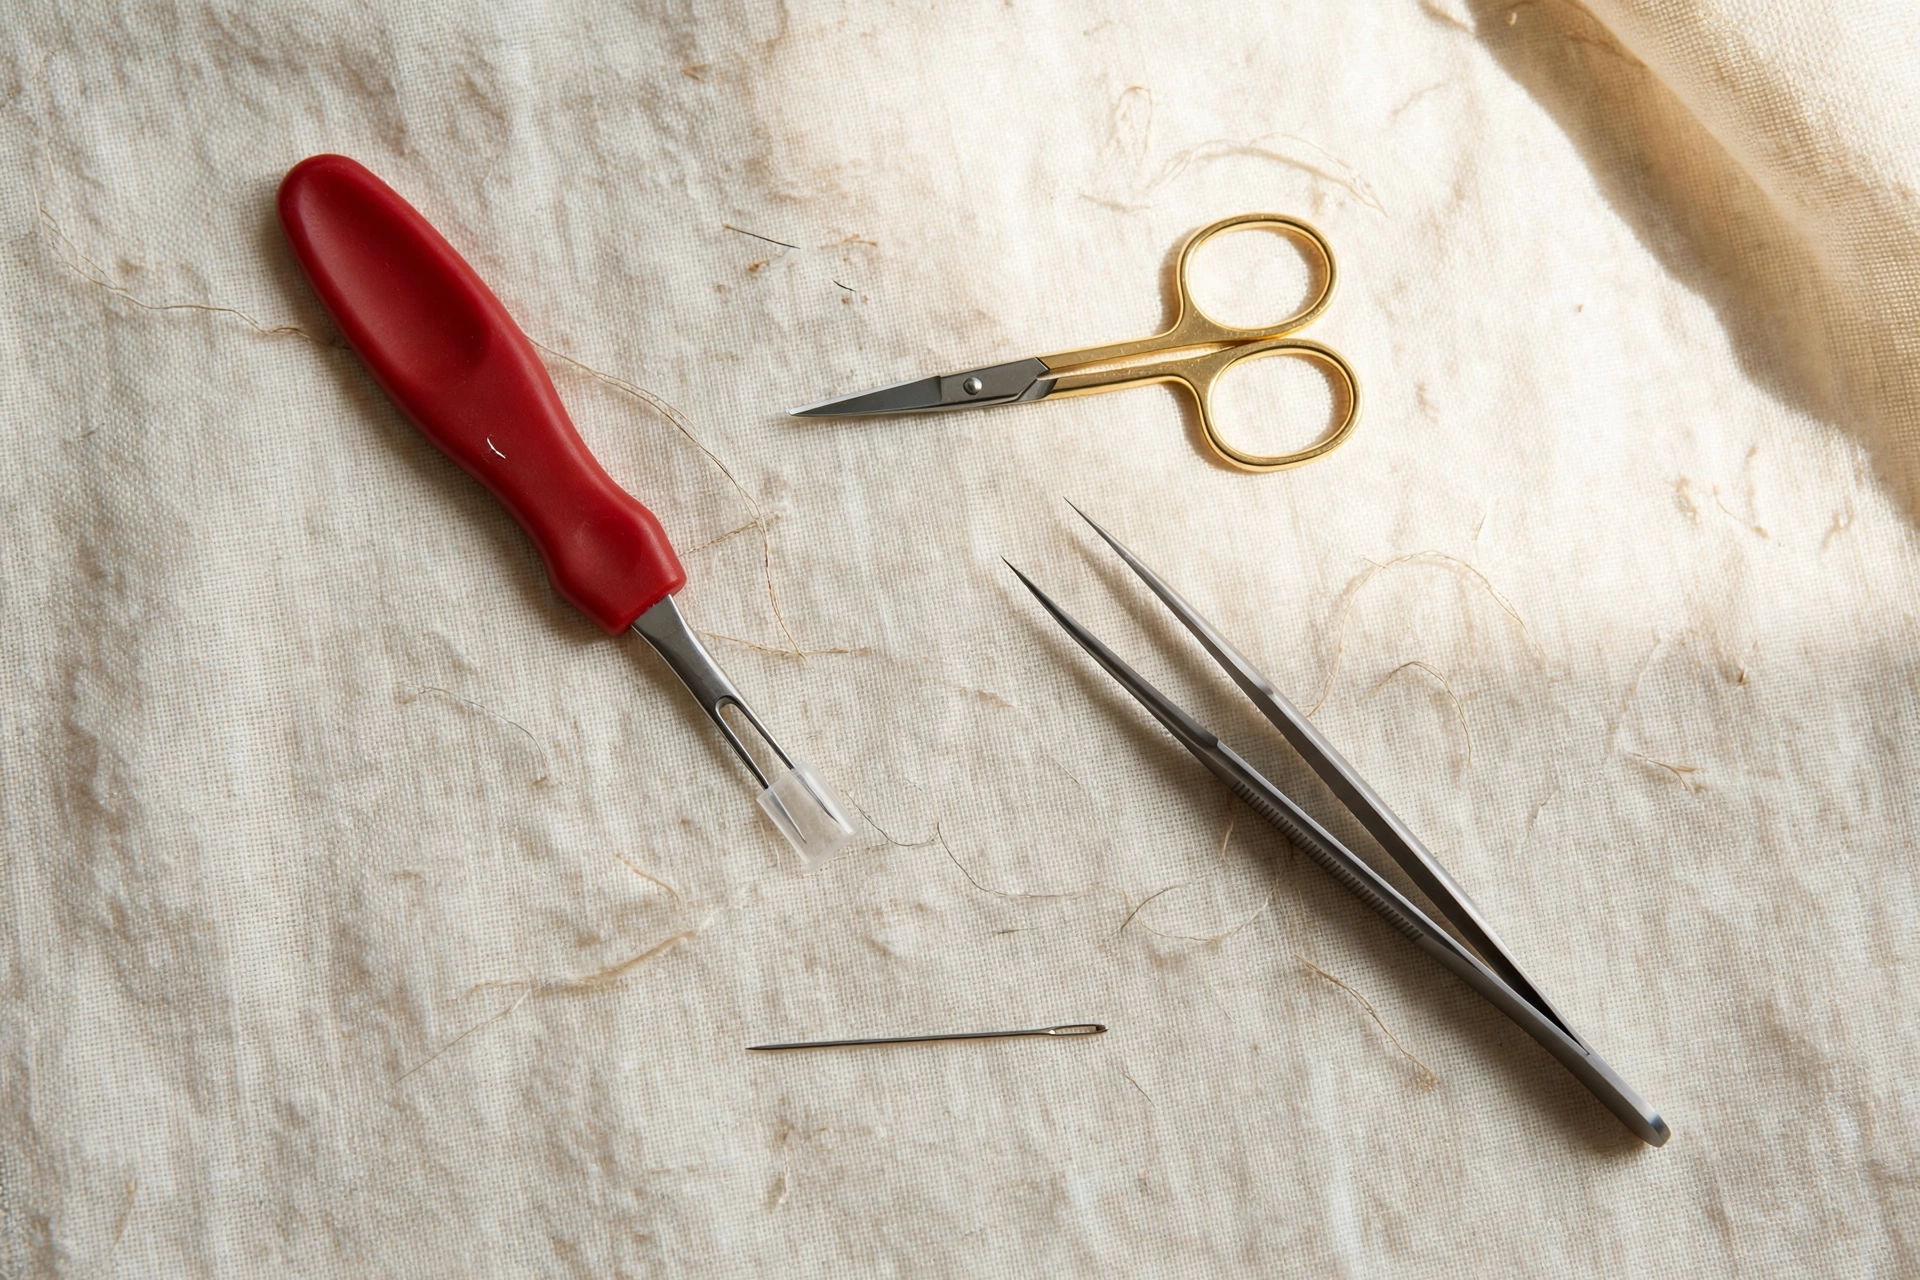
You need three tools, and you probably own two of them. A seam ripper, the small sharp kind with the red ball on one prong, about three dollars at any fabric store. Small embroidery scissors with genuinely sharp points, not the decorative stork pair you are afraid to use, the workhorse pair. And fine tweezers, the pointed cosmetic kind, for coaxing thread tails out of the weave.
Optional but excellent: a magnifying lamp or a pair of cheap reading glasses. Frogging is close work, and most fabric damage happens because someone was cutting what they could not quite see. Good light is a tool. Treat it like one.
How to remove embroidery stitches, stitch by stitch
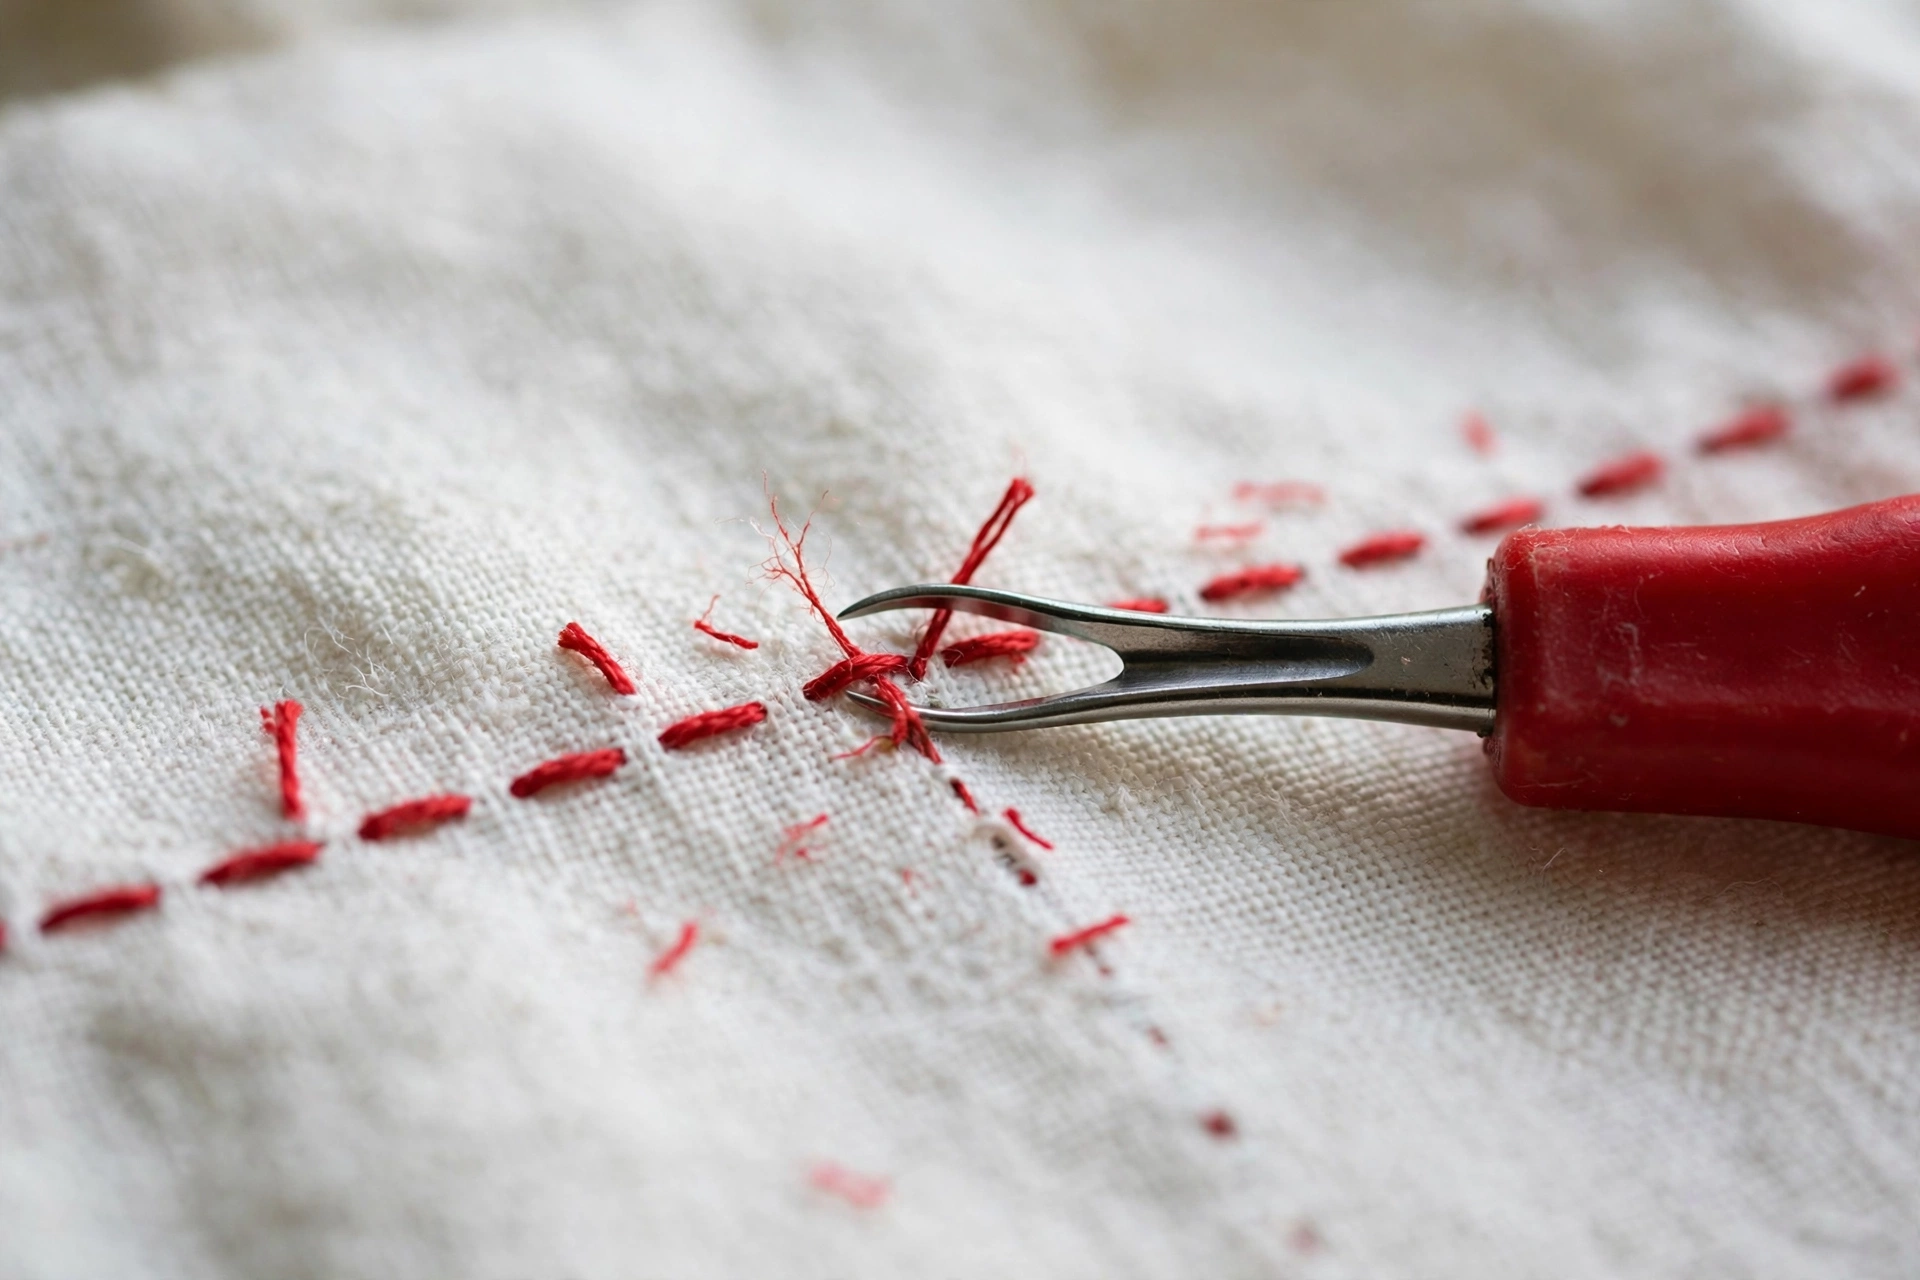
Work from the front of the fabric, and work in short sections. Slide the seam ripper under one stitch at a time and cut it, or snip the stitch with the very tip of your scissors. Do not slide the ripper along under a whole row like you are harvesting wheat. That is how you slice the ground fabric. One stitch, one cut, then move to the next. Boring. Safe.
For dense fills like satin stitch, cut the stitches on the front, then flip the piece and pull the thread out from the back, where it comes away in satisfying long pieces. For outline stitches, backstitch and stem stitch, cut every third or fourth stitch and the thread between the cuts lifts out in a strip. For French knots, snip the knot itself off at the base and pick the tail out with tweezers. Knots are tedious to remove, which is a good argument for making sure they are right the first time, or at least for making sure you actually like the design before you stitch forty of them.
Speed guidance from painful experience: you can safely remove about a square inch of dense stitching per five minutes. Faster than that, and you are cutting blind. Budget the time, put on something to listen to, and treat it as its own craft session rather than an interruption.
Getting the thread out without taking fibers with it
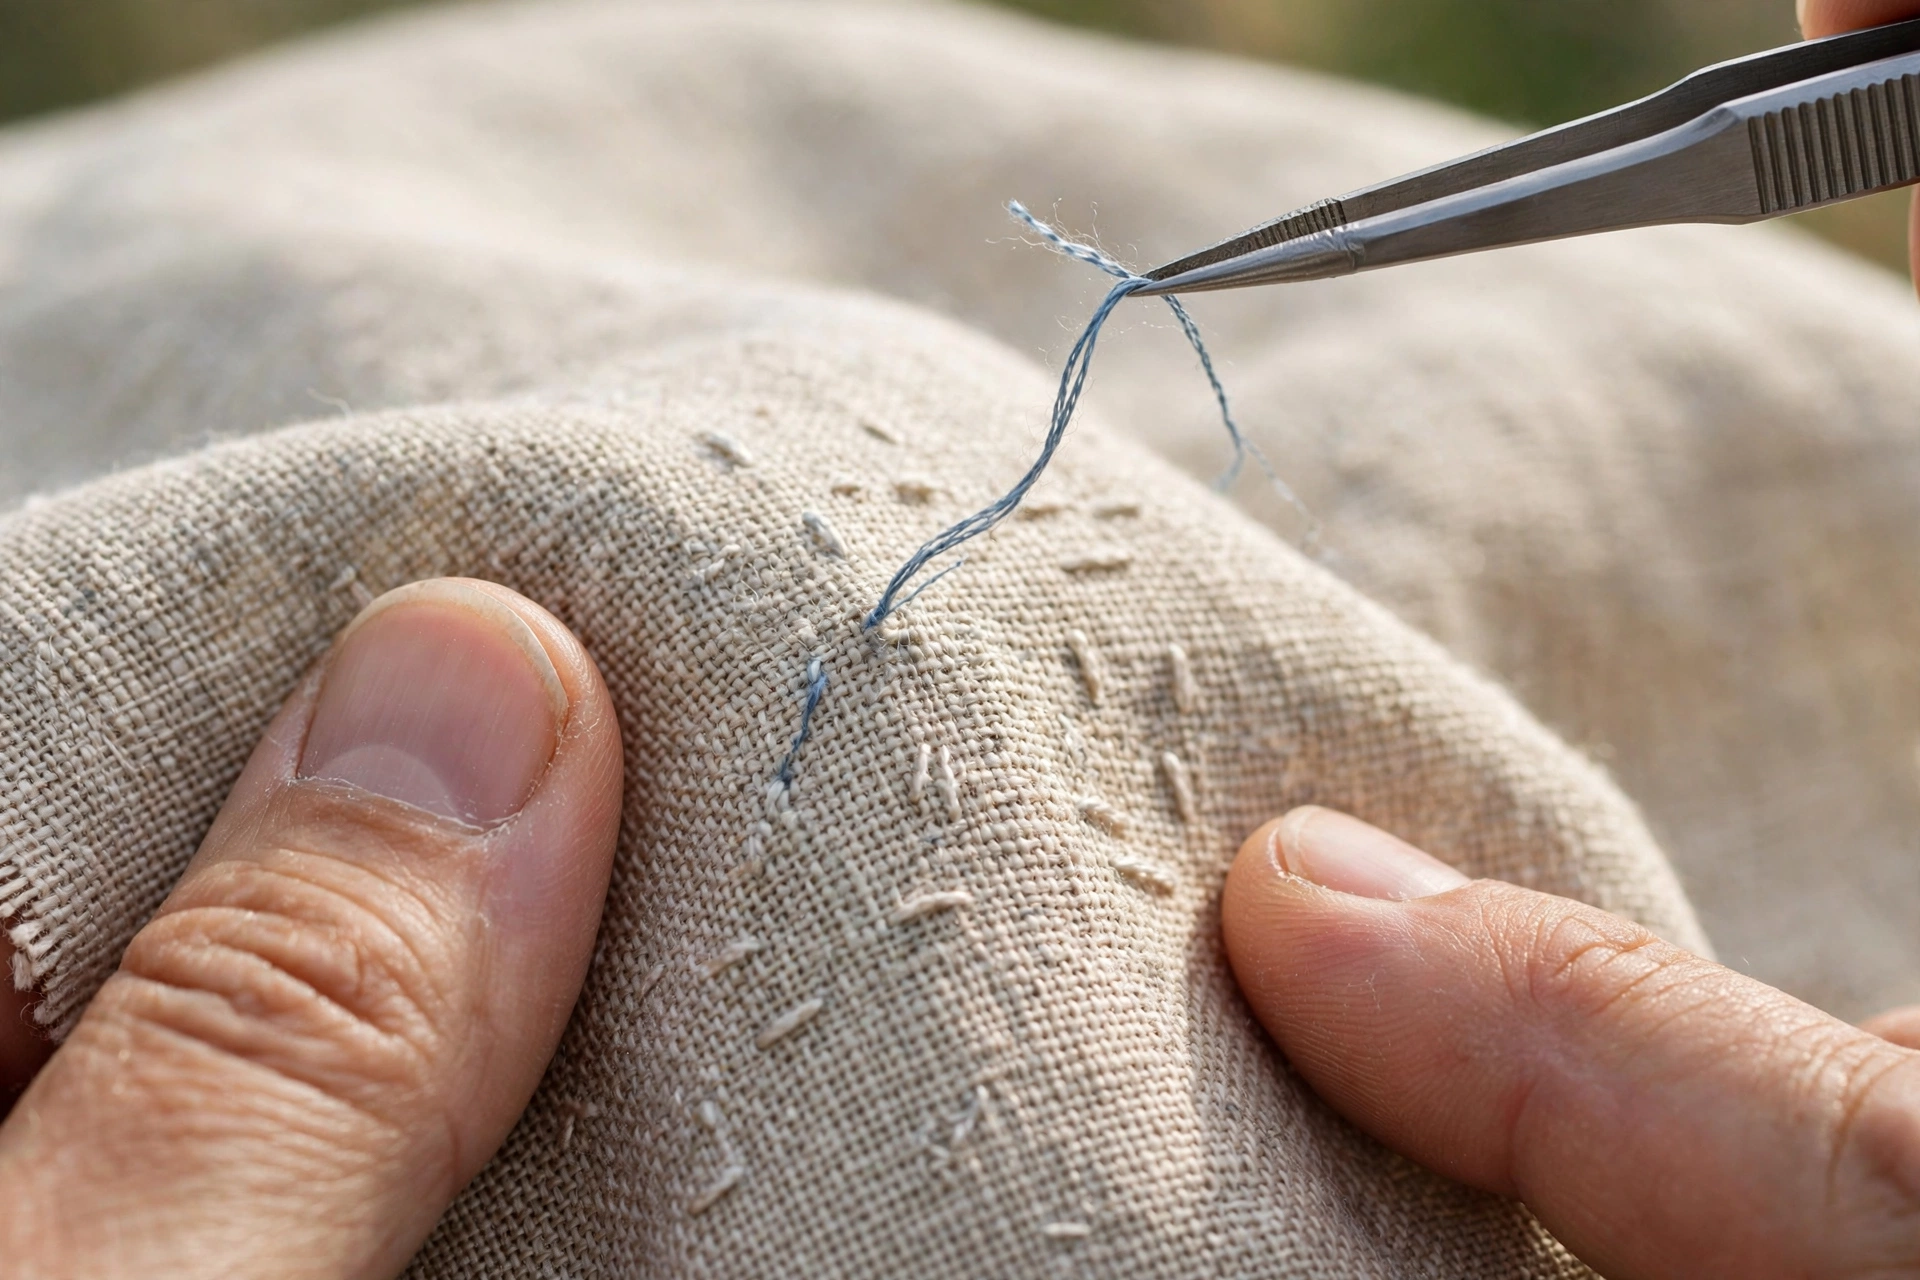
The rule is simple: never pull thread that is resisting. If a piece of thread does not lift out easily, there is still a stitch holding it, and pulling harder will drag the fabric weave with it. Cut more, pull less. When a thread tail is woven into the fabric and will not budge, cut it flush rather than digging at it. A tiny thread end buried in the weave is invisible. A pulled thread in the weave is a scar.
Work with the grain of the fabric when you pull, not against it, and support the fabric with your other hand right next to where you are pulling. The tweezers are for the last little tails, not for yanking. Think surgery, not demolition.
Erasing the evidence: the needle holes
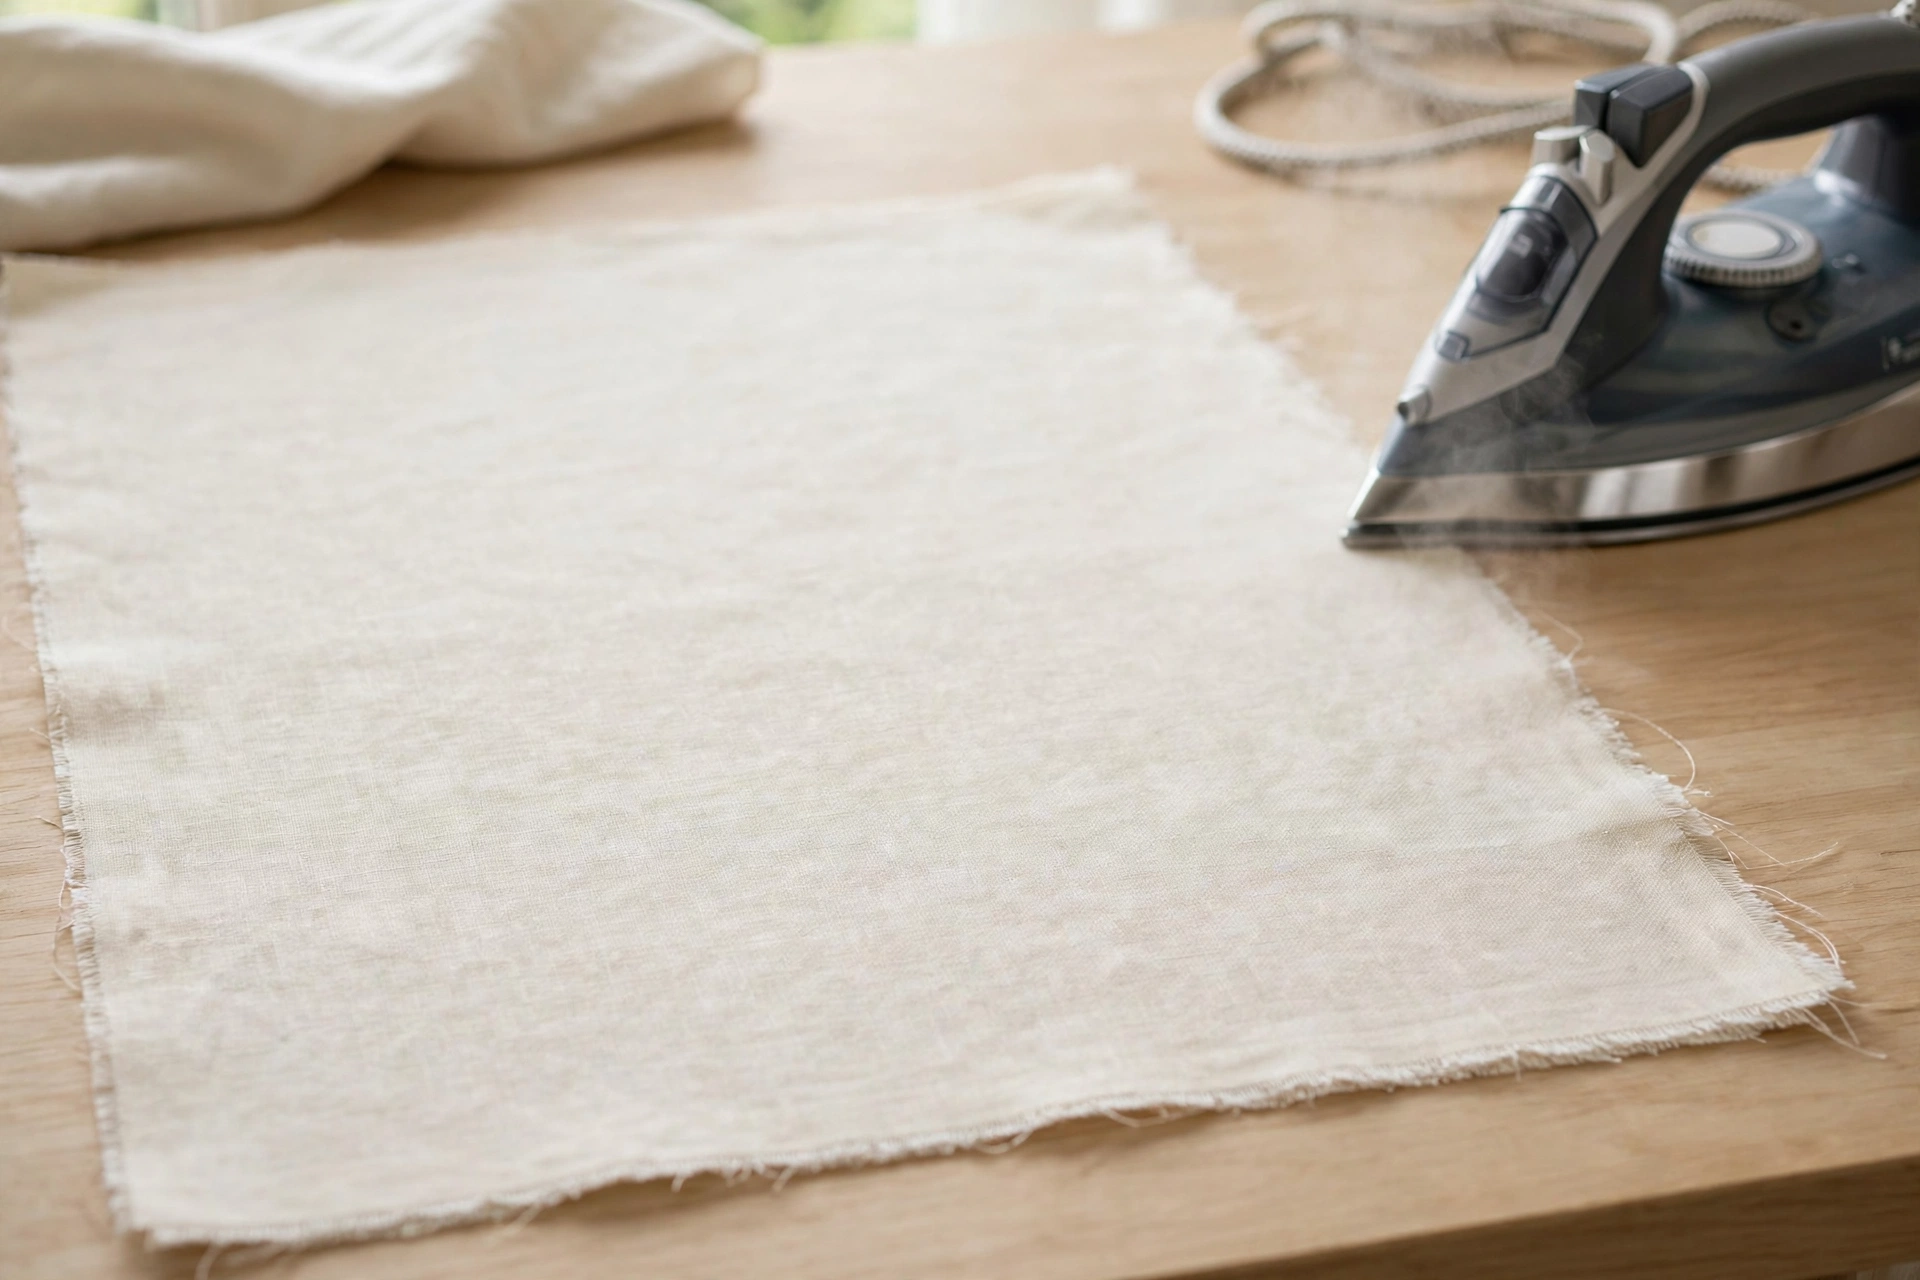
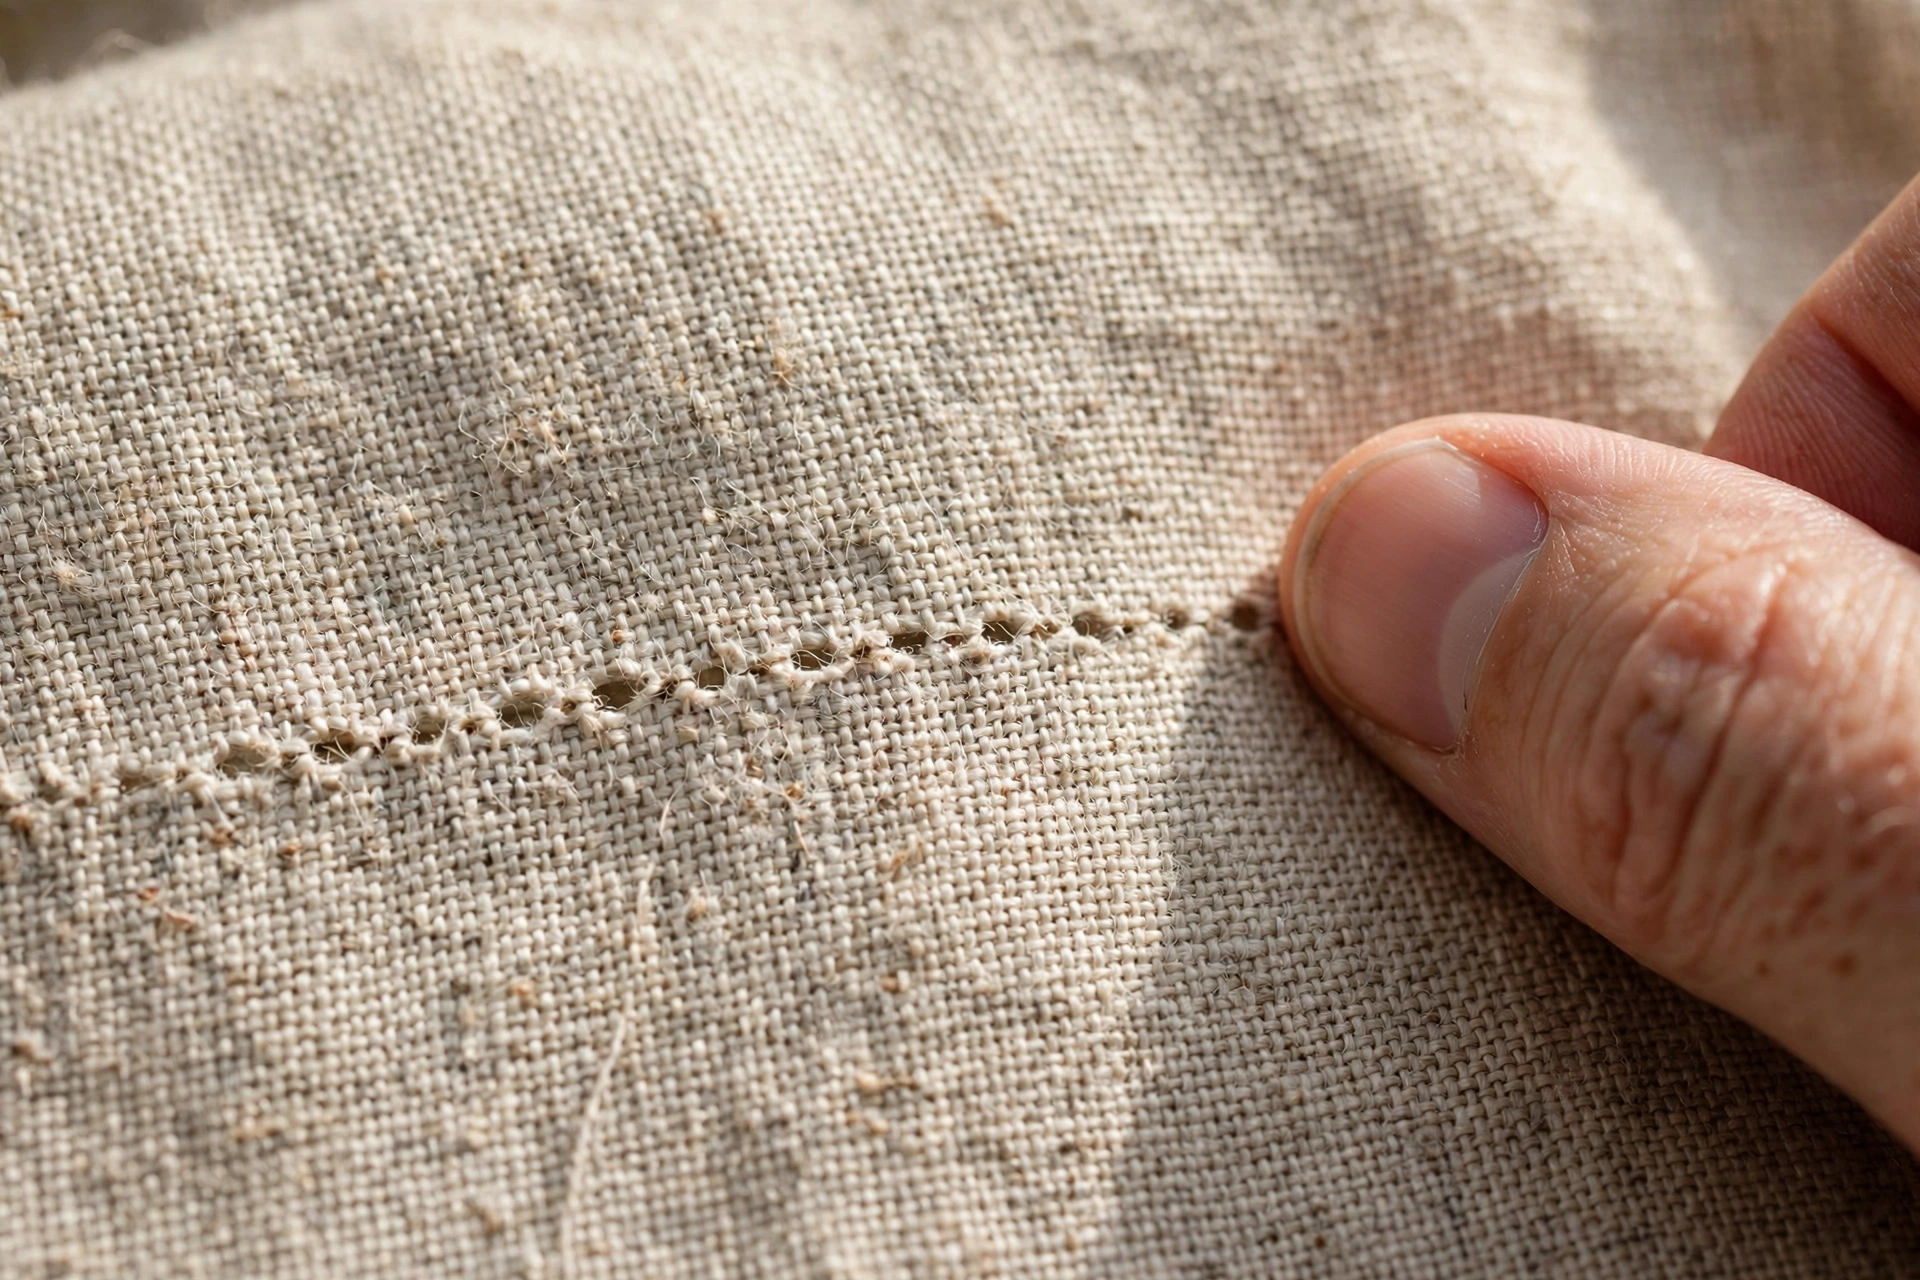
After the thread is out, you will see them: a constellation of tiny holes where the needle went through. On most fabrics these close up with a little encouragement. Dampen the area with a spray of water, then rub the holes gently with your fingernail, always along the grain of the fabric, never in circles. The fibers nudge back into place. Then steam-press the area flat and let it cool. On quilting cotton and medium linen, the holes vanish completely.
On loosely woven or dark fabrics the holes can linger, because the displaced fibers are more visible against the dark ground. If a few holes persist after steaming, the pragmatic fix is to re-stitch your corrected design slightly offset, so the new stitches cover the old holes. Nobody will ever know. I have done this twice, and both pieces are hanging in other people’s houses, admired, hole-free.
The stitches that frog gracefully, and the ones that do not
Chain stitch is the dream: snip one loop and the whole row unzips like a zipper, which is delightful in reverse and a good reason to secure your chain ends properly. Backstitch and running stitch come out cleanly. Satin stitch is laborious but straightforward. French knots and colonial knots are the worst, tiny and numerous and individually snipped, and couching is annoying because the laid threads tangle with the couching stitches on the way out.
One more thing, from the department of things I learned the hard way: take a photo of the back before you start removing. If you need to re-stitch part of the design, knowing how the original was constructed, the stitch direction, the order of layers, saves you from re-solving a problem you already solved once.
The seam ripper was invented for exactly this kind of careful unpicking, and there is no shame in using it. Every stitcher frogs. The good ones just frog neatly.